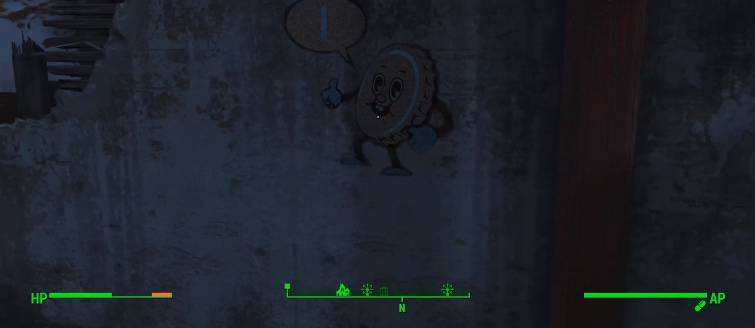
Secrets abound across Fallout 4’s final DLC Nuka World, along with a smattering of returning and new characters. Who knew that Nuka Cola always had a metal cap mascot? Apparently we missed that somehow in the last 277 years since the apocalypse.
The Cappy In A Haystack quest has you searching for hidden Cappy marks painted on walls in various secret spots across the entire amusement park. There’s 10 elusive Cappys to be found in some hard to reach locations, but the end result is well worth the hunt.
There’s some truly crazy loot for completing this quest — including a caffeinated version of the Fat Man and even the legendary recipe for Nuka Cola itself!
Below we cover step-by-step how to find each Cappy. If you are looking for other Nuka World walkthroughs, be sure to also check out:
Starting The Cappy In A Haystack Quest
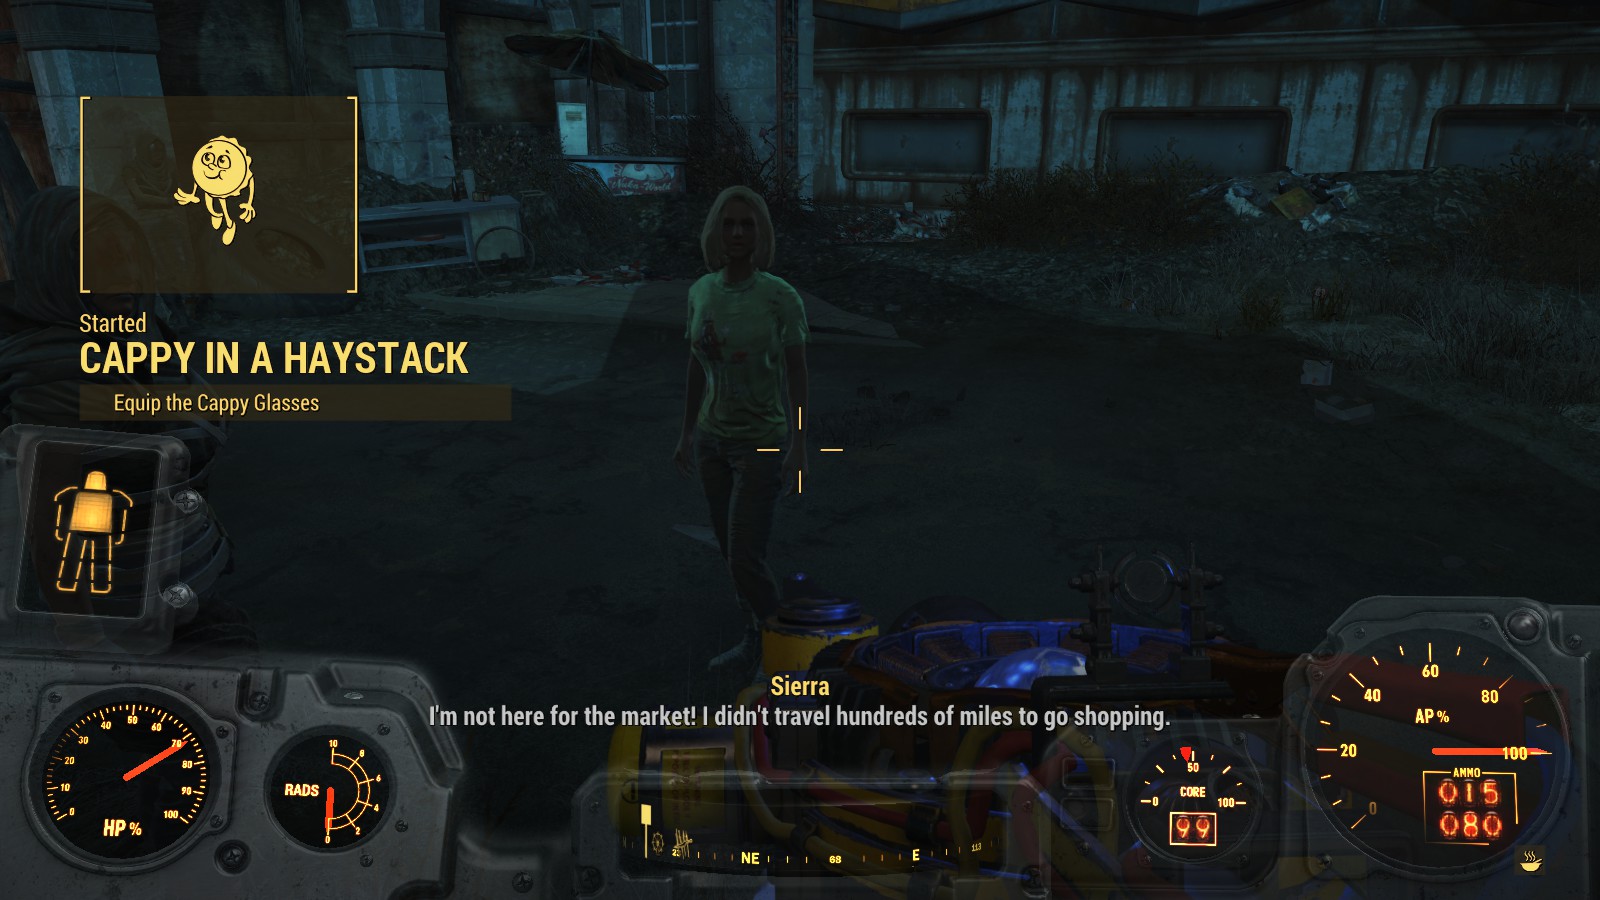
The quest to find each hidden Cappy in Nuka World is offered by a character you might recall from a previous game… none other than Sierra, owner of the Capital Wasteland’s very own Nuka Cola museum!
That’s right, somehow Sierra made it one piece from Washington to Boston. I assume her museum is thoroughly looted and owned by raiders at this point, and her love-struck neighbor is probably going out of his mind since she’s been gone.
You can find Sierra wandering around Nuka World USA. After talking to her, Sierra will hand over the super stylish Cappy Glasses, so go ahead and equip them so you can see the hidden Cappy marks scattered throughout the park.
You can’t wear both the glasses and a power armor helmet, but other headwear options can be combined together.
 Starting the quest with Sierra
Hidden Cappy # 1
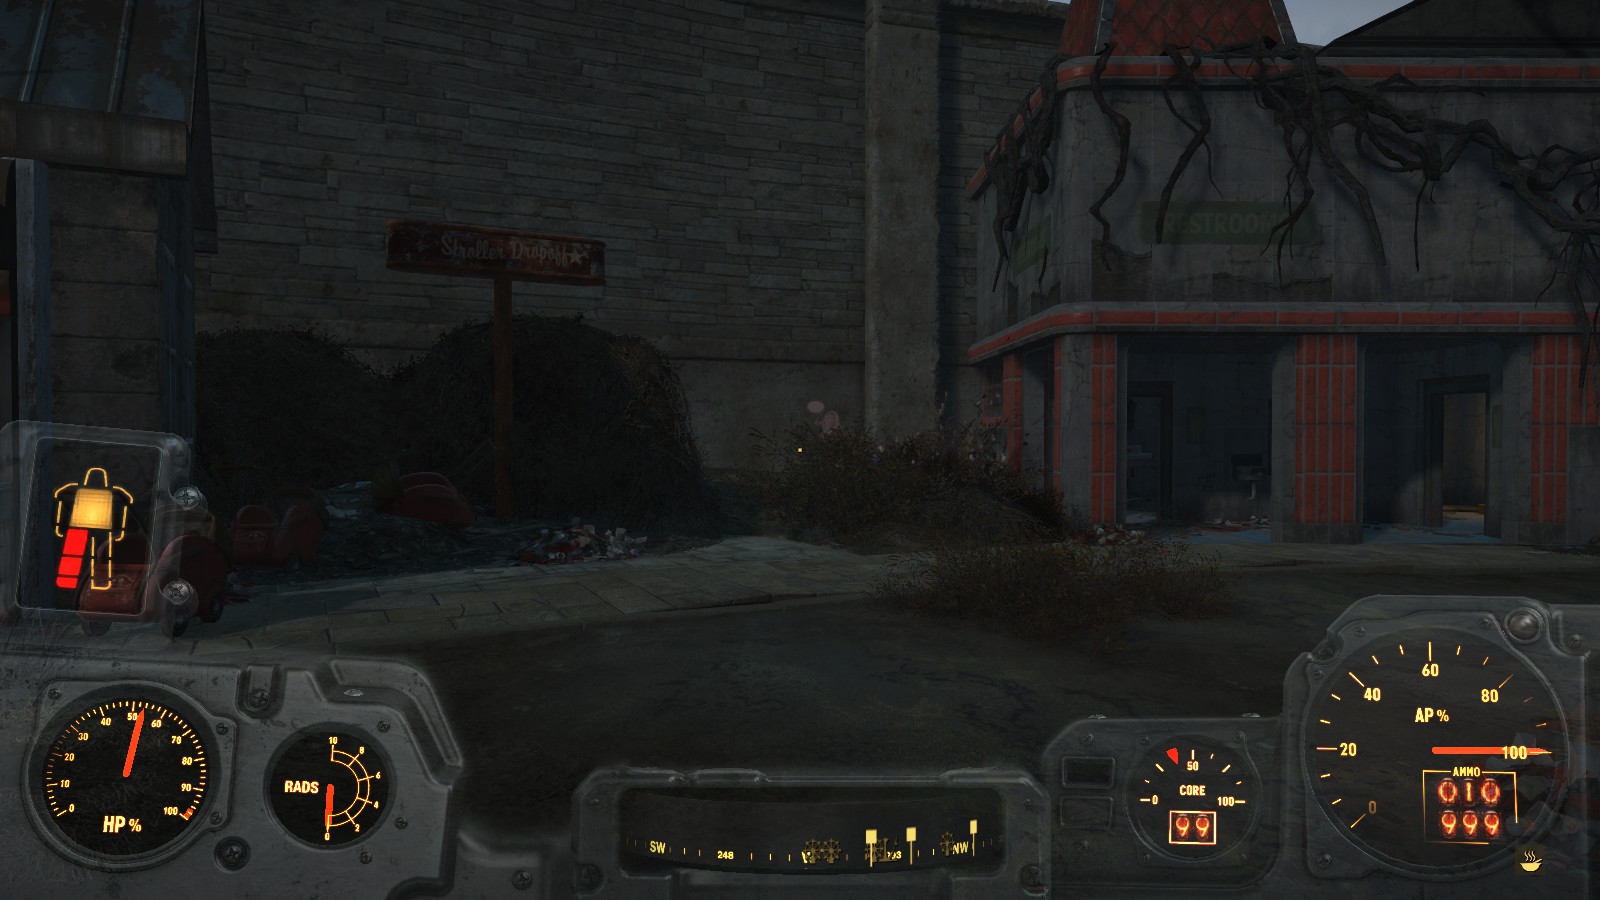
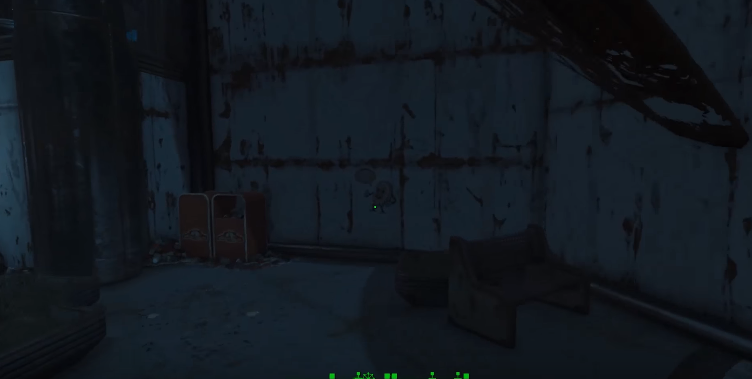
The first Cappy isn’t far from where the quest starts. Head northwest from Nuka Town USA area (or just to the southwest of the Fizztop Grille). The Cappy is on the wall in between the information booth and the concrete bathrooms covered in vines.
 Cappy #1
Hidden Cappy # 2
To find this Cappy, head over to Starport Nuka in the Galactic Zone. Head behind the Starport Nuka building (by walking to the left side underneath the concrete steps). The Cappy is to the left of the locked fence on the short wall.
 Cappy #2
Hidden Cappy # 3
For the next Cappy, turn around and go up the stairs on the left side of Starport Nuka. Turn right and go across the catwalk until you hit the escalators that let you walk down.
Immediately after the escalator, turn right and go forward to the area with the “Spacewalk” sign. The Cappy is on the wall to the left of the sign in between trash cans and a concrete bench.
 Cappy #3
Hidden Cappy # 4
The fourth Cappy is located near Doc Phosphate’s Saloon in Dry Rock Gulch. Head down the path to the left side of the Saloon entrance to find the graveyard. The Cappy is cleverly hidden on the back of a grave near the front of the graveyard.
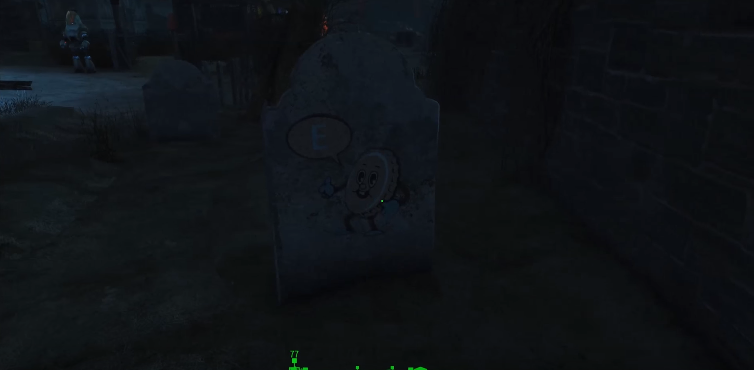 Cappy #4
Hidden Cappy # 5
For this Cappy, turn around and go back the way you came so you are heading down the right hand path in front of the Saloon entrance. Keep going forward past the “Bandit Roundup” sign and go into the red “Enter Here” door to Mad Mulligan’s Mine.
Note: before the mine is accessible, you must have completed the High Noon At The Gulch quest. You can start this quest by talking to any of the protectron sheriff’s around the area, and the quest can be finished much more quickly if you have the Robotics Expert perk.
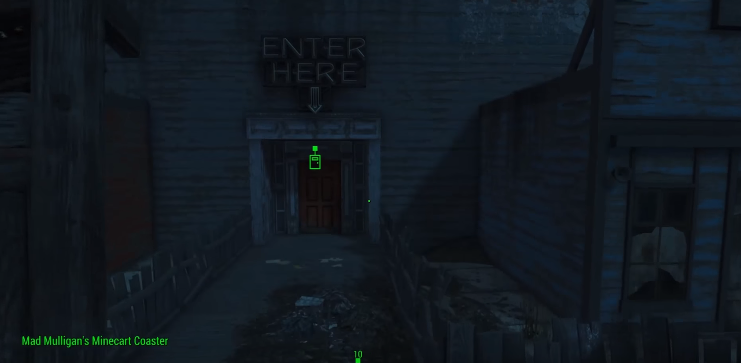 Mad Mulligan’s Mine
Go up the small set of steps and enter the right mineshaft entrance. At the first junction, turn left. Jump over the yellow railing and you should immediately see the Cappy on the side of a rusted old shed.
 Cappy #5
Hidden Cappy # 6
For this Cappy, travel over to the Primate House in the Safari Adventure attraction. Don’t actually go inside the Primate House however – while walking up the hedge path to the house, turn right and walk through the open branch section to find a hidden little alcove. The Cappy is just to the right on the wall after you pop out of the hedges (underneath the gorilla statue).
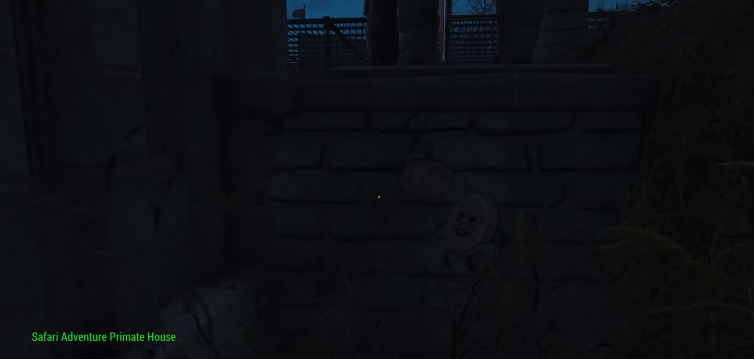 Cappy #6
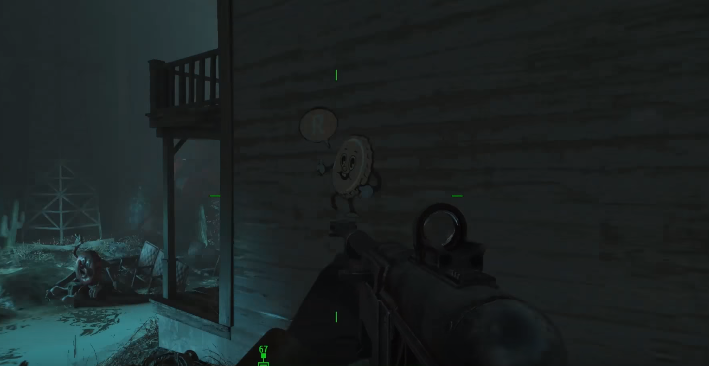
Hidden Cappy # 7
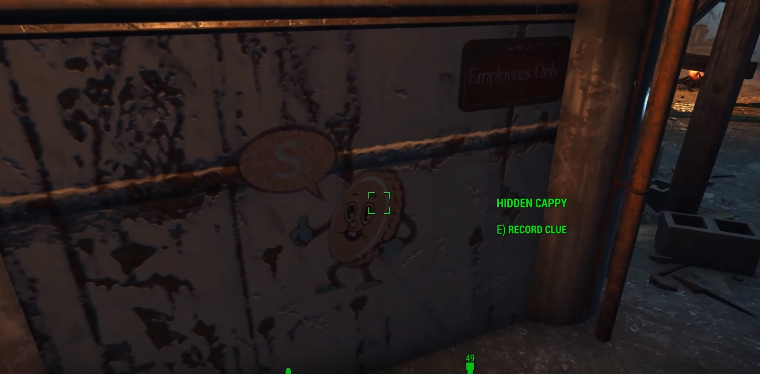
From the previous Cappy, head back out onto the path leading away from Primate House and walk by the Ice Cream stand towards the Welcome Center with the large stone steps and the fire pit.
Jump over the ledge in front of the giant stone lion and then walk through the open fence with the “Employees Only” sign.
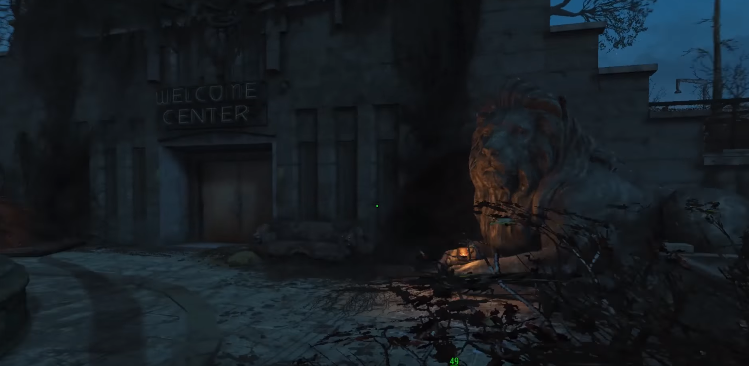 Welcome Center Lion
Head up the tiny metal ladder to your left so you can get up on the roof area and then jump down when you see the cages. Head forward underneath the sign that reads “Cappy’s Treehouse.” Turn right and go all the way to far right end of the hedge tunnels to find this Cappy on the stone wall.
 Cappy #7
Hidden Cappy # 8
For this Cappy, head to the World Of Refreshment building by the Nuka Cola Bottling area. Enter the World Of Refreshment through the watery front entrance with the “Enjoy The Ride” sign.
Follow the water lane until you pass the “Nuka Wild” sign and see a giant red Nuka bottle on your right and a large cactus on your left side. The Cappy is on the side of the two-story wood building.
 Cappy #8
Hidden Cappy # 9
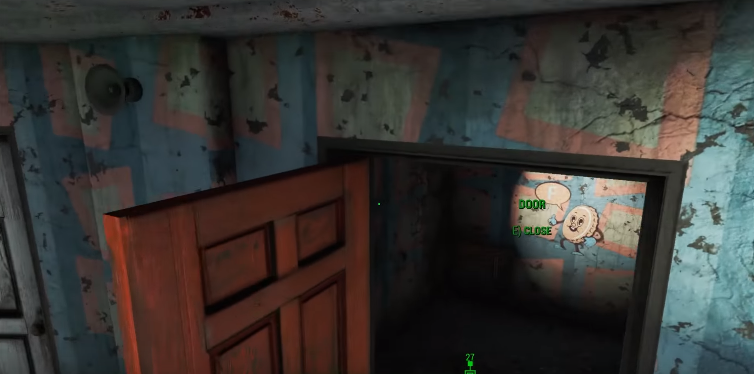
This Cappy is inside the Fun House in the Kiddie Kingdom attraction in the incredibly obnoxious spinning floor room.
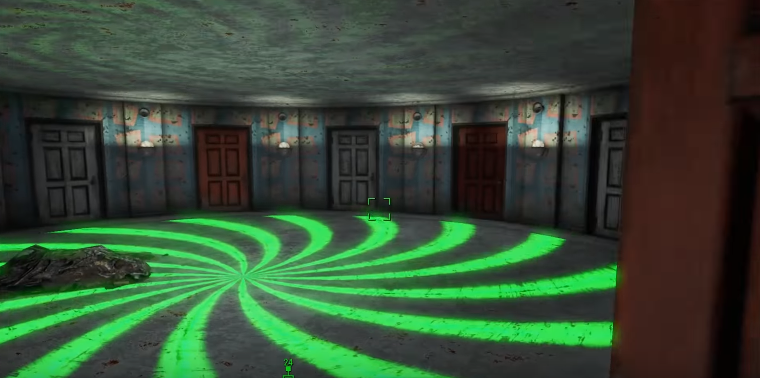 Have fun trying to open the correct door!
If you are entering the spinning floor room from the front side of the Fun House (after having completed the area and unlocking the main entrance) then the door with the hidden Cappy is two from your right. If you are entering from the opposite side, it’s three from your left.
 Cappy #9
Hidden Cappy # 10
Outside the main entrance to the castle in Kiddie Kingdom, go up the red tower and travel up the spiraling staircase all the way to the top. The Cappy is on the inside wall just by the top of the stairs.
 Cappy #10
Now with all the Cappy hints in your collection, go back to talk to Sierra again. She’ll give you the code to Bradburton’s office where you can complete the quest and collect your reward!