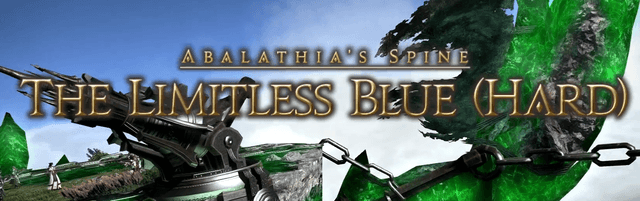
Bismarck is the second Primal you face off against in Heavensward. However, he is unique in that you’re not so much fighting him, but the mechanics themselves. In this guide I’ll give you everything you need to know in order to run this Trial cleanly.
DPS Be Warned:
This Trial is all about DPS. If your group’s DPS isn’t up to par it will show. There are multiple races against time in this battle, all of which hinge on the damage you can output.
Adds Phase 1:
In phase one only two adds spawn. A mage on the north side and a melee on the south side. Depending on your group composition there are two ways to handle these adds. If you have heavy single target DPS, keep the adds where they spawn. For heavy AoE DPS bring the adds together to save time.
Magitek Field Generator:
This device is used to protect the integrity of the island. It generally falls on one of the healers to activate it. Just keep an eye on Bismarck, as he will telegraph when he is about to bash the island. If you time the generator poorly, Bismarck will do considerably more damage to the island.
Dragonkillers:
This is generally the job of ranged DPS. Shortly after a wave Vundu appear, a message will say the Dragonkillers are ready. The two designated to activate the Dragonkillers need to peel away from combat to do so. It is possible for a tank to perform this task, but it’s a risk as it can be interrupted if you’re hit. If you don’t fire the Dragonkillers in time.
Chitin Carapace:
After Bismarck is pulled in with the Dragonkillers, everyone needs to get on his back and burn down the Chitin Carapace. You can’t damage it from the island. In a good group it should only take two mechanics rotations to down this part, leading into the snake phase.
Snake Phase:
This is the big DPS race. If you’re too slow on killing the snakes it’s a 100% guaranteed wipe. The general strategy on this phase is to tank the snakes where they spawn and have everyone DPS the same snake down as fast as possible.
Most groups take the north snake first and blow all damage cooldowns on it. Afterwards, everyone swaps to the south snake and limit break it. As damage cooldowns come back up use them again and hope your DPS is high enough.
Phase 2:
Everything generally works the ame as phase one, with minor exceptions. Three adds spawn instead of two. South side gets a mage and a melee add in this phase. Odds are you won’t kill all three before moving to Bismark. It’s the south tank’s job to remain on the add that lives.
Another change is the generator is no longer useable. If you handled the generator poorly in phase one, the island will likely be destroyed early in phase two.
The last notable change in phase two is the bubbles. When bubbles spawn they need to be killed immediately. If they are not taken down fast, the party will take massive damage from the following Lightning Bolt attack.

Attacks and Things To Be Wary Of:
There are a few attacks that need to be avoided, as well as some things players need to consider. I won’t cover every attack this time around, just the few that players really need to consider.
- Pets: Pet jobs need to be sure their pets are not positioned near the generator. If one of the randomly targeted abilities targets a pet near the generator it makes it hard to activate the generator. This includes Machinist turrets.
- Howling Wing: The melee Vundu add uses this. It’s a straight line knock back. The knock back is a moderate distance so be sure not to get hit by this.
- Tornadoes: These will randomly move about the island during the snake phase. If you’re hit by one, you’ll get knocked into the air for a brief time.
That wraps up everything you need to know for a successful Bismarck clear. If you have any comments, questions, or concerns please leave them down below. For more new content, be sure to check out my FFXIV Heavensward guide list.