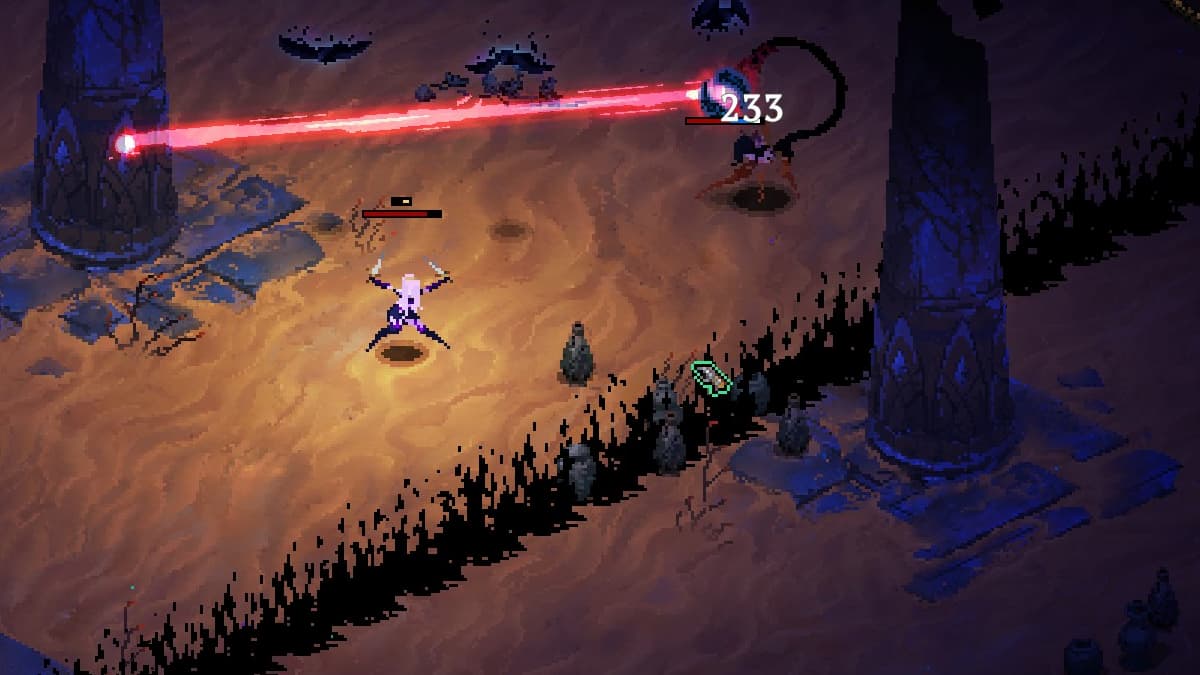
Much like Final Fantasy XIV‘s previous patch Dreams of Ice, the all new dungeon Keeper of the Lake from patch 2.5, comes from the storyline. While this is technically a really easy dungeon, it might take some getting used to on your first attempt. My first play through I ended up dieing on Midgardsormr trying to figure out how the mechanics worked, though we recovered nicely. All in all, I’d say this is the most epic feeling dungeon of the three released in the patch.
Einhander:
It was Einhander with the pipe in the Agrius Hull.
This is actually a really neat boss, with some great mechanics. It brings back a version of the Brayflox Hard final boss mechanics. While you see three of them total flying as you reach the fight, you only actually fight one of them. The other two just supply one of the mechanics.
Attacks:
- Tanks: There are two types of tanks that the other two flying creatures drop: Main and Auxiliary. Auxiliary tanks can be moved by hitting them with a skill, Main tanks can’t. If Einhander hits a tank with a skill other than Heavy Swing the tank ignites, the exception being the suction move. Auxiliary tanks create a medium range explosion, while the Main tanks blast the entire room. Main tank explosions will ignite all other tanks. To deal with this mechanic move all Auxiliary tanks to a side of the room you’re never at. Be sure to move the boss away from Main tanks, and never stand between the boss and a Main tank.
- Flamethrower: A frontal cone attack that gives no warning prior to being used. It does moderate damage so be sure not to get caught in front of the boss if you’re not the tank.
- Heavy Swing: A large frontal cone that deals moderate damage and knocks back players hit with it. Heavy swing is used a lot more frequently when Einhander has the pipe.
- Mark XLI Quick-Firing Cannon: Einhander starts using this after it switches out the pipe for a gatling gun. It’s a straight line shot that aims for a random player.
- Mark XLIII Mini Cannon: Einhander starts using this when he swaps from the gatling gun to the cannon. This is a ground-target AoE attack, that targets a player randomly.
Magitek Gunship:
This is probably the most simplistic boss of the dungeon. It still seems to get hectic when the attacks start coming more frequently. You also have adds to deal with in this fight.
Attacks:
- Flamethrower: Unlike Einhander’s flamethrower, this is a persisting attack that constantly ticks down health while you stand in it. You do get an indicator for this attack so you just need to avoid it. Do not step back into the fire after the indicator disappears, you will still take damage.
- Garlean Fire: Throughout the fight the boss will move to a point in the room and then target a player. it will then fly to that player leaving large circles of fire on the ground. If you get targeted by the boss try to move to one of the edges to keep the fire out of the way. Later in the fight, the Gunship will use this attack multiple times in quick succession.
- Carpet Bomb: Randomly targets a player and drops aground target AoE.
- Adds: The first set of adds spawns at around 60%. These are just normal Garlean Soldier adds. Try to take them down quickly while the Gunship uses Garlean Fire. The second spawn is one of the big Vanguard robots. Dealing with this is a bit tricky due to the increased frequency of the Gunship’s attacks.
- Blitz: A forward dash attack that deals moderate damage.
- Random Fire Circles: At around 20%ish the Gunship starts randomly dropping fire circles without warning for where they are going. You do however know they are shot off due to the distinct animation.
Midgardsormr:
Come dragons I will dance your mad dance of death. (I will also die but we’ll pretend that doesn’t happen.)
Due to just the sheer number of things going on in this fight, it may seem very hectic. Treat it like Titan Hard, stay in motion and you’ll be fine. There is a one-shot mechanic in this fight, so be aware of that while everything else is going on.
Attacks:
Midgardsormr:
- Disdain: A large ground targeted AoE attack. During the blue Mirage Dragon fight this attack seems to leave a green patch of fire on the ground, though it could be a different skill altogether.
- Admonishment: A two-part attack, the first part is a very wide straight line shot. The second part is three narrow lines. The second part deals moderate damage, Id assume the first part hits harder. During the blue Mirage Dragon fight a third set of two lines added after the three lines.
- Mirage Dragons: The tether from Midgardsormr revives one of the two dragons on the ground. It will always be the orange dragon first. Midgardsormr becomes invulnerable while a tethered dragon is active. Midgardsormr will still use its attacks during the Mirage Dragon fights. Defeating a tethered dragon depletes a large portion of Midgardsormr’s health. It’s a set amount but not sure the exact number, think of it as a lifelink system.
- Outer Turmoil and Inner Turmoil: These are from Midgardsormr and alternate between a short-range attack, and an everything but that short-range area attack. (Refer to the video for a more precise understanding of these.) Midgardsormr will start using this during the fight with the orange Mirage Dragon. Just a note, but these do not one-shot, however Inner did about 2k damage to me when I didn’t make it out in time at the end.
- Animadversion: When each dragon gets low, an Astraea add carrying a field generator will spawn. This is followed by the floor being covered in a dark blue. Kill this add immediately and activate the field generator when the floor is blue. The tank should stand off to the side until the shield spawns so the Mirage Dragon doesn’t interrupt the generator activation. Once the shield spawns everyone needs to move into the shield, there they are protected from all damage. You can still attack the Mirage Dragon within the shield.
- Antipathy: Midgardsormr will start using this during the blue Mirage Dragon fight. It’s a three-part attack that lays a circle and two outer rings that detonate on a time-lapse. Standing in the read during a detonation will cause you to take moderate damage. If you’re unsure whether you can completely make it out in time it’s better to guarantee you only get hit by a single blast.
Mirage Dagon – Orange:
- Web of Lightning: A ground targeted AoE that chooses a target at random.
- The Dragon’s Breath: A wide breath attack that deals moderate damage.
- Plasma Release: A room-wide AoE that deals a mediocre amount of damage.
Mirage Dragon – Blue:
- Frost Breath: An Ice version of The Dragon’s Breath. Works the same way and deals a similar amount of damage.
- Granite Rain: A large AoE blast centered on the Mirage Dragon.
- Sheets of Ice: The Mirage Dragon will target several areas on the ground and drop ice patches, that deal damage and slow players.
- Rime Wreath: A room wide AoE blast that deals mediocre damage.
After the blue Mirage Dragon goes down it’s just a matter of finishing off the last little bit of health Midgardsormr has left.
That wraps up this guide on the new The Keeper of the Lake dungeon. For comments, questions, or thoughts, please leave them in the comments section below. Also, be sure to check out my FFXIV list of guides for more patch 2.5 content coming soon.

