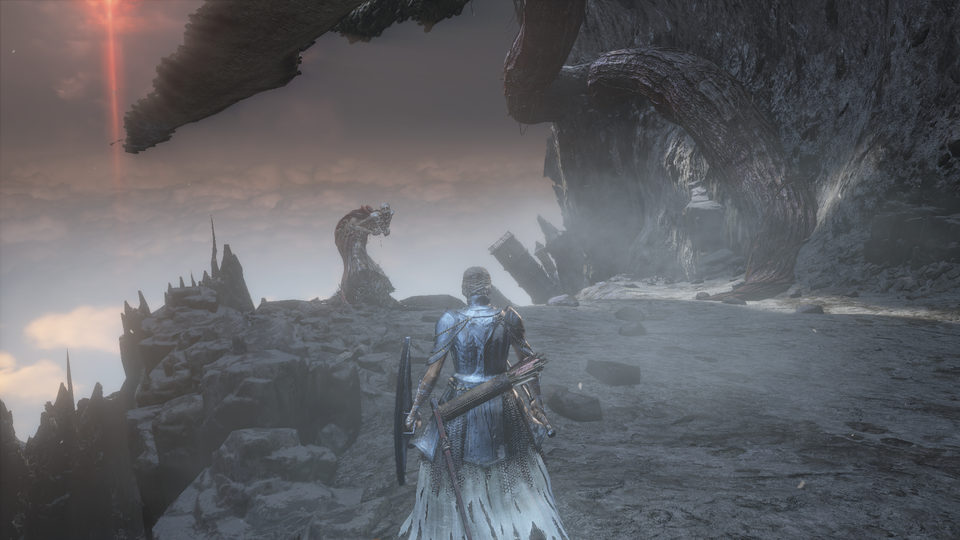
Anyone who has been playing The Ringed City in Dark Souls III will unfortunately be aware of the rage-inducing angels that litter the early areas of the DLC. These dastardly things, when in your line of sight, will relentlessly shoot laser-like beams of light until you are dead or manage to escape from view.
Because of this, many frustrated gamers have been taking to the Internet to acquire any information on how to deal with them in the easiest way possible. With that in mind, here are two useful tips when going up against one of the worst enemies in Souls.
How to Beat Angels in The Ringed City
Find Cover in the Swamp

The angels themselves may seem invulnerable, but they are actually “guarded” by a pilgrim somewhere in the vicinity. The first isn’t too much trouble (we’ll get to it later), but the other two in the swamp area are much more challenging to reach. That is because the game still requires you to outrun the nightmarish angels so it is important to know some of the best areas of cover to stay out of danger.
After reaching the Earthen Peak Ruins Bonfire, continue on and bear left. As the first angel spawns, immediately sprint to the ruined building in front and allow the angel to finish its onslaught. Eventually its attention should divert to the enemies out in the open, so if it spots them, use that opportunity to hastily move behind the large rock further on. When the angel calms itself down, run directly into the cave-like hole to the right of the rock. You will face the surviving enemy in here and the angel will usually spot you and start to fire just as you make it to safety, so be warned.
Once here, continue forward and drop down into the swamp, ideally plunging into the enemy directly below to make short work of it. The second angel will start to spawn at this point so power on to the ruins directly in front that serve as shelter to two of the poison spewing swamp creatures. Get rid of them and wait out the angel’s attack. When ready, run towards the cave on the other side of the poisoned water, doing your best to get the left-hand tree trunk by the cave between you and the angel before it does any lasting damage.
This is where it gets tricky. There are two tree trunks to move between on your left that acts as a means of quick cover, but the angel can very easily move into your line of sight and you will also get the attention of a large enemy. Quickly manoeuvre through this small area, keeping the trees directly between you and the angel, and after the attack ceases, make your escape to the giant tree trunk in front of you on the far side of the swamp, doing your utmost to evade any angelic destruction along the way. A purple moss clump will also be useful here as there is the potential of being poisoned. After another short break behind this cover, meander up the large branch and follow it to the right until you make it onto a path where a pyromancer awaits.
It is advised that once you reach this point you take out the pilgrims to kill the angels so that your final journey through the swamp is a simple one. So, on that note, the next tip is…
Destroy the Pilgrims
Each angel will be connected to a cocooned creature that sits somewhere nearby. Destroying these pilgrims ultimately takes away the threat of the angels for good.
The first of these is very easy to find. After coming out of the castle with the two knights towards the beginning of the DLC, continue forward to the lowered area. Immediately on the left and behind a structure will be the first pilgrim. Give it a good few smacks and it, along with the angel, will be toast.
The next two pilgrims are much tougher to spot as they are in the dreaded swamp area. The first of these lie after the tree trunk in the far-left corner from where you enter, just before the pyromancer that you face. Once you navigate round the trunk and reach the path that the pyromancer guards, immediately turn right and roll onto the roof next to you. Follow this rooftop straight ahead until it connects to another tree branch. This will then eventually lead to the furthest available rooftop. After dropping onto this roof, you will finally notice the pilgrim a few steps away. A good few hits and BAM, another angel falls to your sword.
The third and final pilgrim is very well hidden and is easily missed. For this one, make your way back to the pyromancer’s path and continue along to the tree branch at the end. This particular branch is the spot where both angels can fire at you simultaneously if they are alive so it is paramount that you eliminate the first angel to avoid unneeded frustration. Brave the winding branch and follow it as it bears to the right, avoiding the remaining angel’s attacks if you can. Eventually you will be able to drop down onto some solid ground of the Earthen Peak Ruins (very close to the next bonfire) and regain your composure. To the right of this spot in front of you will be a thinner tree branch. Hop onto it and follow it all the way down as it curves to a secret passage hidden beneath the ruins. Here, you will find the pilgrim ready and waiting for slaughter at the edge of the cliff.
And there you have it. The Angels now defeated you can find the third bonfire — your well-earned reward. All you have to do now is drop into the dark pit below and face the first boss.
If you want more Dark Souls III: The Ringed City guides, find them below:
- How to Beat the Demon Prince, Demon in Pain, and Demon from Below
- Show Your Humanity and Find the Purging Monument