So you load up your brand new copy of LEGO Worlds, thrilled to dive into a fully-realized sandbox game in the style of our favorite childhood building blocks. You make a new save, choose whether you’re an Astronaut or an Intergalactic Girl, and crash land on the nearest pirate island to discover that you have nothing.
That’s right — you must tirelessly climb your way out of the deep end to find and unlock all of the brick shapes and available assets (character skins, creatures, vehicles, and set pieces). It’s definitely achievable if you put in the time, but it certainly expedites the process to know what the game’s trying to tell you when it says “Cannot Discover/Quest Not Found” on an aggressive Skeleton or when it gives you a plethora of colorful yet ill-explained markers to shift through on your map.
Here’s all the essential information you need to know to get a feel for the world you’re in and make it your own.
How to Use the Discovery Tool in LEGO Worlds
The Discovery Tool is a powerful artifact that you receive at the beginning of the game. Its sole function is to copy assets found around the world for use anytime. If you scan a Campfire with this Discovery Tool, for example, you can spend a small sum of studs and unlock the ability to place as many as you like at any time.
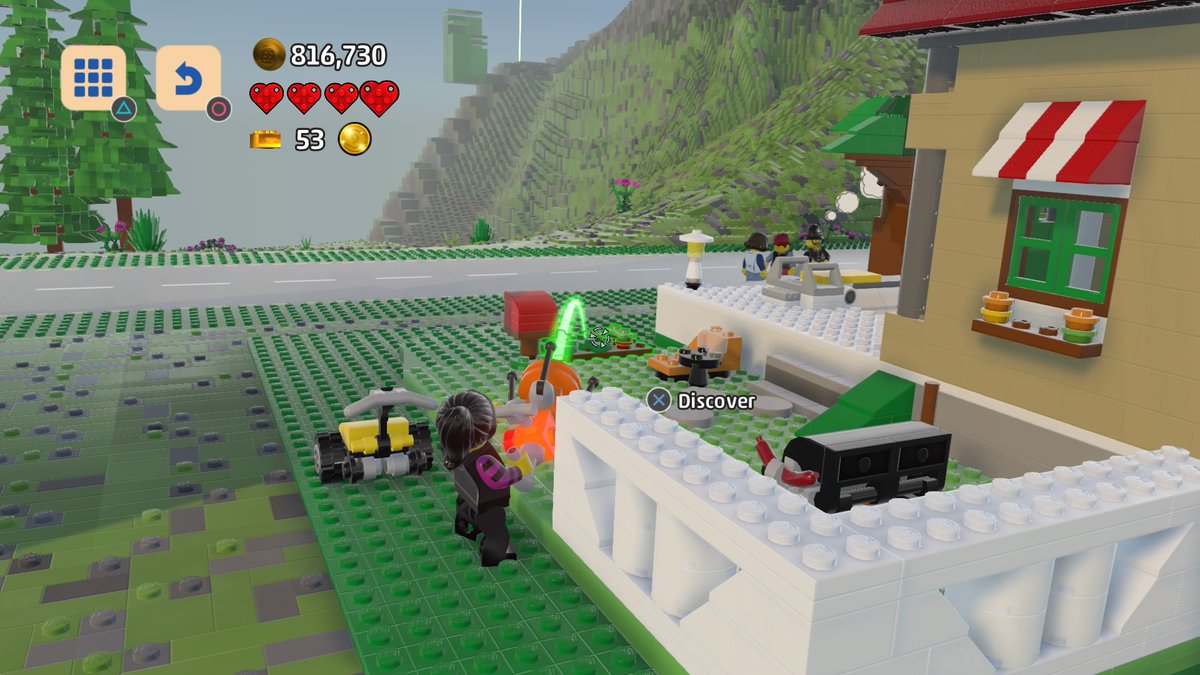
Whenever you find yourself in a new biome — indicated by the narrator and an on-screen pop-up — it’s an excellent idea to pull out the Discovery Tool and take some time exploring. To help you along, anything that hasn’t been discovered yet will flash white as soon as it enters your field of view.
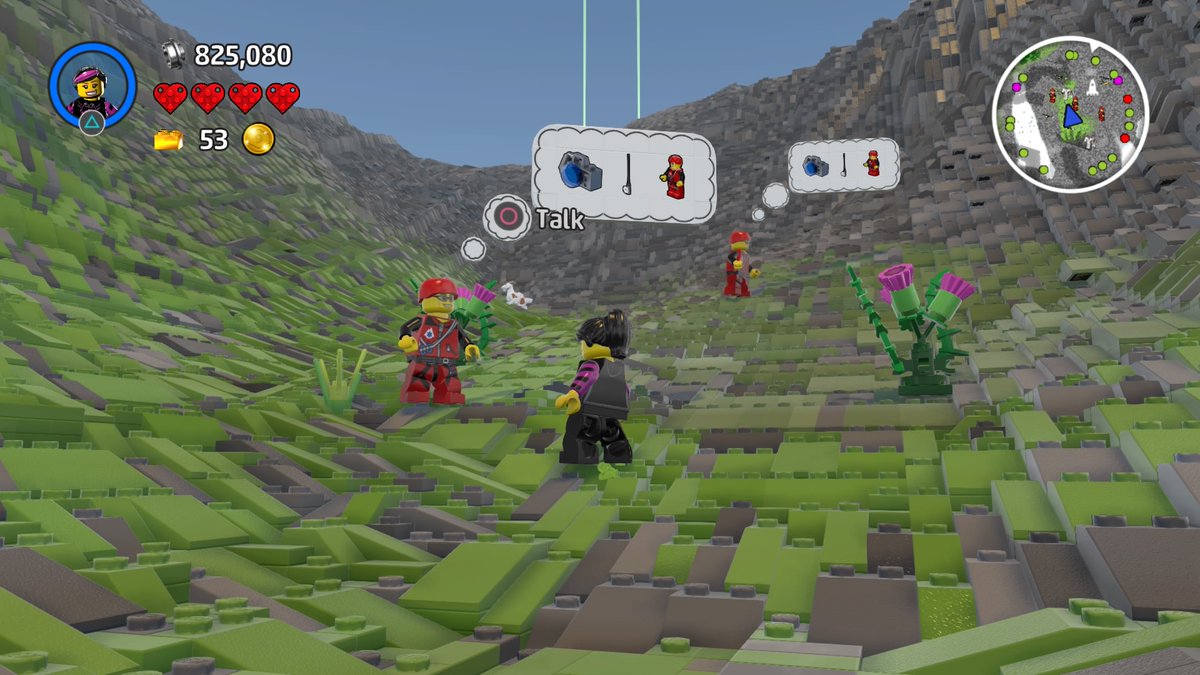
Monsters, NPCs, and certain creatures are governed by a different set of rules.
You can discover them, but you must complete a quest or task first. Here’s how it breaks down for each type:
- Monsters: Must be knocked out before they can be discovered.
- Villagers: Must complete a quest for an NPC to scan them with the Discovery Tool.
- You can used parts of scanned NPCs and humanoid monsters for your own character — and some will offer special effects. Fashionistas will not want to pass up these scans.
- Critters: Must befriend them first by giving them something they desire.
- Some aggressive animals, like lions, won’t show you what they desire until you knock them out cold.
With all this in mind, you’ll complete the entries in your Discovery Tool in no time.
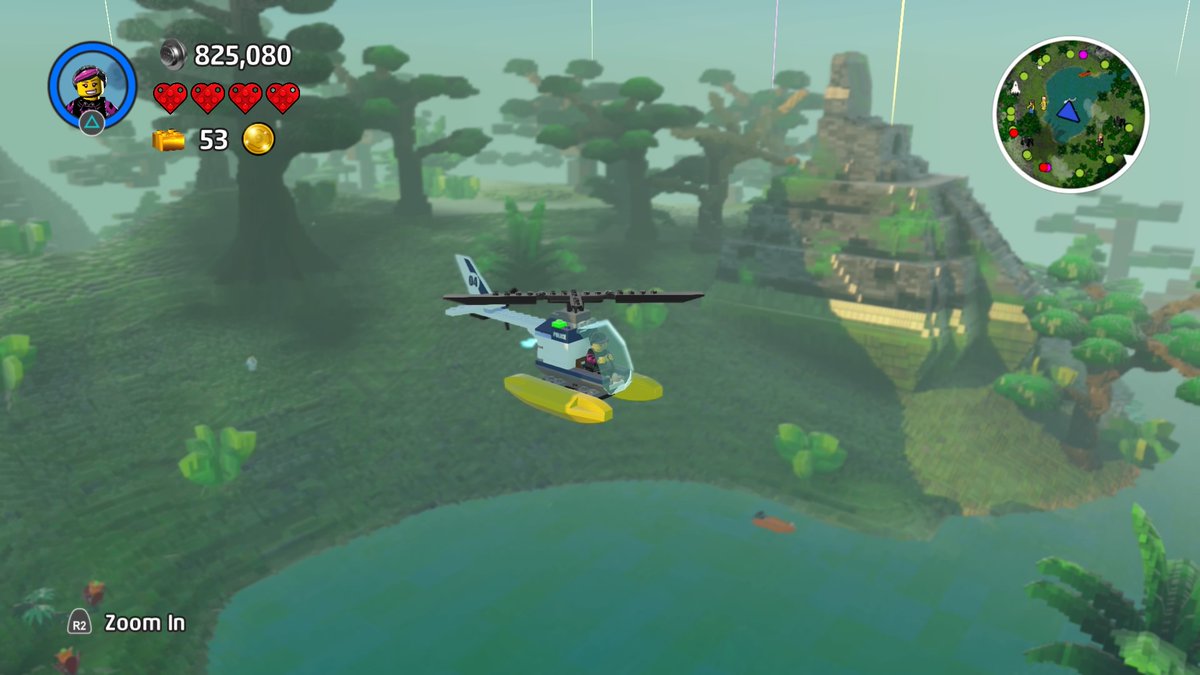
Map Markers, Beacons, and What They Mean
Unfortunately for the average user, LEGO Worlds does not come with a map legend, despite having a bunch of icons and colorful beacons. Luckily for you, I’ve got it all laid out here. Prepare to be amazed as you find out that there are indeed both yellow and gold beacons.
Gold Beacons
These are treasure chests. When you get close enough to the beacon, you should even see a chest icon on your mini-map. It’s up to you to figure out how far above ground or underground they may be.
Green Beacons
These are questing areas. Aside from the procedurally generated field quests, each map has a number of points where you can go for a guaranteed quest.
Pink Beacons
These are zones that you’ve visited and completed to some degree. Completed Green Beacon quests turn into Pink Beacons, as well as any Cities you’ve visited. Pink Beacons can also be manually placed.
Light Blue Beacons
These represent the traveling trader. It’s a good idea to pay her a visit whenever she’s floating around in her hot air balloon. Sometimes she’ll sell Gold Bricks or items you may need for a nearby quest.
Blue Beacons
These represent towns and villages. Here you’ll find plenty of opportunities for Gold Bricks, civilians with their own slew of requests, and a bounty for your Discovery Tool. The larger the map, the grander the town. Note that towns only start appearing on Medium worlds.
Red Beacons
These represent dungeons. Here you’ll find a noteworthy challenge guarding some enticing treasure chests. Dungeons only begin showing up on Large worlds.
Yellow Beacons
These are “points of interest”, such as a beanstalk. You might be confused upon arrival at a Yellow Beacon. If you mistake it for the same color as a Gold one, you might flat out believe the game is pulling your leg — there’s nothing there. Look closer, however, and you’ll see exactly what it’s pointing to.
Note: At the time of writing, world generation isn’t perfect. Sometimes beacons spawn that seem to lead to nothing. Specifically, I’ve found some Green and Blue Beacons to be strangely devoid of quest givers and cities respectively. I may just be looking in the wrong places, but it’s something to keep in mind.
How to Fill Out Your Bricks and Blueprints
Bricks and Blueprints are similar in that neither of them can be scanned with the Discovery Tool to learn their use. Rather, they must be found from Troublemakers, in treasure chests, or from quests.
Troublemakers are going to be your main source of bricks.
The other two methods of acquiring them are truly just supplemental to wasting time waiting for these little green monsters to spawn. Really, if you just stand still for awhile, you’re bound to see or hear one spawn around you before long.
Bricks and blueprints are both rare loot in treasure chests.
This isn’t the most reliable method of filling out your collection, but it doesn’t hurt to chase them down for the chance of running into Troublemakers and quests along the way. You’ll also find Gold Bricks and a variety of equipment in these chests, so that’s a bonus!
Some quests will also reward you with blueprints.
When they’re not holding a Gold Brick or another miscellaneous item, there’s a chance that quest-givers will reward you with a biome-related blueprint upon completion. Just focus on what you can easily complete. Don’t go out of your way to complete a quest, especially when the reward is so uncertain.
Actively Seek Out New Biomes
After spending enough time in a biome, it becomes exhausted. Returning to a biome yields a high number of repeat quests, with far less stellar rewards than before, very few opportunities for new discoveries, and a strange deficiency of Gold Bricks.
Certainly returning to biomes can be beneficial — particularly in larger map sizes once those are unlocked. There’s bound to be some things that you missed, but it’s uncanny how much stuff truly gets reused in each biome. Because of that, it’s ultimately easier on your progression to spend a fair bit of time discovering all you can in every biome before eventually moving on to the next.
Running out of places to find Gold Bricks is a commonly reported issue among players approaching the 100 mark. Apparently, the game gradually gives you fewer sources for them as you eventually deplete the supply you can buy from the trader or find from Troublemakers and treasure chests.
Bouncing to biomes you’ve never seen before is the best way to blast open your chances at finding more when your supplies run low. For more information on collecting these coveted treasures, check out our Gold Bricks Guide.
Keeping these tips in mind will take you far in LEGO Worlds. If you couldn’t find the guidance you were looking for, consider leaving us a comment down below. We’re happy to help!