If you can manage to actually survive long enough to travel off the main paths, there are quite a few secrets hidden across the Nioh world for William to discover.
More than just nifty collectibles, there are adorable hidden green kodama scattered across each mission. If you manage to grab ’em all throughout the entire game, you’ll unlock the coveted Kodama Leader trophy.
There’s a bigger incentive here though: if you grab all kodama with the same colored hats you can activate a Kodama blessing, and William will also earn a bonus elixir for every fifth Kodama discovered in any given mission.
Below we cover step-by-step how to find all nine kodama scattered across the Isle Of Demons mission when William reaches Japan after the tutorial level. Looking for more Nioh walkthroughs? Take a look at our other guides:
Isle Of Demons Kodama Locations
Kodama #1
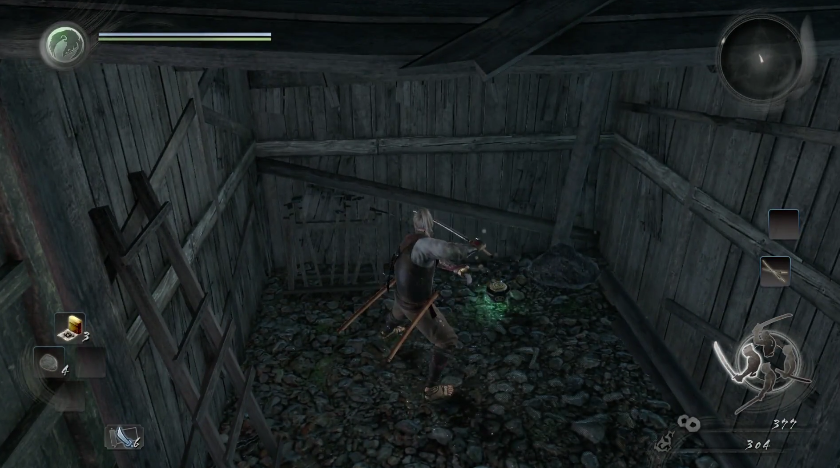
Very close to the start of the area are two soldiers standing near a hut. After taking them out, go inside the open wood structure and use your weapon to smash apart the cart. The first Kodama is hidden underneath the cart fragments.
 Kodama 1 Location
Kodama #2
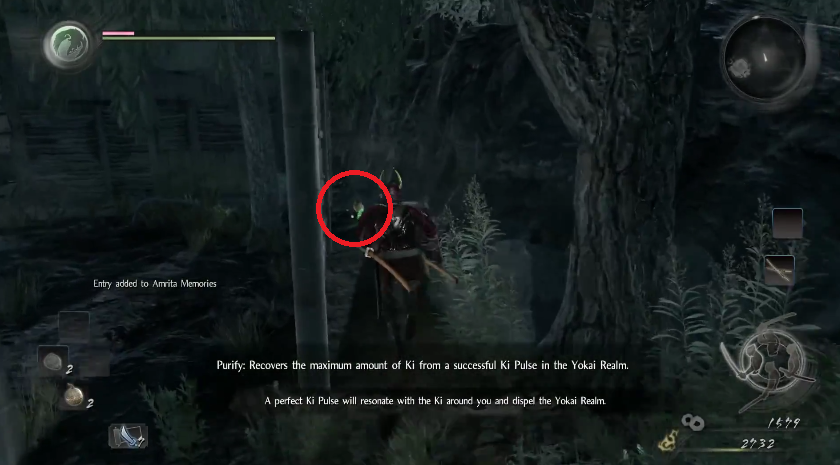
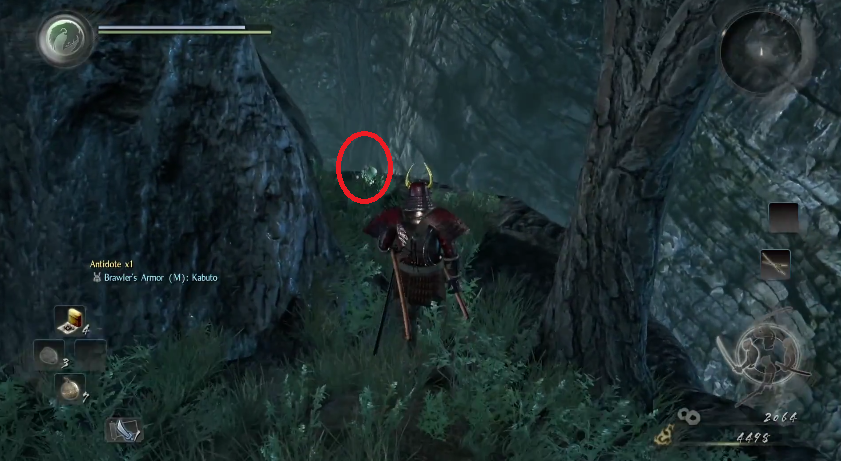
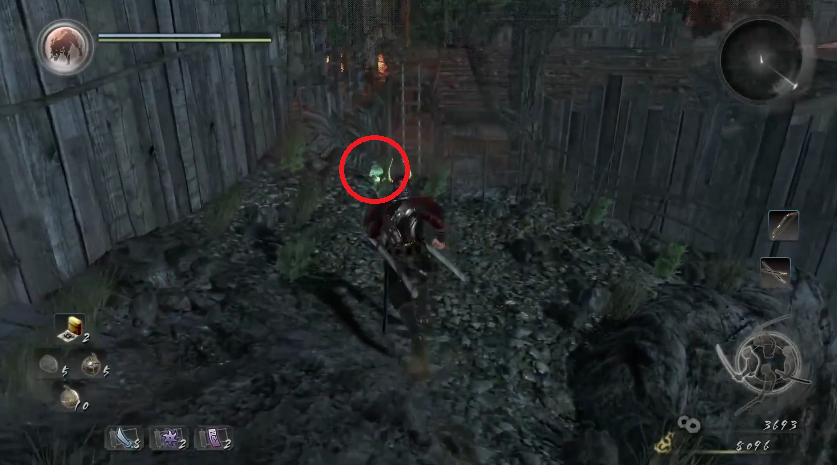
When you travel up a closed path towards a thatch gate with an opening, go through the opening towards a new section but immediately stop. To your right is a lantern on the ground — turn to the left from that spot and on the opposite side of the fence near the cliff face you will see the hiding kodama.
 Kodama 2 Location
Kodama #3
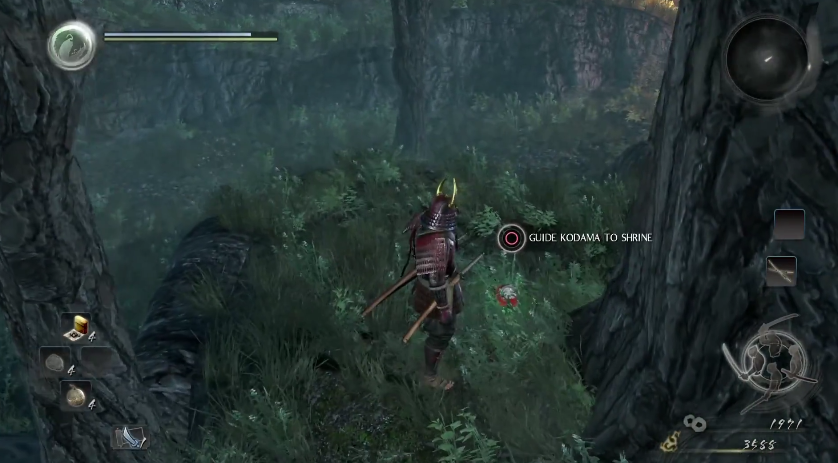
On the path that goes through the graveyard area, take a right and then a left to see a raised grassy hill with several trees. Up on top of the small hill you can find the kodama hidden in the center by a tree trunk.
 Kodama 3 Location
Kodama #4
Jump down from the hill where the last kodama was located and go forward until you find an area that lets you drop off a small cliff face. In this area you’ll see five statues lined up in a row.
Turn right just after the statues and go forward to battle two enemies. After they are dealt with, go to the left side of the overhang looking down to see the Kodama in the corner.
 Kodama 4 Location
Kodama #5
Following the Yokai battle where you unlock the wall gate, jump down to the path just below the area beyond the gate. The kodama is sitting at the end where you can see a wood fence and the tops of several huts.
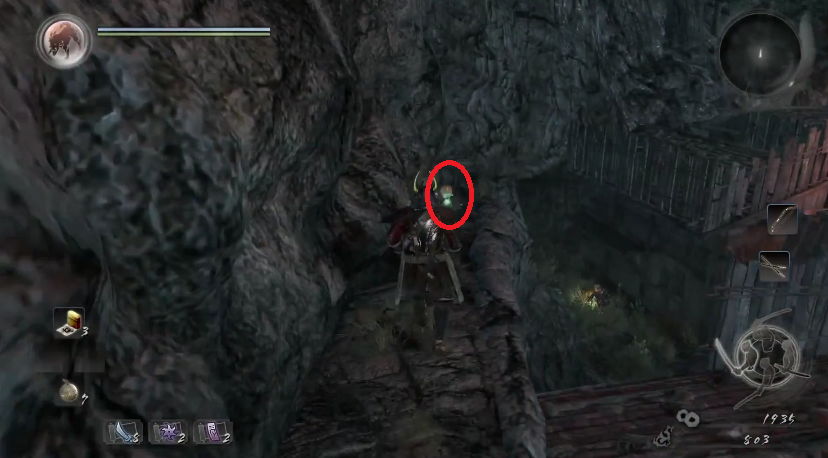 Kodama 5 Location
Kodama #6
While roaming around the area with all the huts after picking up the last Kodama, you’ll see this one sitting up on top of a rooftop. You can’t get there by jumping from roof to roof though — instead go down to the ground and head inside to go up a ladder.
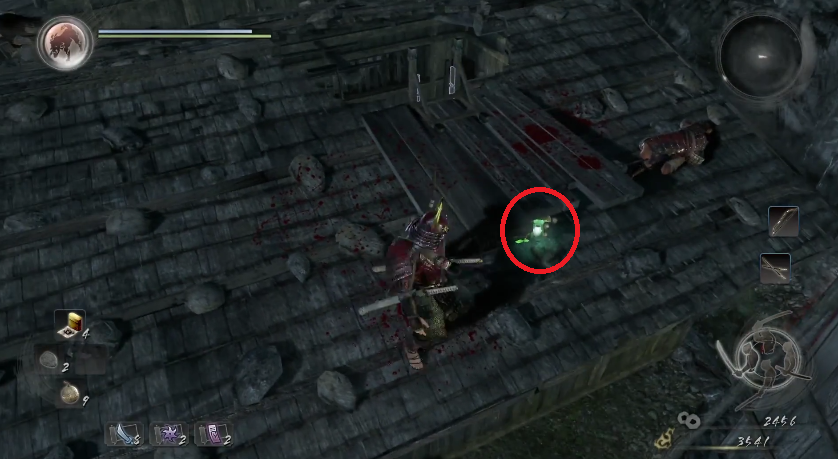 Kodama 6 Location
Kodama #7
In this same area, go up the ladder to the two watchtowers, where there’s an archer waiting to shoot arrows down at you. From the east tower, jump down the open segment onto an exposed rooftop below, then jump across to the adjacent building. The kodama is on the overhang just to your right.
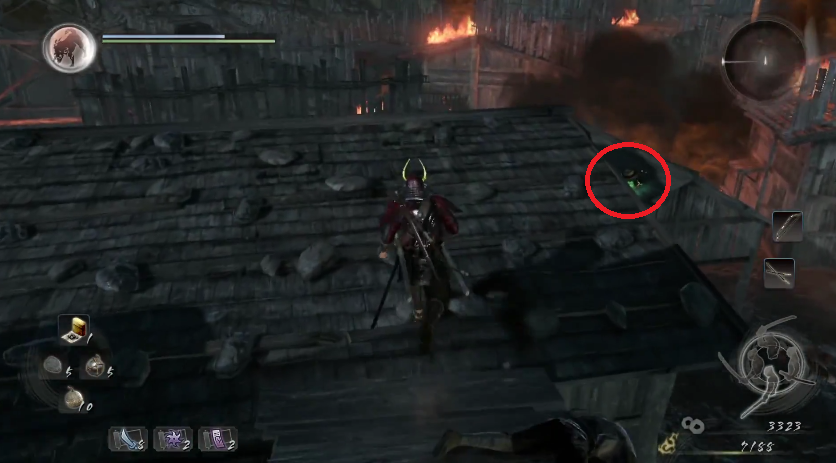 Kodama 7 Location
Kodama #8
From the watchtowers, head onto the beach section and travel left by the broken boats. To the far left side is the eighth kodama in between the water and the rock cliff face.
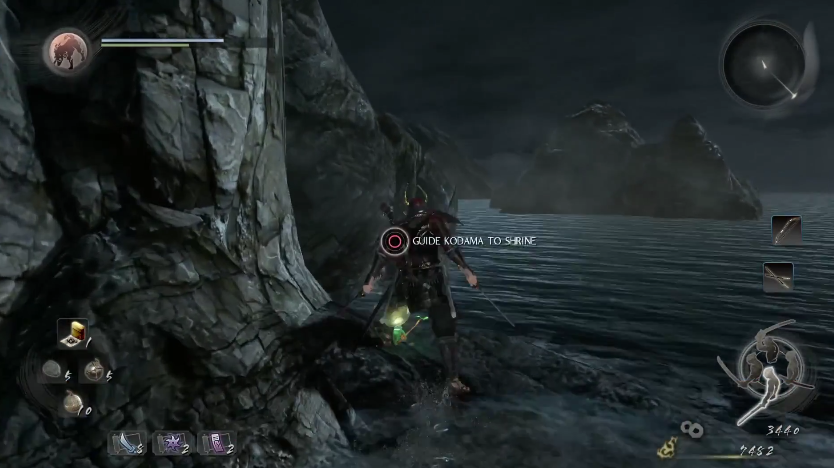 Kodama 8 Location
Kodama #9
After the previous kodama, turn around and run across the right side of the beach. Take the path leading upward towards a shrine (there will be a locked door along the way) to see this final kodama of the Demon Isles area sitting in a clearing.
 Kodama Location 9
That’s all nine locations in this first major area of the game! Stay tuned for more guides covering the remaining Kodama in each subsequent Nioh mission!