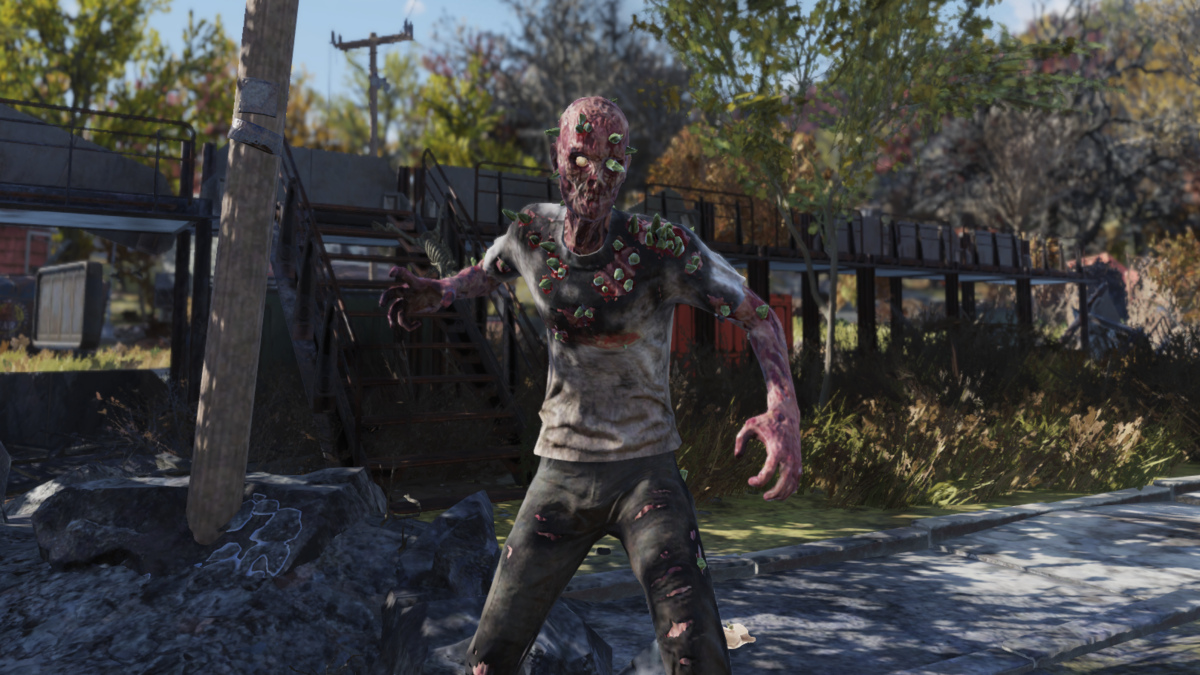
Darkest Dungeon features a steady stream of heroes ready and willing to go mad and die on fruitless quests to reclaim your ancestral lands from eldritch horror.
Not counting the custom heroes available through various user mods, at launch there are 14 Darkest Dungeon classes available for putting together a wide range of party combinations.
Before you can start picking a party lineup though, you need to know the best and worst skills each class has available, as well as what unique class camping skills will give you an edge in longer dungeon quests.
Below you can find a rundown of every single hero in the game, along with the best classes for filling each role and lineup position. (Note that in the preferred position listing, Slot 4 is the far back, while Slot 1 is the very front).
For more details on keeping your party sane and breathing, you may also want to check out:
- Darkest Dungeon beginner’s strategy guide
- Darkest Dungeon party combo guide
- Darkest Dungeon curios guide
- The Darkest Dungeon mods you need to install
- Darkest Dungeon combat guide
Abomination
Preferred position: Slot 2 or Slot 1
Role: Damage
A very odd hero, the Abomination automatically gets all his class skills from the start and is capable of dishing out large amounts of damage, but he also has significant drawbacks. For starters, none of the religious classes – the Vestal, Crusader, and Leper – will join a group containing an Abomination, which reduces your party combination options.
The Abomination also has to transform into beast mode to use his most damaging skills, which raises the stress of every other hero in the party. To be most useful, you should team up the Abomination with classes that have stress reduction abilities.
The camping skills available to an Abominations usually come with big drawbacks, but offer big rewards as well. Psych Up, for instance, will see your Abomination outclassing all other heroes on the damage front, while Eldritch Blood makes it much less likely your hero will contract a disease or suffer from effects like blight and bleed.

Arbalest
Preferred position: Slot 4
Role: Damage / Marking
The dedicated ranged combatant, an Arbalest can only move backwards in formation and is all but useless at the front row.
Sniper Shot is your basic ranged attack, but try to use Sniper’s Mark first to mark the target and deal bonus damage. When combined with other classes that also deal bonus damage to marked creatures – like the Bounty Hunter or Hound Master – this can be a devastating combo.
Definitely invest in the Blind Fire skill before taking your Arbalest into a dungeon. This hero is a major liability if you get surprised and the lineup swaps positions (or an enemy uses an ability to rearrange your marching order). Blind Fire, meanwhile, still lets you hit something from the front row, even if you don’t control what enemy gets hit.
For camping skills, Triage is the clear winner since it heals everyone, but Restring Crossbow also ensures the Arbalest will deal more damage for the remainder of the quest.

Bounty Hunter
Preferred position: Slot 2
Role: Damage / Utility
A middle-of-the-road combatant, the Bounty Hunter has mid-range health, speed, and base damage in addition to both melee and ranged combat options. Because of where his skills can be used, he’s better in the second slot than on the front line.
Where the Bounty Hunter shines is in conjunction with marking enemies. Use the Mark For Death skill first, then employ the Collect Bounty skill, which does a staggering 90% bonus damage to a marked foe, in addition to an extra 15% damage against human enemies. You’ll make quick work of bandits that way.
Uppercut gives you both knockback and stunning abilities, but can only hit the front row, while Flashbang can stun an enemy in any position and still shuffles the lineup. Either of these abilities should be used in conjunction with Finish Him for bonus damage to a stunned monster.
When picking camping skills, Planned Takedown is excellent for bonus damage against bosses, while Tracking will increase your chances of surviving the rest of the dungeon to actually reach that boss.

Crusader
Preferred position: Slot 1
Role: Damage / Utility
Your all-around best Darkest Dungeon class (and prime front line fighter), the Crusader has low speed but makes it up in pretty much every other category. With excellent health and base damage, plus his damage bonus against undead, the Crusader should always be in your party when exploring the ruins.
Besides the basic Smite skill, Zealous Accusation should be on your list for its ability to hit two enemies at once, and Inspiring Cry offers stress reduction and a bonus to the light level. For your final skills, Stunning Blow lets you (of course) stun an enemy, while you can then either choose Battle Heal for a small amount of healing or Bulwark Of Faith for raising your Protection and the light level.
For camping, pick up the Zealous Speech skill to drop everyone’s stress at once, or instead use Zealous Vigil to drop the Crusader’s stress and prevent an ambush. Stand Tall is also helpful if you have a companion at death’s door but there’s still plenty more rooms waiting to be invaded.

Grave Robber
Preferred position: Slot 4 or Slot 3
Role: Utility / Damage
With low health but very high speed, the Grave Robber is all about hitting enemies at range. Thrown Dagger does decent damage, but works best in cooperation with another class that can mark the target first.
Poison Dart should be deployed against an enemy with low blight resistance, while Pick To The Face is a good choice if you put the Grave Robber in Slot 3 instead of Slot 4.
Lunge deals excellent damage, but also re-positions the Grave Robber to the front, where the rest of her skills are are pretty much useless, so it’s usually a last resort attack. The stunning Shadow Fade skill, however, can only be used from the front two positions, so if you pick Lunge, use it in conjunction with Shadow Fade.
For camping, you absolutely want Snuff Box, which gets rid of diseases without having to pay gold to the Sanitarium. Pilfer can also be useful, as it gives you an extra provision that might make the difference between victory and defeat.

Hellion
Preferred position: Slot 1
Role: Damage / Utility
While the Hellion has only middling health and speed, her raw damage output and ability to cause both stun and bleed make her one of the better front line options when your Crusader or Leper aren’t around.
Wicked Hack is your basic attack skill, which of course only lets you hit the front row. If you want more versatility, pick up the Iron Swan skill as well, which offers the chance to reliably hit the very back row.
Barbaric Yawp is a good choice for its stun ability, but don’t forget it also debuffs you and means your Hellion will be dealing less damage during the rest of the encounter.
If It Bleeds is a good choice for decent damage and the bleed effect, but Bleed Out is far superior for bleeding damage — so long as you only need to hit the front row. Breakthrough hits the front three enemies all at once (excellent for large groups of low health enemies), but it also debuffs you.
Unfortunately the Hellion’s camping skills generally don’t match up to the other classes. Battle Trance uses up 3 rounds and is only helpful if the Hellion is in Slot 1, while Revel lowers stress at the cost of debuffing everyone. Likewise, Reject The Gods has too high a cost to offset what it offers, and Sharpen Spear takes up too much time for the small bonus to critical hits it offers.

Highwayman
Preferred position: Slot 3 or Slot 2
Role: Damage
Although his health and base damage aren’t on par with the main front line fighters, the Highwayman makes an excellent addition to any party lineup with his ability to deal damage both from and to any position.
Point Blank Shot does killer damage if the Highwayman has been pulled to the front row, while Open Vein does decent damage and causes bleed. Grapeshot Blast is great for crowd control, hitting two enemies at once, and Pistol Shot lets you hit back row enemies while dealing greater damage to a marked creature.
While camping, each of the Highwayman’s skills are powerful, but they all use up a full 4 rounds. The Gallows Humor skill is one of the best options for reducing party stress quickly, while Clean Guns will see your Highwayman reliably dishing out a very high amount of damage for the rest of the quest.

Hound Master
Preferred position: Slot 4 or Slot 3
Role: Damage / Bleed
With medium health and high speed, the Hound Master’s real usefulness is in his ability to attack any enemy position and the capability to both mark and cause bleed.
Combining Whistle (which marks a target) and Hound’s Rush (which deals 60% extra damage against a marked target) is a winning combination on bigger enemies with loads of health, while Hound’s Harry is always useful for causing bleed.
Although Cry Havoc lowers the stress of all party members, it really isn’t worth taking as the amount reduced is minuscule. Lick Wounds is a better pick, as it allows the Hound Master to reliably heal himself a decent number of hit points and lets you skip dedicated healing classes like the Vestal.
While the Blackjack skill can cause stun, it does very little damage and requires putting your Hound Master in the front position, so it’s essentially only there for situations where your lineup has been changed against your will.
On the camping front, Hound’s Watch will make it less likely for your group to get annihilated by surprise attacks that mess with your formation, and Therapy Dog is a good choice for lowering the stress of all your companions at the same time.

Jester
Preferred position: Slot 3 or Slot 2
Role: Bleed / Movement
The Jester is easily my least favorite hero, who only gets thrown in when everyone else is busy at the tavern or abbey. He has high speed, but incredibly low health, and overall the Jester just isn’t as useful on either the utility front or the damage front as any other hero.
Both the Harvest and Slice Off skills cause bleed, so that can be useful against monsters with a high Protection skill. The Inspiring Tune skill also lowers one character’s stress by 10, which is helpful at any time during a dungeon delve.
Some of his skills are just straight up useless, like Finale. This skill requires the Jester move to the front to attack and then significantly lowers his damaging and dodging capabilities for the rest of combat.
The Jester does have some interesting camping skills, though. Mockery for instance, is helpful if one character hasn’t been taking stress damage, as it lowers three companions’ stress levels by 20 at the cost of raising one hero’s stress by 20. Turn Back Time is another decent stress reducer to consider taking.

Leper
Preferred position: Slot 1
Role: Damage / Self-Healing
Although slower to act than the other heroes and starting with a low accuracy as a level 0 character, the Leper unquestionably has the highest base damage output as well as incredibly high health.
He makes an excellent front line fighter when you don’t need the Crusader’s anti-undead bonuses. For a real powerhouse of melee damage, there’s no reason not to take the Crusader and put the Leper in Slot 2 as well.
At later levels, the Leper’s accuracy goes steadily up, so you will no longer have to burn a round using the Revenge skill to ensure he’ll actually hit what he swings at. Until he levels up though, you’ll want to equip your Leper with trinkets that increase accuracy and speed if possible.
Chop is your base attack skill that’s absolutely critical, but don’t discount Hew either. It does less damage, but hits both front line enemies at the same time, offering the opportunity to take down two damaged monsters at once. Solemnity is another must-have skill, since it makes the Leper a self-sustaining class that doesn’t need a Vestal or other healer to keep him alive.
For the fourth skill pick, Solemnity is incredibly useful as it lowers the Leper’s stress and makes him take less damage. Purge is also a decent pick if you don’t have a Plague Doctor in your party and want a way to clear out corpses quickly.

Man-At-Arms
Preferred position: Slot 2 or Slot 1
Role: Damage / Defense
With high health but middling speed, the Man-At-Arms is a decent front line fighter option, but is frequently outclassed by both the Leper and Crusader, who deal more base damage. When both of those classes are dead or being treated at the Sanitarium though, the Man-At-Arms is a good choice.
Crush is obviously the basic skill you have to equip for damaging front line enemies, and from there your choices are simply how you want to buff yourself or debuff the enemy. Rampart is a good utility skill to select, as it does less damage but messes with the enemy formation and can stun an opponent.
Retribution is a good choice if you have other classes who deal extra damage against marked targets, while the rest of the skills have less utility function than you’d think. Defender raises a character’s Protection skill, which is helpful against enemies that deal loads of damage, but frankly it’s a better idea to kill a dangerous foe outright than to waste turns protecting against it.
Bellow, Bolster, and Command can be helpful if you keep missing or get hit too often, but again it’s usually more effective to kill an enemy than to buff yourself to make the combat go on longer.

Occultist
Preferred position: Slot 3
Role: Damage / Utility / Healing
Although sometimes unpredictable, the Occultist is one of the best all-around classes to be found in the game, due to the high level of versatility offered. With an Occultist you can ditch a Vestal, as he has the possibility of being a better healer, and in specific focused instances he does a very respectable amount of damage.
First and foremost – pick up Wyrd Reconstruction if your Occultist didn’t start with that skill straight off the stage coach. It can heal up to 12 points of damage, but is offset because it occasionally causes bleed damage to your own party. In most cases this won’t matter, since you are likely to still heal more than you injure, but it’s always a good idea to equip bleed resistance trinkets on the rest of the party when employing an Occultist.
Next up, Abyssal Artillery is the best skill the Occultist has, since it hits both back row enemies at the same time for moderate damage. When employed in conjunction with other back row ranged attacks, it can make quick work of enemies hiding behind the bigger front row monsters.
If you put the Occultist in Slot 3, Sacrificial Stab is a must have for extra damage opportunities — otherwise Vulnerability Hex or Weakening Curse make for decent (if not overwhelming) debuffs. Vulnerability Hex can also be useful if you utilize classes that deal extra damage to marked targets. Daemon’s Pull in general is much more useful than the debuffs, however, as it removes corpses and lets you control the order of the enemy positioning.

Plague Doctor
Preferred position: Slot 3
Role: Utility / Damage
The Plague Doctor’s health isn’t amazing — although not nearly as low as other support classes like the Jester — but he has a high speed to offset that drawback.
If you put the good Doctor in the third slot, you should absolutely invest in the Incision skill. Not only does this allow sudden death blows against weakened enemies, but it’s useful for adding the bleed effect on stronger foes or enemies with a high Protection stat.
Emboldening Vapors is fairly useless in most cases, unless you are specifically building a party around buffing one strong character. Blinding Gas on the other hand is one of the most useful stun abilities in the game, since it hits both back row enemies at the same time. Disorienting Blast is another excellent stun option, and has the added bonus of clearing out corpses, although it only hits one enemy at a time.
With those skills locked down, from there you need to decide if you’d rather have the ability to cause blight with Plague Grenade or Noxious Blast, or instead have Battlefield Medicine on hand. This latter option only heals a tiny amount of damage, but it gets rid of both bleed and blight without having to use any provisions, and that’s a huge advantage if you ran out of money or didn’t properly prepare for the quest at hand.
For camping skills, Leeches will save you a ton of money, since it gets rid of diseases without having to visit the Sanitarium. Although it uses a lot of time, Experimental Vapors is also a winner for high health restoration.

Vestal
Preferred position: Slot 4 or Slot 3
Role: Healing / Utility
When quoting from the scriptures doesn’t work, a spiked mace always helps. With both middling health and speed, the Vestal is an all around excellent pick to sit in the back of the party, especially in the earlier segments of the game.
Mace Bash is an fantastic skill to invest in even if this character remains in the back, as it means the Vestal won’t be helpless and ineffective if your lineup gets rearranged and she ends up at the front. Divine Grace is a must-have, as it is one of the strongest healing abilities. Judgment is another excellent choice, as it can attack any enemy and even heals the Vestal a small amount.
From there, your fourth skill choice depends on whether you want to focus on stunning (Dazzling Light) or debuffing (Illumination or Hand Of Light). Don’t forget both Illumination and Dazzling Light increase the overall light level as well.
For camping skills, Sanctuary prevents ambushes and should be picked as soon as possible, while Pray is a clear winner if most or all of your party consists of Vestals, Crusaders, and Lepers.

Let us know if you’ve found any other skill combinations that work well, and tell us your preferred party lineup!