Battleborn‘s Shayne and Aurox may be two characters, but they still play as one. It does provide you with a few options not available to most characters, and a few different ways you can play her.
You can attack with melee, or use her boomerang to stay at a distance. I’ll explain how Shayne and Aurox work, as well as tips on their helix skills and combat.
This guide will cover everything about Shayne and Aurox in Battleborn including:
- Shayne and Aurox Info – Info on their weapons, skills, and general play style.
- Shayne and Aurox Tips – Tips on their Helix, mutations, and general gameplay.
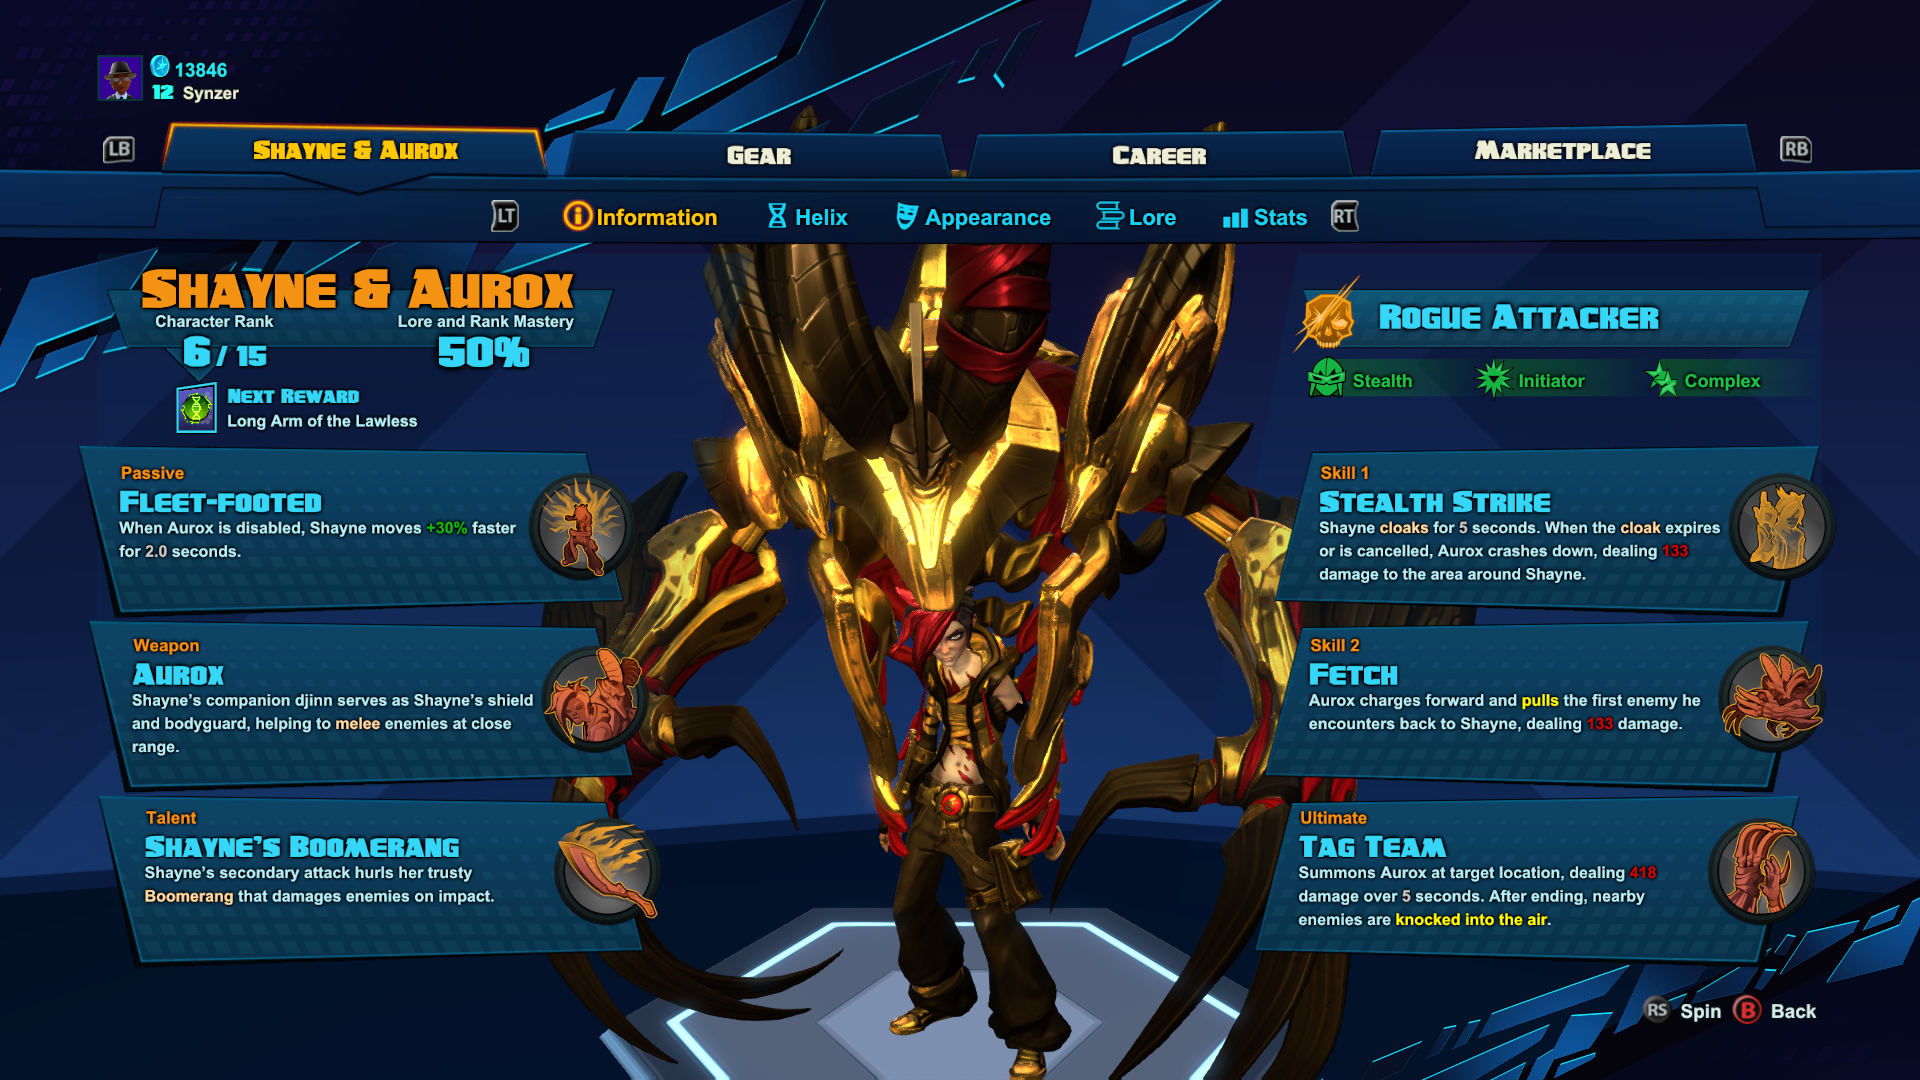
Shayne and Aurox Info
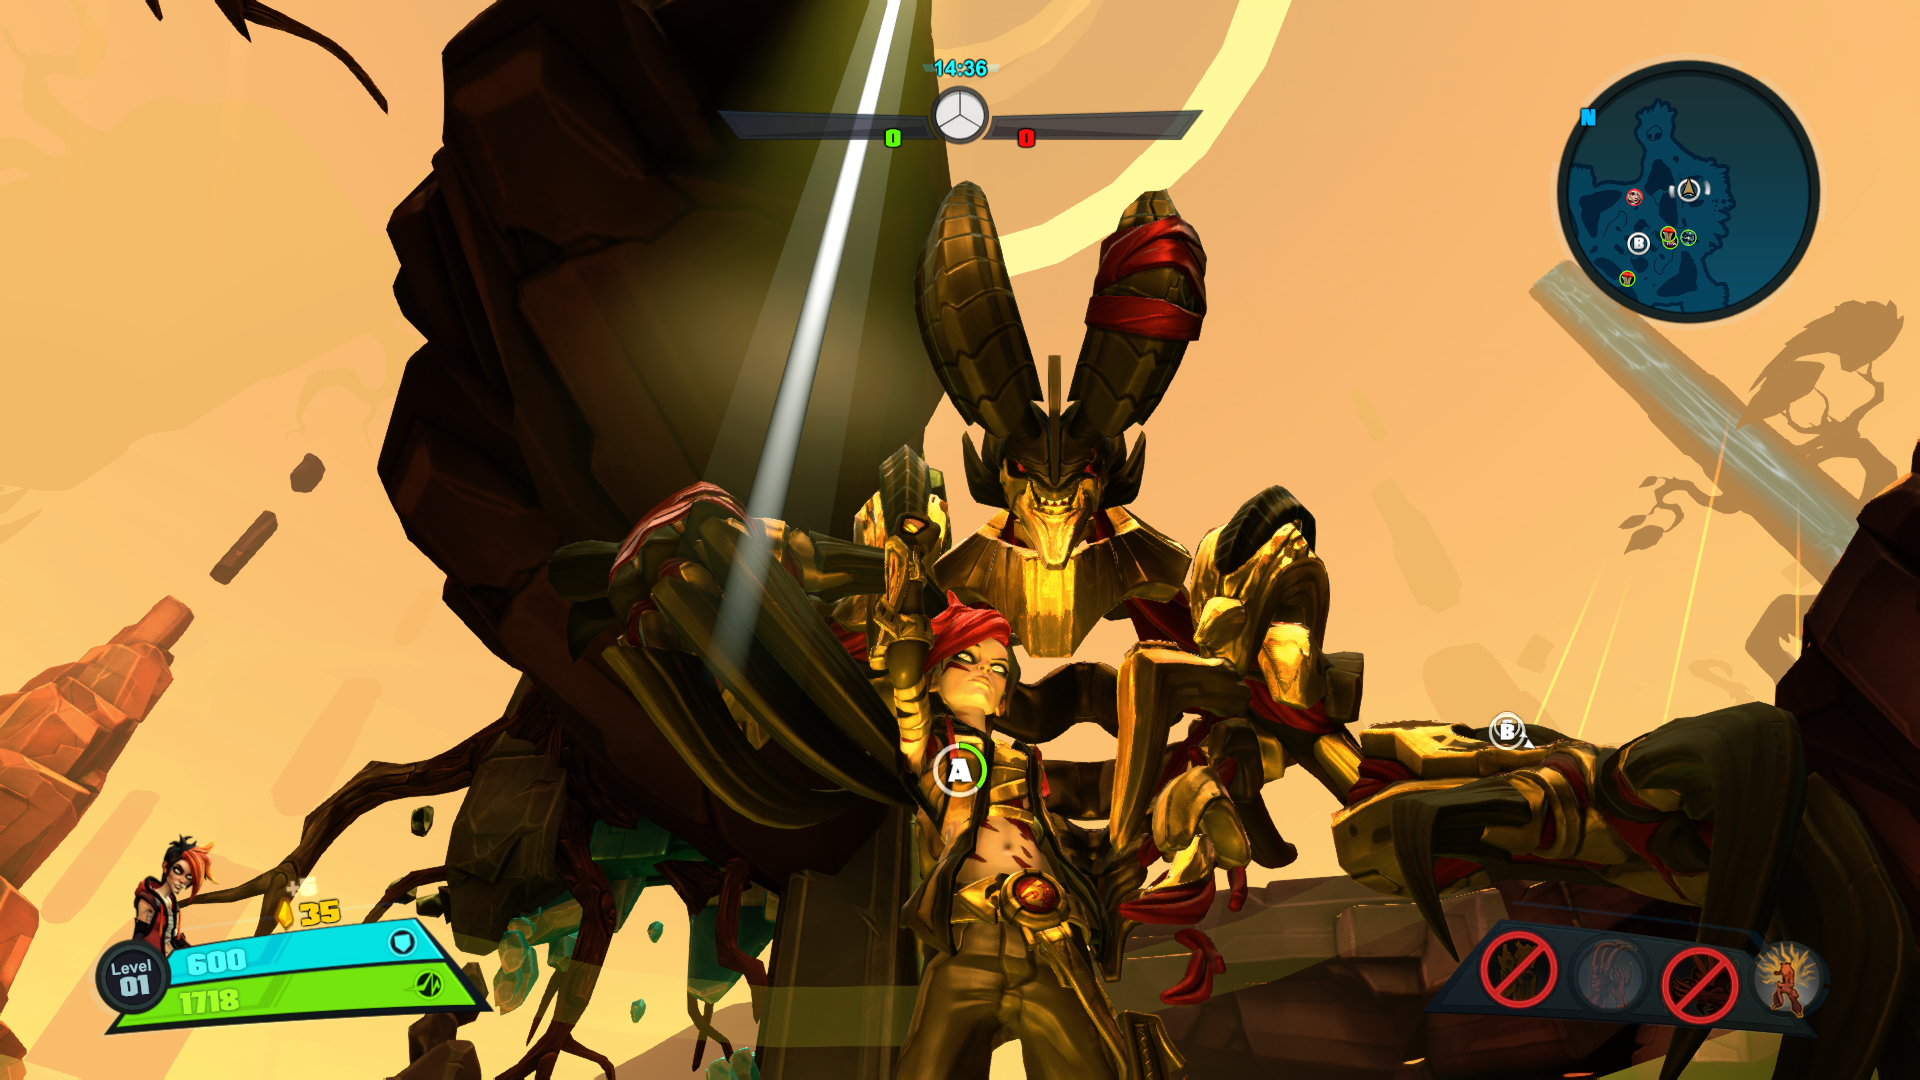
Shayne is a teen girl with an evil djinn named Aurox that serves as her bodyguard. You usually see Aurox surrounding Shayne and makes her primary attack a melee.
Her secondary attack is a Boomerang for ranged combat and can be changed to hit multiple targets.
Skill
- Stealth Strike – Shayne cloaks for up to 5 seconds, then Aurox crashes down in an area around Shayne dealing 133 damage. You can cancel this skill early.
- Fetch – Aurox charges forward and pulls the first enemy he hits back to Shayne, dealing 133 damage.
- (Ultimate Skill) Tag Team – Summon Aurox at the target location, dealing 418 damage over 5 seconds. Nearby enemies are knocked into the air at the end.
Shayne and Aurox is a character that can be strong in melee range as well as at a distance because of Boomerang. Fighting at a distance is surprisingly effective and good for when you want to use hit-and-run tactics.
Shayne and Aurox Tips
Shayne and Aurox’s 2 Helix styles, Fun and Games, changes how you play the character.
I’m going to go over some Helix suggestions based on playing as a damage stealth character going in and out of fights.
Helix
Level 1
- Aura of Annoyance – This gives Shayne a damaging aura while she is cloaked in Stealth Strike. I like this one because of the extra damage it adds before hitting them from stealth.
Level 2
- Surprise Party – This level could go either way. I usually pick this one because it makes her more of an assassin by adding 25% extra damage to the first hit after Stealth Strike.
- The other choice is also useful if you want to make them easier to kill afterwards by slowing them down.
Level 3
- Boomerang Bounce – Being able to bounce the boomerang between multiple enemies helps a lot with this play style.
- The mutation for this level makes melee damage 18% stronger when shields are active, which is another appealing choice if you want a boost to get some melee hits in after leaving stealth.
Level 4
- Holding it Down – The choice for this one is hard and I usually pick based on how the game is going.
- This is my default choice because it stuns people for 2 seconds after being pulled by Fetch. This lets you shutdown certain characters for an easier kill.
Level 5
- The Immortal Aegis – I always choose this one because it is nice to get an immediate shield recharge every time I use a skill.
Level 6
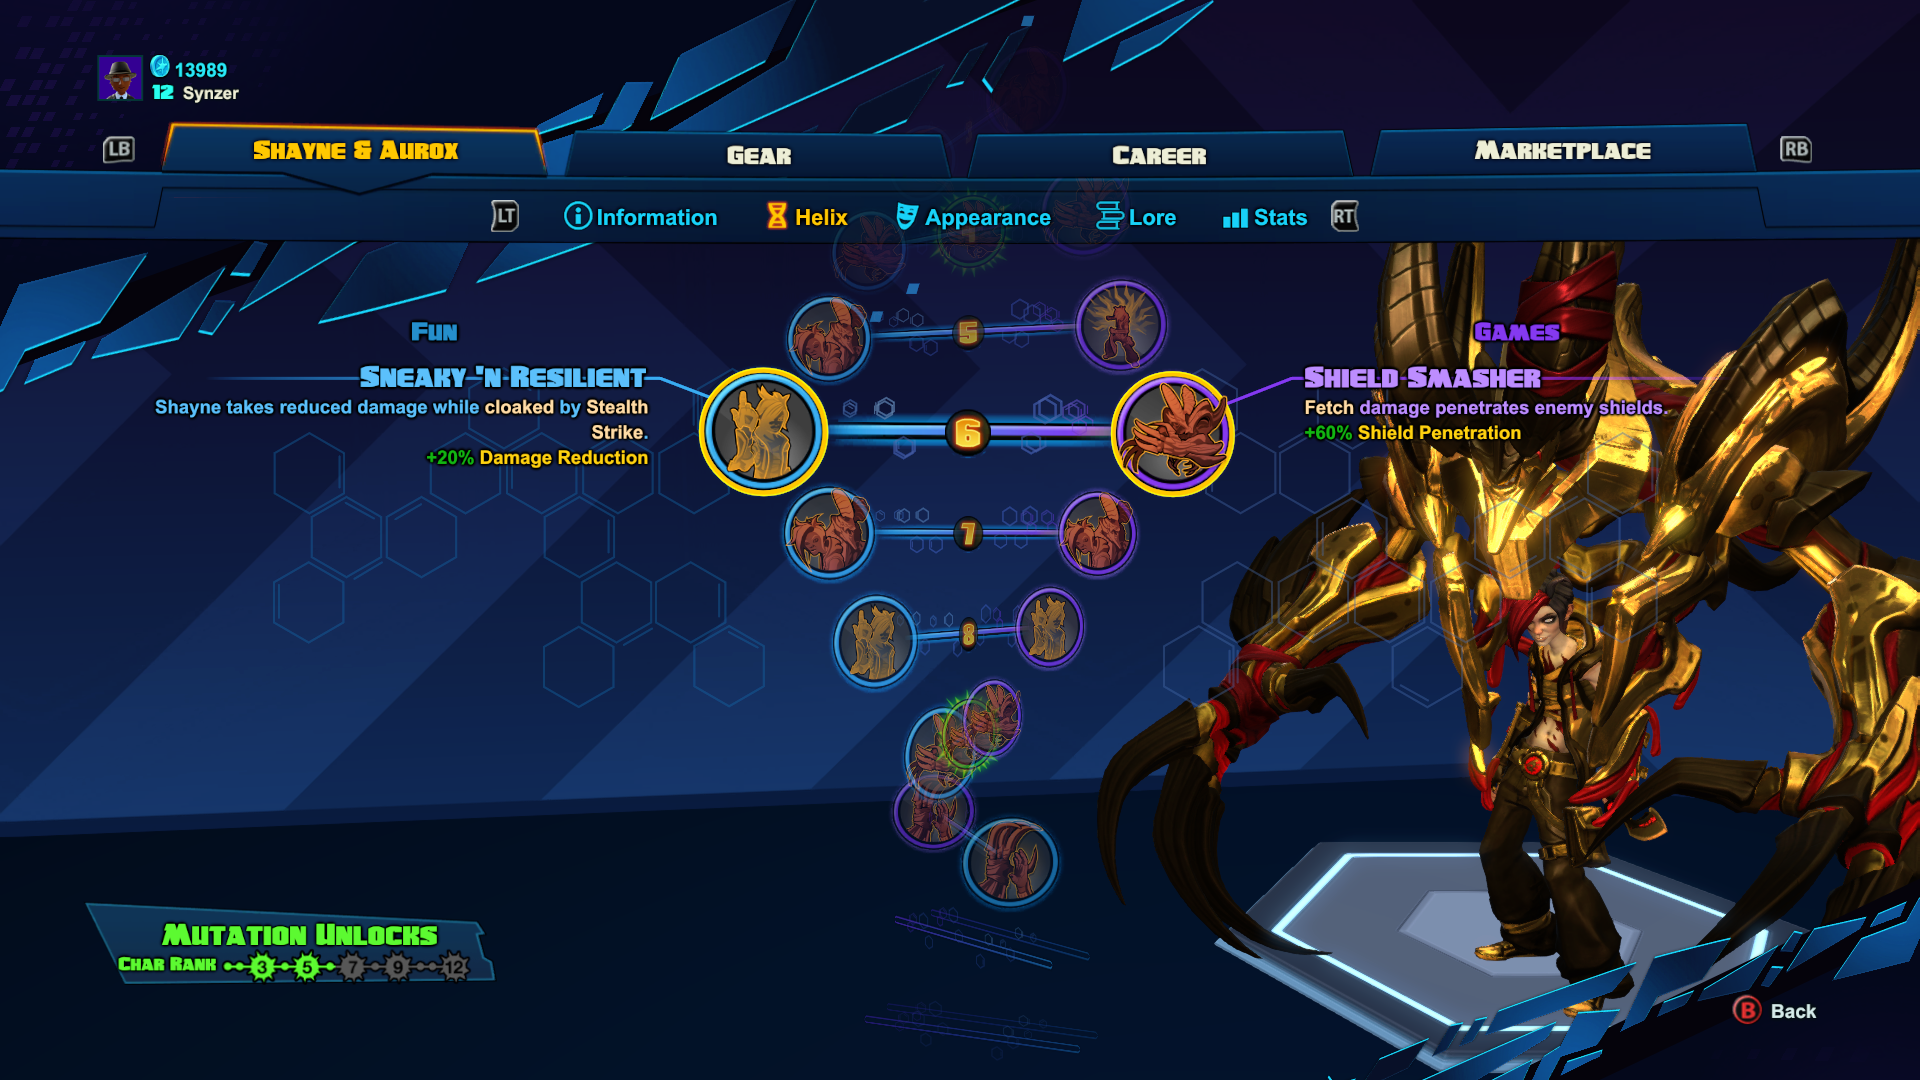
- Shield Smasher – I go for the damage options almost all the time, so the 60% shield penetration from Fetch was the obvious choice for me.
- The other option’s ability to reduce damage by 20% while in Stealth Strike is also good.
Level 7
- Boom Goes the Boomerang – This is the mutation and increases damage of Boomerang by 18%. Since I spend a lot of time hitting people with this attack, then backing off, the extra damage is perfect.
- The other 2 options give more survival
Level 8
- Sustained Stealth – All 3 options in this category are good and depend on the situation. I like playing Shayne as a stealth character, so the extra time in stealth is amazing.
- The Games option to do more damage is also a great choice if you want to play as an assassin.
- The mutation increases the Stealth strike radius by 50% so this is a solid choice when you want to hit more people.
Level 9
- Sic’Em – I choose this for the extra damage it gives to Fetch, but being able to use it more often is also helpful, especially if you add effects to Fetch.
Level 10
- Aurox Beckons – This is what I usually go with because most of the time, people will easily get out of Tag Team. Slowing them down for 3 seconds makes the ultimate a lot more useful.
Combat Tips
- Use Stealth to sneak up on enemies, or escape
- Stealth Strike is perfect for dealing a burst of damage, then getting out of there. Hit them with the ability, get a few hits in after, then get out.
- Keep constant pressure with Boomerang
- Her secondary attack can deal a decent amount of damage, even more if you pick the Helix options to increase it.
- Keep hitting enemies, then running to safety for better results.
- Don’t be afraid to run
- Even though you can build Shayne and Aurox to have constant shields and increase shields and health, you don’t need to play like a tank.
- Their primary roll is Initiator, so you want to be the first to strike. If things start looking bad, just make your escape and switch to hit-and-run tactics.
That’s it for my Battleborn Shayne and Aurox guide. Let me know if you have questions or your own suggestions for playing this character.