If you aren’t trying to unravel the mystery of the hillbilly cult through videos and documents, typically you’ll be wildly running at top speed in any direction away from danger in Outlast 2 (reviewed on site).
The series is known for being difficult, with several sections having to be repeated multiple times while you search for an appropriate escape route, but more than a few players have been entirely unable to escape the very first Outlast 2 encounter with Marta at all!
Get used to seeing the death sequence over and over are you are stabbed through the guts or have your crotch split wide open with a vicious axe swing — Marta doesn’t like you, and really wants to make sure your vile genitalia can’t get near any fertile ladies.
Escaping First Enemy Marta
About the first 15 – 20 minutes of the game have no direct enemies at all, with most of the townsfolk slowing backing away into the wilderness or staying just out of sight.
That all changes when you meet Marta, the avenging angel who enforces Knoth’s will, takes care of those who stray from the faith, and ensures that parents are murdering their children when commanded.
In many cases, the big antagonists like Marta can kill you in a single hit, but in this particular encounter you can survive a first swing of her pick axe if damaged from behind, so be sure to have some bandages on hand before approaching.
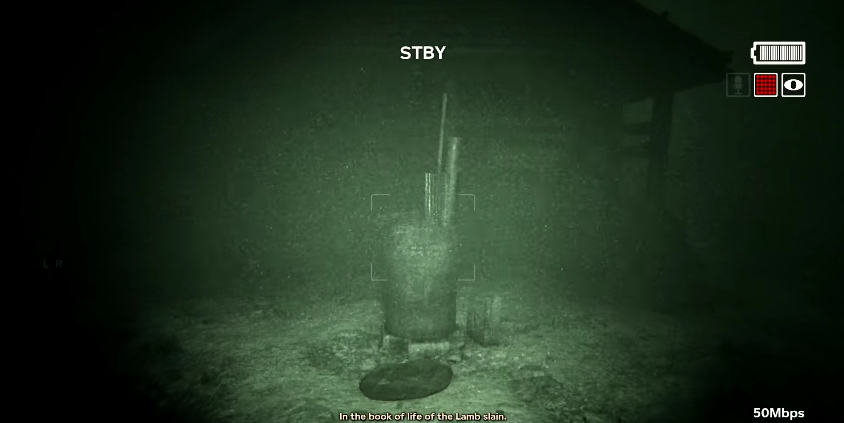
You know she’s close when you crawl underneath a gate and pass a shed, then see a broken down vehicle on the right, with a campsite to your left. A house will be directly ahead and when you are just about to pass the house, the second you step beyond the stacked firewood, Marta will appear out of the darkness and rush at you.
 …and you’re dead.
There are two different ways to approach this section and make it out alive.
The Runaraound
This method is actually the simplest, although it will go against your instincts to get as far and fast away as possible.
All you have to do is turn around and run in a big circle around the shed (either clockwise or counter clockwise), then go back exactly where you started and push forward to the next section. If you don’t get stuck on anything, you’ll actually end up losing Marta this way.
Although it sounds simple, there’s some environmental obstacles that can screw this plan up if you don’t thoroughly know the layout. Rocks on the right side, barrels on the left, and a wood support beam in the middle can all get in the way. Even a fraction of a second lost will result in the death scene.
The Runaway
If you have trouble going the previous route — either by getting stuck on objects or you just aren’t able to shake Marta — you can actually instead keep running away straight all the way back to the very beginning of the area until you reach the gate you crawled under. Eventually Marta will give up the chase and respawn at her next location further along the path.
 The Work Shed
In either case, keep your ears open, as audio musical cues will let you know that you’re no longer being chased.
After that first chase segment you can now explore the house or move ahead towards a seemingly-impassable wall. After moving forward just a few steps from the front of the house towards the clearing in the center, Marta will appear again to give chase a second time. This is where most players meet their end as there isn’t a clearly visible escape route.
You might be tempted to run around the cart in the middle of the area, but don’t. She’s too fast, so instead just book it forward for the exit, which is a hole in the wall near the ground that’s very easy to miss — especially if you are running at full speed trying to escape Marta’s less than pleasant plans for your genitals. You will need night vision on to see the exit at all.
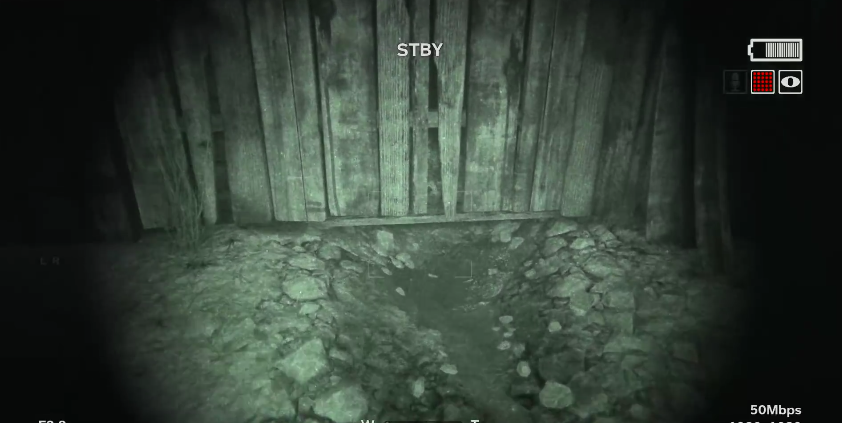 The exit
Just crouch underneath and crawl through the hole under the wall to complete this segment and move on to the next part of the game.
Need help with other parts of the game? Be sure to check out our other Outlast 2 guides: