The sci-fi / horror mashup Phantaruk has arrived to show off new developer Polyslash’s skills, and while the end result is uneven, there’s still some fun scares to be had while being stalked through the corridors of a space ship.
The game’s toxicity mechanic is very unforgiving however, so you need to complete each puzzle quickly to access the next area before you run out of antidote. Below we cover how to quickly complete the first two major areas of the game while grabbing enough antidote injectors that you won’t ever run out of time.
Phantaruk Level 1 – Arrival
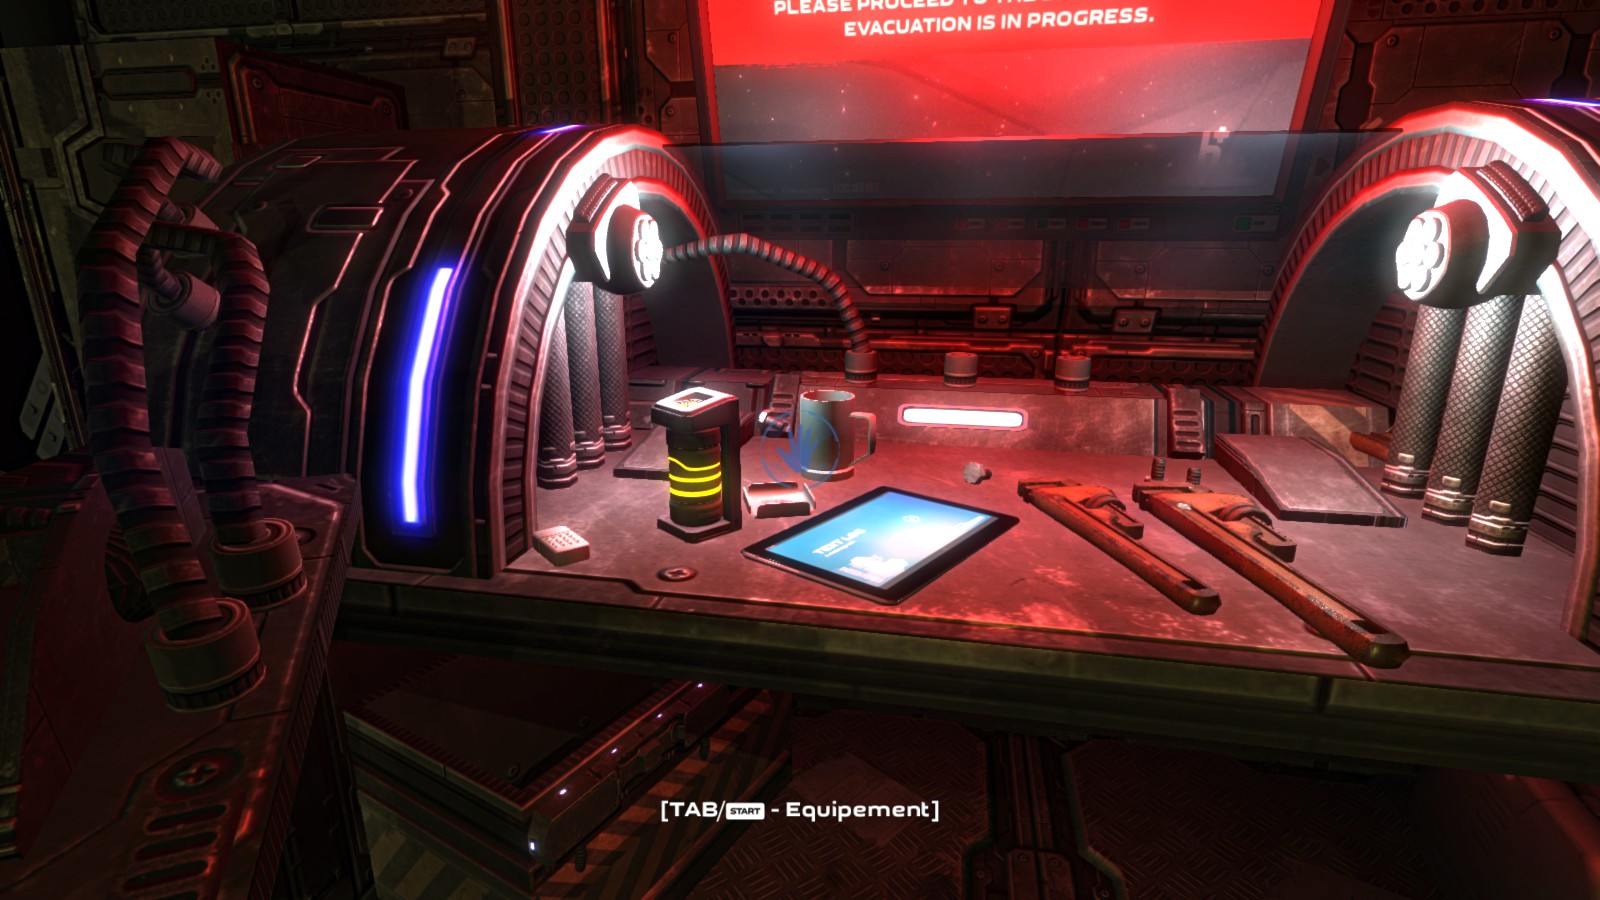
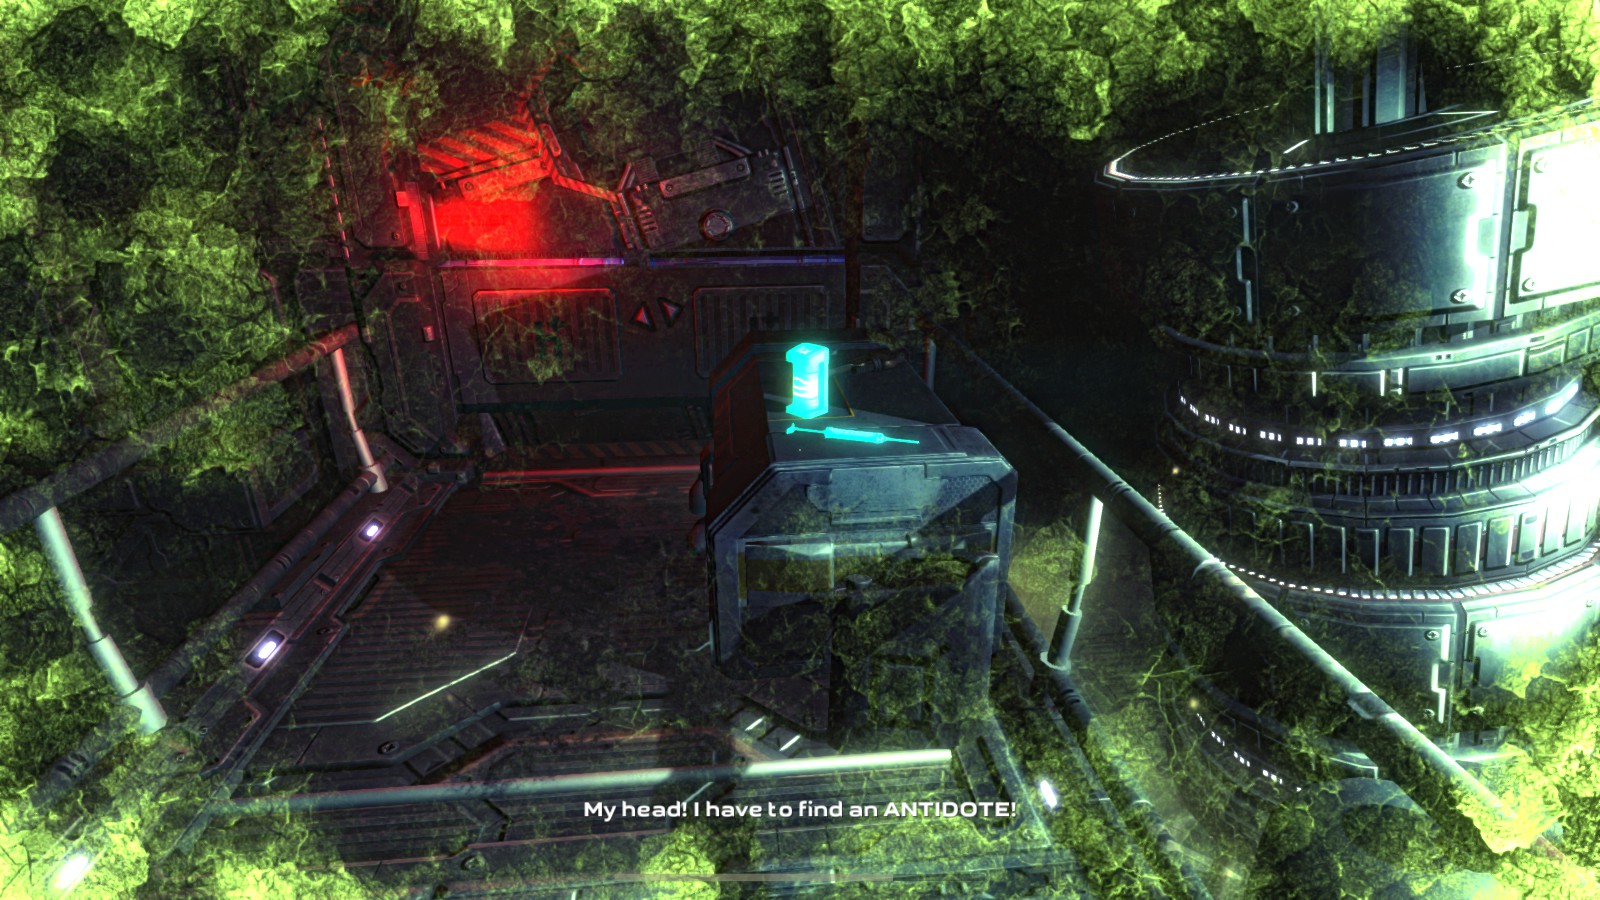
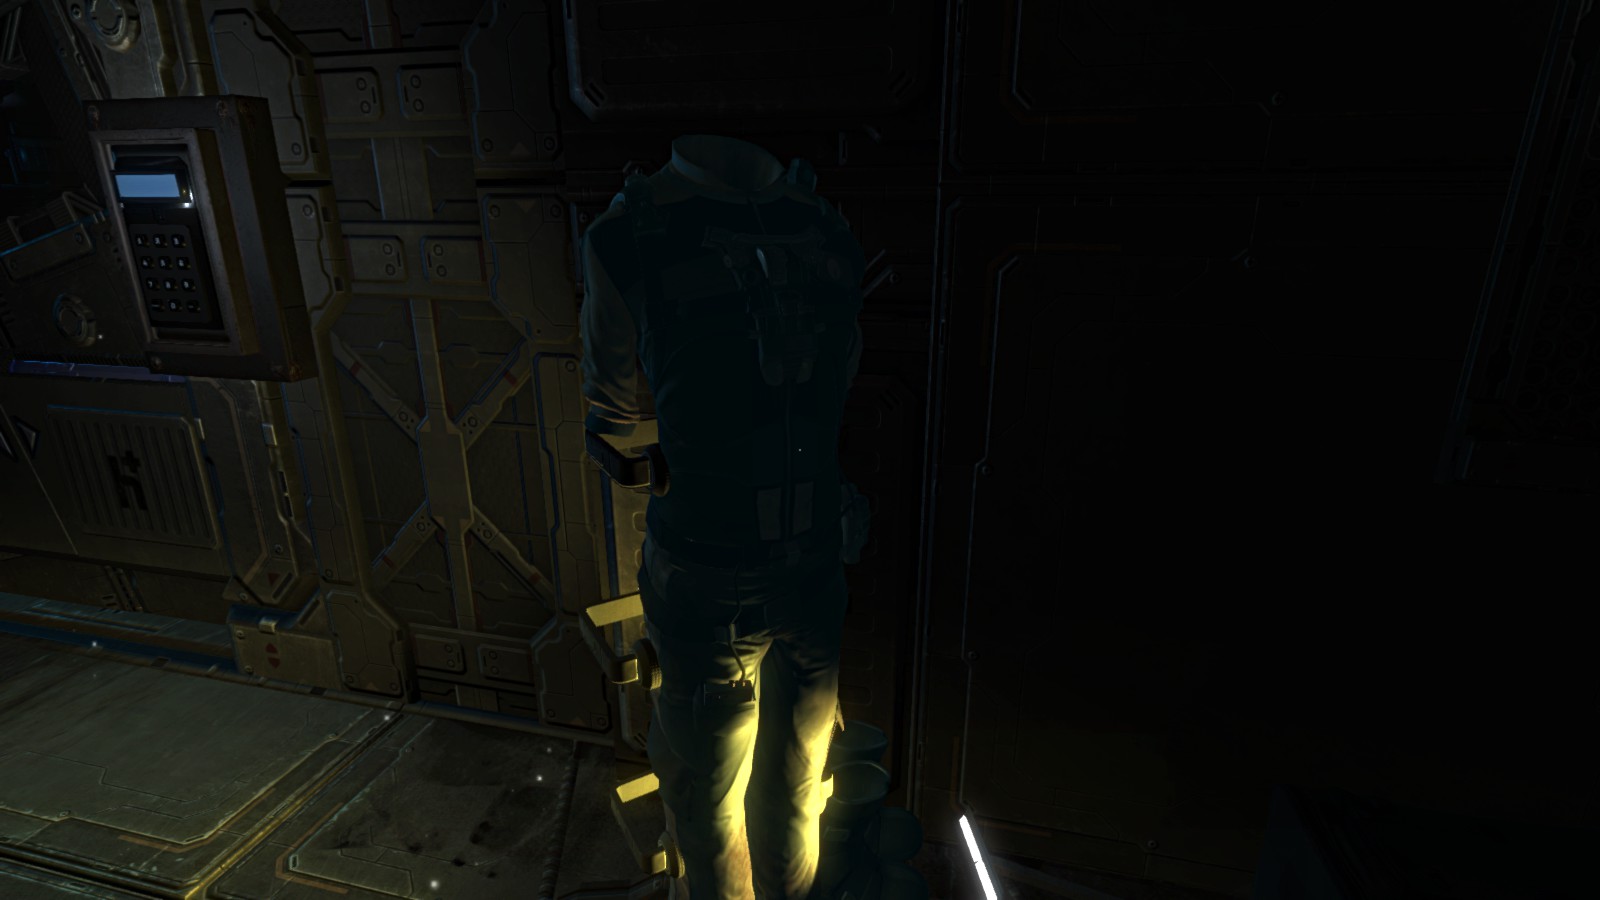
After waking up and waiting for the nausea to wear off, you can ignore the first room entirely and move into the next area. Grab the energy cell and the tablet sitting on the workbench on the left side of the room.
 Grabbing the first energy cell
Turn around to the right and grab the Audio Cube sitting in the slot next to the door, then click the empty slot to place the energy cell and open the door. Head down the hallway (as the annoying repeating message gets louder and louder).
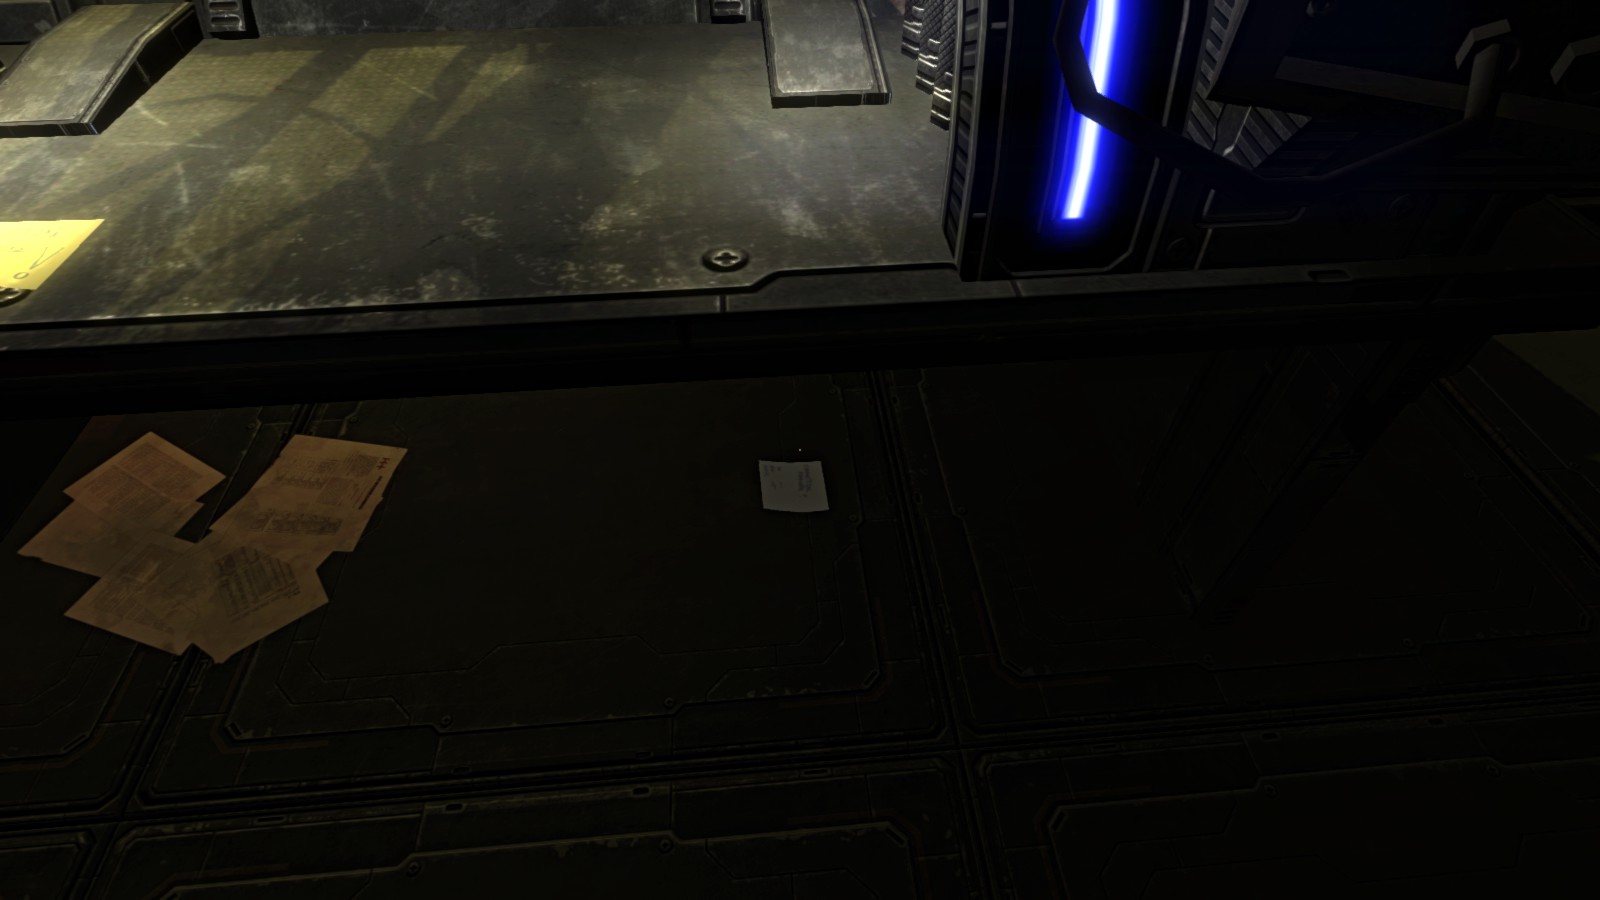
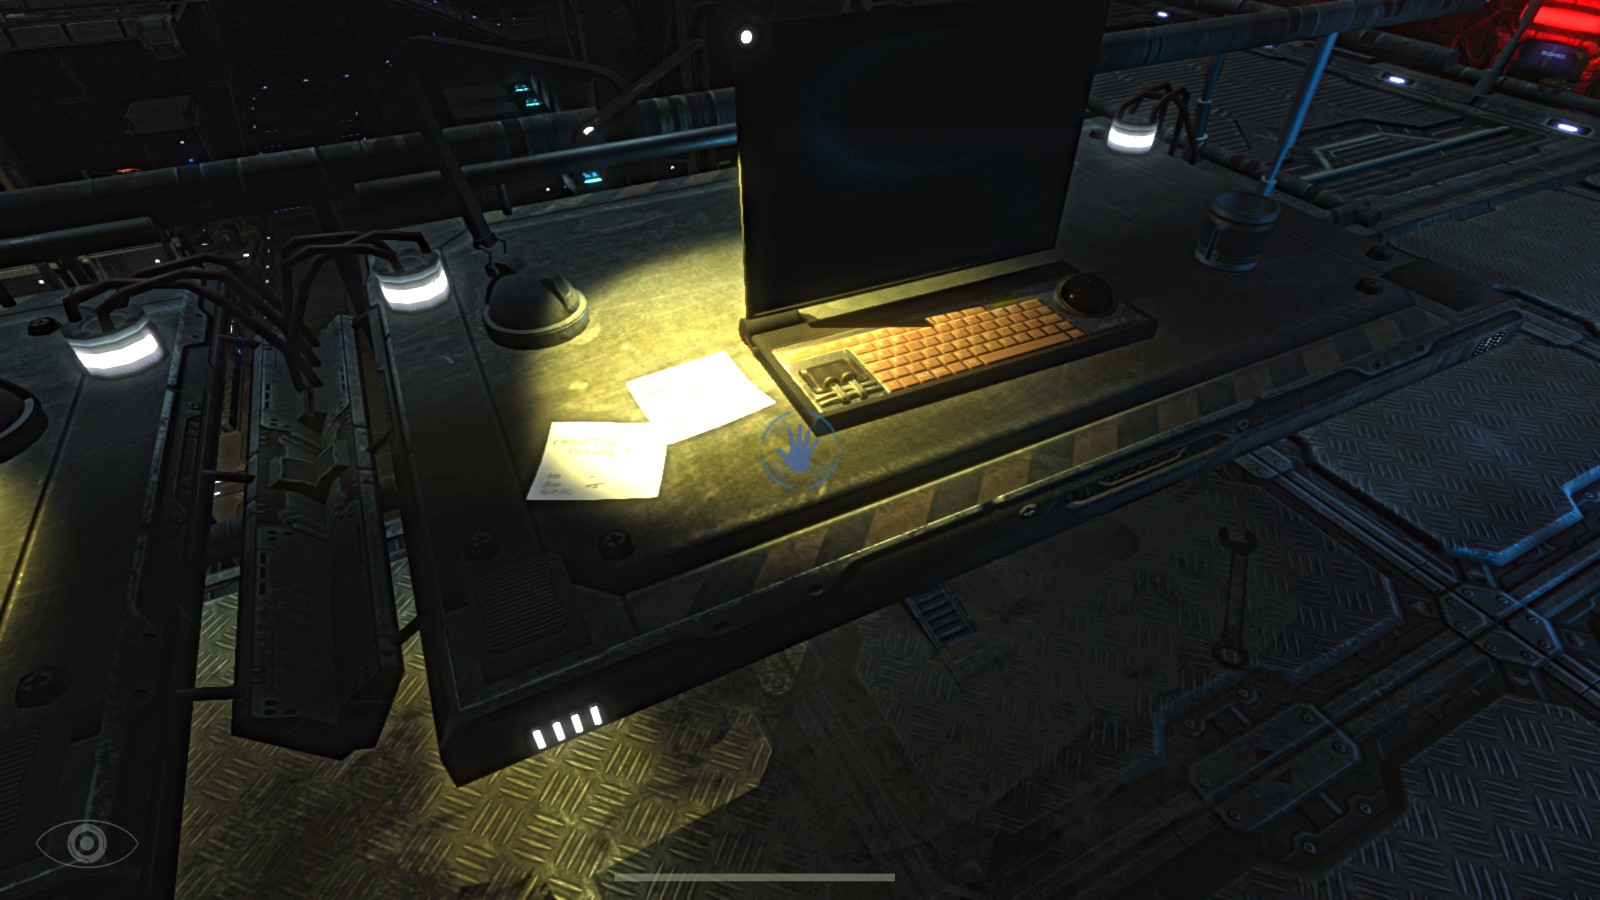
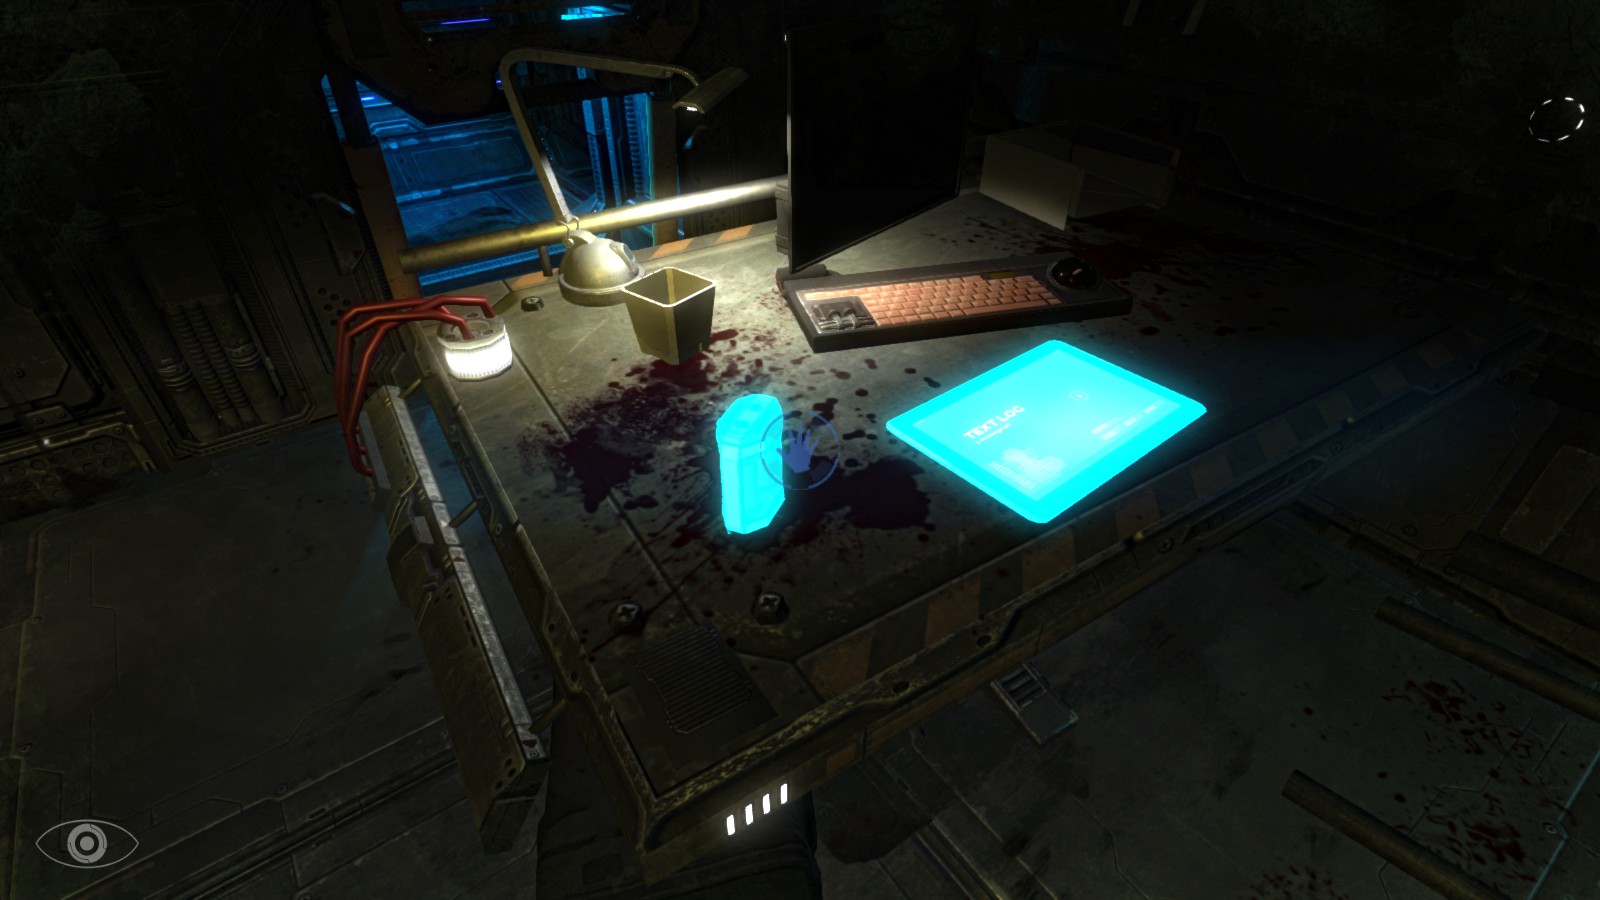
Ignore the left hand hallway and instead go straight. Grab the sticky note lying on the floor underneath the workbench on the left side of the room.
 Hidden sticky note
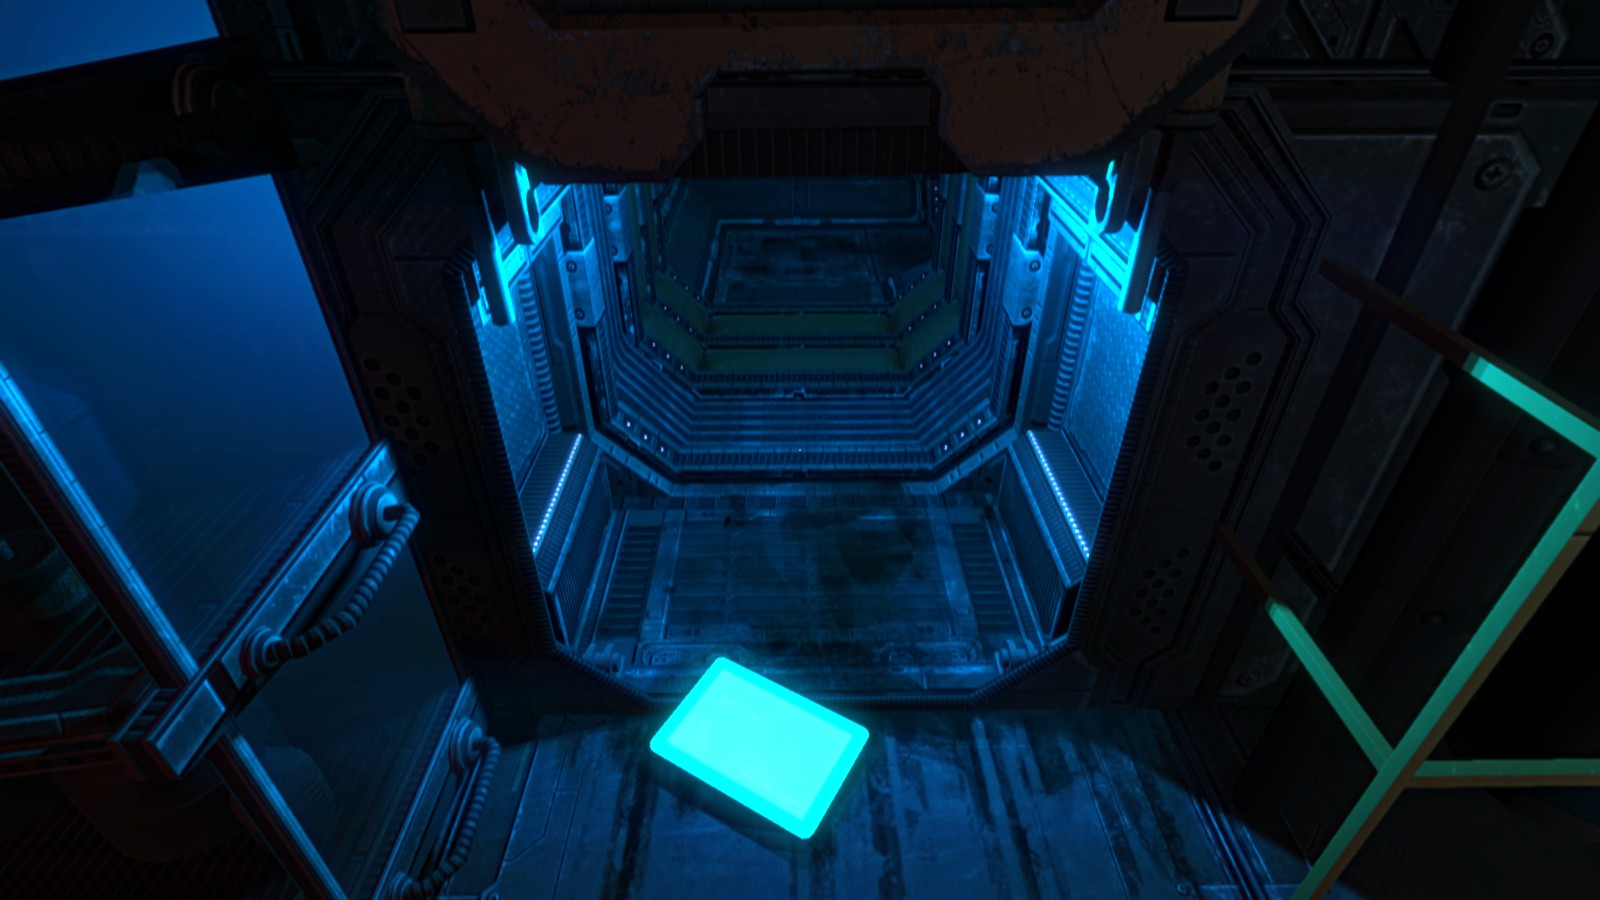
After getting the note, go to the right side and crouch down so you can grab the tablet on the floor and crawl through the vent.
 Going through a vent
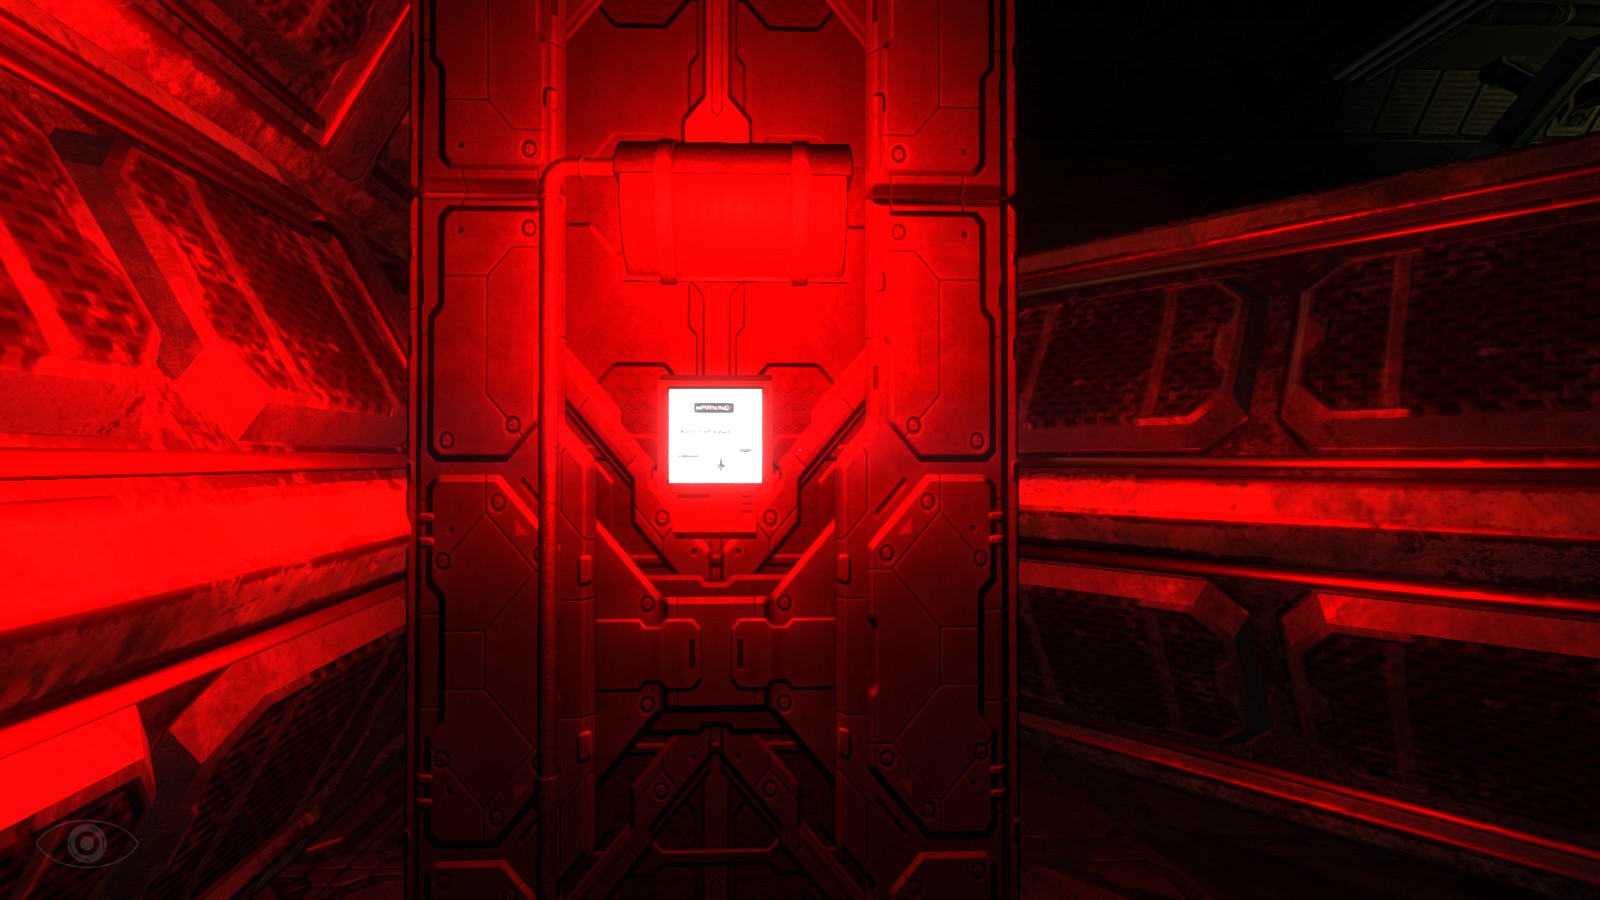
In the cafeteria, approach the audio encryption terminal on the left side to hear a log from the ship’s captain and then go through the red-lit door directly to the left of the terminal.
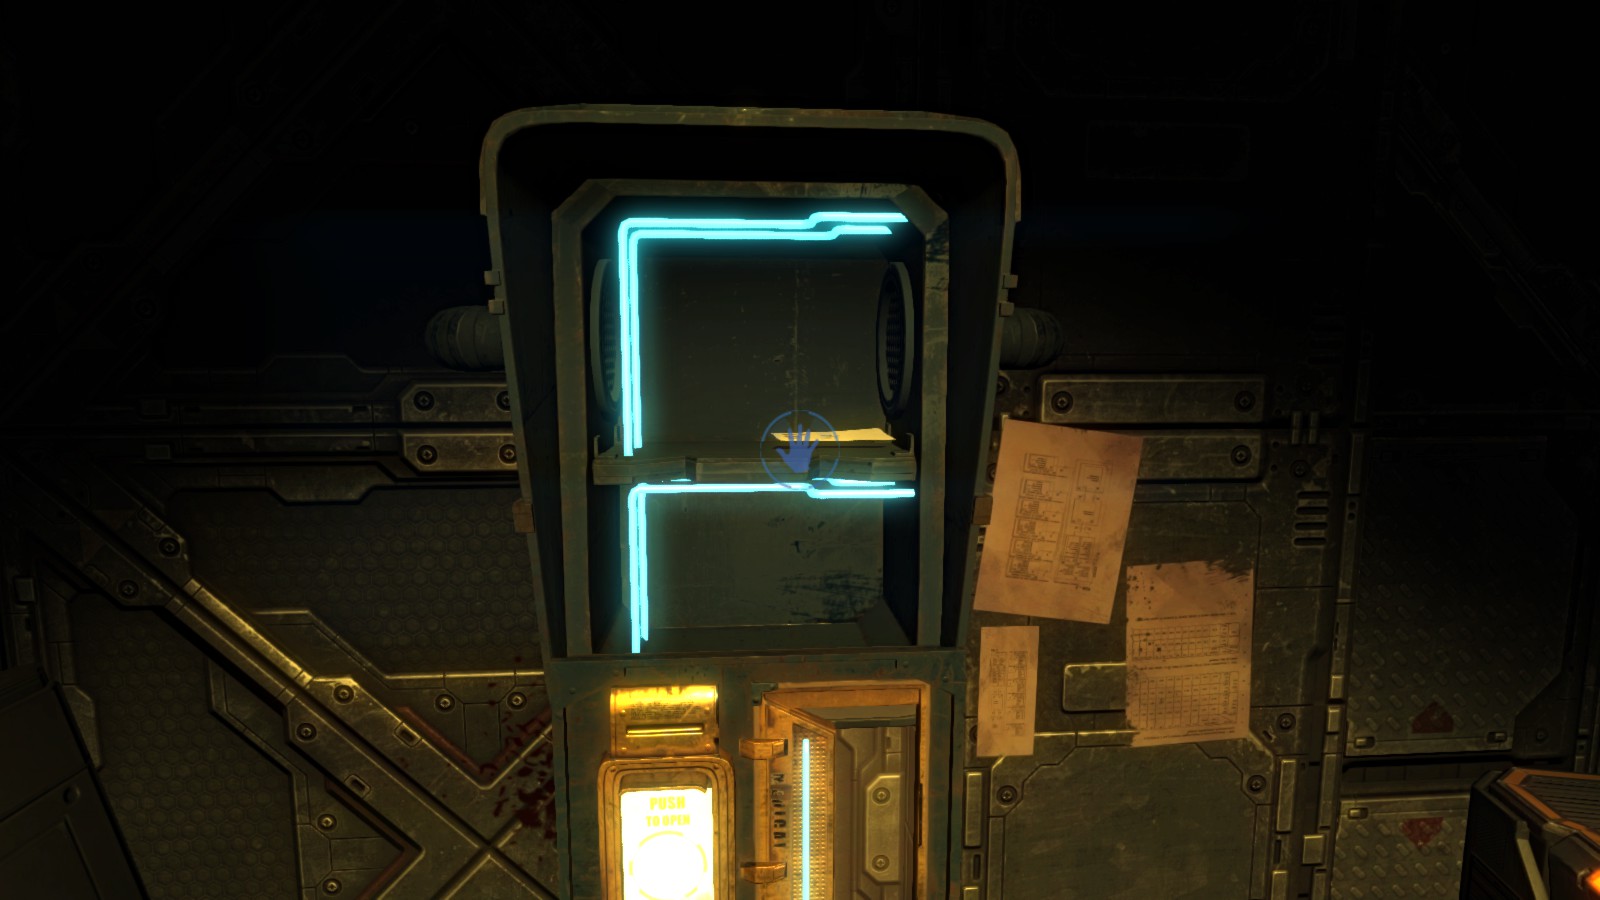
The door to the left in the hallway can’t be opened yet as you don’t have another energy cell. Go to the opposite end of the hallway and open the yellow cabinet on the wall to get another sticky note, then turn right and head into the hall with the flickering lights.
 Hidden sticky notes
Run all the way to the end of the area with the giant blue pistons and grab the energy cell and antidote. You have to use the antidote immediately (even though your toxicity level will read 0%) in order to proceed.
 Grabbing the first antidote
Now head back to that door you couldn’t open before and use the energy cell to access the elevator. Click the red “elevator ready” sign to go down to the next floor.
When the doors open, grab the audio file directly to your left. Run down the catwalk and then grab the antidote and the two sticky notes sitting on the counter to your left before the pathway branches to the left side.
 More antidote and notes
Follow the catwalk down two sets of stairs to the lower floor with all the upright pods. While the exit is to the left, go straight first and then left to grab a tablet sitting on the workbench before heading into the doorway marked “Biomed.”
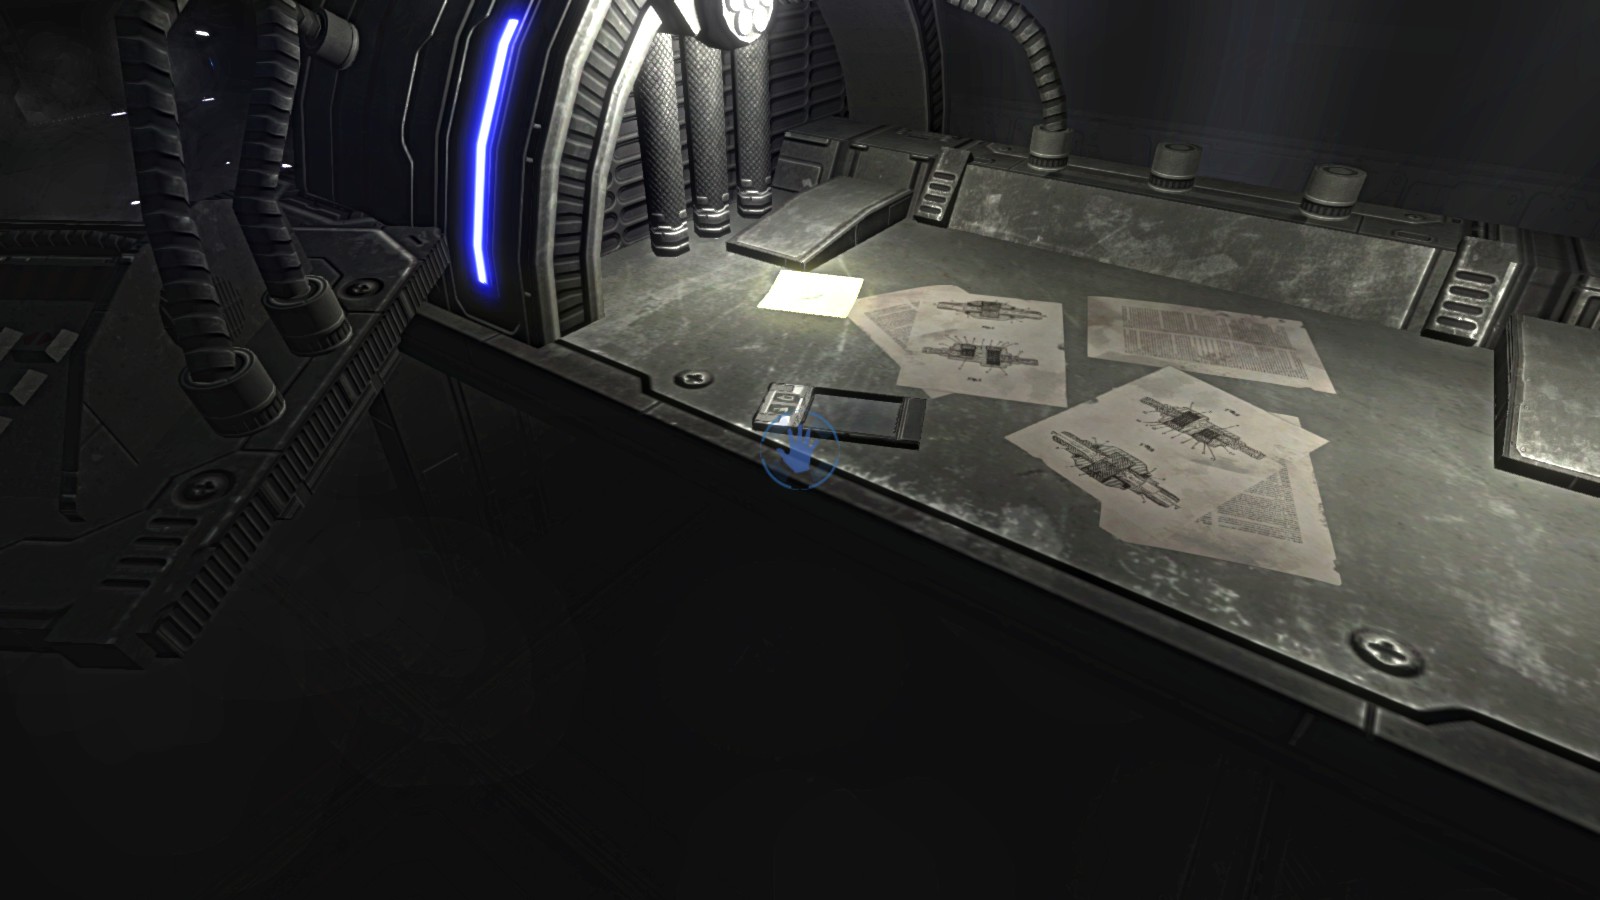 The workbench tablet
Follow the hallway until going through another door with a blue “Biomed” sign above. The next area is blocked off, so crouch down and go through the bloody vent. When you see the creature walking by through the grating, turn right and click the access panel to complete the level.
 Seems safe enough, might as well crawl through!
Phantaruk Level 2 – Cargo
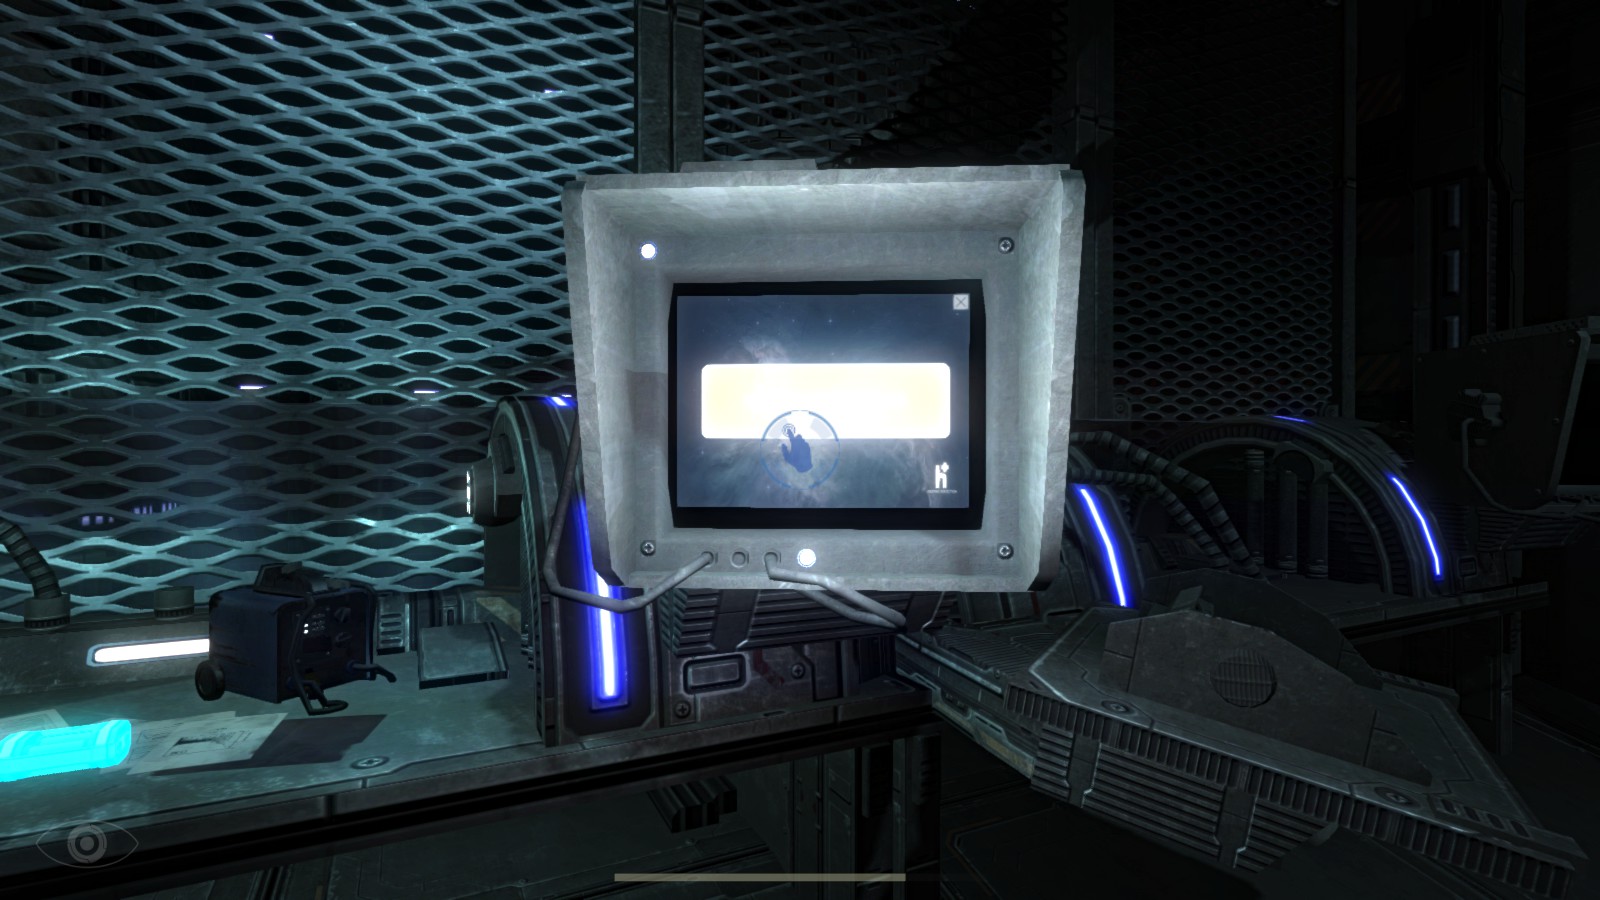
At the level’s start, immediately turn left and grab the antidote on the crate, then pick up the glowing-blue suit on the right side. Another audio log is on the opposite end of the room, where you can also grab a sticky note on the white board that gives the passcode to leave the room. Click the key pad and enter “501” to open the door.
 Grabbing a suit and entering a passcode
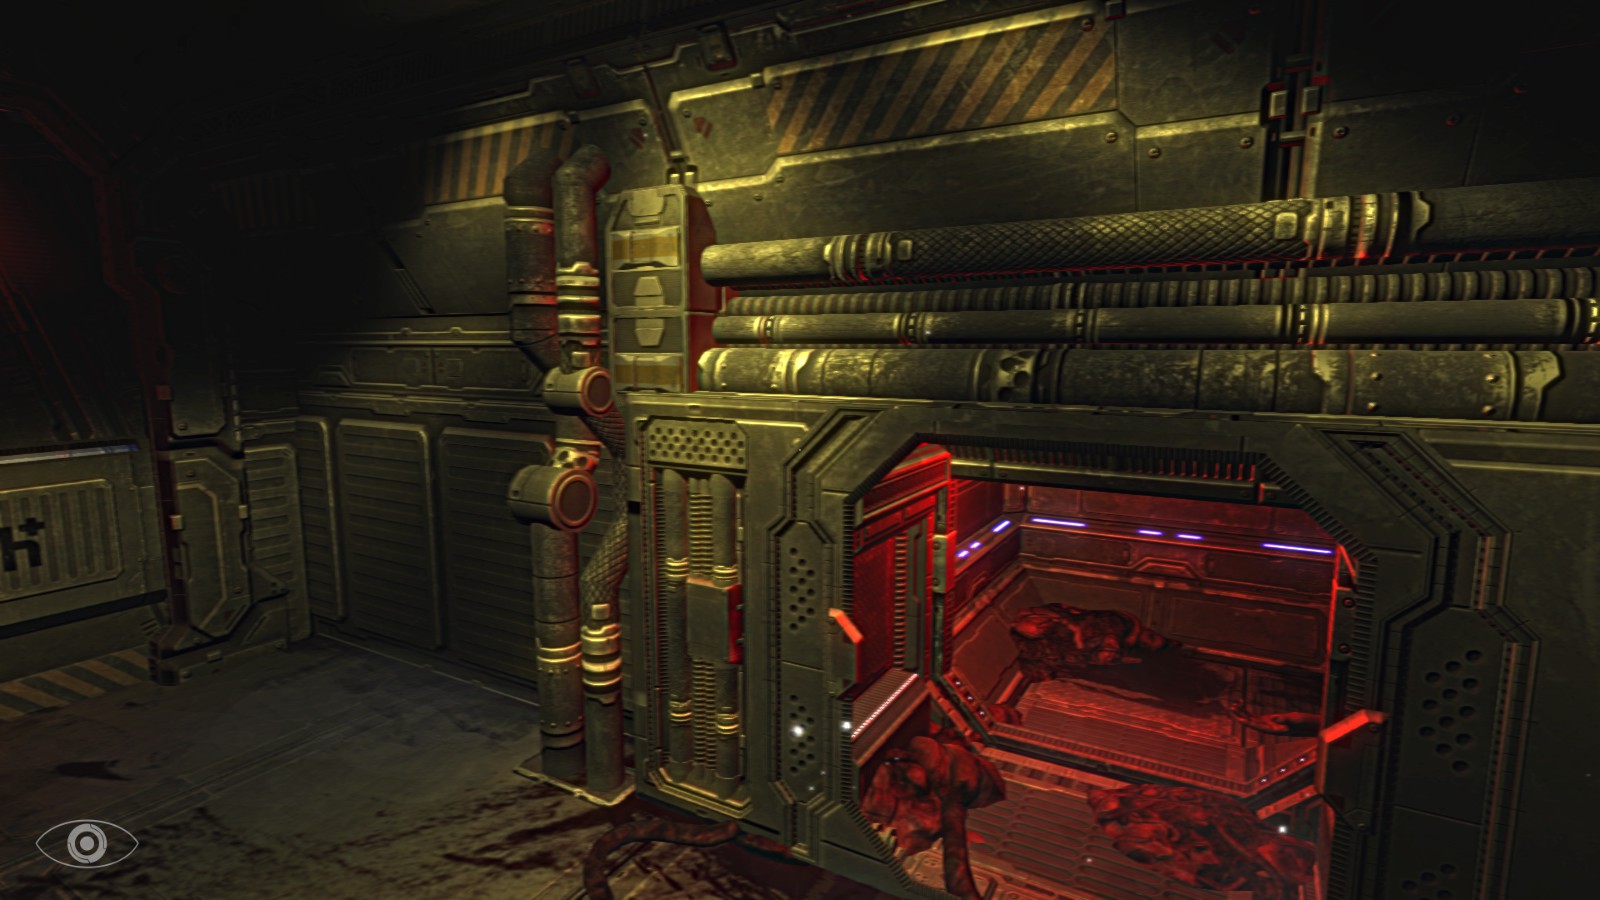
Ignore the left hallway – it has a vent passage and an empty room. Instead turn right towards the open door where you can see a creature sitting on the ground.
Walk forward until the door closes, then turn right and go through the vent to a lab area and grab the energy cell and tablet sitting on the table. At this point, you will probably need to use one of your antidotes as your toxicity level will be around 70 – 80%.
 Grabbing an energy cell and tablet
The next hallway features a three way split junction – the the right is Biomed, forward is the Office area, and to the left is the Cargo section. Turn right first and grab the antidote and tablet in front of the locked Biomed area, then turn around and head back the way you came.
A creature will come through the side door, so wait for him to slowly pass, then head into the door marked Office.
 You don’t want this guy to see you
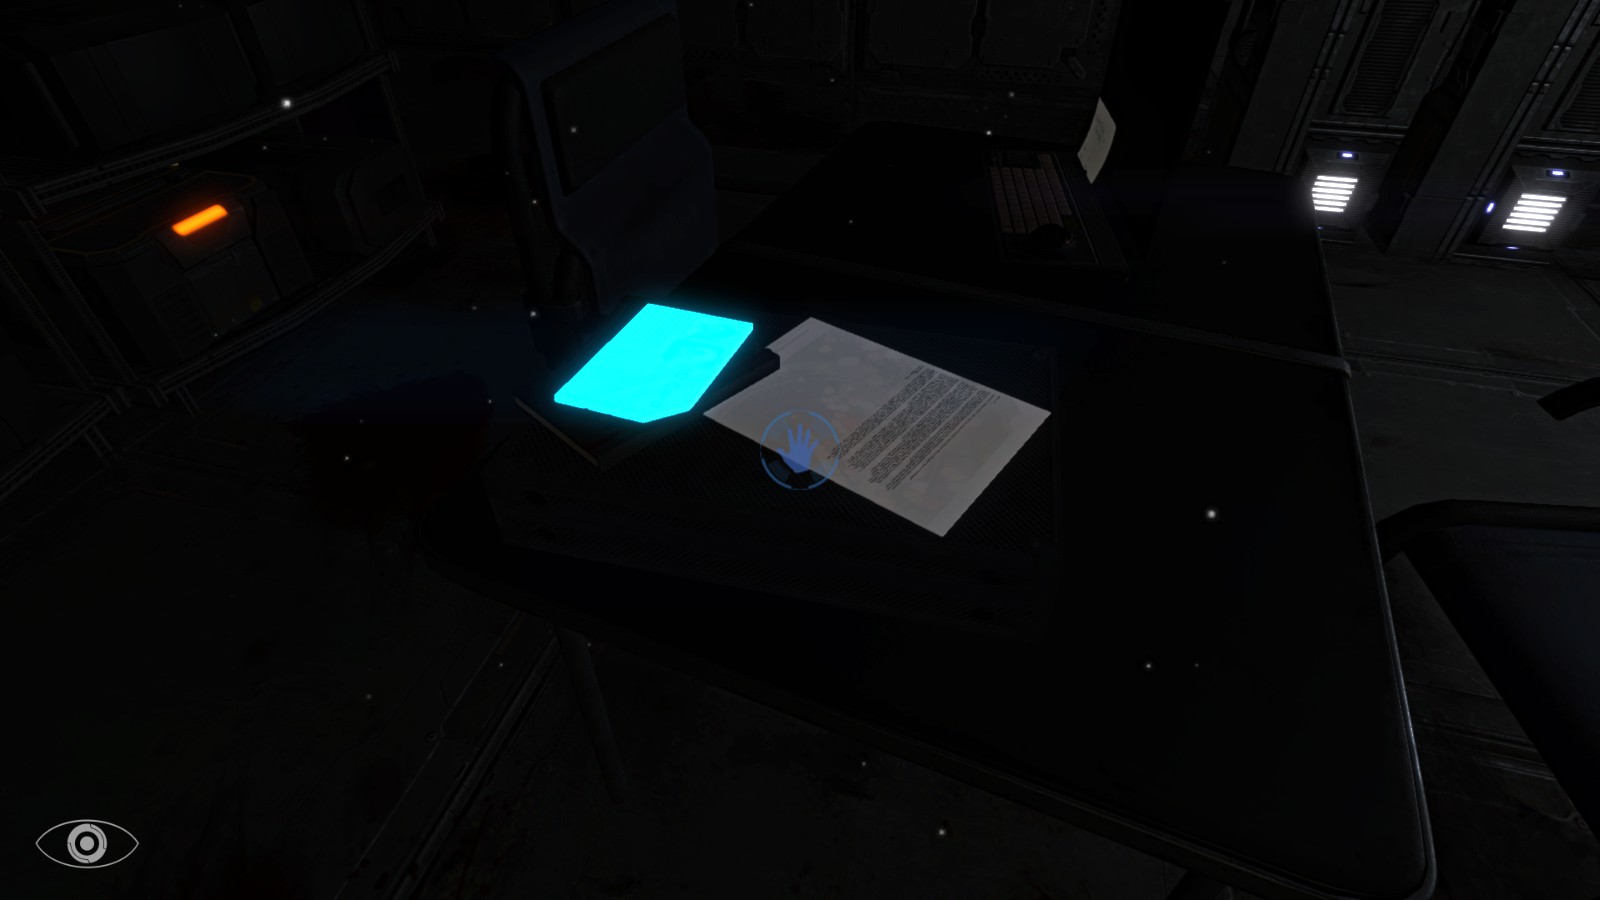
Go forward through the blood splattered hallway into a room with yellow equipment. Check the back of a pillar to grab another sticky note. Follow the hallway into the Office and grab the tablet on the first table and the sticky note on the locker.
Head into the next room with the lockers and a table and grab the ID card and note on the table. An antidote is also hidden in the back of the room in another yellow cabinet.
 You need this ID to pass a door in the next area
There is another creature stalking through this area, so keep your ears open for the tell-tale growl. The entire Office area is setup like a square, so if he’s blocking a hallway, just turn around and go the other direction to get where you are going.
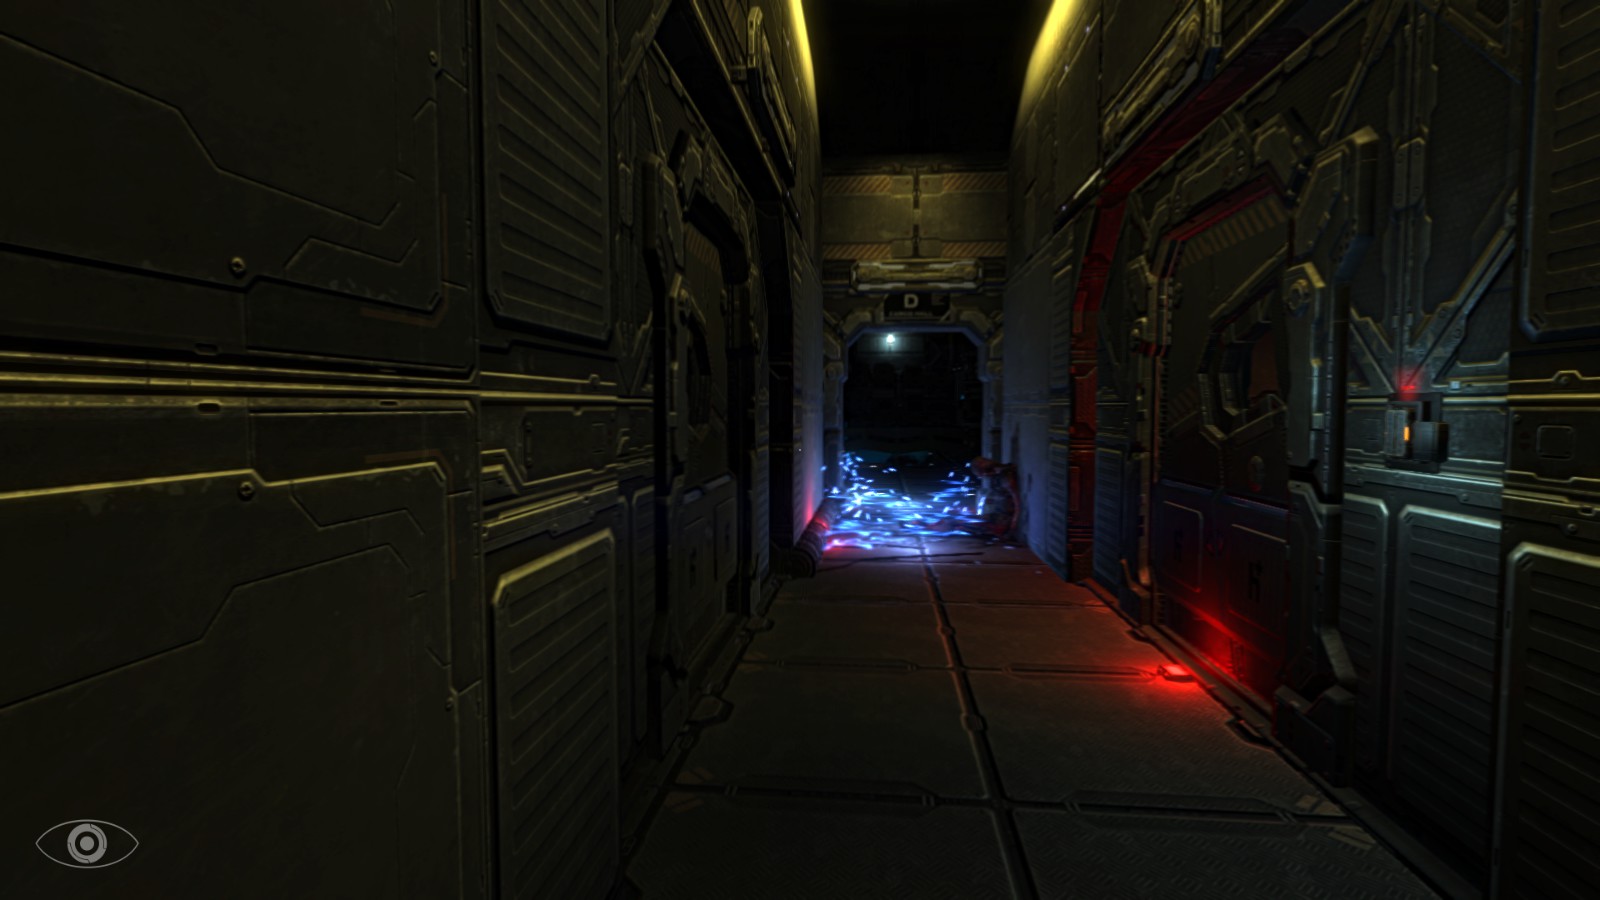
After grabbing the ID card, go back to the three-way junction and head into the Cargo door. Proceed through the hallway past the Cargo Hall D door and then turn right and go through another door so you see a hallway covered in electricity.
 Obviously don’t walk through here
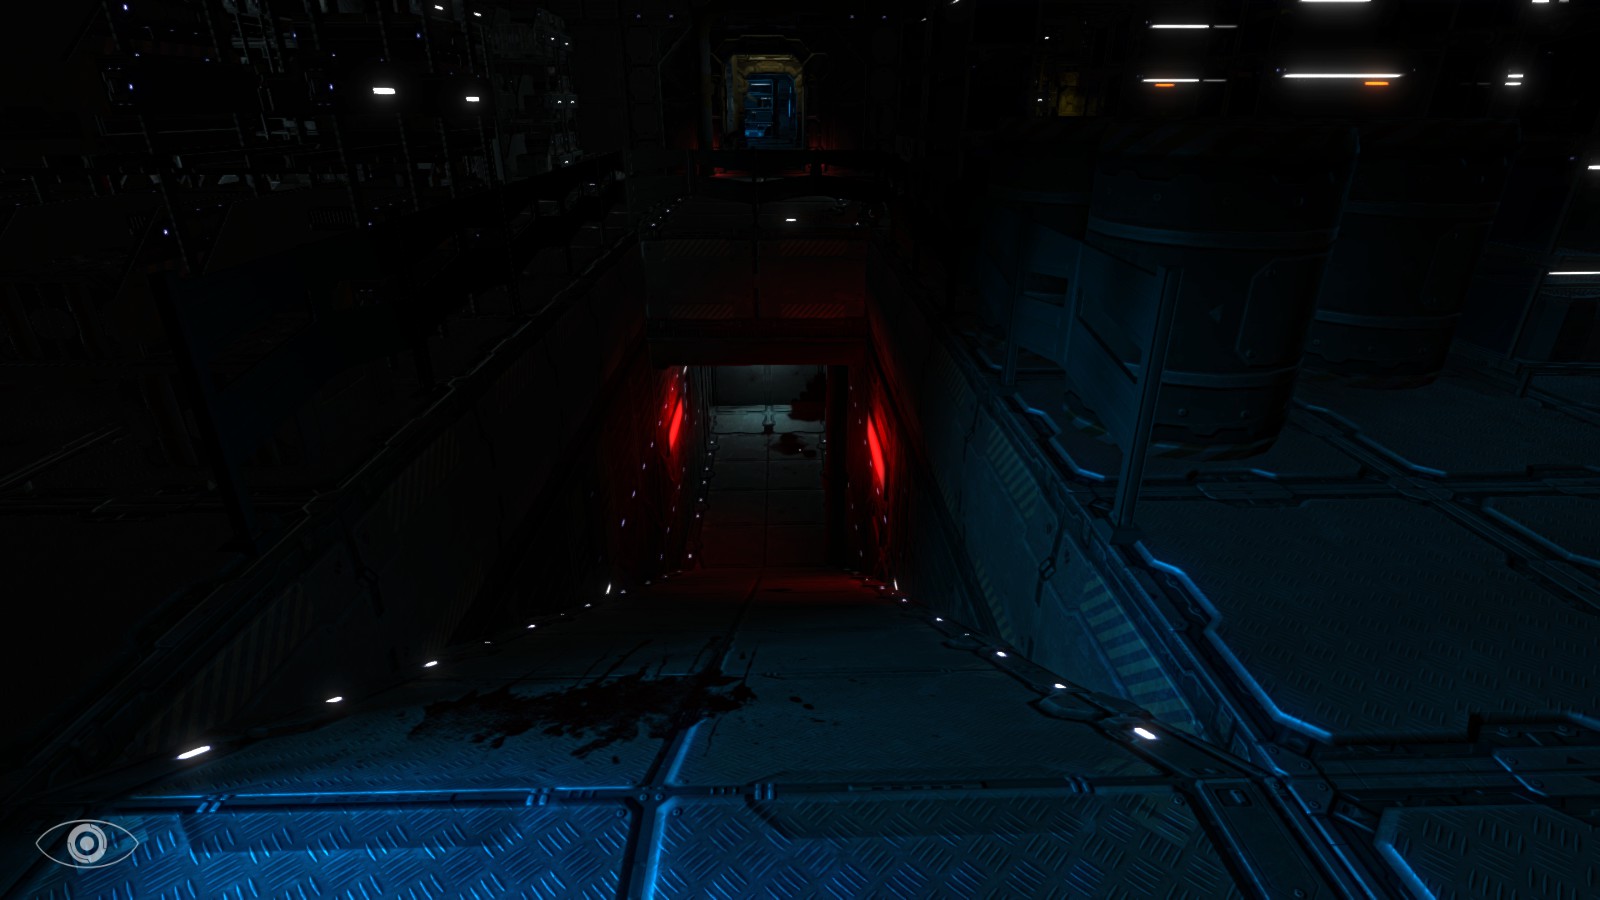
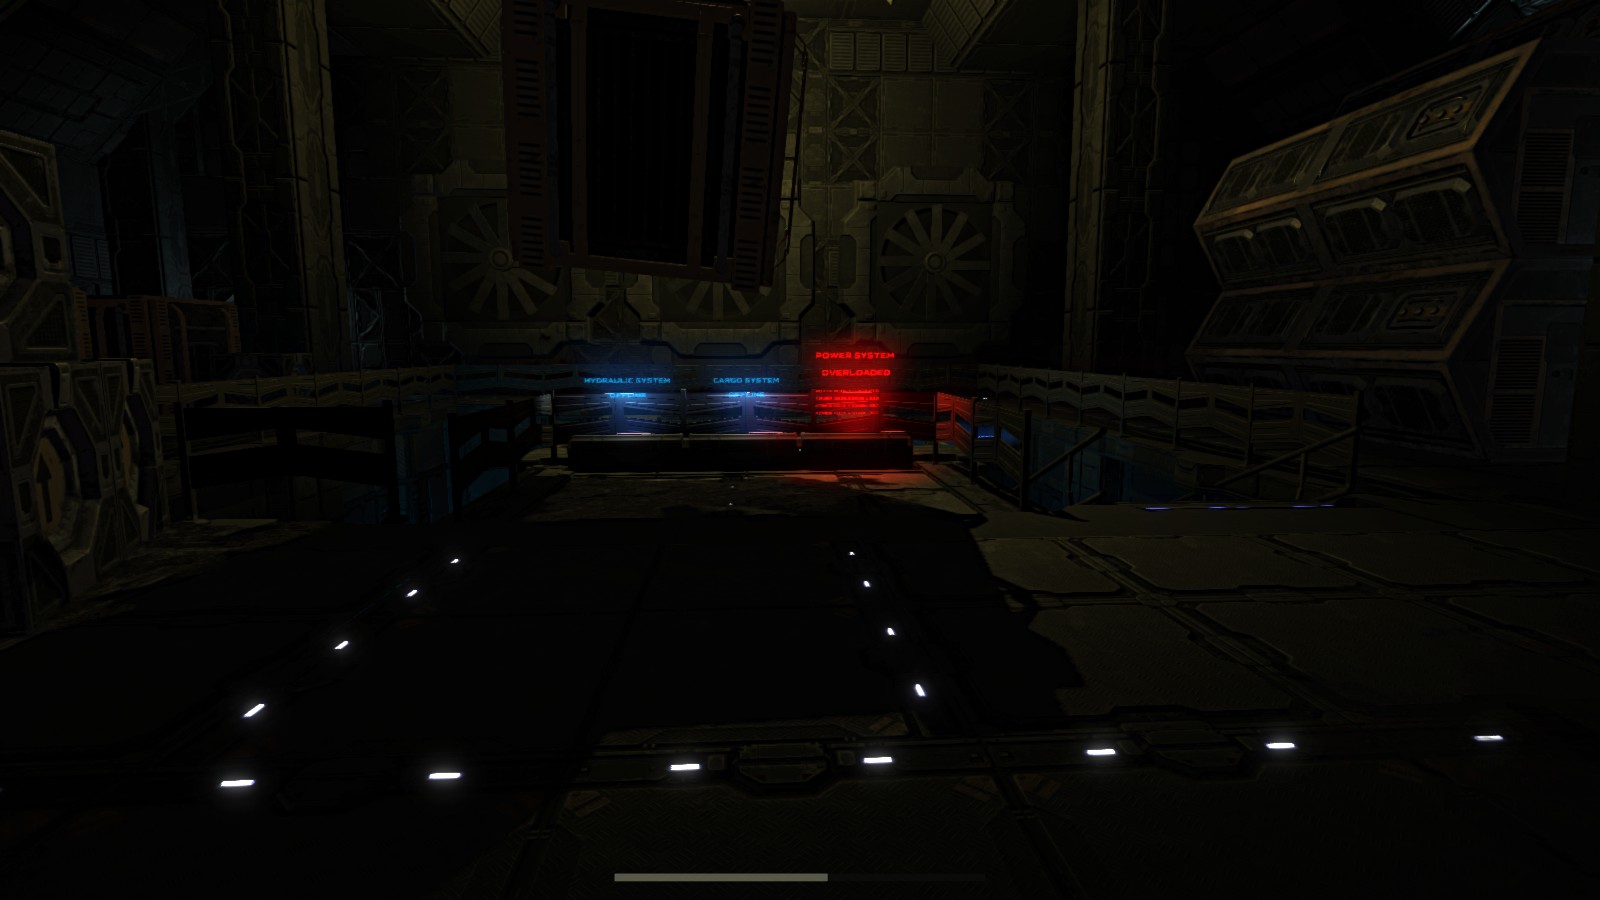
Ignore the locker room on the left and instead turn right and use the ID card to open the red locked door. All you need to do in this room is turn off the power button just to the side of the entrance. Go back out into the hall and pass through the area that was previously electrified.
Head to the far end of the cargo room and go down the ramp into a lower level. Be careful when entering, as a monster stalks the square shaped lower level and is frequently hiding near the tight left/right hallway you have to enter.
 Well that’s not ominous at all…
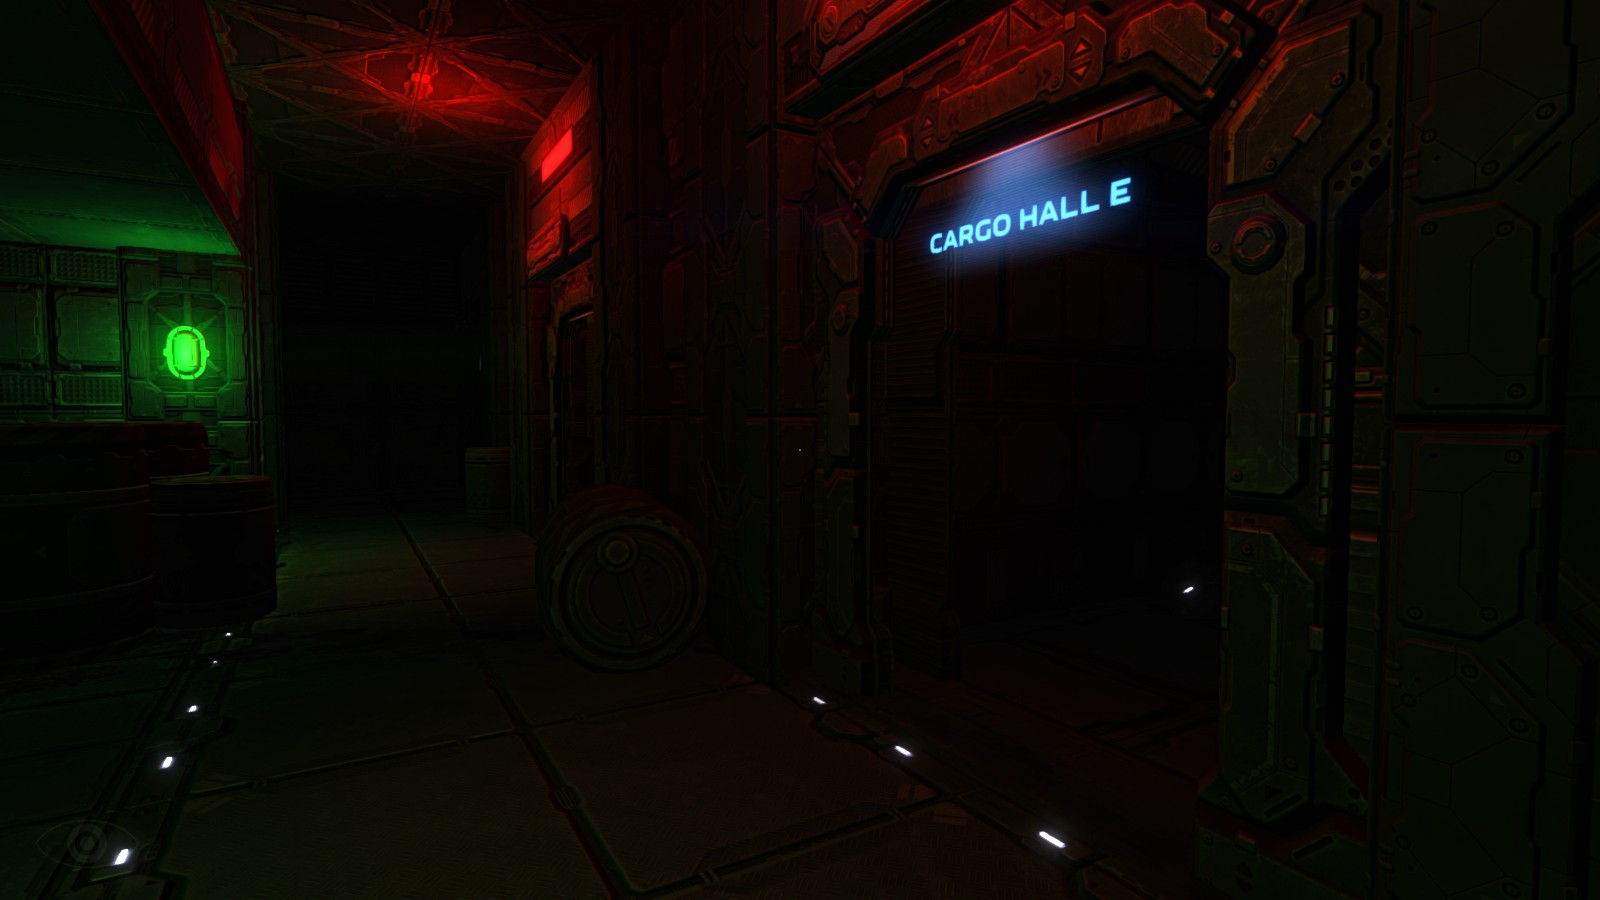
Take the left and then turn right into the open door just before the green light that’s labeled “Cargo Hall E.” Around this time its also a good idea to preemptively use another antidote.
 Head inside this door to the next area
Grab the tablet sitting on the desk and head into the back hallway through another door marked “Cargo Hall E.” This Cargo Hall features two creatures moving across the outer ring of the area in a clockwise pattern, and avoiding them is simpler than you think.
Just head to the right side and follow behind the creature. If you accidentally get too close, quickly turn around and crouch under any of the piles of hexagonal shaped cargo until it leaves.
 Use these to hide if the monsters spot you
The goal here is to go all the way around the room, turning off the four light switches located on the pillars to divert power. Work your way clockwise around the entire exterior of the room until you get back to where you started.
 Click each of these four switches to power down the lights
When you get back to the beginning, go straight forward to the area with the large block hanging from the ceiling and the stairs leading down. Head down the stairs into the area marked Generator Room.
 After turning off the lights, head down here
Follow the path into the room with the open door and grab the audio file on the left side of the entrance. Click the monitor on the right side of the room to deactivate the engines, which will unlock the Biomed door all the way back at the three-way junction. Grab the batteries to the left and then the antidote at the far left end of the desk section,
 Use this terminal to unlock the Biomed door
Turn around and go all the way back to the locked Biomed door at the three-way junction (be on the lookout for the creature stalking around the Office door area). Inside the Biomed area, click the computer and wait for the scan to finish, which completes this segment of the game.
 Use this terminal to finish level 2!
With the Cargo area completed you are now ready to move into the Biomed section and are over a quarter way through the nightmare of Phantaruk!