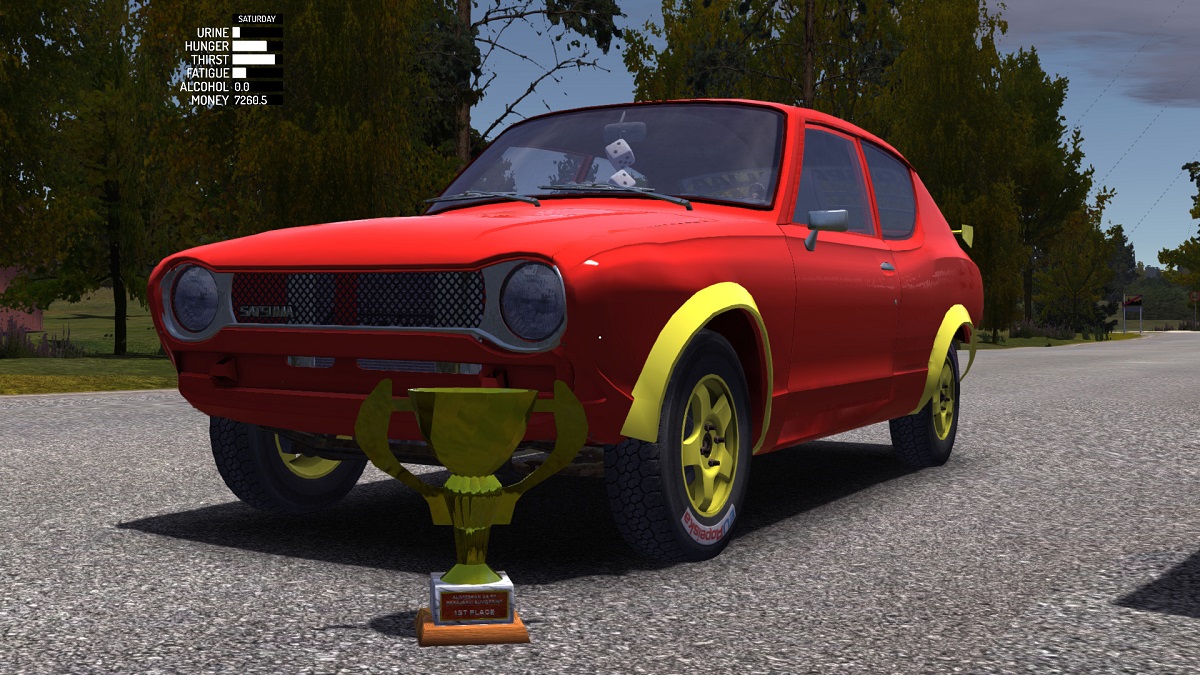
Amistech Games released My Summer Car late last year, and quickly reached cult-hit status. In this simulation game, players must try to survive the Finnish summer and build their own car from various parts. The goal of the game is to persevere through harsh road conditions, while also being able to maintain your car’s integrity.
A lot of players have been frustrated with the complexity of building their first working car. After all — you only start with the room full of parts and no descriptions of how any of them fit together. Thankfully, Steam user Necronomicron has offered up some comprehensive advice on how to build a working car in My Summer Car. Here’s the rundown.
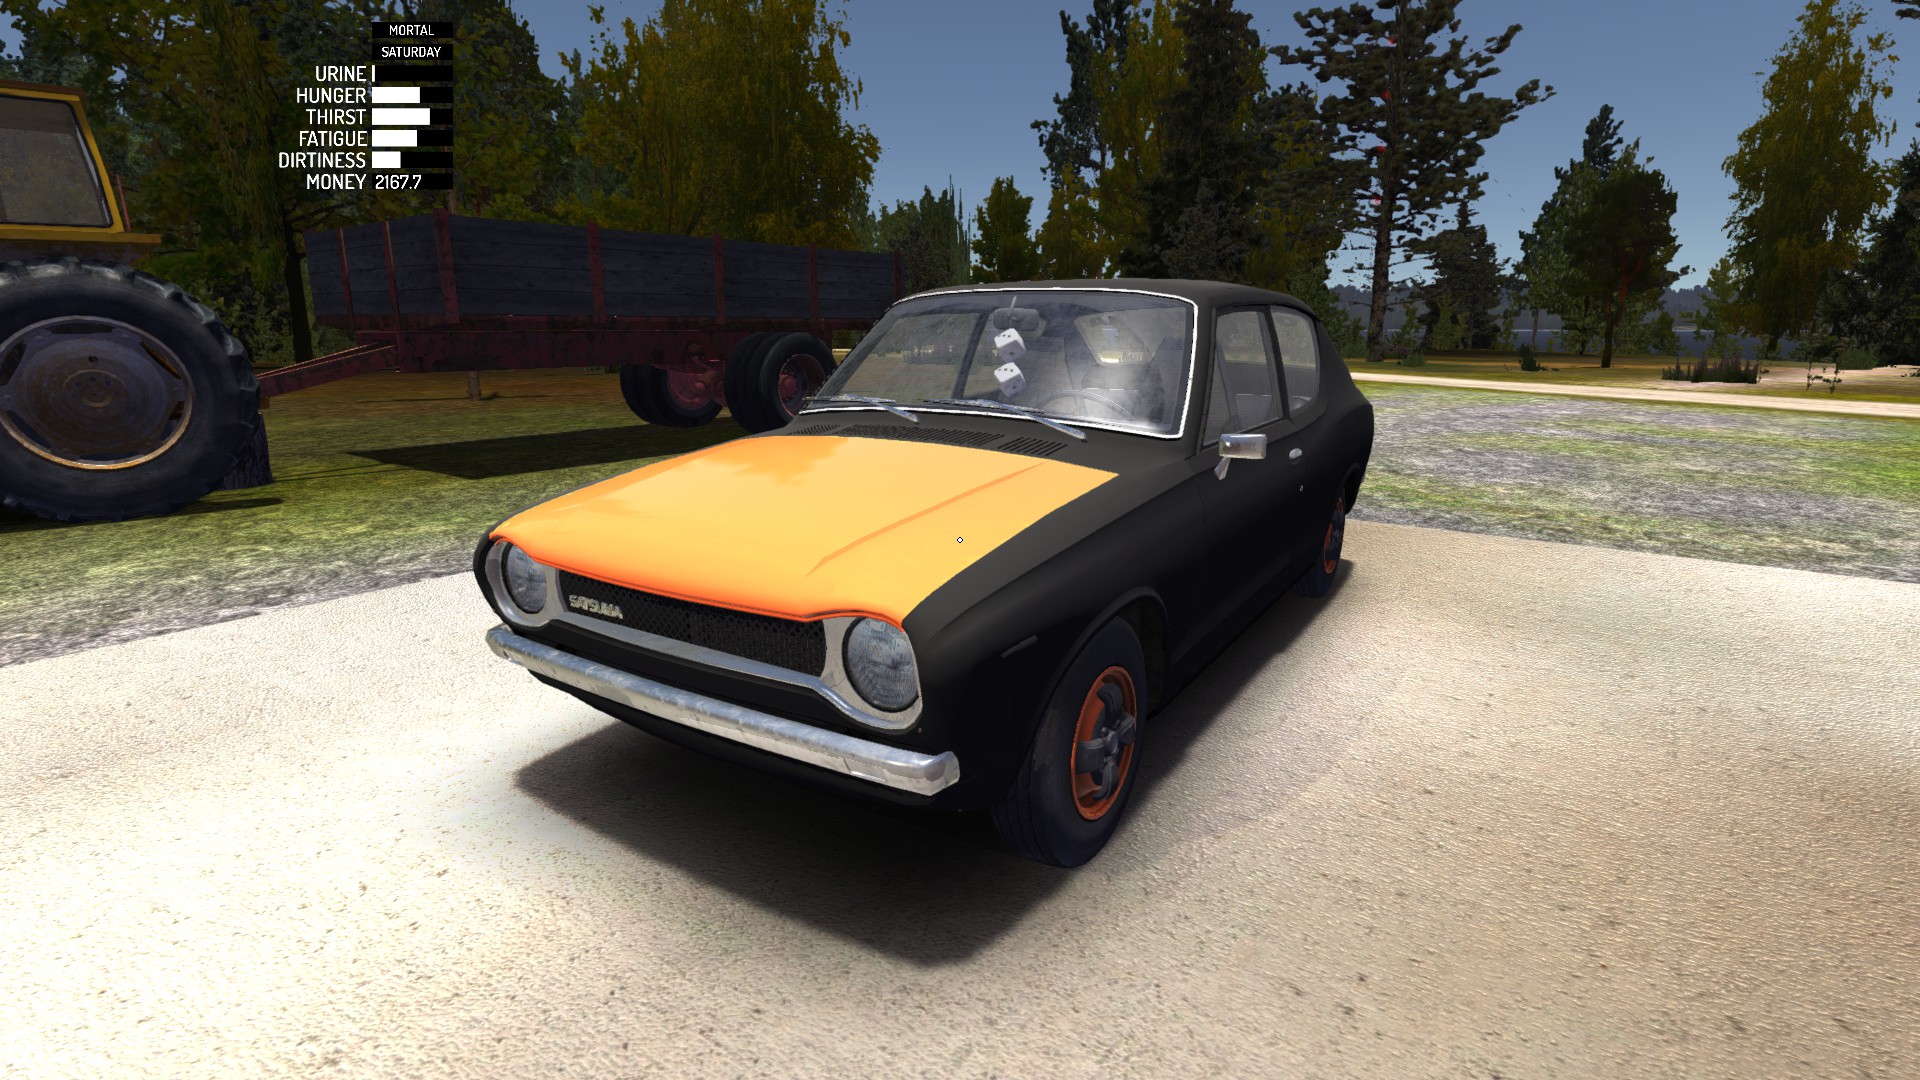
Building Your First Working Car in My Summer Car
Prepare before you try to build.
Since it will probably take a good bit of time both in and out of game to complete your first car, you will want to stock up on as many resources as you possibly can ahead of time. Necronomicron advised to first gather as much money as possible so that you can buy a fan belt, motor oil, and coolant.
All these things will be essential to get your car up and running, so it’s better to have them on hand before you start building.
Necromicon gives the following essential advice:
“…save the game before buying stuff, because your bag with goods will unpack on game load. It is easier to move just one bag rather than 20 items to your home.
I would recommend to buy everything on the left side of the store (which will cost 1,995 mk). However, you will need at least [one] fan belt, three brake/clutch fluids, one motor oil, [and] one coolant.”
He also suggests buying food and other supplies, since this will take awhile to build, and mother nature waits for no one.
| Part | Price |
|---|---|
| Fan Belt | 295 mk |
| Brake/Clutch Fluid | 35 mk |
| Motor Oil | 149 mk |
| Coolant | 195 mk |
Step One: Work on the Front Suspension
The first thing you need to do is jack the car up so you can work on the frame and underpinnings of the vehicle. To raise the body:
- Place the floor jack under the front bumper of the car.
- Use the lever to raise the floor jack (and the car) to its limit.
Once you’ve got the car jacked up, head over to the tool box. To use the tool box, hover your cursor to its opening and press “Use”. You’ll need to come back here often to switch out tools as necessary. To get to a specific tool, press 2, then click on whichever one you need. Once you have it, press 1 to hide that tool.
Now it’s time to work on the front part of your car’s frame. Here’s the order in which you need to attach your parts (and what screws or bolts you need to use):
- Subframe, Wishbones, Spindles
- Attach sub frame with 10mm screws (x4)
- Attach front left (FL) and front right (FR) wishbones with 10mm screws (x2 each)
- Attach FL and FR spindles with 12mm screws (x1 each)
- Disc Brakes, Halfshafts
- Put on the 2 disc brakes, but do NOT tighten them.
- Put on the 2 halfshafts with 9mm screws (x3)
- Tighten the disc brakes with 14mm screws (x1 each)
- Steering Rack, Steering Rods, Struts
- Attach the steering rack with 9mm screws (x4)
- Put on FL/FR steering rods, but do NOT tighten
- Put on FL/FR struts, but do NOT tighten
- Tighten the steering rods with 12mm screws (x1 each) and a size 14 adjustment nut.
- Tighten the struts with 10mm screws (x3) on top, and 9mm screws (x4) on the bottom
- Front Wheels, Steering Column
- Attach the FL and FR wheel steels with 13mm screws (x4)
- Attach the steering column with 8mm screws (x2)
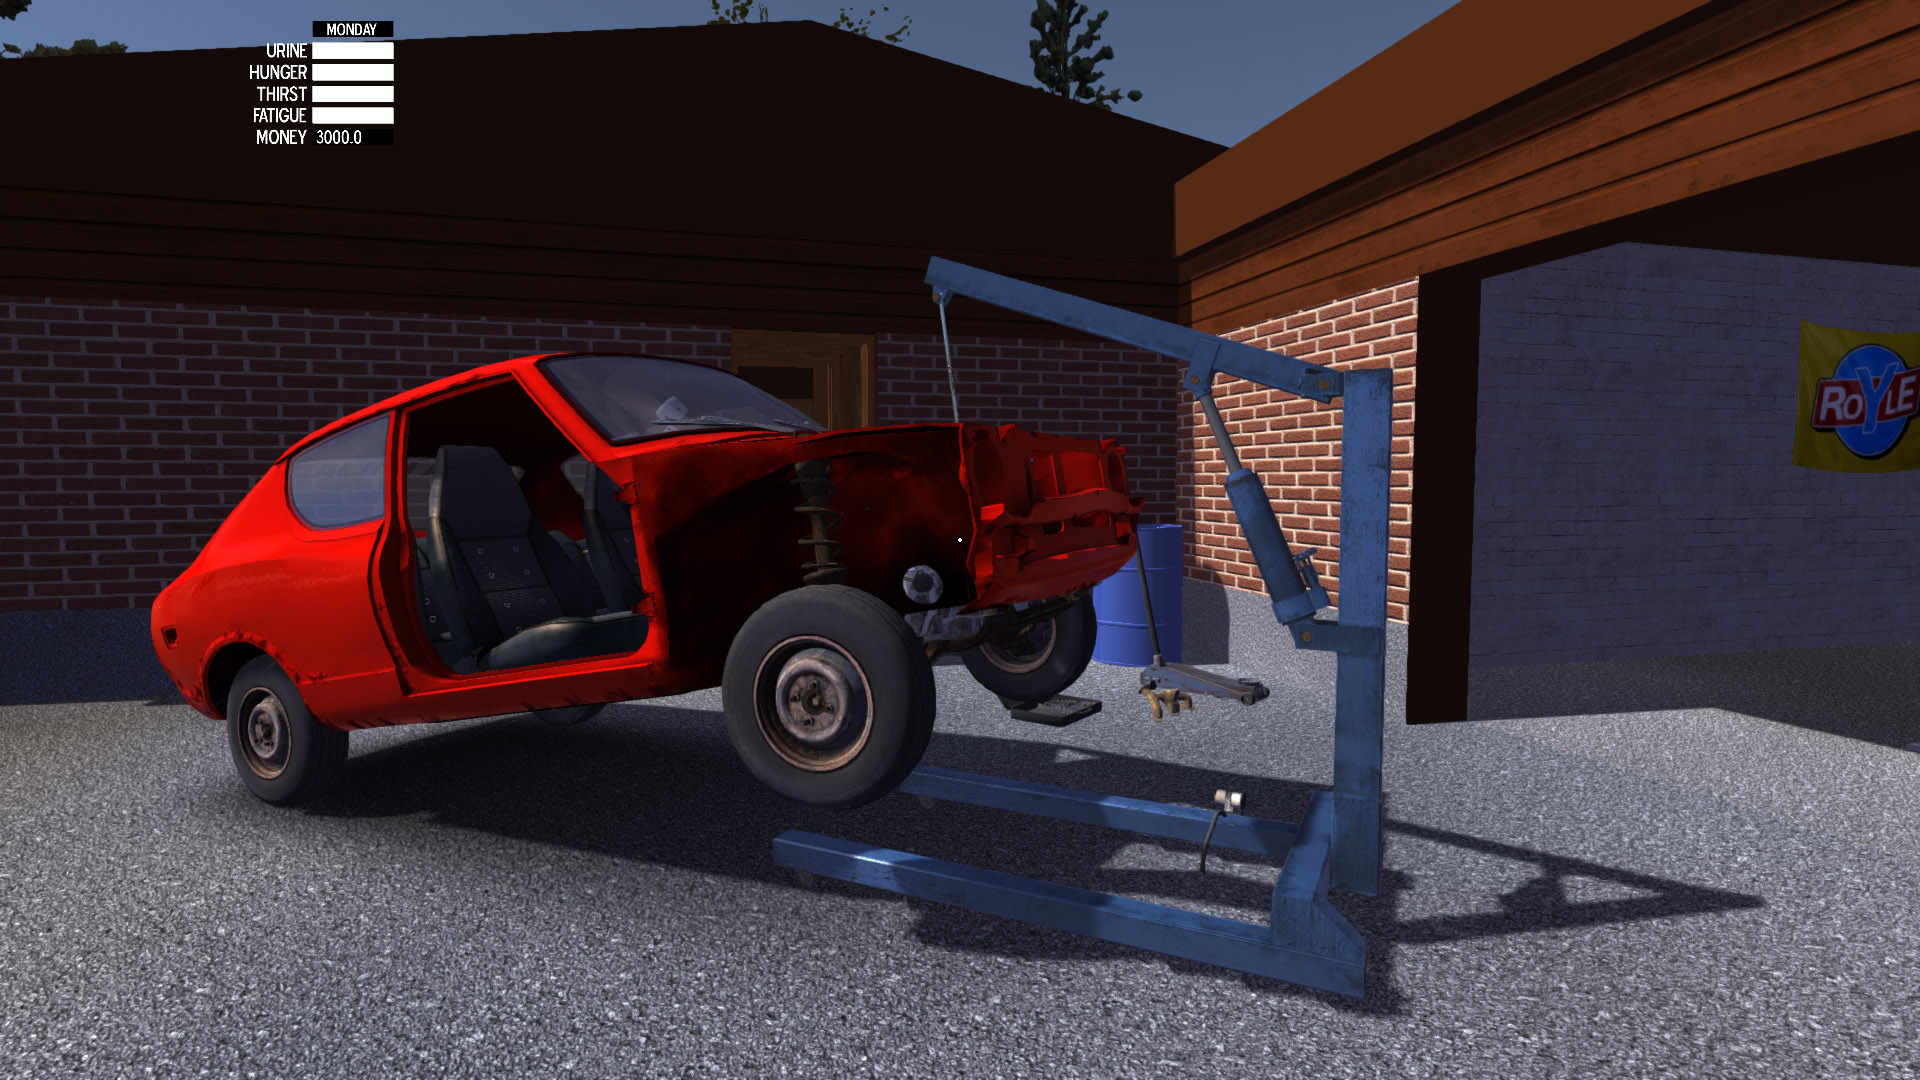
Step 2: Work on the Rear Suspension
The next major step in this process is putting together the rear suspension. So you’ll want to lower your frame and remove the floor jack. Move it to the rear bumper of the car, then jack the vehicle back up.
Once it’s up, you’ll need to add more parts in the following order:
- Trail Arms, Coil Springs, Shock Absorbers, Drum Brakes, Rear Wheels
- Attach rear left (RL) and rear right (RR) trail arms with 12mm screws (x2 each)
- Attach two coil strings (no screws needed)
- Attach two shock absorbers with 12mm screws (x1 each) on top, and 6mm screws (x2 each) on the bottom.
- Attach two drum brakes with 14mm screws (x1 each)
- Attach RL and RR wheel steel with 13mm screws (x4 each)
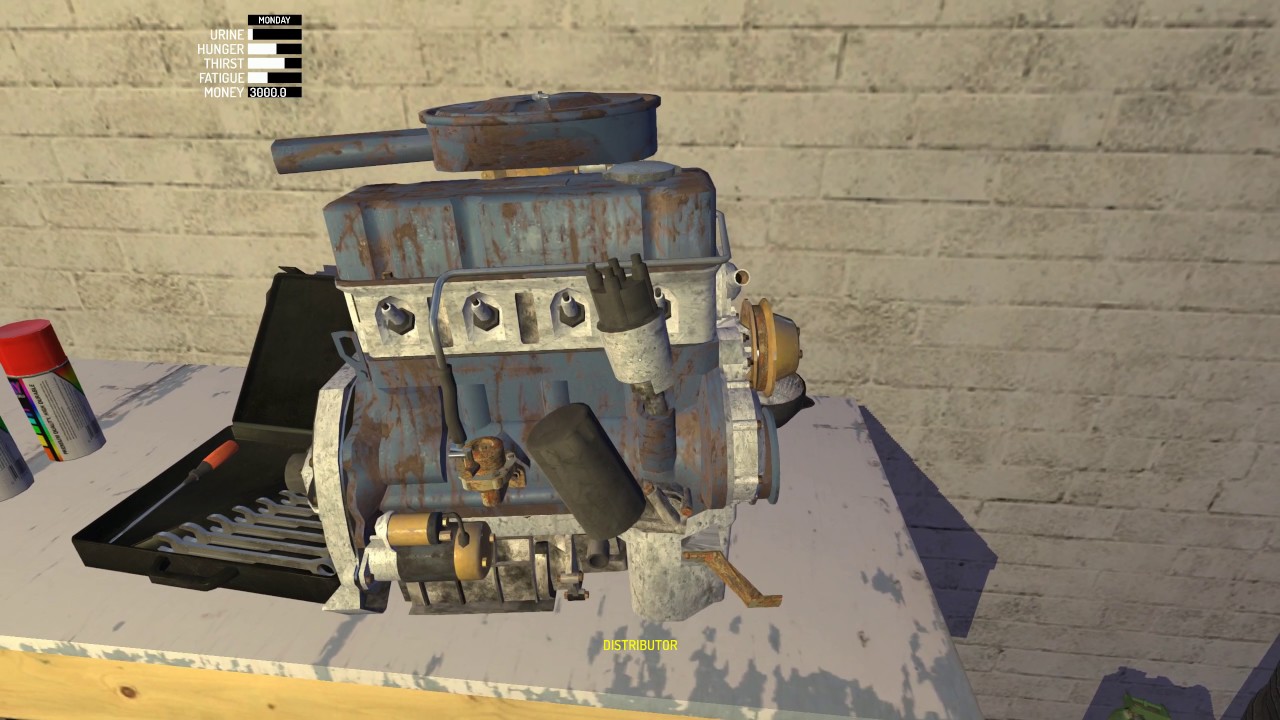
Step 3: Put Together the Engine
Now that you’ve got your rear suspension built, lower the floor jack and remove it. Push your car into the garage where you’ll complete the next several steps.
For right now, though, you’re going to set the car aside and focus on building your engine. Set the engine block on a spacious work table and build it out as follows:
- Block, Crankshaft, Main Bearings, Pistons
- Put the engine block on a table
- Attach the crankshaft (no screws needed)
- Attach main bearings 1, 2 and 3 with 9mm screws (x2 each)
- Attach pistons 1, 2, 3, and 4 with size 7 nuts (x2 each)
- Head Gasket, Cylinder Head, Headers, Motor Hoist
- Attach the head gasket (no screws needed)
- Attach the cylinder head with 7mm screws (x10)
- Attach the headers with 8mm screws (x5)
- Place the motor hoist on top of the engine
- Fasten the engine to the motor hoist with 10mm screws (x2)
- As you tighten each screw, the engine will align into the correct position.
- Carburetor, Rocker Shaft, Rocker Cover
- Attach the carburetor with 8mm screws (x4)
- Attach the rocker shaft with 8mm screws (x5)
- Don’t try to adjust the valvetrain just yet — we’ll do that later.
- Fasten the rocker cover with 7mm screws (x6)
- Camshaft, Camshaft Gear, Timing Belt, Timing Cover
- Attach the camshaft with 5mm screws (x2)
- Attach the camshaft gear with a 10mm screw (x1)
- Put on the timing belt (no screws needed)
- Attach the timing cover with 6mm screws (x6)
- Water Pump, Water Pump Pulley, Crankshaft Pulley
- Attach the water pump with 7mm screws (x5)
- Attach the water pump pulley with 7mm screws (x4)
- Attach the crankshaft pulley with an 11mm screw (x1)
- Alternator, Fan Belt
- Attach the alternator with a 7mm screw (x1) on top and a size 10 nut (x1) on the bottom.
- Attach the fan belt (no screws needed)
- Grab the screwdriver from the tool box.
- Using the mouse scroll wheel, adjust the alternator so it slightly touches the fan belt.
- Tighten the screw.
- Note: Later in the process, you’ll need to calibrate this part. If the fan belt is too loose, your car won’t start at all!
- Engine Plate, Starter, Flywheel
- Attach the engine plate (no screws needed)
- Attach the starter with 7mm screws (x2)
- Attach the flywheel with 7mm screws (x6)
- Clutch Cover Plate, Clutch Pressure Plate, Clutch Disc
- Put the clutch pressure plate into the clutch cover plate
- Put the clutch disc into the clutch pressure plate
- Attach the whole thing to the engine with 6mm screws (x6)
- Oilpan, Gearbox, Drive Gear
- Attach the oil pan with 7mm screws (x8) and a 13mm screw (x1)
- Attach the gearbox with 7mm screws (x6) and a 10mm screw (x1)
- Attach the drive gear with 6mm screws (x7)
- Spark Plugs, Fuel Pump, Distributor
- Tighten the spark plugs with the spark plug wrench
- Attach the fuel pump with 7mm screws (x2)
- Attach the distributor with a 6mm screw (x1)
Step 4: Install the Engine
Now comes a tricky part. You need to get the engine you just built into the car by hoisting it. Grab the hoist and use it to lift up the engine. Be careful, though! The engine can detach from the hoist if you aren’t paying attention.
Move the host over to the car, then lower it. As soon as the engine is in the proper position, bolts will appear — two 11mm bolts on the front side and one 11mm bolt on the rear side.
Once you’ve got the engine aligned properly, unscrew it from the hoist. Then raise the hoist again and put it away. Now you’re ready to start working on the guts of the car that will make it run!
Step 5: Work On Everything Under the Hood
It’s time to dig deep into your car building process and start making all the internal connections that will turn this hunk of metal from a collection of parts to a fully running vehicle. Here’s the order in which you need to build everything:
- Battery and Electrics
- Put the Battery in position next to the engine
- Attach the electrics to the engine compartment with 8mm screws (x2)
- Fuel Strainer, Radiator, Radiator Hoses, Oil Filter
- Attach the fuel strainer with an 8mm screw (x1)
- Attach the radiator with 7mm screws (x4)
- Attach radiator hose 1
- Attach radiator hose 2 to the engine block
- Attach radiator hose 3
- Tighten the oil filter with your hand (using the mouse scroll wheel)
- Note: Just putting the oil filter on is NOT enough
- Clutch Master Cylinder, Brake Master Cylinder
- Place the clutch master cylinder and the break master cylinder between the engine and the frame of the car using 8mm screws (x2) on the engine side and 9mm screws (x1 each) on the cabin side.
- Clutch Lining, Brake Lining
- Attach the clutch lining with 7mm screws (x2)
- Attach the brake lining with 7mm screws (x8)
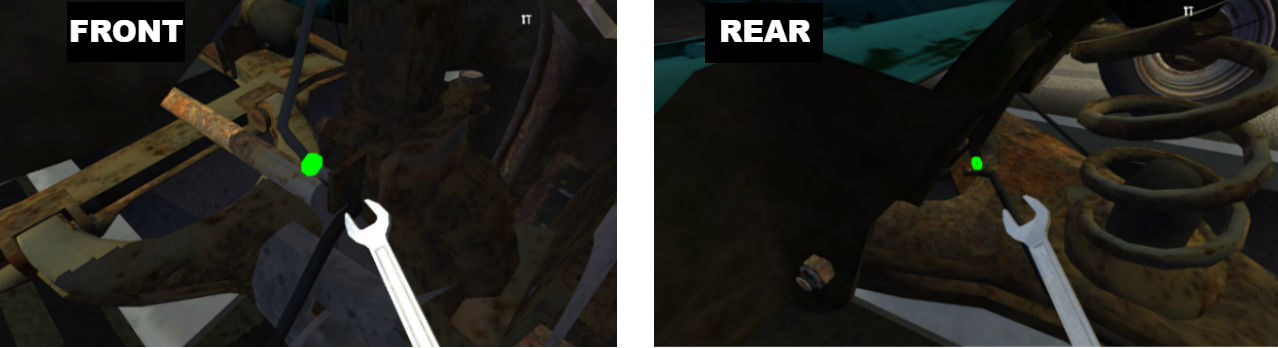
- Tighten the nuts for each attached wheel with 7mm screws
The nuts you’re looking for on each wheel look like this:
- Fuel Tank, Halfshafts
- Attach the fuel tank with 11mm screws (x7)
- Pay close attention to the 12mm nut (x1) that you also need to attach this tank. If you miss it, all your fuel will leak.
- Tighten the halfshafts to the engine with 9mm screws (x3)
- Attach the fuel tank with 11mm screws (x7)
- Gear Linkage, Gear Stick, Handbrake
- Attach the gear linkage with 5mm screws (x3), two on the bottom and one on the top.
- Attach the gear stick with 6mm screws (x3)
- Attach the handbrake with 8mm screws (x4)
- Tighten the 5mm bolt near the fuel tank
- Exhaust Pipe, Exhaust Muffler, Fuel Tank Pipes
- Attach the exhaust pip with one 7mm screw on the back side and two 7mm screws on the engine side.
- Attach the exhaust muffler with a 7mm screw (x1)
- Attach the fuel tank pipe (no screws needed)
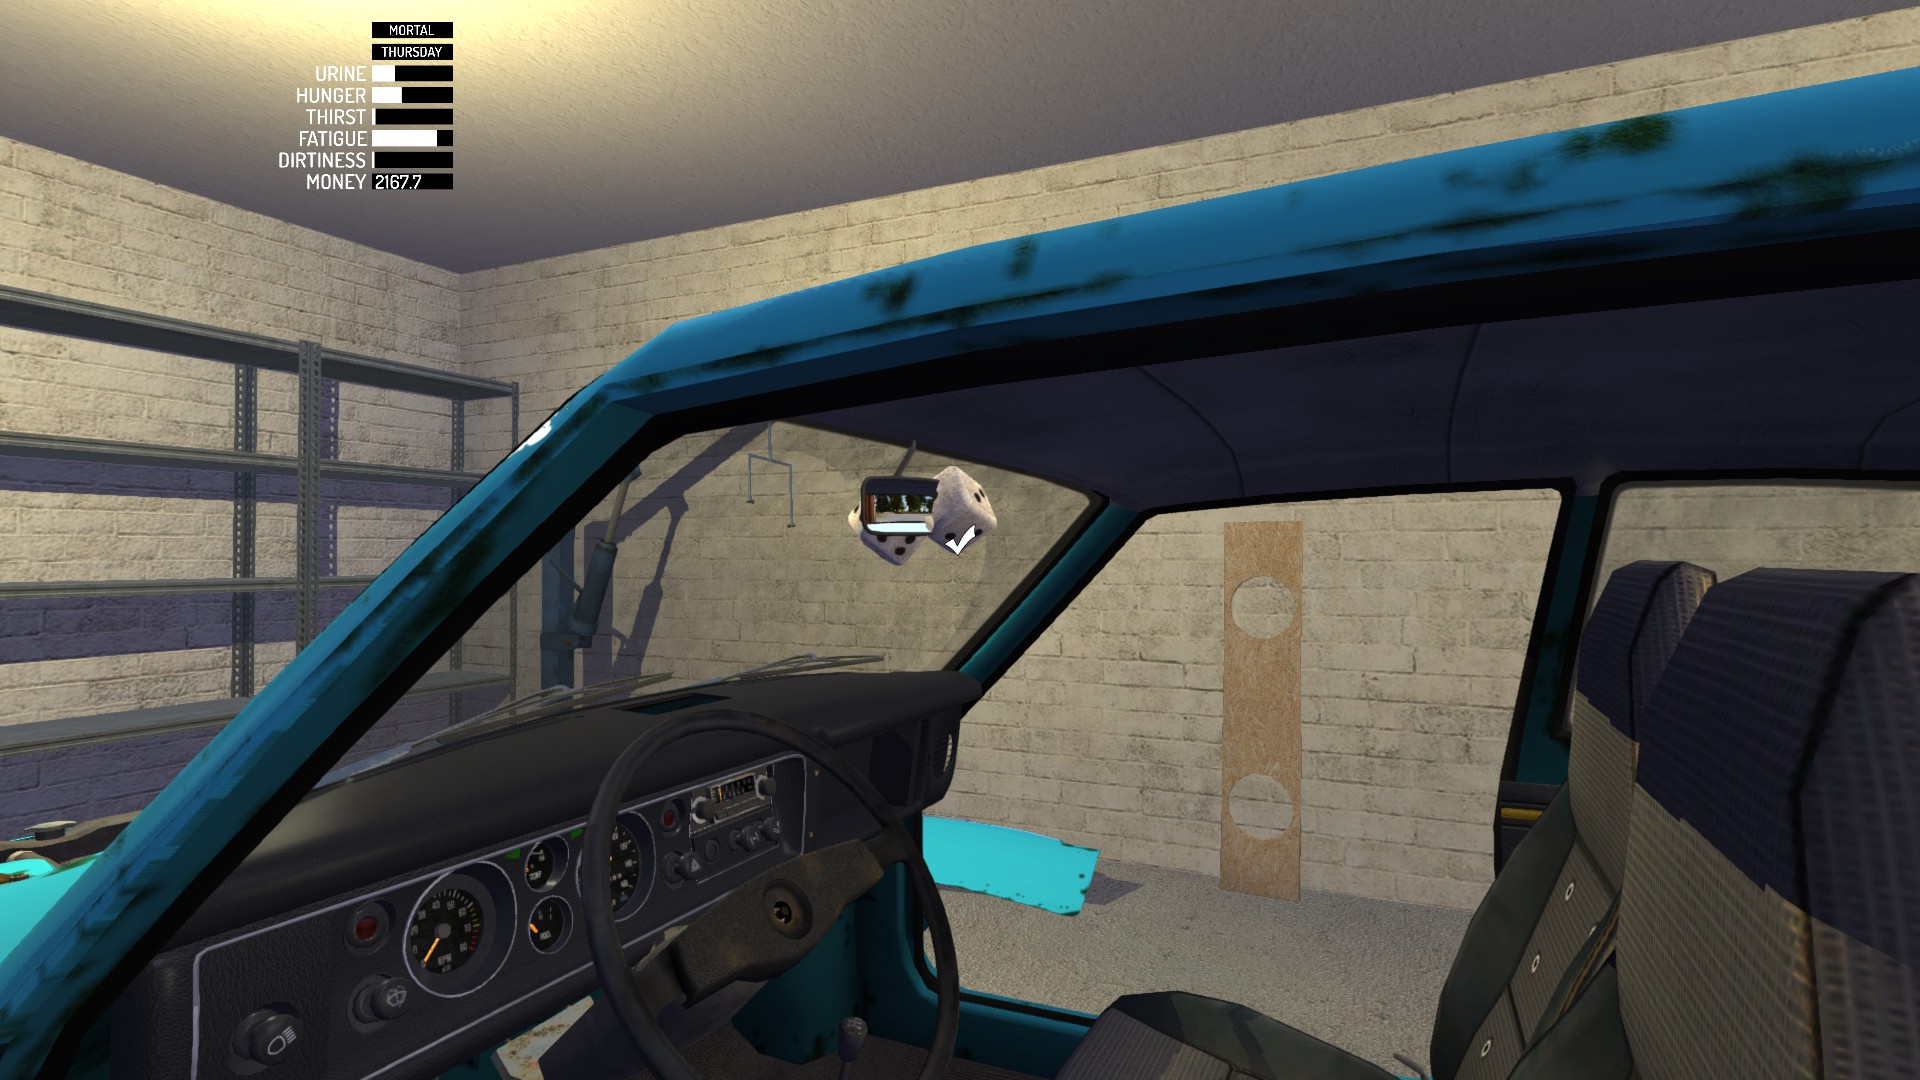
Step 6: Build Out the Car Interior
Finally! You’ve got a car that should be able to run on its own. But that’s pretty useless without a comfortable interior. So now it’s time to build out the inside of your summer ride.
- Dashboard, Dashboard Meters, Gauges
- Attach the dashboard with 10mm screws (x2)
- Set aside the meter display section of the dashboard.
- Arrange your dashboard meters on the table.
- Choose which meter you want to use (RPM gauge or clock gauge) and tighten it into the display with 7mm screws (x2)
- Attach the meter display to the dashboard with 6mm screws (x2)
- Seats, Back Panels
- Attach the rear seats with 9mm screws (x2)
- Choose whether you’d like to have a normal back panel or a subwoofer panel
- Insert your panel of choice (no screws needed)
- Attach the driver’s seat and passenger’s seat with 9mm screws (x4 each)
- Stock Steering Wheel, Radio
- Attach the stock steering wheel to the steering column with a 10mm screw (x1)
- Insert the radio into the dashboard
Step 7: Work on the Car Exterior
Now that you have seats and a steering wheel to make your car much more driveable, you’ll need to add all the external features like doors and headlights that will keep you rolling along.
- Headlights, Grille, Hood, Air Filter
- Insert the headlights into the front bumper and attach them with 7mm screws (x2 each)
- Attach the grill to the front bumper with 6mm screws (x2)
- Place the hood on top of the car without tightening it.
- Open the hood with hood lock.
- Tighten the hood with 6mm screws (x4), but do NOT close it. (It needs to stay open for later steps.)
- Insert and attach the air filter with 6mm screws (x2)
- Doors, Fenders, Bootlid
- Attach the left and right doors with 10mm screws (x4 each)
- Attach the left and right fenders with 5mm screws (x5 each)
- Place the bootlid on the trunk of the car, then tighten it with 6mm screws (x4)
- Bumpers, Rear Lights
- Attach the front and rear bumpers with 8mm screws (x2 each)
- Attach the left and right rear lights
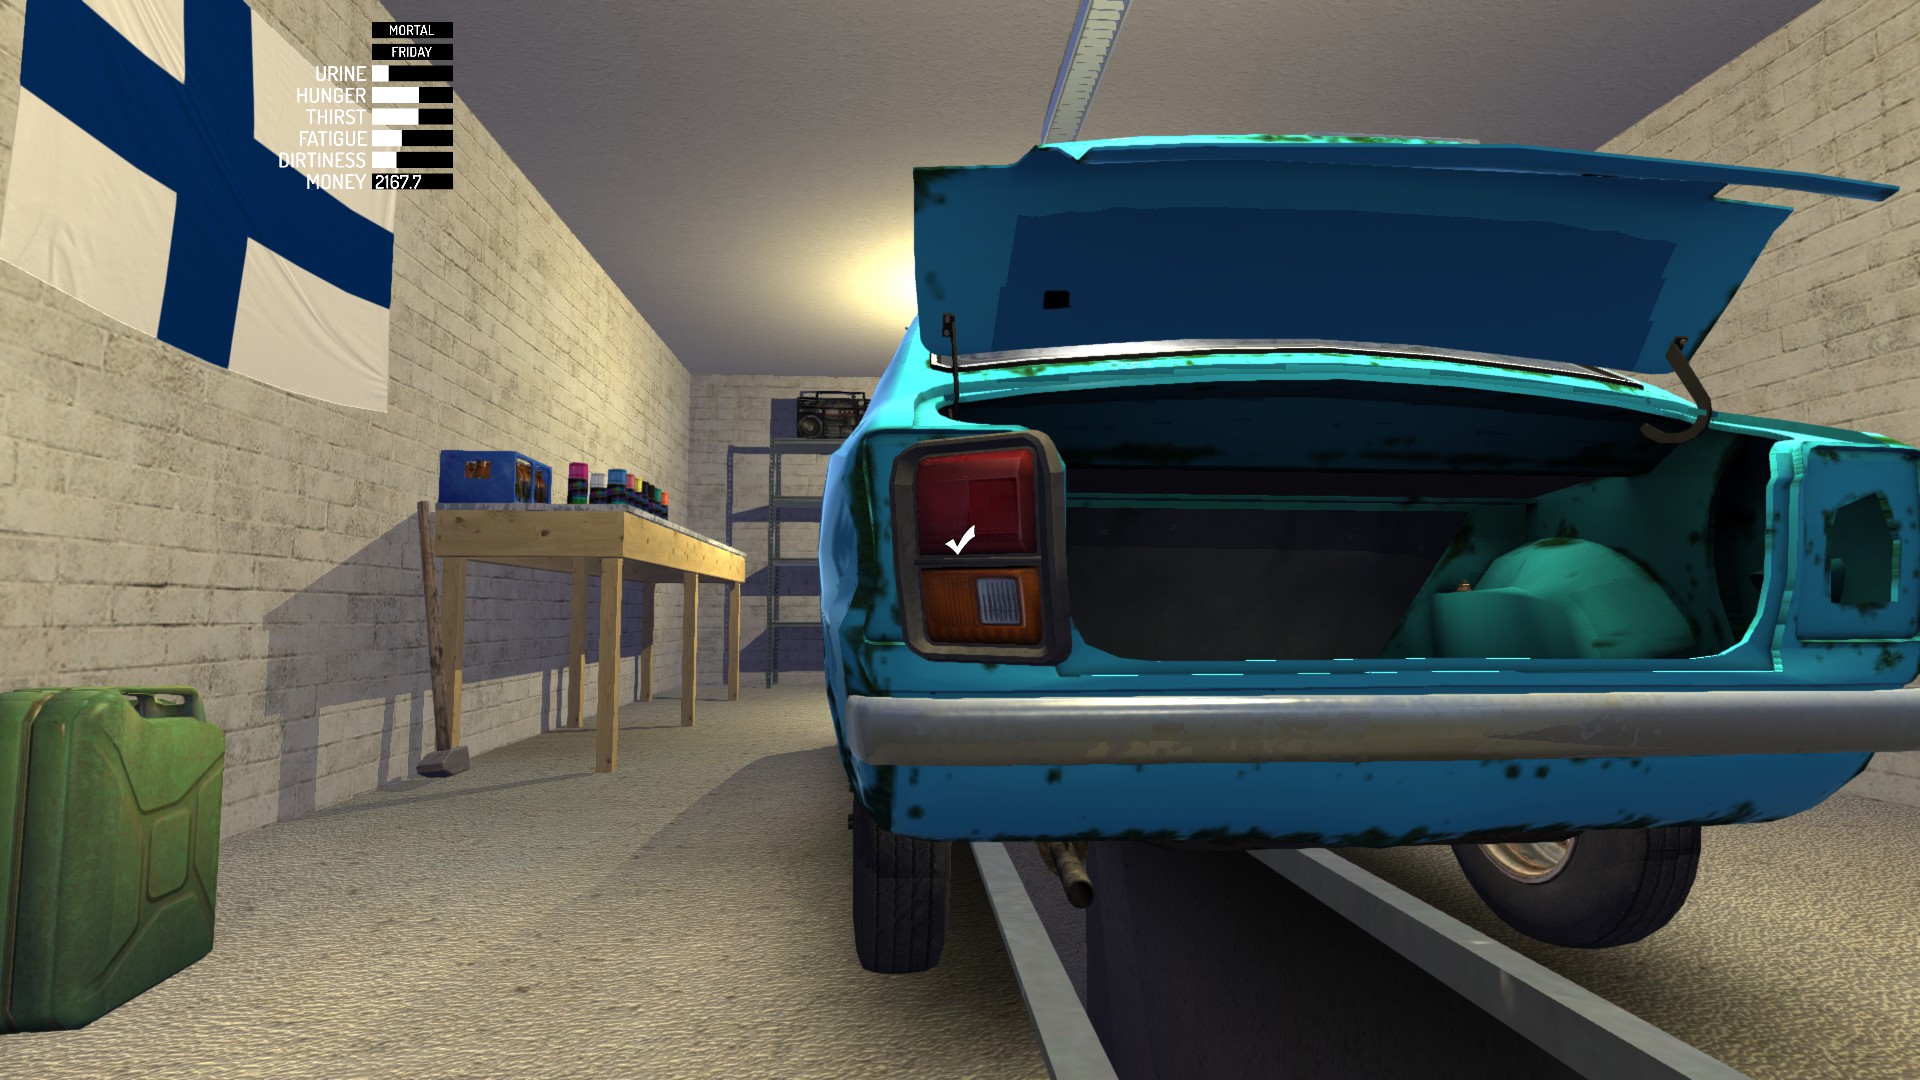
- Liquids
- Open the radiator’s cap.
- Pour coolant into the radiator. (But DON’T throw the bottle out when you’re finished. It isn’t empty.)
- Open the rocker cover’s cap and pour motor oil in it. (Again, DON’T throw out the bottle, because it isn’t empty.)
- Open any of the two brake master cylinder caps and pour in brake fluid. (Do get rid of this bottle, because it’s empty.)
- Do the same with the second cylinder cap opening.
- Open the clutch master cylinder cap and repeat the process. (This time the bottle will NOT be empty.)
- Open the jerrycan and put gas in your gas tank.
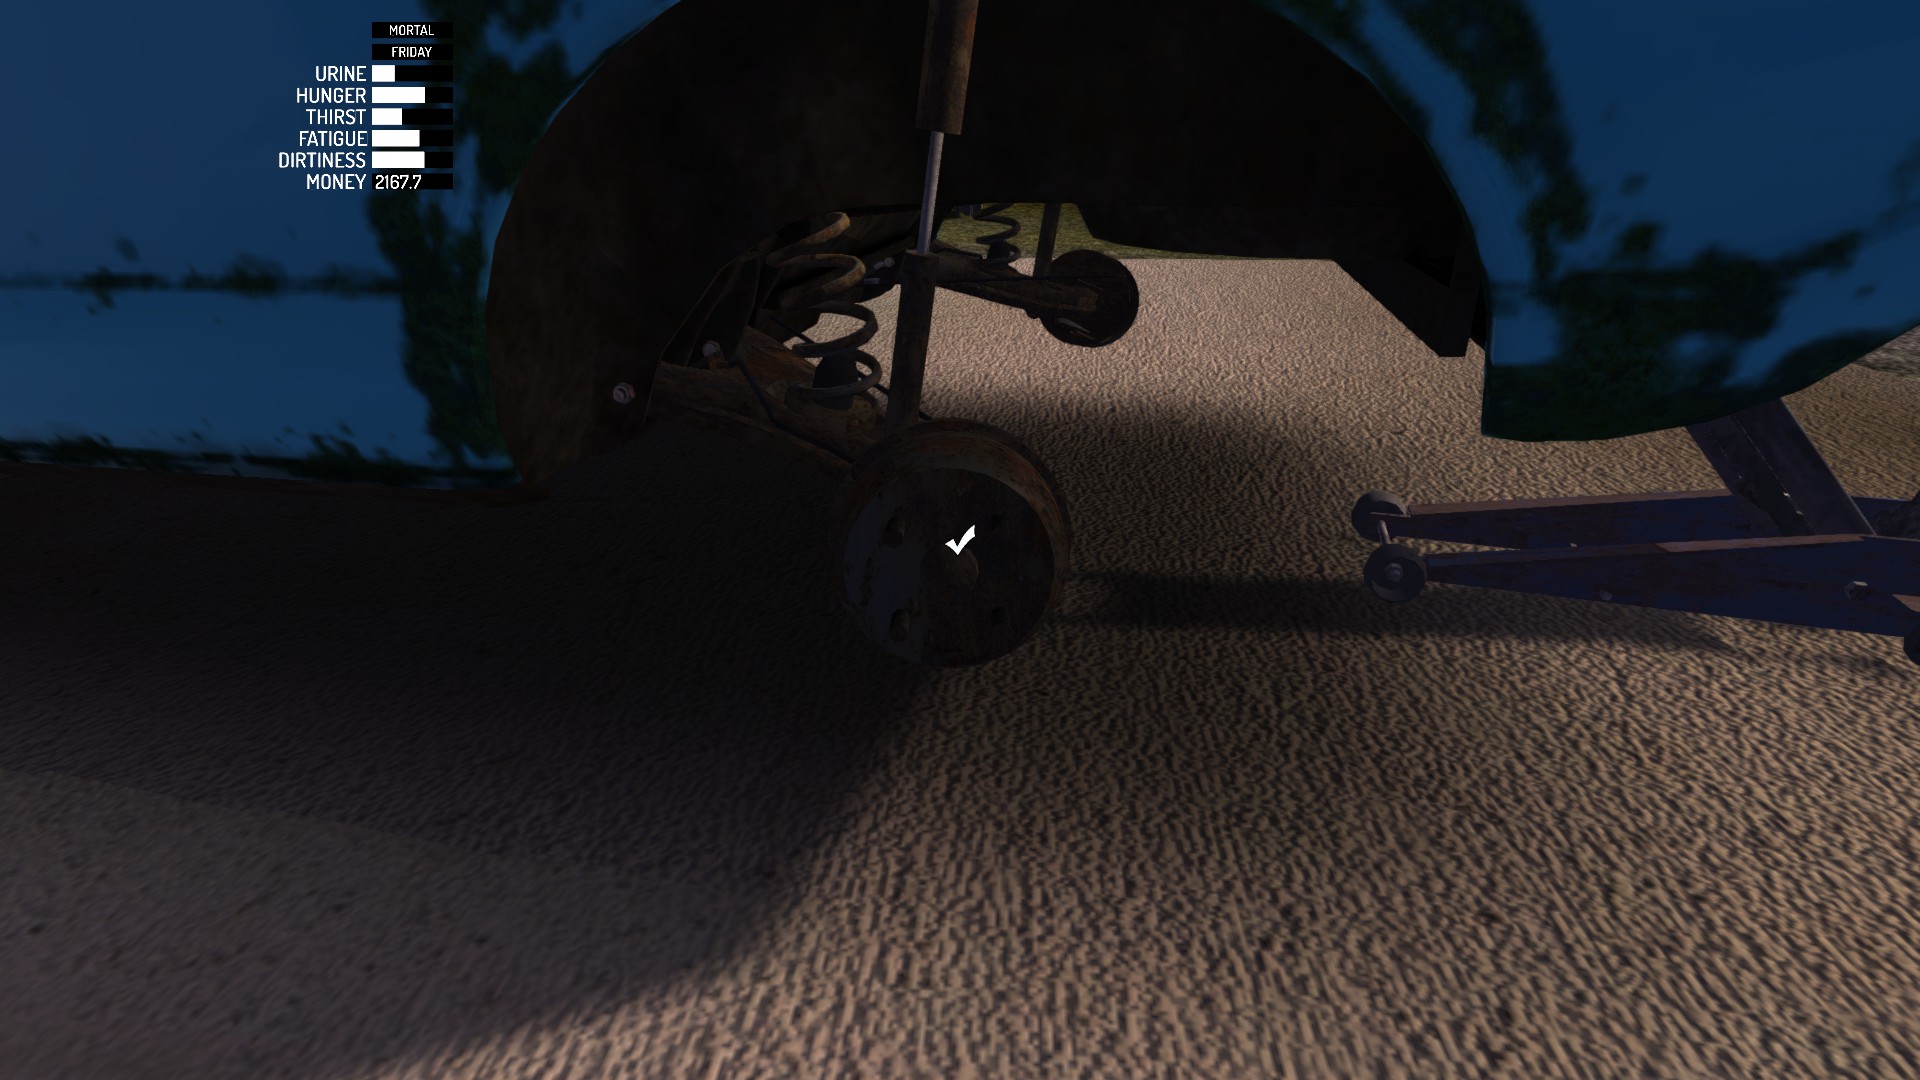
Step 8: Adjust Your Wheels
You’re almost ready to go! But before you start zooming around, you need to make sure your wheels are up to snuff. The orientation of your front wheels is probably pretty messed up by now, so you’ll need to adjust the nut on the inside of each wheel (14mm).
- Turn the nut to its absolute limit.
- Note: The nut can turn infinitely, but after a certain point the wheel will stop rotating with it. This is how you know that it’s at its limit.
- When the wheel is at its limit, turn the nut in the opposite direction 60 times.
- Repeat for the other wheel.
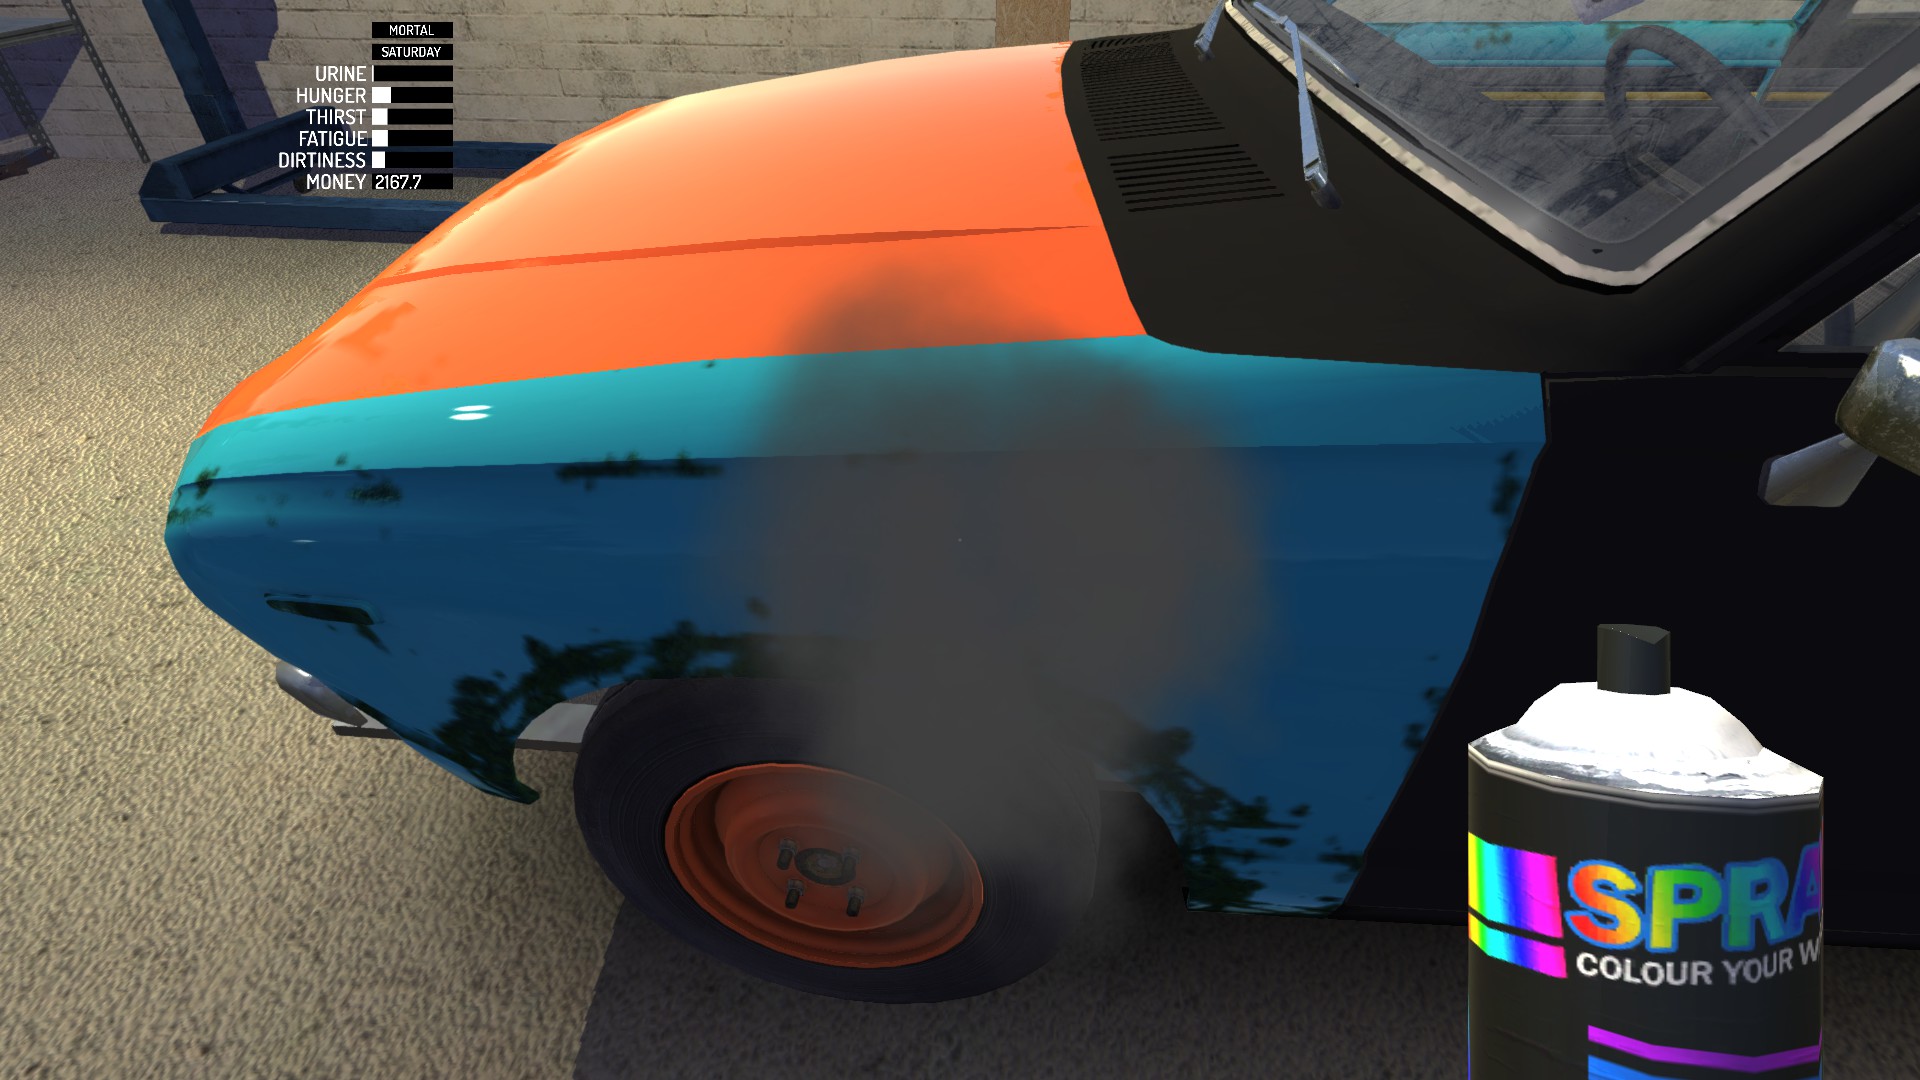
Step 9: Paint Your Car
Time to customize your sweet summer ride! There are 12 glossy and 1 matte paints. So pick which one you want to use and pick it up. Press the “Use” button to paint your car with that color.
Step 10: Start Your Engine!
You’re getting so close to vehicular freedom that you can almost taste it. But you have adjust your fan belt and test everything out to make sure it’s running smoothly before you hit the road.
To start your car:
- Open your hood
- Get in the car and pull out the choke
- Hold LMB on the ignition
- Hold the gas
When you do this, the fan belt may squeak. Even if it doesn’t, you should adjust it by following the steps below:
- Hop out of the car and loosen the bolt once — but DON’T totally unscrew it
- Loosen the alternator until it squeaks
- Tighten it once so that it stops squeaking
- Tighten the bolt and close the hood
Step 11: Test Drive
Finally, the moment you’ve been waiting for. Time to see if your car can actually go anywhere.
Get back into the car. Your engine is probably still cold, which is why you pulled out the choke in a previous step — you need it to heat until the temperature arrow is in the middle position on the gauge. Rev the engine a bit to heat it up faster.
Once your engine is heated, push in the choke and drive! Hopefully everything is running smoothly and you don’t experience any sort of breakdown.
Step 12: Register Your Car
The last step in getting your car road-ready is going through a car inspection to make sure that vehicle isn’t a safety risk to your or anyone else. You can have your car inspected for 325 mk.
Once it passes inspection, register your plates. Now you’re ready to go! Drive your car to your heart’s content.
Step 13: Upgrade as Necessary
This last step is optional, but we’re willing to bet that you’ll take advantage of it at some point or another. Once you’ve built a base car, you can invest in upgrades that will pimp out your ride and make you the talk of your Finnish town. If you want to buy everything, you’ll need almost 30,000 mk. But if you only want to invest in a few pieces here and there, below is a full list of each part you can upgrade and how much it costs:
| Upgraded Part | Price |
|---|---|
| Window Grille | 219 mk |
| Rear Spoiler 2 | 329 mk |
| Rear Spoiler | 199 mk |
| Front Spoiler | 249 mk |
| Fender Flares and Fender Flare Spoiler | 1195 mk |
| Wheels Rally | 3249 mk |
| Wheels Spoke | 1519 mk |
| Wheels Hayosiko | 1575 mk |
| Wheels Racing | 3615 mk |
| Windows Black Wrap | 299 mk |
| Sport Steering Wheel | 349 mk |
| Dash Cover Zebra | 295 mk |
| Dash Cover Leopard | 295 mk |
| Dash Cover Plush | 295 mk |
| Seat Cover Zebra | 139 mk |
| Seat Cover Leopard | 139 mk |
| Seat Cover Plush | 139 mk |
| Wheel Cover Zebra | 49 mk |
| Wheel Cover Leopard | 49 mk |
| Fuel Mixture Gauge | 549 mk |
| Extra Gauges | 299 mk |
| Tachometer | 829 mk |
| CD Player | 1395 mk |
| Subwoofers | 695 mk |
| Steel Headers | 649 mk |
| Twin Carburators | 1750 mk |
| Racing Exhaust | 429 mk |
| Racing Muffler | 169 mk |
| Racing Radiator | 1215 mk |
| Racing Harness | 645 mk |
| Bucket Seats | 5095 mk |
| Rally Steering Wheel | 895 mk |
—
That wraps up our guide to building a working car in My Summer Car! Now that you can roam freely around the roads of your small Finland town, be sure to check out the rest of our My Summer Car guides for even more tips and tricks:
- How to Save Your Game in My Summer Car
- My Summer Car Guide: The Most Fun Way to Find the Shop
- My Summer Car Guide: How Do I Wash? By Using the Sauna!