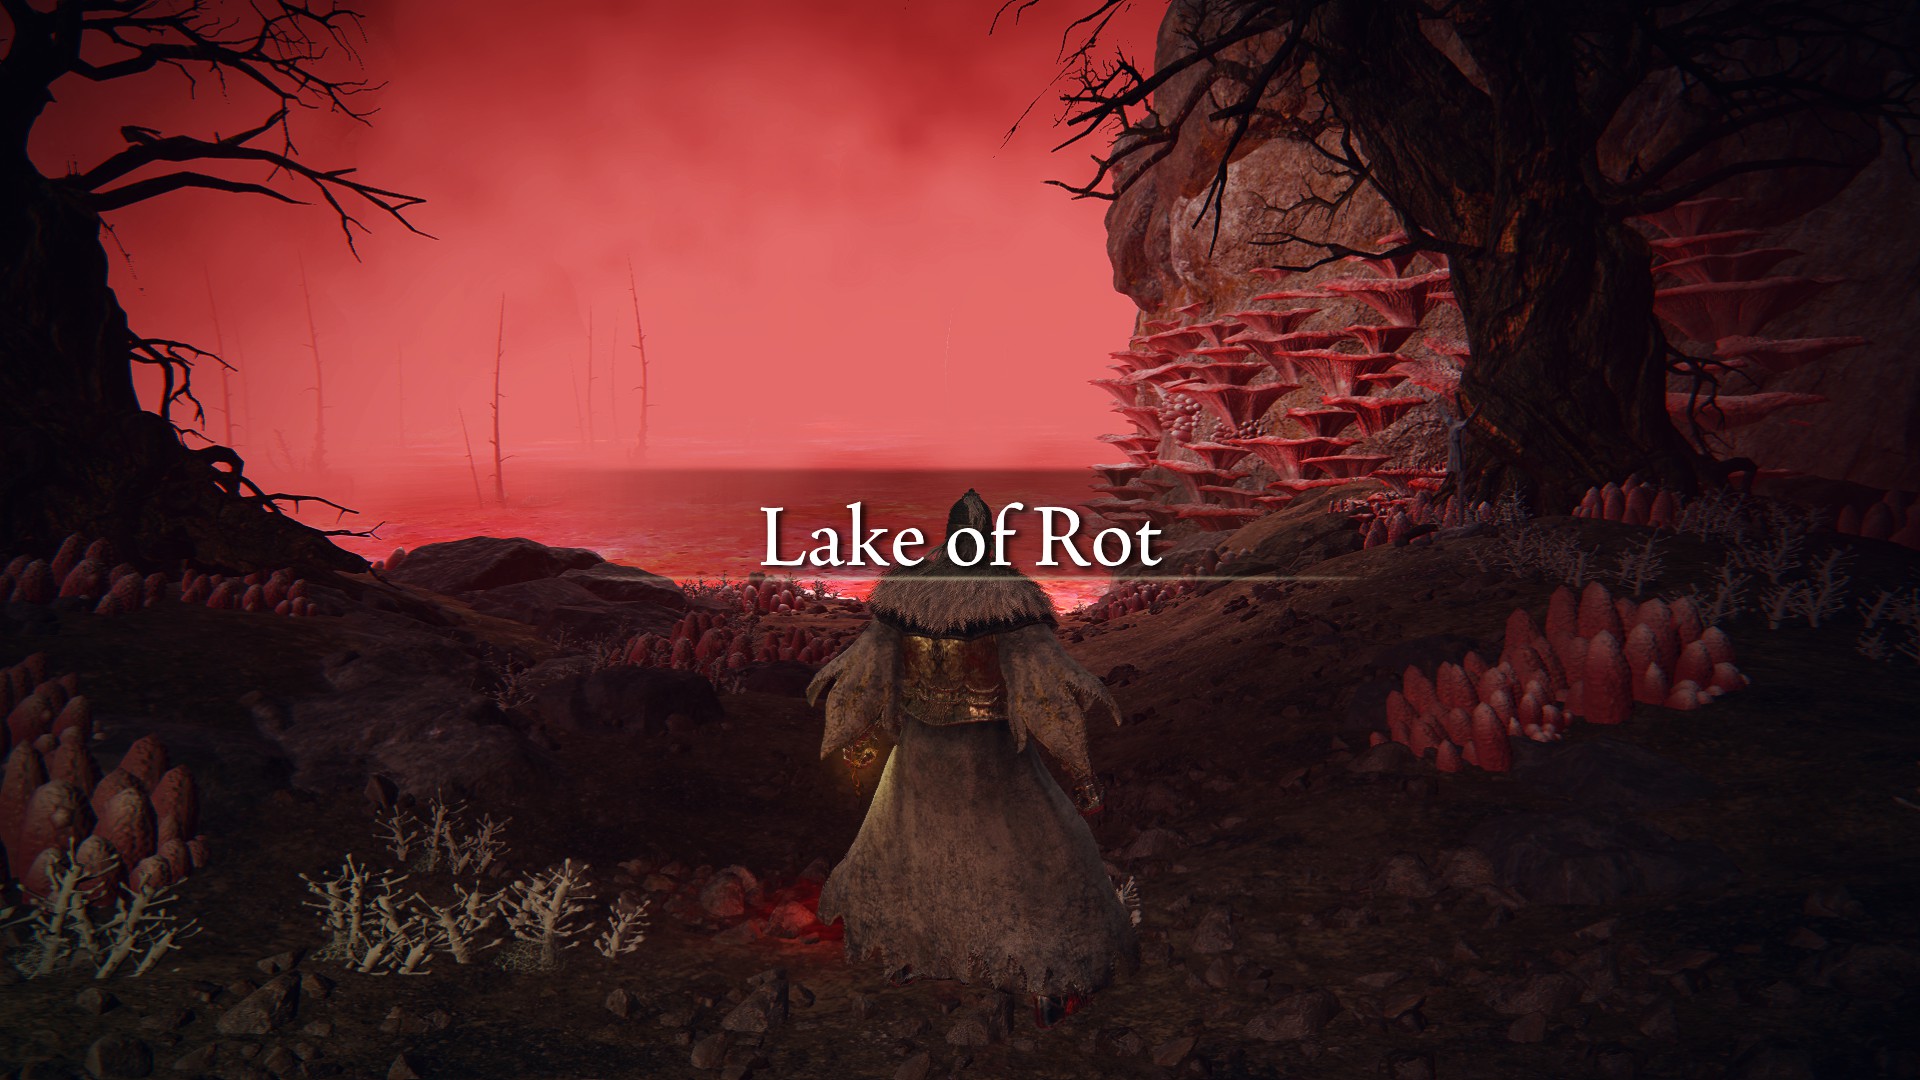
The Lake of Rot is a horrible place, and you’ll never want to return once you’ve been there. Thankfully, you only need to visit the wretched lake once, unless you leave some loot unfound or like Miyazaki poison swamps for some reason. Either way, getting there is quite the process, though required for earning all of the endings in Elden Ring and a few other nice little bits of loot.
This Elden Ring guide will explain all the steps to reach the Lake of Rot, where you can pick up the Dragonscale Blade katana, among other things.
Lake of Rot Location
The Lake of Rot is a necessary destination as part of Ranni’s questline and is unreachable without entering her service. We have an extensive guide on Ranni’s questline accessible via the link at the bottom of the page if you want to know all the steps, but here, we’re discussing only what you need to do to reach the area itself.
Step 1: Enter Ranni’s Service
Head to Caria Manor in the far northwest of Liurnia of the Lakes and clear it, including the boss fight against Royal Knight Loretta. Meet with Ranni in Ranni’s Rise at the westernmost tip of the area behind the manor. Enter her service when prompted.
Step 2: Defeat Starscourge Radahn

You need an item from Nokron to progress Ranni’s questline, and you’ll only reach that area by unleashing the falling star Starscourge Radahn keeps at bay. His castle of Redmane is in the southeastern portion of Caelid. We have a guide for how to beat Radahn here.
Step 3: Go Through Nokron to Night’s Sacred Ground
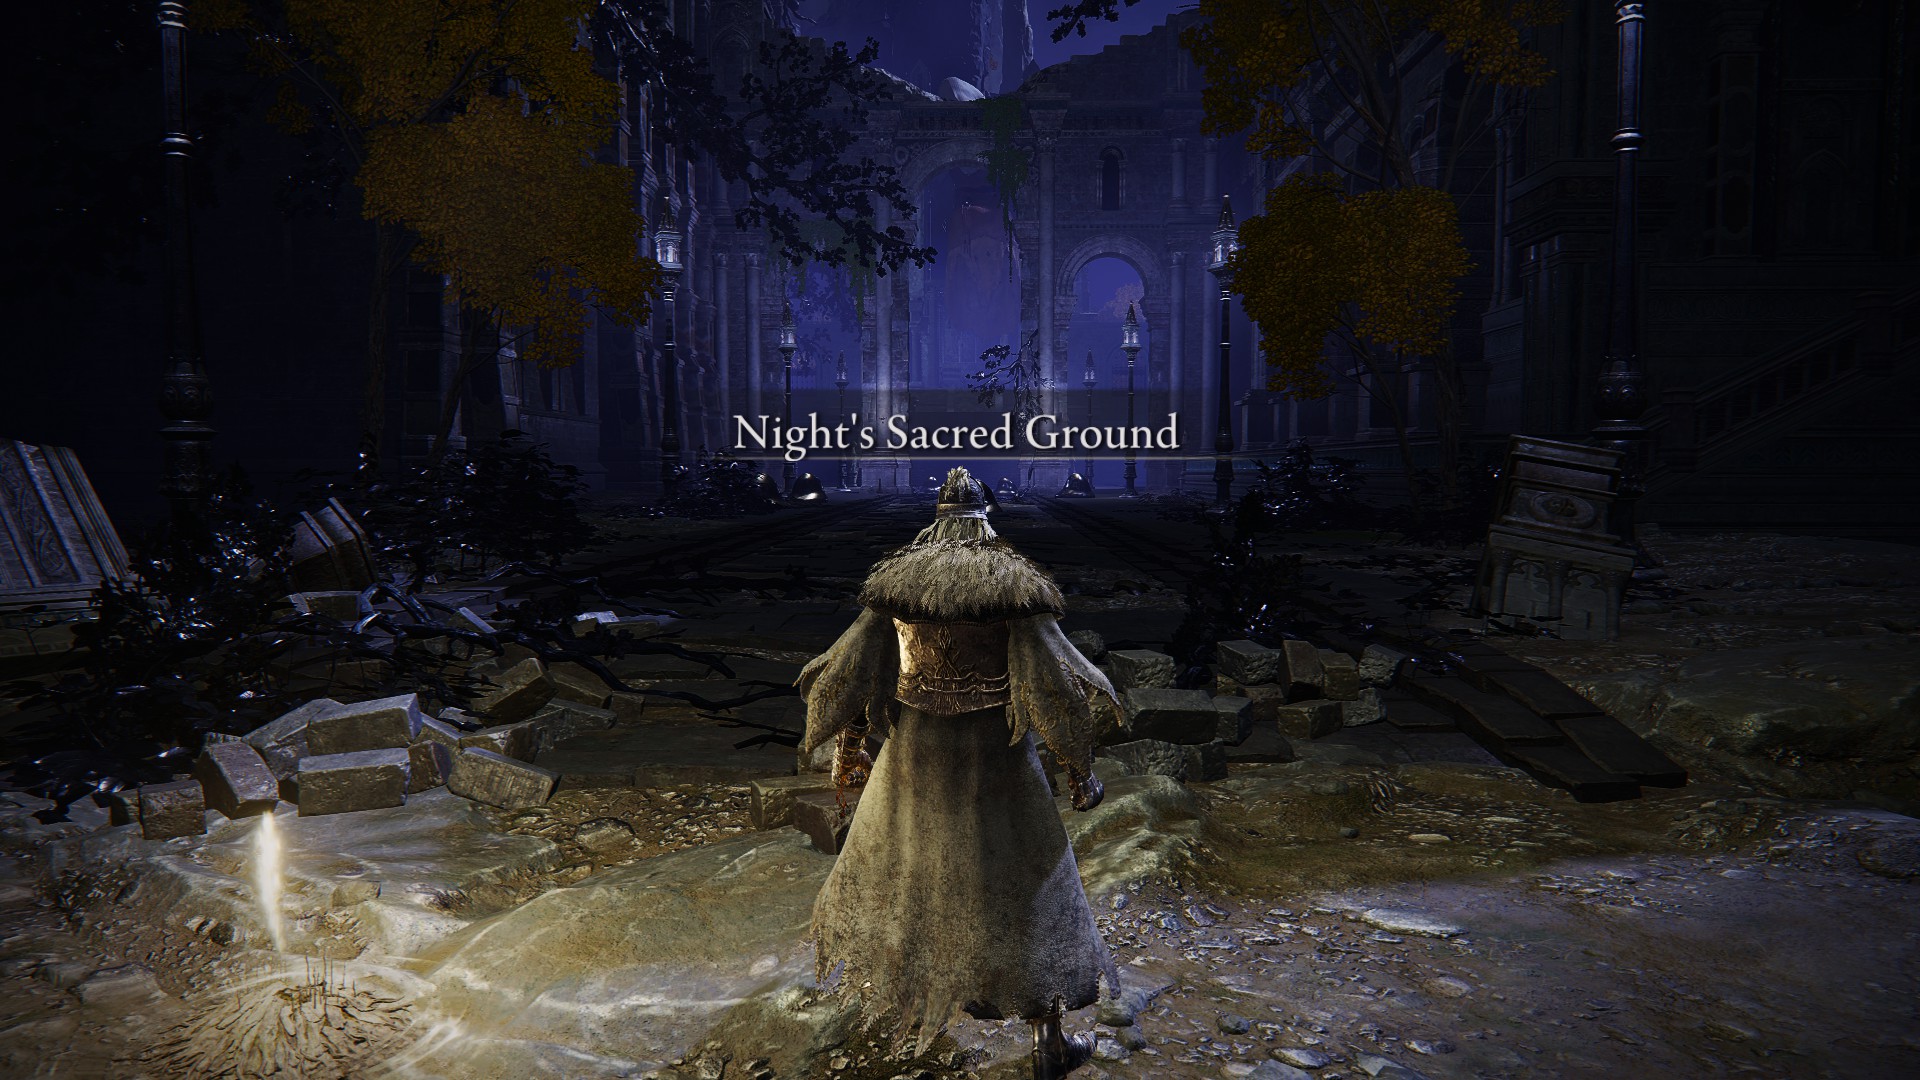
After beating Radahn, the falling star will rip a giant hole in southern Limgrave. Head down into it and make your way to Nokron. Defeat the Mimic Tear boss once you reach the city proper, then keep left off the bridge beyond the arena. Keep the cliff face at your left, and you’ll eventually get a nook with a Site of Grace, and beyond it, you’ll platform across rooftops leading down into the city.
There’s only one path forward, so continue until you reach a long hallway with a Site of Grace at the start. At the end of the passage is a room with a chest containing the Fingerslayer Blade.
Step 4: Head to Ainsel River Main and Nokstella
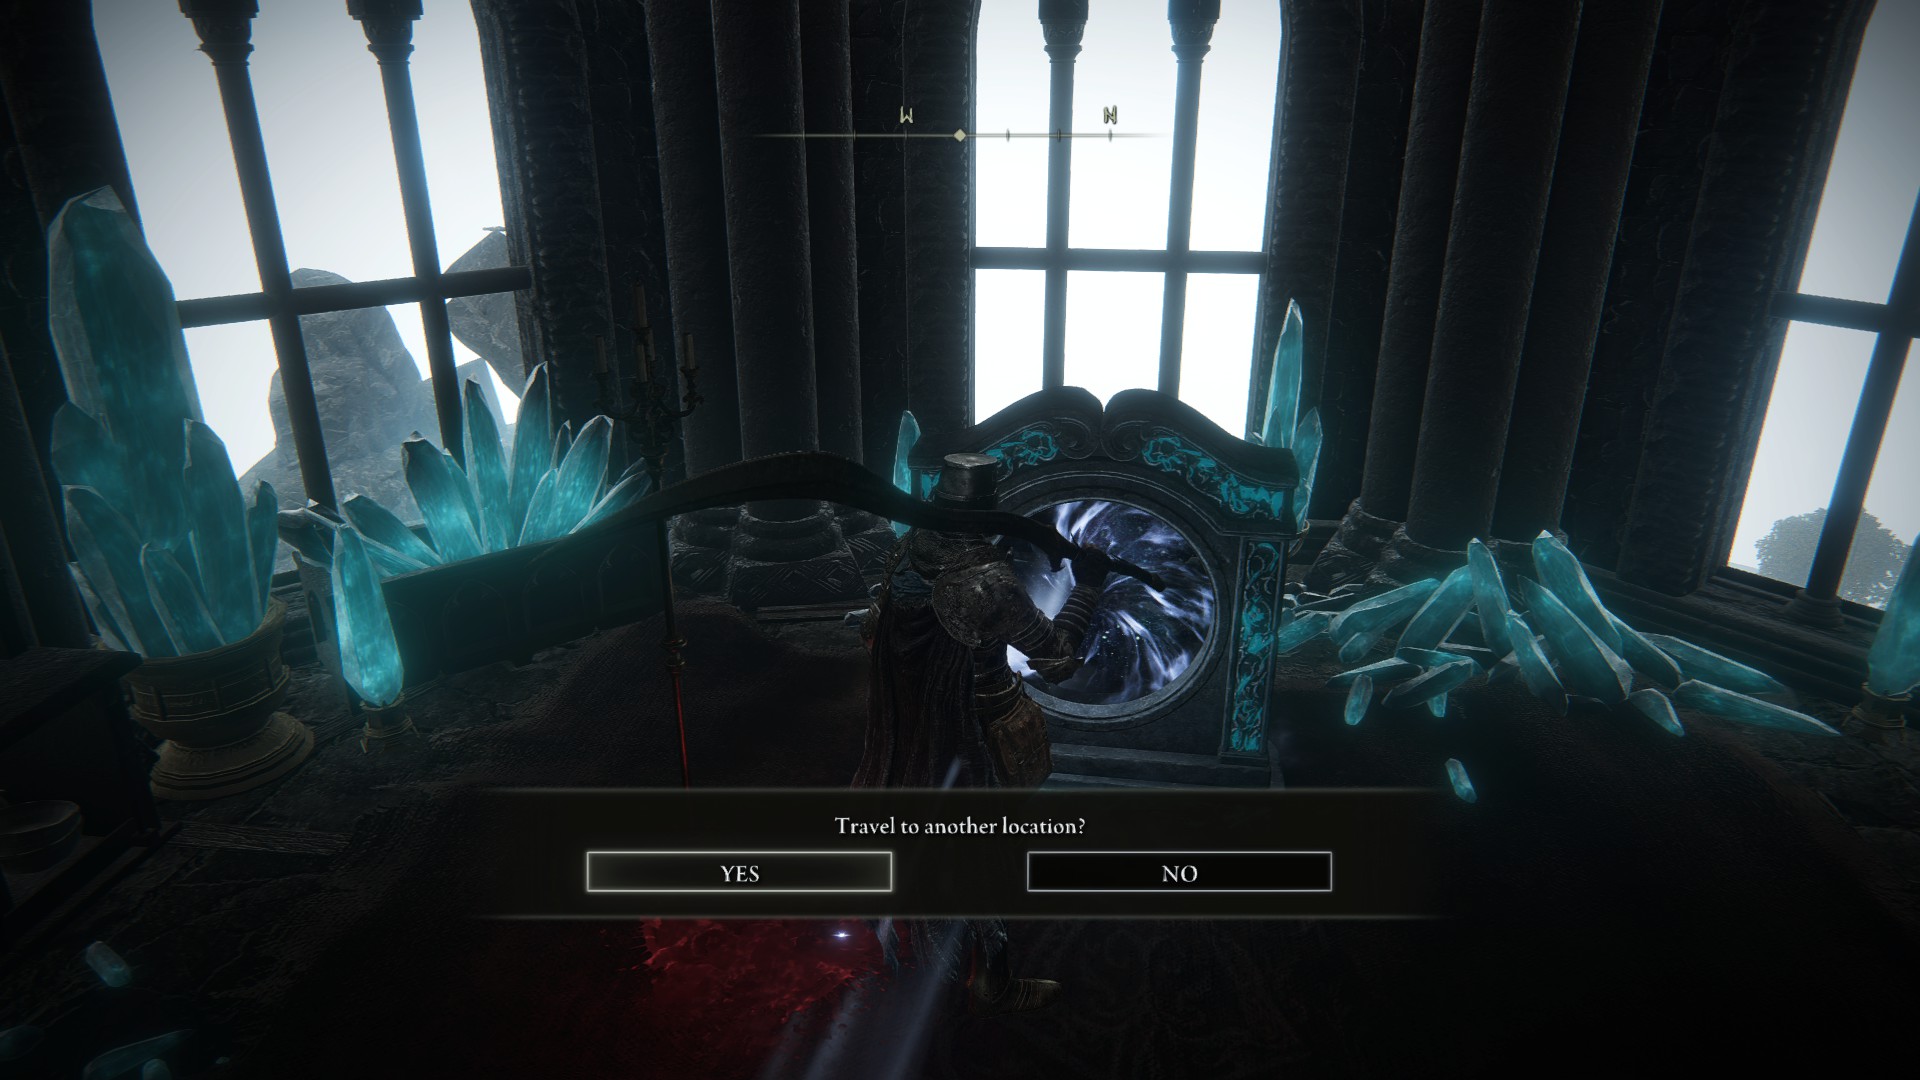
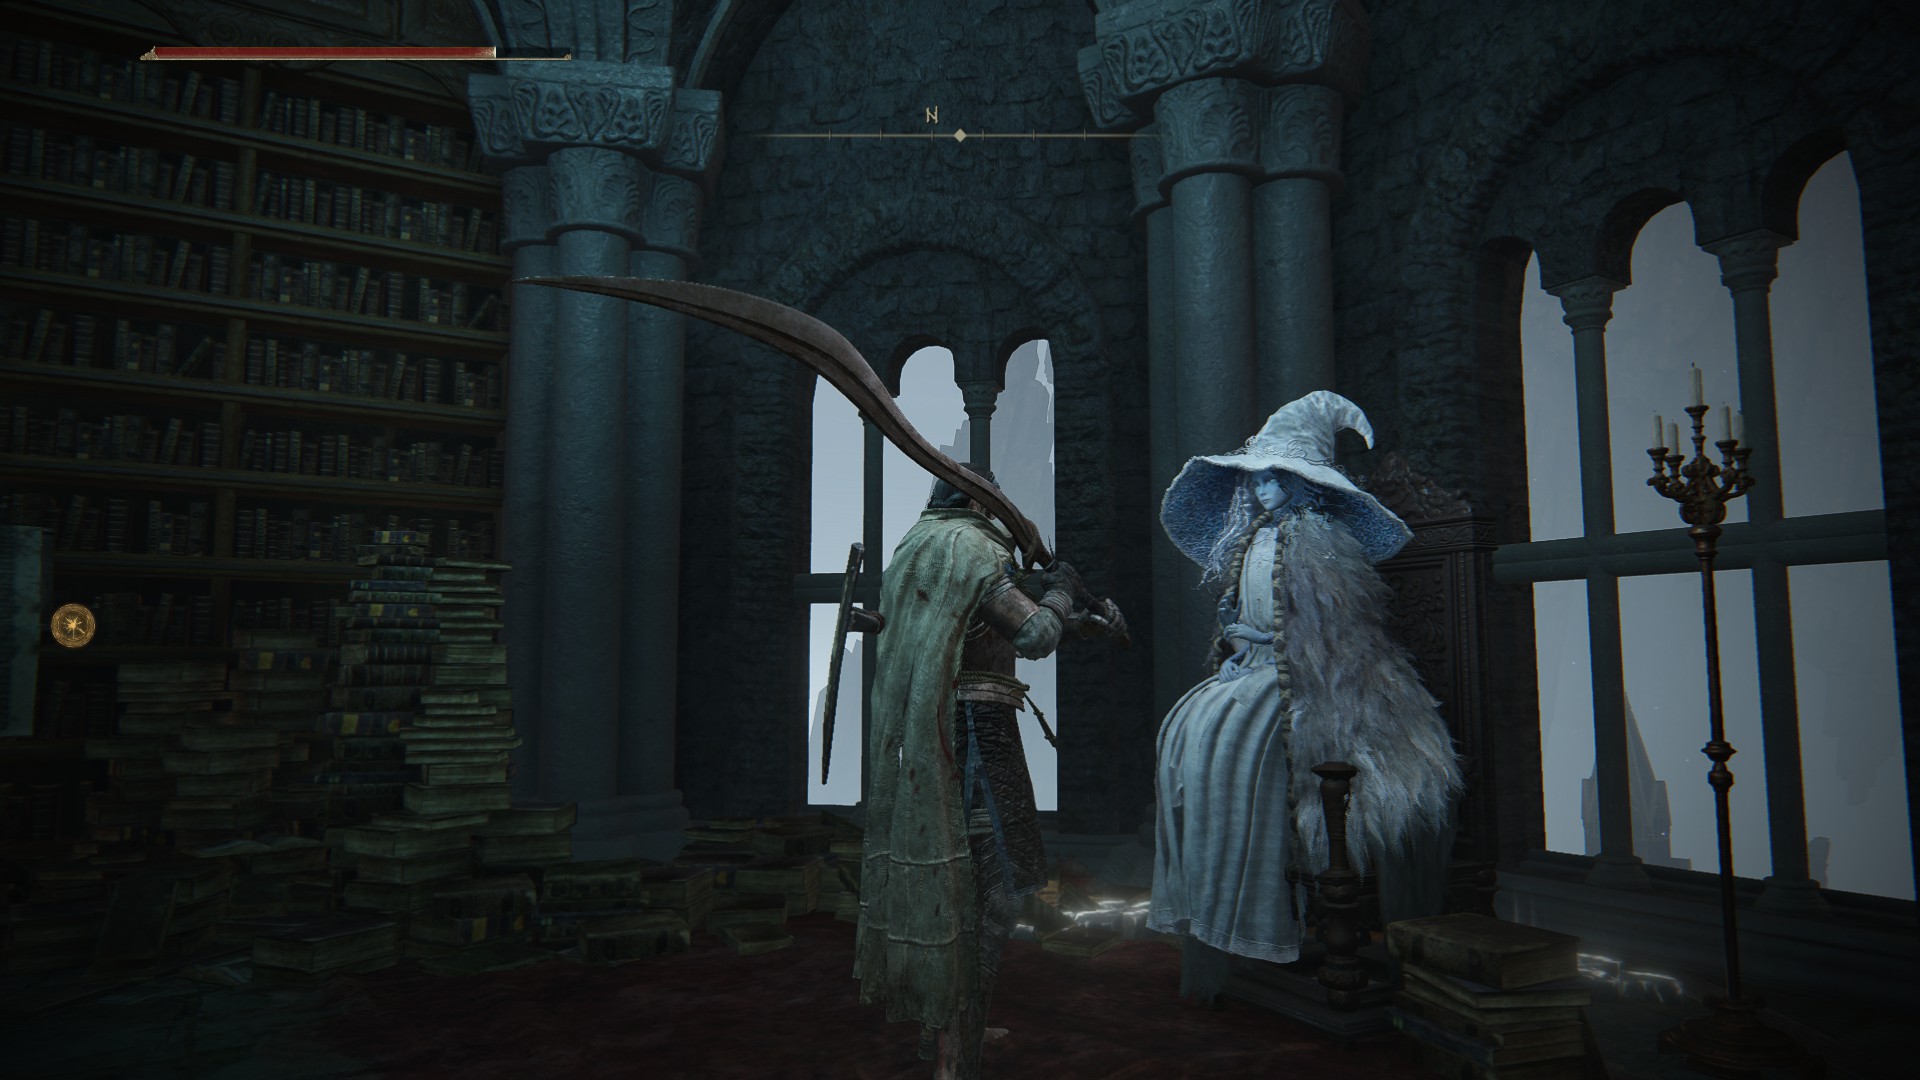
Take the Fingerslayer Blade back to Ranni and exhaust her dialog, then rest at the Grace in her Rise. From there, head north to Renna’s Rise, and the seal on the door should be gone. Climb the ladder and take the teleporter at the top of the Rise.
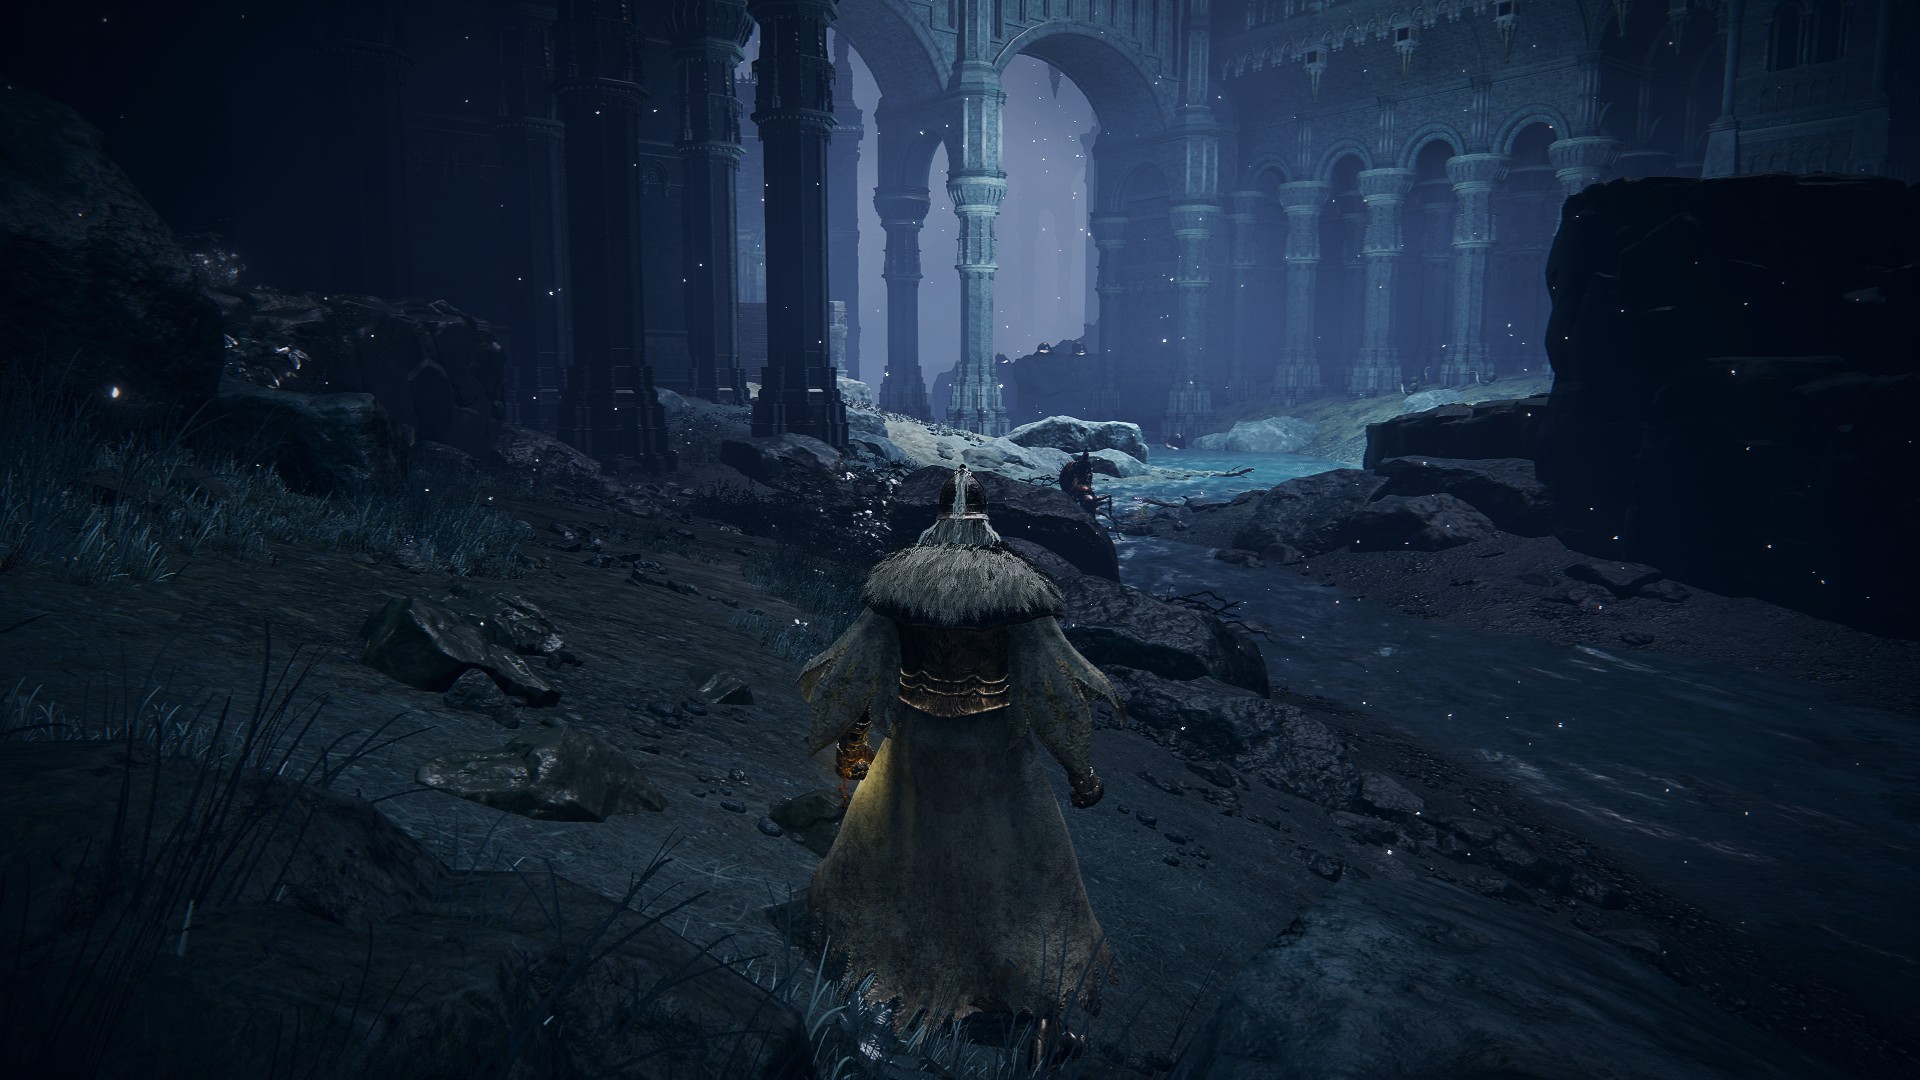
You’ll arrive at the Ainsel River Main, and a shiny item will be nearby. This is the miniature Ranni. Rest at the nearby Site of Grace and select the “Talk to Miniature Ranni” option at the bottom of the menu three times. This progresses her questline.

Head west from the Ranni’s Doll’s resting place, past the ants and behind the small Astel beast throwing purple rocks at you. Head down the path, and you’ll reach a barrier wall with a starry sky behind it and an elevator to your left. Take the elevator up. Beyond the elevator’s upper room is Nokstella, Eternal City.
Step 5: Progress Through Nokstella Riverbank
Nokstella is a beautiful area, but to reach the Lake of Rot, keep to the riverbank at the city’s bottom until you get to another elevator.
Take it down, rest at the Site of Grace outside the lower doorway, and progress forward. If you’ve talked to the Ranni doll, you’ll fight a Baleful Shadow invader NPC. Defeating him awards the Discarded Palace Key.
Just beyond the Baleful Shadow arena is one last elevator, which, once taken, leaves you on the banks of the Lake of Rot.
Progressing through the Lake of Rot is awful, though required to complete Ranni’s questline, so check out our extensive guide for more information. We’ve also covered other questlines here, including Yura’s, Thops’s, and Gurranq’s. Our Elden Ring guides hub has much, much more.