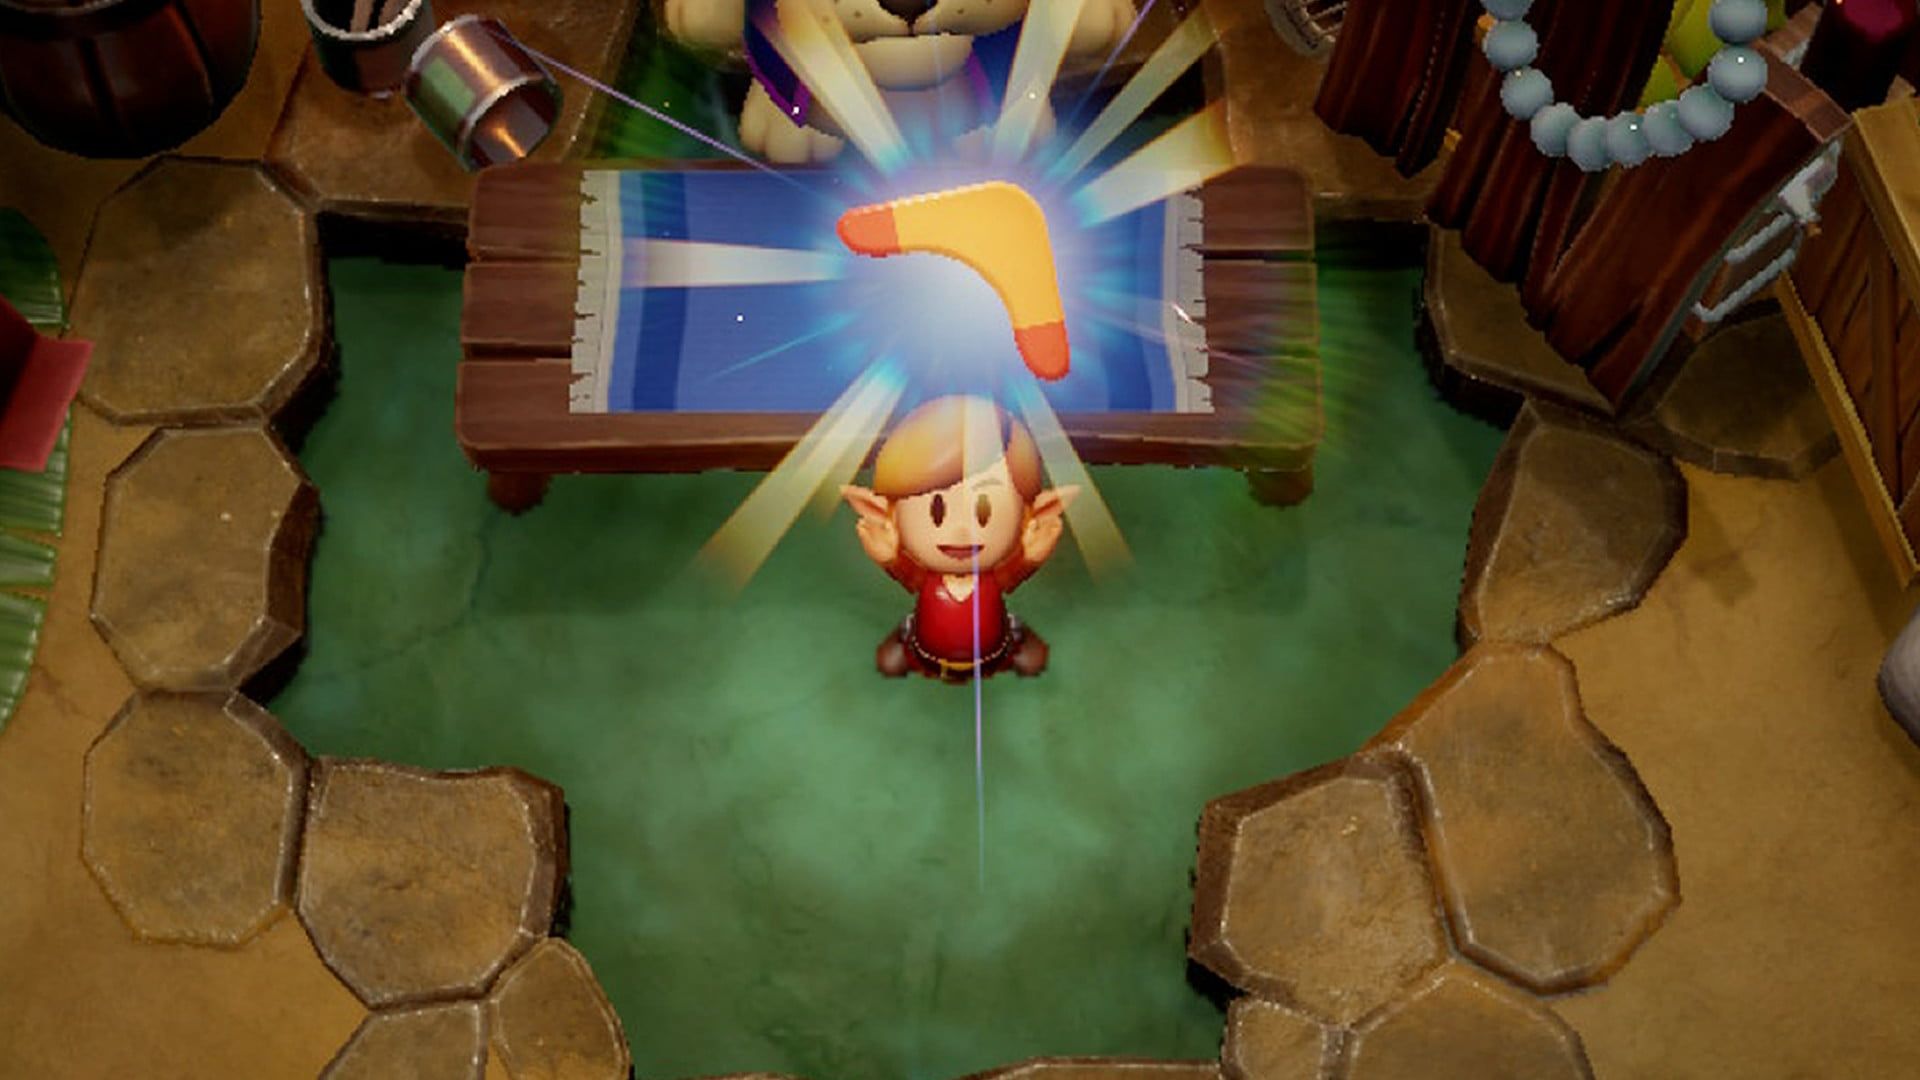
Almost all the games in The Legend of Zelda series include some kind of trading sequence. Link’s Awakening was the entry where this tradition began and also happens to be the longest trading sequence, spanning the entire game and bringing you closer to the quirky inhabitants of Koholint Island and getting you the coveted boomerang.
The Nintendo Switch version of Link’s Awakening includes the trading game as well, with one special tweak at the end that’ll be welcome to many.
There are a couple of things that make the Link’s Awakening trading sequence different from those in other installments. For one thing, completing certain stages of it are required to progress in the story.
The end reward is different, too. Unlike in, say, Ocarina of Time, you don’t get a mighty weapon or some other combat-oriented item for making it all the way through the quest.
Instead, you get two things. The biggest one is hidden knowledge that helps you traverse the final dungeon, where otherwise, you’d have to deal with rounds of trial and error to get through.
The other thing it gets you is the Boomerang item.
How to start it and where to go isn’t always clear, and though the new version does add a few more helpful pointers to get you going, it’s easy to get stuck if you miss a bit of dialogue or a clue just doesn’t click. It’s also not something you can do all at once, because it’s so closely intertwined with the game’s plot.
That’s why we put this handy guide for how to start and complete the trading quest in Link’s Awakening on Switch.

Starting the Trading Quest: The Yoshi Doll
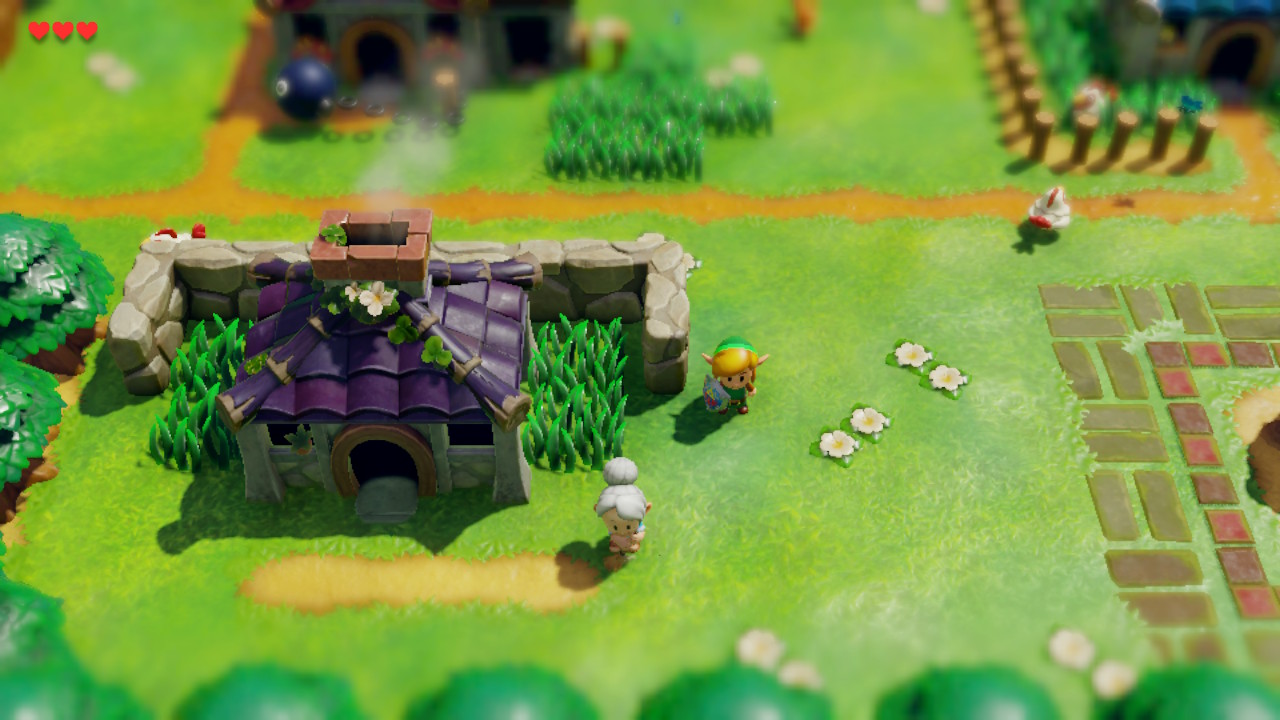
You’ll start the trading sequence by visiting the Trendy Game store in Mabe Village; it’s the building south of the field with all the grass.
Here, you’ll face what’s possibly the greatest trial on the entire island: winning a crane game. The Trendy Game crane game was notoriously finnicky in the original Link’s Awakening, and that hasn’t changed here, where being off just by a tiny bit means the crane drops your Yoshi prize.
Once you’ve finally nabbed the doll, head outside.
Stage Two: Yoshi Doll to Ribbon
In the Game Boy Link’s Awakening, you were left to figure out what to do with your new Yoshi prize, but in the Switch version, the child outside Trendy Game tells you his mother could really use the doll to help calm her new baby.
Head up to Papahl and Mamasha’s house in the northern part of the village, and speak to Mamasha. She’ll give you the Ribbon in exchange for the Yoshi Doll.
Stage Three: Ribbon to Dog Food
The next stop in the trading sequence is close by. Go to the center of the village to the house where Madame MeowMeow and her BowWows live.
Enter the house and go to the right, then speak to CiaoCiao to learn she’s pining for a new accessory to adorn herself with. Hand over the Ribbon, and you’ll get some Dog Food in return.
Stage Four: Dog Food to Bananas
For the next part of the trading game, head down to Toronbo Shores again. Stick to the northern part of the area and go east until you come upon a house.
Go inside and speak to Sale, the alligator who sells bananas. Rather conveniently, he wants some Dog Food, and he’s willing to give up a bunch of Bananas in exchange for your can.
Stage Five: Bananas to Stick
The Banana portion of the trading quest is tied in with the rest of the story.
If you didn’t start the trade sequence already, you’ll find you can’t reach Kanalet Castle because there’s no way across the bridge. If this is you, you’ll need to head back to Mabe Village to start the sequence so you can progress in the game.
With Bananas in hand, find Kiki the cheeky monkey near the Kanalet moat. Grateful Kiki will summon a team of monkeys to build a moat for you, and they leave behind a Stick.
Stage Six: Stick to Honeycomb
If you’ve completed Key Cavern before this point, you might have noticed Tarin loitering around on Ukuku Prairie. (If not, go clear the dungeon so you can start the next step in the trading sequence.)
Tarin wants some honey and requests the Stick to knock a beehive out of the tree.
Tarin obviously hasn’t played Animal Crossing and doesn’t realize that bees will chase him once the hive falls. Fortunately for you, though, they leave their Honeycomb behind.
Stage Seven: Honeycomb to Pineapple
Exchanging the Honeycomb is also necessary to move on in your quest for the Instruments.
Take the Honeycomb to Animal Village, and speak with the bear chef. He’ll give you a Pineapple in return, but he also tells you how to shift the Walrus blocking your way into Yarna Desert, namely, by bringing Marin along to sing to the Walrus.
However, if you don’t give the Honeycomb to the bear, then Marin won’t change her routine and go along with Link.
Stage Eight: Pineapple to Hibiscus
Remember when Papahl told you he’d be lost up on Tal Tal Heights later? Yeah, he wasn’t kidding.
As you trek along through the Heights on your journey to find the Angler’s Tunnel, the game’s fourth dungeon, you’ll come across him. He’s not only lost, but he’s so hungry he can’t move as well.
Kindly agree to give him the Pineapple, and you receive a lovely Hibiscus for your pains.
Stage Nine: Hibiscus to Letter
After you get the Hibiscus, travel back to Animal Village, and visit Christine the goat in the village’s northern part again. She’ll take the Hibiscus, but asks you to deliver her letter to Mr. Write too.
Stage Ten: Letter to Broom
Mr. Write’s house borders the Mysterious Woods and Goponga Swamp, and you’ve probably been past it several times already. Go back again with the letter, and after a scene and an Easter egg, you’ll receive a Broom.
Stage Eleven: Broom to Fishing Hook
If you’ve looked around Mabe Village and spoken to its inhabitants at all, you probably have a good idea where to take the broom. Take it to Grandma Yahoo (formerly known as Grandma Ulrira) and she’ll be so happy, she gives you a Fishing Hook.
Stage Twelve: Fishing Hook to Necklace
You may or may not have already visited the fisherman in Martha’s Bay by this point. He operates under the bridge connecting the mainland to the little island jutting into the Bay, so naturally, you have to have the flippers to get to him.
Offer up the Fishing Hook, and he promises to give you whatever he catches next. It’s quite serendipitous that his next catch is a Necklace, because there’s a certain Mermaid in need of one.
Stage Thirteen: Necklace to Mermaid’s Scale
Swim north of the Catfish’s Maw dungeon to find the Mermaid and give her back her Necklace. She rewards you by letting you take a Scale off her tail.
Final Stage: Mermaid’s Scale to Magnifying Lens
Take the Mermaid’s Scale to the Mourning Mermaid statue on the south side of Martha’s Bay, and insert the Scale.
The statue will move, revealing a staircase that leads you to the trading game’s big payoff: The Magnifying Lens.
(Real) Final Stage: Magnifying Lens and the Boomerang
It doesn’t sound like much reward for all this work, but the Magnifying Lens actually does a couple of important things.
The biggest thing you can do with the Magnifying Lens is work out the correct path through the Wind Fish’s Egg, the final dungeon.
It saves a lot of hassle trying to figure it out yourself, and since you have to finish most of the sequence anyway, it’s worth going all the way to get this benefit too.
The Magnifying Lens’ other use is back down on Toronbo Shores.
You might have noticed the crumbly wall south of Sale’s house before. If you bombed it and ventured inside, you’ll have been greeted by absolutely nothing. Go back in this cave and use the Magnifying Lens to reveal Goriya, who asks for an item in exchange for the Boomerang.
Unlike the original Link’s Awakening, you can pay Goriya 300 Rupees to get that item back, so it’s a win-win situation.
—
That’s all you need to know for the Link’s Awakening trading sequence, but be sure to check out our other Link’s Awakening Switch guides.