FFXIV’s new Extreme Trial introduced in Patch 5.2 is considered to be easier than previous Extreme Trials, especially harsh ones like Titania. It’s certainly more accessible to players, and opened up the field to new raiders in what once was a much more elitist field.
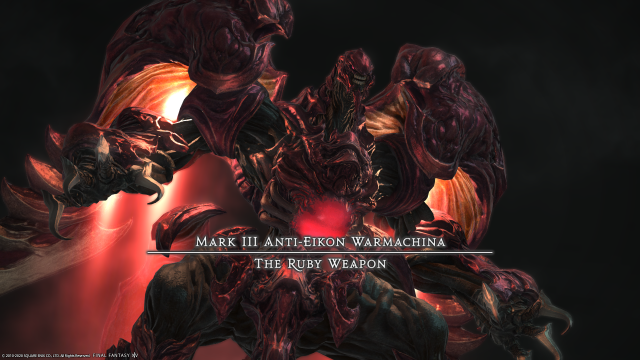
This guide is meant to help newer raiders learn the mechanics they will need to master in order to take down the Ruby Weapon and have a chance at it’s drops.
How to unlock Cinder Drift Extreme
Players will need to clear Cinder Drift on normal first, have an ilvl of 470, and then speak with the Warmachina Fanatic in The Lochs (X:11.5 Y:22.5) and complete his short quest to unlock the fight.
Cinder Drift Extreme Mechanics
Phase 1 Mechanics
Players should choose cardinal and intercardinal (North, East, South, West, etc.) positions for Ravenclaw, and choose two stacks to split for Homing Lasers, with one healer in each stack.
Markers should be placed on the edges at each cardinal and intercardinal edge, with the 1 Marker North and the marker NW being placed slightly closer to the middle.
- Optimized Ultima – Raidwide moderate magical damage.
- Stamp – Tank buster on the main tank that inflicts a Blunt Resistance Down debuff. This forces a tank swap.
- Magitek Bit – Spawns four magitek bits around the arena, which shoot line AoEs, Magitek Ray, at random players. Keep moving to avoid.
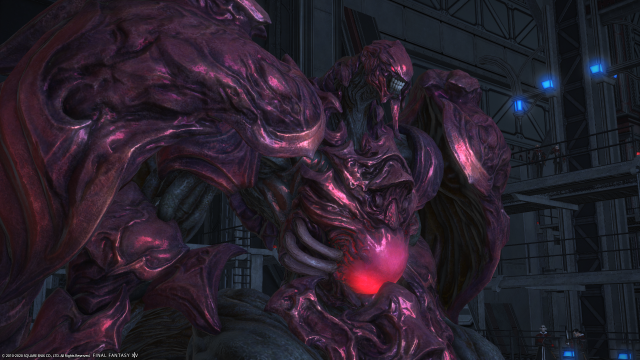
- Flexiclaw – Ruby Weapon drills into the ground and has an AoE in his hitbox. He then does mechanics based on this phase.
- Helioclaw – Three AoEs spawn, which move alon the yellow line indicated from each AoE.
- Ravensclaw – Eight patches of earth spawn from Ruby Weapon in the center and slowly move outwards. Ruby Weapon will then either cast Liquefaction or Undermine at random, but never both. Players will need to pay attention to boss to determine whether they need to move away or on to the patches of earth spawned by Ravensclaw.
- Spike of Flame – AoEs appear around the arena. They have markers, but blend into the enviroment. The outside patches are generally safe, as well as to the intercardinal of the boss; adjust as necessary and avoid.
- Liquefaction – Ruby Weapon will turn the arena into lethal quicksand, which slowly players heavily and kills them after 6 seconds if they are not standing on Ravensclaw patches. This is generally what tends to kill newer players.
- Undermine – AoEs appear under the Ravensclaw patches which inflict burn if players are standing inside them.
- Ruby Sphere – Three AoEs will drop on all players, dealing light magic damage. The AoEs leave behind a puddle which explode in a wide radius if a player is standing in it.
- Ruby Ray – Ruby Weapon will charge and then shoot a wide frontal line AoE. Players should stand behind the boss to avoid.
- Ravensflight – Ruby Weapon will place down markers along the edge of the arena and then dash in the indicated direction, dealing AoE damage to any players it hits. Players will have to pay attention to the direction Ruby Weapon will travel and avoid it’s large hitbox to avoid taking damage. Additionally, once it hits the quicksand mark, it will reverse the quicksand. The middle will have quicksand, while the outer ring will be safe.
- Ruby Dynamics – Ruby Weapon jumps to a random cardinal and casts a donut-shaped AoE around it.
- Homing Lasers – There are two variations to the mechanic:
- Stack: Two stack markers appear on healers. All players should be standing inside Ruby Weapon’s hitbox and stand in one marker only.
- Spread: AoE Markers appear on all players and they should spread out to avoid taking additional damage.
- Cut and Run – Ruby Weapon cuts and runs across the arena with conal-shaped AoEs. The safe spots are along the edges parallel to how he dashes, further than the intercardinals. Two Magitek Charges will spawn which deal damage in their proximity.
Phase 2 Mechanics
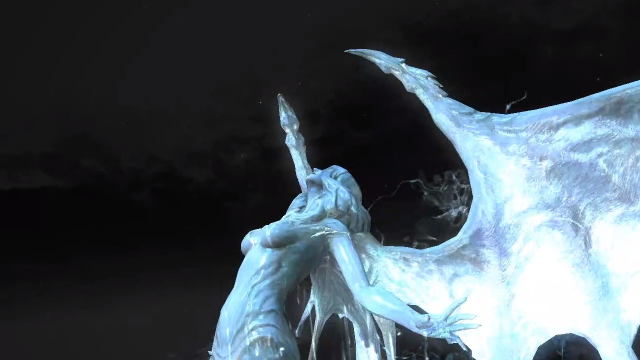
Phase 2 will begin when the Ruby Weapon itself has been destroyed. A cutscene will play where the weapon’s pilot emerges from the weapon, transformed into an incarnation of Nael van Darnus.
The fight will checkpoint players here, so after destroying Ruby Weapon players will not have to do so again if they wipe during Phase 2.
Nael is stationed in the middle, cannot be moved, and is omni-directional. She will auto attack the MT. Tanks need to choose which Comet add they will tank, East or West. The edge of the arena is lethal during this phase.
- Meteor Project – Nael van Darnus begins by summoning the red moon Dalamud in the background, indicated by the Dalamud Reborn duty guage. After the countdown, Dalamud will impact the arena and deal heavy raidwide magical damage to the entire party. If the guage is not 0, it will instantly wipe the party. Killing either a Raven’s Image or Comet add will reduce the guage by 50. All players should remember their cardinal and intercardinal positions for Meteor Mine.
- Dalamud Impact – Dalamud’s Fall from Meteor Project, dealing heavy raidwide magical damage.
- Negative Personae – Nael summons two Raven’s Image adds, one colored orange and the other colored blue. All players will be inflicted with an orange or blue debuff; players must hit the opposite add according to which debuff they have. ie, blue debuffed players attack the orange Raven’s Image. Nael is untargetable while any add is alive.
- Meteor Stream – An AoE centers on each of the four DPS, which deals heavy damage.
- Greater Memory – Both adds gain a damage up buff, and two untargetable ghosts, White Agony and White Fury, which will spawn and tether to DPS. the ghosts move slowly towards the tethered player. If any player is hit by a ghost, they will explode and deal heavy damage to the raid and inflict a damage down debuff. The ghosts need to be taken to their opposite colored add, which will remove the damage up stack.
- Lunar Dynamo – Adds will cast a donut-shaped AoE that can be outranged.
- Iron Chariot – Adds will cast a small AoE around themselves.
- Ruby Claw – A moderate strength multi-hit physical tank buster that does more damage with the damage up buff from Greater Memory still active. Players will need to destroy the ghosts before Nael uses this.
- Change of Heart – The adds will swap buffs, necessitating all players to switch targets, tanks included.
- Negative Aura – Any players looking at Nael will be feared, look away from her to avoid.
- Meteor Mine – Nael marks all eight players in order with Meteors. Meteors will land dealing proximity damage, exploding if they are close to any other meteor and wiping the party. Meteors will explode after a short while, dealing heavy damage to all nearby players. Players will need to take their meteor in rotation to their cardinal or intercardinal near the edge of the platform.
- Magitek Meteor – A gigantic meteor will fall from the sky. Players must hide line-of-sight the meteor behind a Meteor Mine in order to survive, so make sure your foot isn’t peaking out behind them.
- Screech – A short knockback centered on Nael. This can be countered with Surecast/Ams Length.
- Mark II Magitek Comet – Nael will summon two comets that will drop and require tanks to stand underneath them and hold them up, requiring the use of their cooldowns in order to survive. Comets will deal increasing damage to the Tanks via a debuff until they are killed, so DPS should burst down each comet quickly.
- Bradamante – Two players become marked. After the cast goes off, Nael will shoot line AoEs at each of them, dealing light magical damage. This should be aimed away from the tanks while they hold up comets.
- Outrage – Moderate raidwide magical damage. This will be spammed until the boss enrages.
—
Let us know in the comments below if you took down Ruby Weapon following my guide, and be sure to check out our other guides and content on Final Fantasy XIV.