If you’re wondering how to get all of the files in Resident Evil 3, you’ve come to the right place. Just as in last year’s Resident Evil 2, finding all of the Resident Evil 3 files will give you the Bookworm trophy/achievement, as well as a Record.
There are 56 files in Resident Evil 3, and when you find one for the first time, you’ll need to scroll all the way through its pages to the end to get credit for discovering it. Many of them also contain useful information like safe combinations or key item locations, so it’s worth keeping your eyes open for them.
As with other collectibles in RE3, your file-collecting progress is saved directly to your profile on the spot whenever you find and read a new one. You do not have to find and read all 56 files throughout a single run through the game. However, the game is very linear, so you only have one shot at collecting most of these files before they become unavailable for the rest of that run.
Notably, the four “tutorial” files that you gradually unlock as you play through the first stretch of the game are stored in your Files menu, but they do not count towards this record.
Please note that this guide to collecting all 56 files will unavoidably contain minor spoilers for the game’s later locations and fights. You’re better off using this to clean up after you’ve already beaten the game at least once.
This list of the files is numbered in rough accordance with the order in which they appear in the game, for organization’s sake. This order bears no resemblance at all to the order in which they’re stored in your in-game inventory menu.
If you’re down to your last few files for your collection, the hardest ones to find are arguably #18, #22, #26, #34, and especially #56.
Resident Evil 3 Files Guide: All Files and File Locations
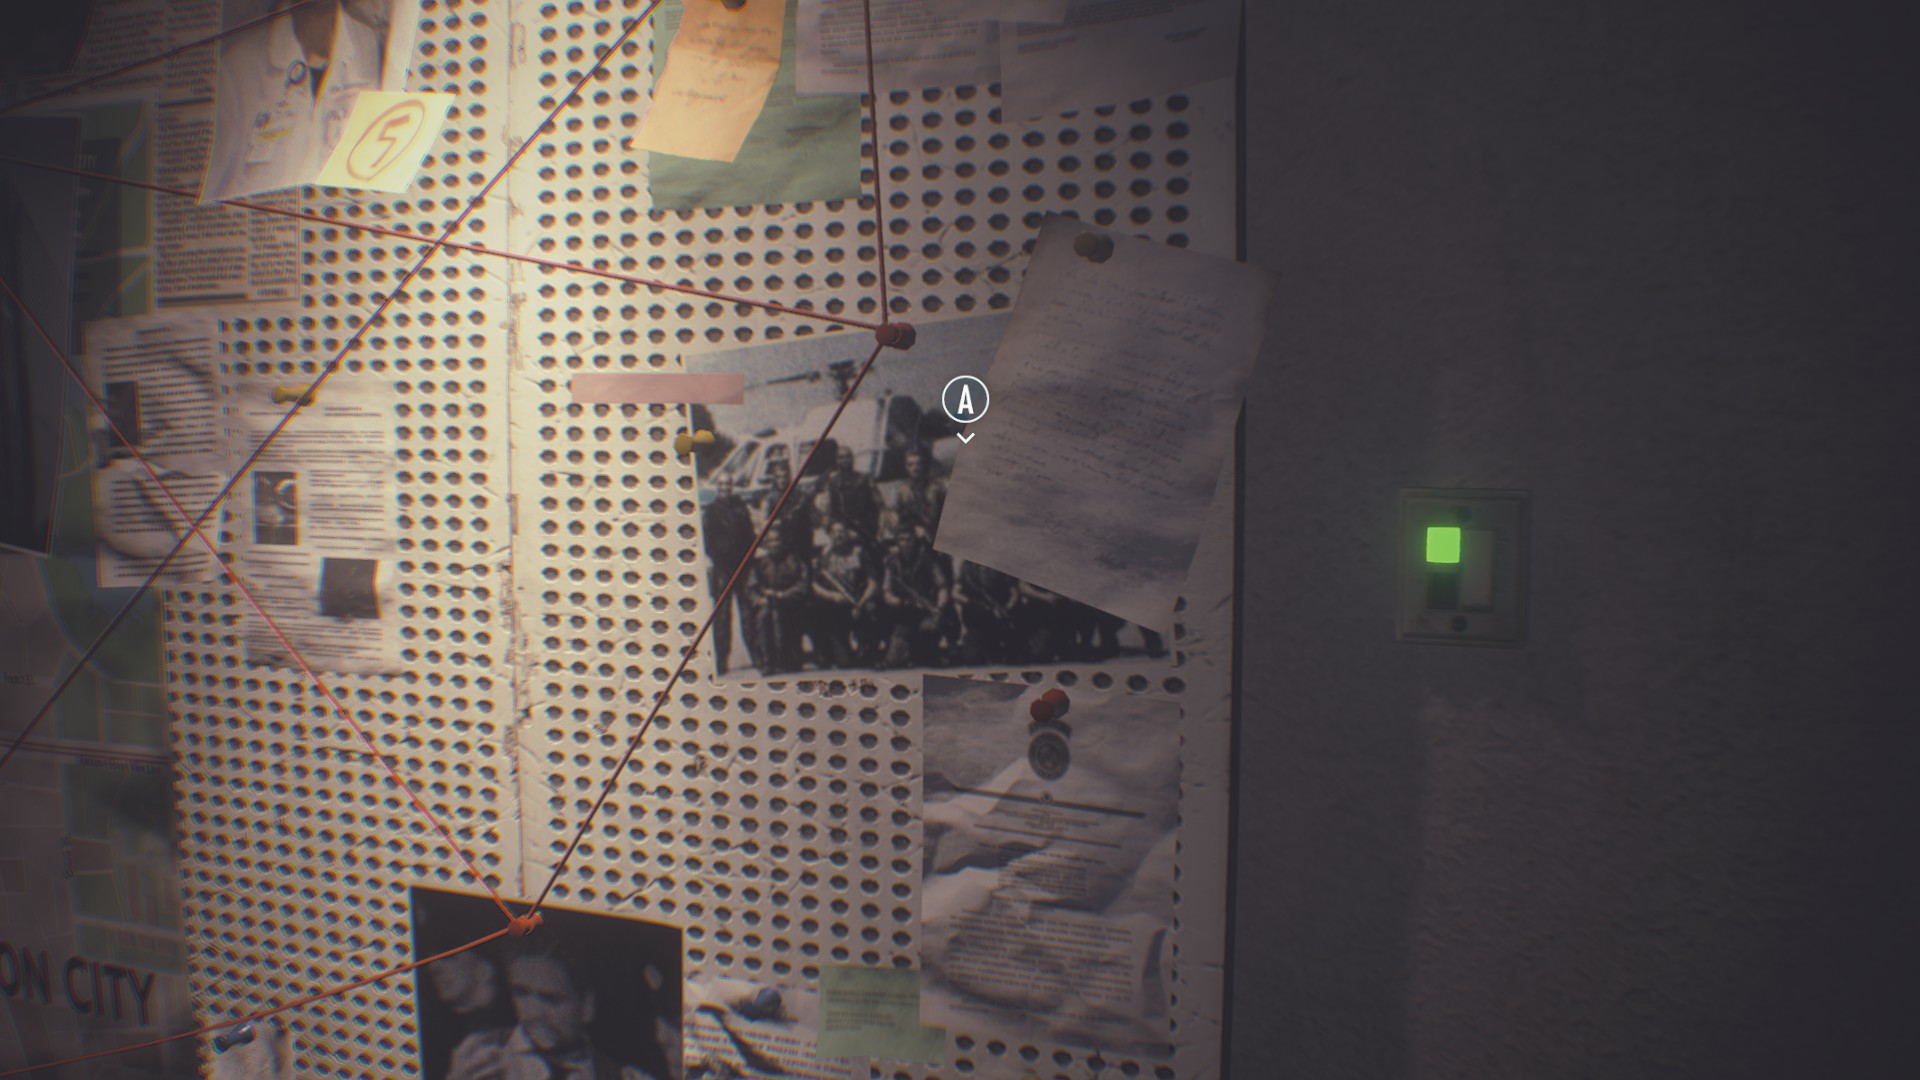
File #1: Jill’s Report
Once you wake up in Jill’s apartment at the start of the game, flip the light switch next to her pinboard, then check the envelope next to it on the wall.
File #2: Investigation Notes
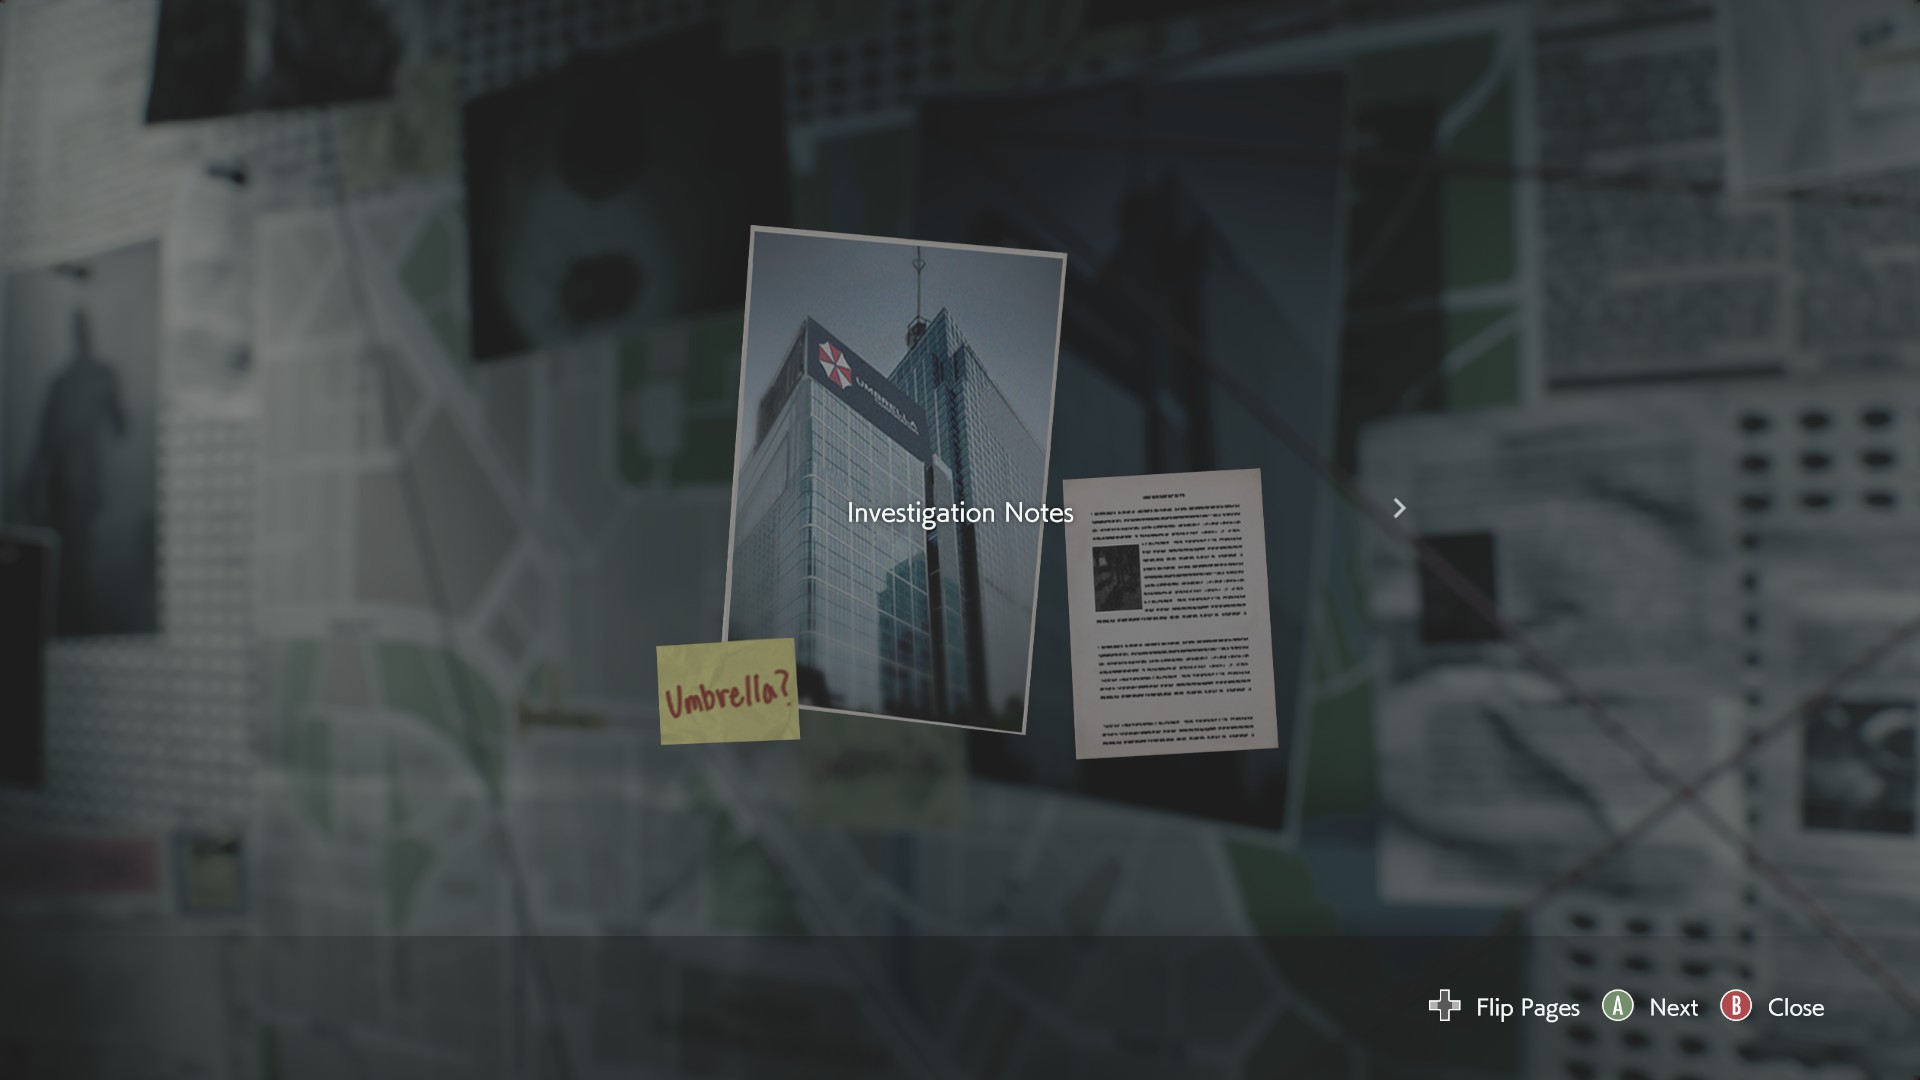
This file is found right next to file #1 on Jill’s pinboard.
File #3: Unsealed Envelope
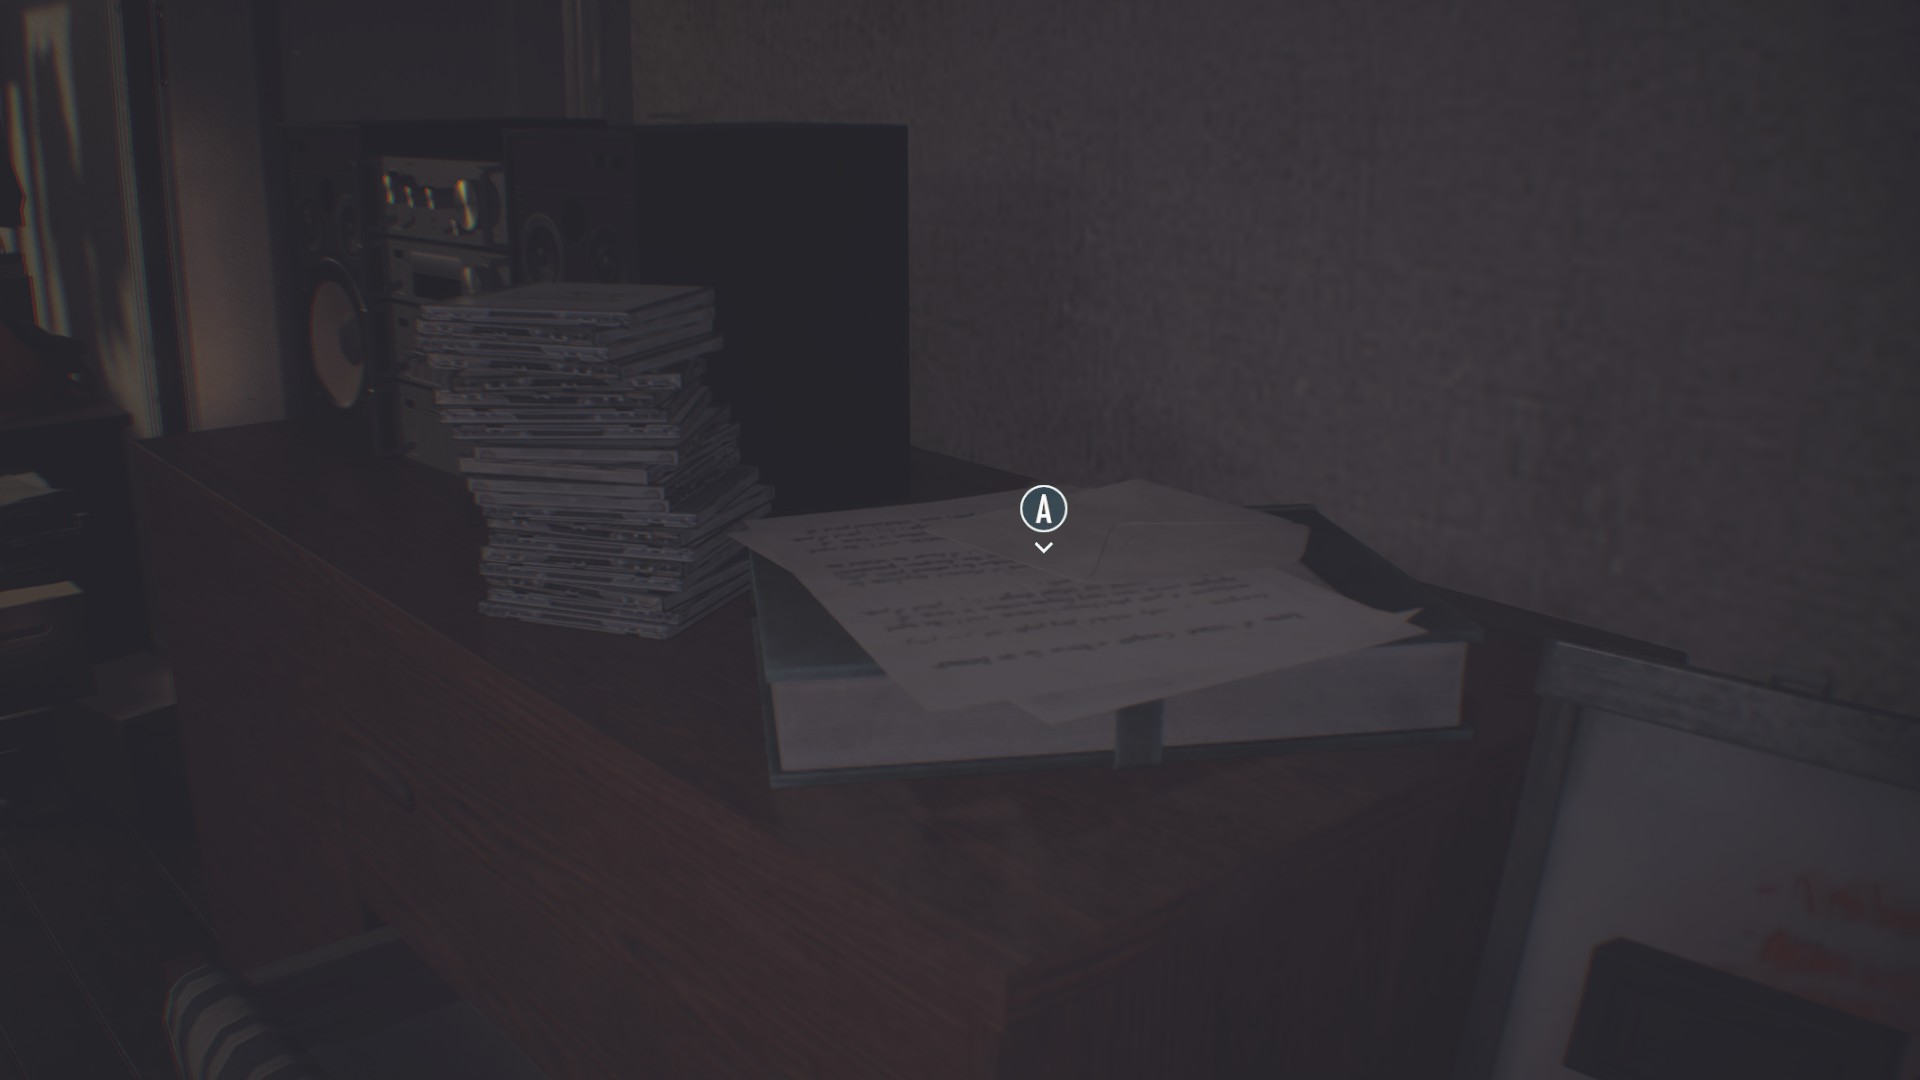
Pick up the letter on top of Jill’s dresser.
File #4: Message from a Colleague
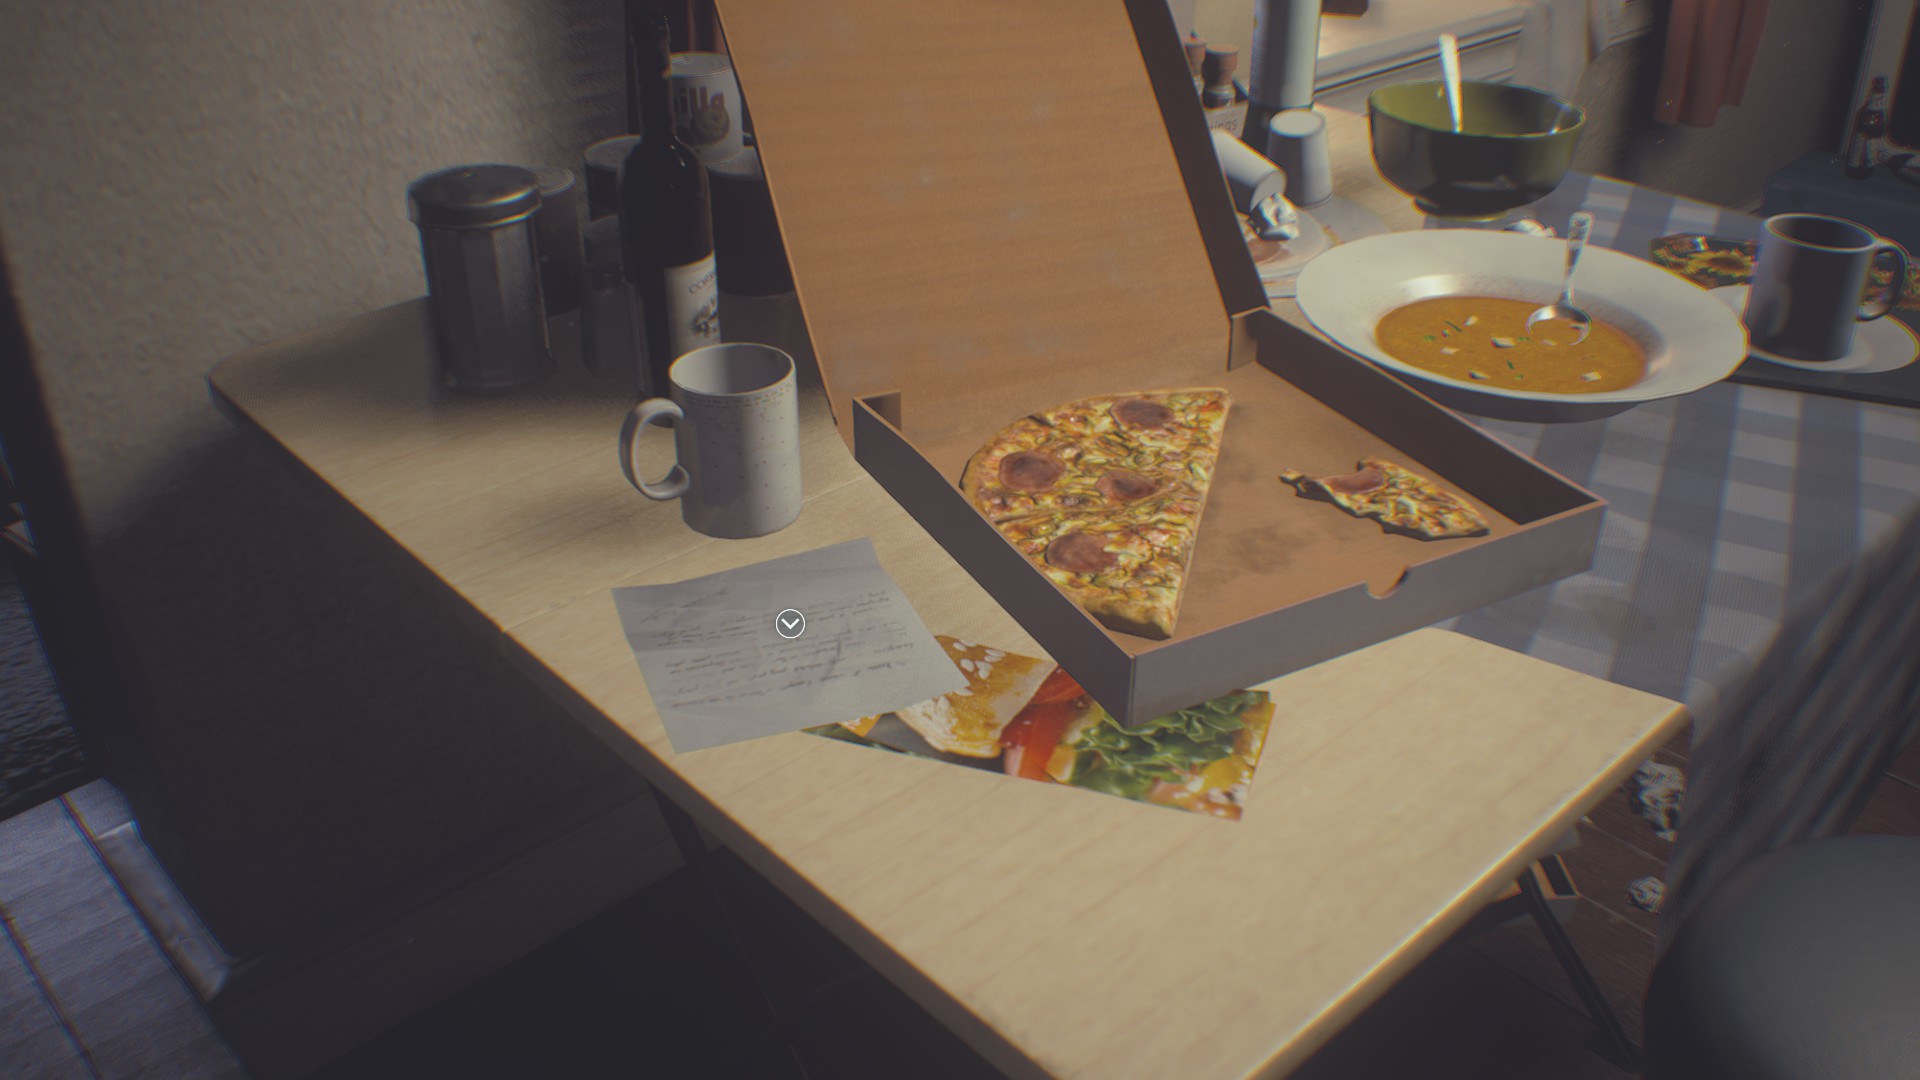
Read the piece of paper next to the open pizza box in Jill’s kitchenette.
File #5: U.B.C.S. Ammo Crafting Manual
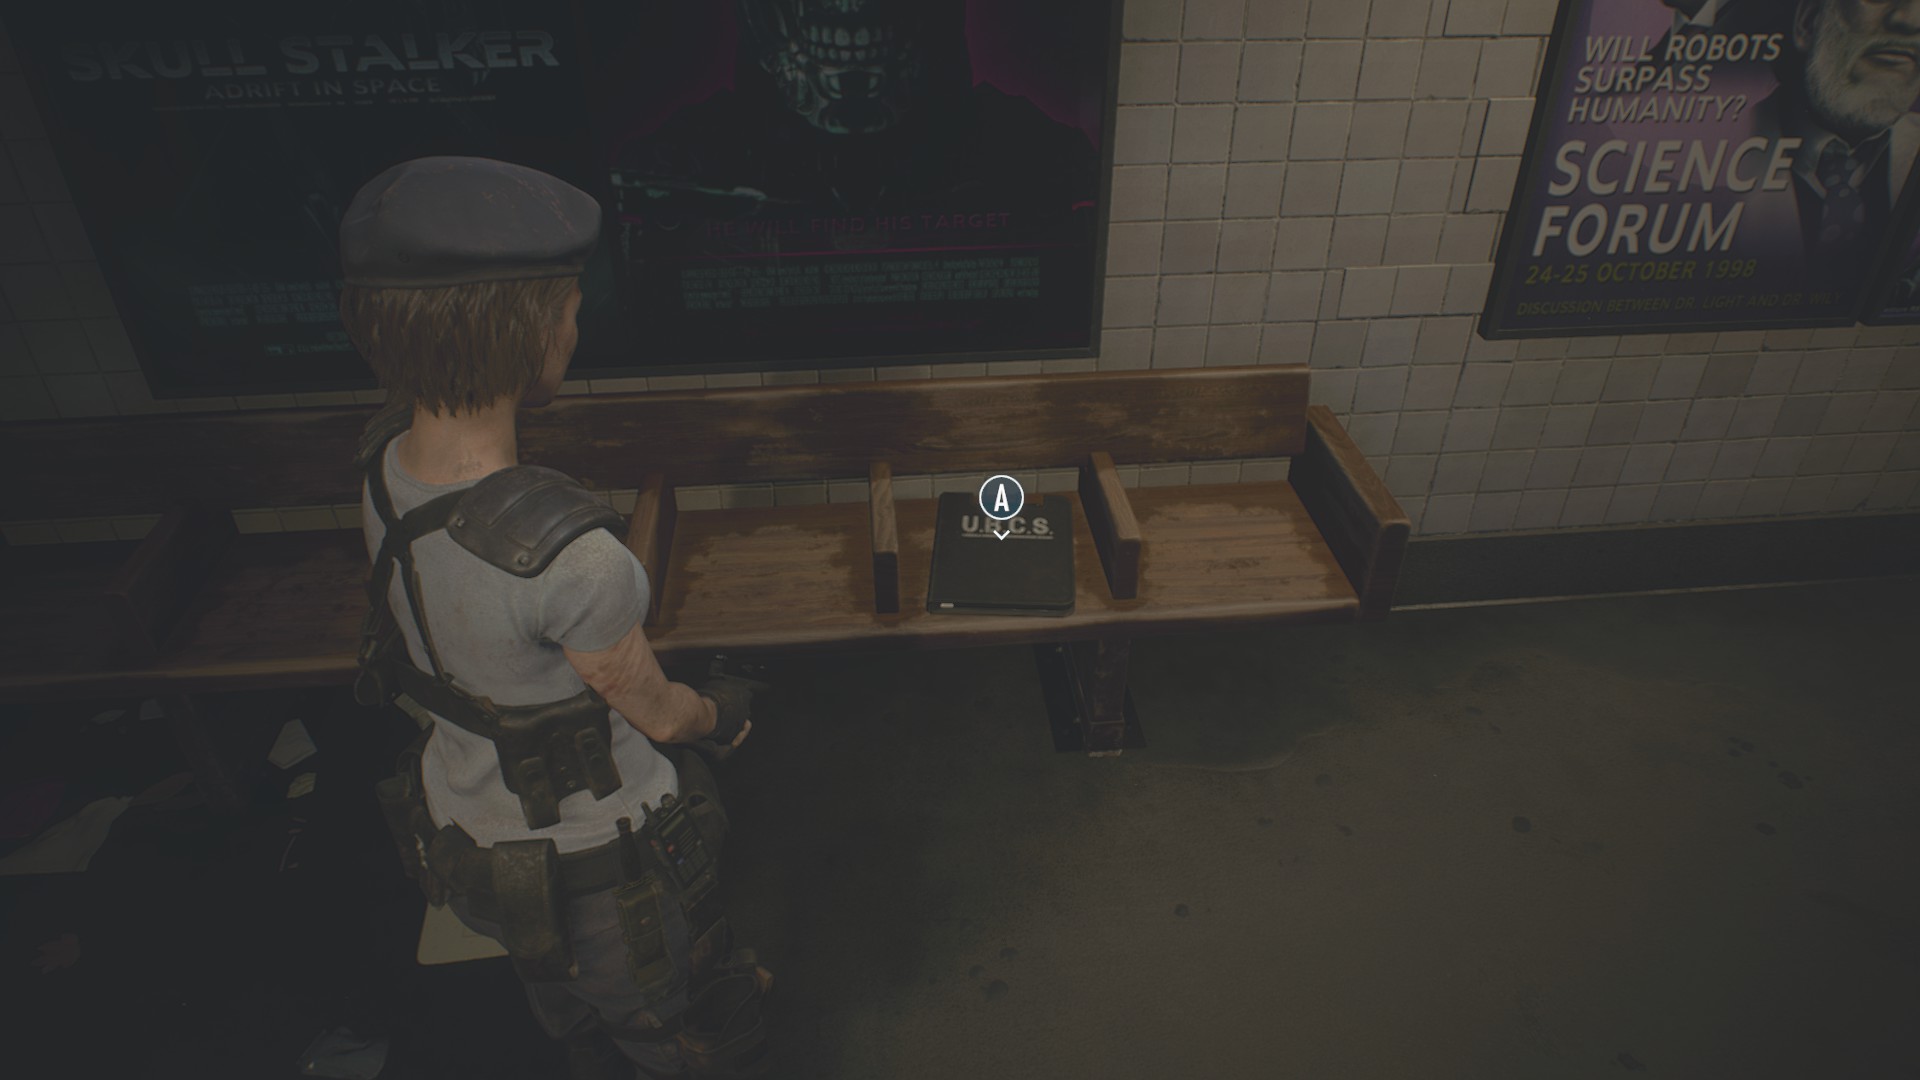
After you’ve met Mikhail and left the subway car, open the UBCS-branded three-ring binder on the bench.
File #6: Tabloid Front Page
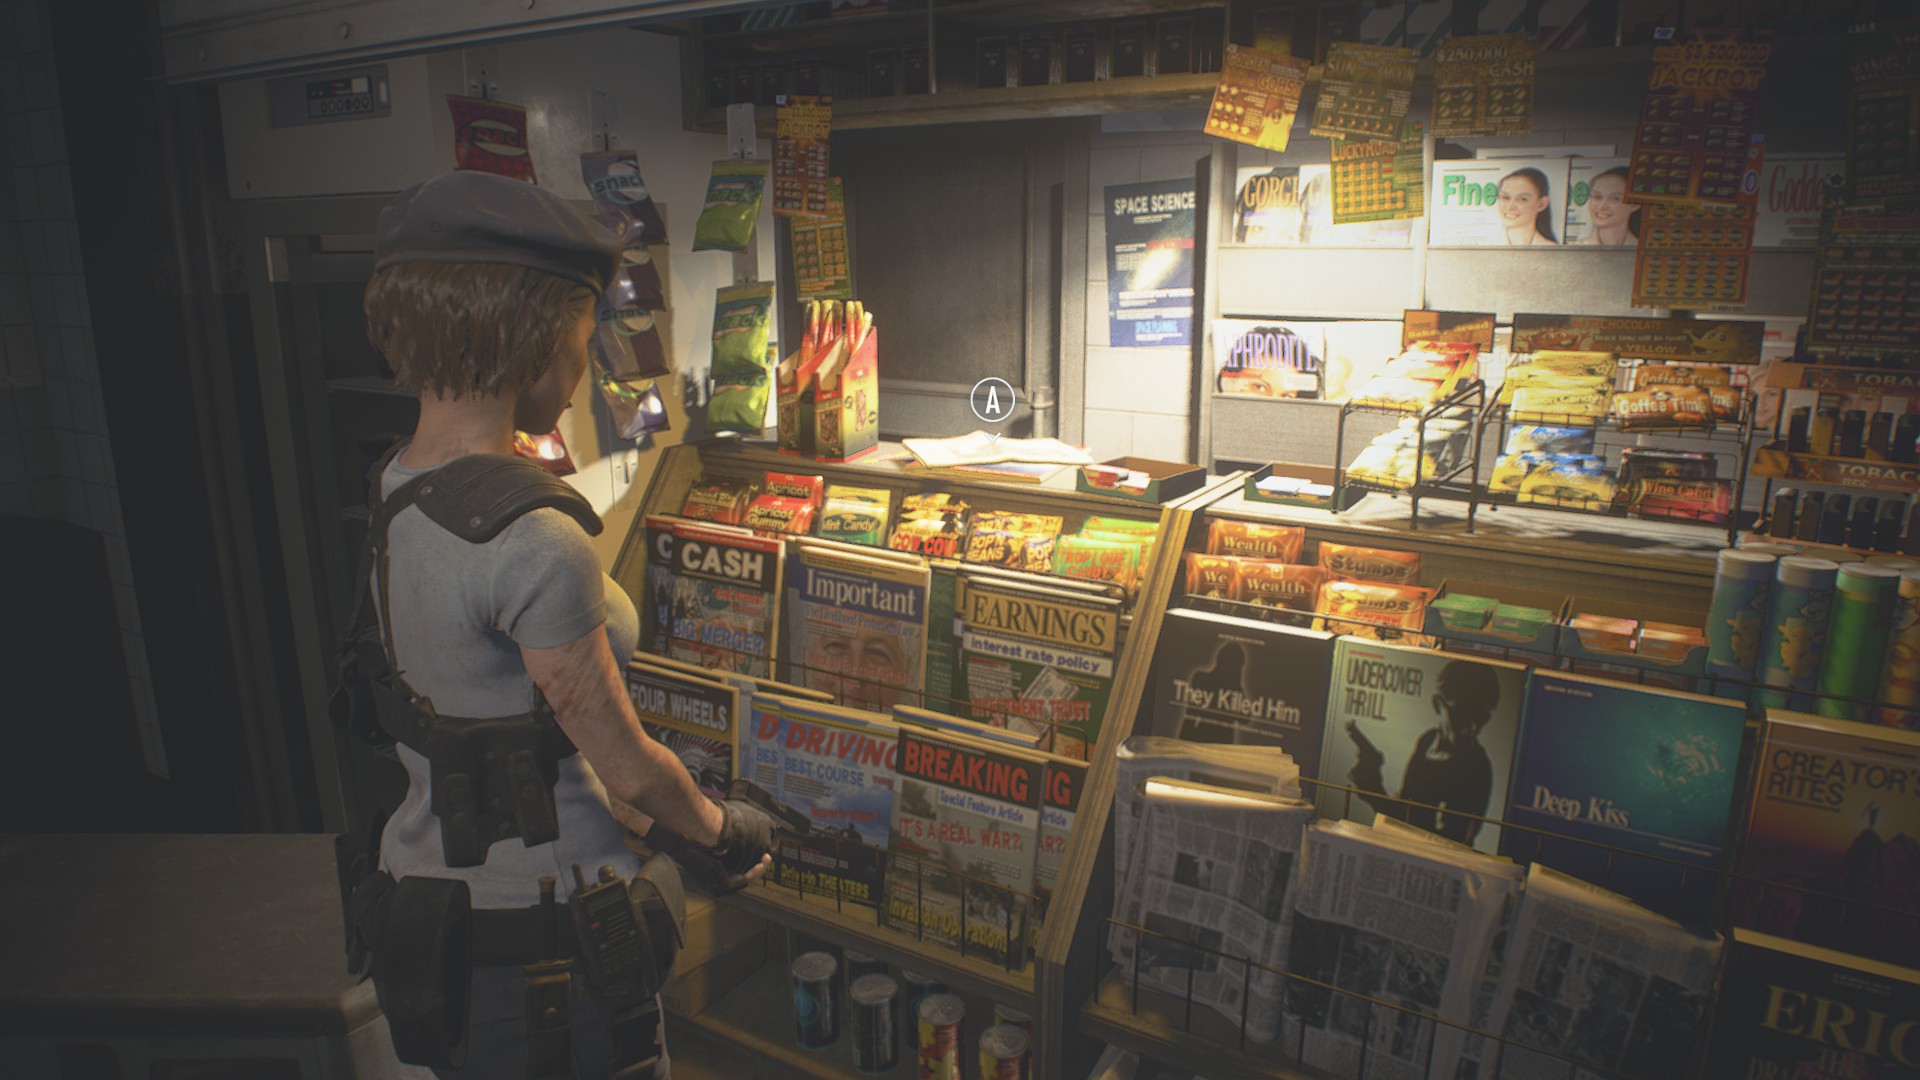
Check the newsstand on your way up to the subway station safe room.
File #7: U.B.C.S. Herb Field Manual
Open the binder on the table in the middle of the subway station safe room.
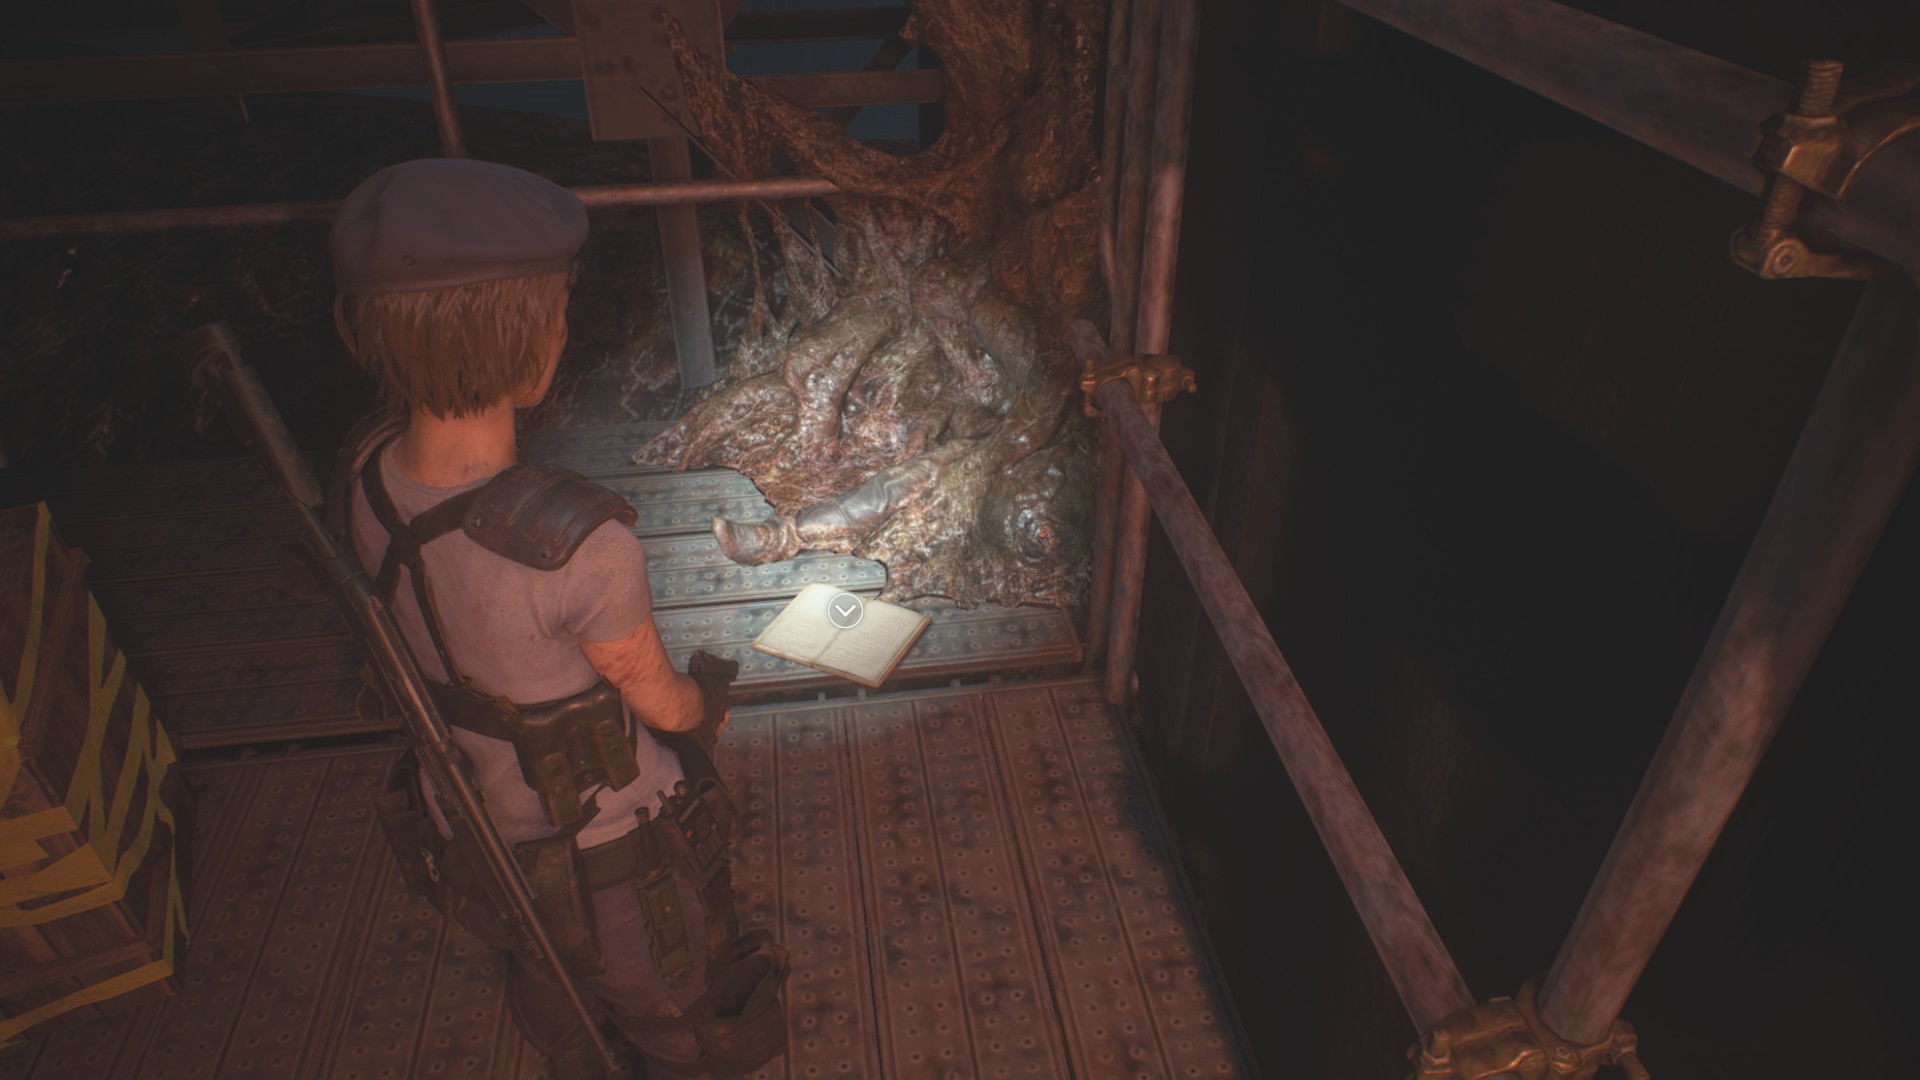
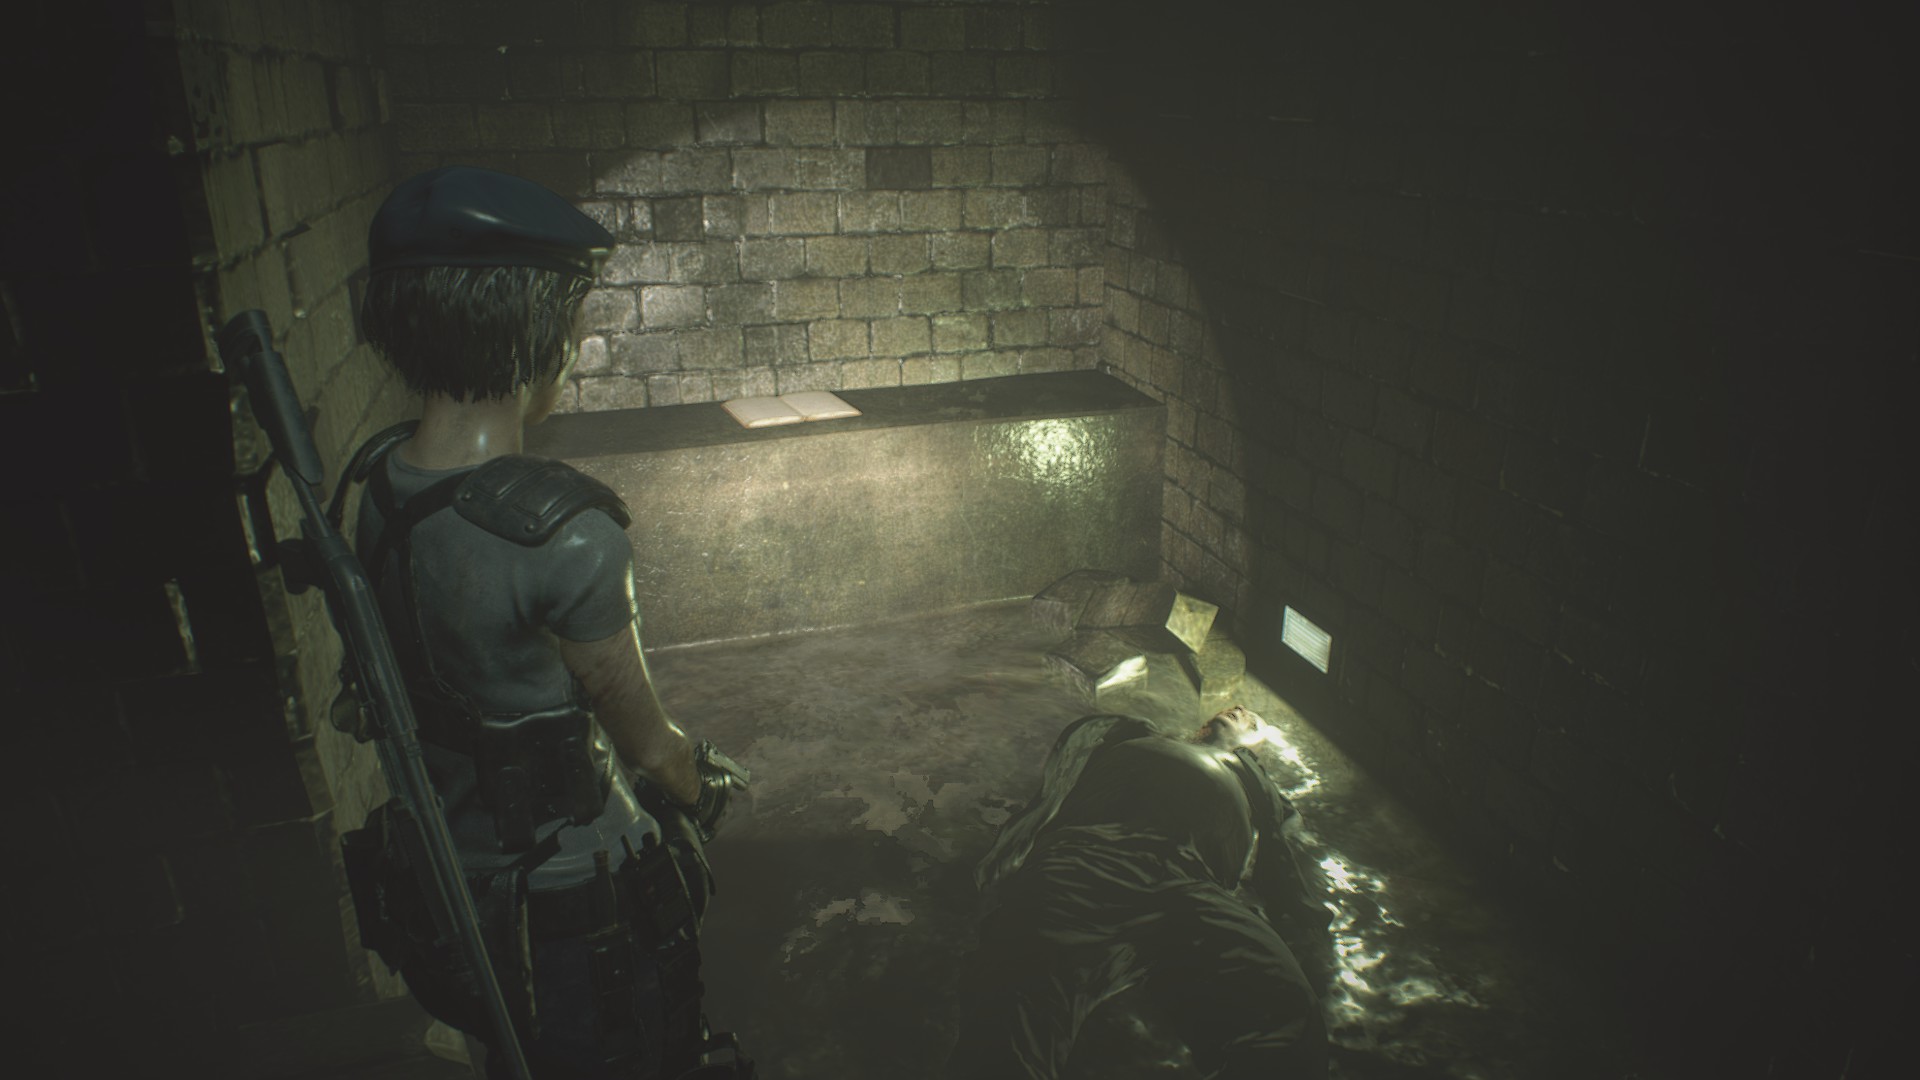
File #8: Drugstore Owner’s Journal
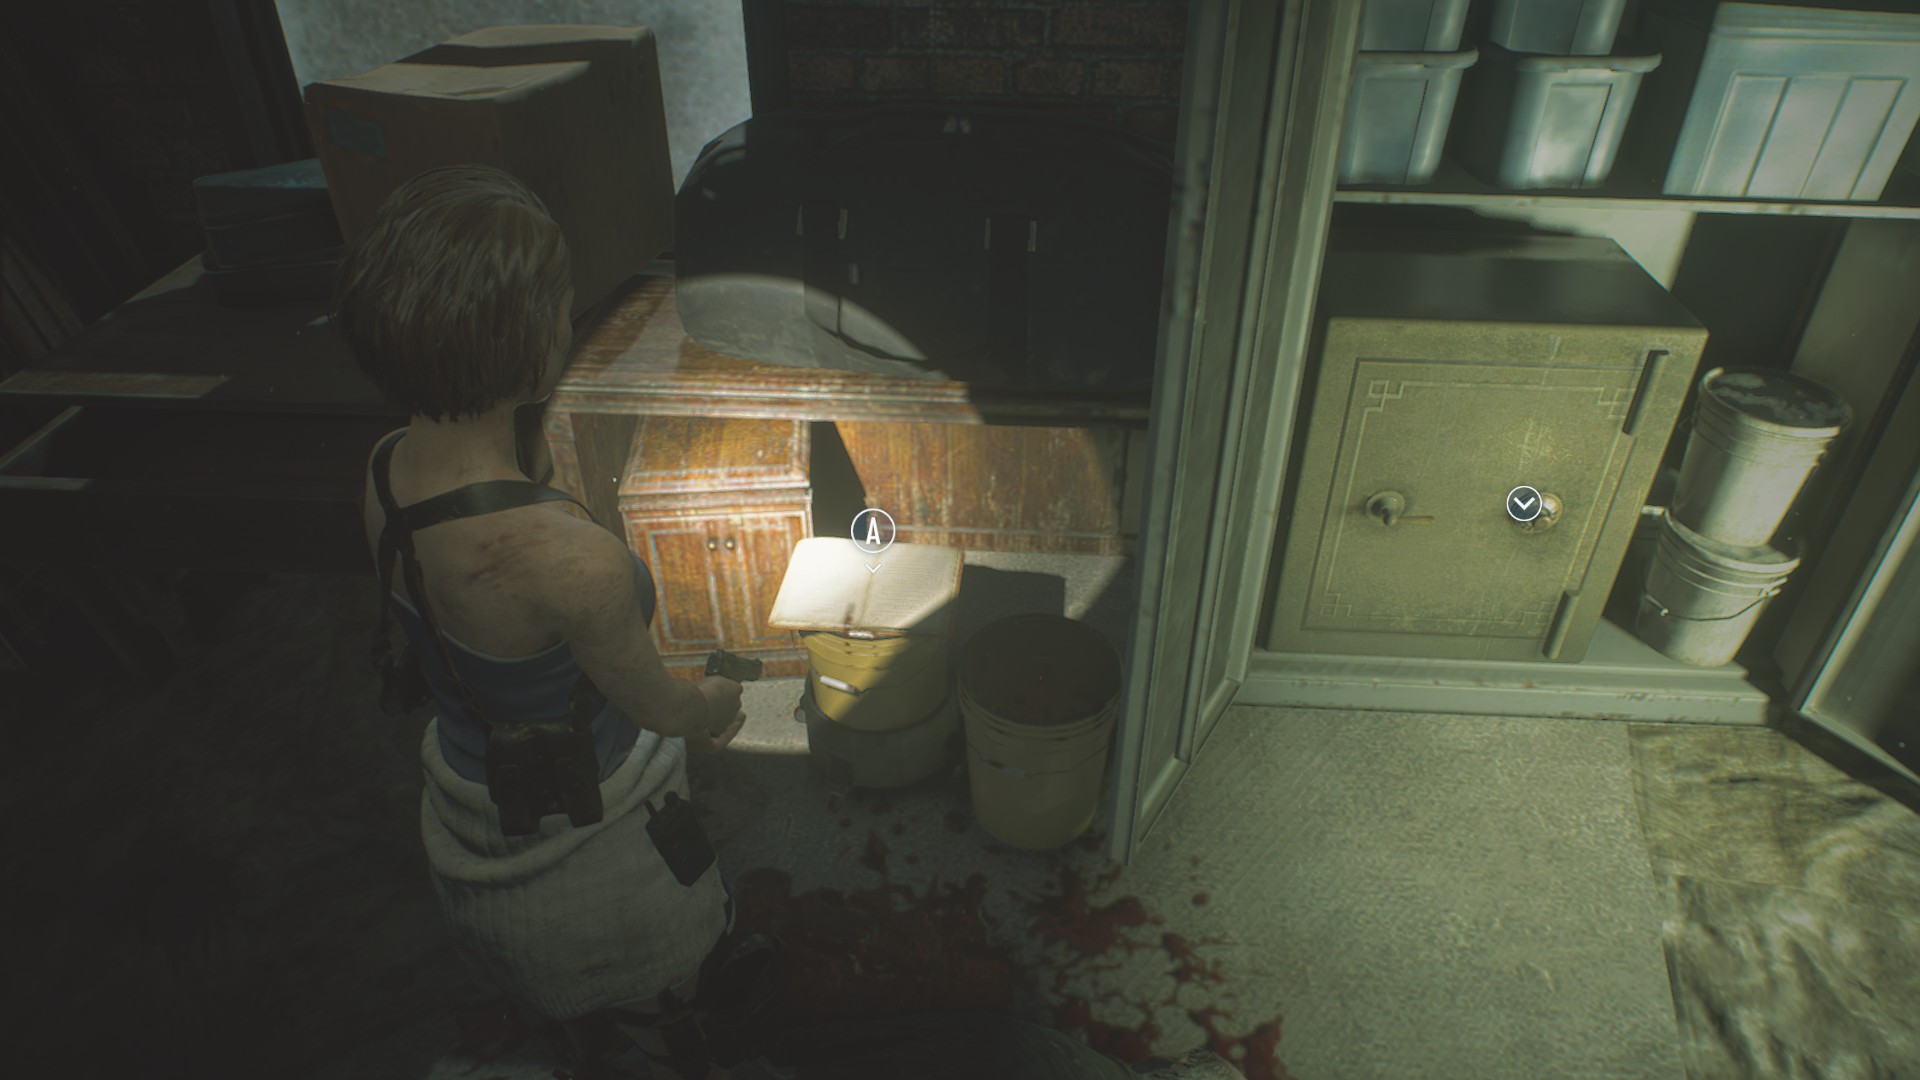
Use the walkway near Moon’s Donuts to reach the storage room above the drugstore, and read the open book next to the safe.
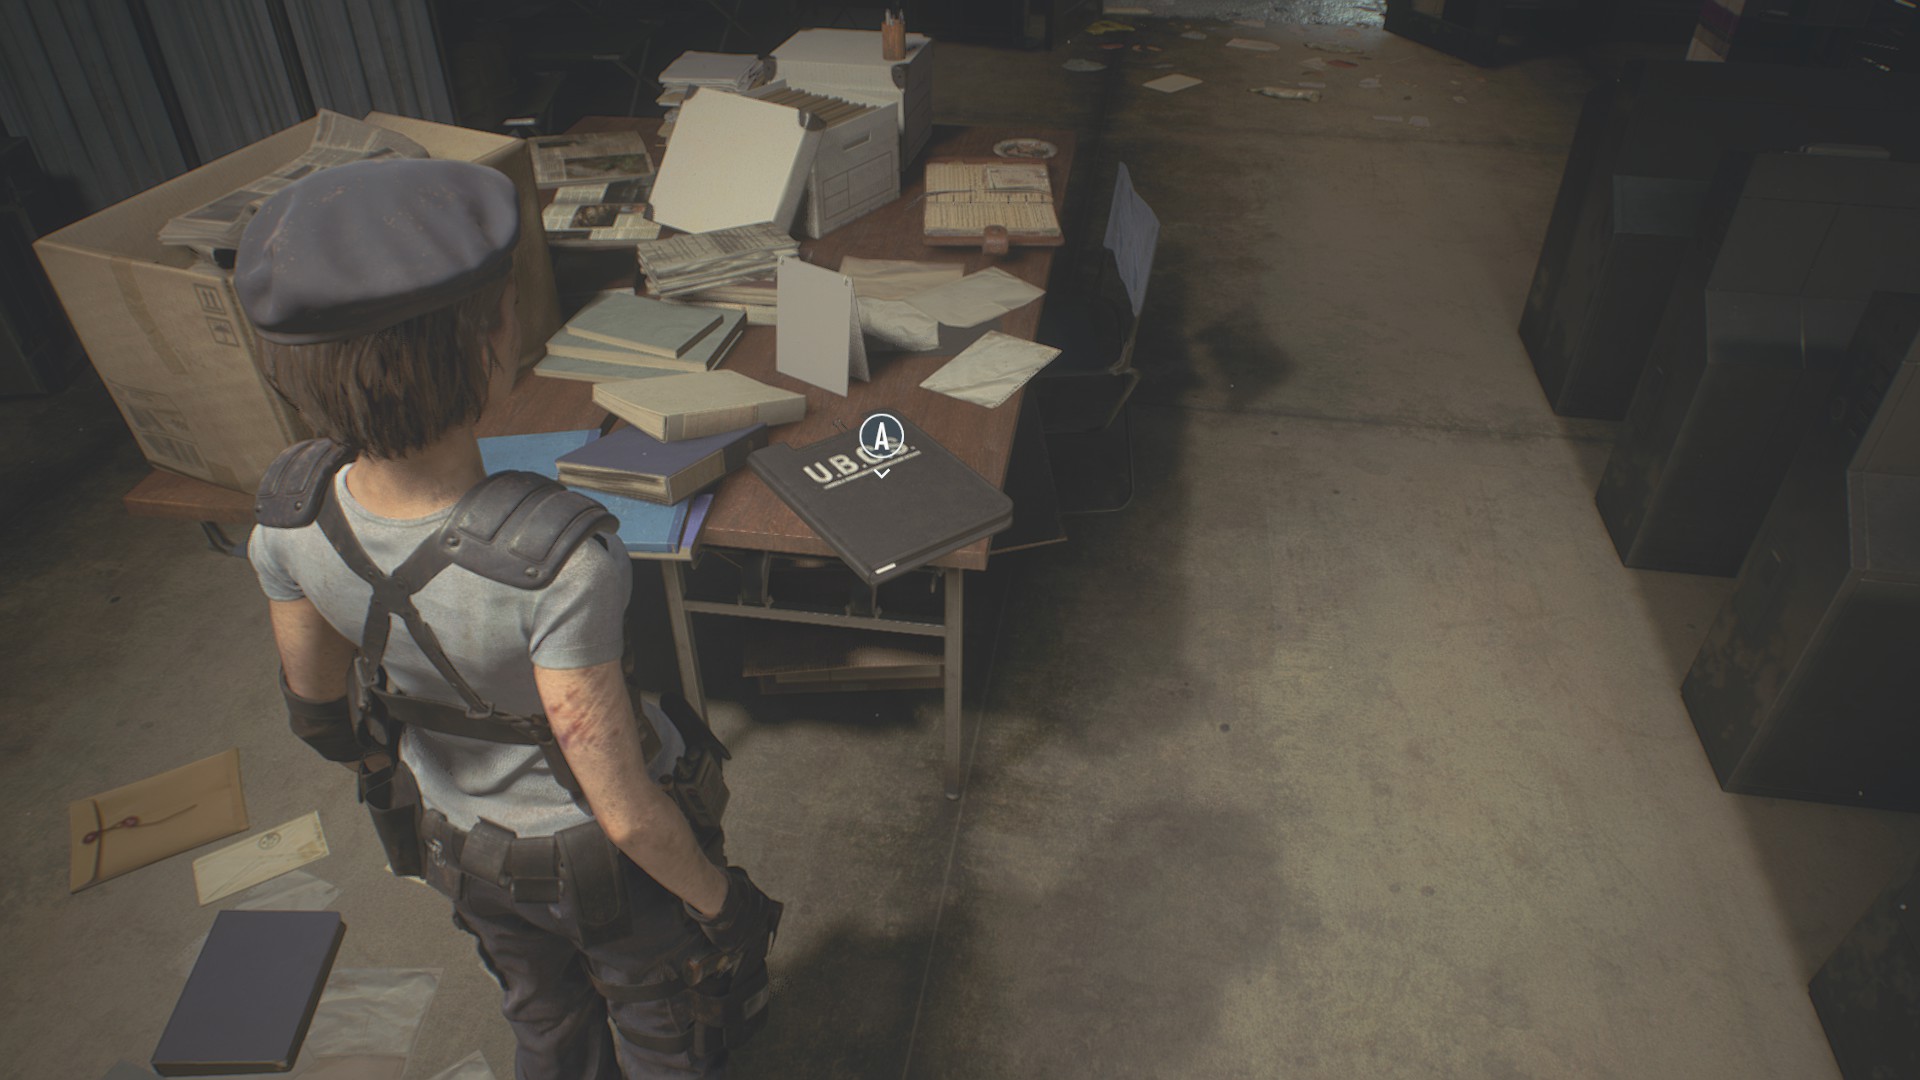
File #9: Subway Employee’s Memo
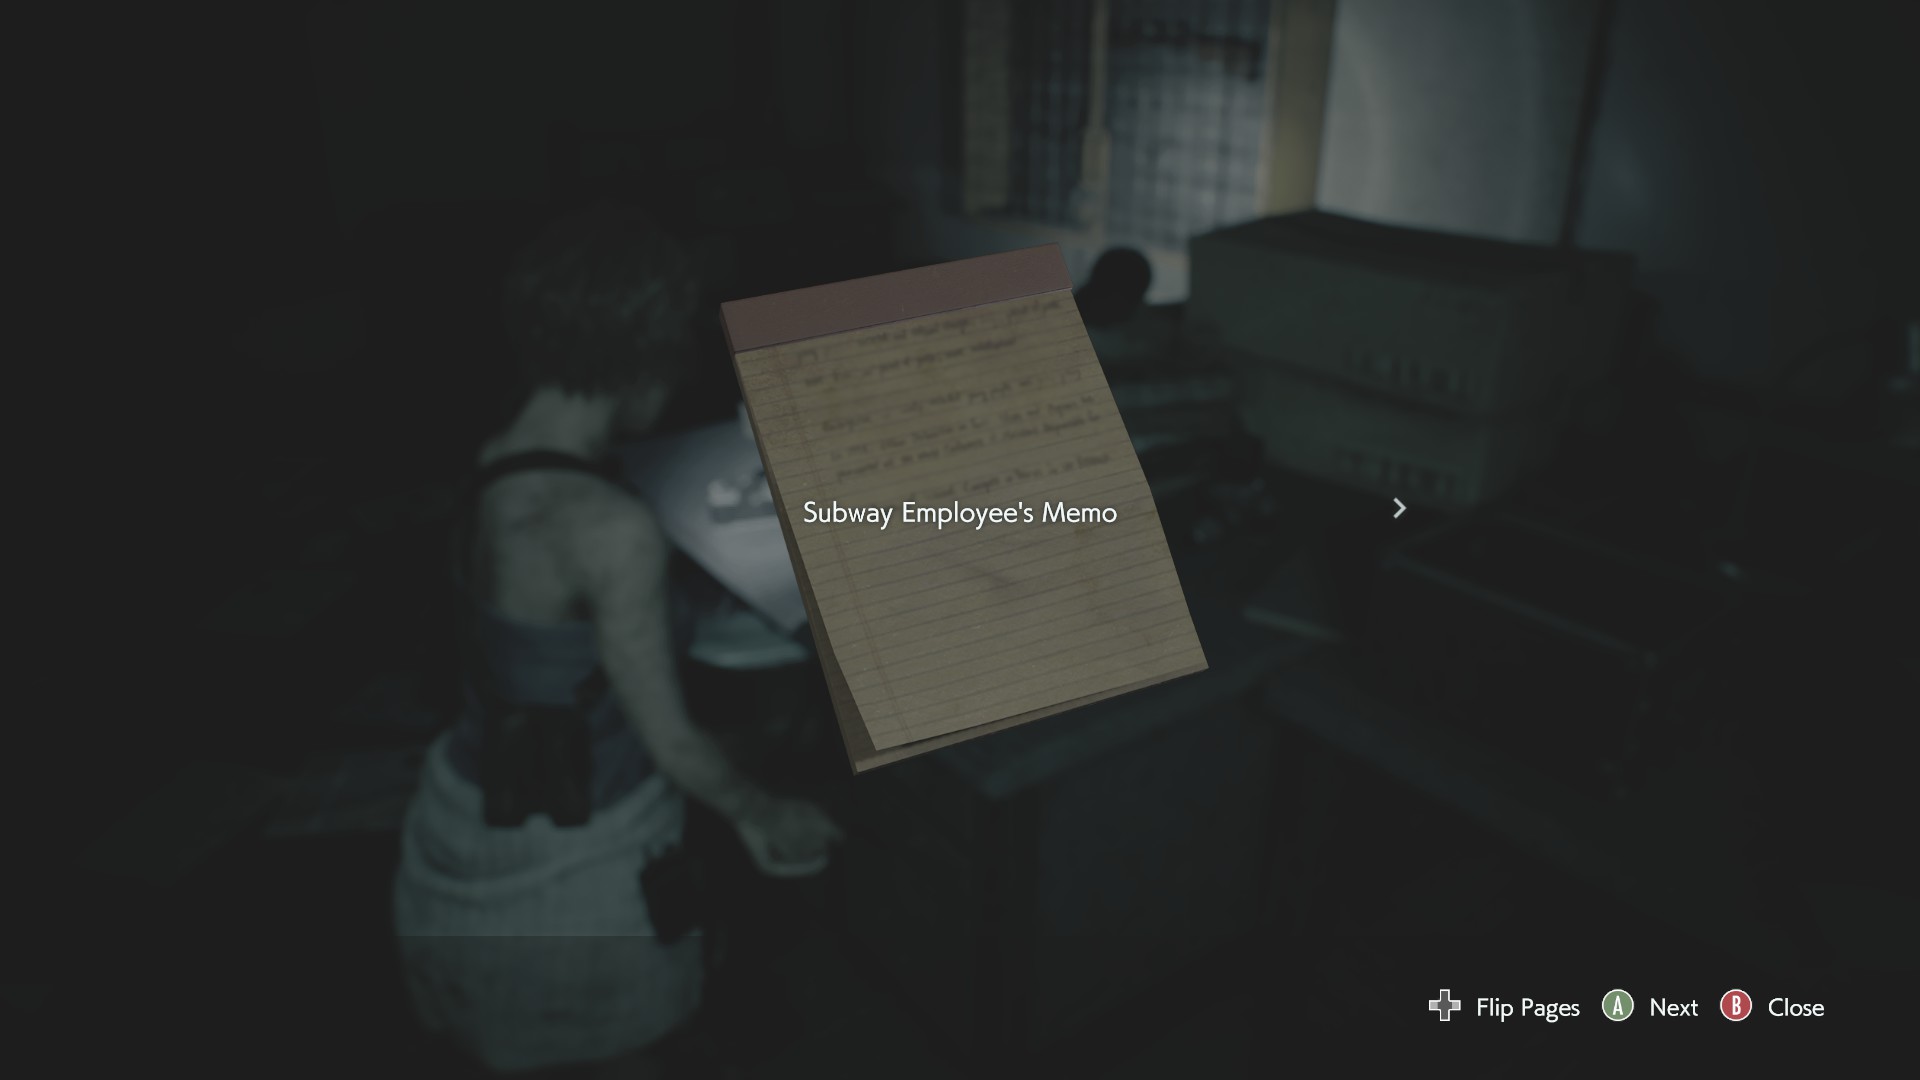
Look on the desk in the front office of the subway control center. This file is next to the locker that contains the shotgun.
File #10: Kite Bros. Railway Manual
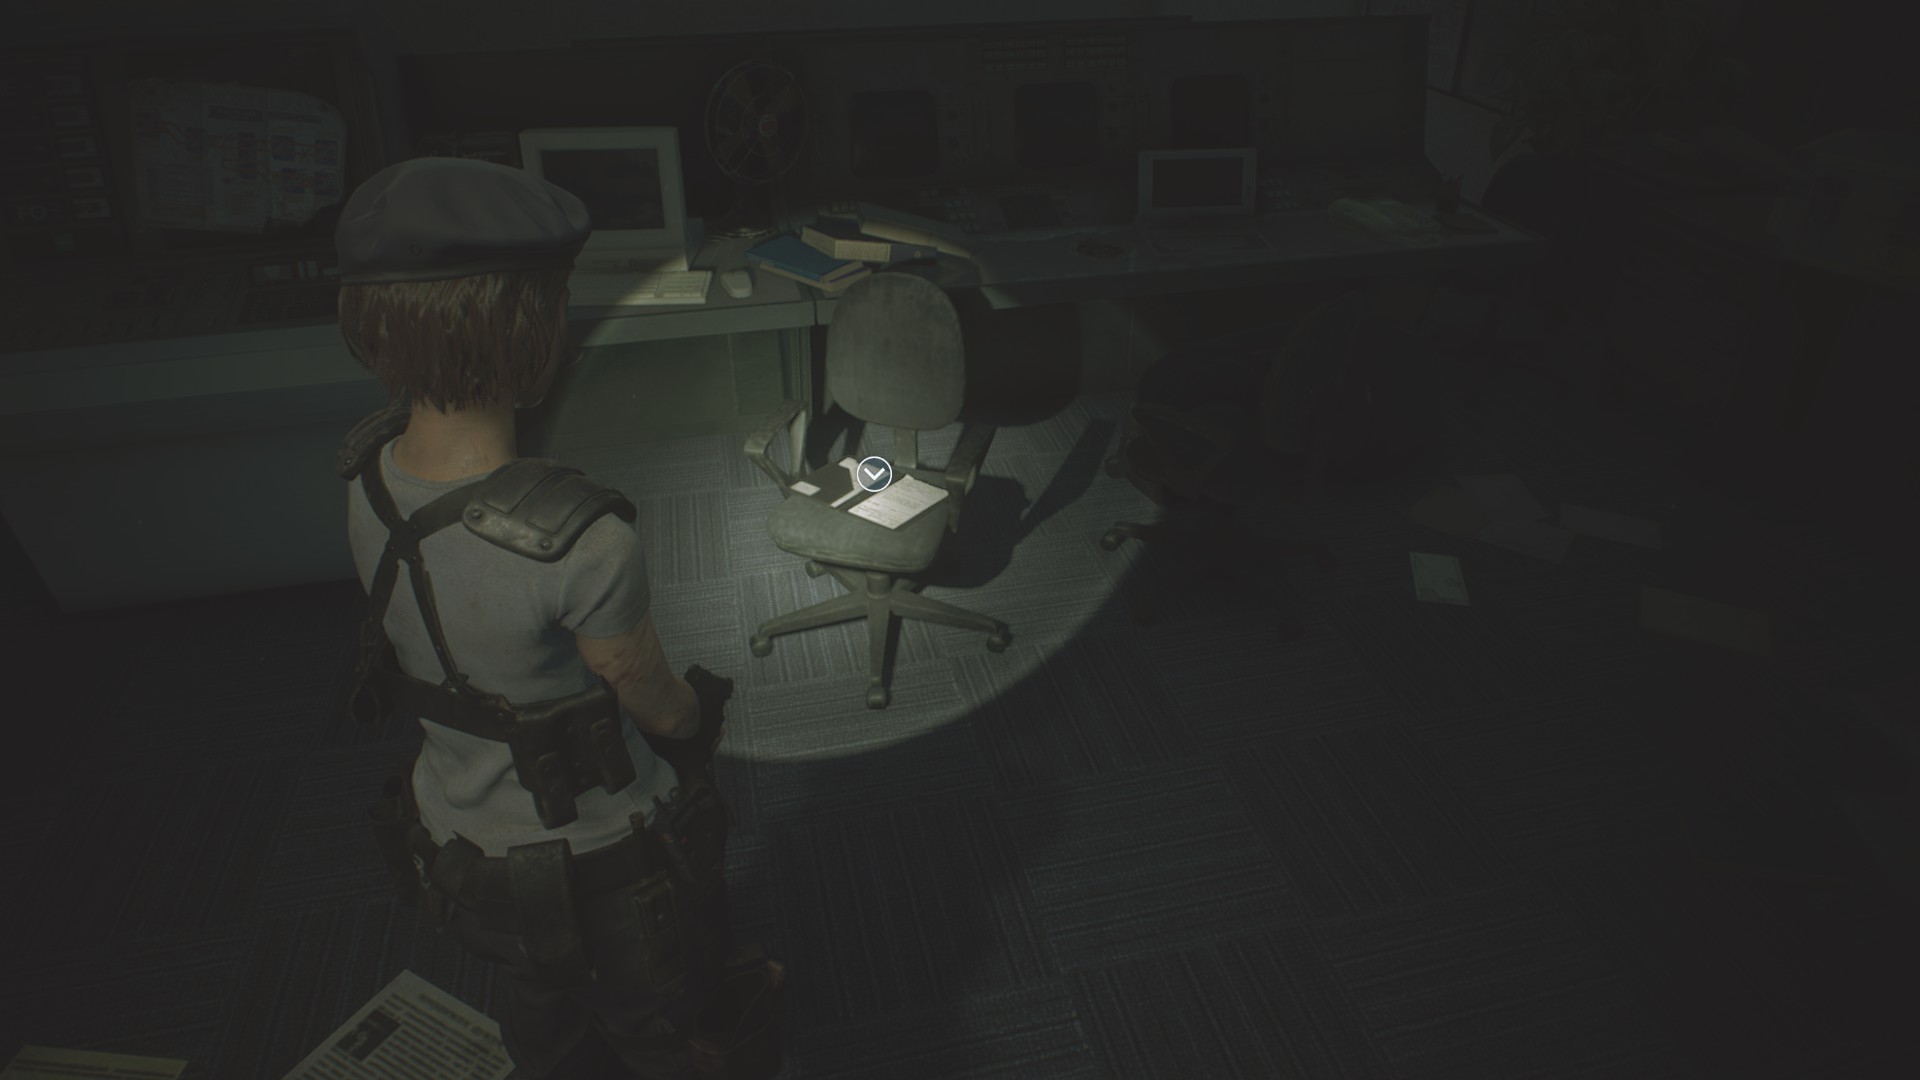
Check the chair next to the main console in the subway control center.
File #11: Training Log
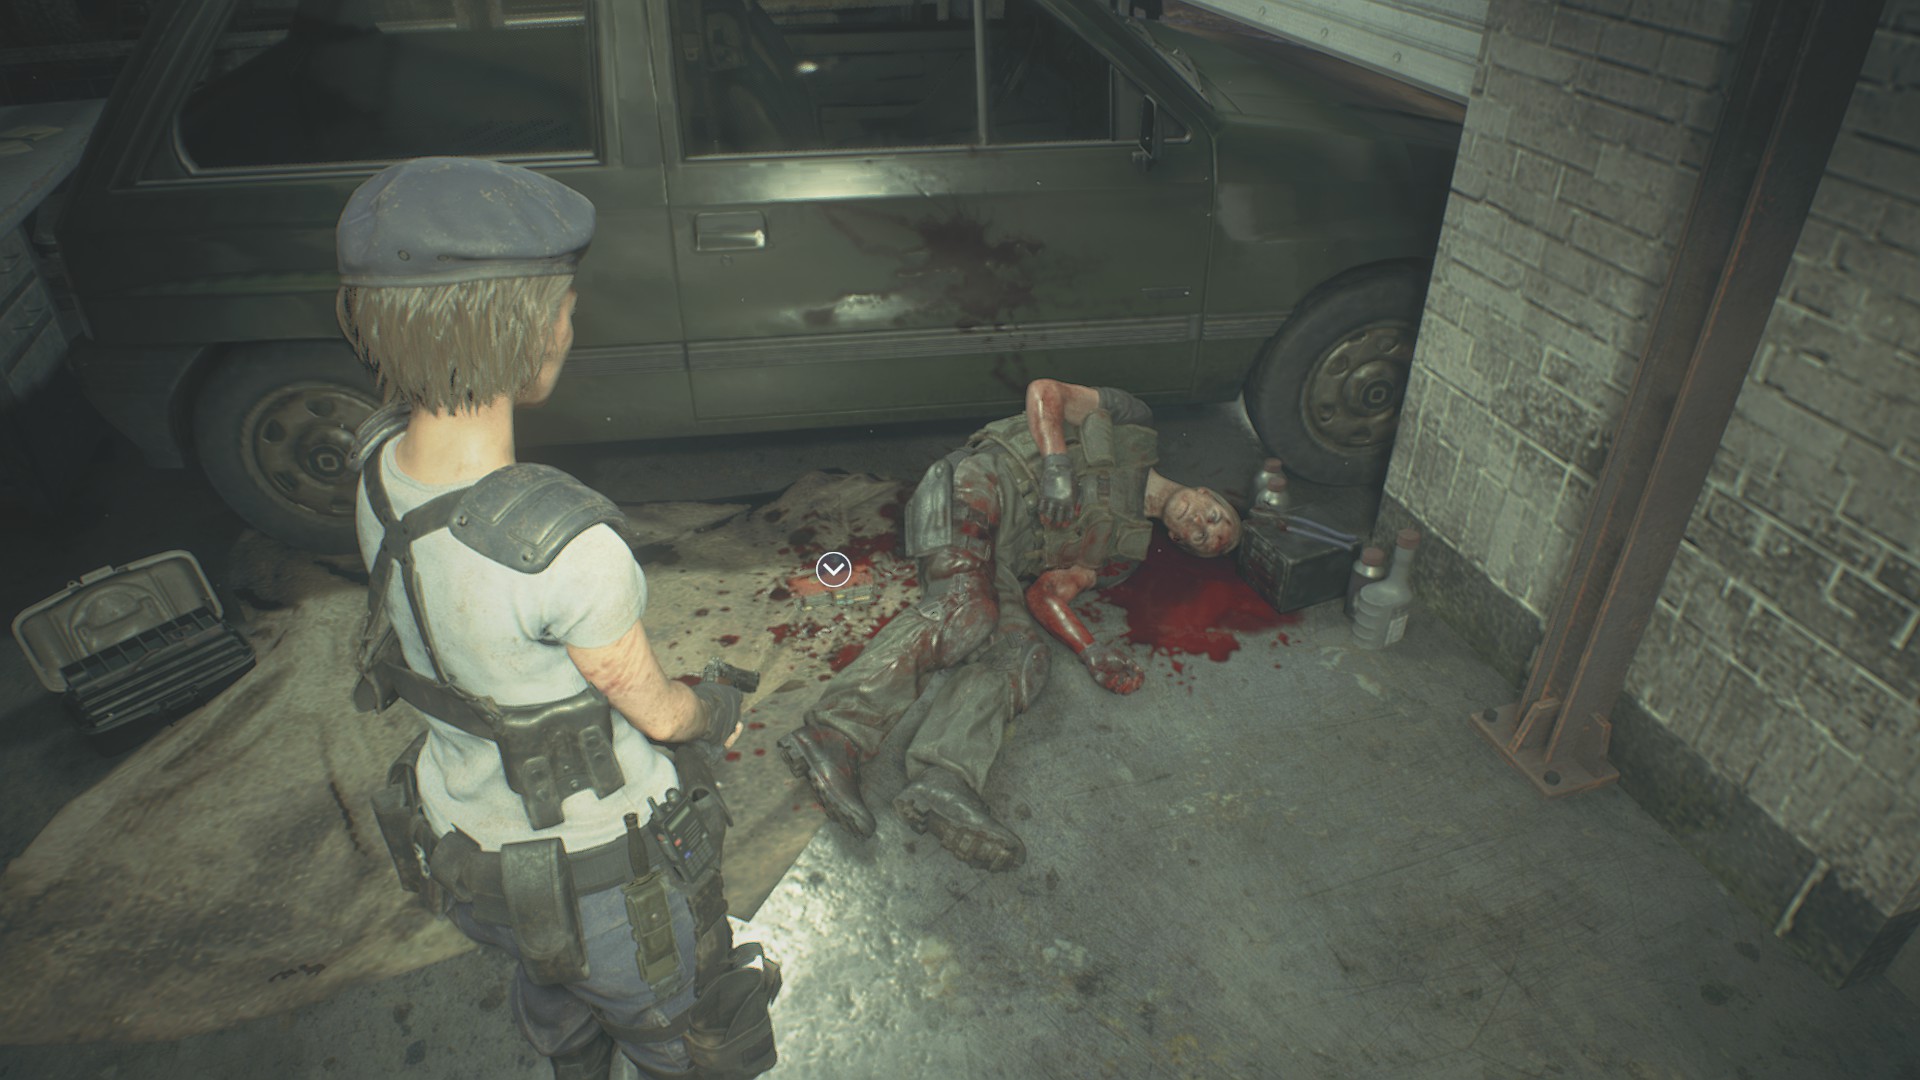
Check Murphy’s body in the garage.
File #12: U.B.C.S. Suicide Note
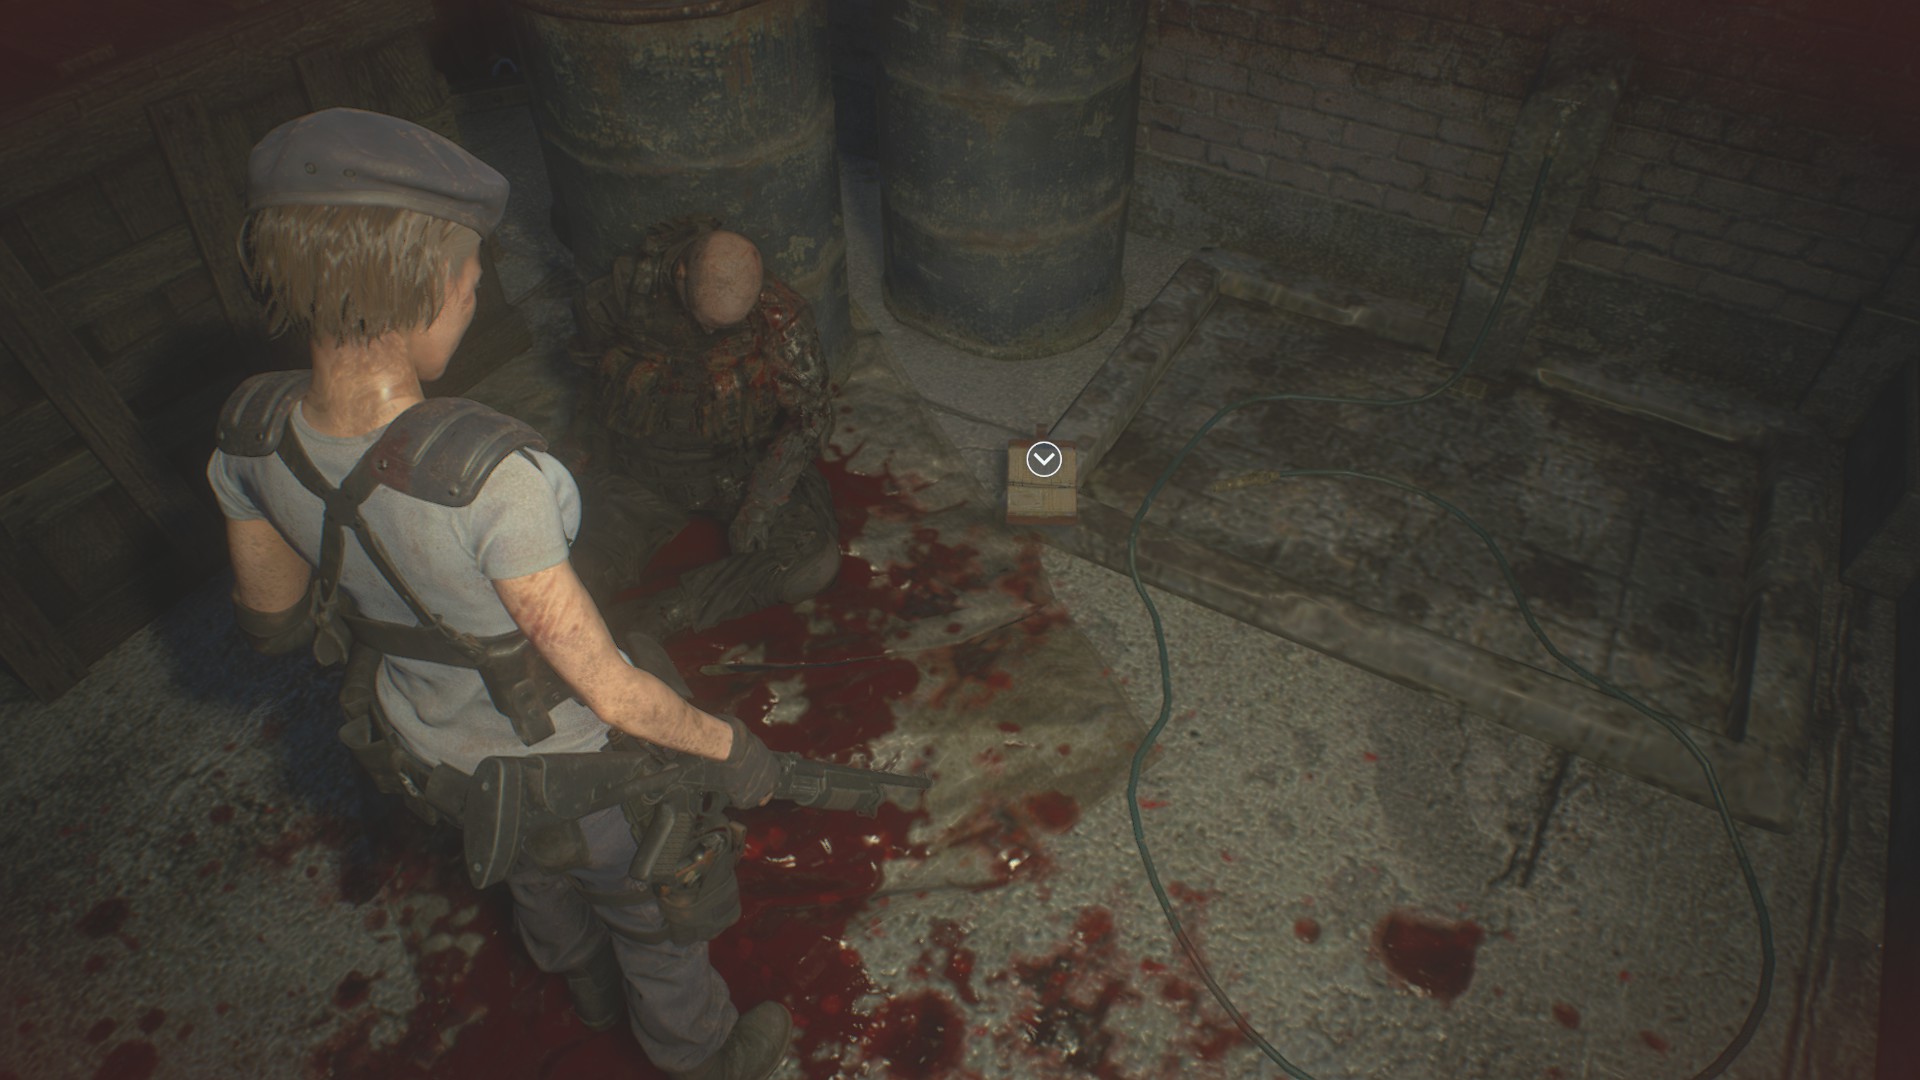
When you leave the garage, turn right to find a dead mercenary at the end of the alley. He’s got this note and a handful of bullets on him.
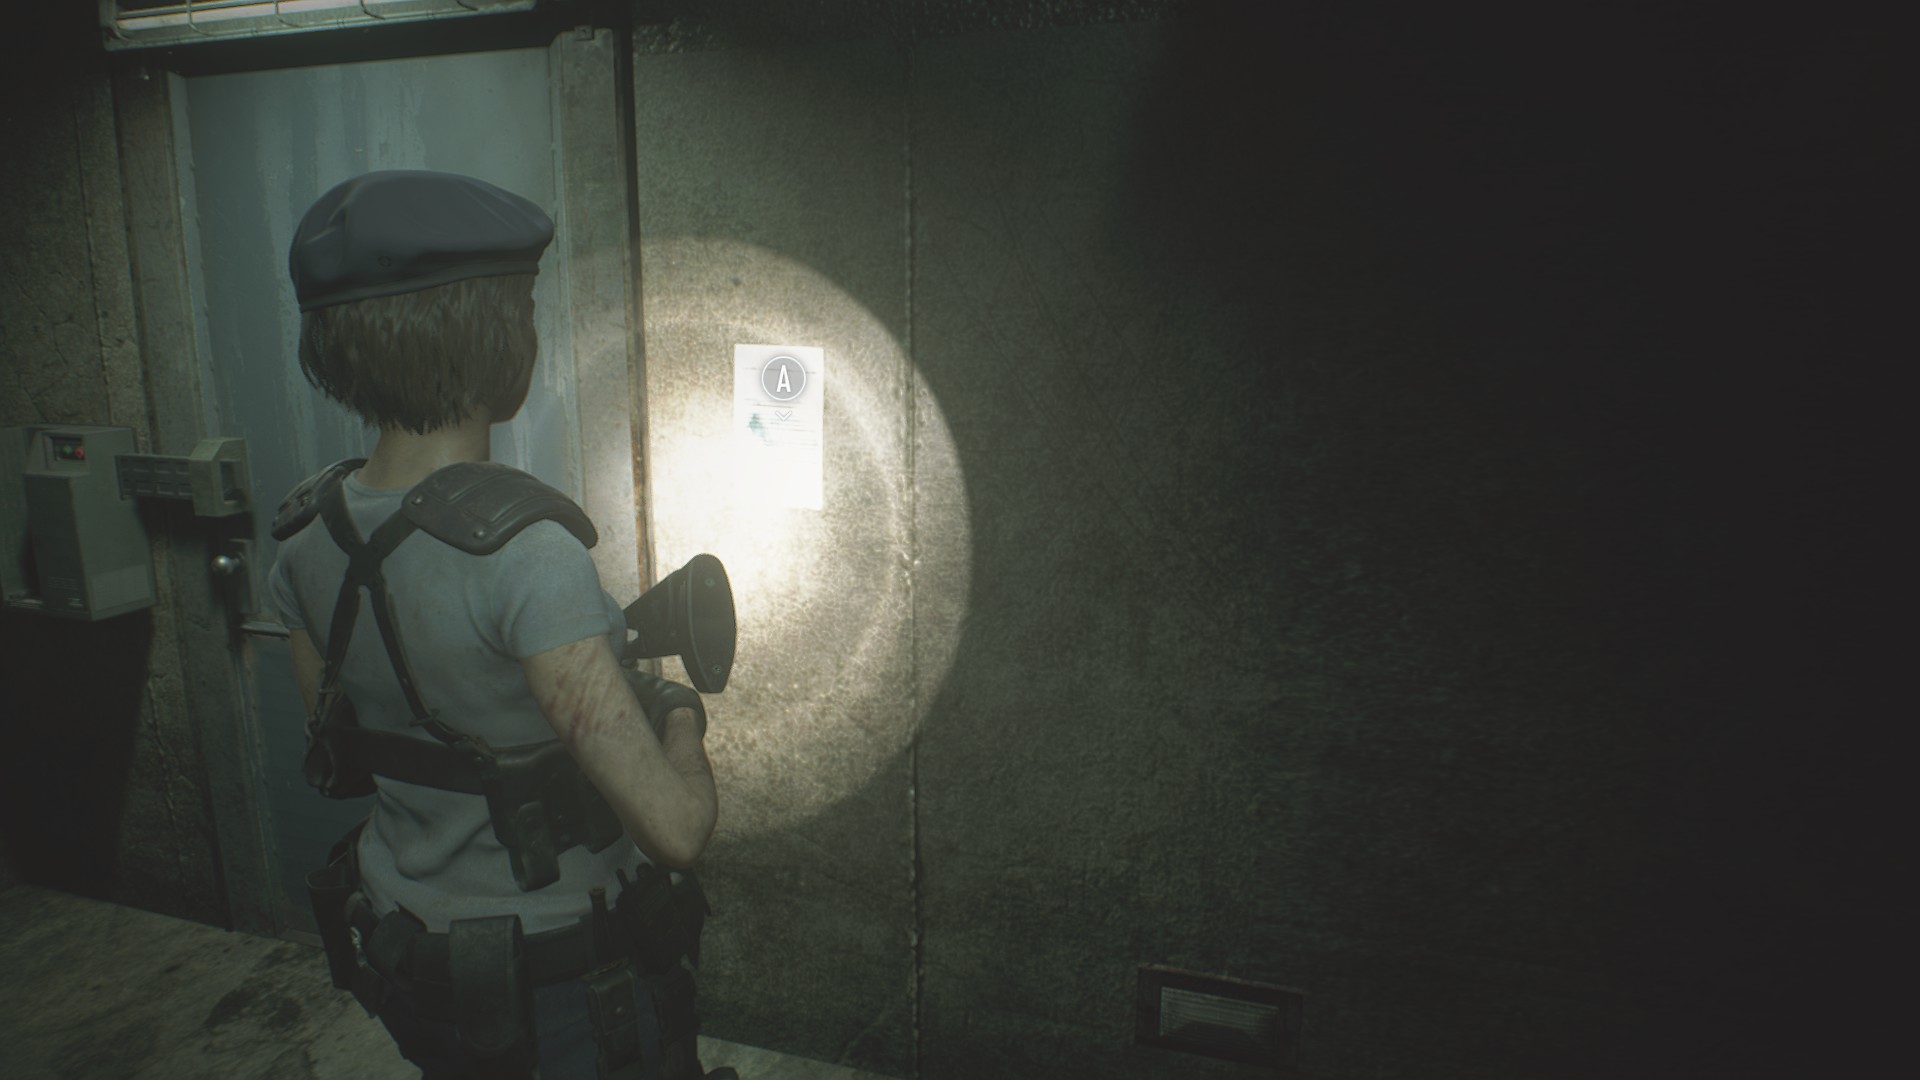
File #13: Electrician’s Notice
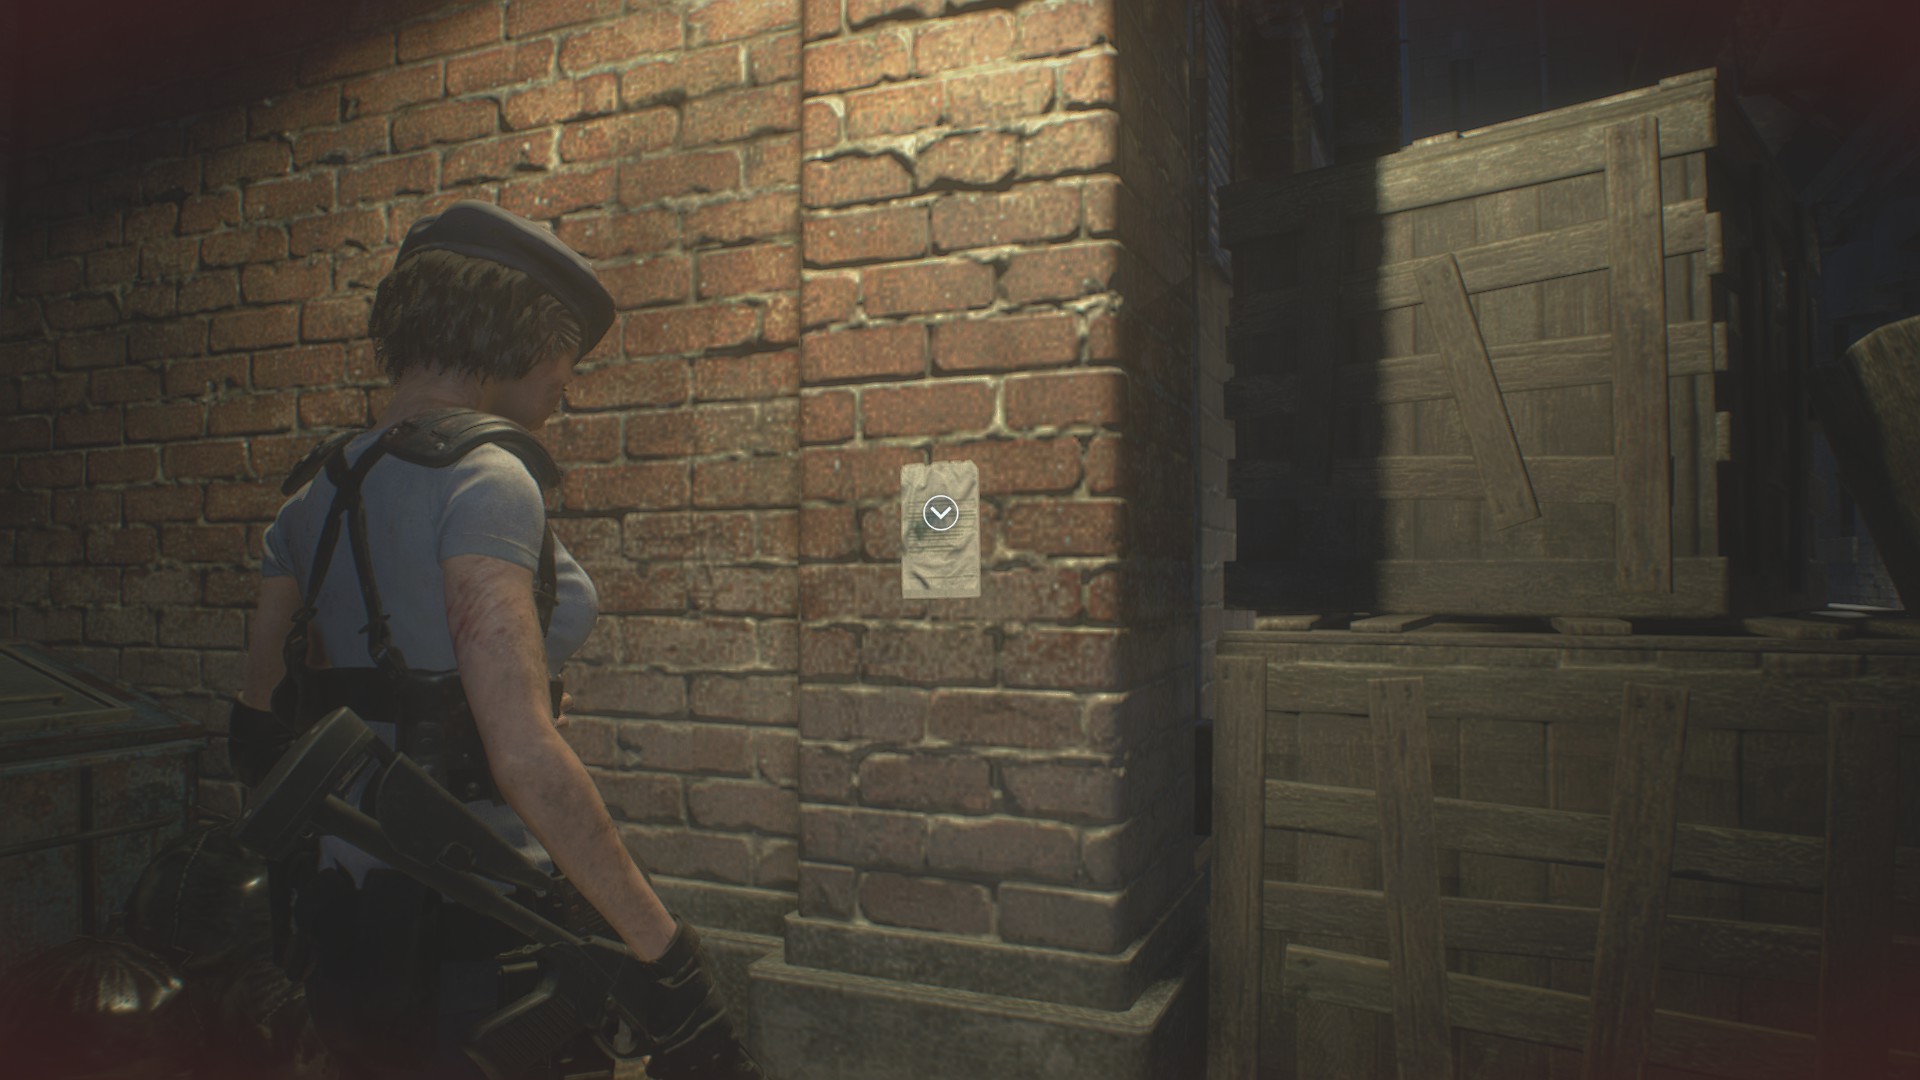
Leave the garage and turn left. You should spot this file taped to the wall at eye level. It’s a tutorial message about all the conspicuously sparking generator boxes you’ve seen lying around the streets.
File #14: Fax from Substation Chief
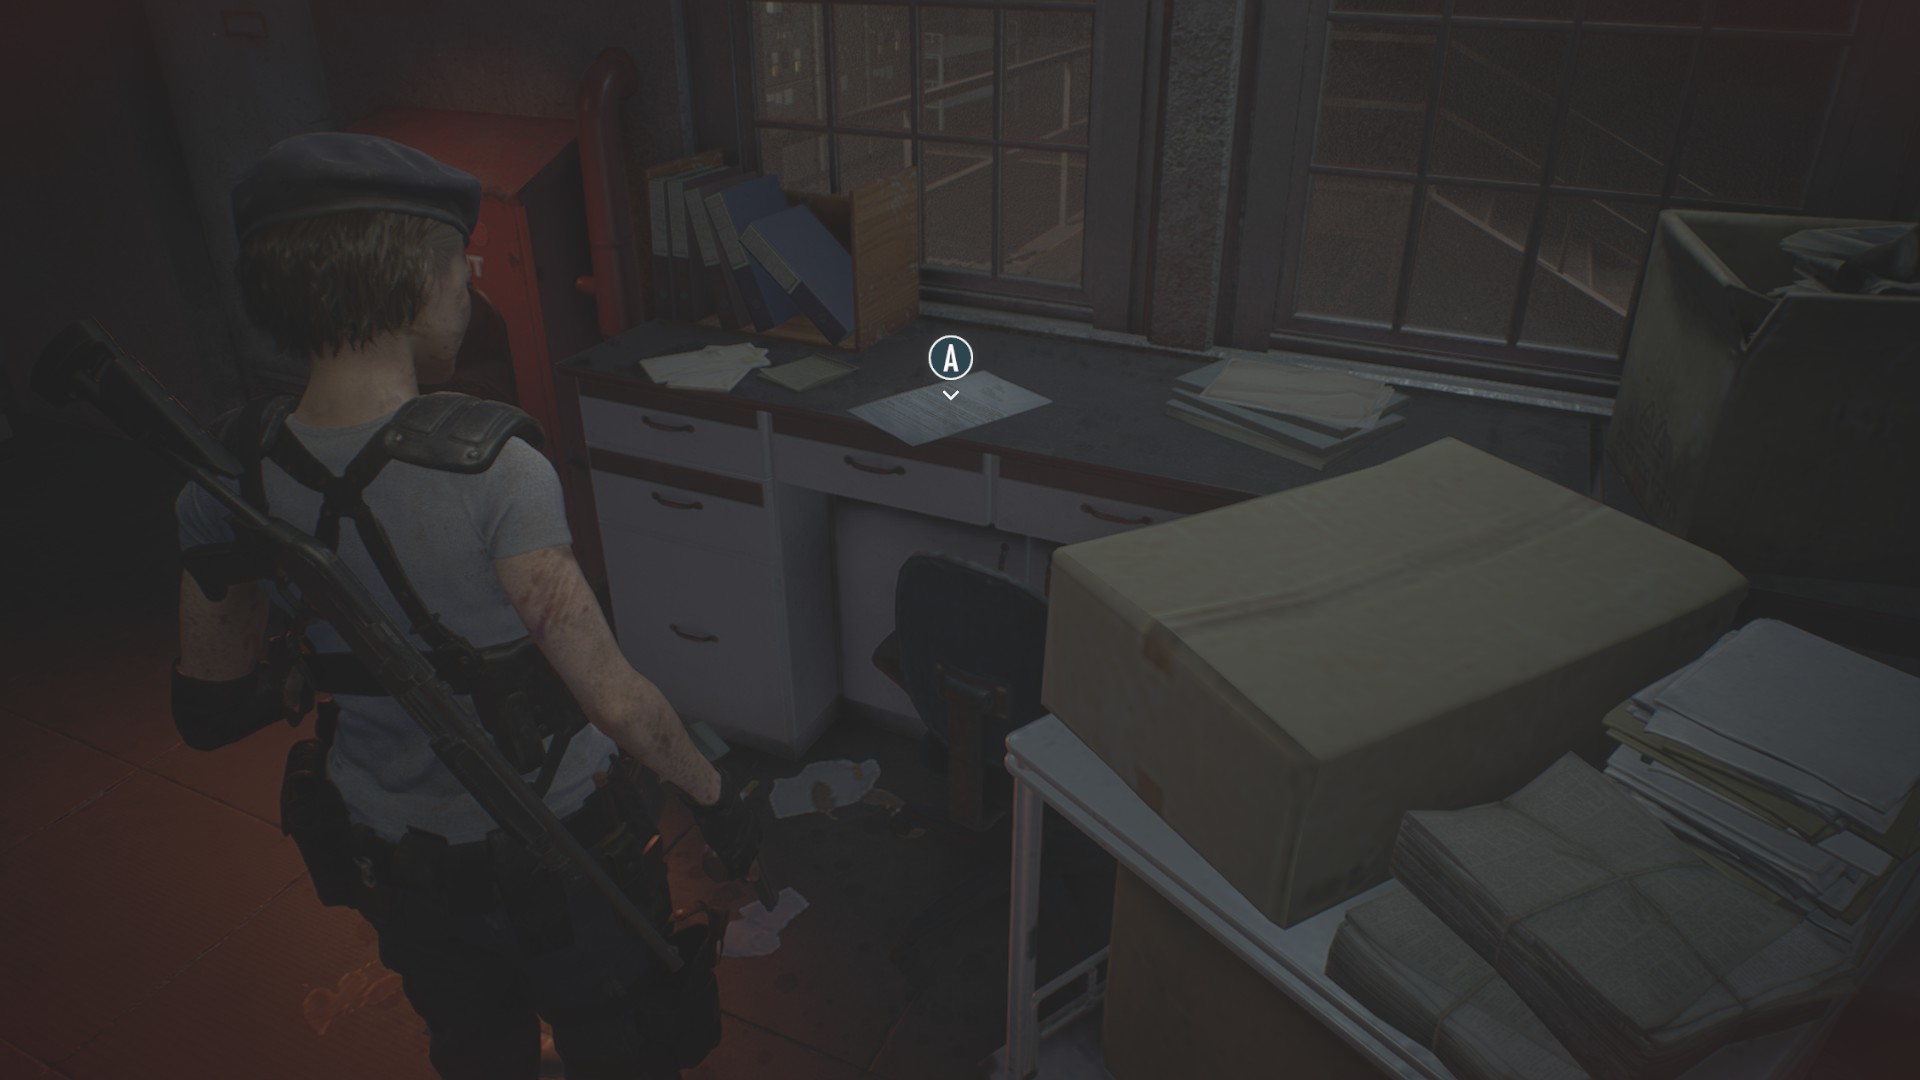
Check the desk in the electrical substation control room.
File #15: Green Herbs: They Work!
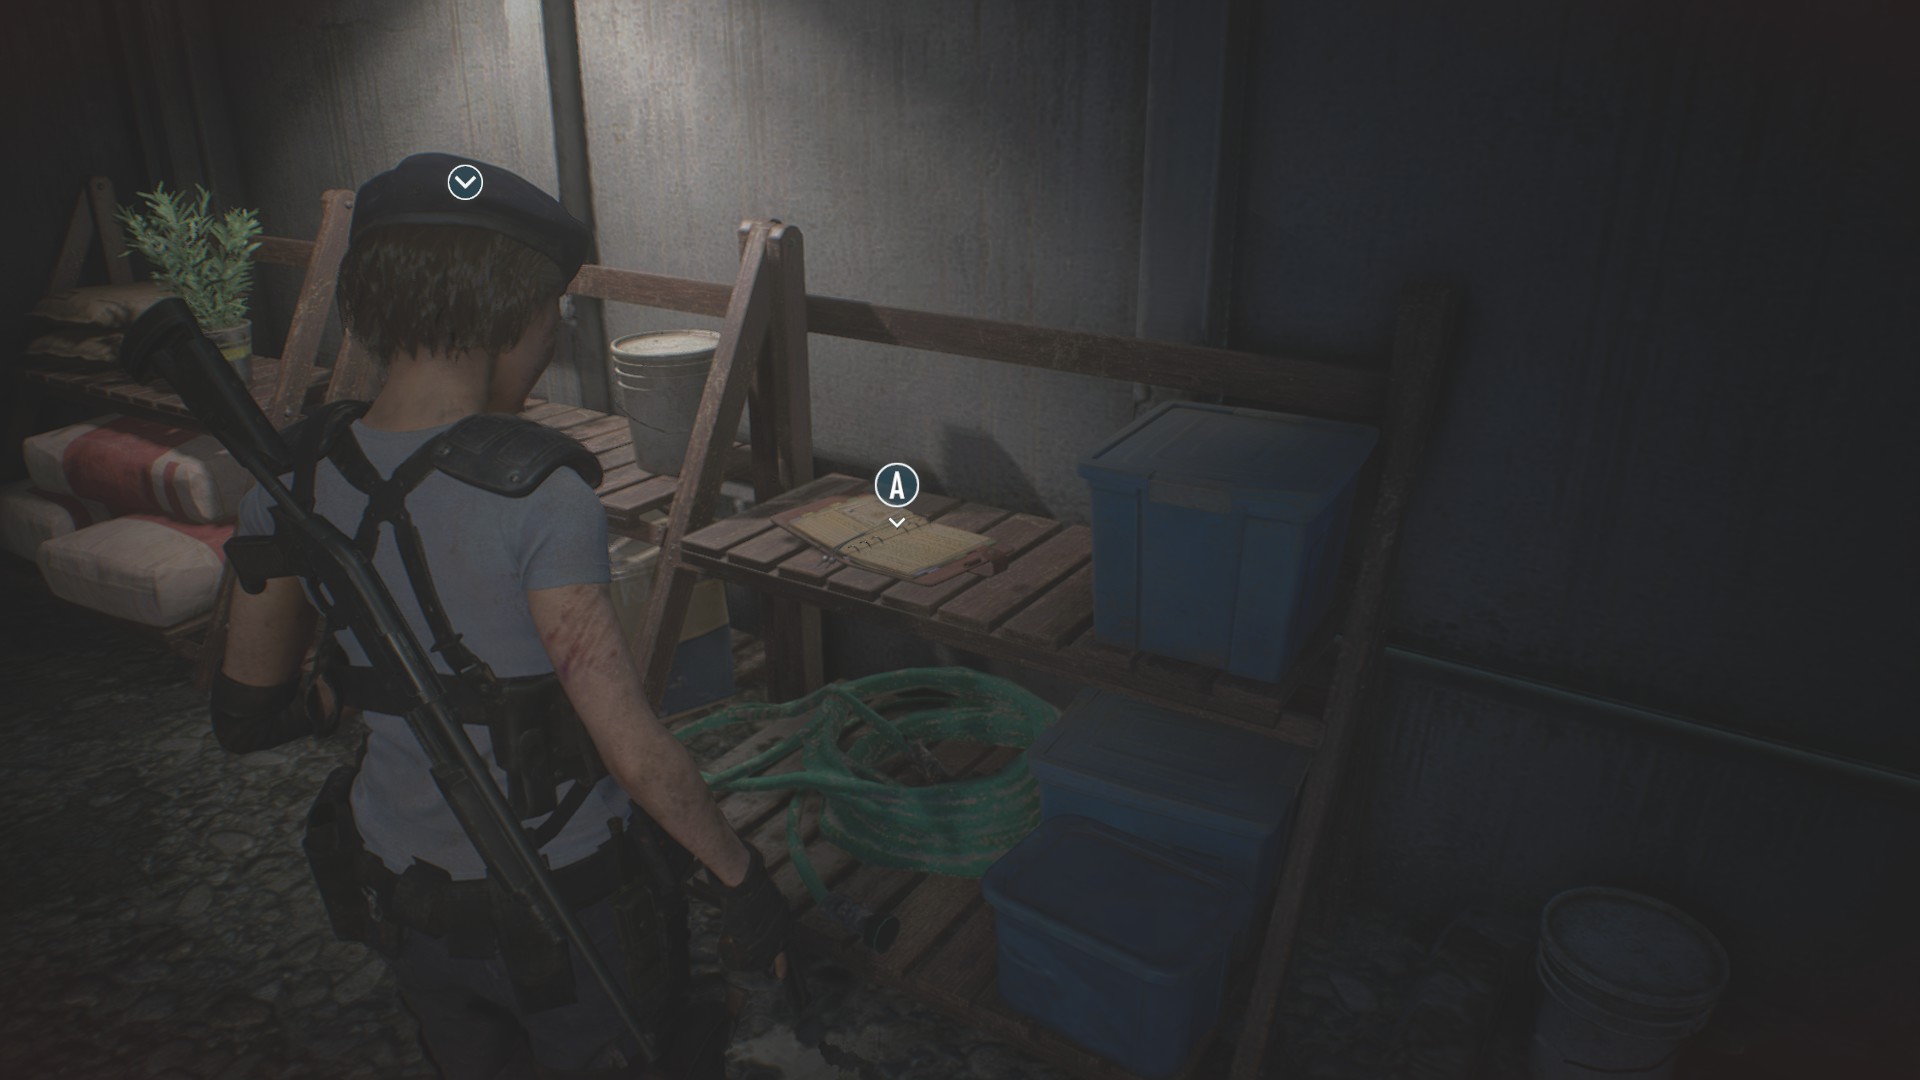
As you leave the substation control room, go downstairs and look for the two potted green herbs. This note’s in the open book lying next to them.
File #16: Substation Internal Memo
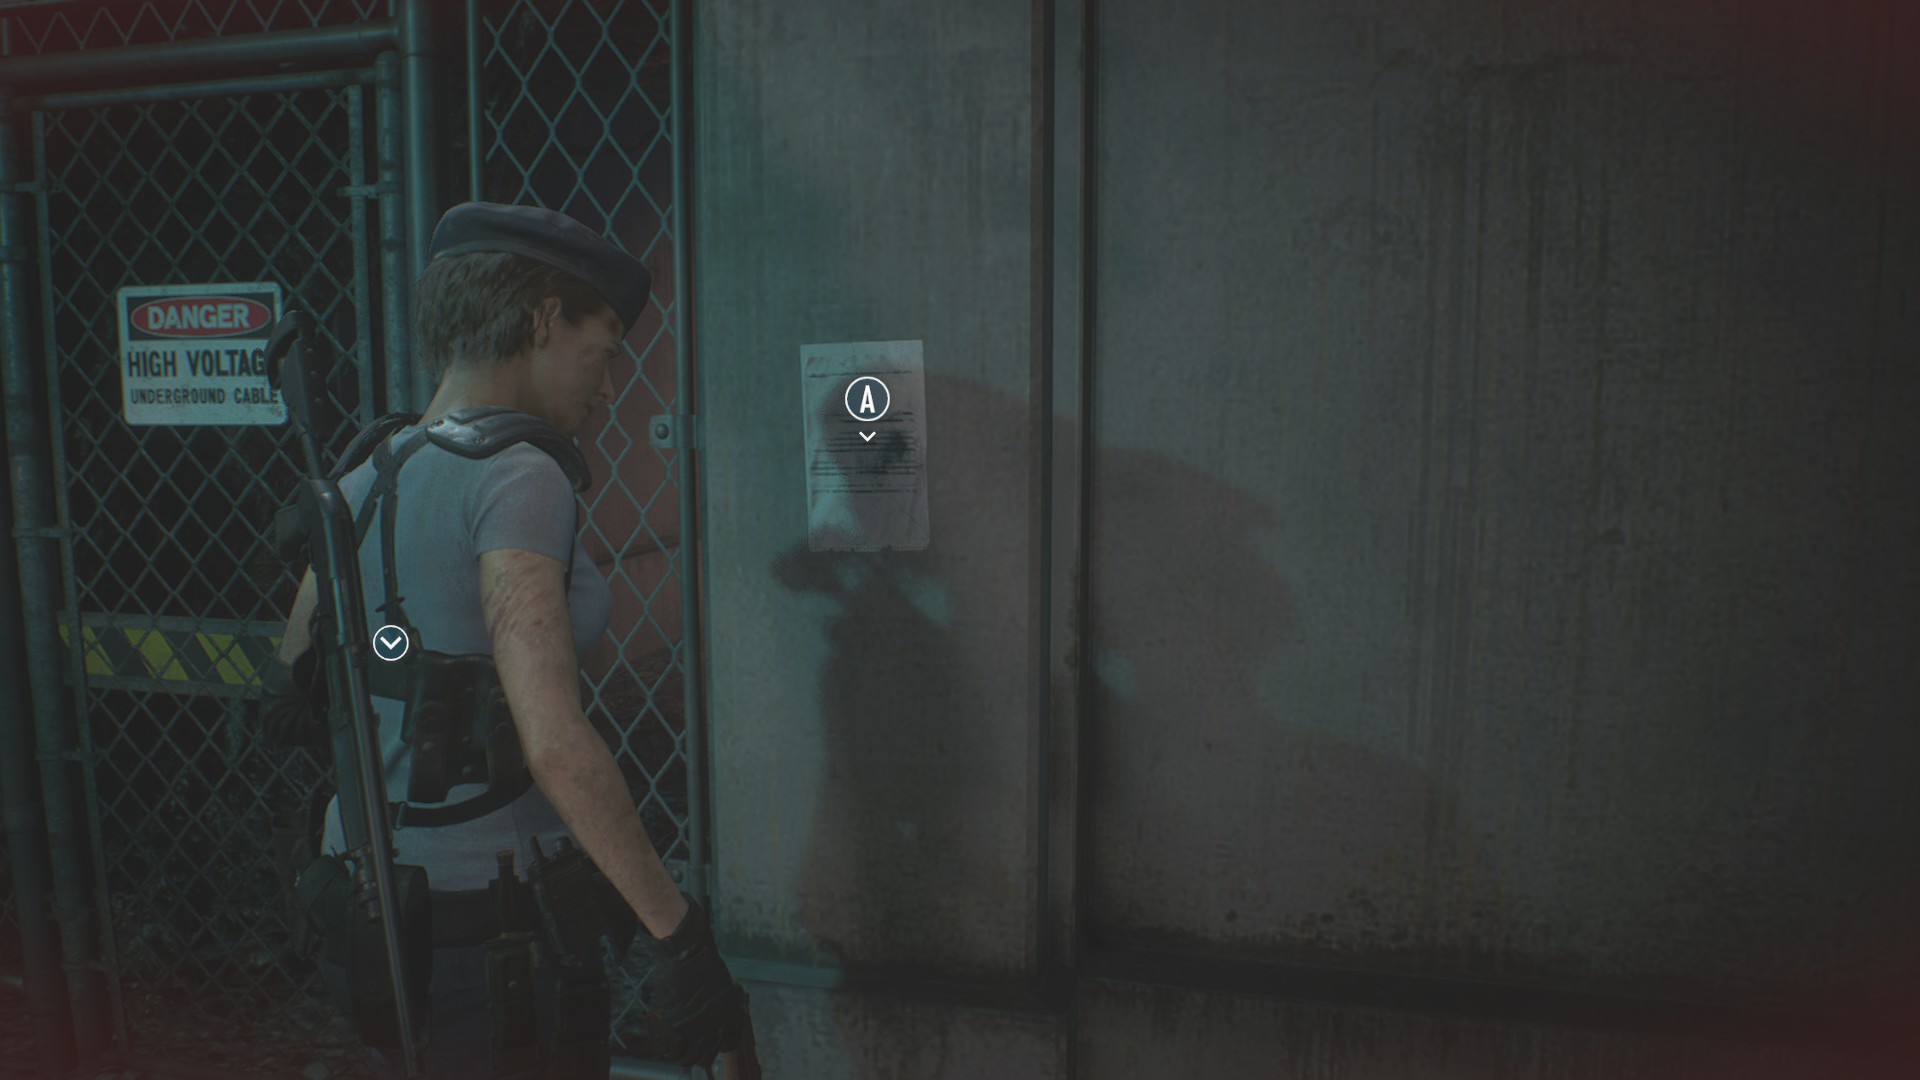
Read the note taped to the wall next to the door to the substation’s breaker room.
File #17: Chad’s Notes
When you reach the gangplank above the substation’s breaker room, look for this note next to the cocooned dead guy.
File #18: Your Charlie Doll

Check the poster on the wall near the front window inside Toy Uncle. You’ll need the lockpick to get inside.
File #19: Increased Sewer Security
This file is taped to the wall next to the battery-locked exit door in the sewers.
File #20: Invoice from Gun Shop Kendo
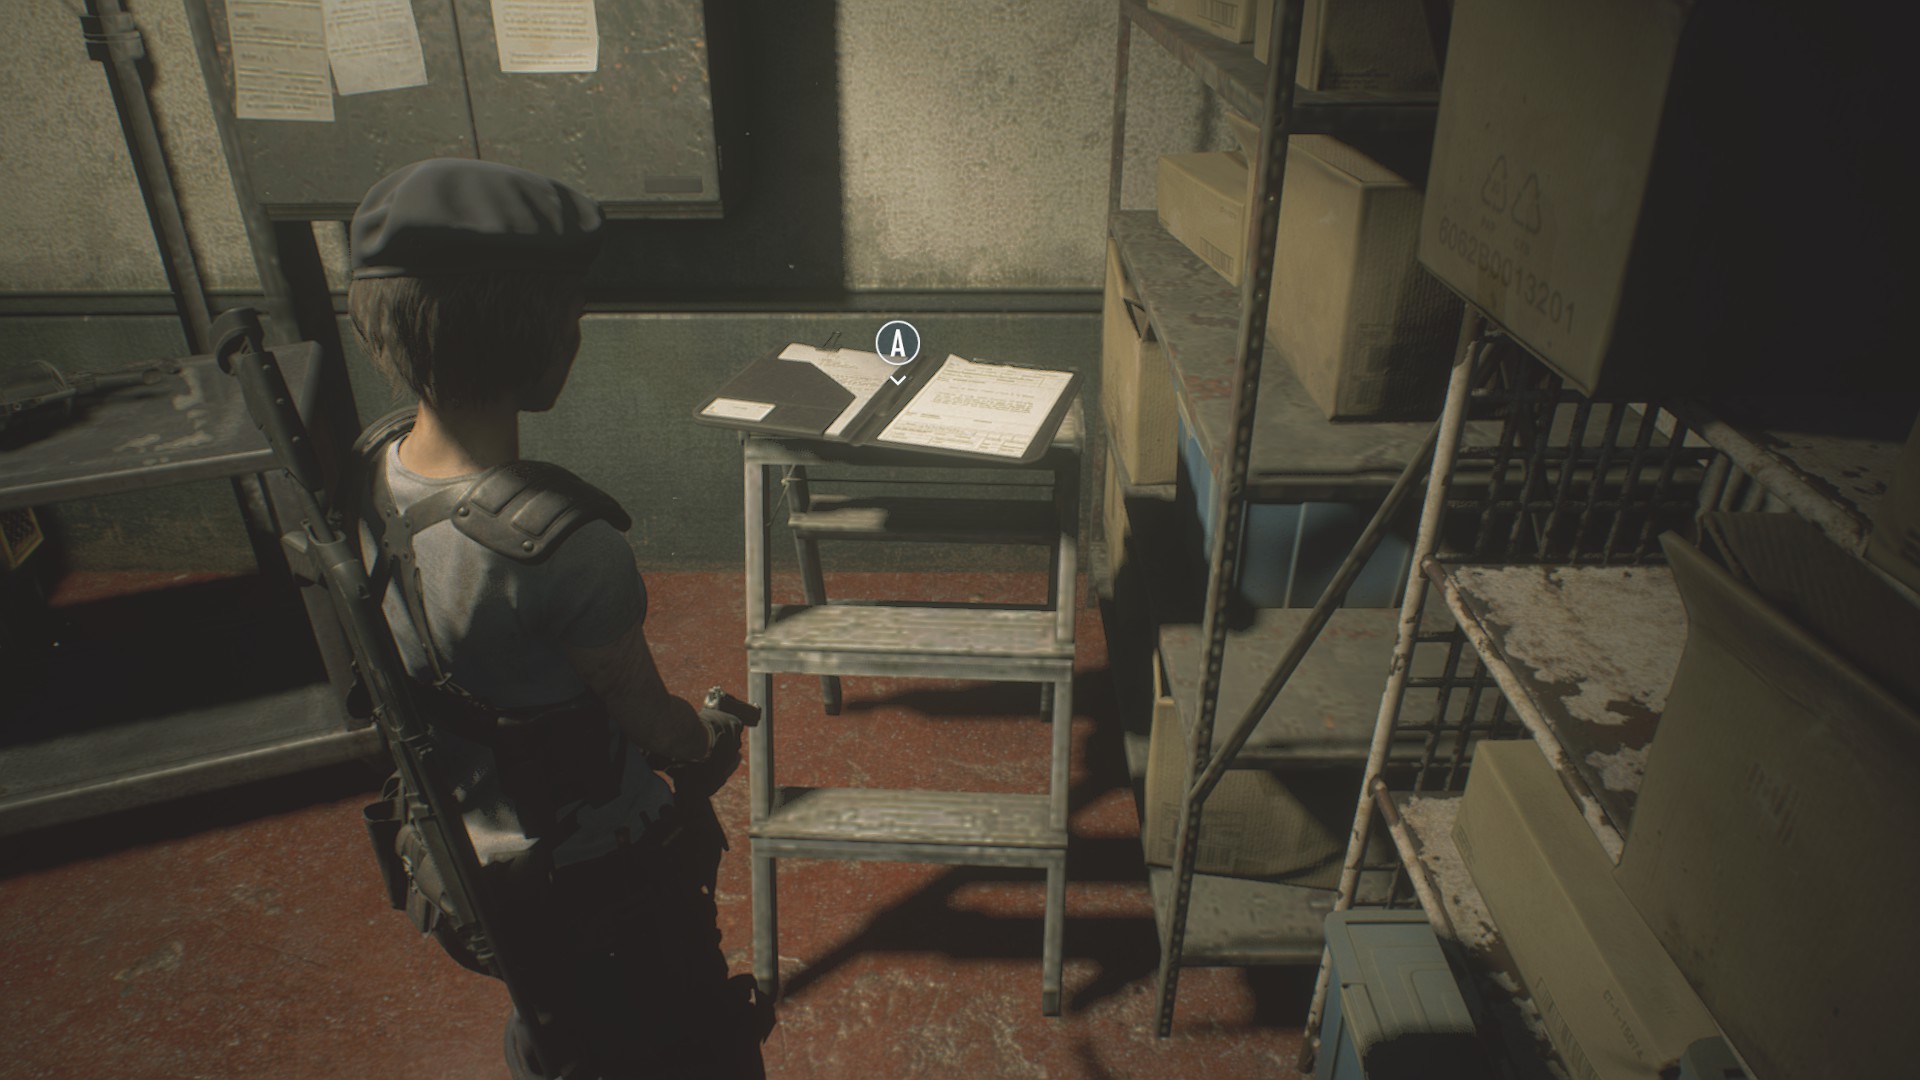
When you find the grenade launcher in the office in the sewer, this is right next to it on top of a stepladder.
File #21: Research Assistant’s Logs
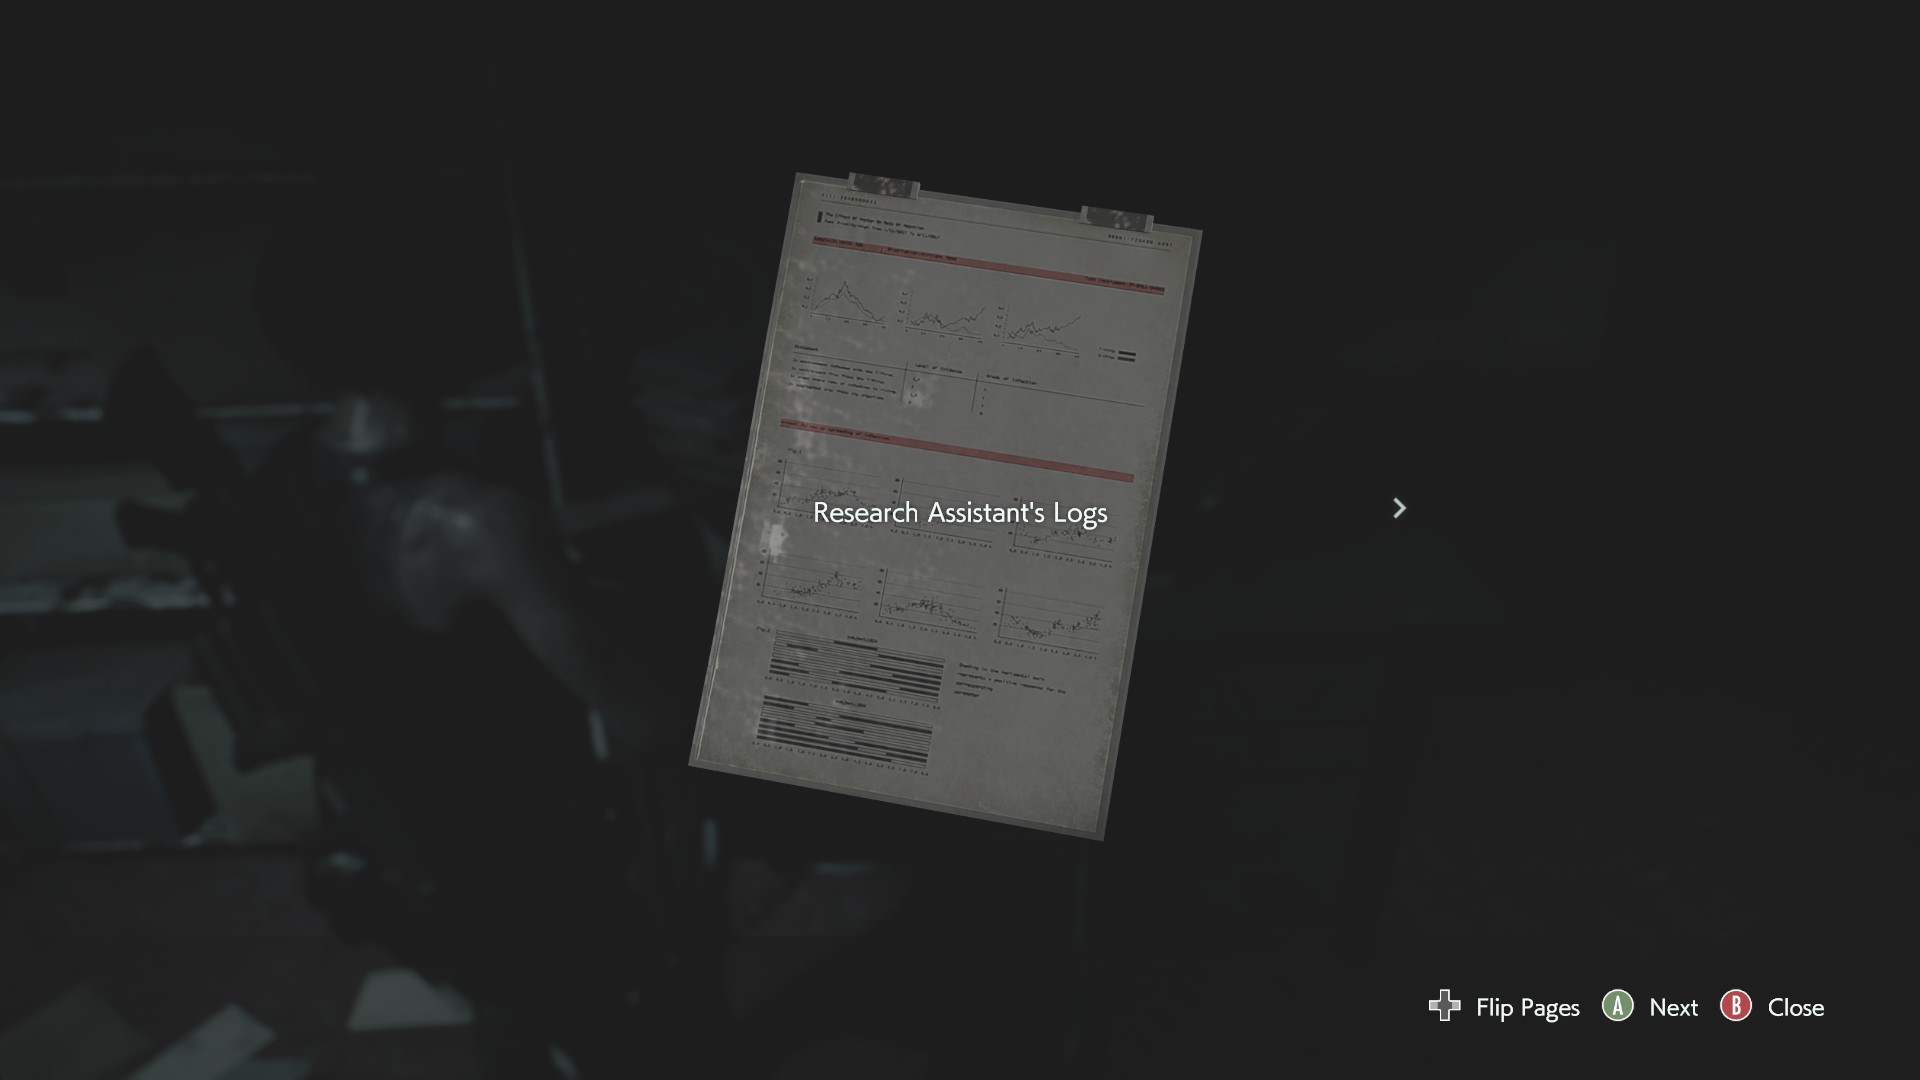
Look on the desk next to file #20, in the office in the sewer.
File #22: Sewer Worker’s Notes
This is one of the easiest files to miss. There’s a T-intersection before the laboratory in the sewers, but the right-hand fork is seemingly blocked by a “waterfall.” This isn’t actually a barrier, however, and you can walk right through it to find this file at the end of the tunnel, along with a dead guy, some shotgun shells, and a crate with some Gunpowder in it.
File #23: A Love Letter?
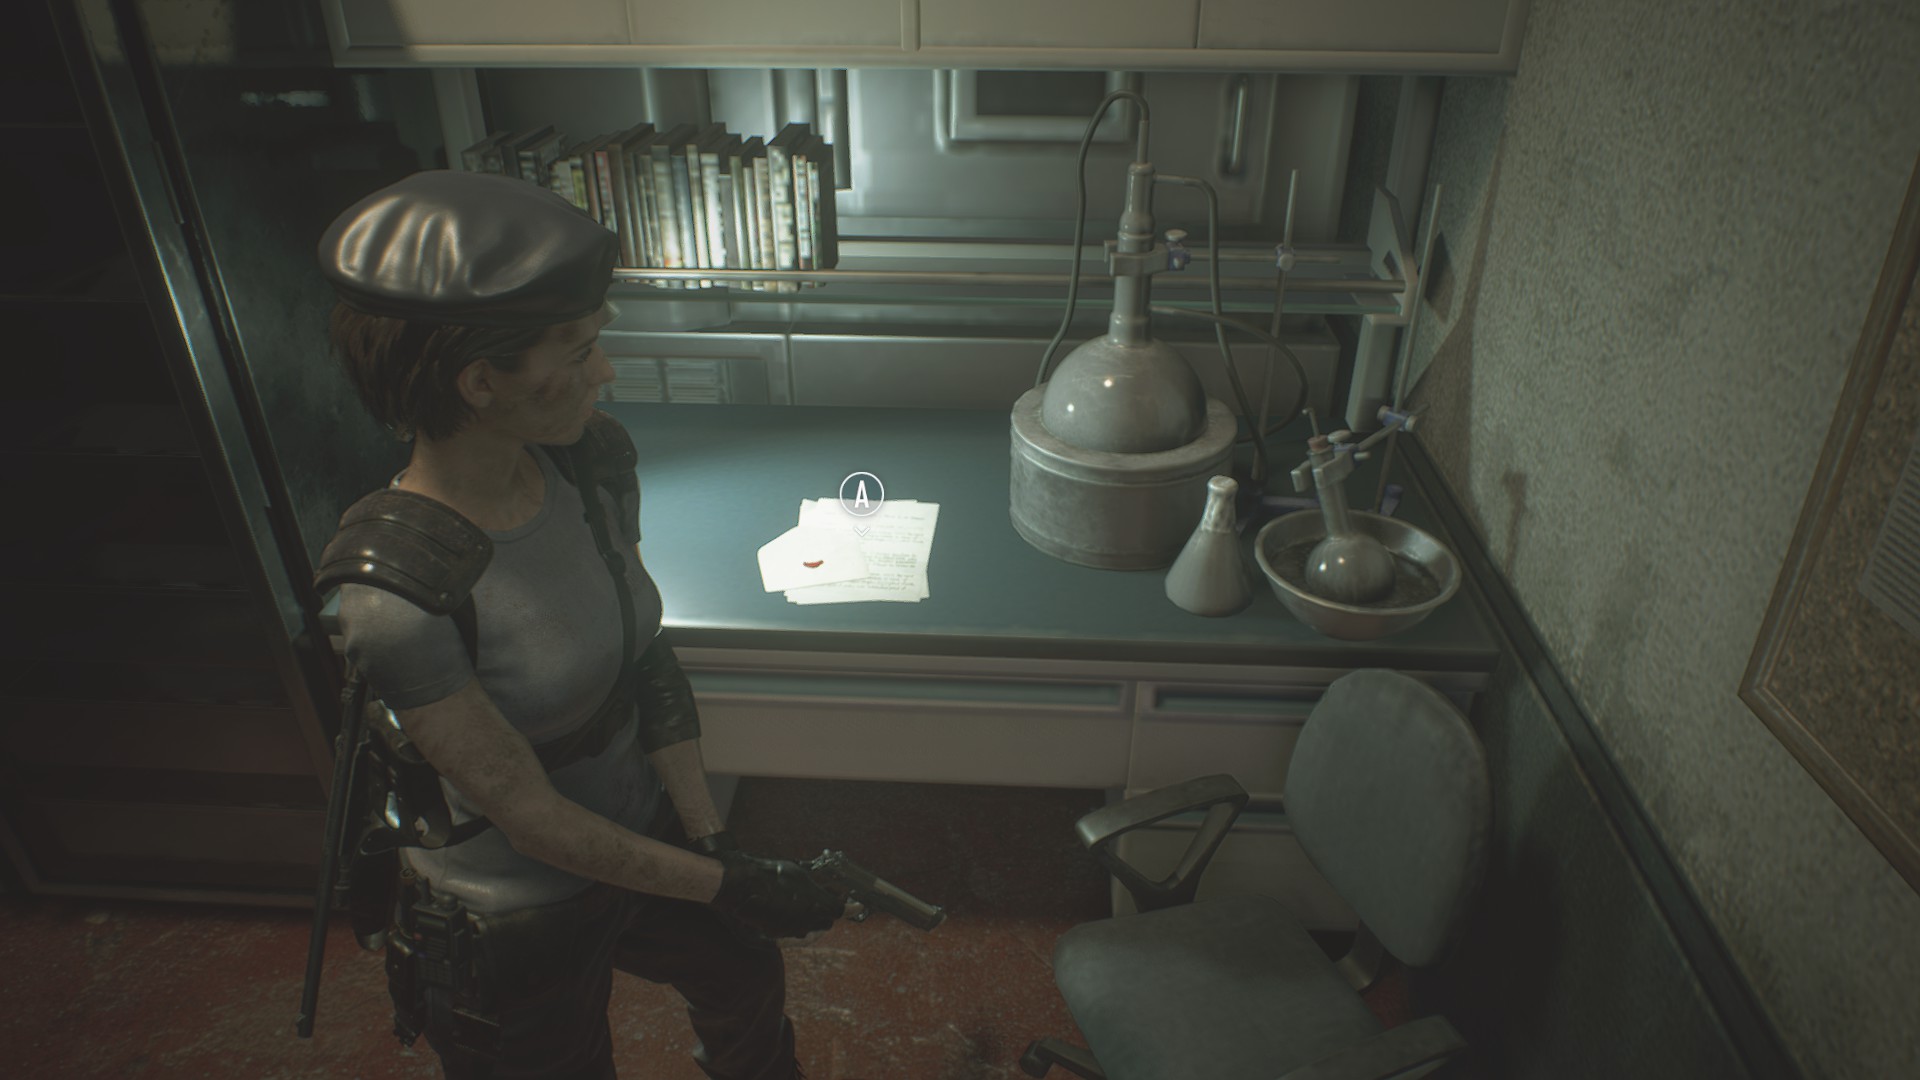
Check the desk near the lockers in the lab in the sewers.
File #24: Notice of Demolition Delay
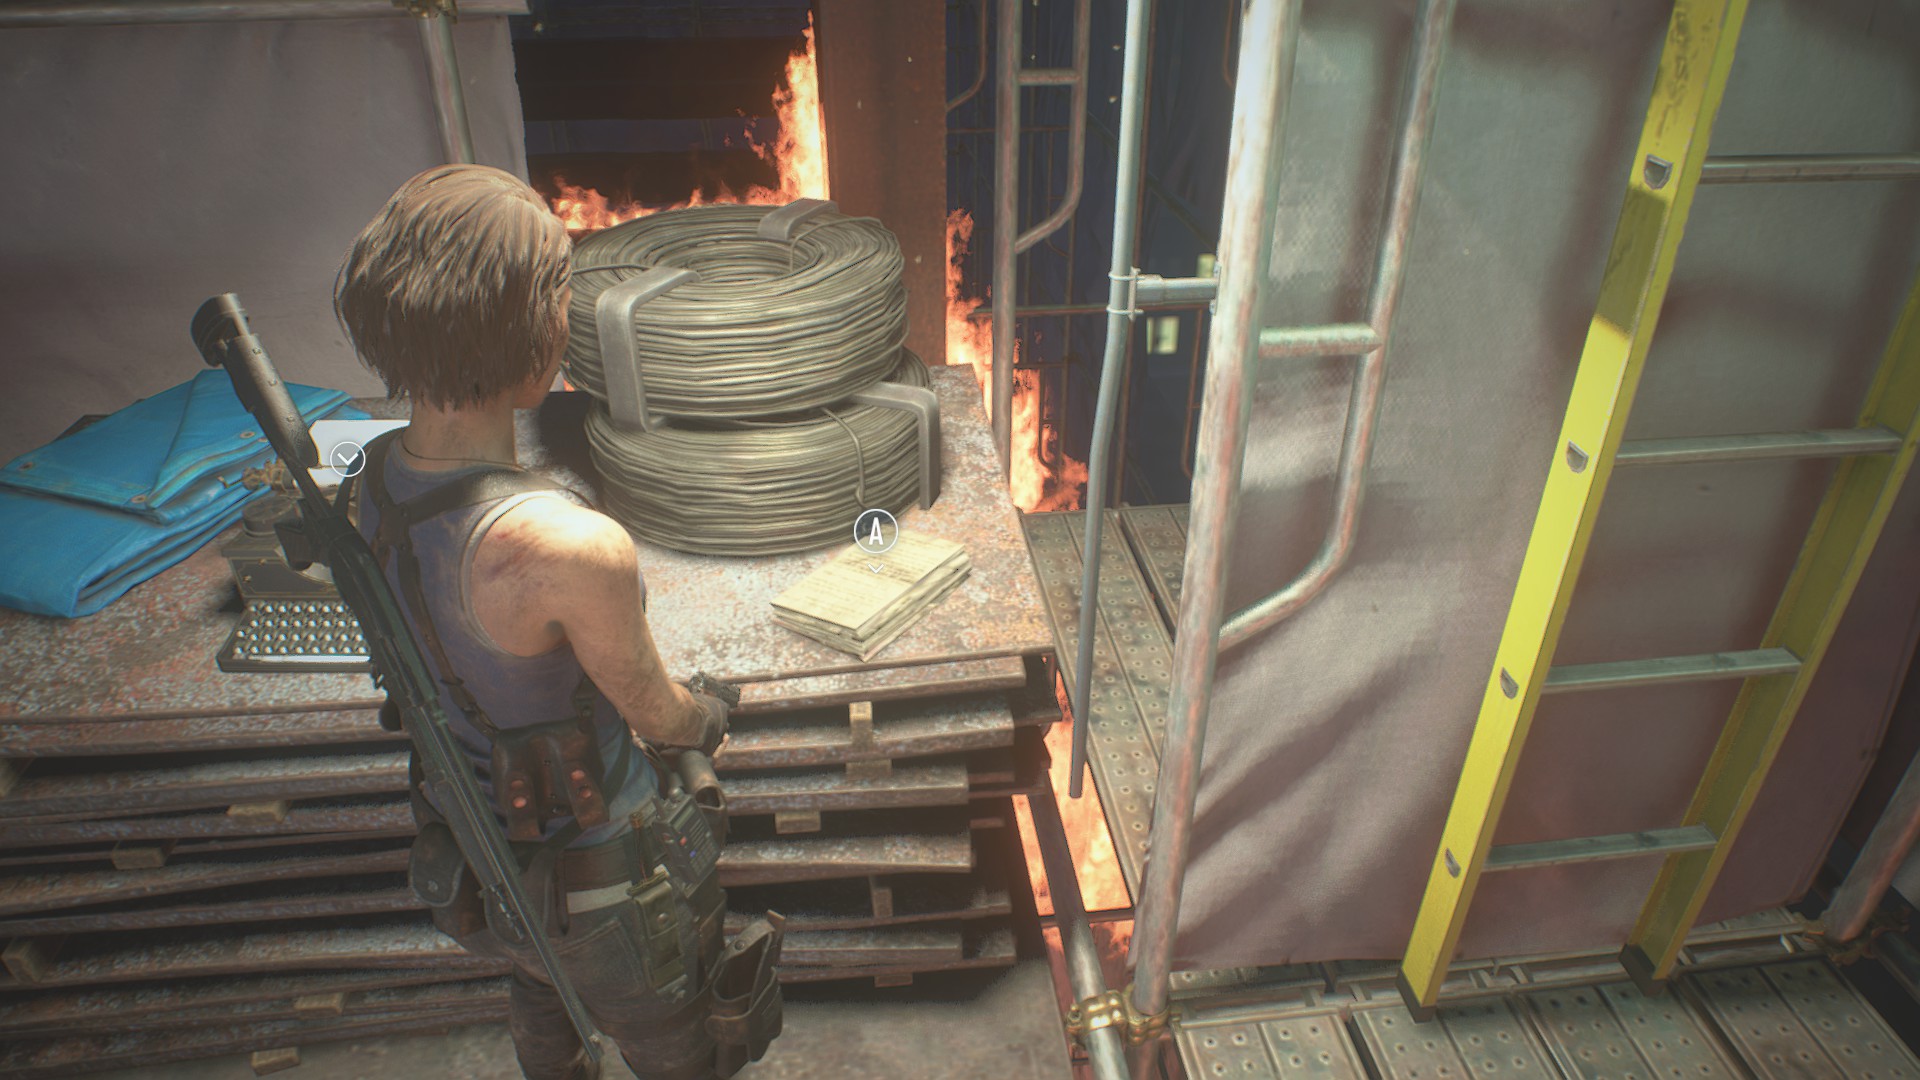
Near the roof of the construction site, in the ersatz safe room just before your first real fight with Nemesis, you can find this note next to the typewriter.
File #25: Raccoon Times Reader’s Column
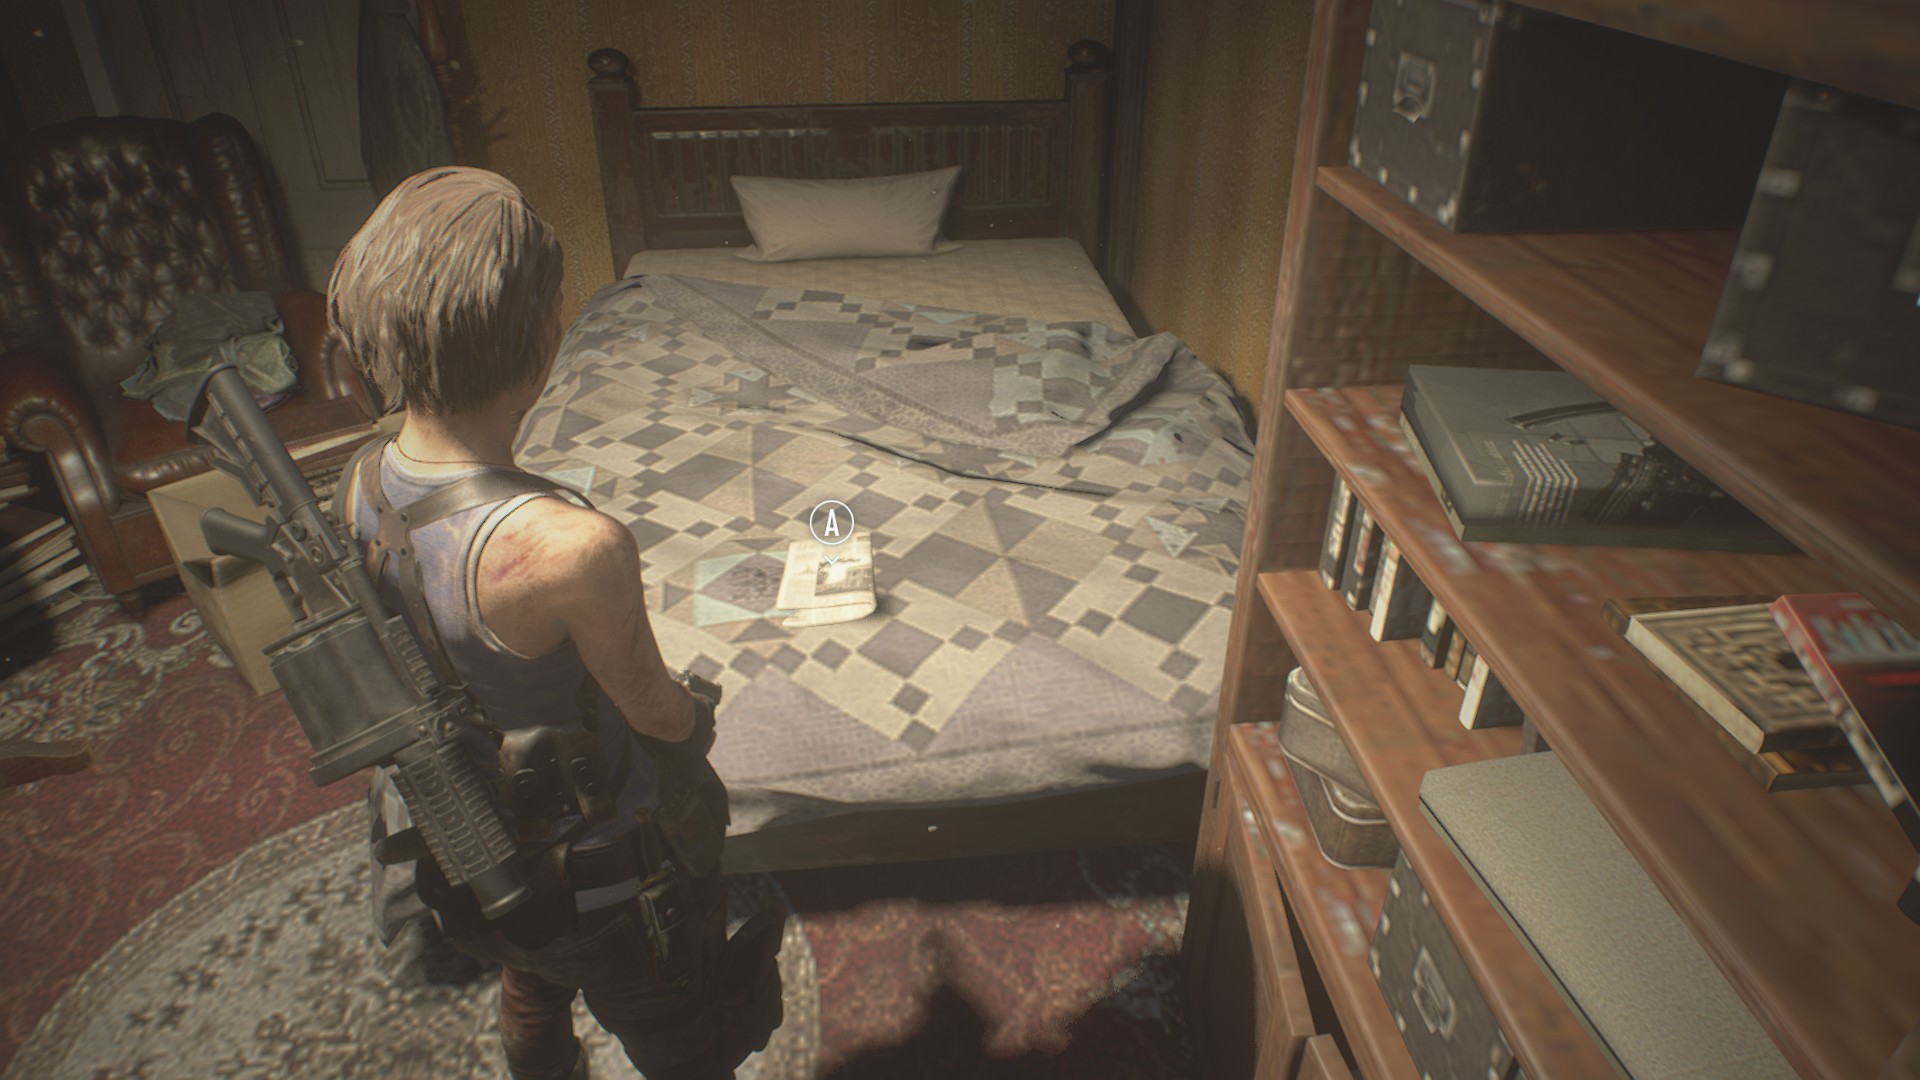
When you pass through the house behind Kendo’s gun shop, climb the stairs to the second floor and read the folded newspaper on the bed.
File #26: Email Outbox
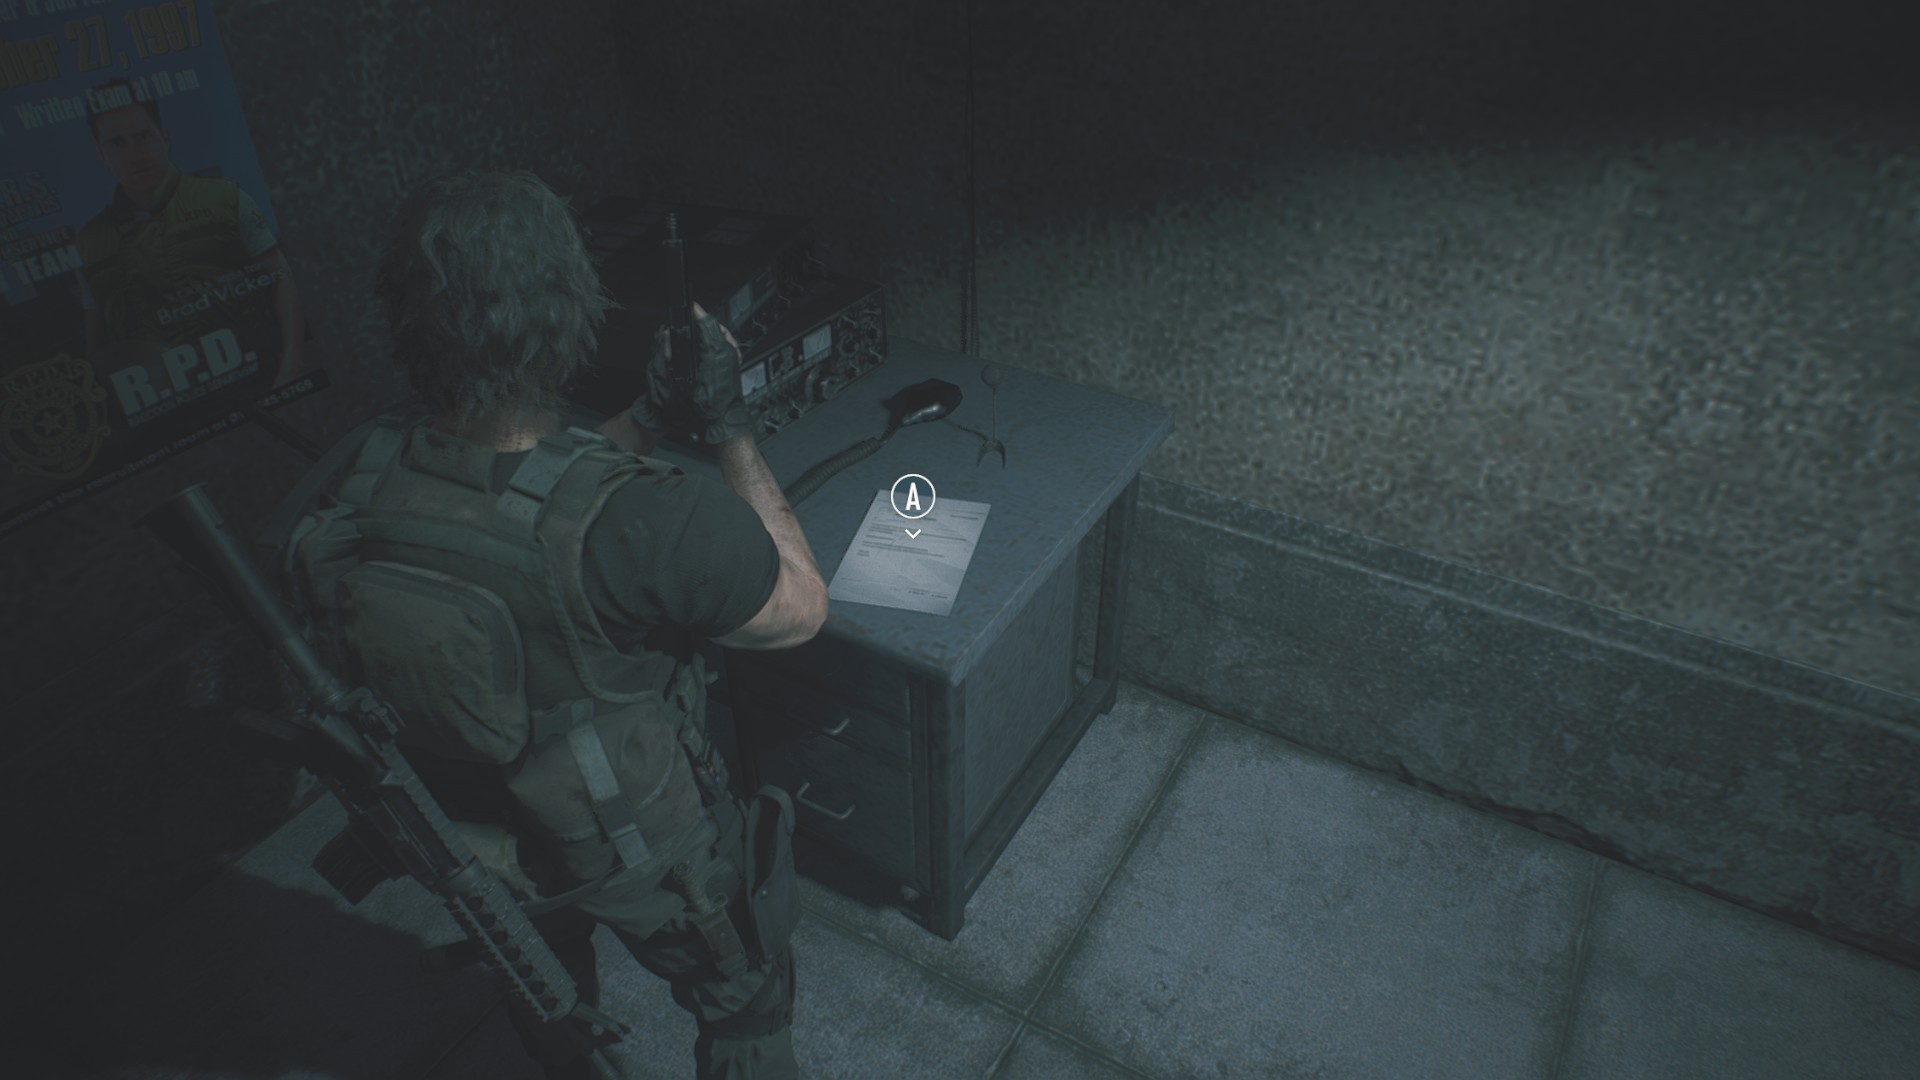
Before you enter the R.P.D. as Carlos, go downstairs to the night watchman’s room – you may remember this as the same room from Resident Evil 2, where you found your bonus weapon at the start of a 2nd Run – and read this note on the table.
File #27: ID Card Security Protocols
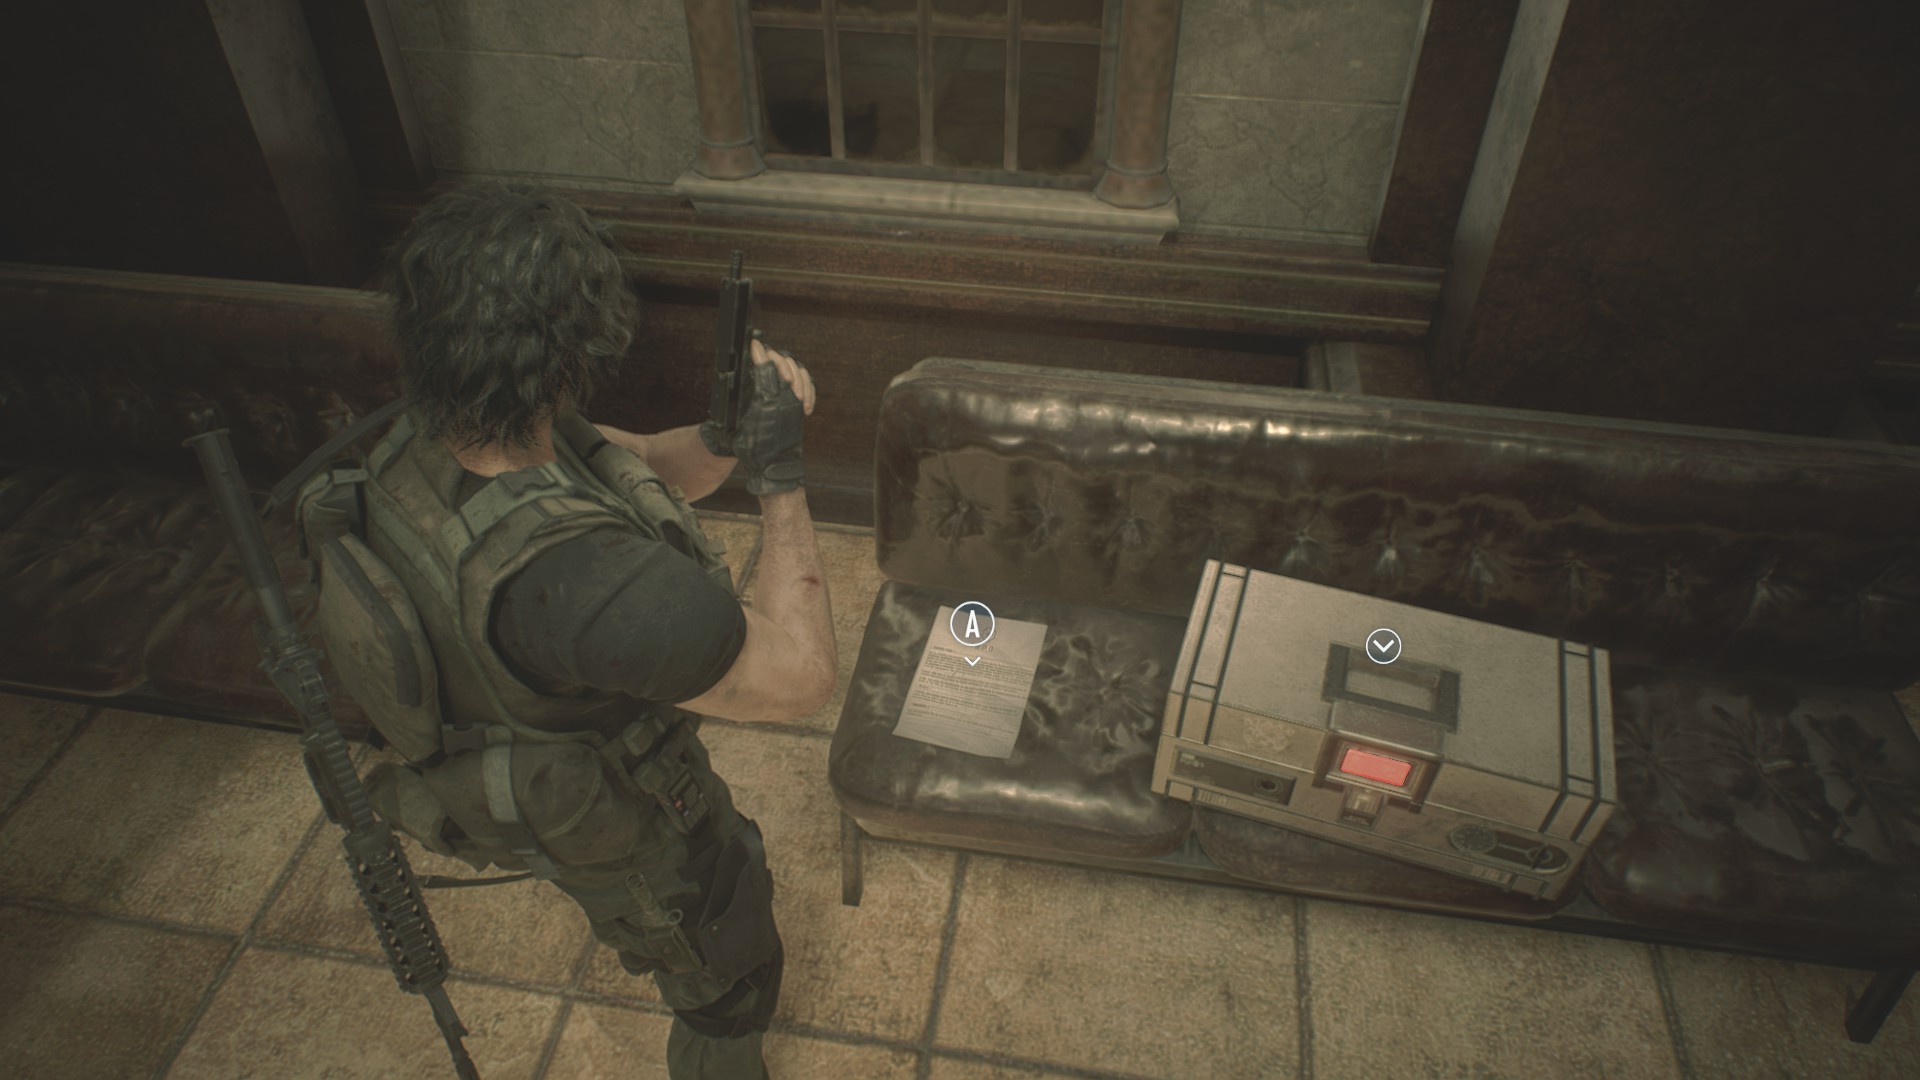
Once Tyrell opens the gate on the west office waiting area in the R.P.D., you can find this note next to a strongbox on the bench.
File #28: Sept. 20 Arrest Report
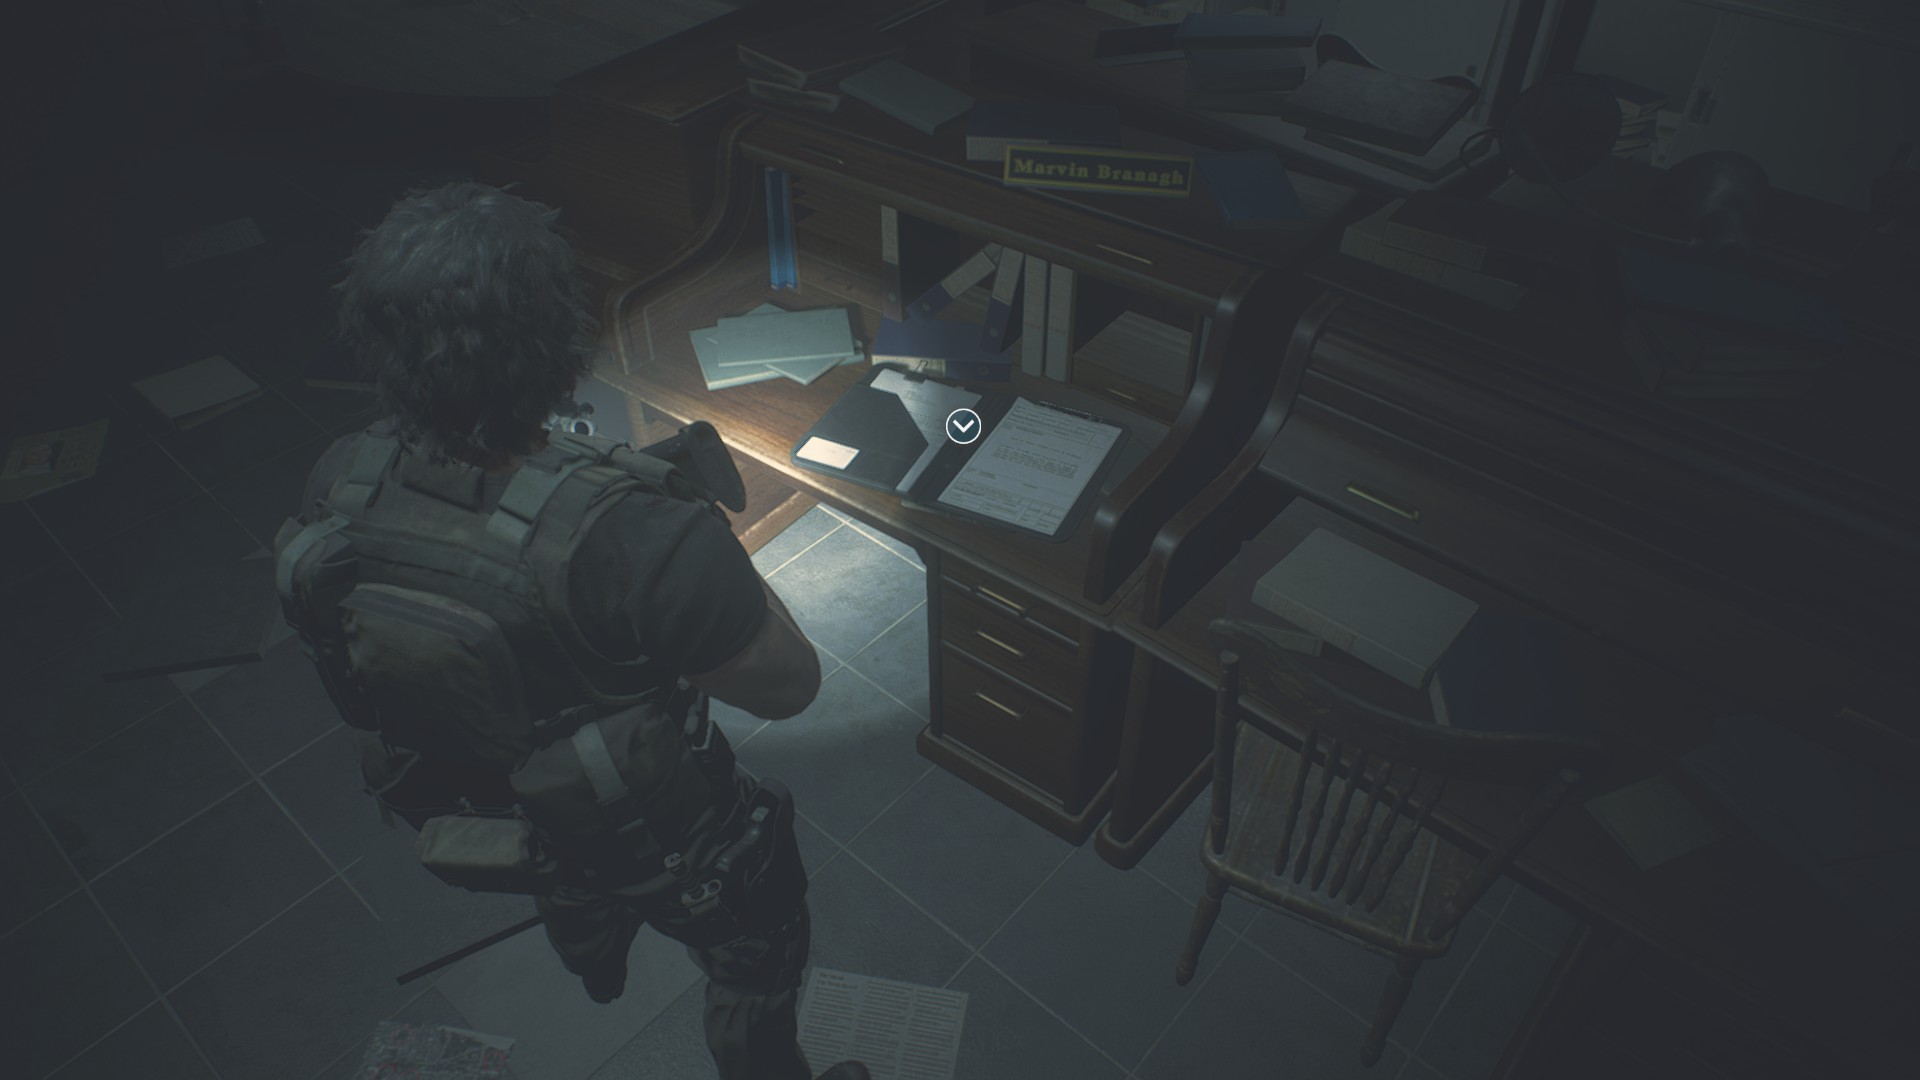
Check Marvin’s desk in the R.P.D.’s west office.
File #29: Internal Memo
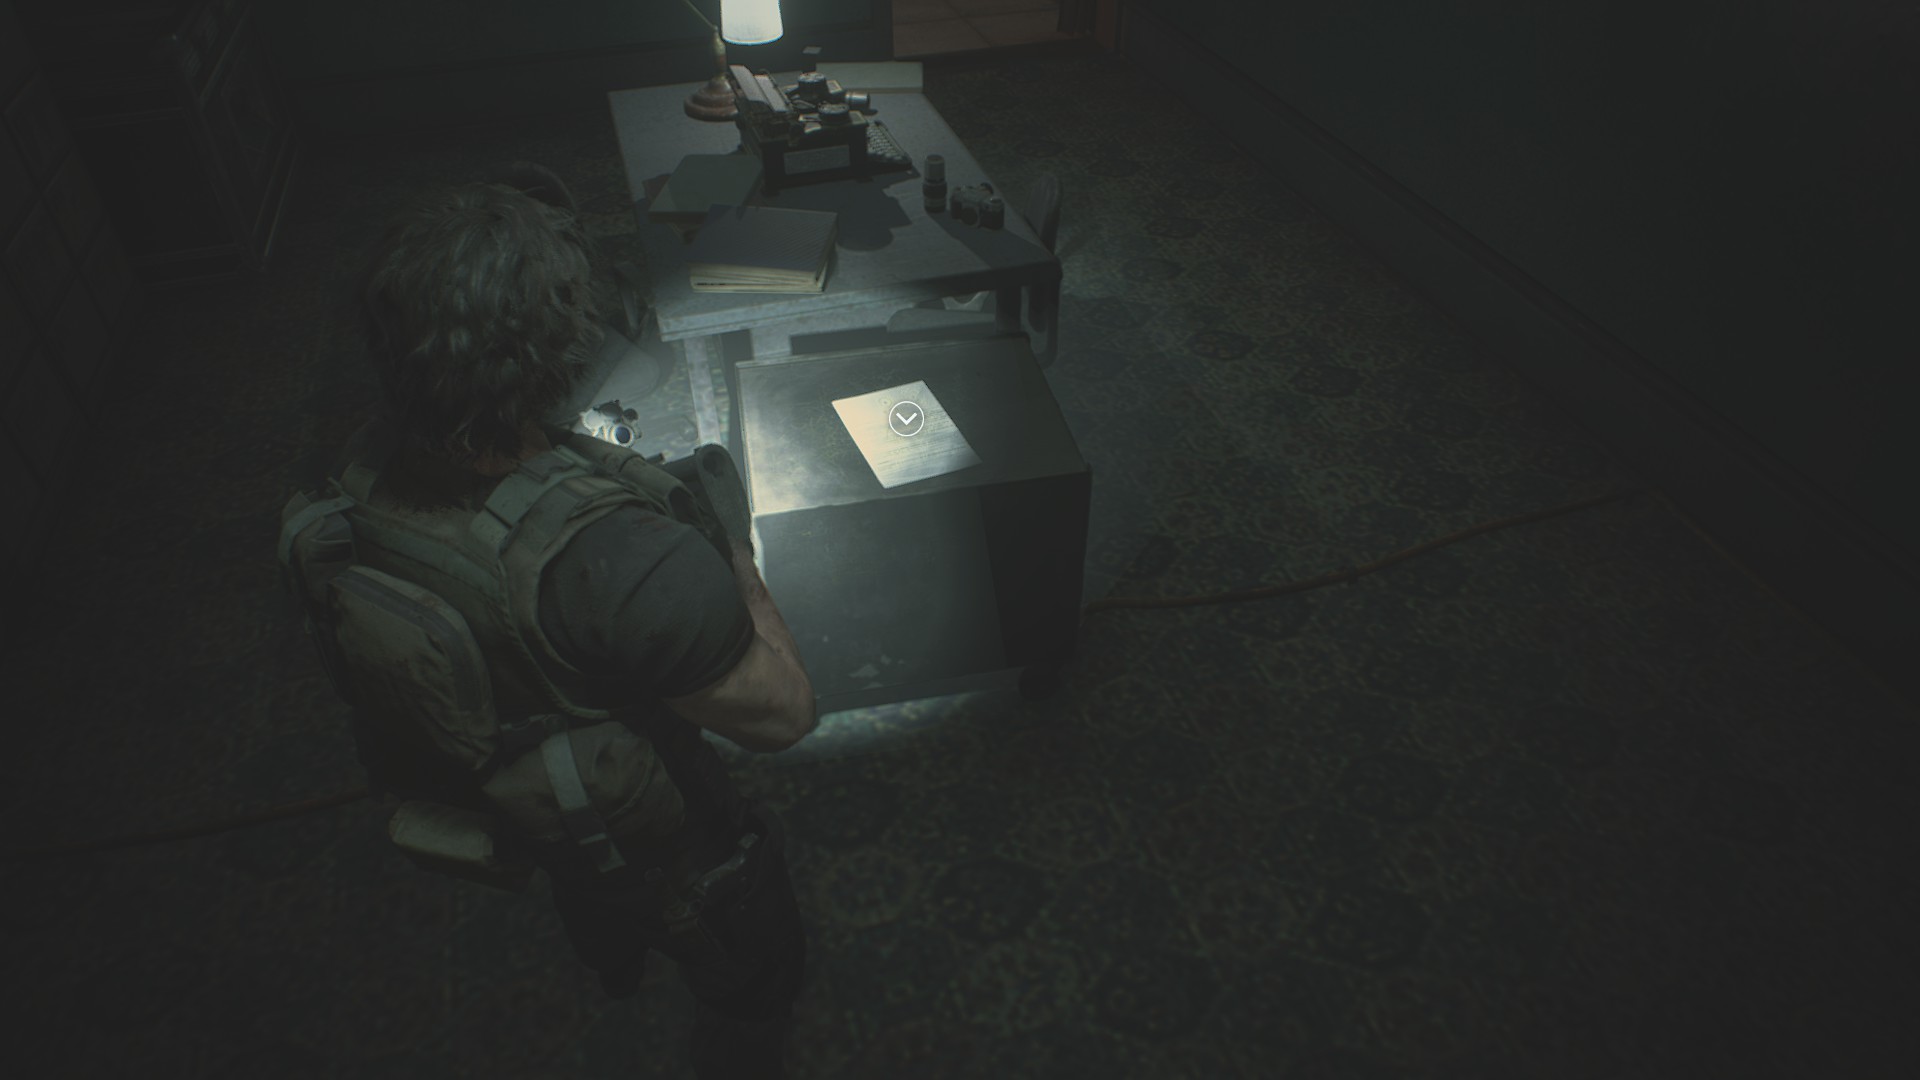
Grab this off the table in the R.P.D. darkroom.
File #30: Note to a Friend
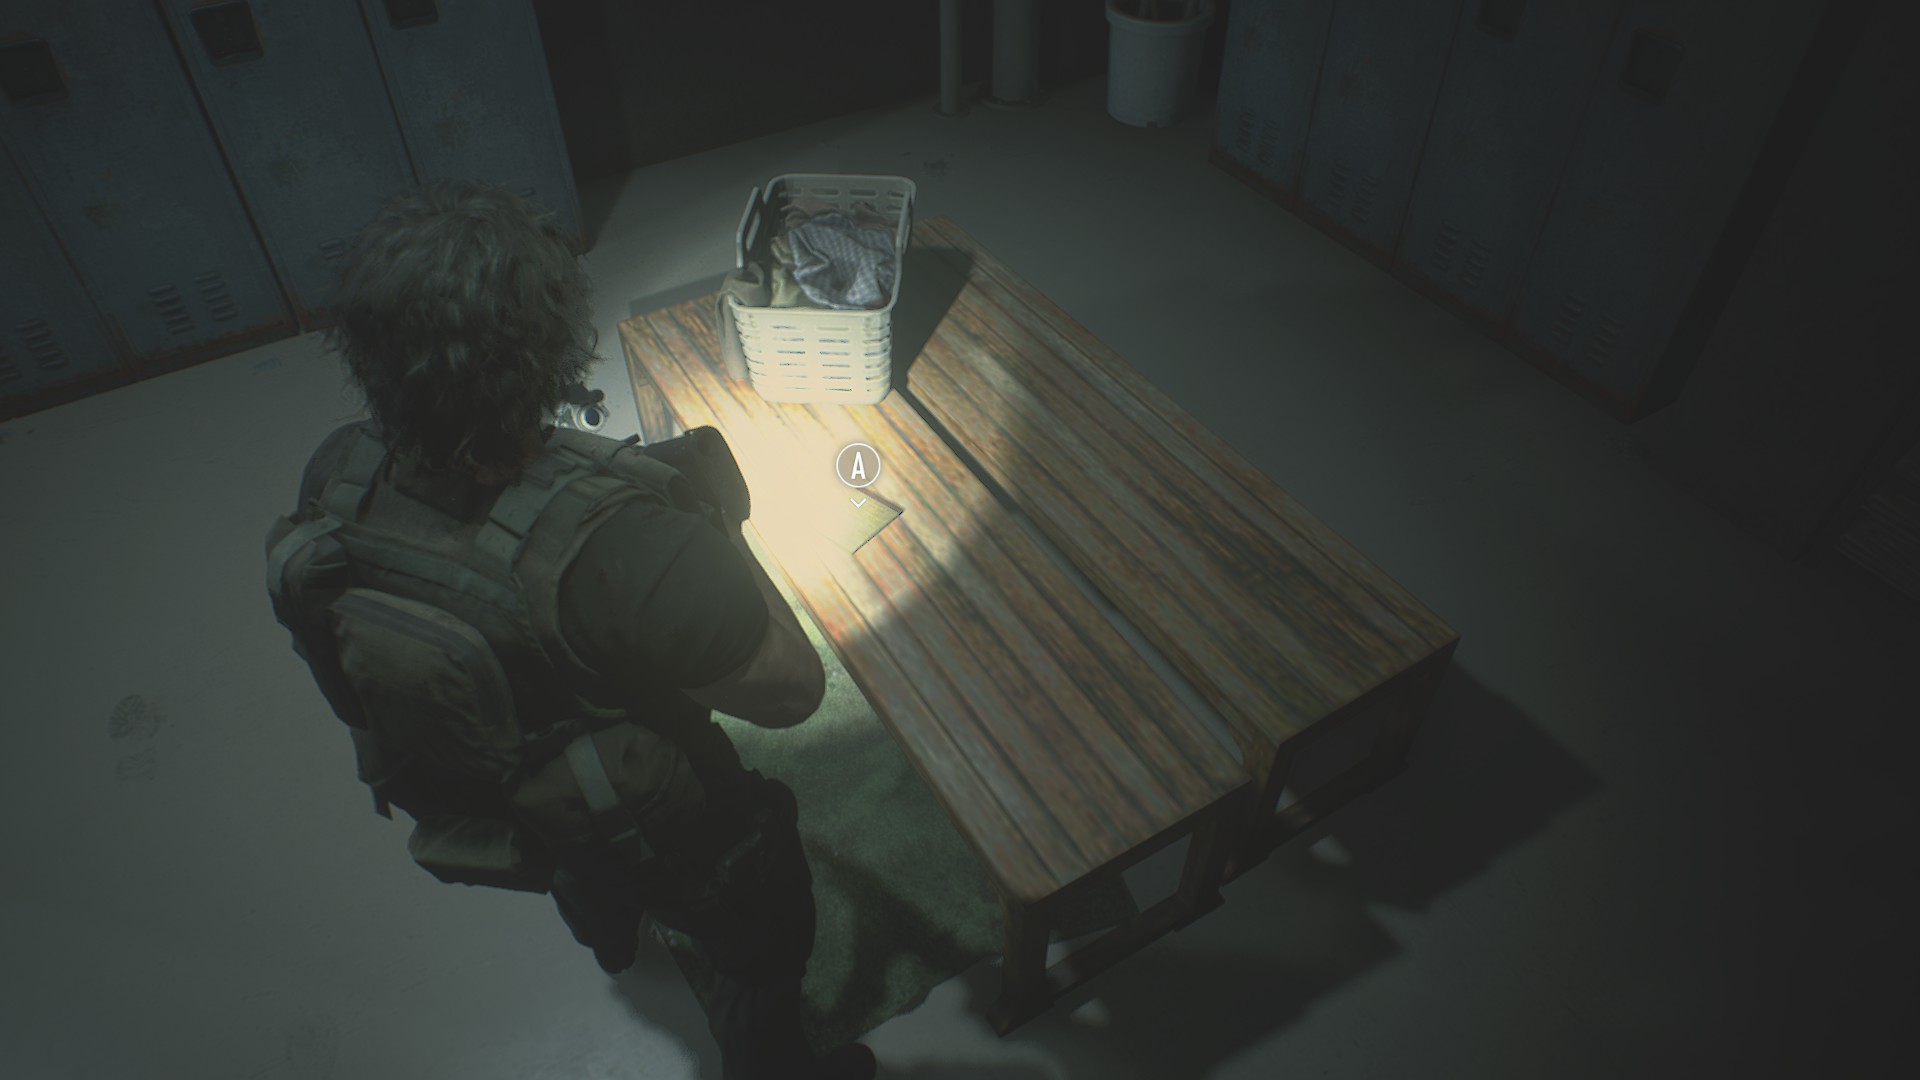
Read the yellow legal pad on the bench in the middle of the R.P.D. locker room.
File #31: 3F Locker
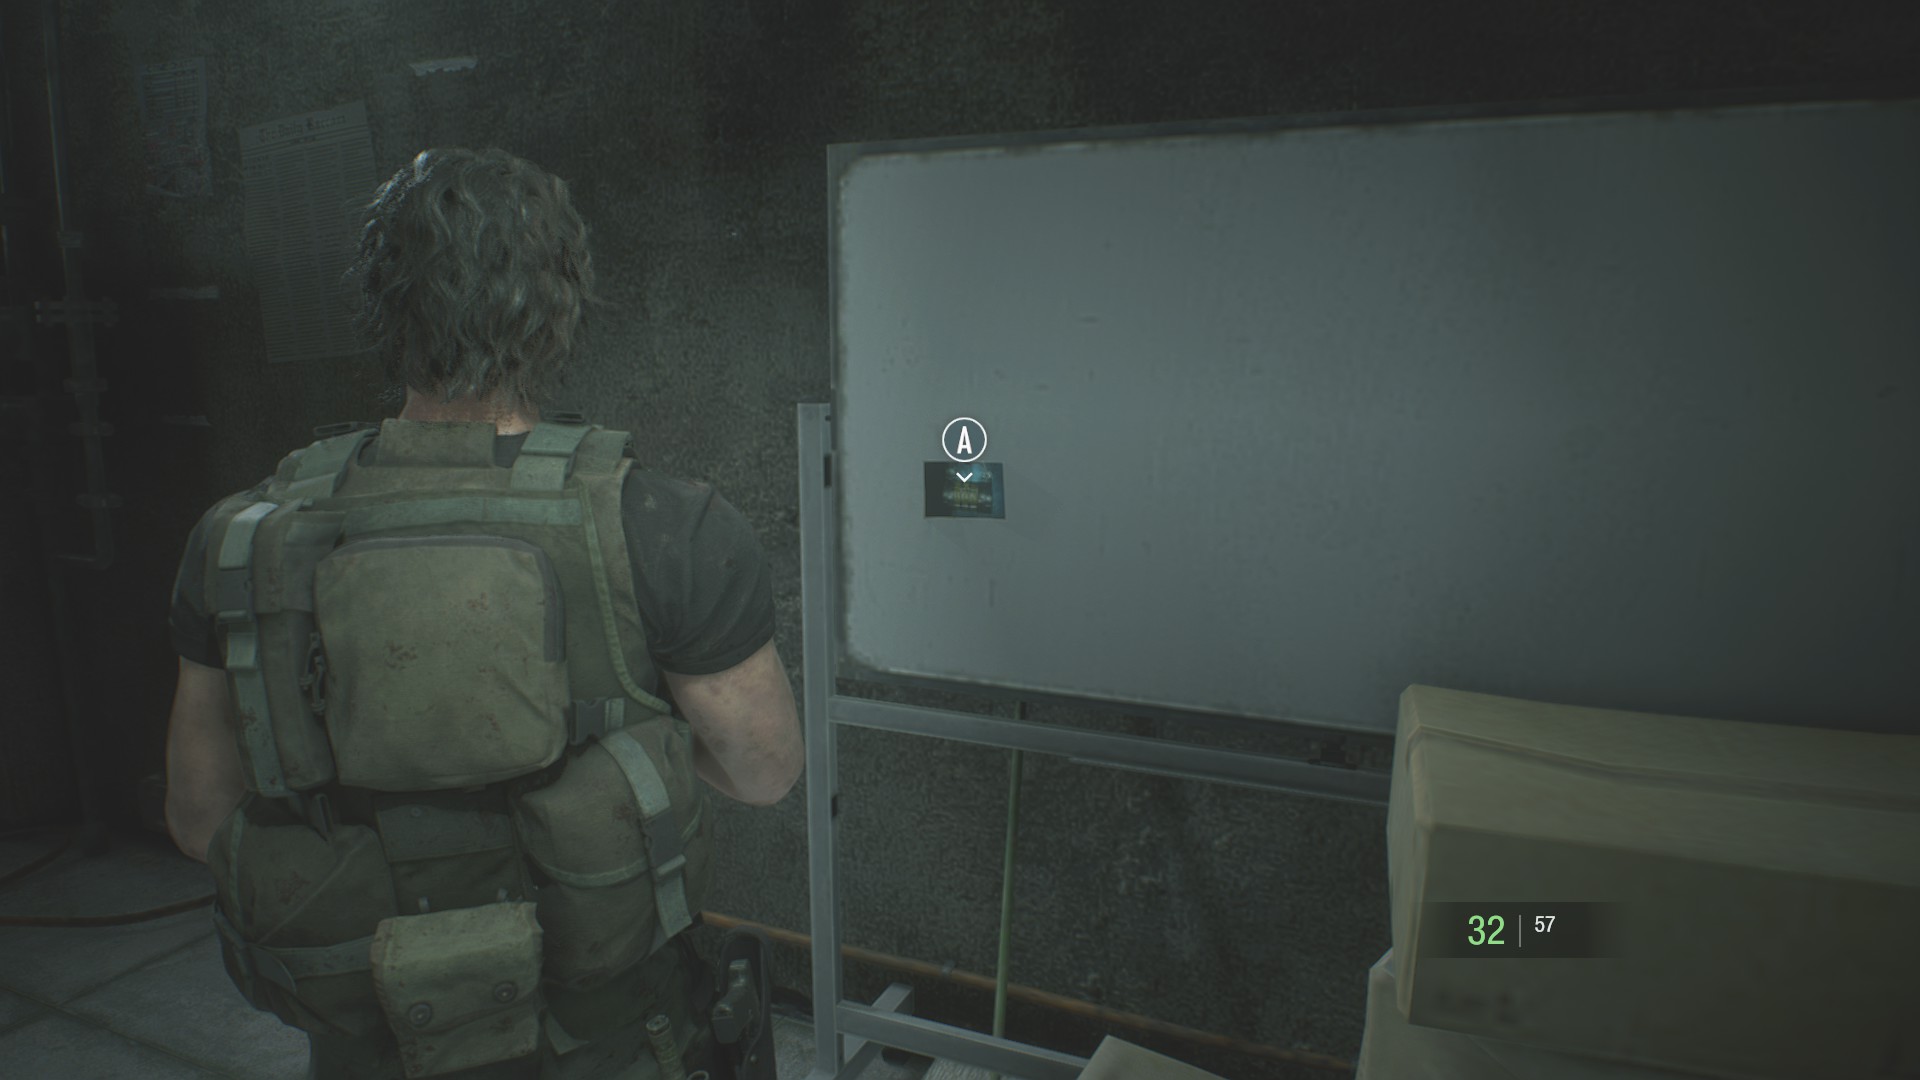
Look at the photo on the whiteboard just inside the secure deposit room in the R.P.D.
File #32: Report on the Mansion Incident
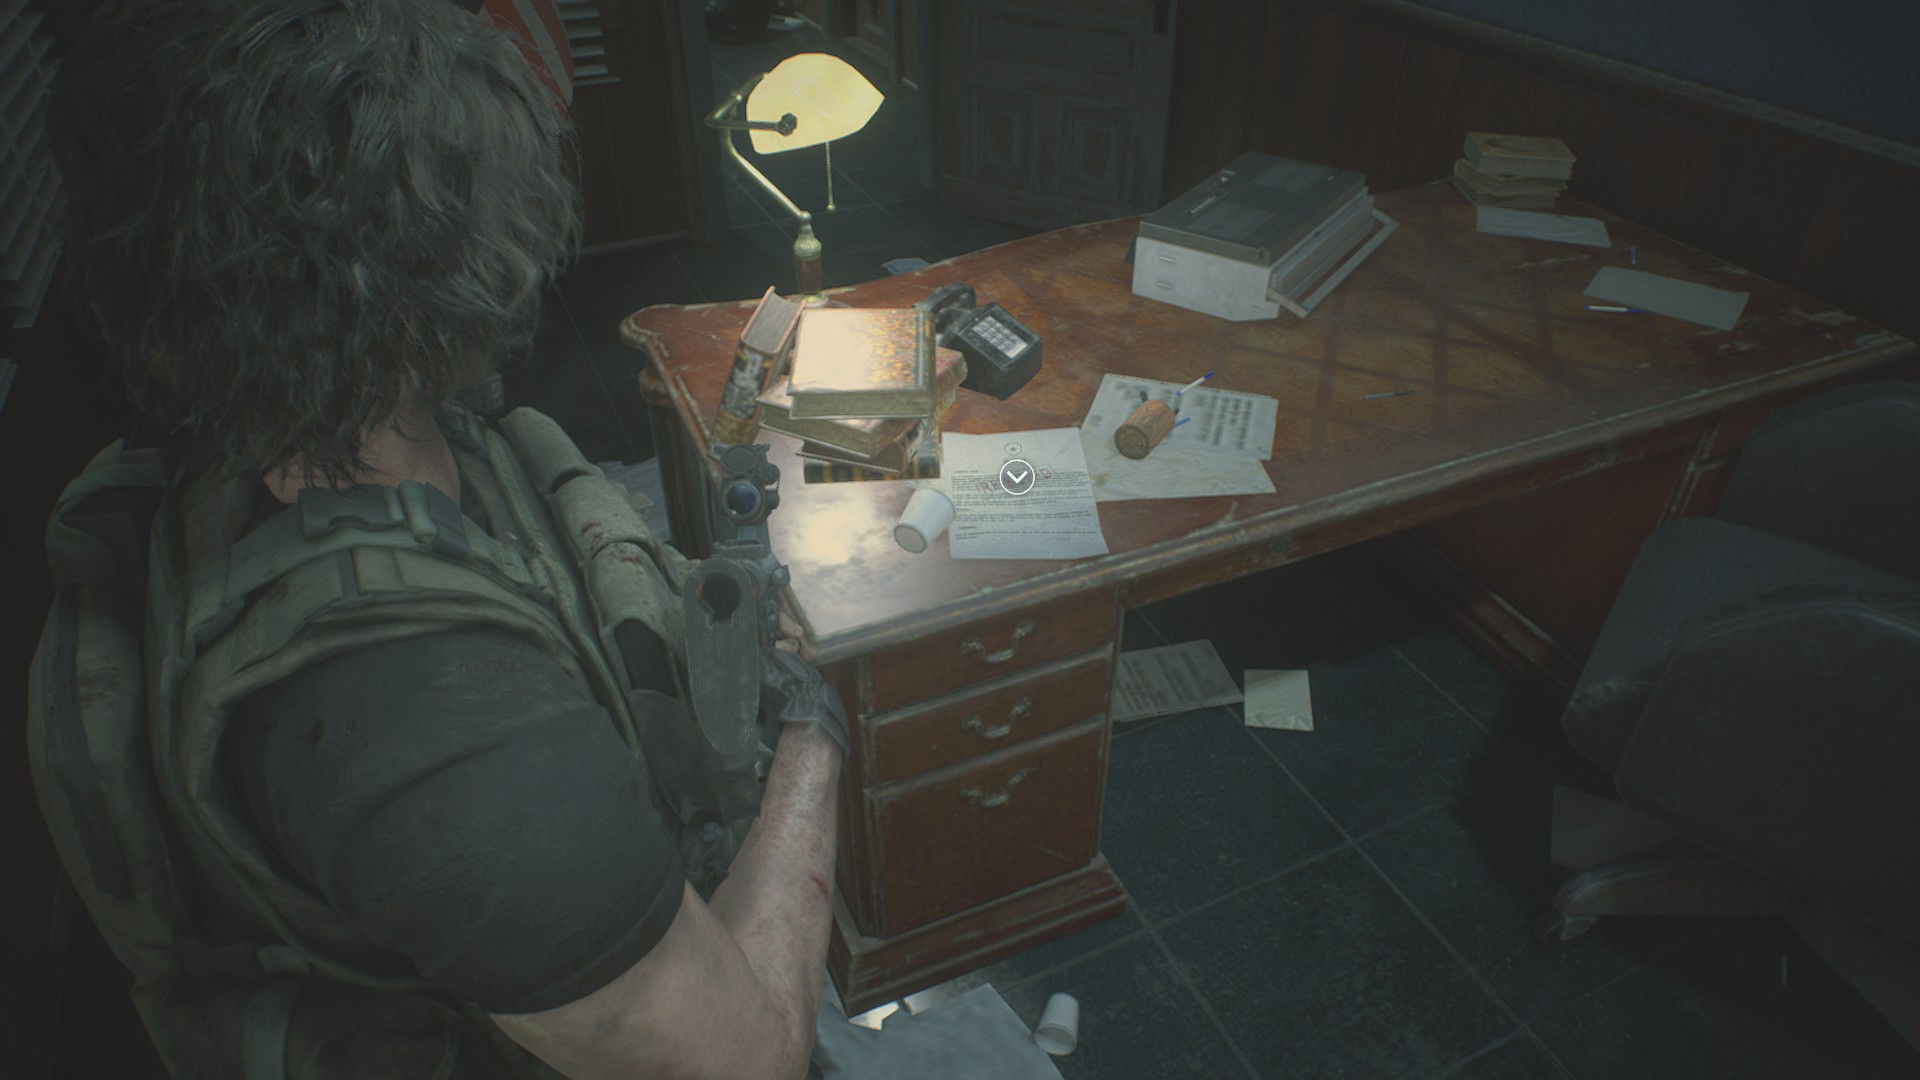
When Tyrell tells you to take a look around in the STARS office, go into Wesker’s office and take this off his desk.
File #33: U.B.C.S. New Weaponry Notice
As Jill, check the bench in the Dilapidated Storage safe room, next to the mine rounds.
File #34: Clock Tower Brochure
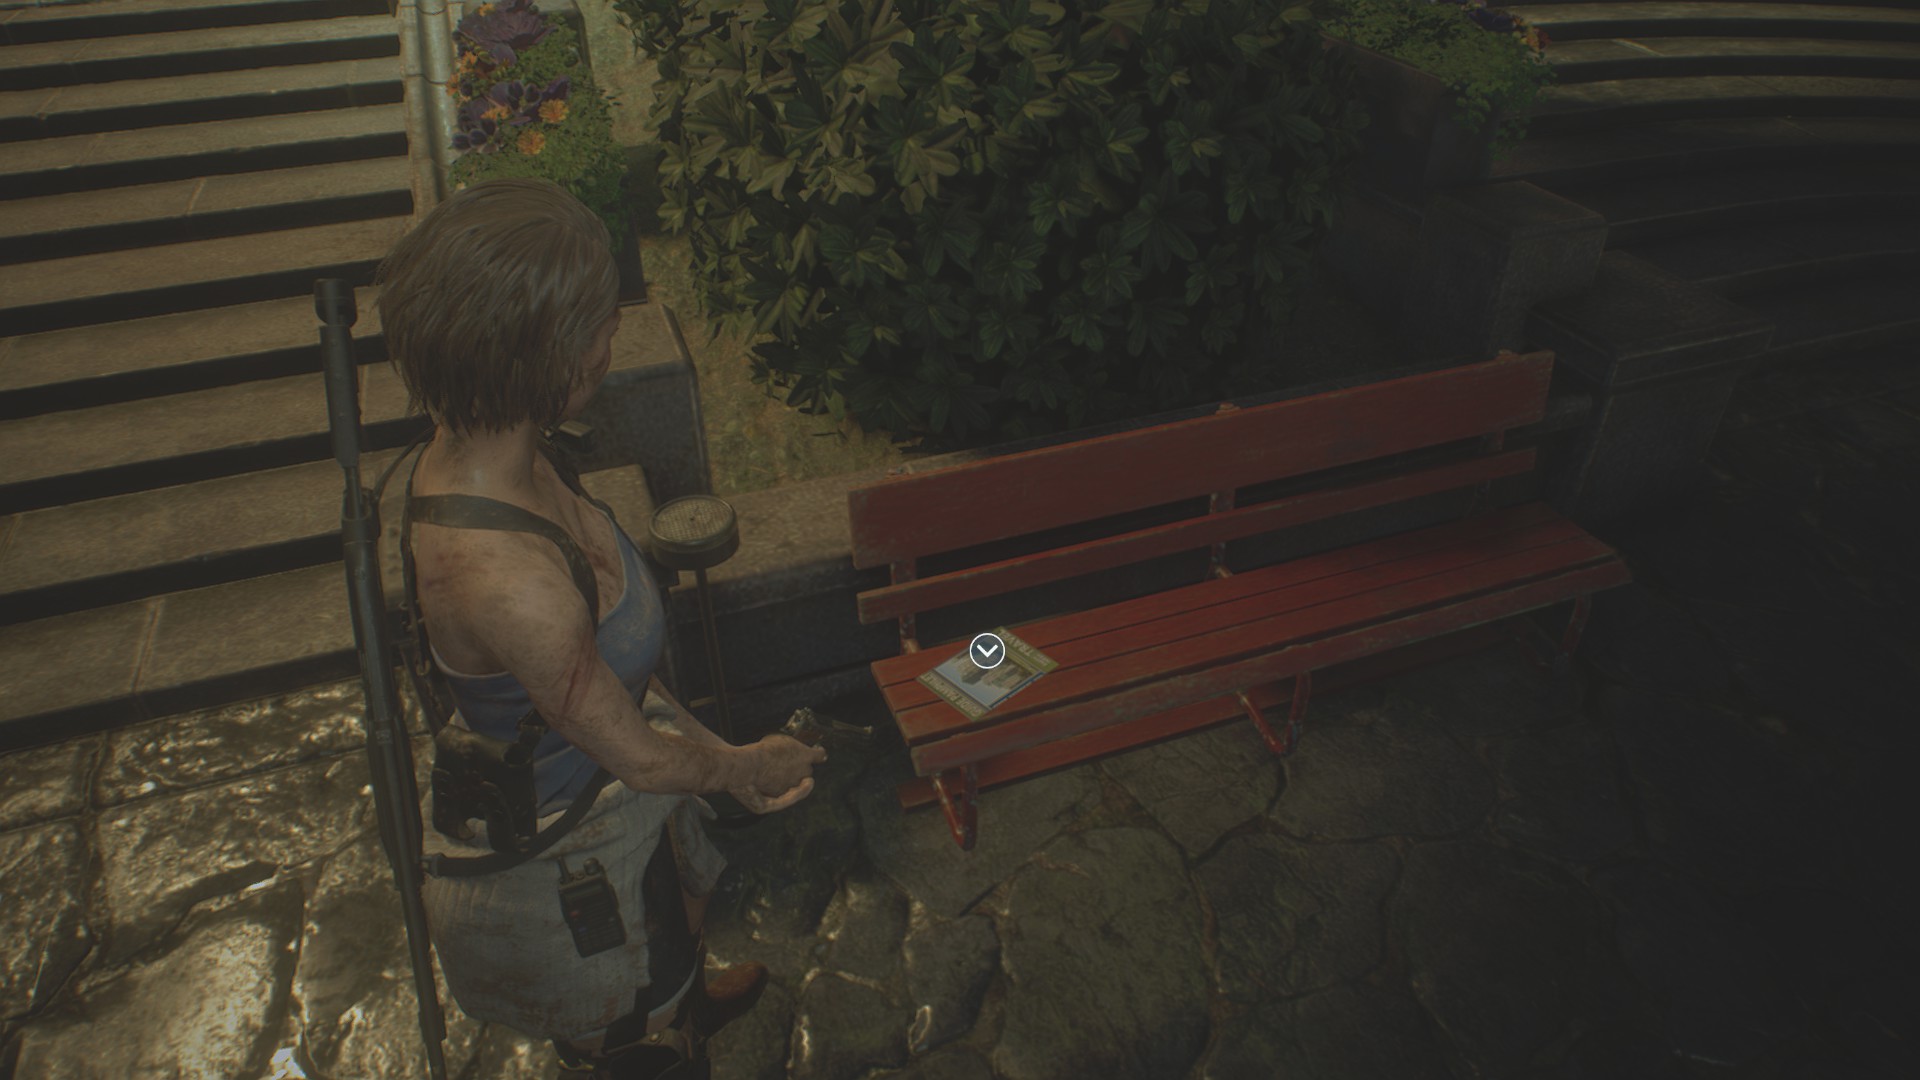
When you reach the Clock Tower Plaza, check the two park benches facing the water for some handgun bullets and this file.
File #35: Spencer Memorial Pamphlet
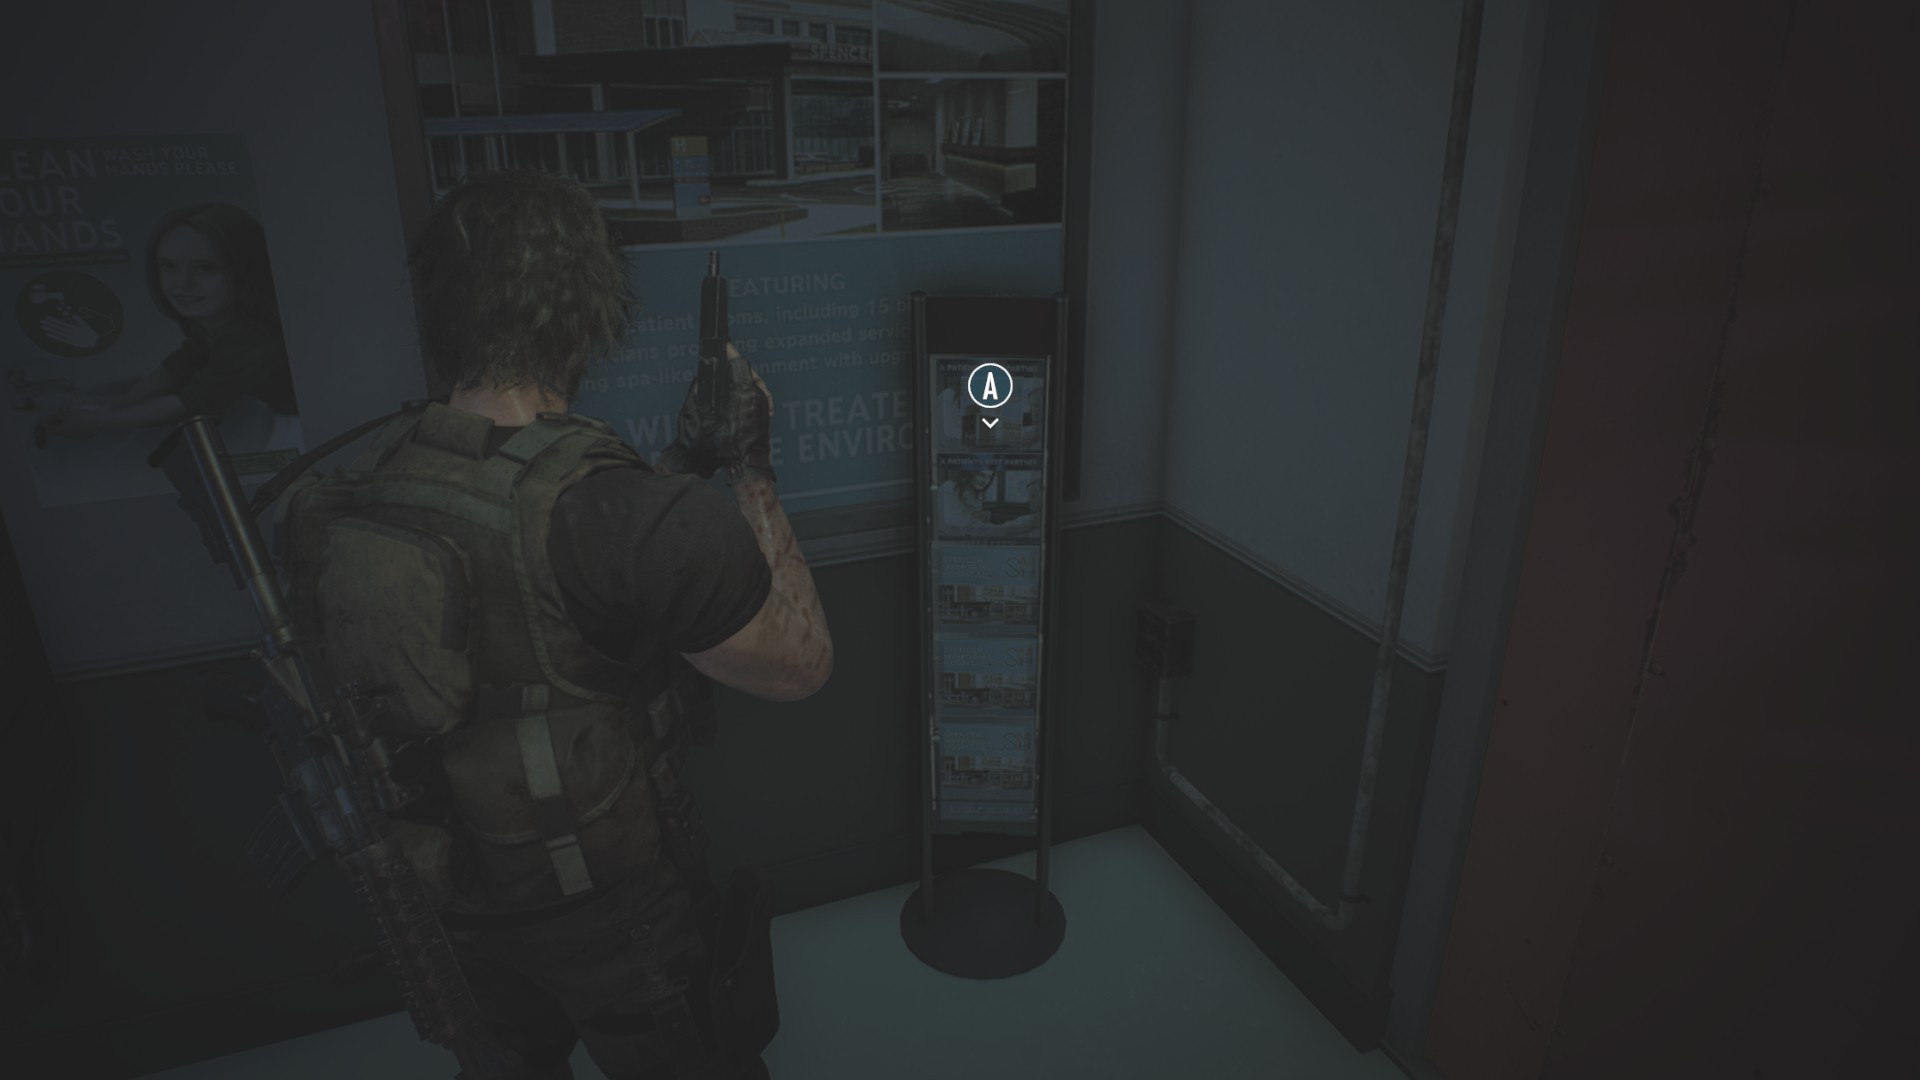
This is surprisingly easy to miss. It’s on the spinner rack in the hospital’s reception area, next to the locked door on its east wall.
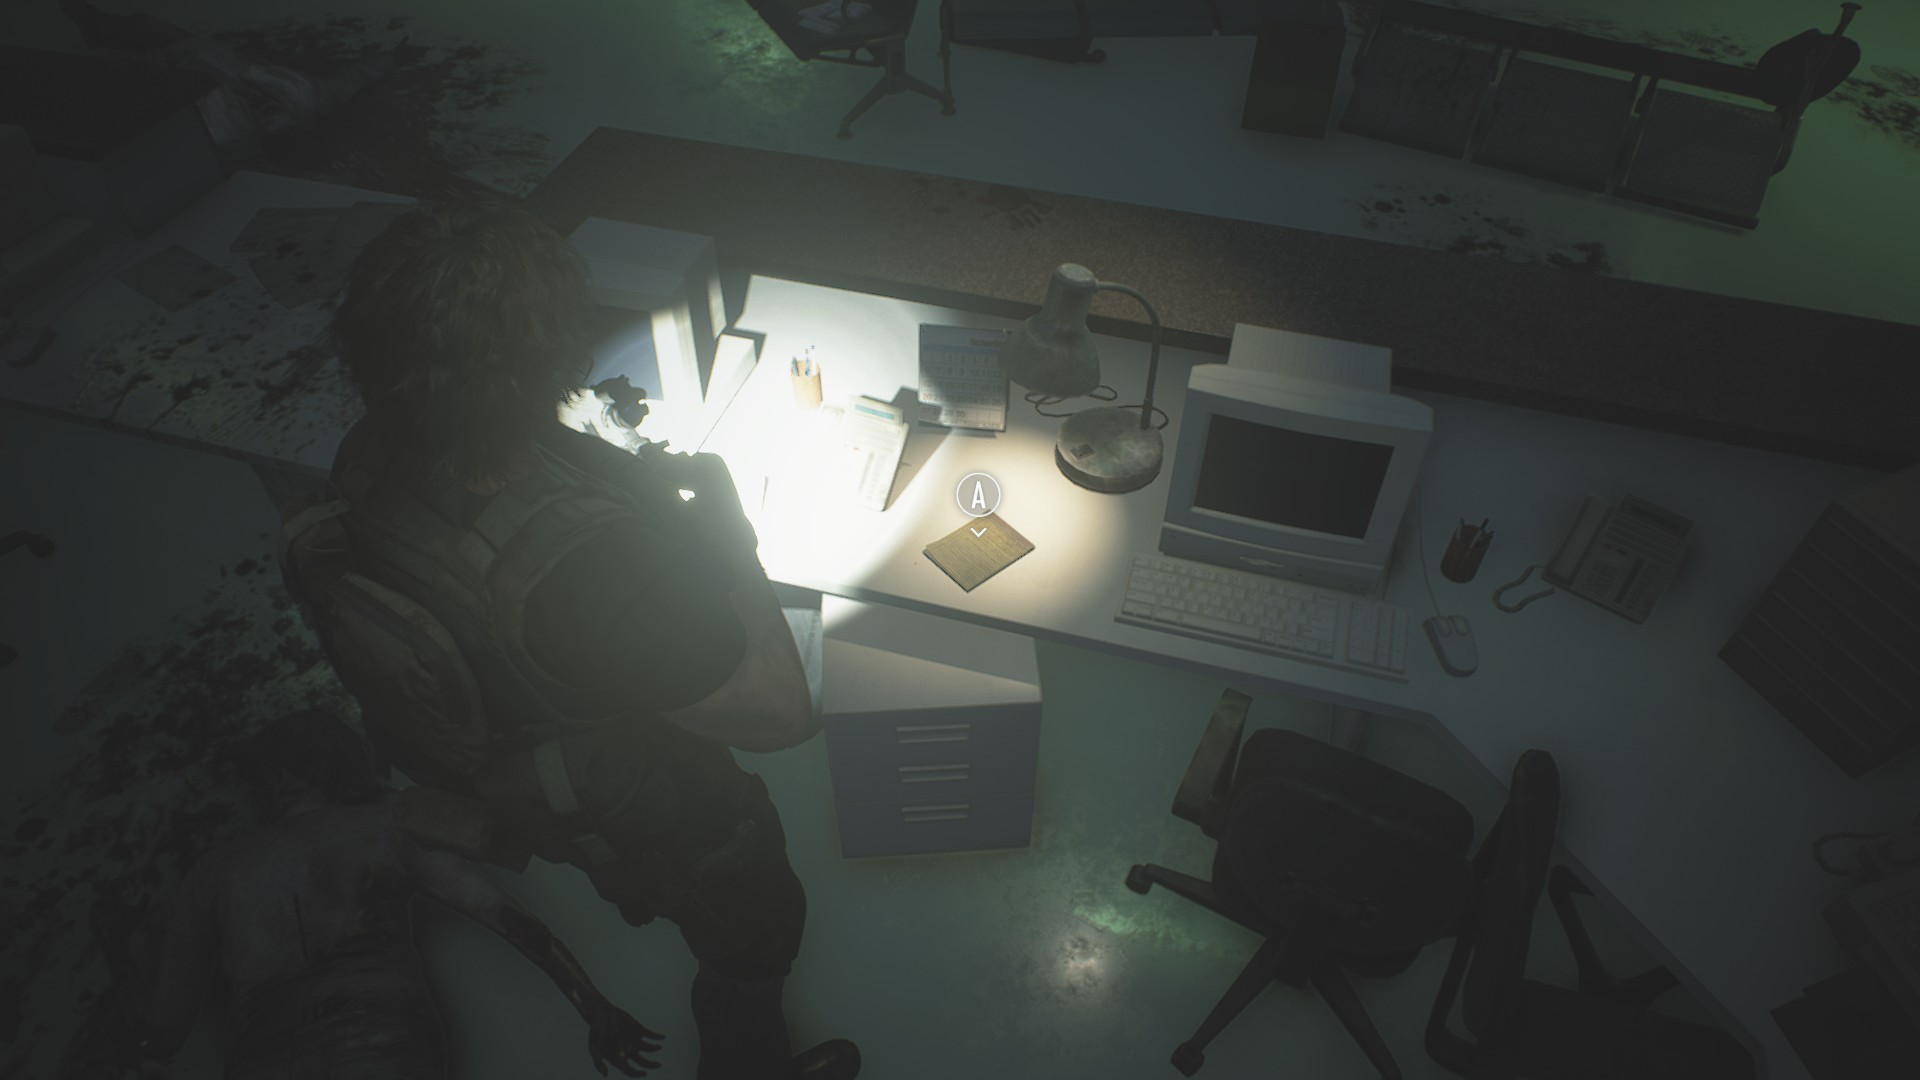
File #36: Nurse’s Journal: Sept. 25
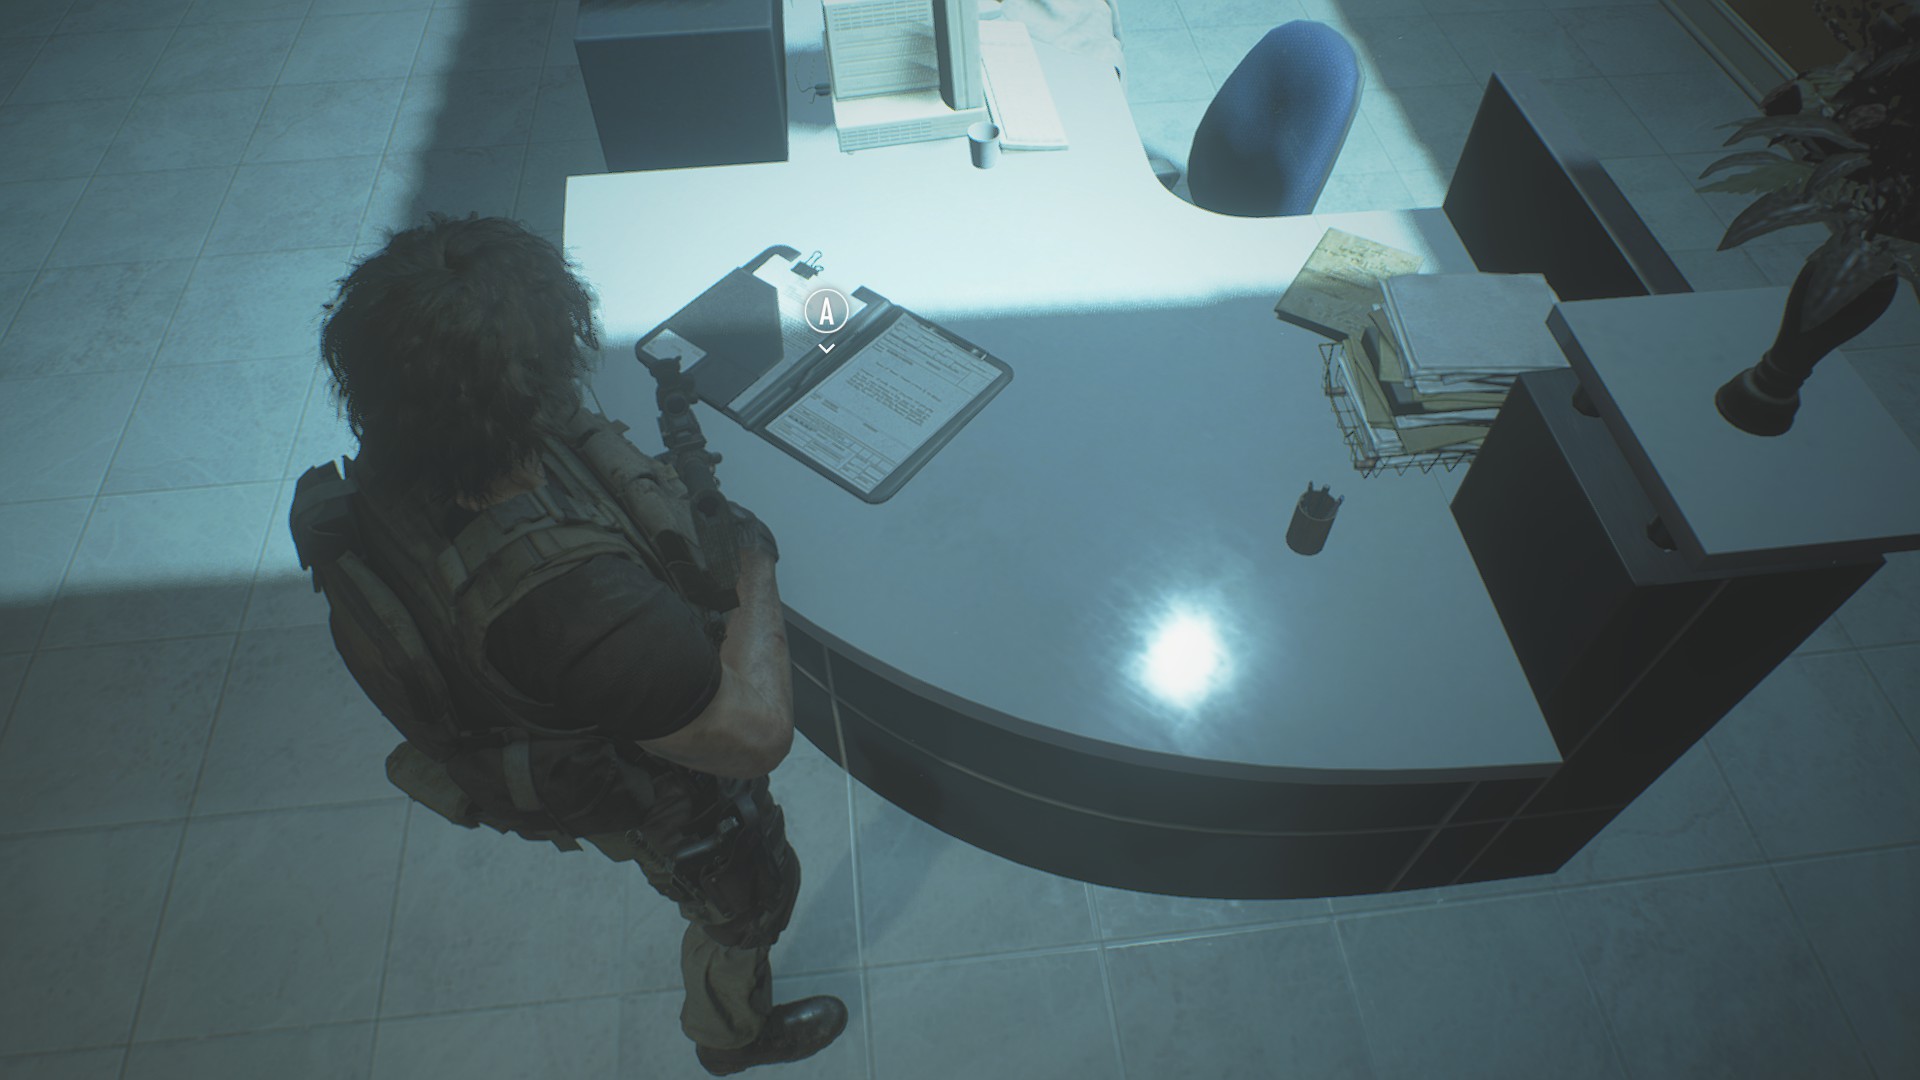
Check the desk in the lab reception room in the hospital.
File #37: Nurse’s Journal: Sept. 27
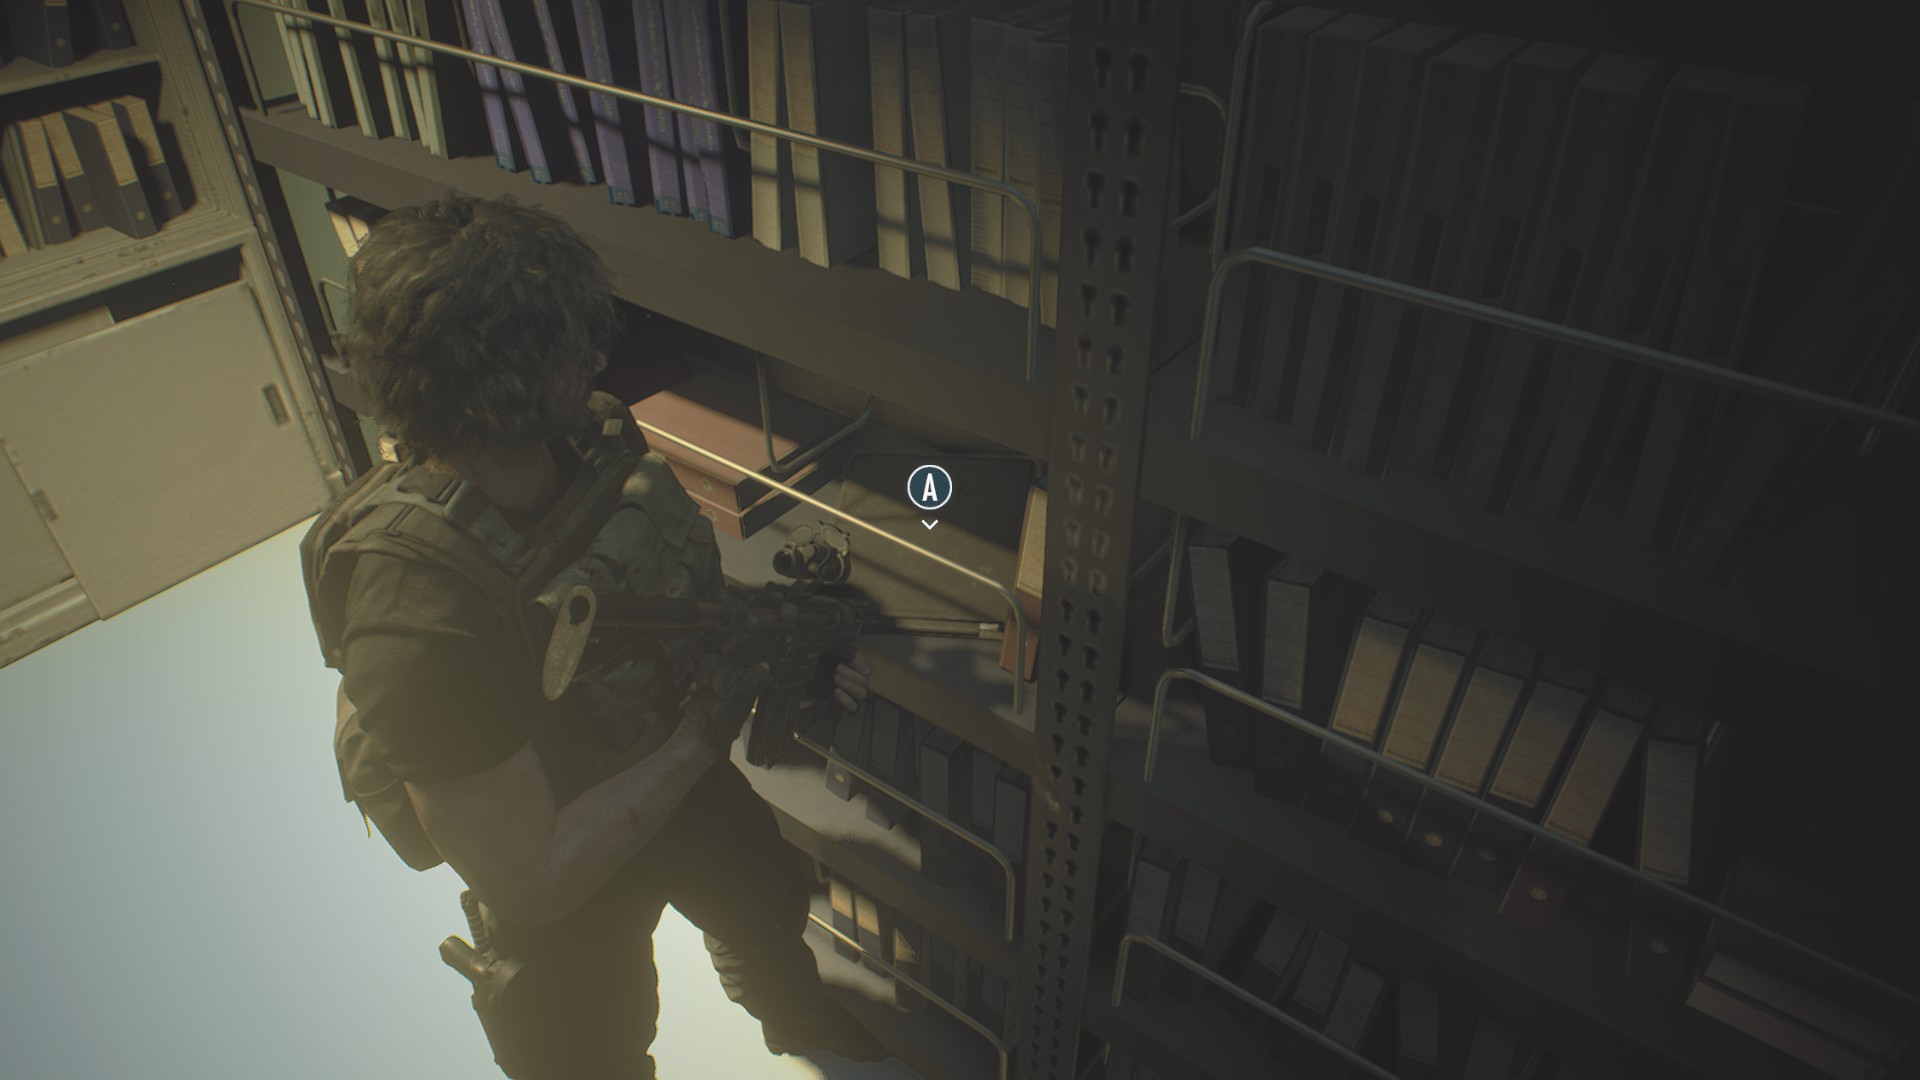
Search the shelves on the east wall in the records room on the second floor of the hospital.
File #38: Nurse’s Journal: Sept. 29
Look on the desk in the center of the staff room on the second floor of the hospital.
File #39: Memos from Administration
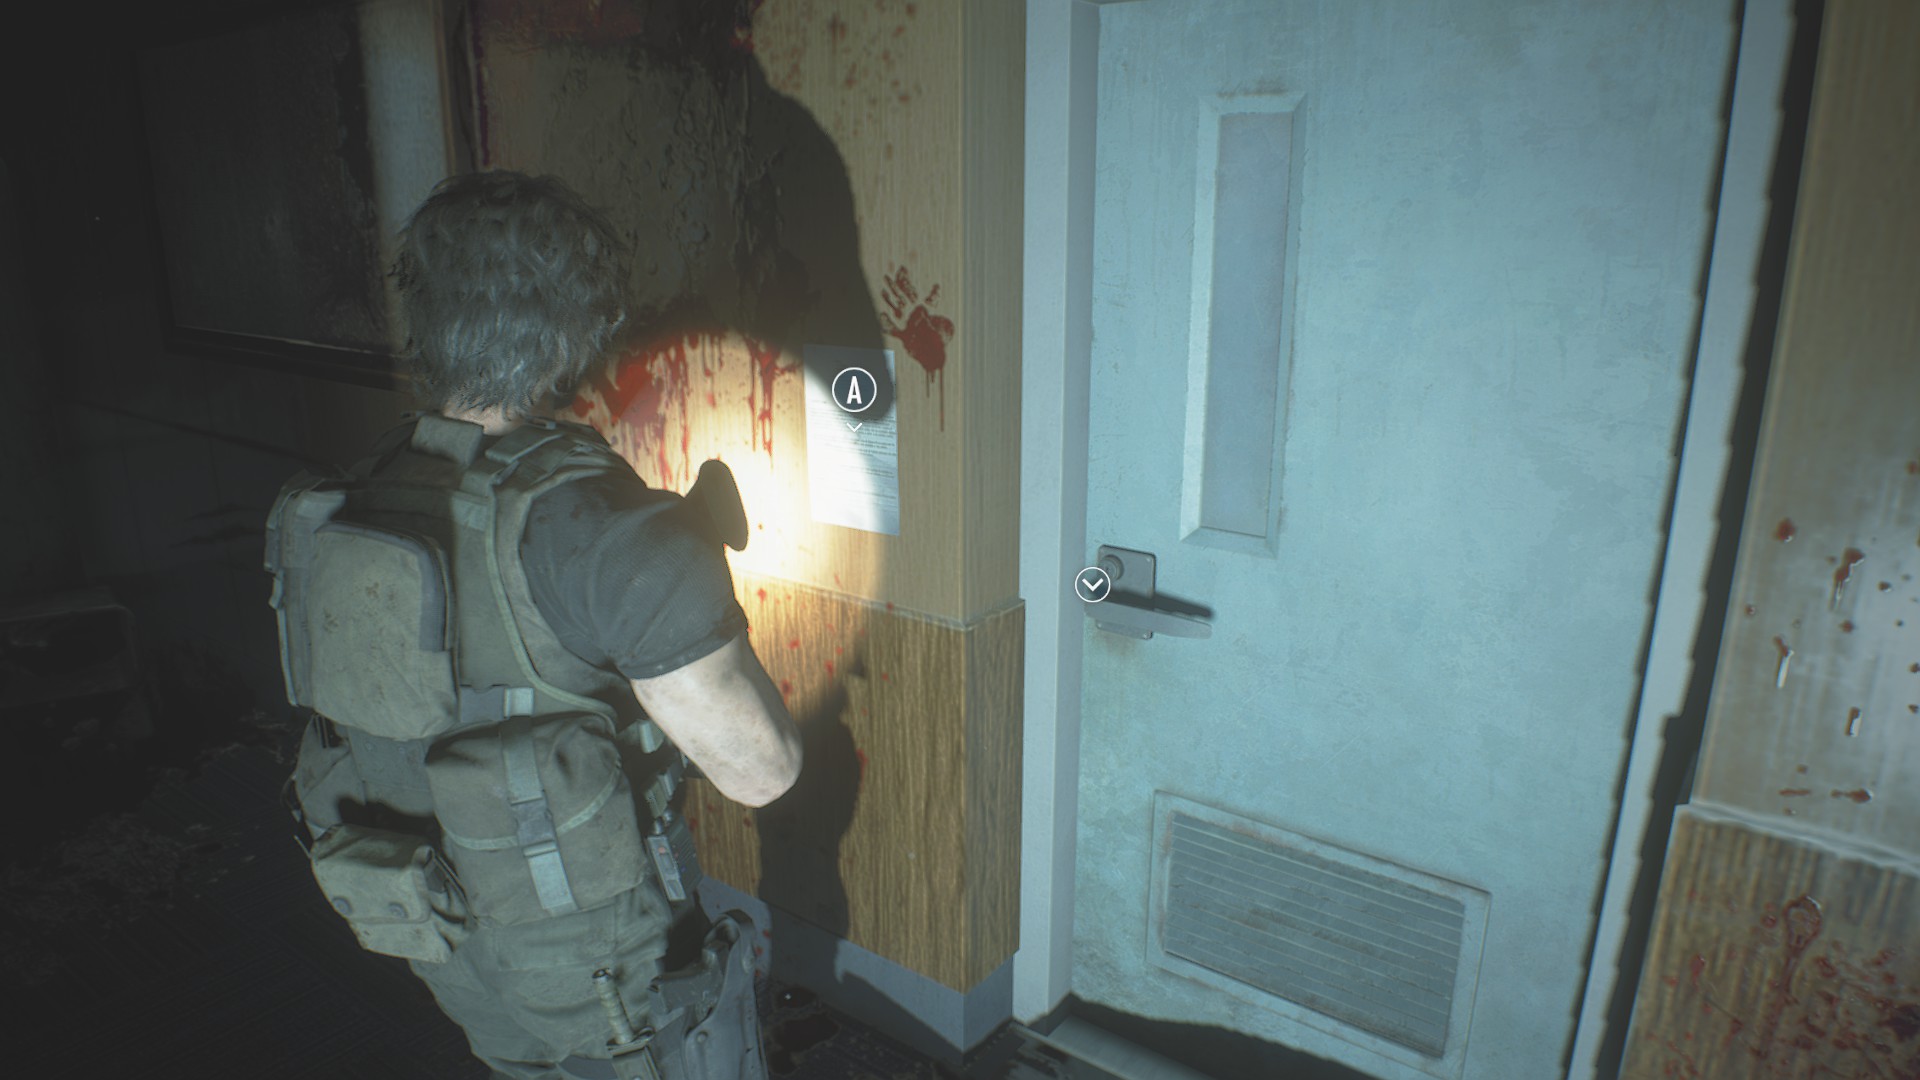
This note is taped to the wall next to the door to the locker room in the hospital’s staff room.
File #40: Note about a Tape Recording
Check the desk in the nurses’ station on the second floor of the hospital.
File #41: Re: Lost Items
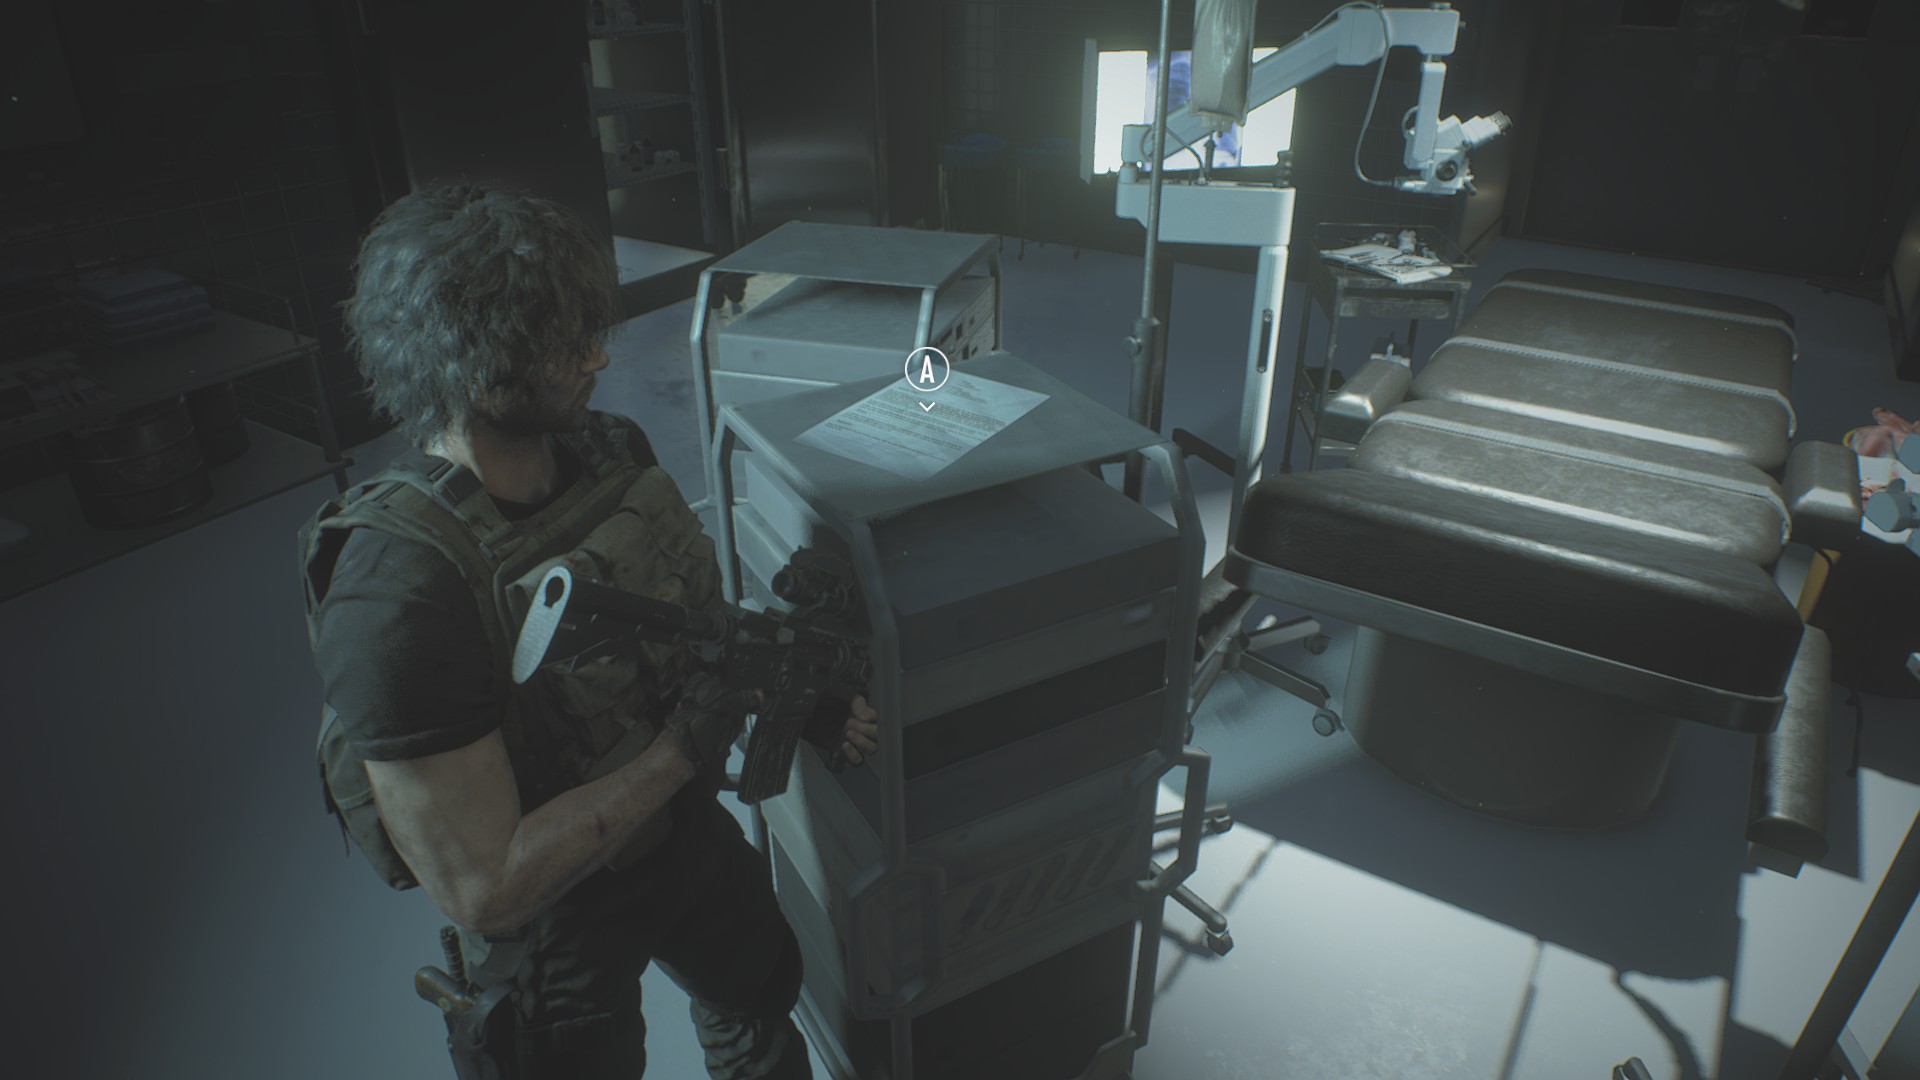
Use the hospital I.D. card to open the door to the operating room on the hospital’s first floor. This file is on a cart in the center of the room, although it’s a little tricky to spot.
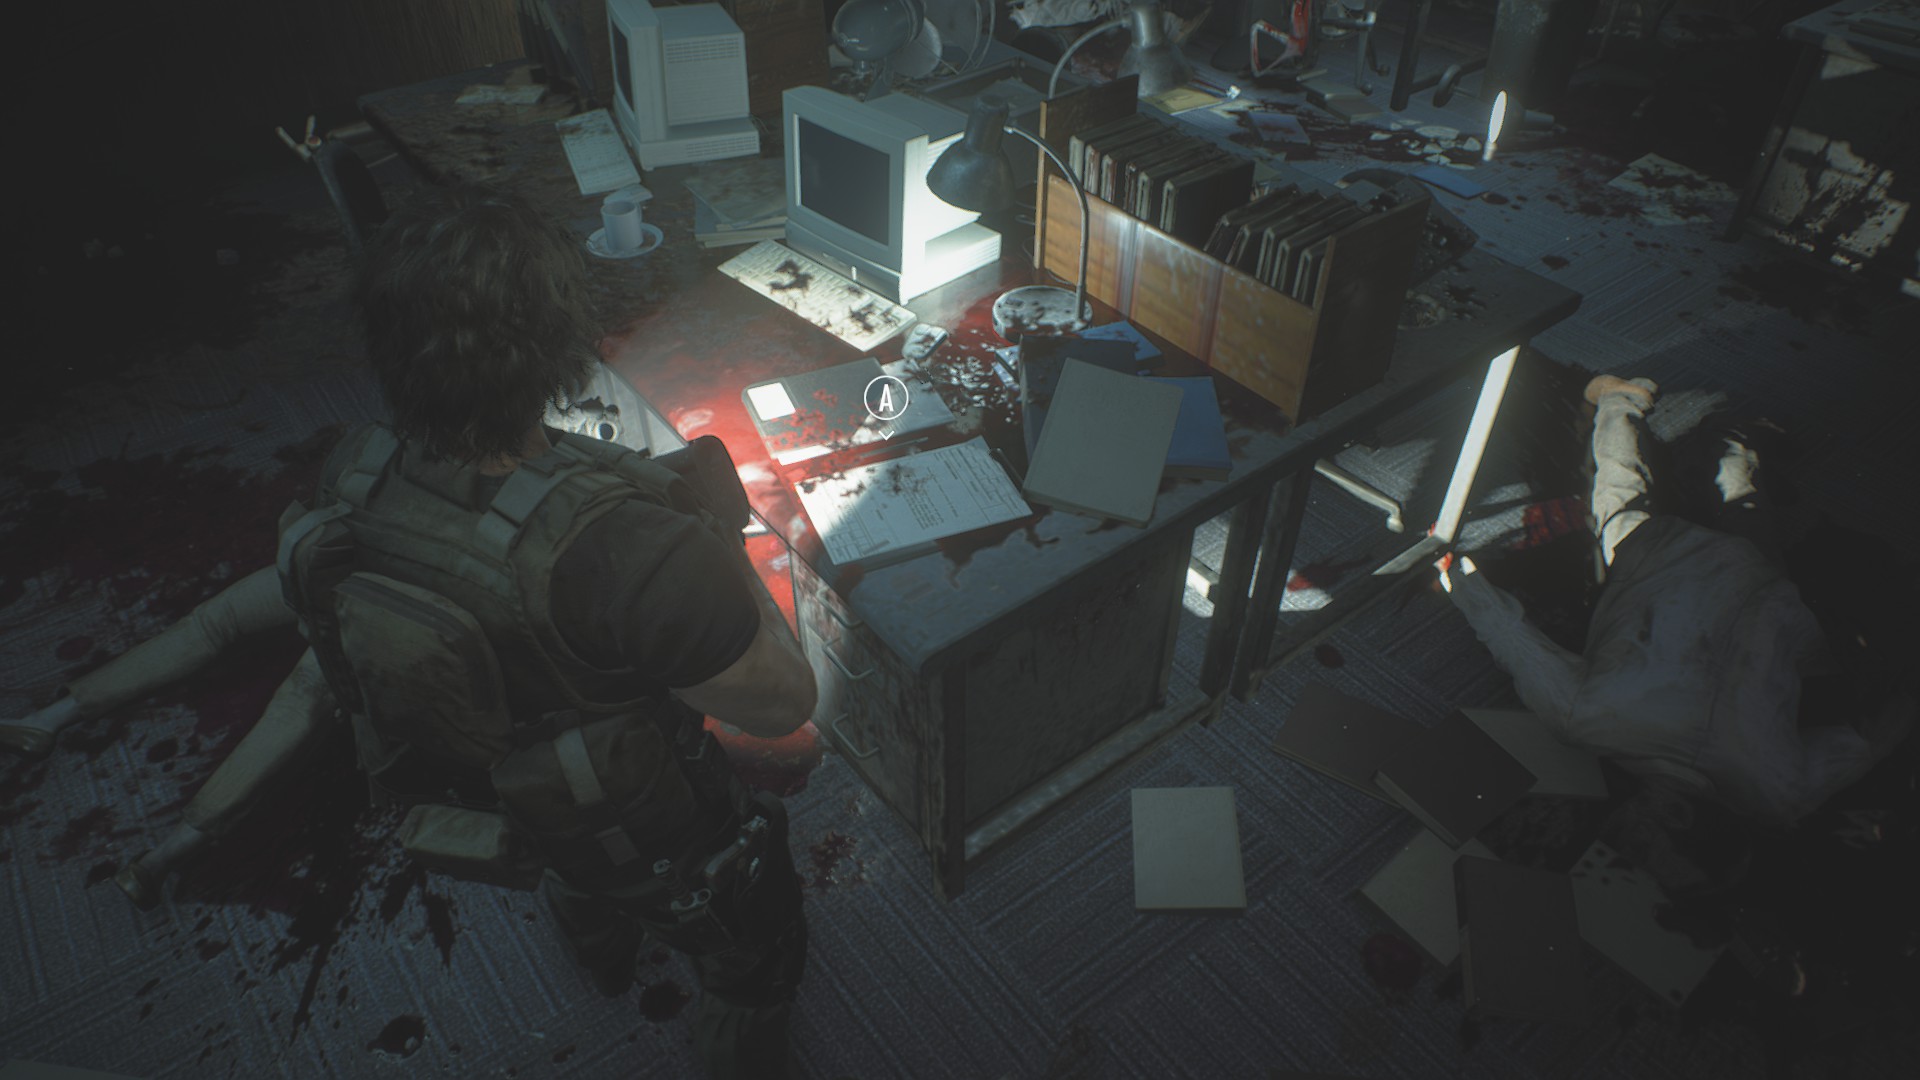
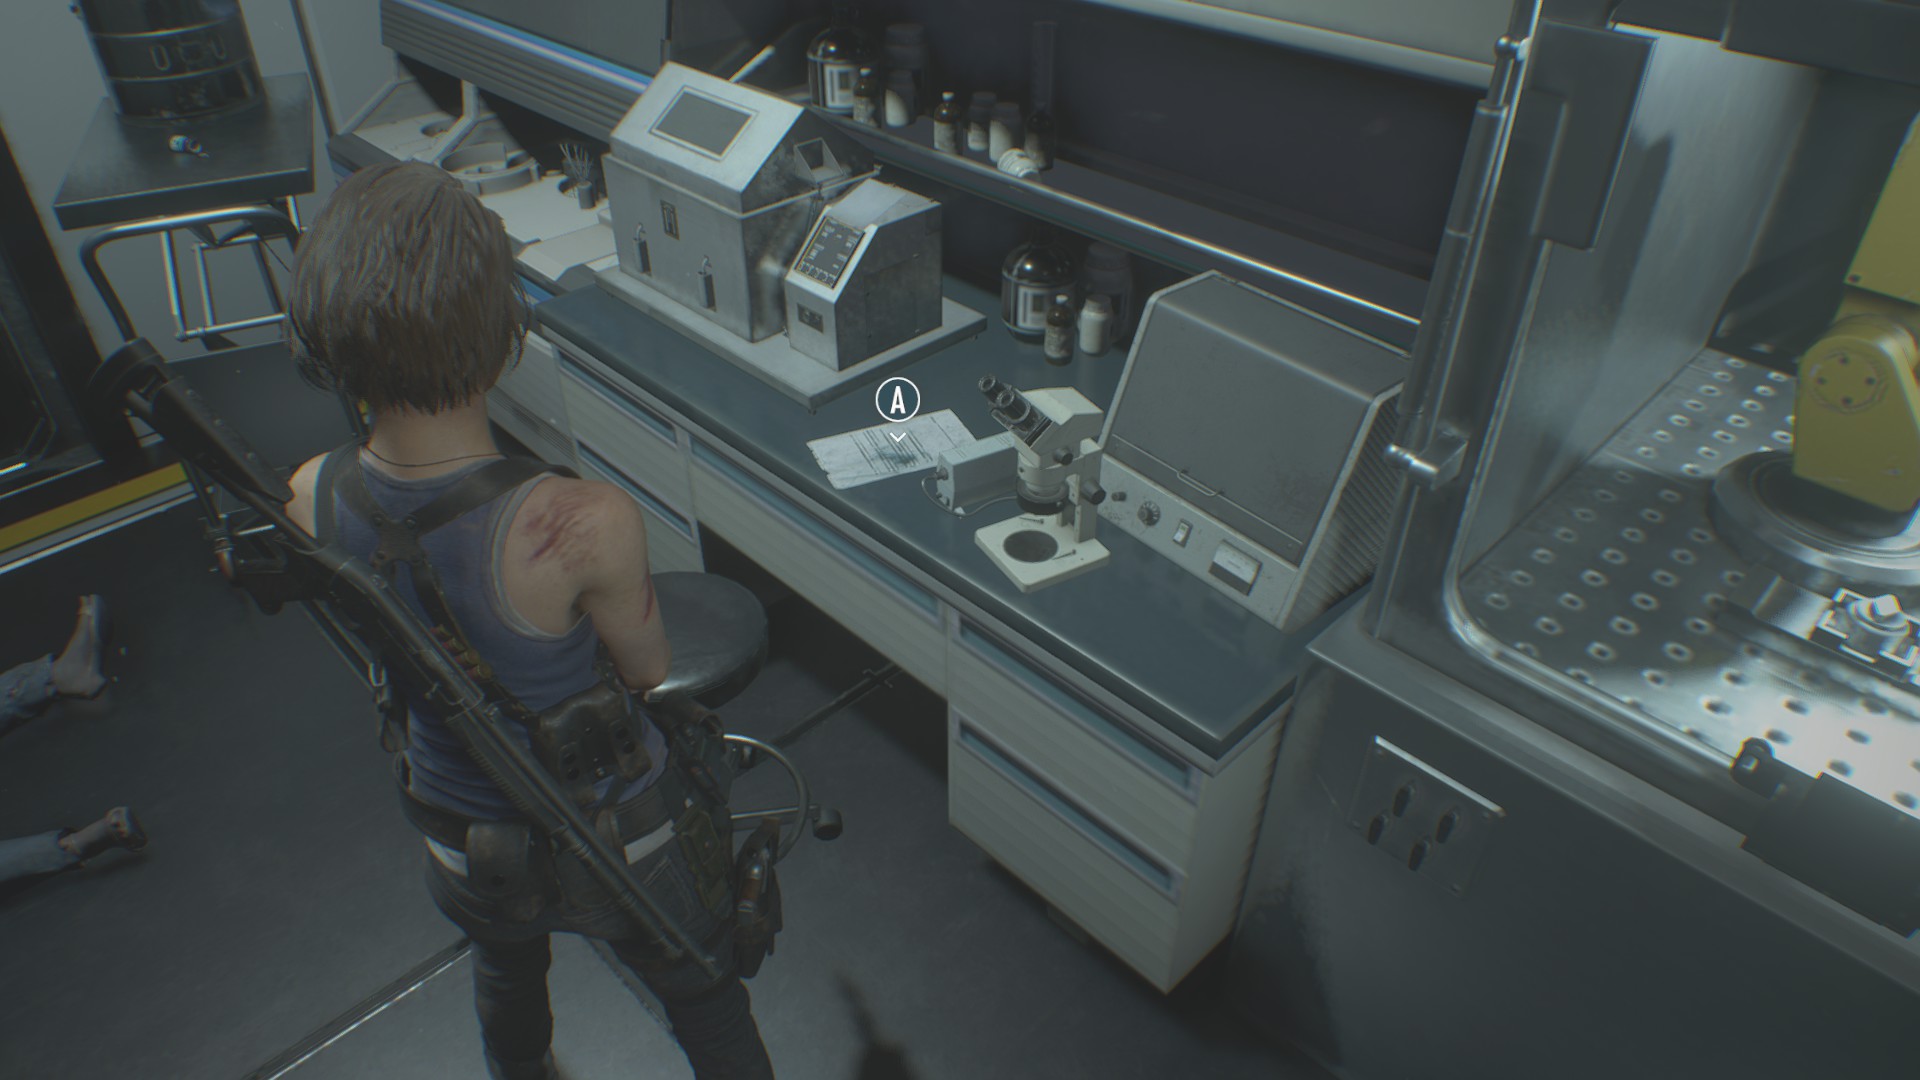
File #42: Banquet Invitation

Read the blood-spattered note next to Bard in his private lab in the hospital.
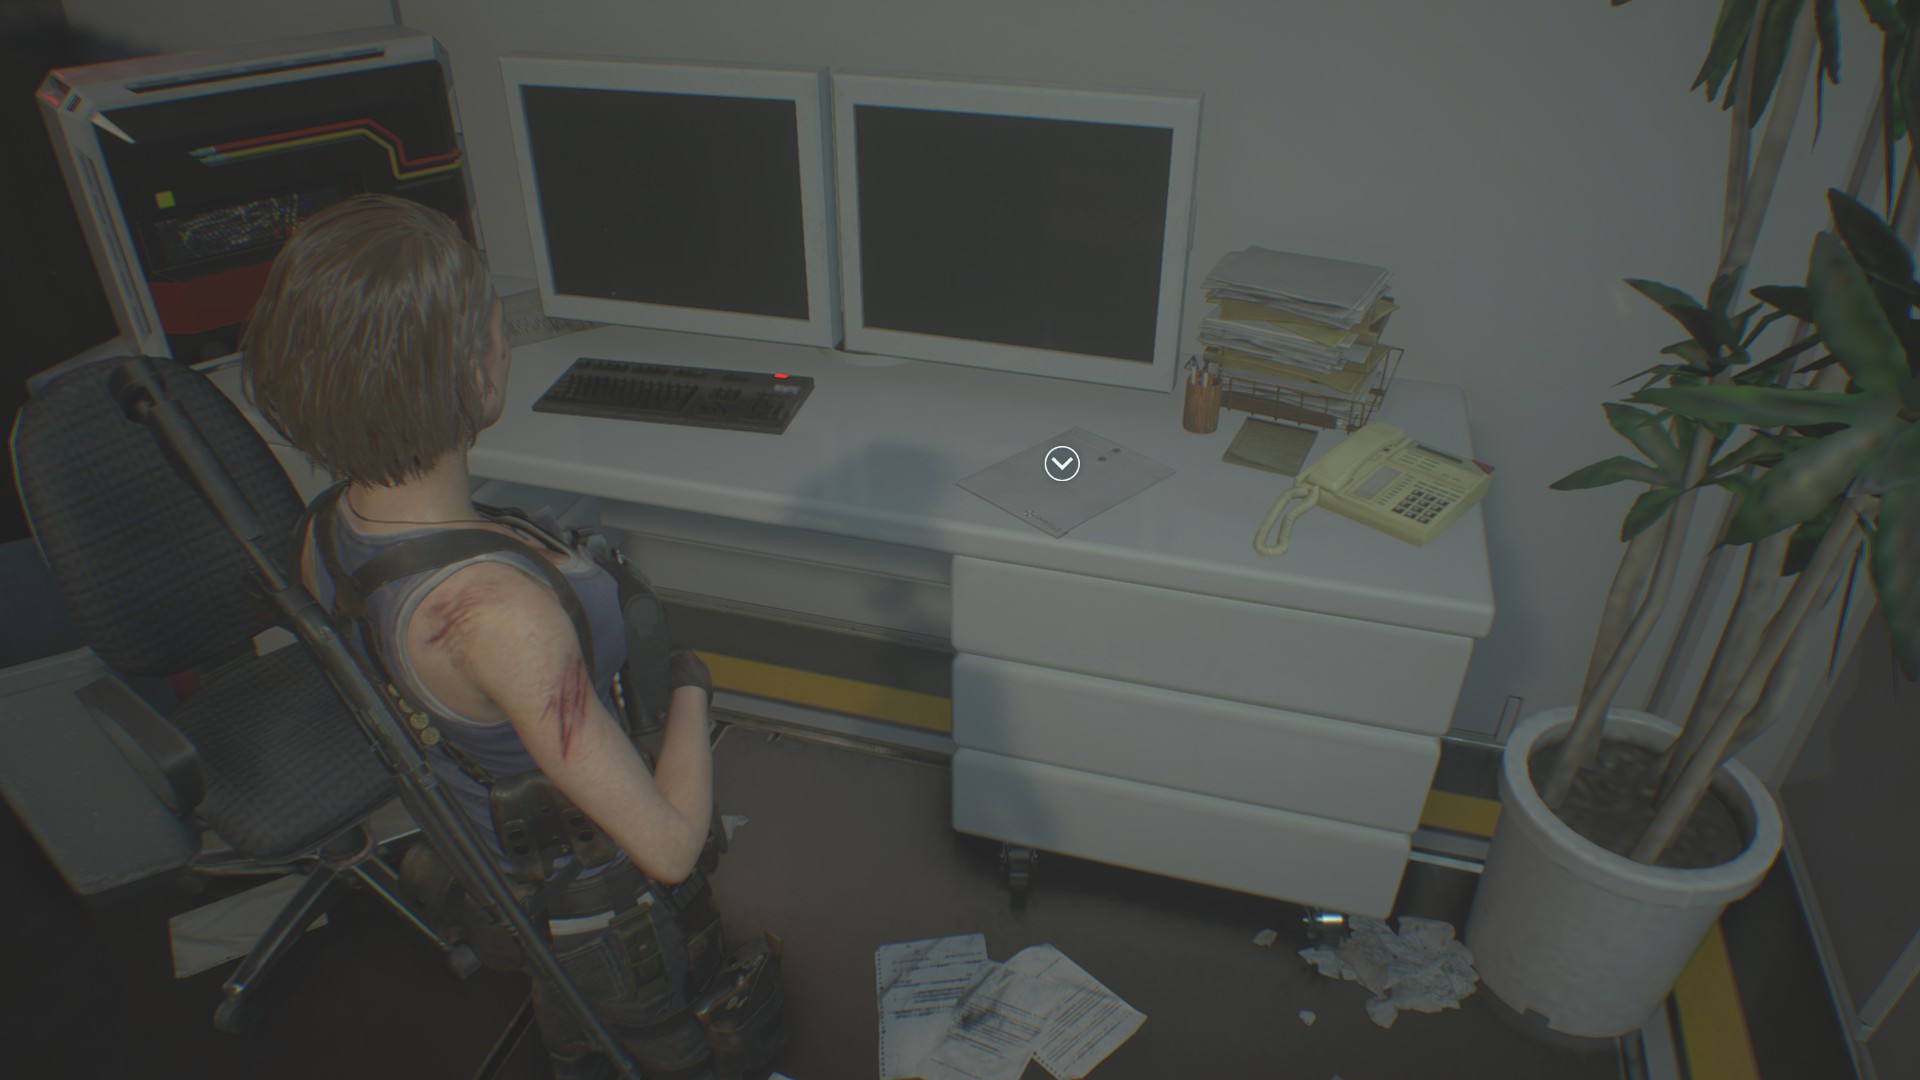
File #43: Email from Nathaniel Bard
This is one of two unmissable files in the game. You get this automatically off the computer in Bard’s private lab in the hospital.
File #44: Elevator Notice
At the base of the freight elevator in the underground storage facility, you’ll find a safe room that’s labeled “Office” on your map. This note is found next to the typewriter there.
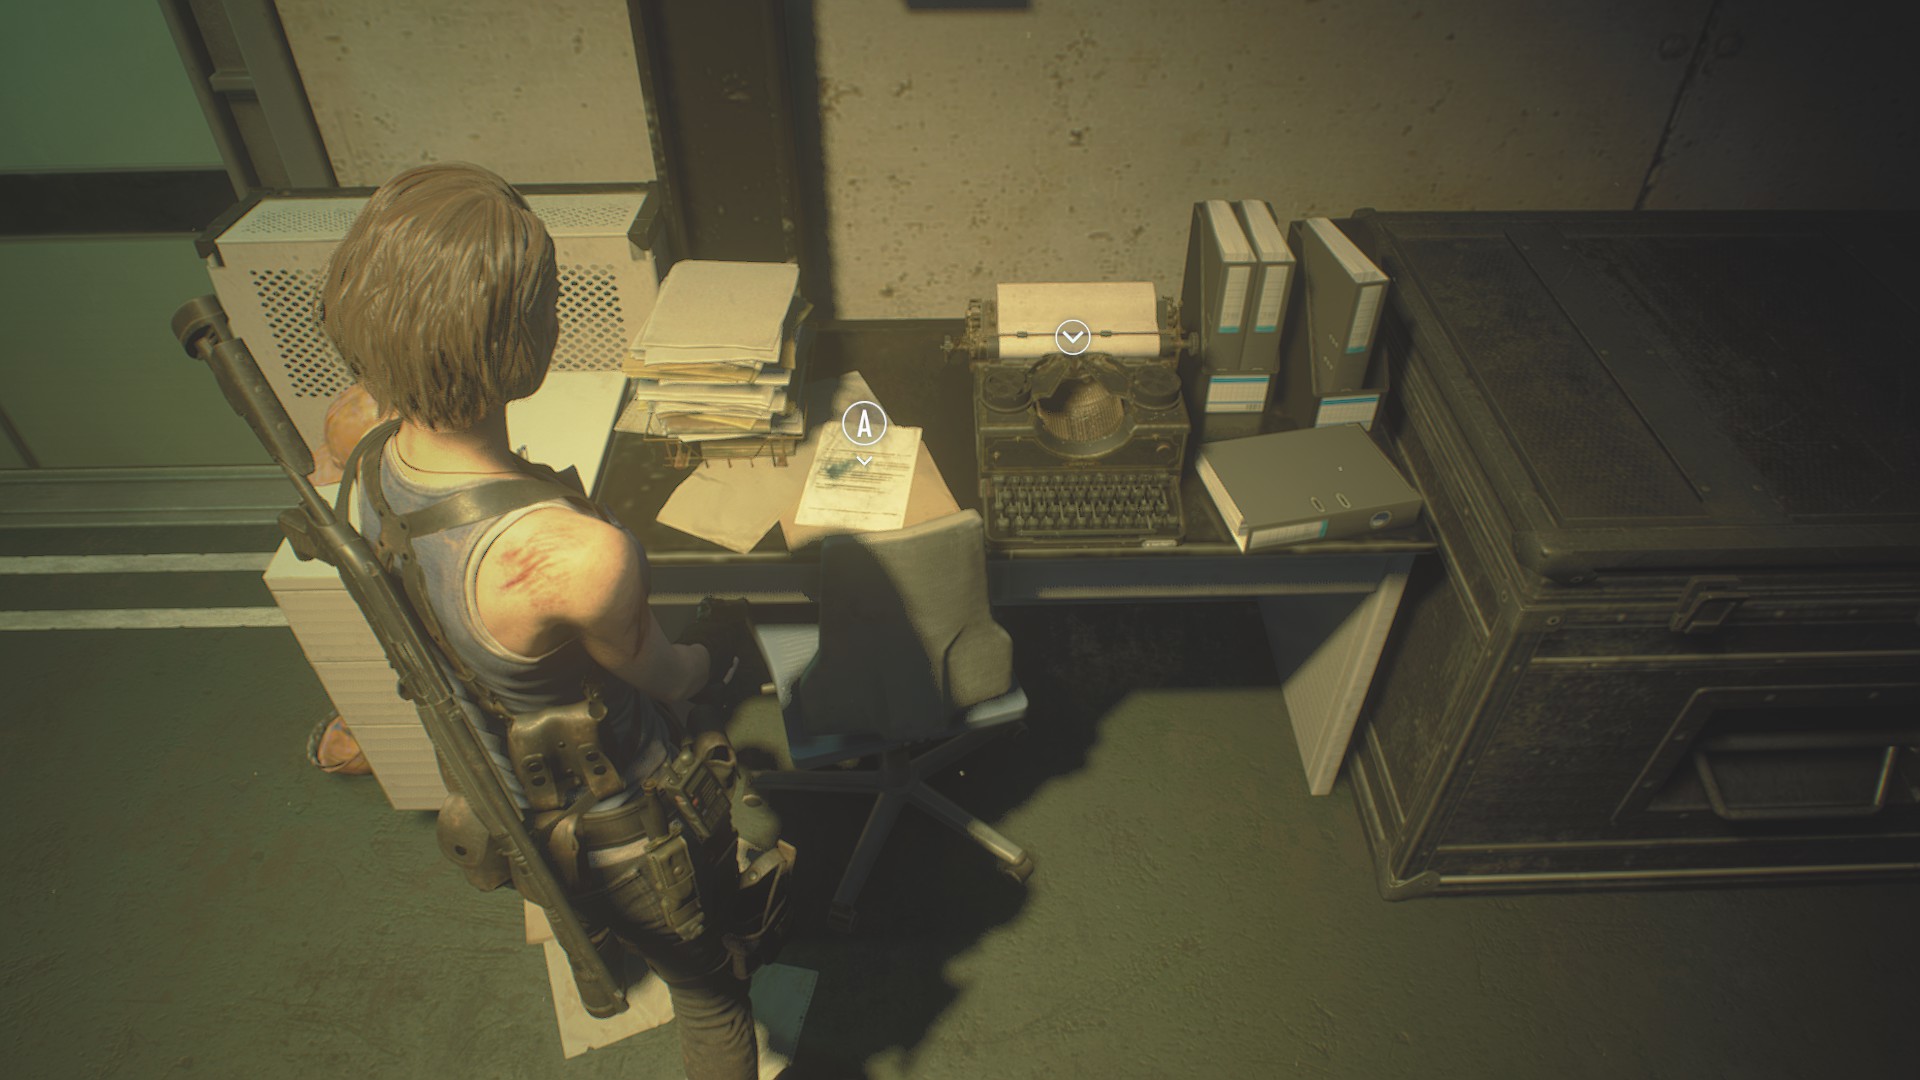
File #45: Employee Memo
While you’re hunting for fuses in the warehouse, you’ll have to cut through a small storage room south of the office. This file is found on a stack of boxes on the west side of that room.
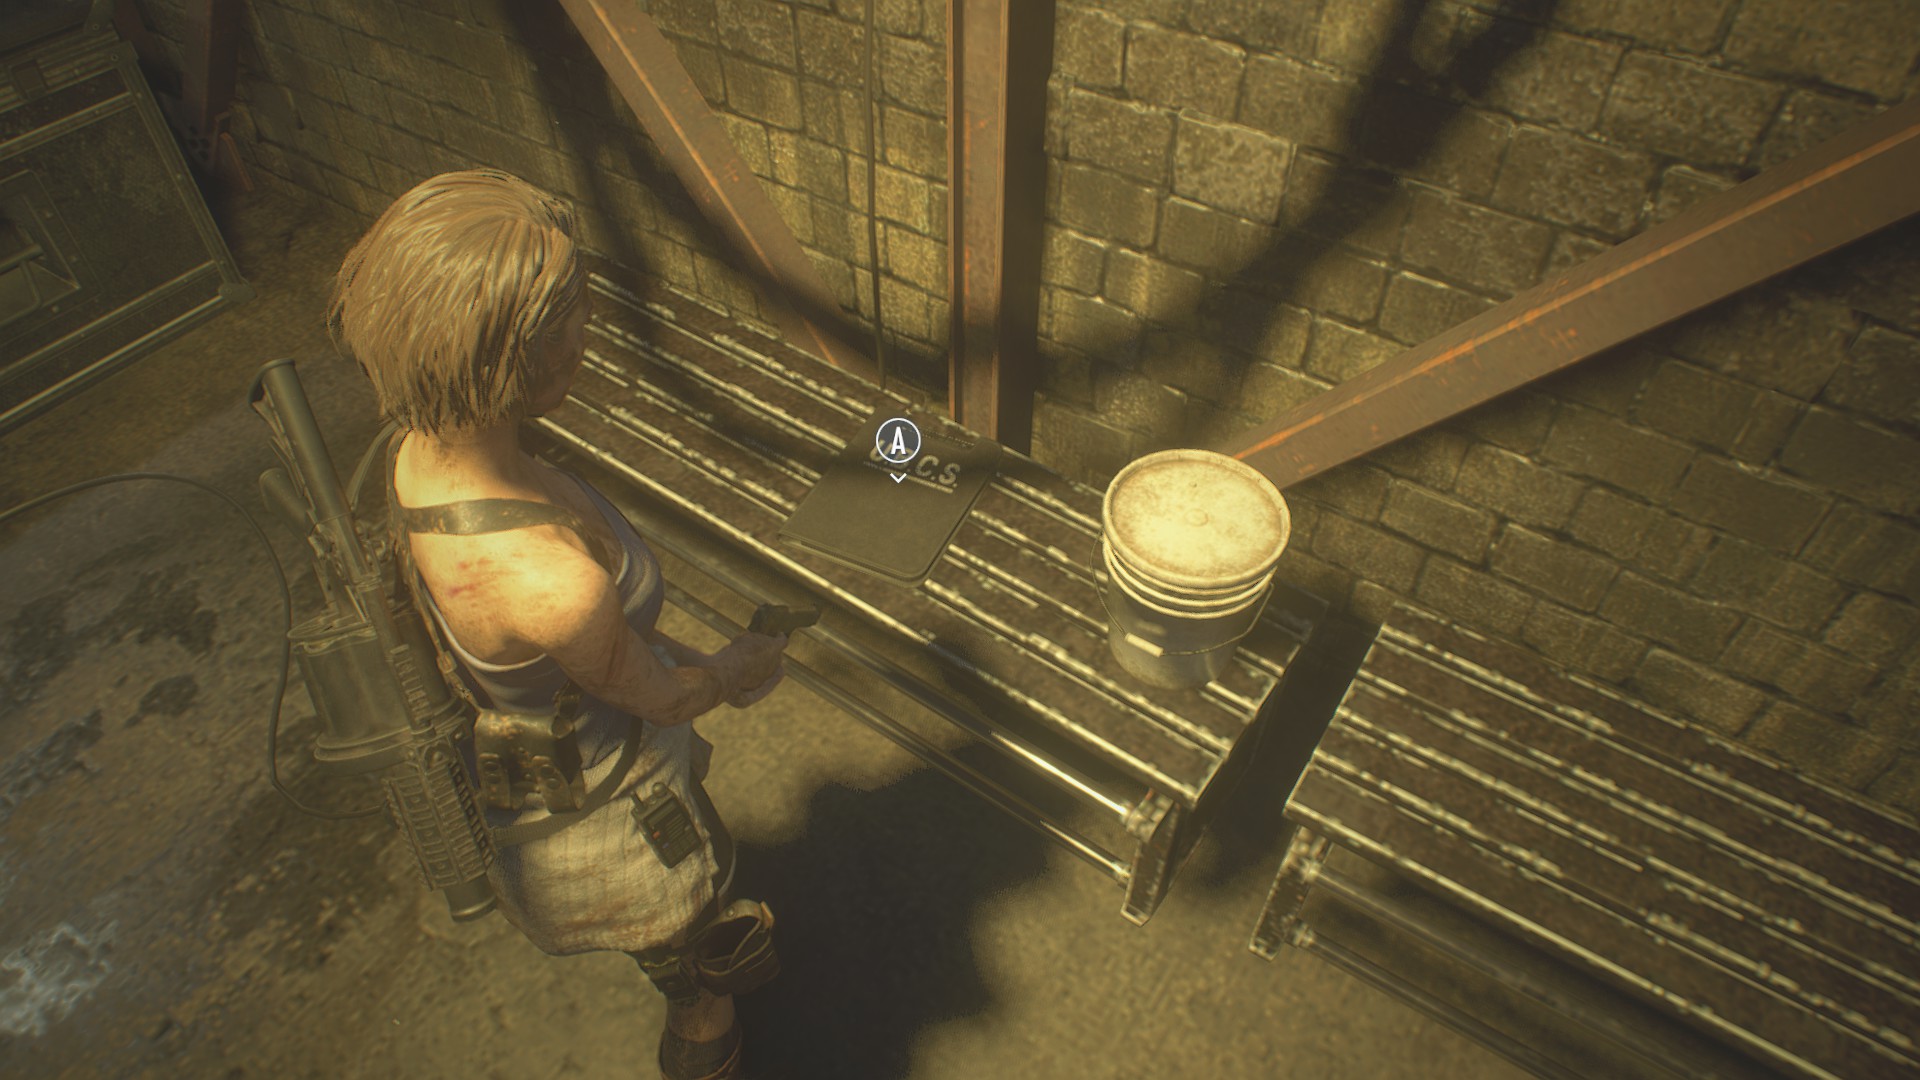
File #46: Unfinished Activity Log
This is the second of two unmissable files. Once you reach the warehouse control room, inspect the lit screen on its control console.
File #47: NEST 2 Employee Regulations
When you enter the NEST 2, go south along its entrance corridor to find a storage room. This file is on a desk inside it, and picking it up also grants you the area’s map.
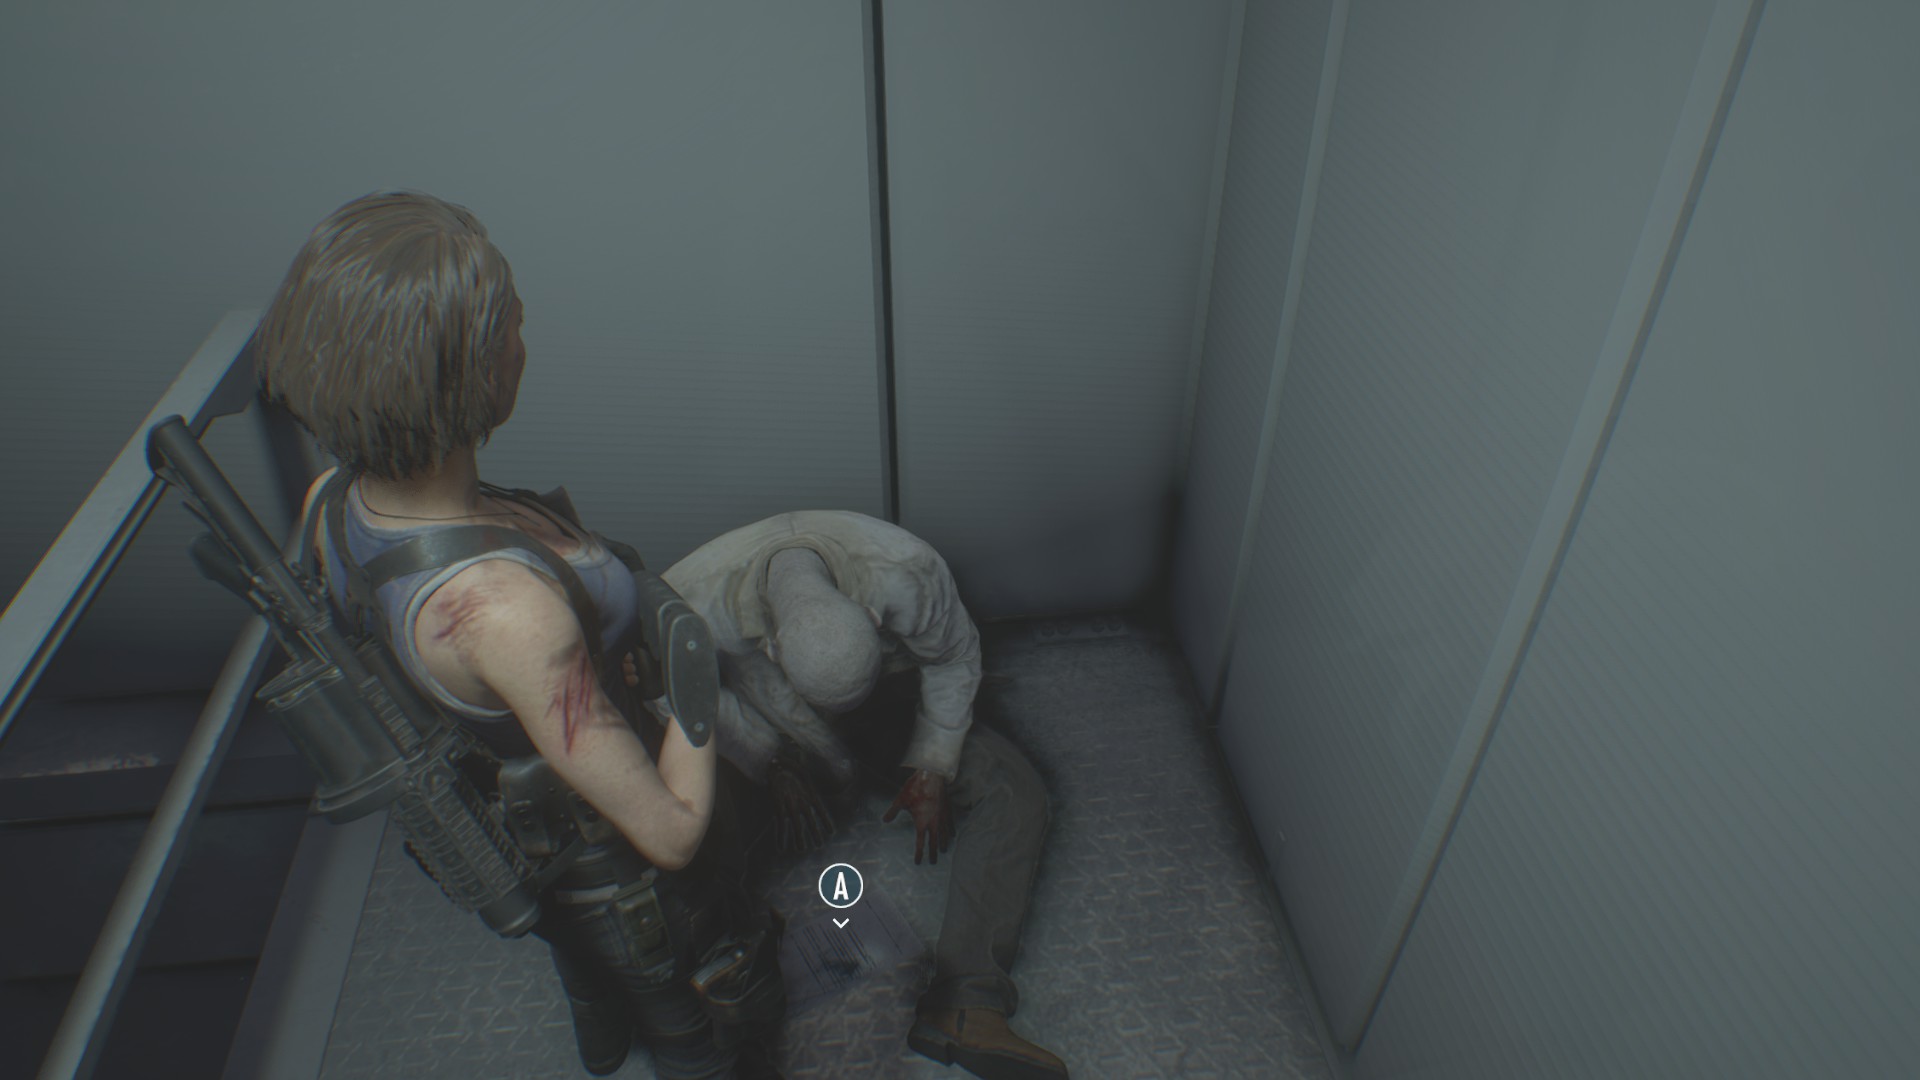
File #48: Isaac Graves’ Diary
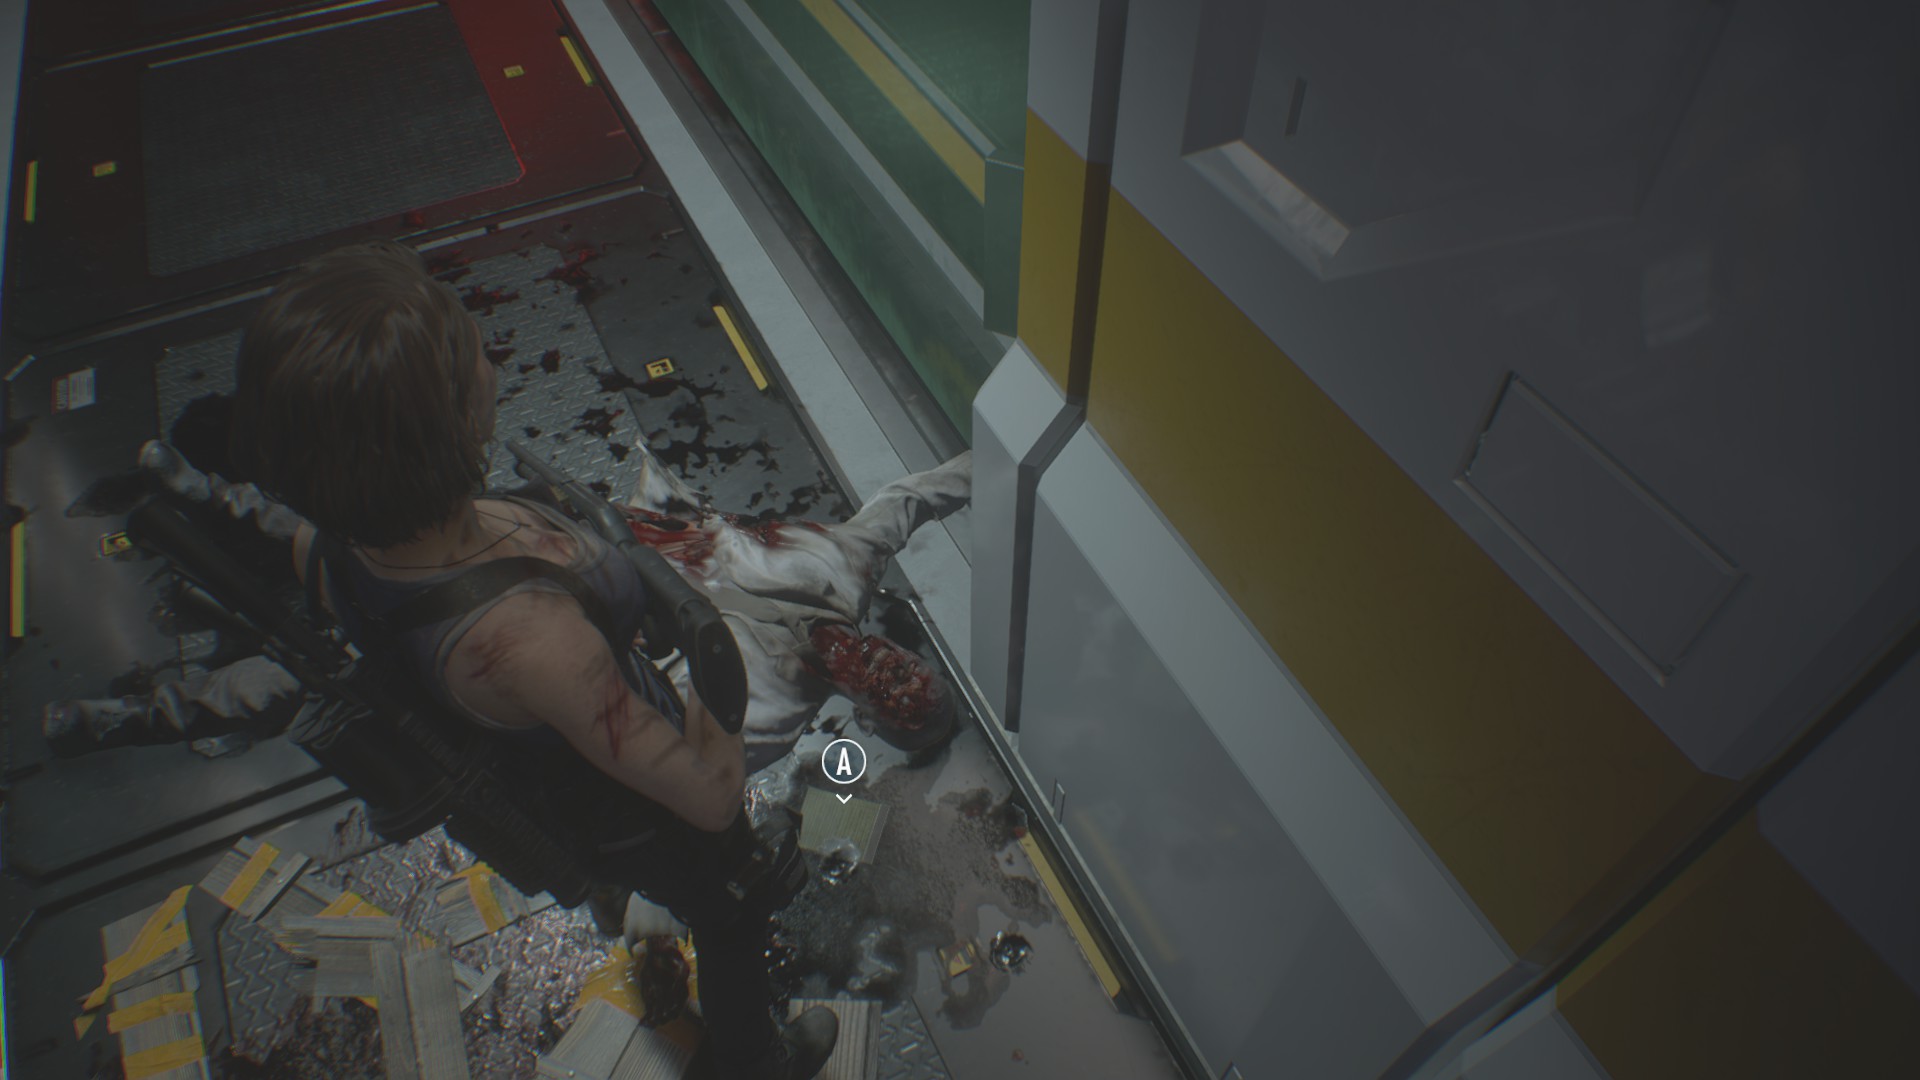
At the southern end of the second floor of the NEST 2, there’s a short detour to the west that dead-ends in a blocked corridor. A zombie will reanimate as you approach. Take it out, and look on the floor underneath its body.
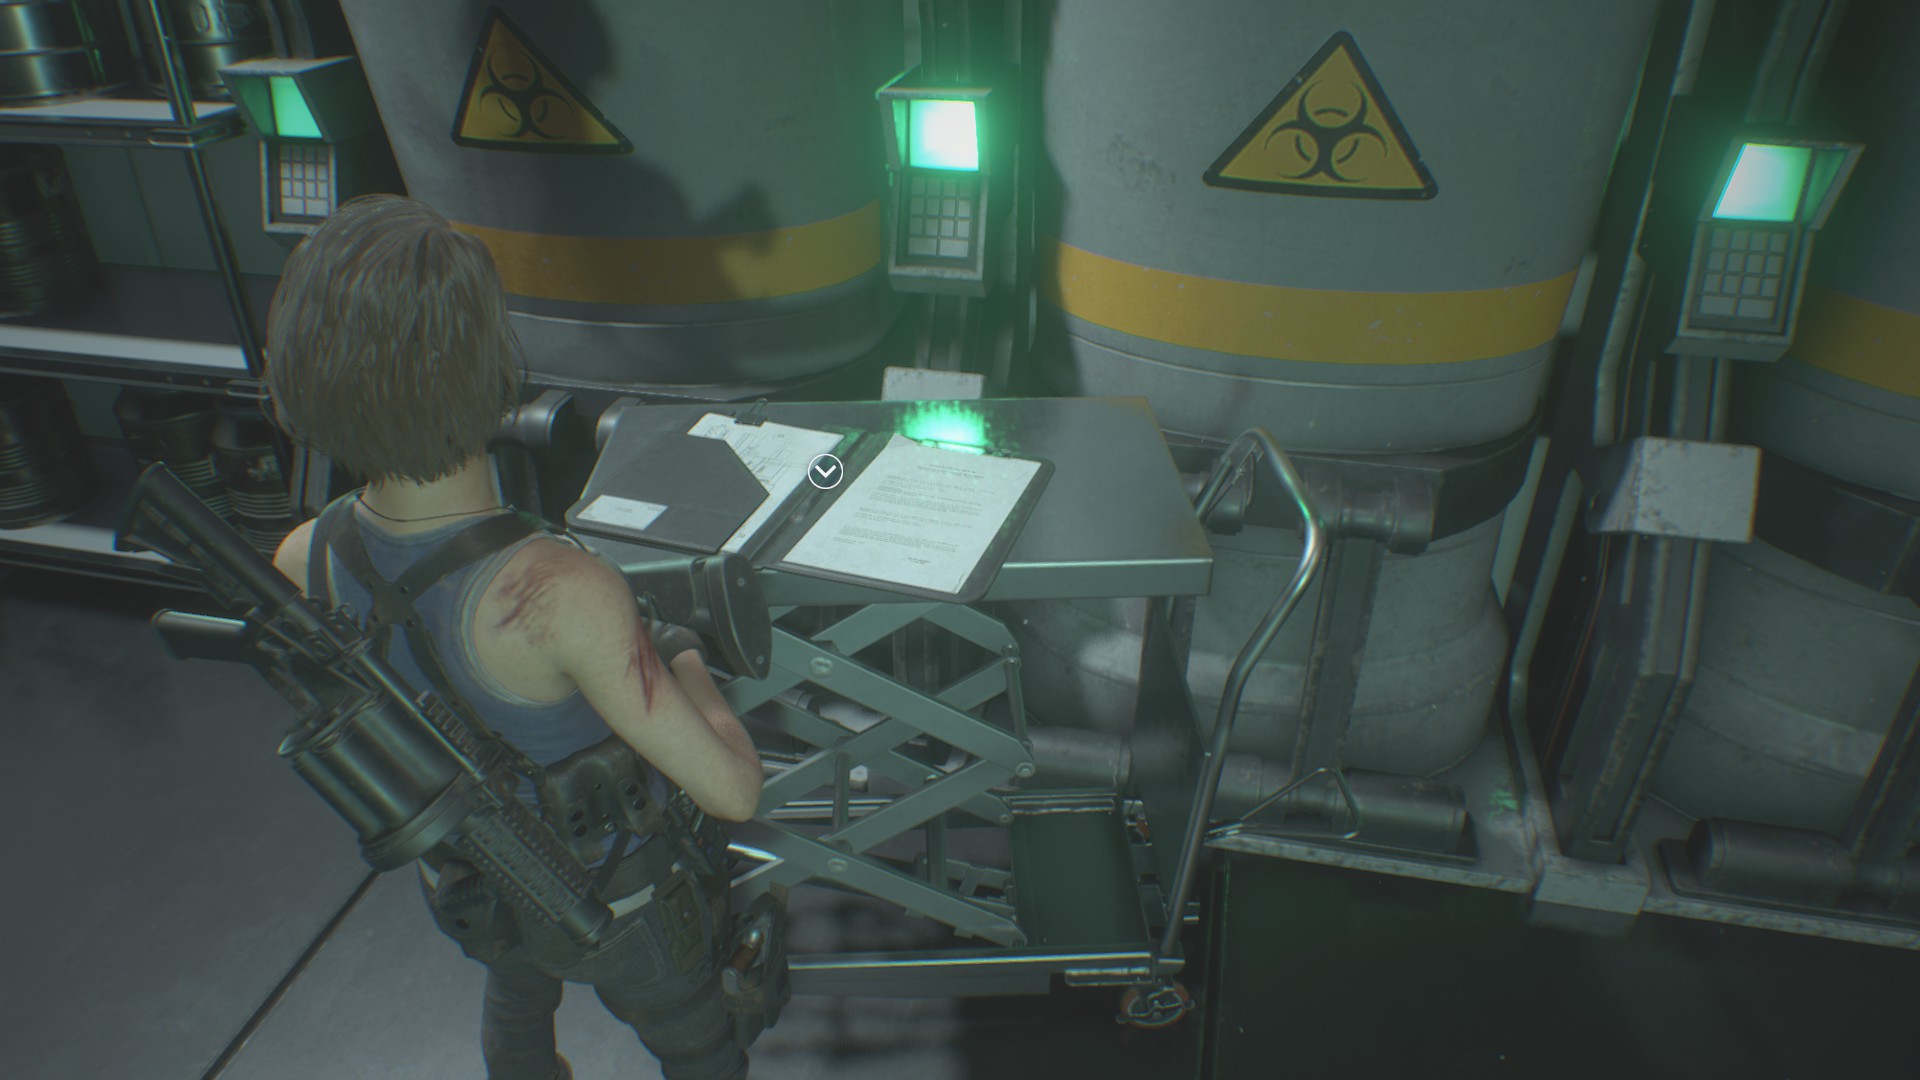
File #49: Essay on Vaccine Synthesis
Look on one of the padded tables next to the vaccine synthesizer in the NEST 2.
File #50: Shipping Notice
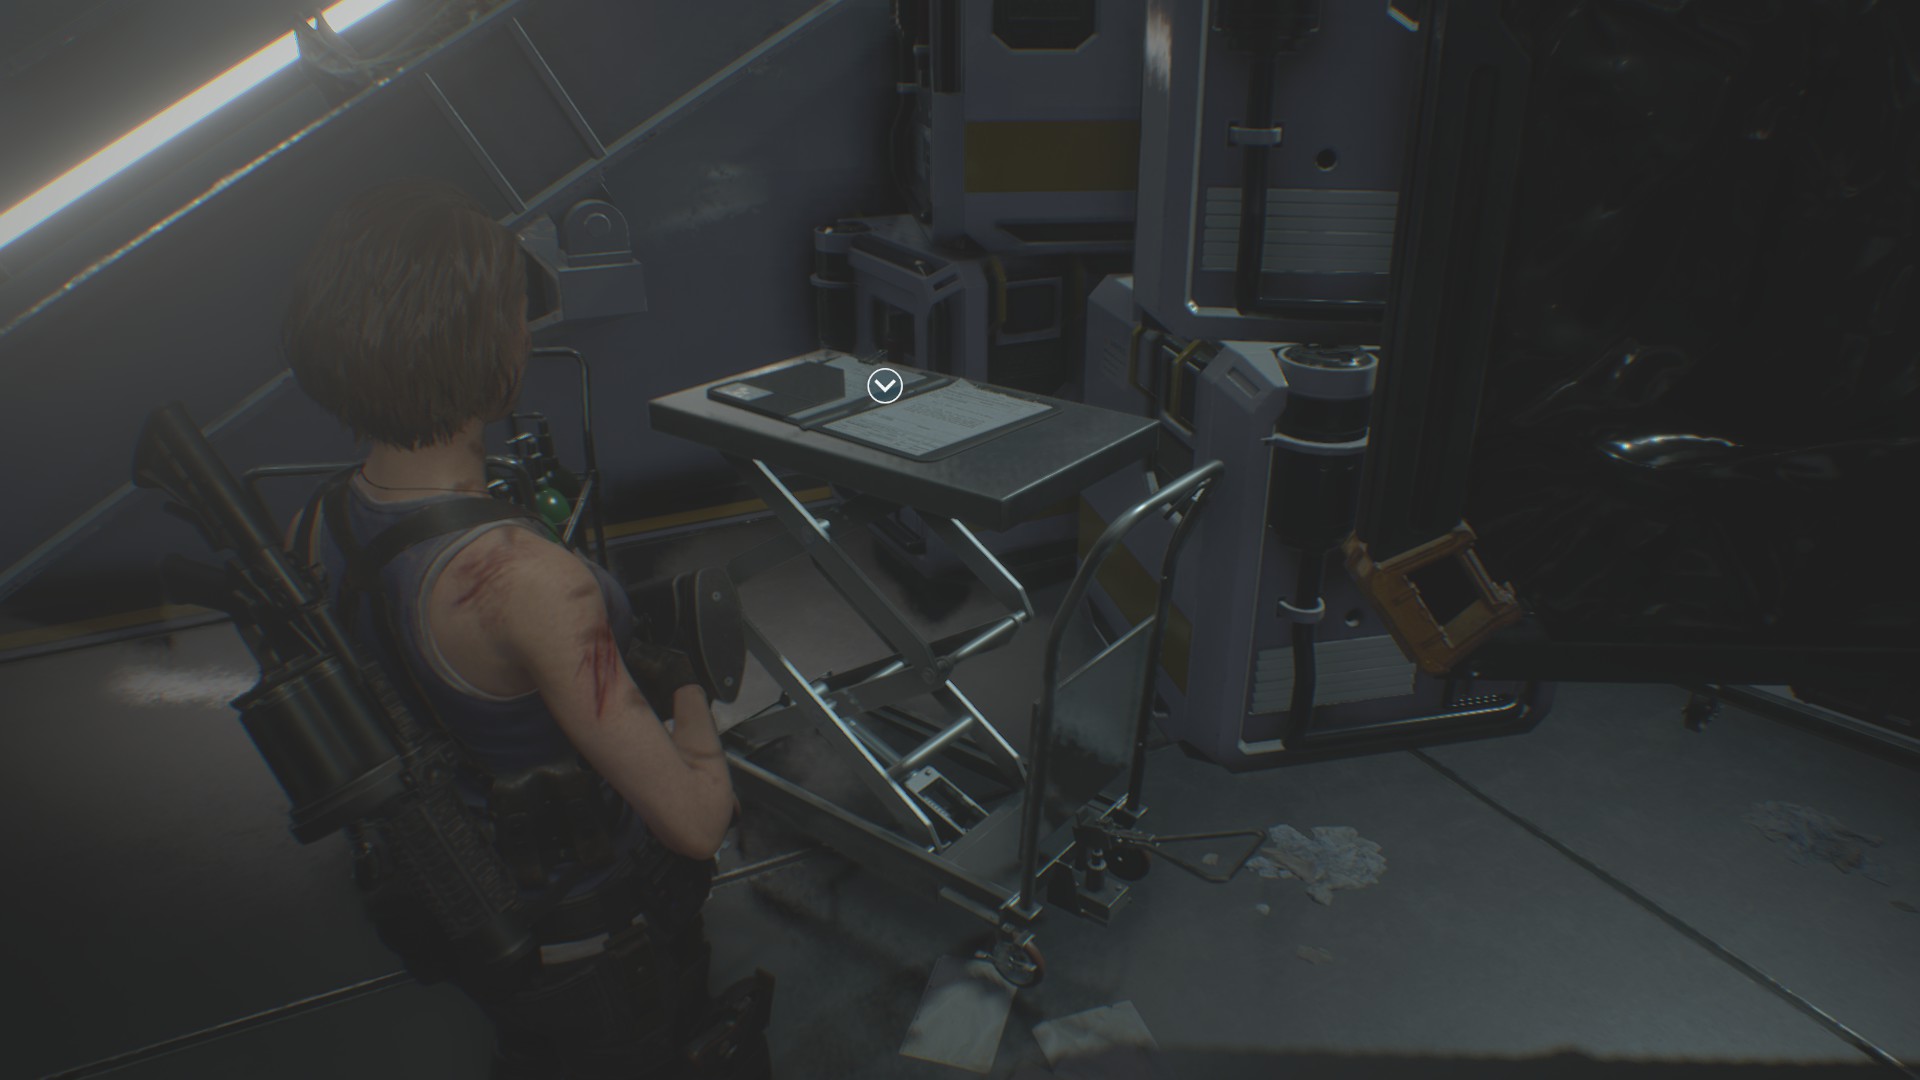
Use the override key on the first floor of the NEST 2 to reach a room that’s being used to store corpses. This file can be found on a rolling table at the base of the stairs.
File #51: Weaponry Authorization Request
When you obtain the antigen sample on the second floor of the NEST 2, look on the desk next to the manipulator.
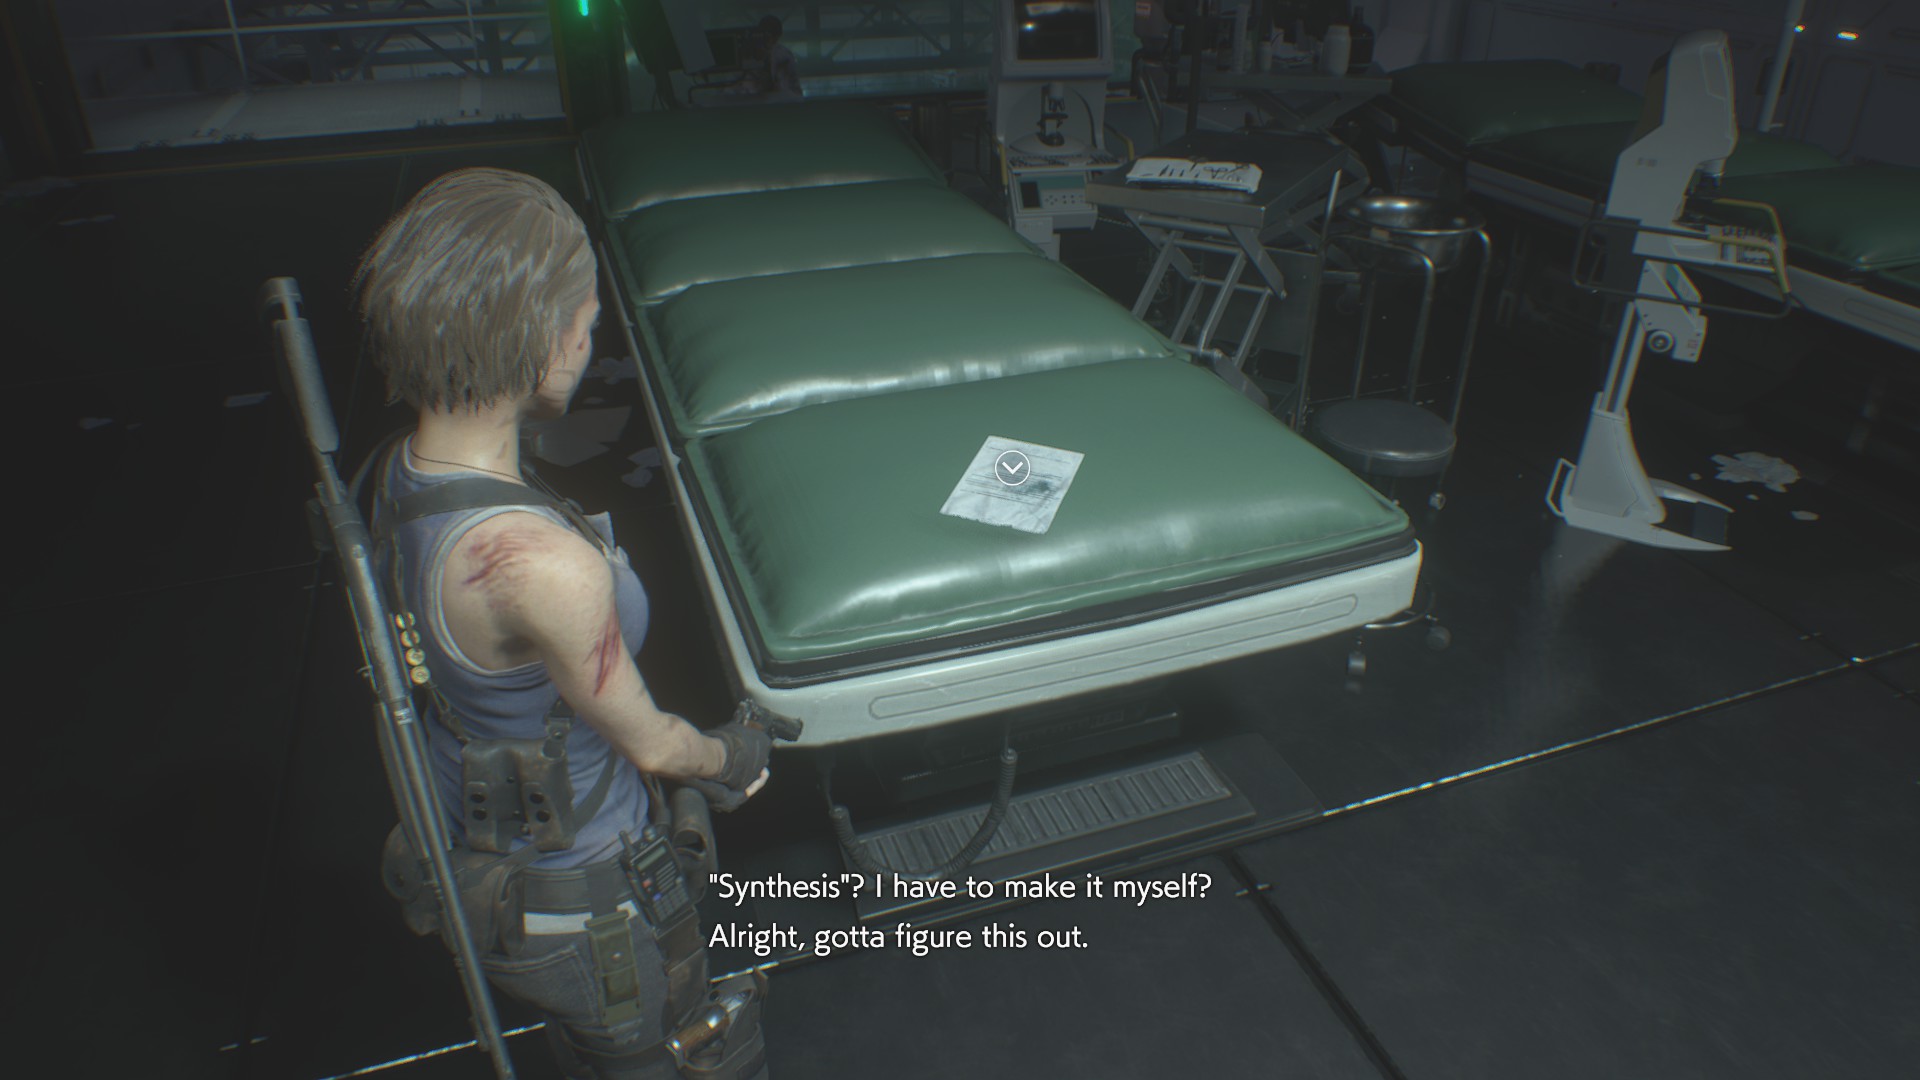
File #52: Expression of Concern
On the second floor of the NEST 2, in the lab where you find the second half of the vaccine base, read the note on the desk. (This is the point at which Jill finally learns the Nemesis’ name.)
File #53: Scientist’s Dying Message
On the balcony that overlooks the door to the Machinery Room in the NEST 2, check the dead guy slumped in the corner.
File #54: Disposal Center
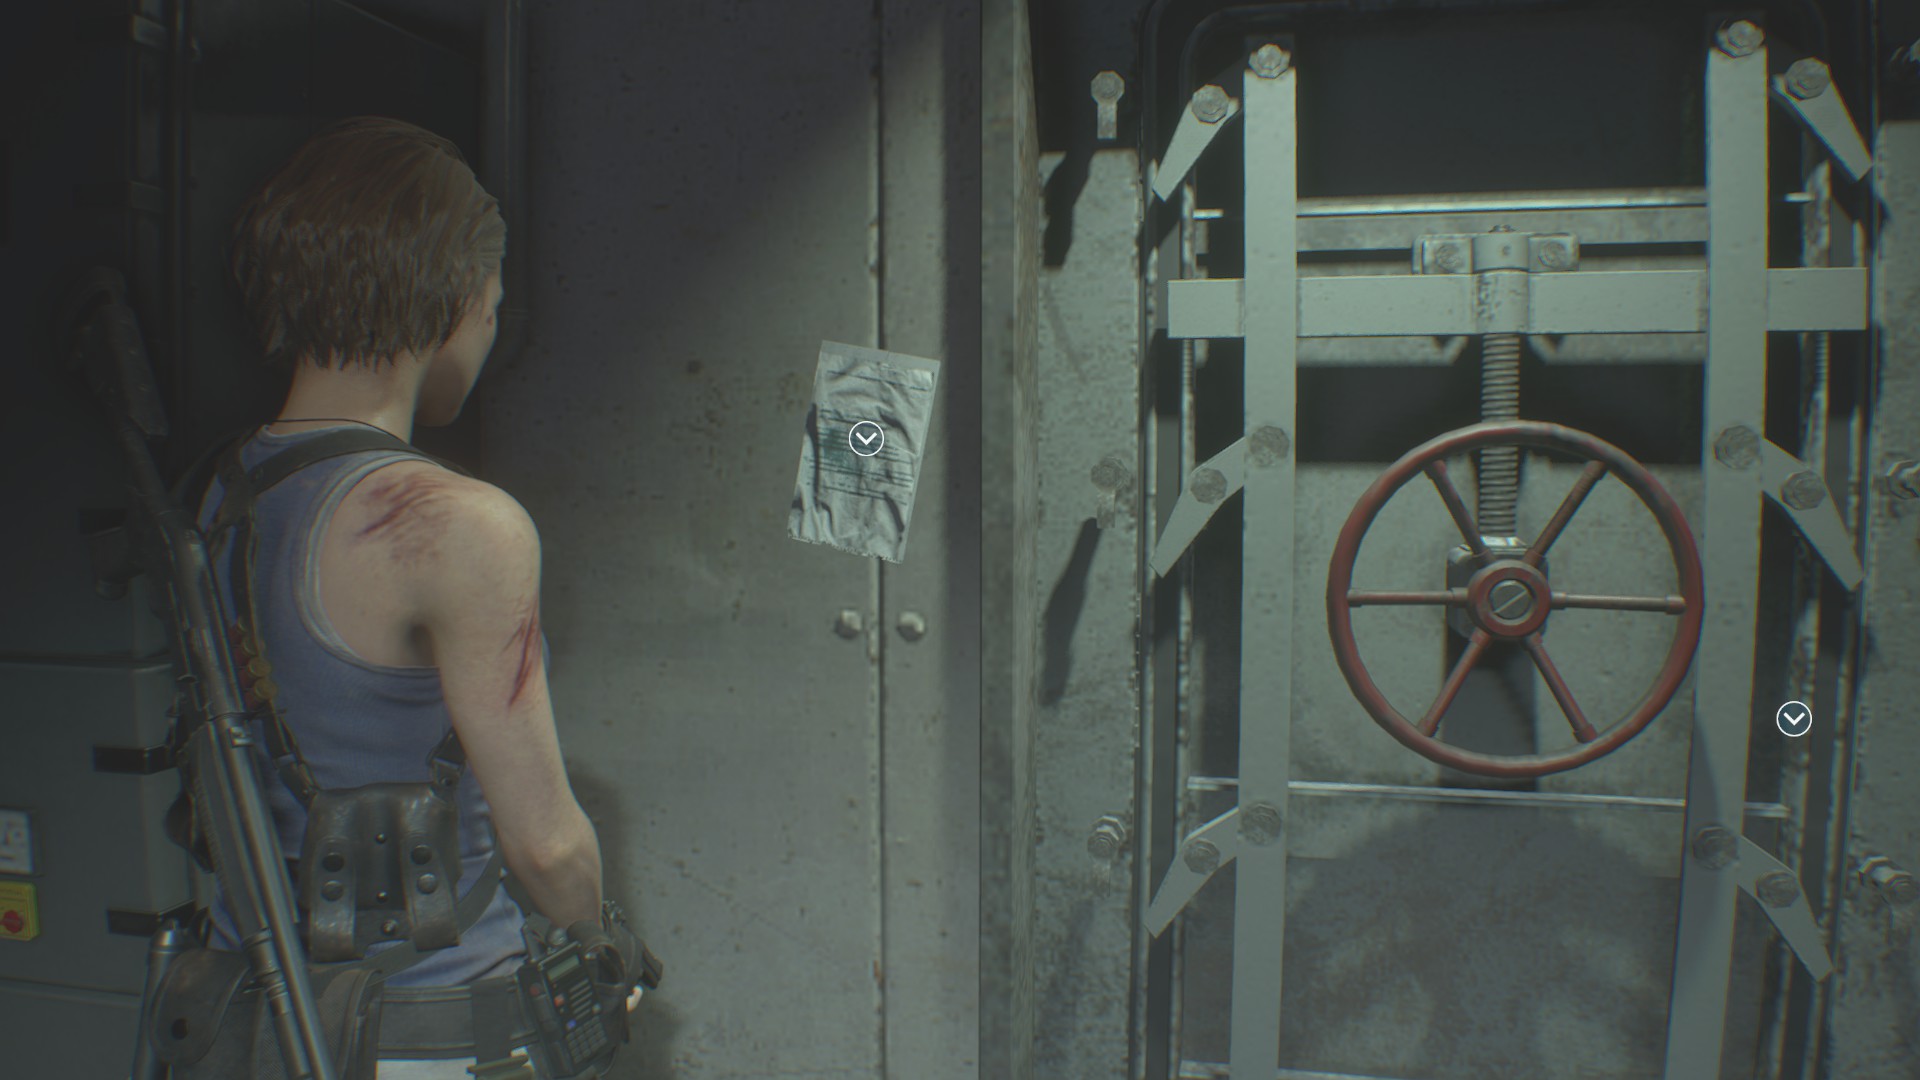
After you grab the vaccine and escape from Nemesis, you end up in a safe room with a heavy-duty door on it. This file is taped to the wall next to that door.
File #55: Weapon Spec Sheet
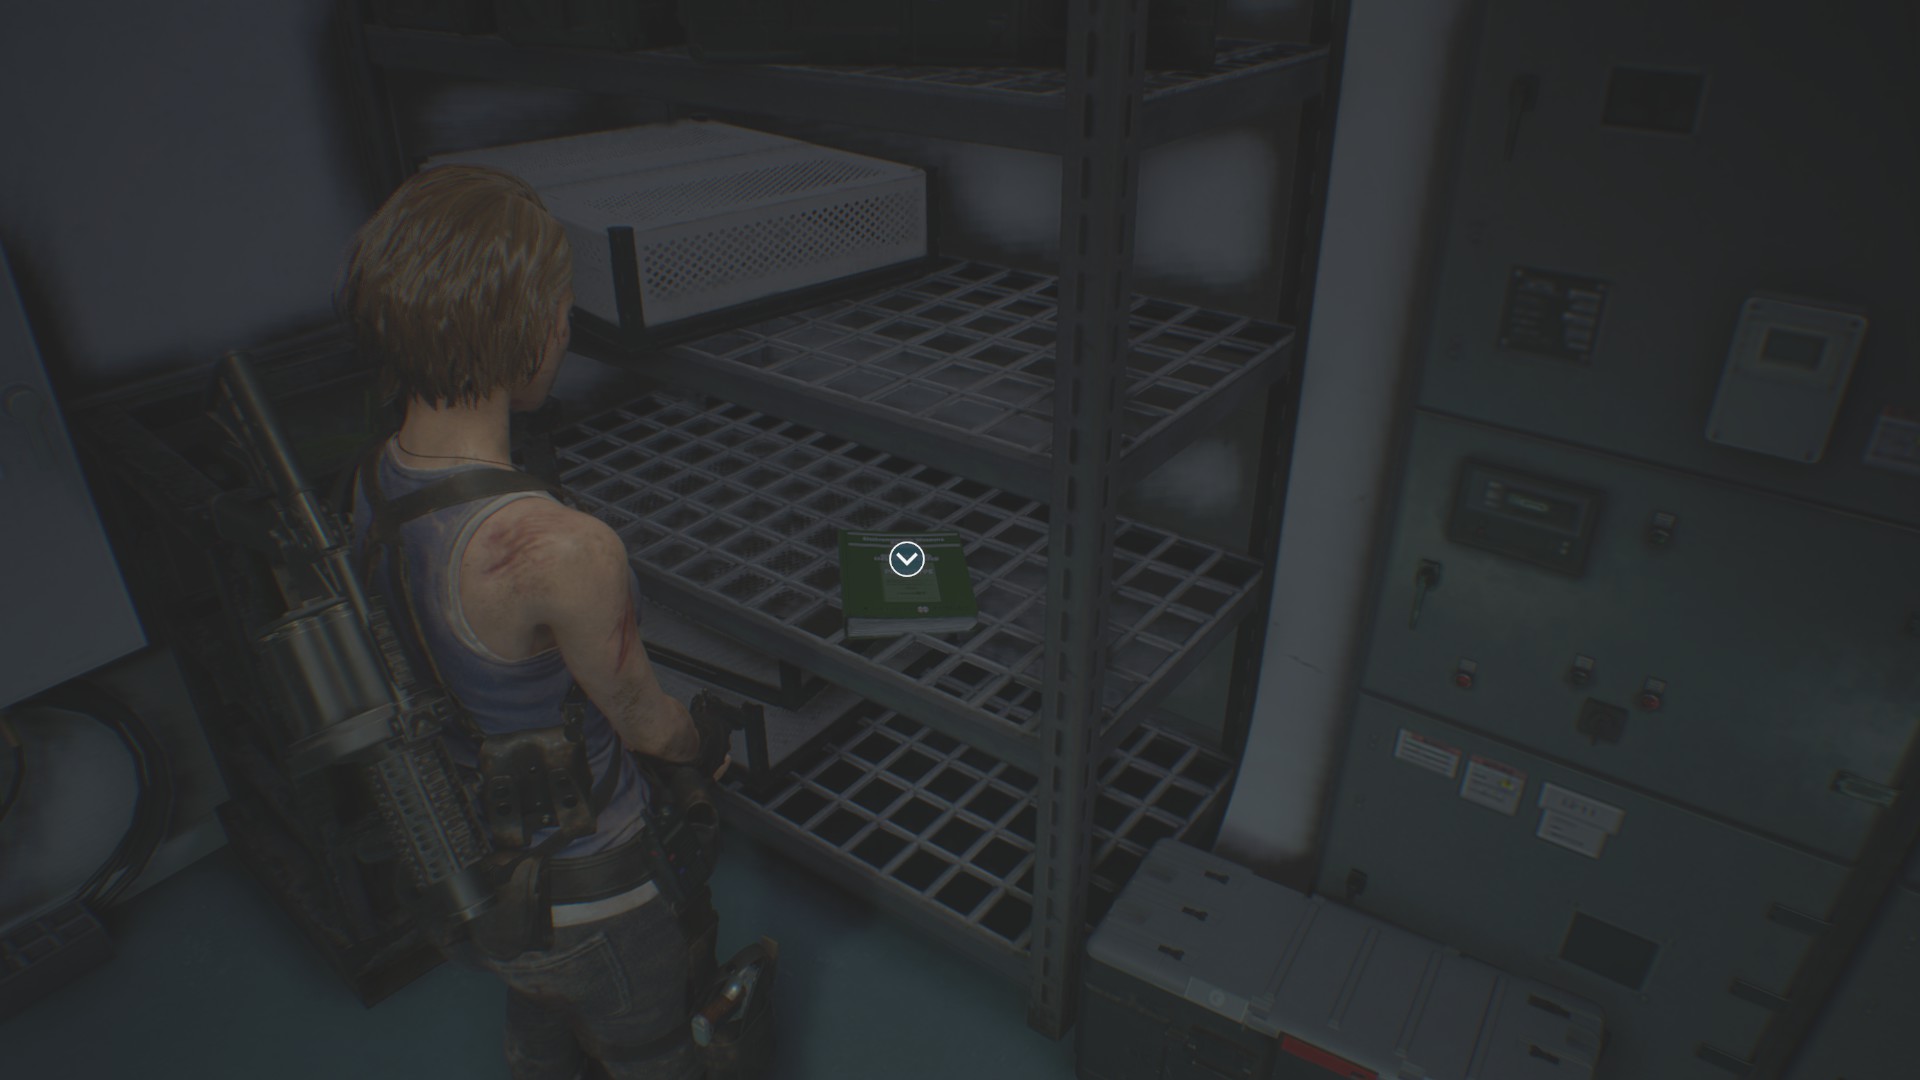
Read the book on the shelf in the corner of the staff break room.
File #56: Suspicious Contract Memo
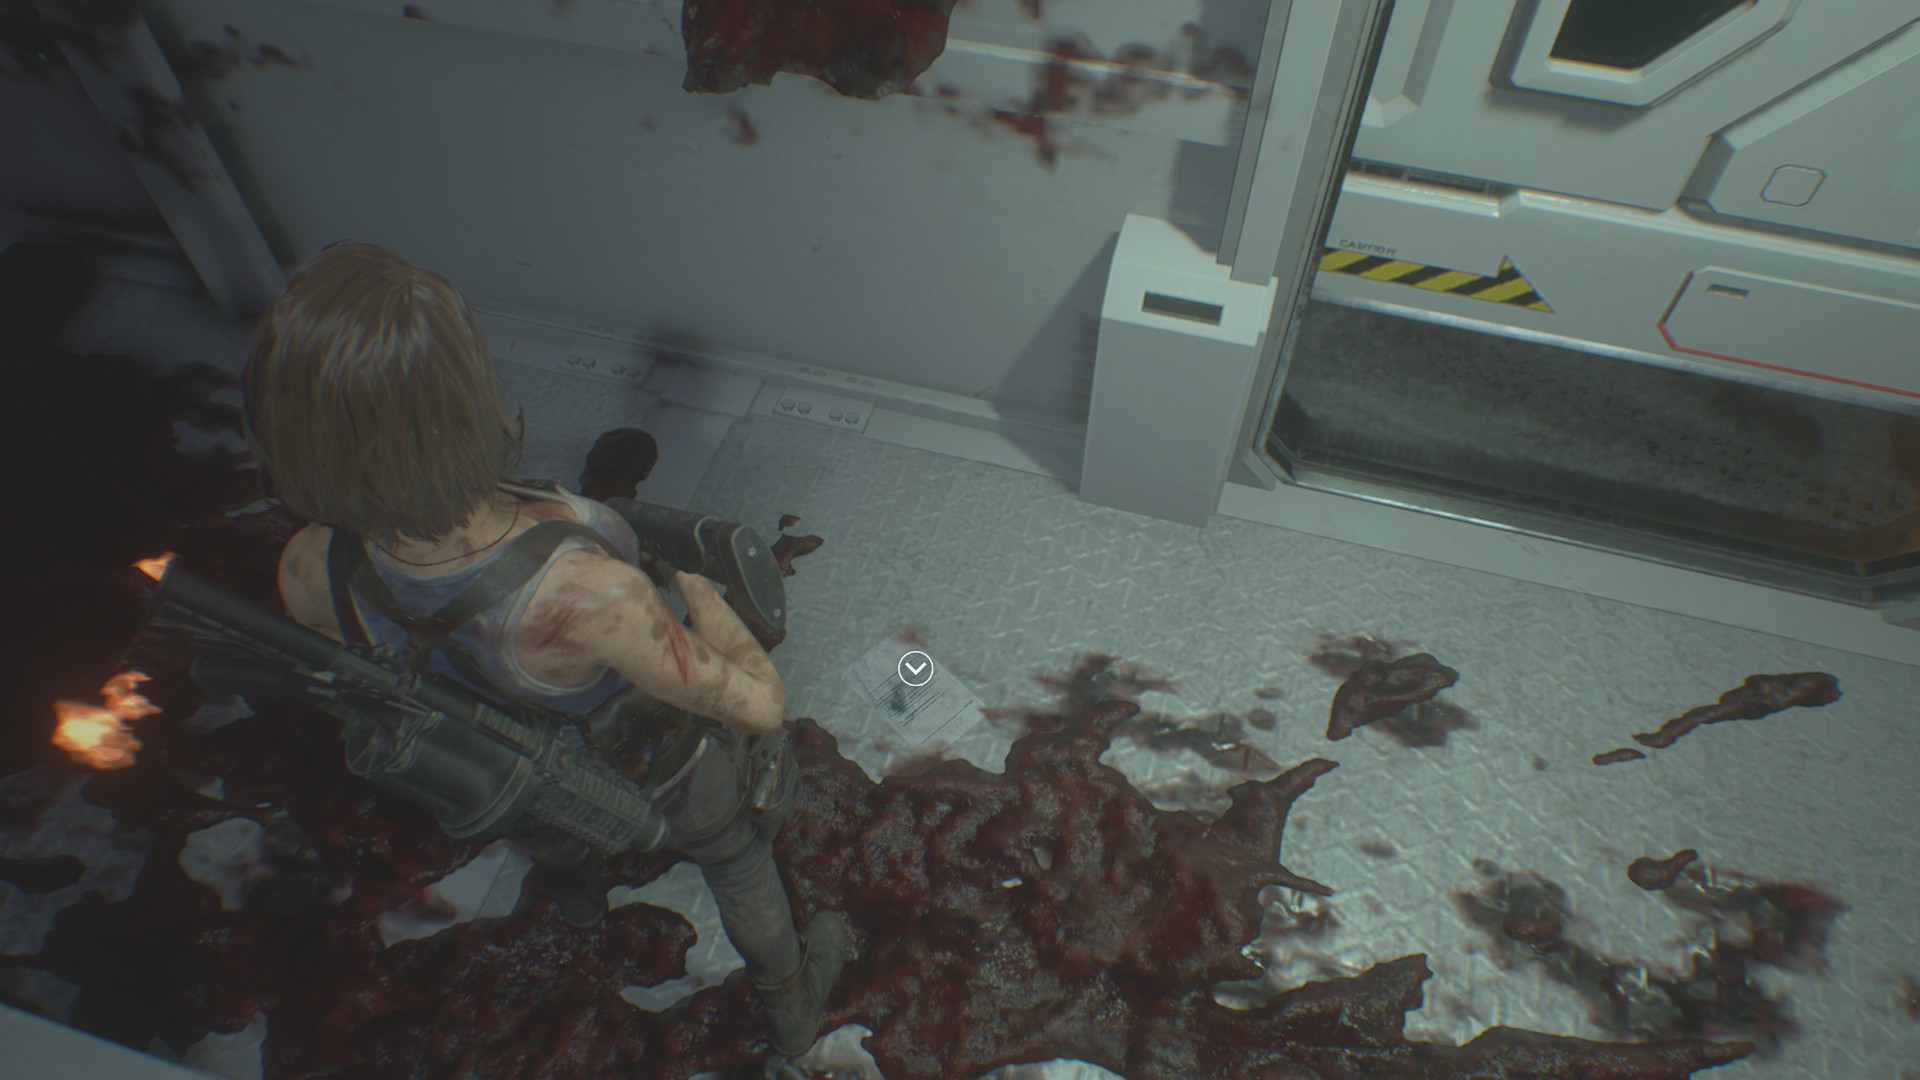
After your final fight with Nemesis, climb the ladder to the balcony and look on the floor to the left of the exit door. You’re better off looking for the prompt, rather than the file itself, as it’s exactly the same color as the walkway.
—
When you find and read all 56 Resident Evil 3 files, you unlock the Bookworm trophy/achievement. This is also one of the game’s Records, which rewards you with 1,000 points to spend in the in-game Shop, as well as the Lab Equipment concept art and the model for the Drain Deimos. Be sure to head over to our Resident Evil 3 guides hub for more.