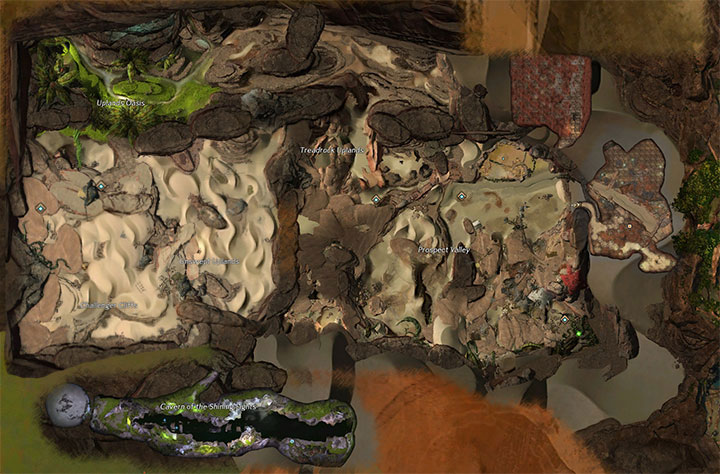
In Guild Wars 2, the level 80 Dry Top zone has a lot of goodies (and some Diving Goggles) for players to uncover — that is, if they can solve the Prospect Valley Crash Site jumping puzzle.
This jumping puzzle uses the shattered remains of Zephyrite aspect crystals. Picking up these crystals gives you the Temporary Abilities buff, which allows you to use the three different Zephyrite abilities for 15 seconds.
The crystal that you will be using for the jumping puzzle is the Wind crystal, which is colored blue and gives you the Assisted Leap ability so you can jump to new heights. The duration of this buff refreshes each time you pick up another aspect crystal (including the sun and lighting crystals), and can stack to a max of 20 seconds.
How do you solve the entirety of this puzzle? Let’s break it down in this step-by-step walkthrough. (And if you’re more of a visual learner or need a little extra help following along, there’s a video above you can check out as well.)
How to Get Through the Jumping Puzzle
If you’re not already at the entrance to Dry Top, you’ll want to take the Dry Top Entry waypoint. From here you can either use the introductory Aspect crystals or glide (if you have it unlocked) to the Wind Crystal on the small plateau.
Next, make your way across the gap again, using Assisted Leap or gliding, and get to the Wind Crystal that’s on a small ledge. Leap up to the top of that cliff and make your way through the gap in the rocks — you’ll see a point of interest on your mini-map where that gap is. If an event blocks the gap, Leap onto the ledge to the right of it to bypass the vines (watch out for the ones that will attack you).
Follow the terrain until you get to another ledge that you have to Leap onto. There’s a Wind Crystal nearby if your buff ran out.
Continue going forward and jump up onto another ledge. You’ll pass a crystal formation mining node and eventually reach a Lighting Crystal. Pick it up and use the Lighting Pull ability to make it across the gap.
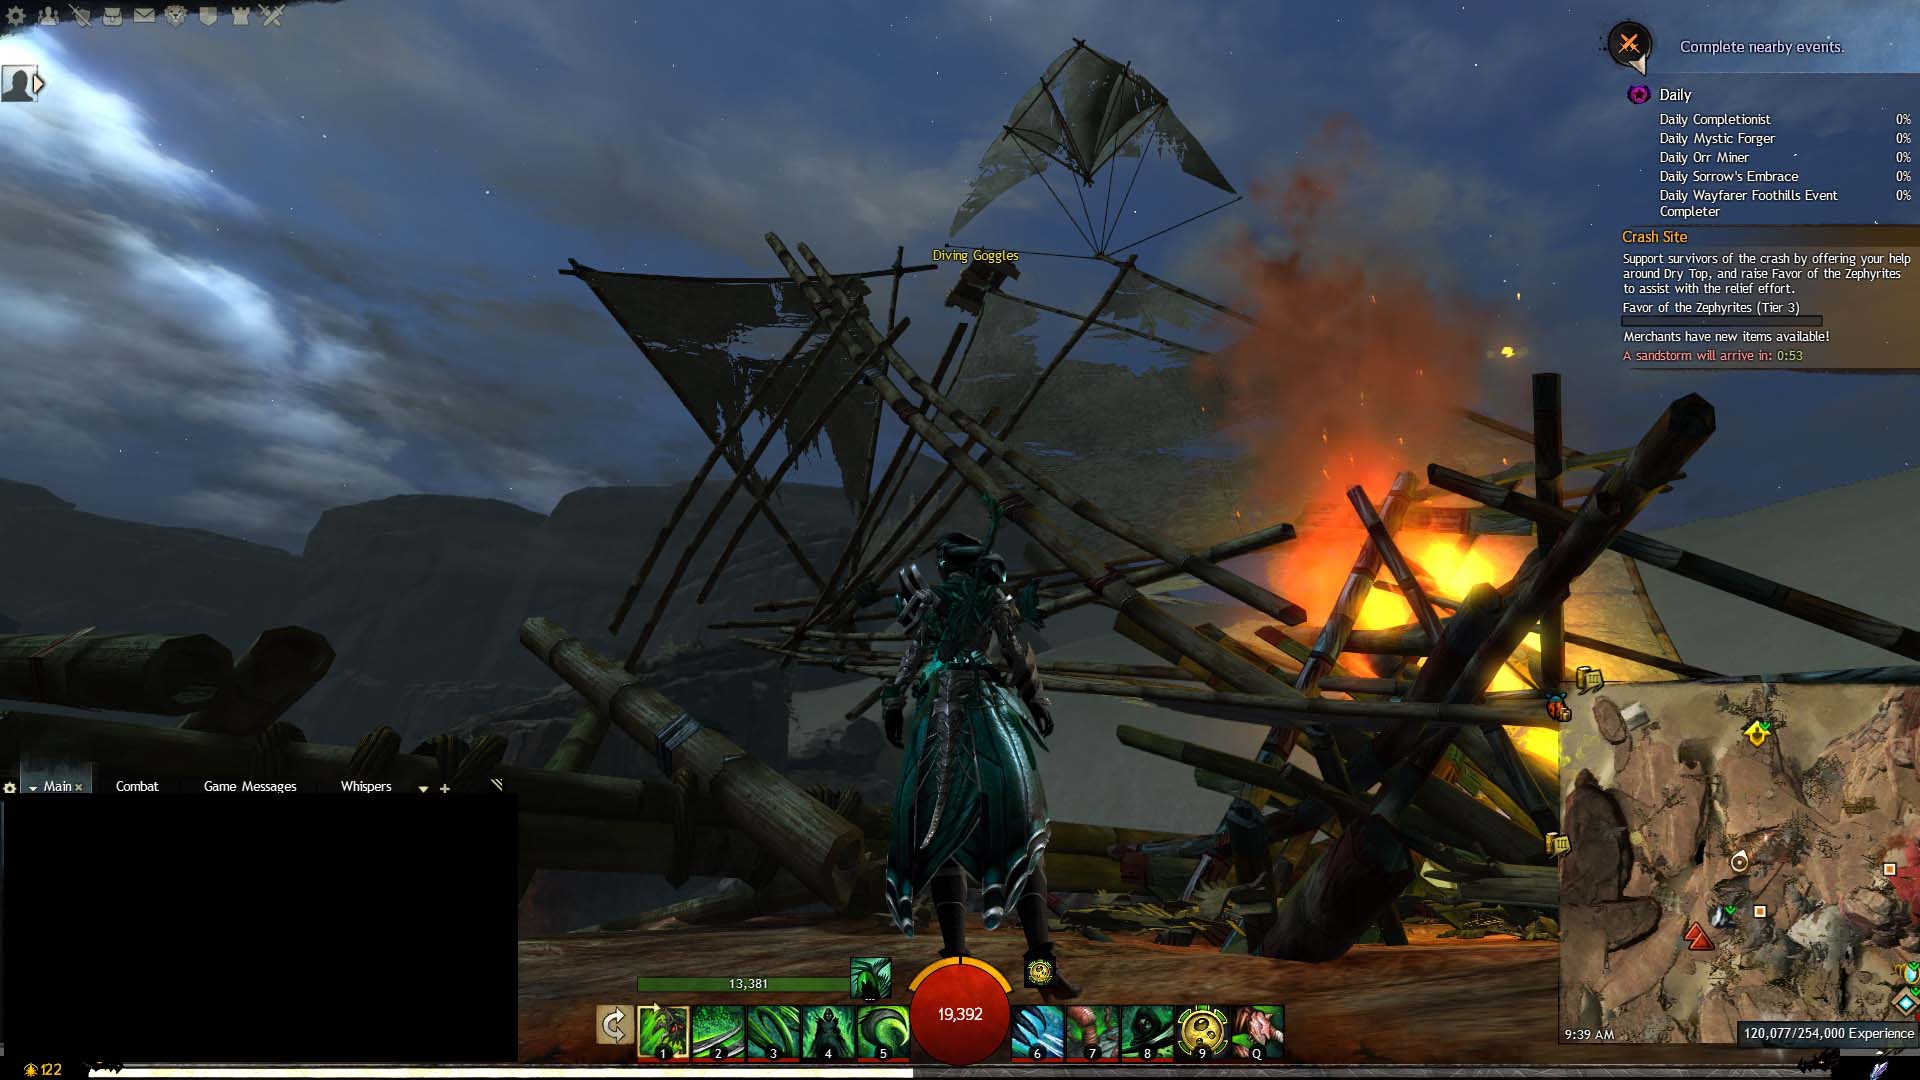
Follow the trail of Wind crystals up the face of the small cliff, as well as the ledge. The wreckage you see to the right is where the jumping puzzle starts. Head over to the bottom of a triangular piece of debris; it almost looks like a ladder, where there’s a Wind Crystal at the bottom.
Congratulations! You’ve made it to the jumping puzzle! Now for the fun part…
Getting to the Grand Chest
Before I go through the step-by-step for how to do this, here are just a few tips to keep in mind:
- Gliding has made this jumping puzzle a whole lot easier (less death by falling), so I suggest you have it before attempting this jumping puzzle.
- Ensure that you have Double Tap to Dodge turned off
- While you’re either falling or using the Leap ability, you can push the directional buttons to push your character in a particular direction and control your fall.
Use the Leap skill to climb the horizontal bamboo. Try to aim for where they intersect with the vertical pieces to prevent you from overshooting the jump.
Once you reach the third row, you can either Leap up to the larger piece of bamboo or Leap to the fourth row, then move to the far left or right and Leap to the rock ledge. Make sure you pick up the Wind crystal so you keep your buff before walking up the bamboo until you can go no further.
From here you need to make your way up to the next crystal. Different people have different ways of approaching this part. Some use Leap, while others just navigate the bamboo by jumping and slowly walking along it. In the video, you’ll see that I opted for the latter of these methods.
Once you have the crystal, you’ll notice two horizontal pieces of bamboo. Leap and try to land on them or the larger bamboo just behind them. Be careful — you can overshoot this and fall.
After you’ve made it up there, all you have to do is leap onto the ledge and claim the Grand Chest. Upon reaching it, you should receive the achievement ‘Prospect Valley Crash Site Climber’. Congrats!
How to Get the Diving Goggles
Now that we have the jumping puzzle out the way, it’s time to focus on those Diving Goggles.
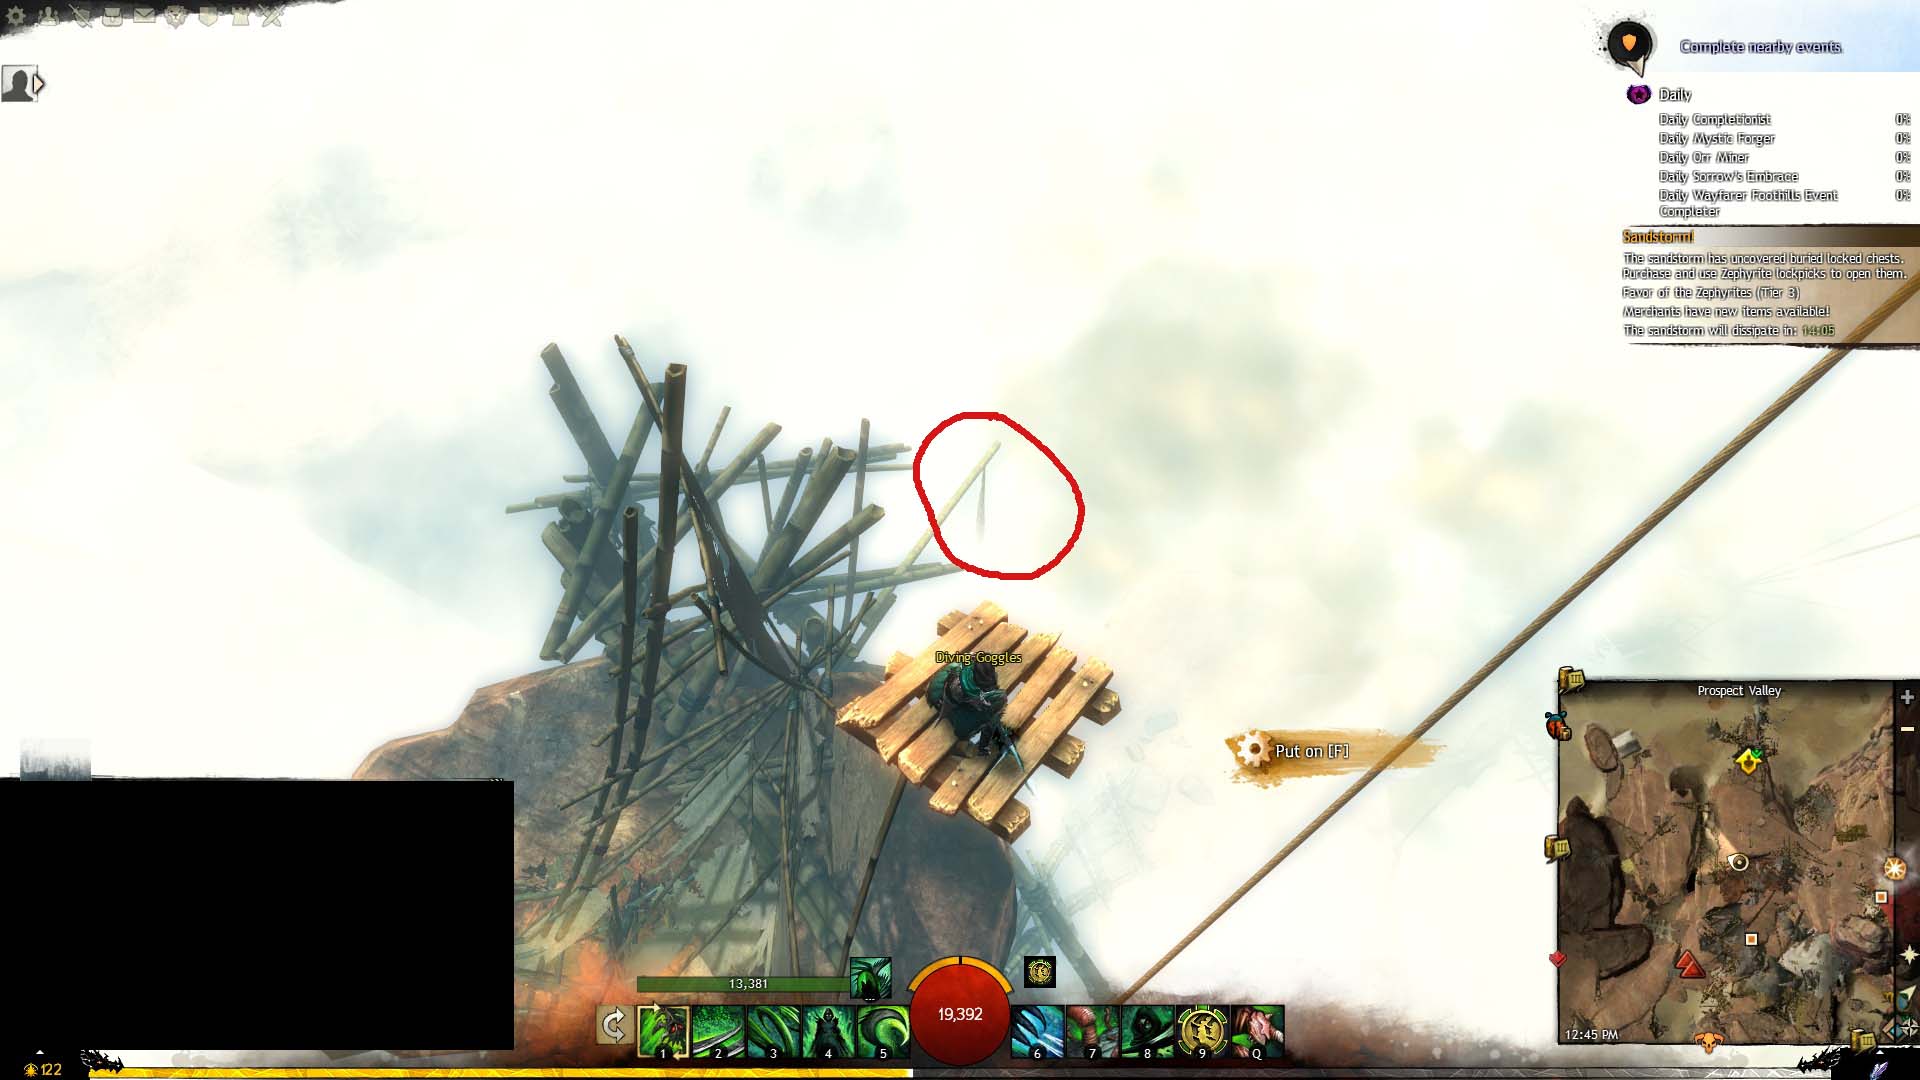
Look up, and you should see a kite with a small wooden platform just below it. That is where the goggles are.
If you’ve lost your Leap buff, you’ll have to make your way back down the jumping puzzle a little bit to get a new one. This is easier if you have your glider unlocked — if not, then you’re going to have to be careful where you land or you’ll fall to your death and have to start over again.
Once you have your buff and make it back to the top, you’ll notice two long bamboo poles parallel to each other with some smaller bamboo attached to them. This is what you’ll be using to make your way to the goggles.
Hop on to the debris at the bottom of those poles. As you make your way up, push forward and try to land where the smaller poles intersect. It should take you about two to three Leaps to get to the platform. You can overshoot up at the top, so be careful.
Once you’re on the platform and have the diving goggles, you’ll notice something. You can’t see the bottom of the valley anymore. That’s right — you’re jumping blind. To make it even more fun, the body of water you’re diving into isn’t right below you. You’re going to have to move while you’re falling to hit it.
You want to try and jump towards the pole with the fishing net hanging from it. Once you do jump, make sure you’re pressing forward. You have to avoid debris, a cliff ledge, and a branch on the way down — all while trying to aim for the water.
This may take you a couple of attempts, so be prepared to die and start over again. Sometimes, though, the game still gives you the achievement even if you died on the way down.
If you have a mesmer friend, it might be helpful to have them at the top of the jumping puzzle or where the goggles are for an easy portal up if you miss.
That wraps up our guide to completing the difficult crash site jumping puzzle and getting the Diving Goggles! For more help with the game, check out the rest of our Guild Wars 2 guides. Happy jumping!