One of the Destiny 2 Season of the Lost challenges is called Ley Line Rumors and tasks you with finding three Trivial Mysteries. These are in the H.E.L.M. activity launchable from the Dreaming City map and exist as openable chests.
There are seven Trivial Mysteries available during the first week of Season 15, and this guide shows you how to find all of them.
Forest of Echoes Mysteries
Trivial Mystery 1: The Crypt in the Dark Forest

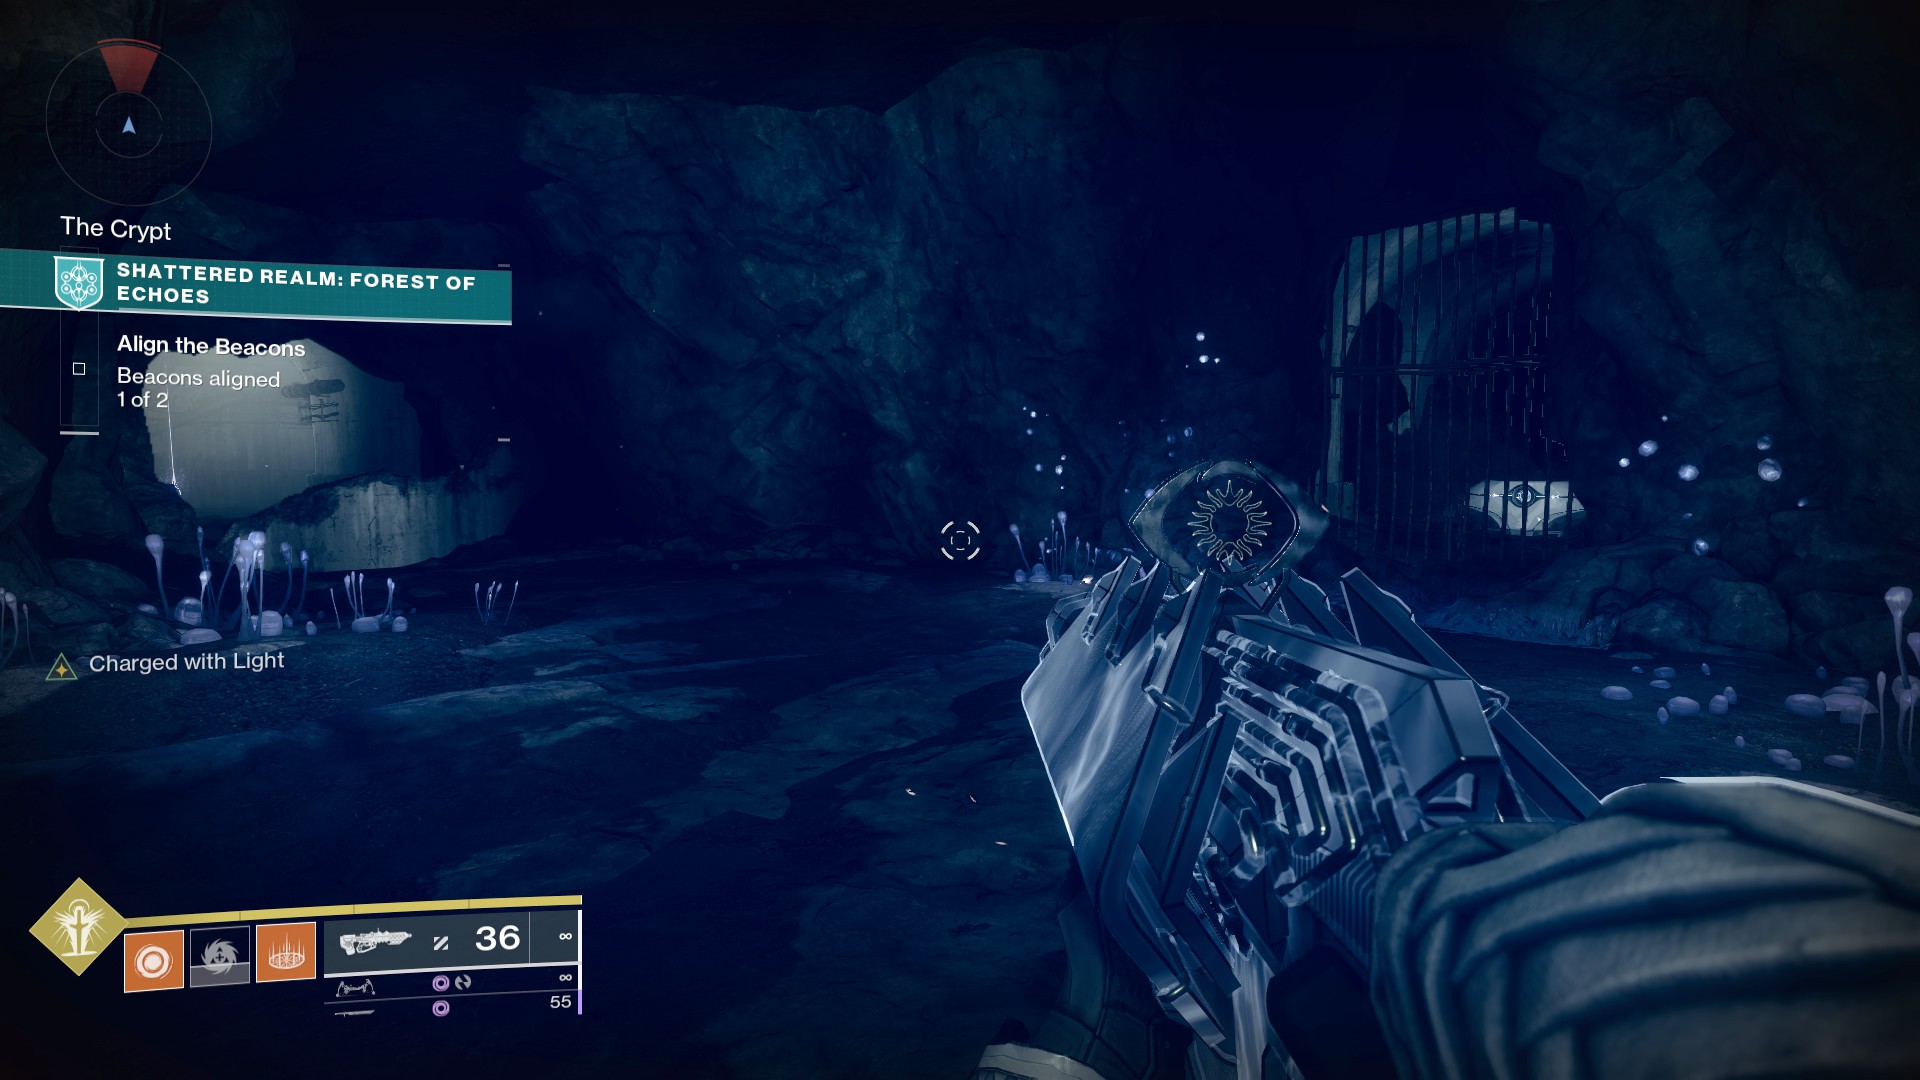
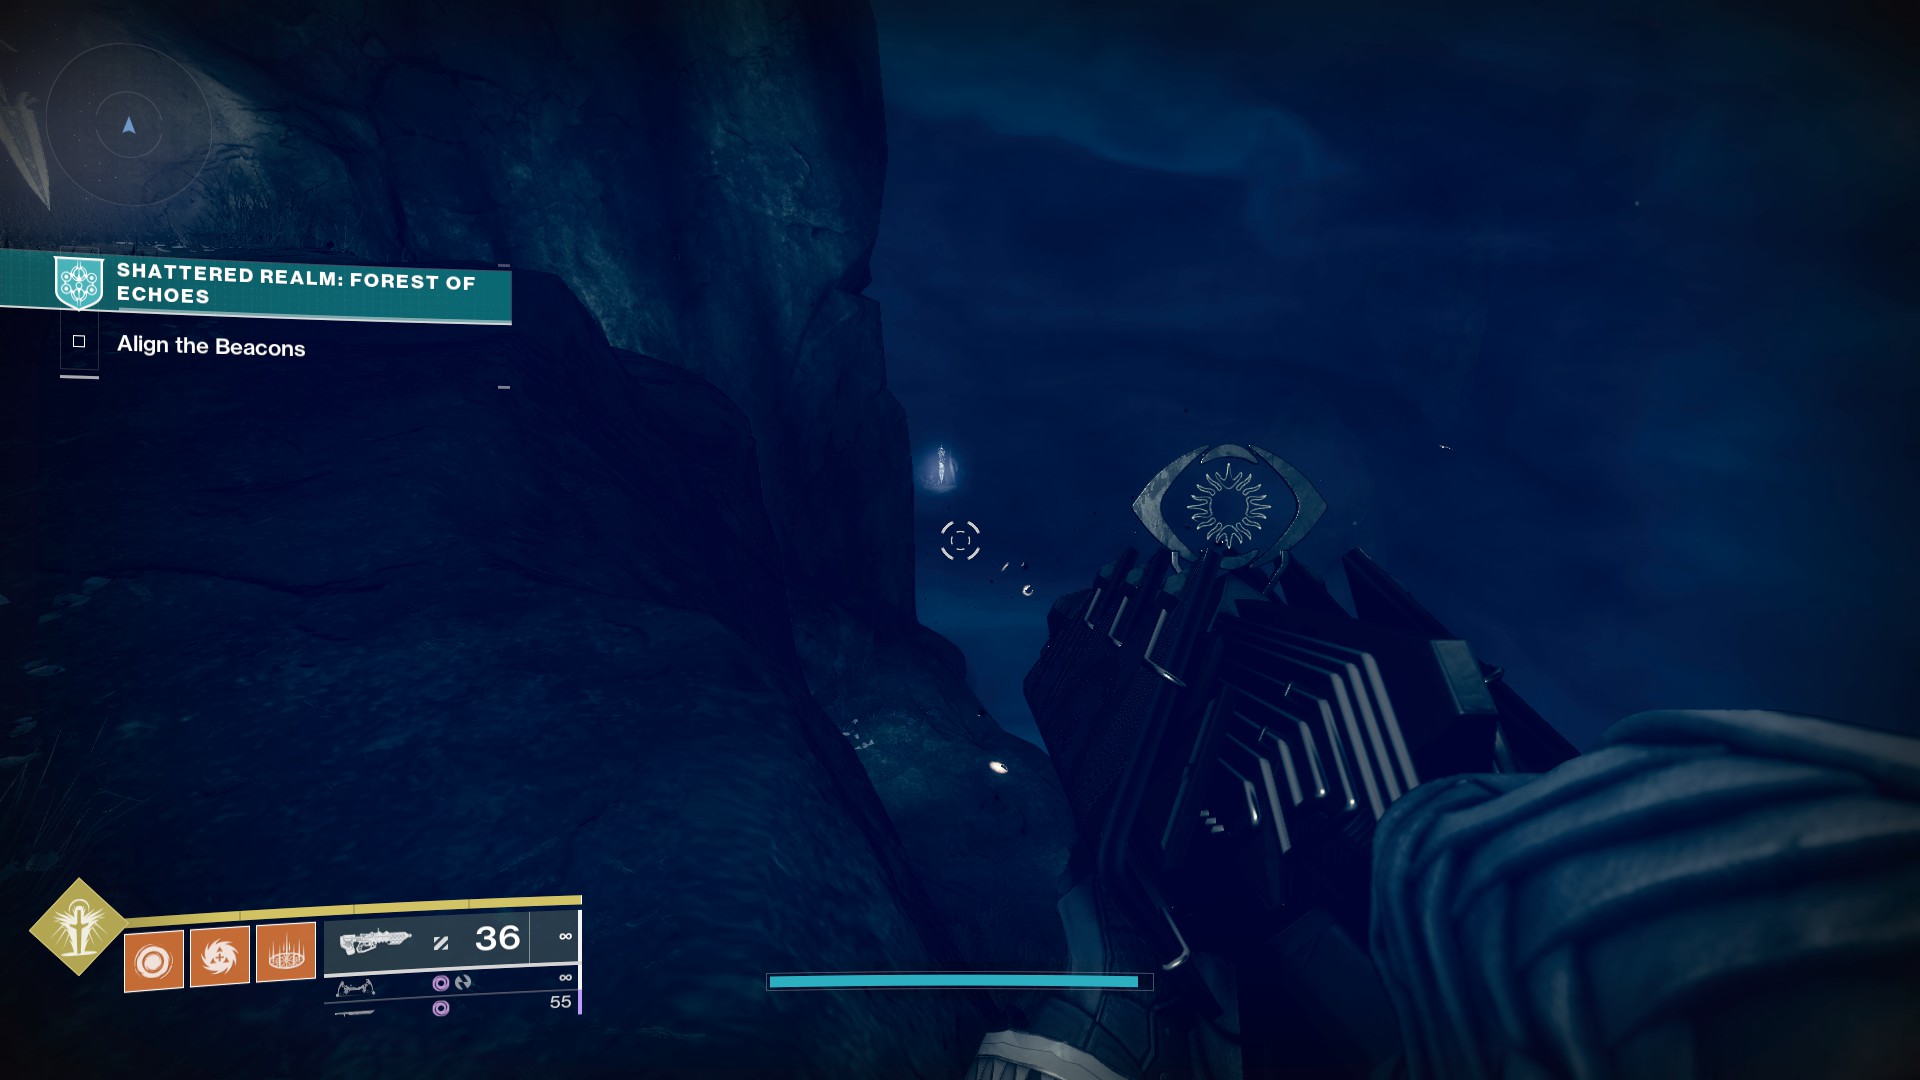
The first chest is located directly down the path from where you spawn into the activity. It is in a cave protected by a barrier in the area just before your each the church. With the larger building to your left, you’ll see a small, Barrier-barred crypt.
Activate the church Beacon, then return to the crypt, activate Barrier Breach, and head inside. The chest will appear to be locked behind bars, but you can turn left and follow the hallway around to find it in an alcove.
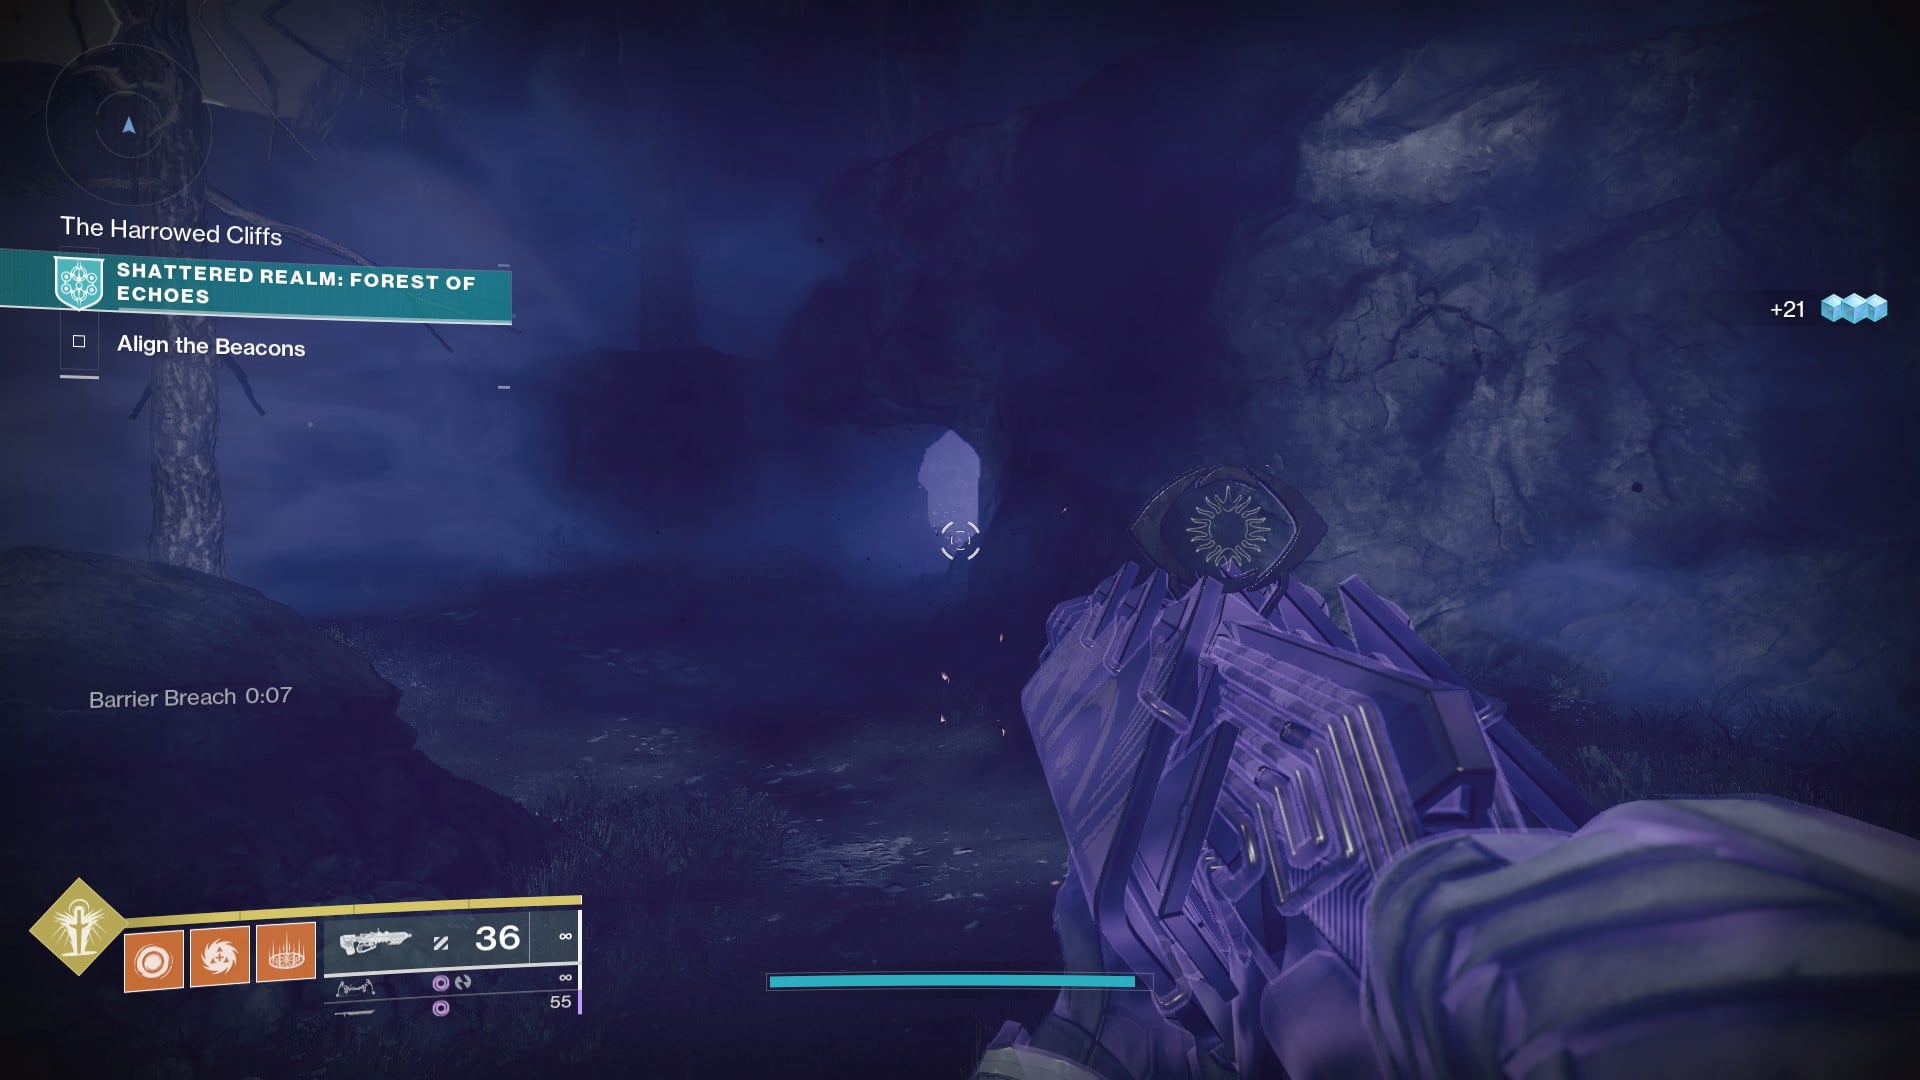
Trivial Mystery 2: The Dark Forest
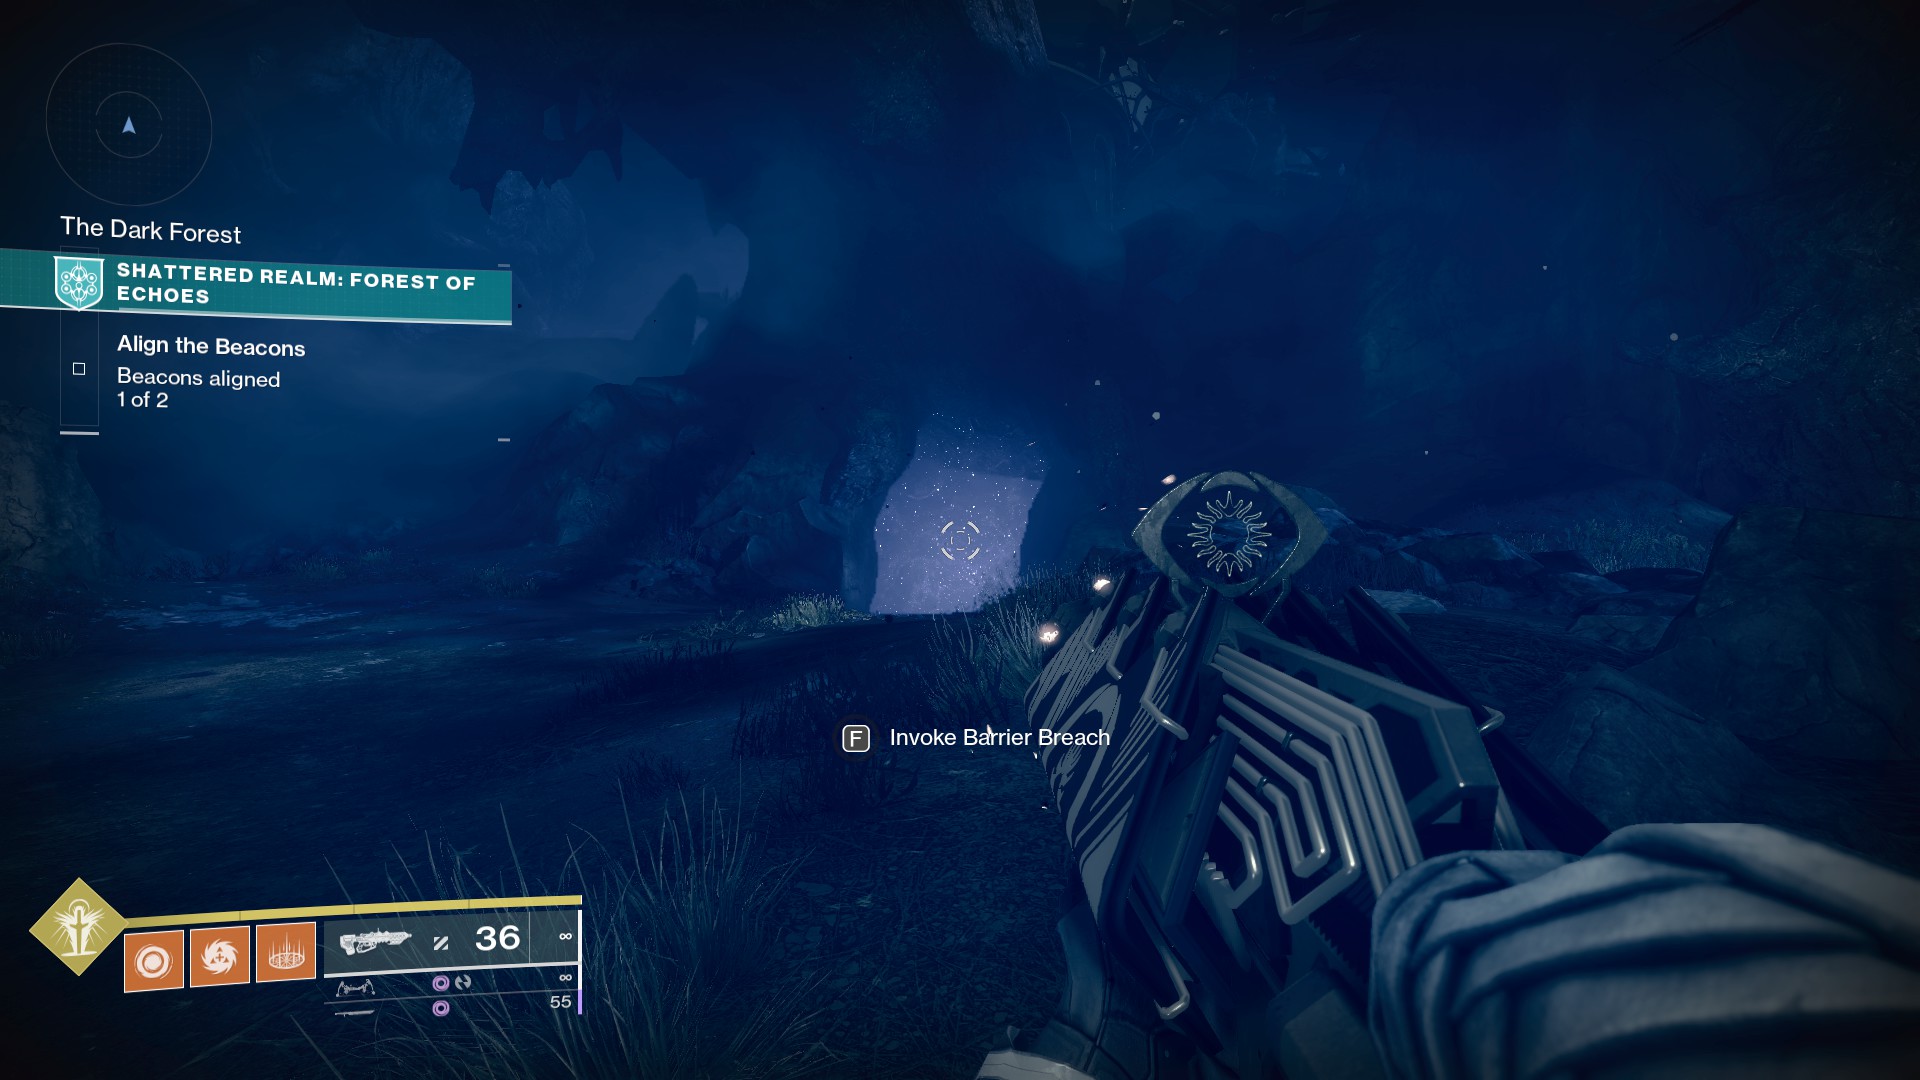
There’s a second barrier to breach guarding the entrance to a dark cave. Exit the Crypt and run directly back toward the spawn path.
Once you’re in the cave, turn immediately left to find it.
Trivial Mystery 3: The Outskirts by the Courtyard

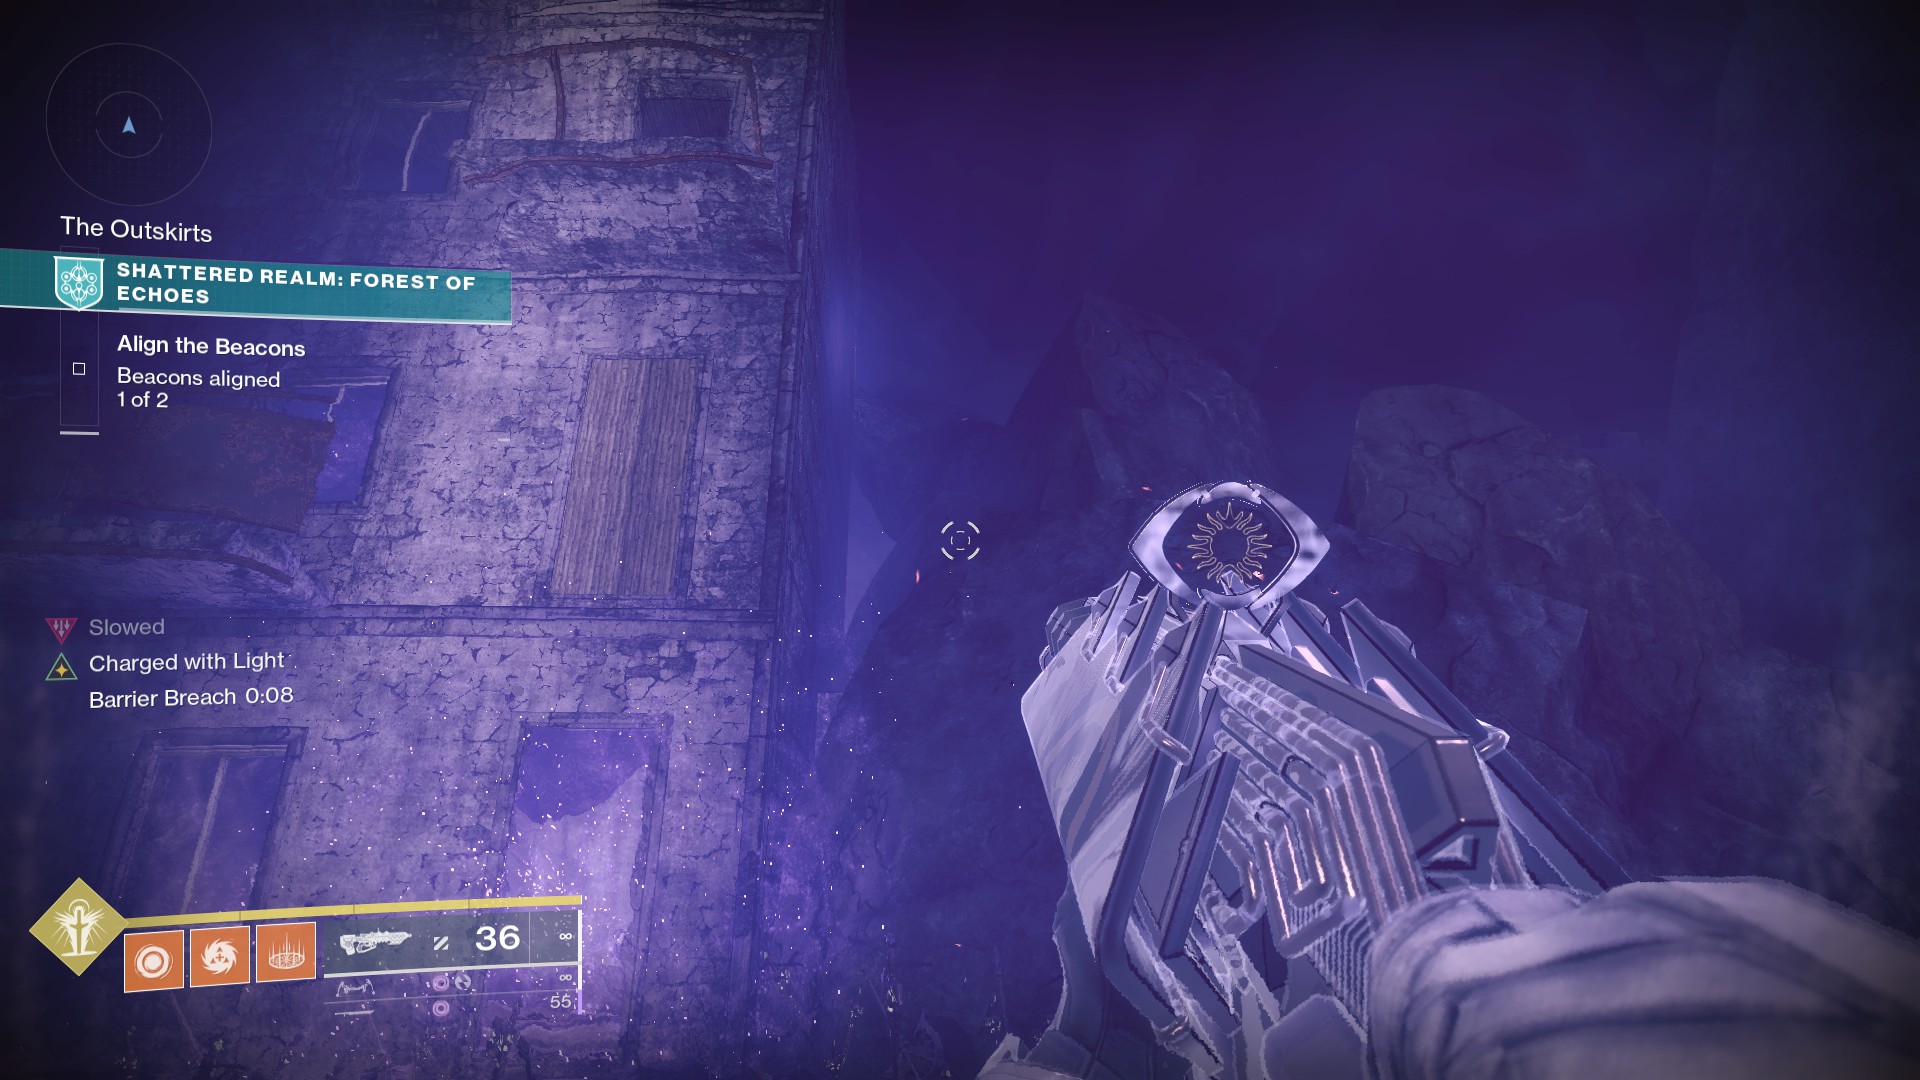
Return to the Church, and go behind it, at the back left corner. There will be a path of platforms leading up past an Ascendant Anchor.
Continue until you reach a small set of ruins. There’s no Barrier Breach visible, but jump up onto the rocks next to the locked building, and you’ll be able to activate one anyway.
You can then go through the door and collect.
Trivial Mystery 4: The Outer Ruins
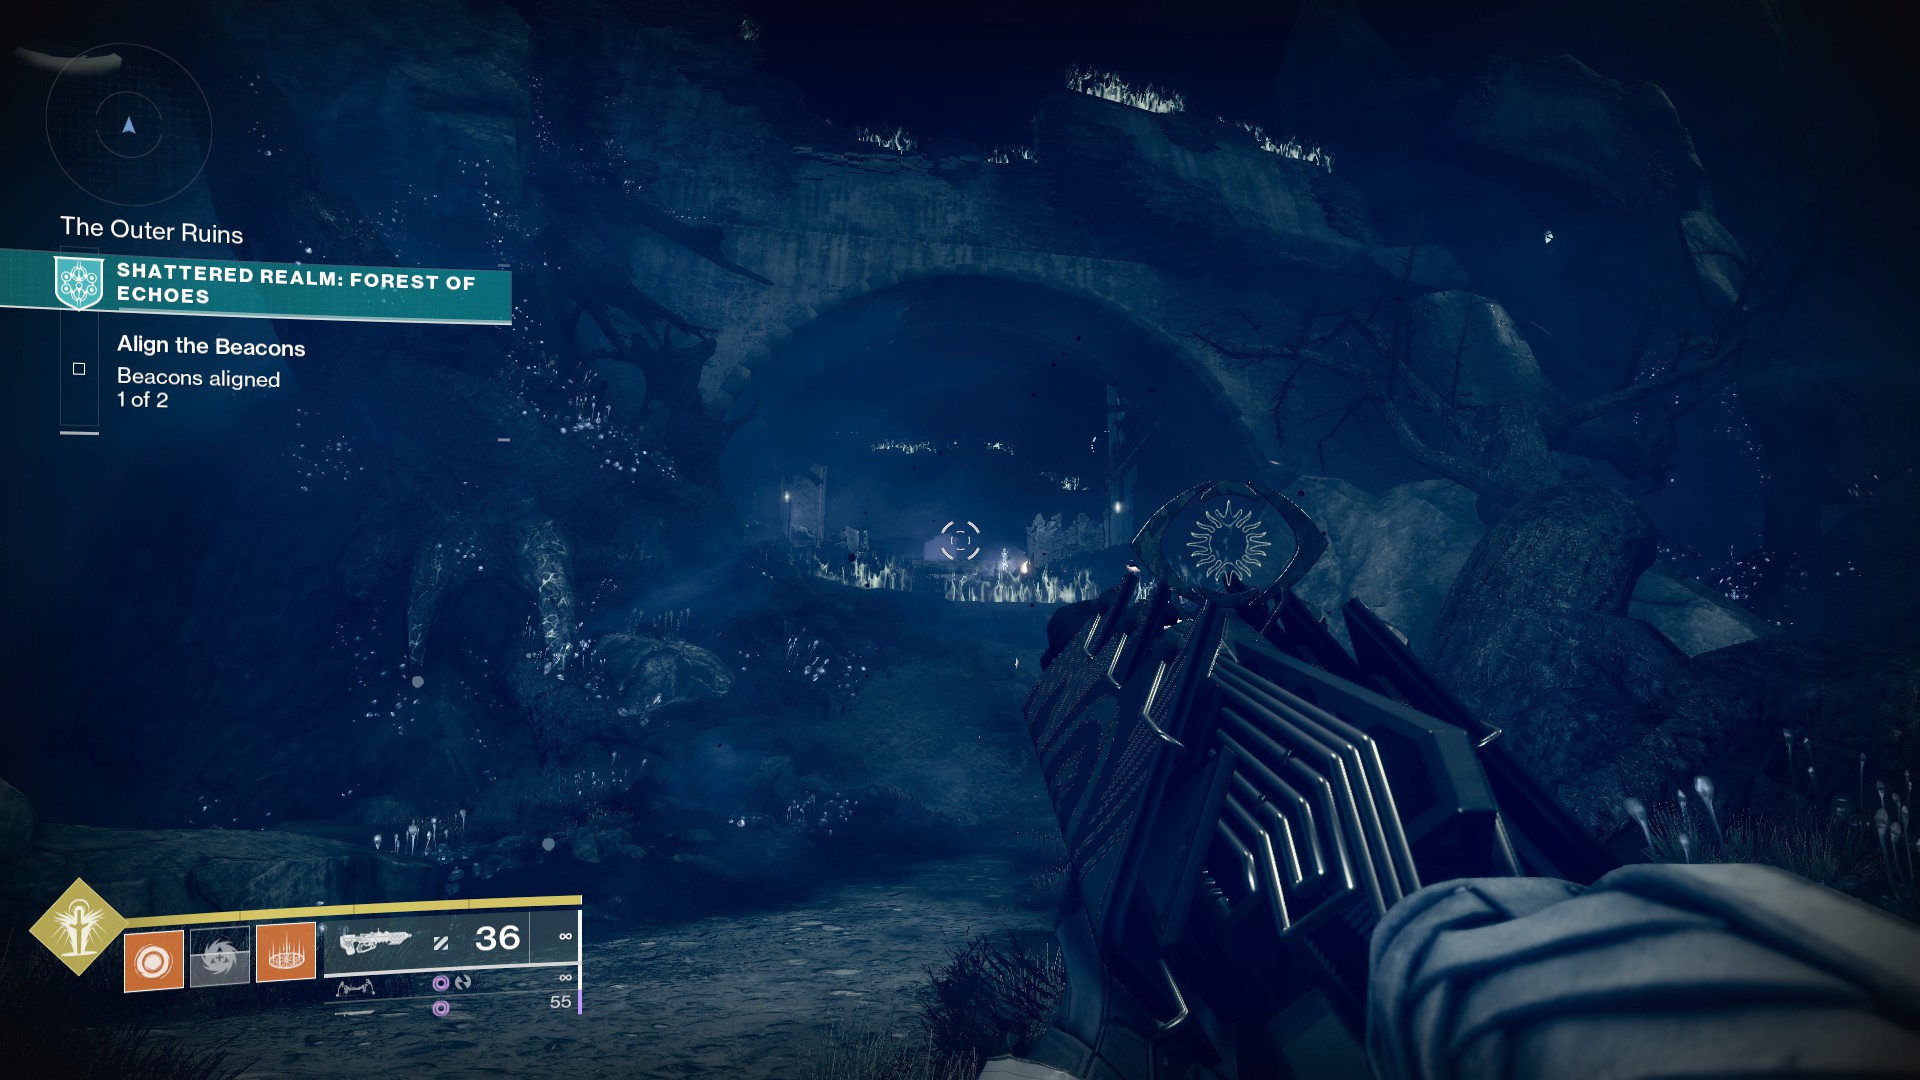
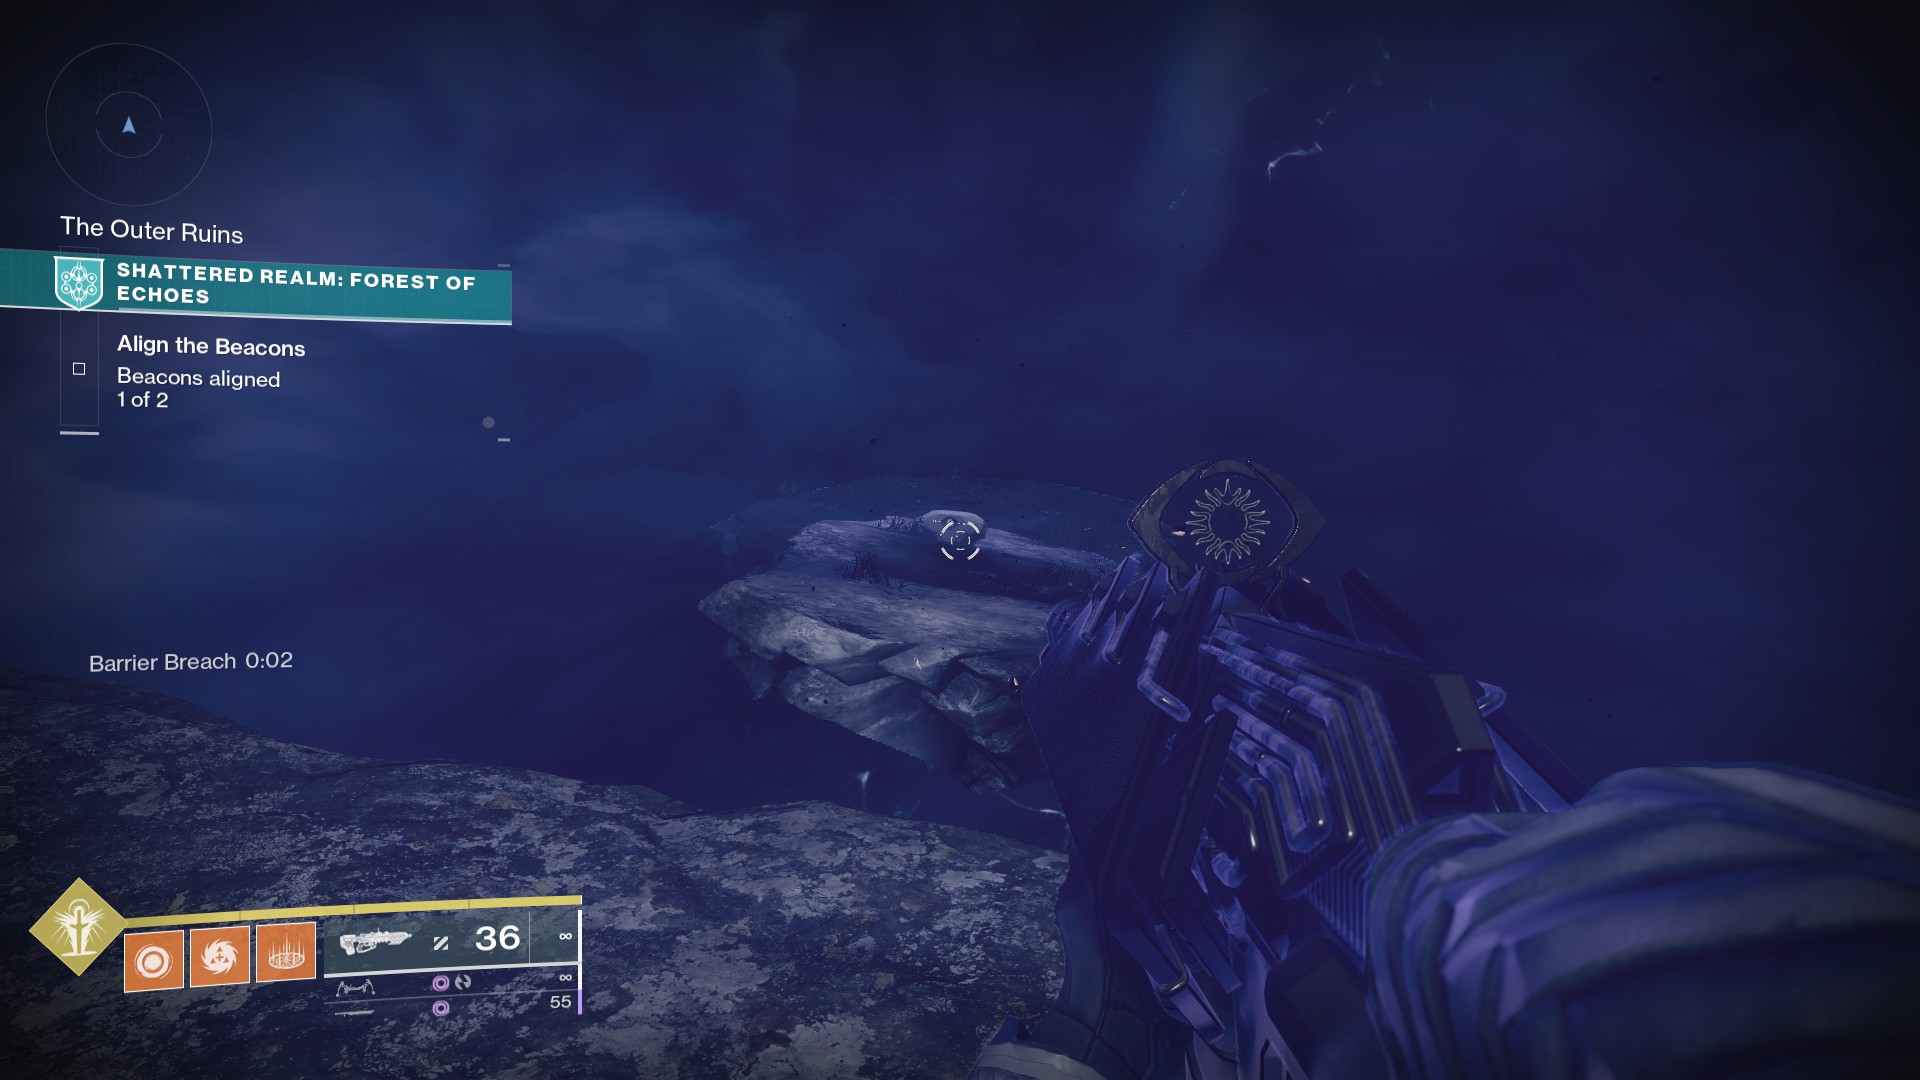
Return to the churchyard head to the right, taking the set of platforms leading up to another purple barrier door in the distance.
You’ll need to move through a slow zone, hop up onto small outcropping, then to the second level. The Barrier Breach pillar lives just behind where you climb to. Go through the barrier to find the mystery chest on a platform a short distance away.
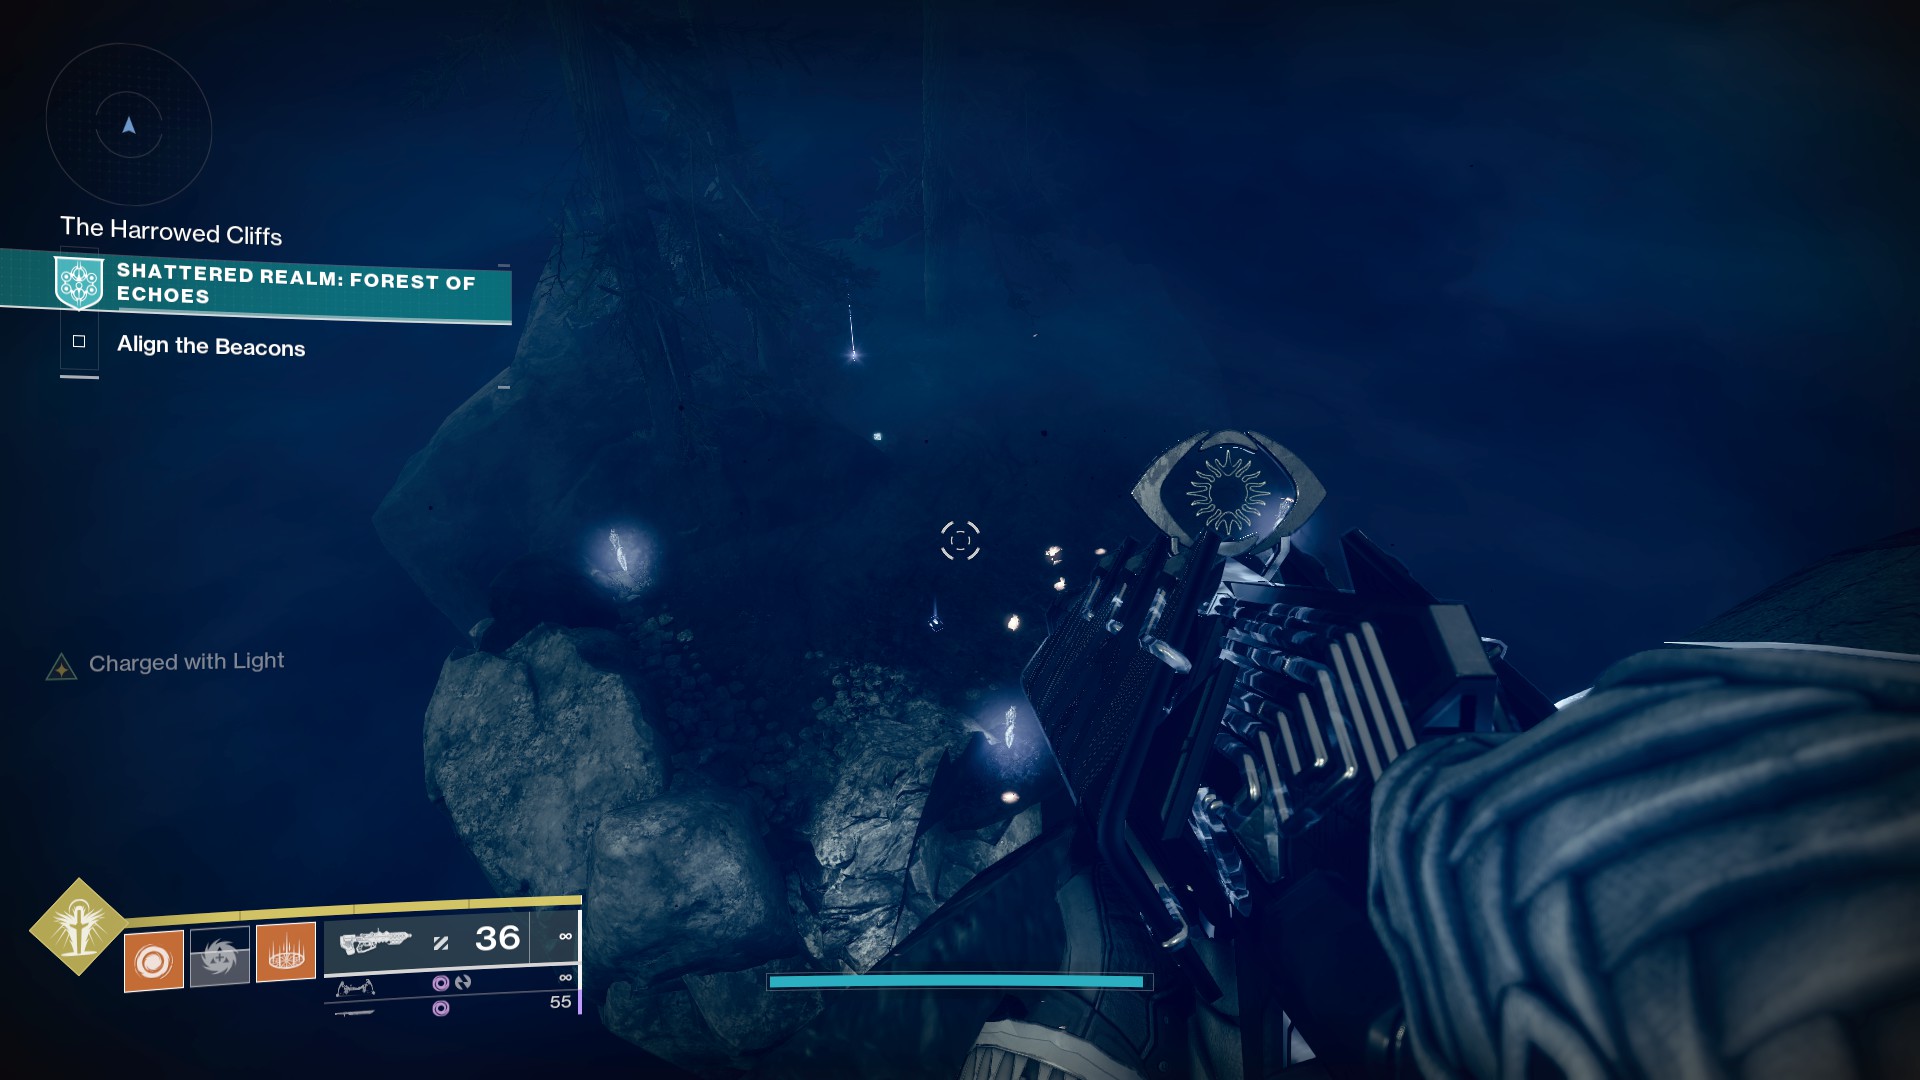
Trivial Mystery 5: The Sunken Cave
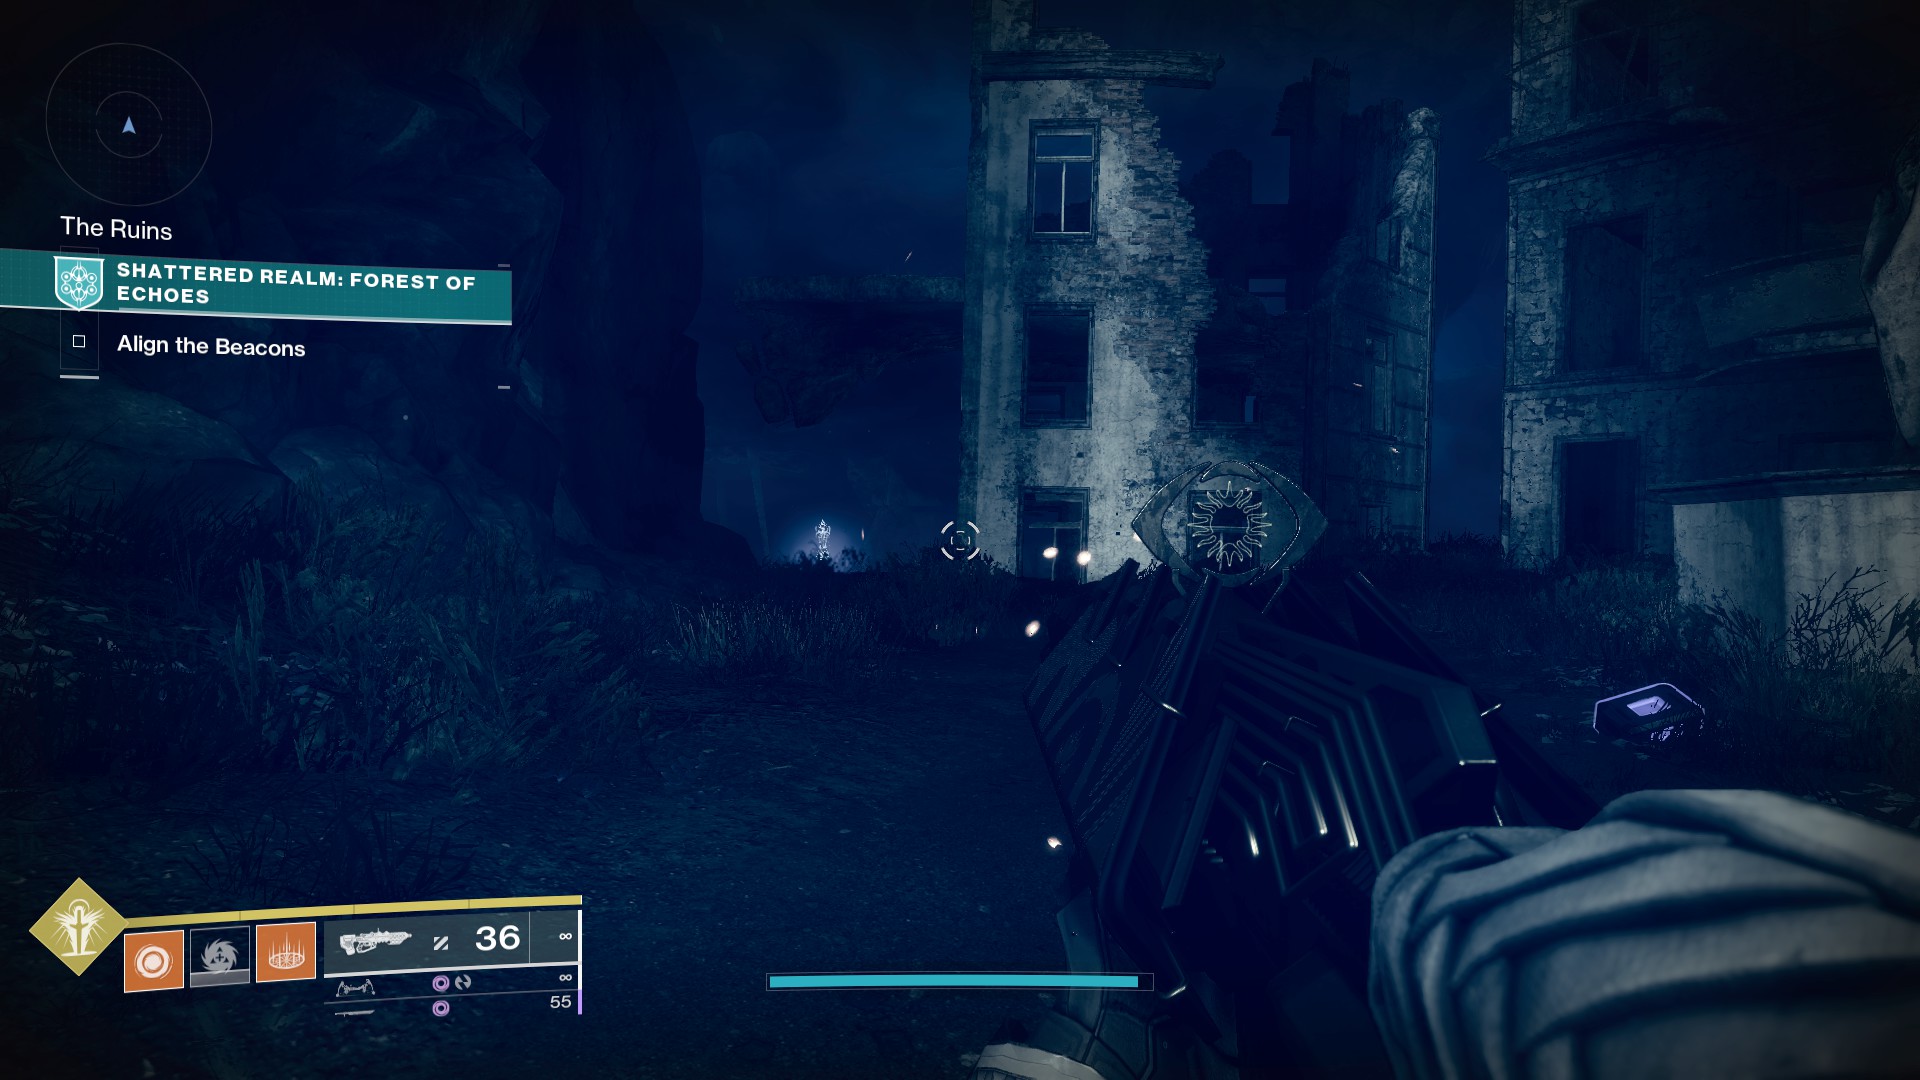
On your way to the second beacon, you’ll reach an area called The Ruins. Clear the area of enemies and head to the far right side of the area to see a True Sight pillar. Look down over the cliffside, and you’ll see a second pillar.
There’ll be a cave to your left. Continue down and past the Ascendant Anchor. Activate Barrier Breach and open the chest that’s sitting there.
Trivial Mystery 6: The Mill

After you’ve activated the second beacon, you’ll see a water wheel across from it. Head onto the roof of the mill and go across to the opposite end.
Drop down to the platform at its end and activate Barrier Breach.
The barrier in question will be directly behind you. Go through to the inside of the mill, kill the enemies, then open the chest.
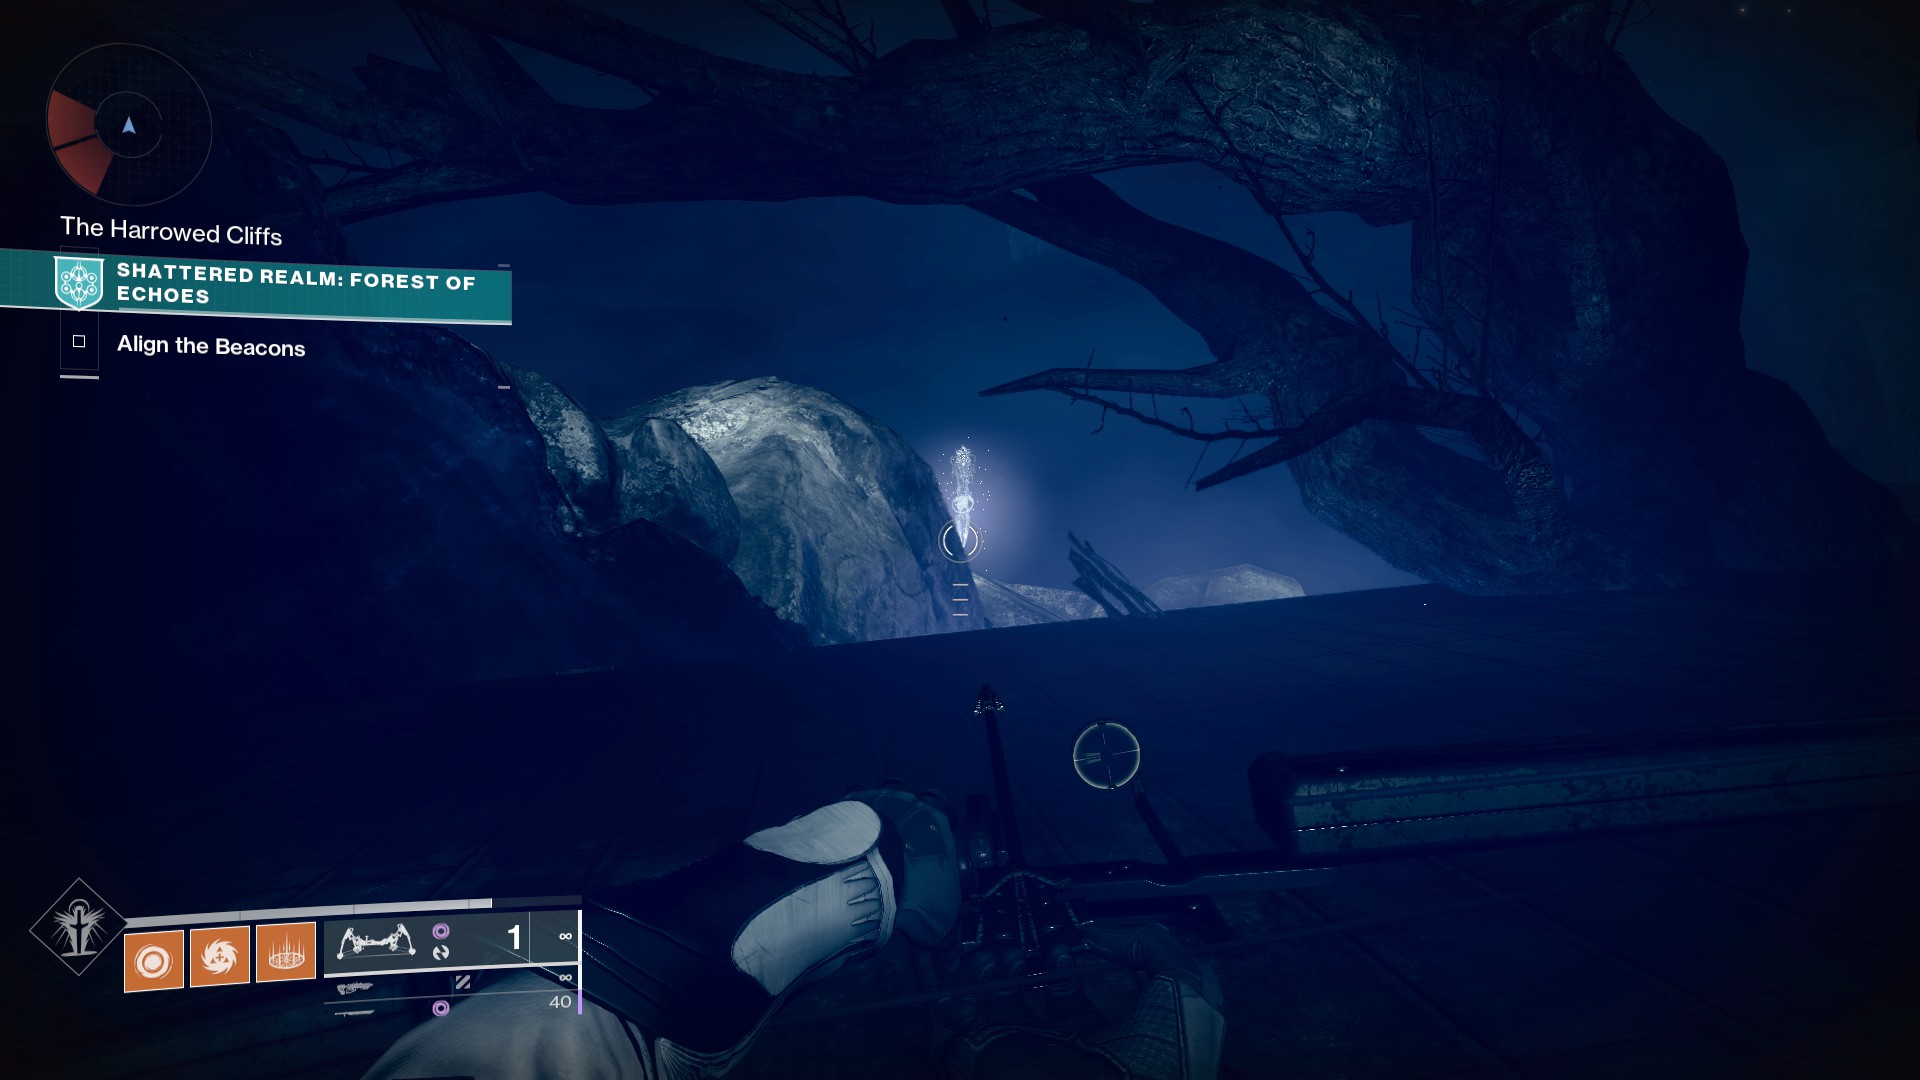
Trivial Mystery 7: The Harrowed Cliffs Cave
There are two ways to reach the seventh and final (for now) Mystery chest. Activate Barrier Breach from inside the Mill, then book directly across the field to the barrier opposite the water wheel.
You’ll need to pass through a brief slow zone and move as fast as your class can take you. At low upgrade levels, you’ll have fifteen seconds, and you’ll need all of them to make it to the cave.
Alternately, you can head up the set of platforms behind and to the right of the Beacon until you reach their top, then look down to the island below. There are three ability pillars and an Ascendant Anchor there.
Turn directly around once you reach the platform and jump through the barrier to find the chest sitting waiting for you.
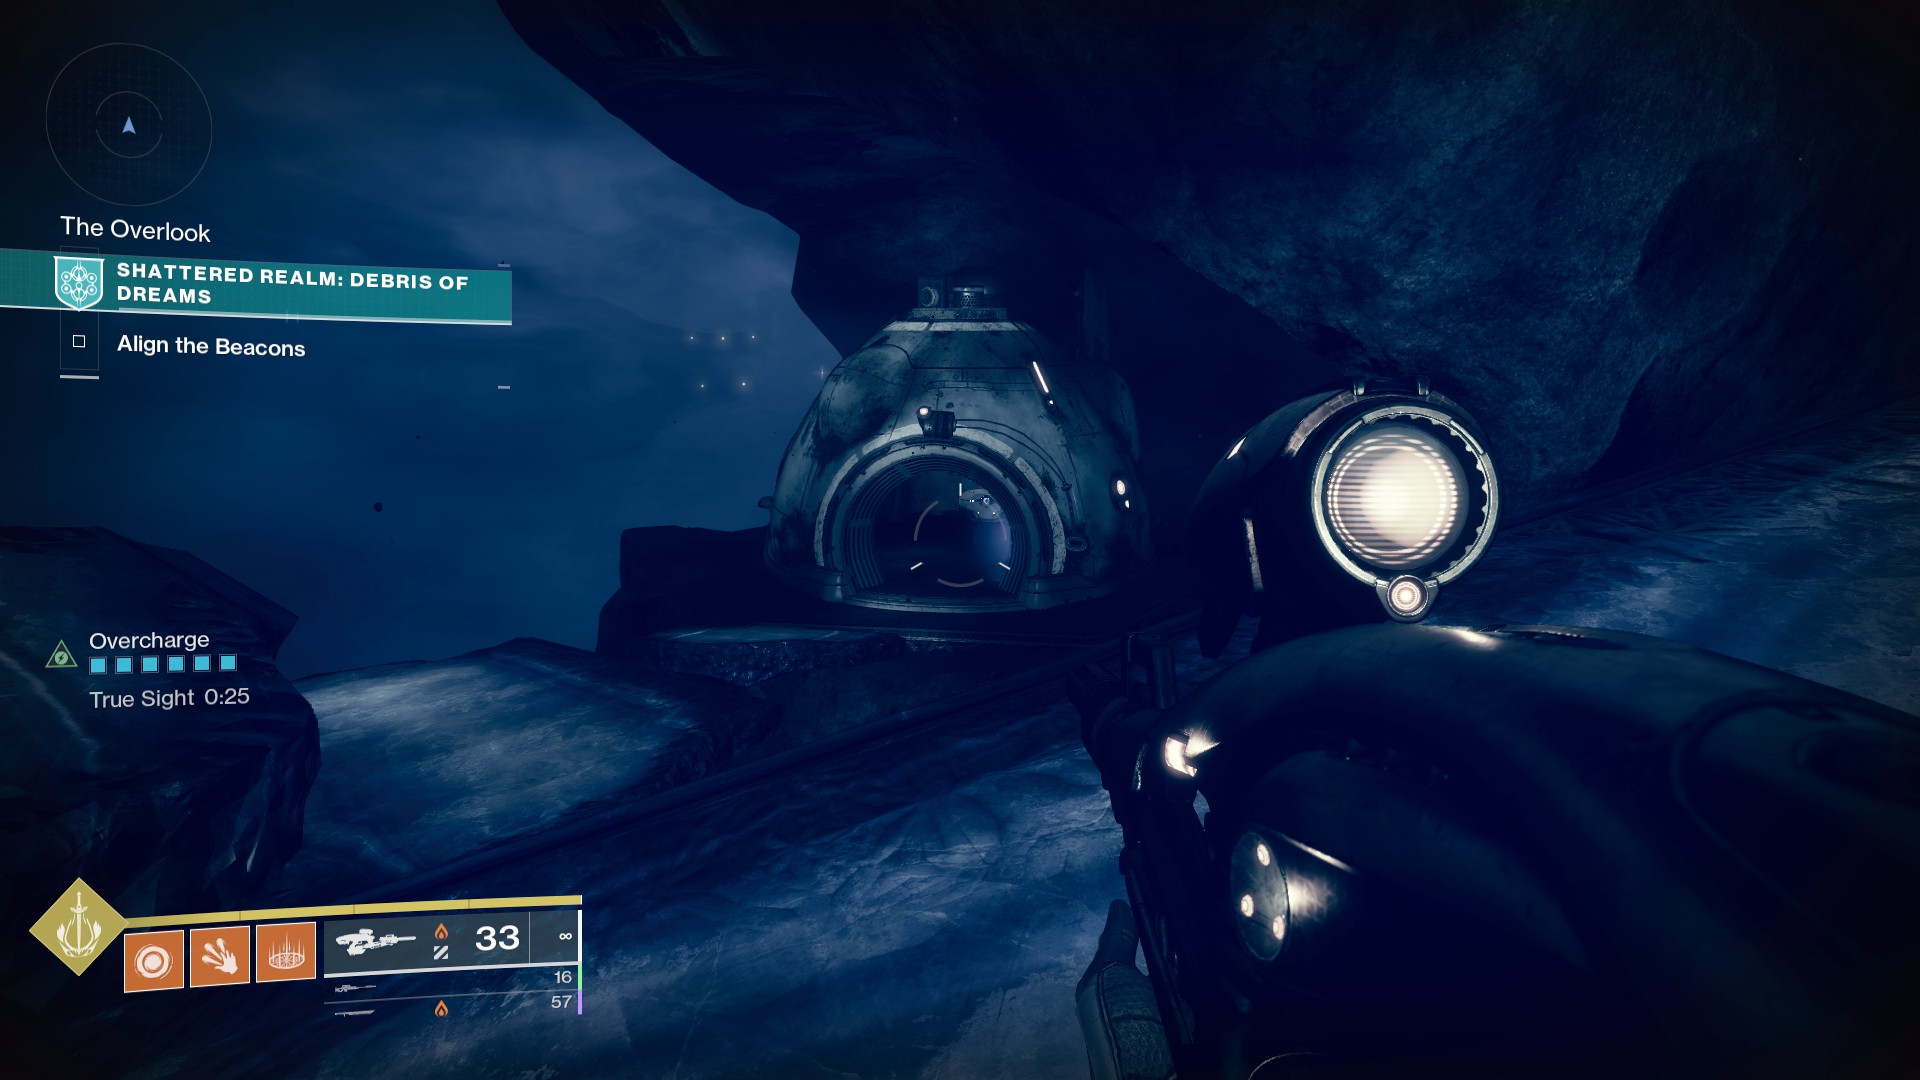
Debris of Dreams Mysteries
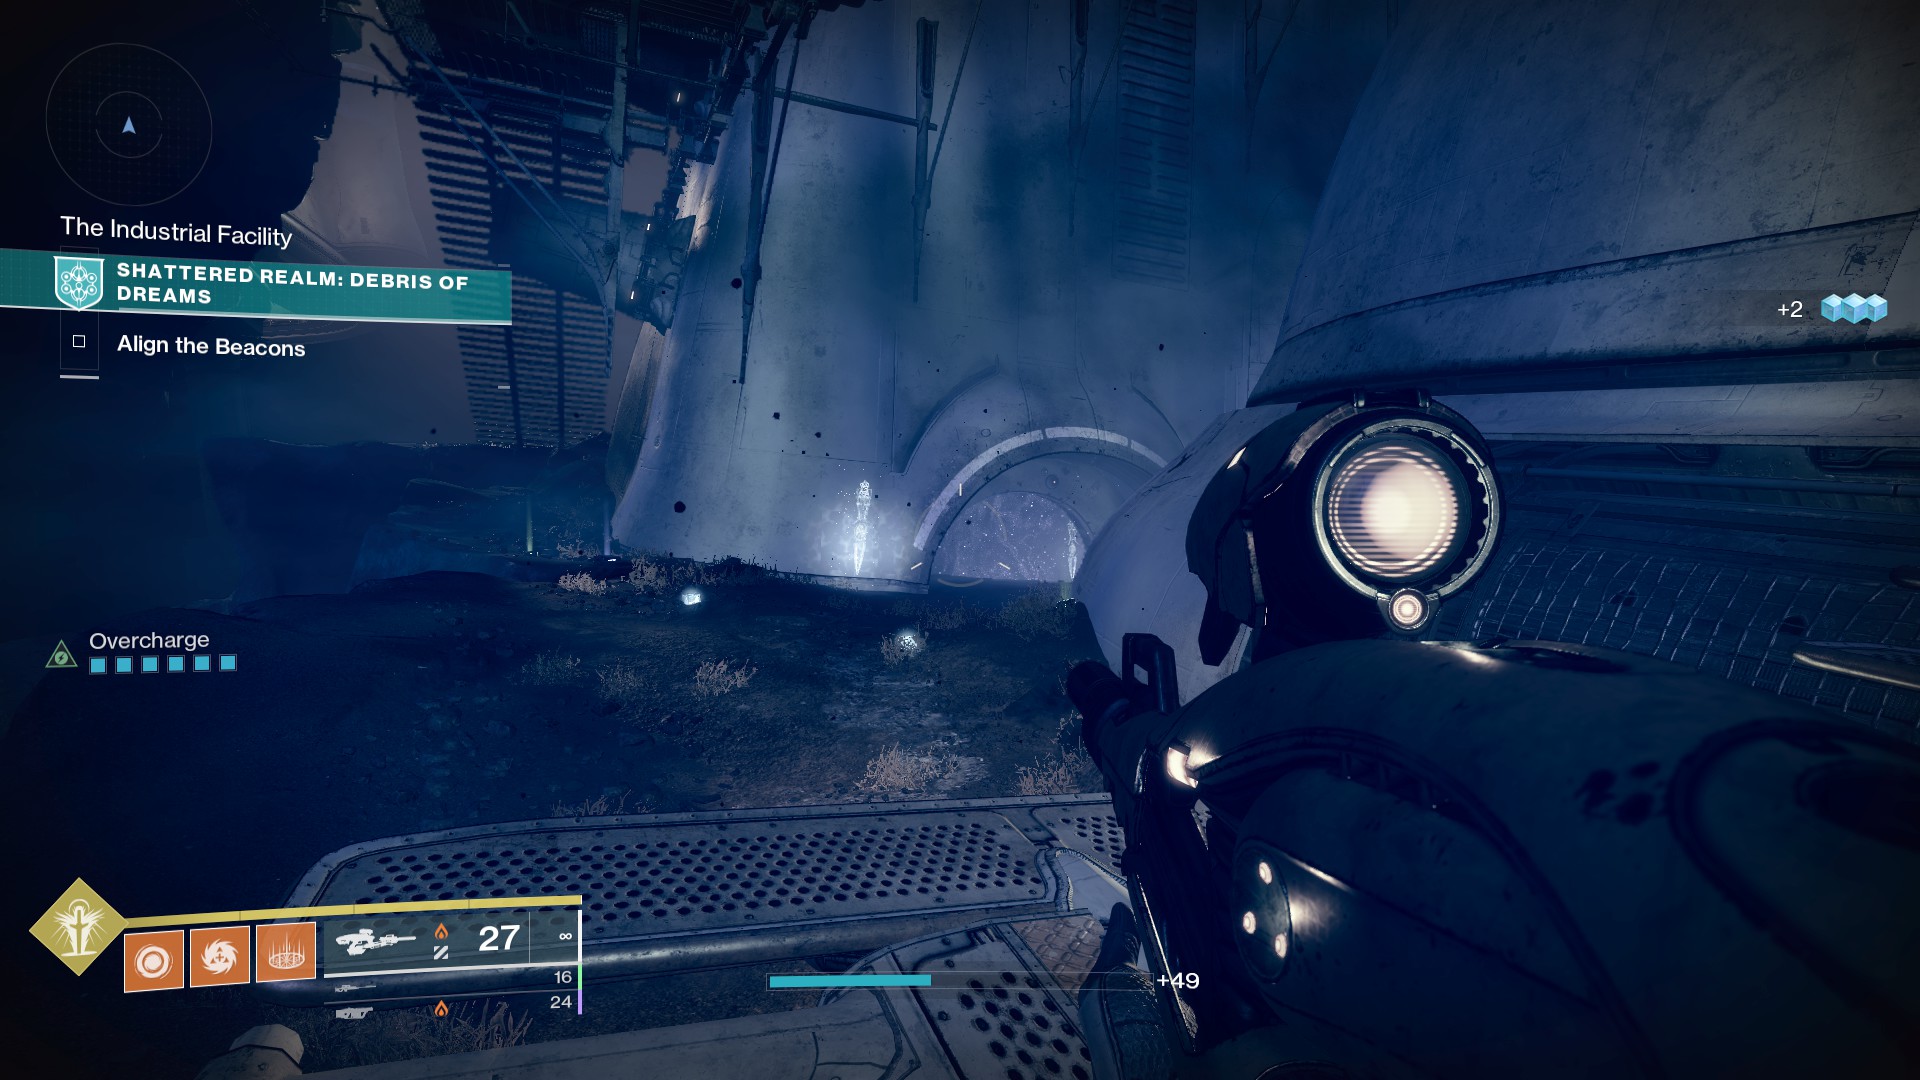
Trivial Mystery 1: Supply Stash
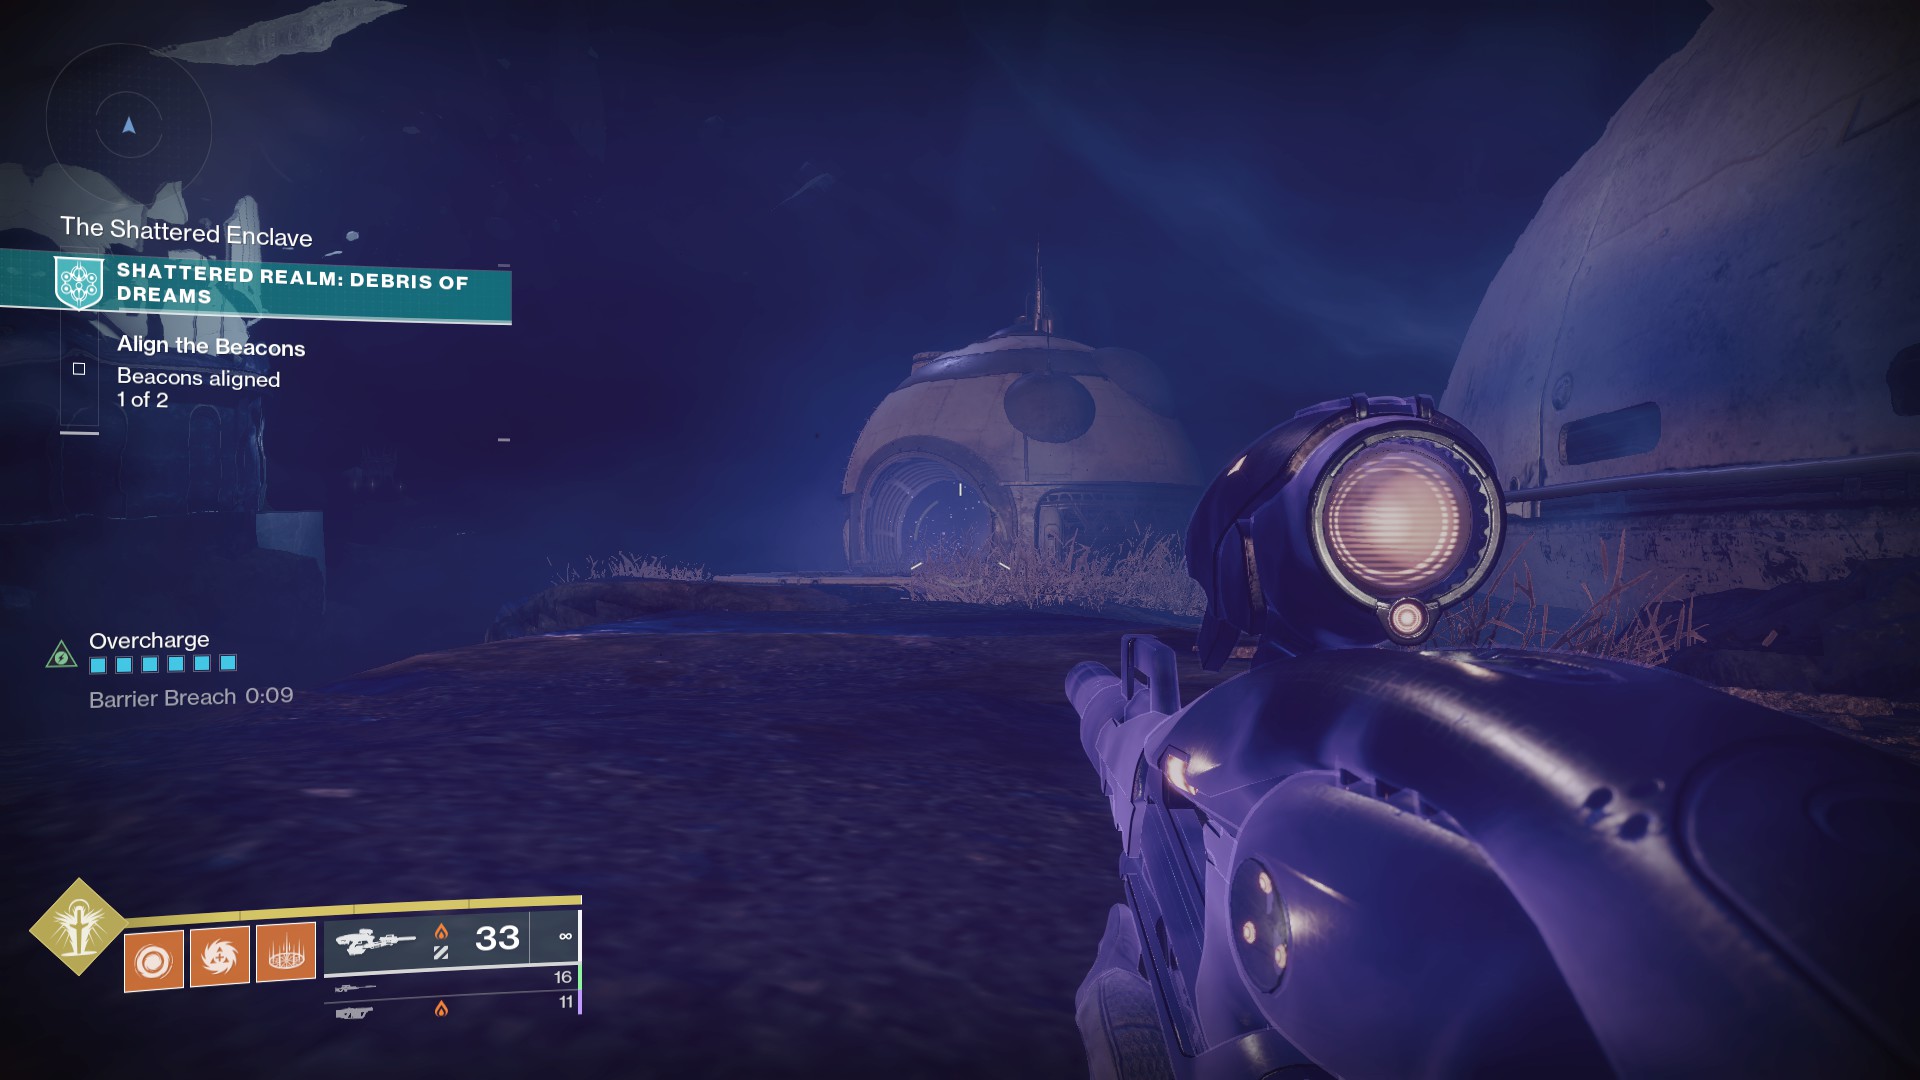
Activate the first beacon, then head through the Barrier Breach door.
Take an immediate right and you’ll see a small hut with another barrier. Head through it to find the chest inside.
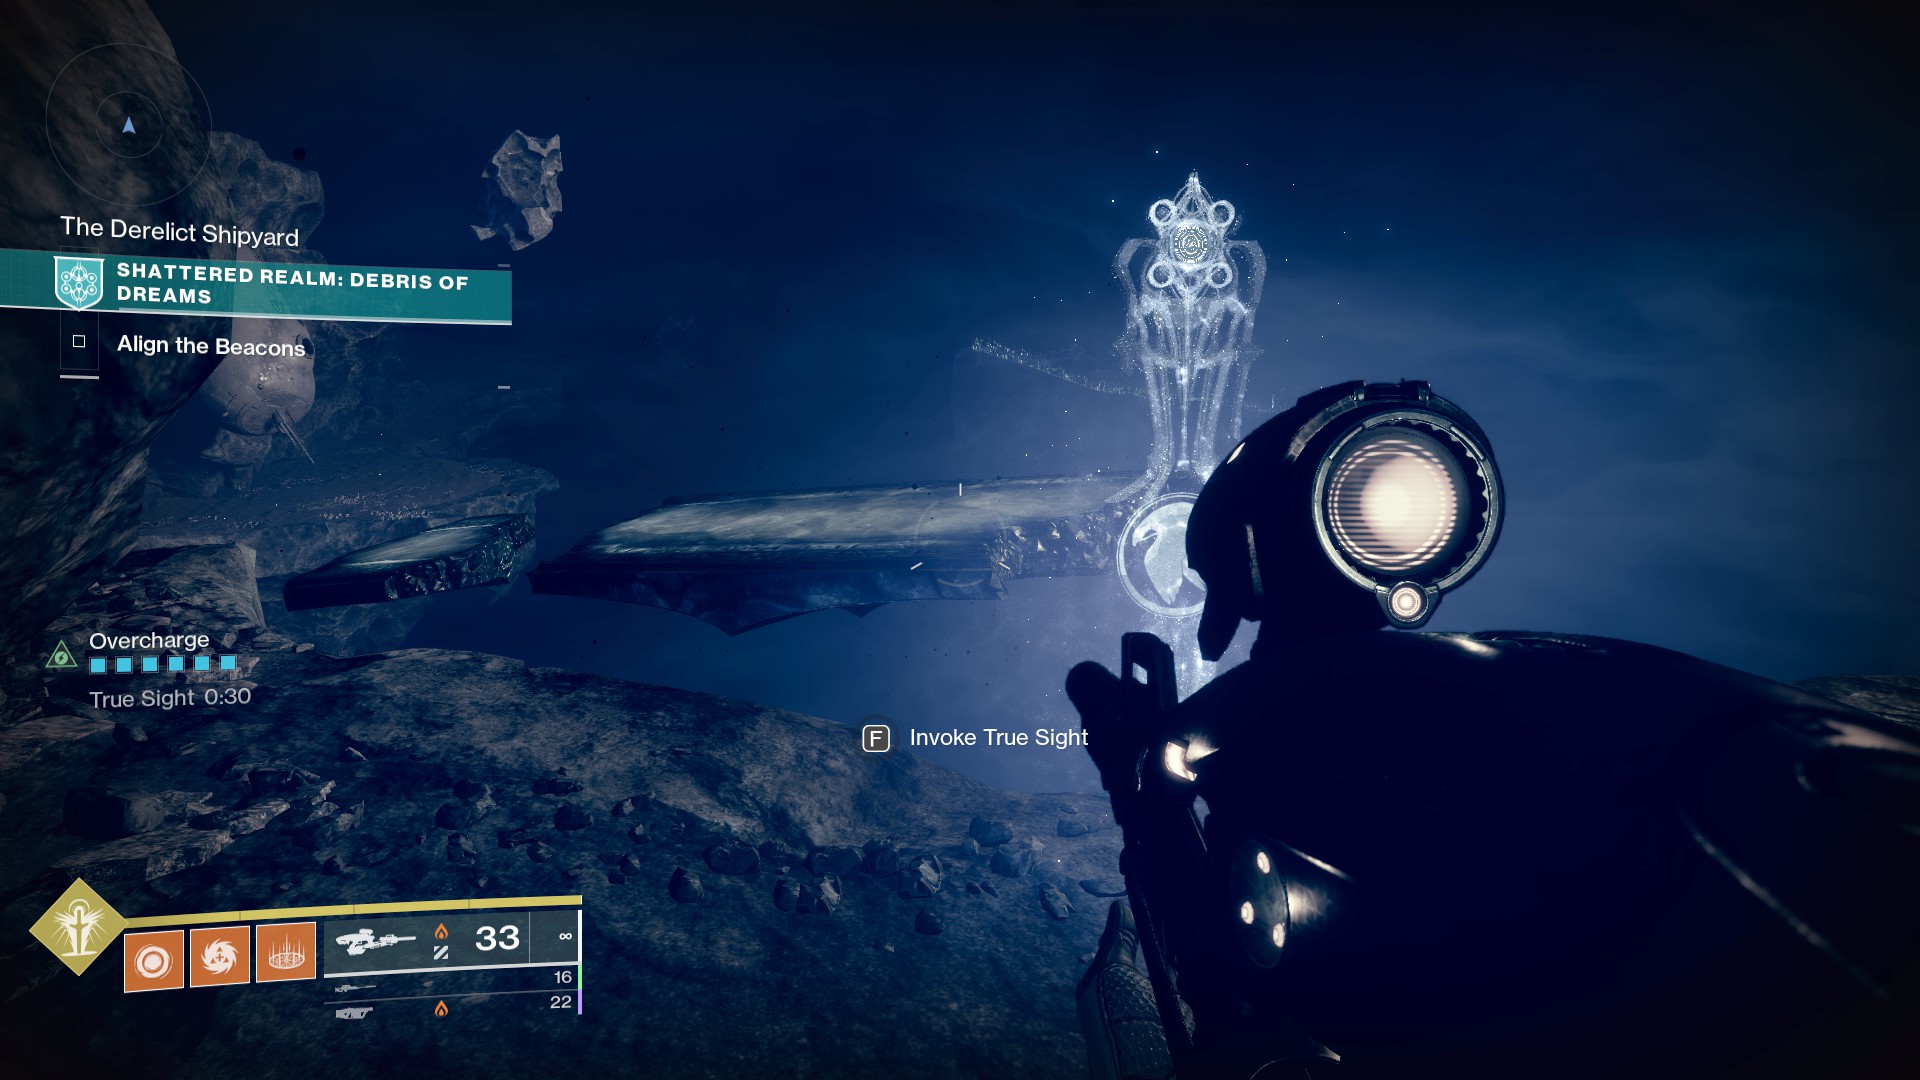
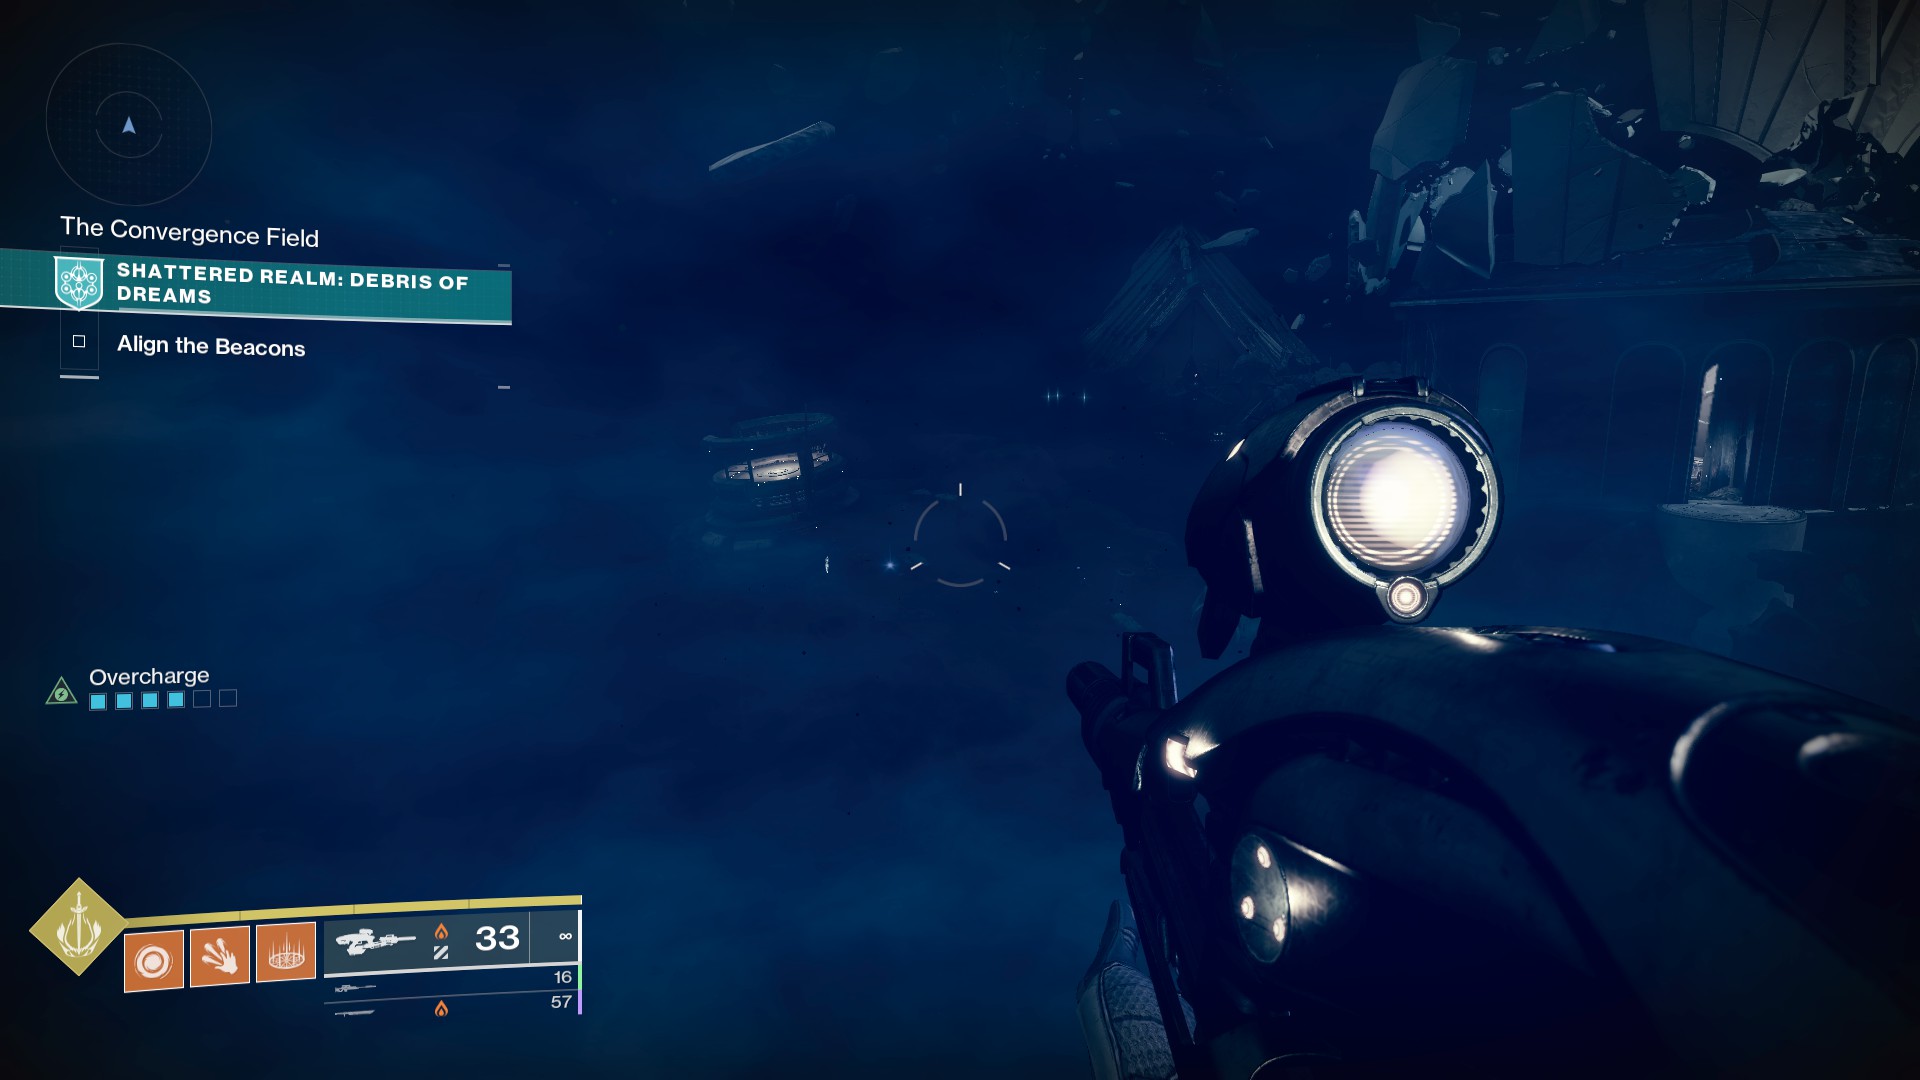
Trivial Mystery 2 The Perilous Path
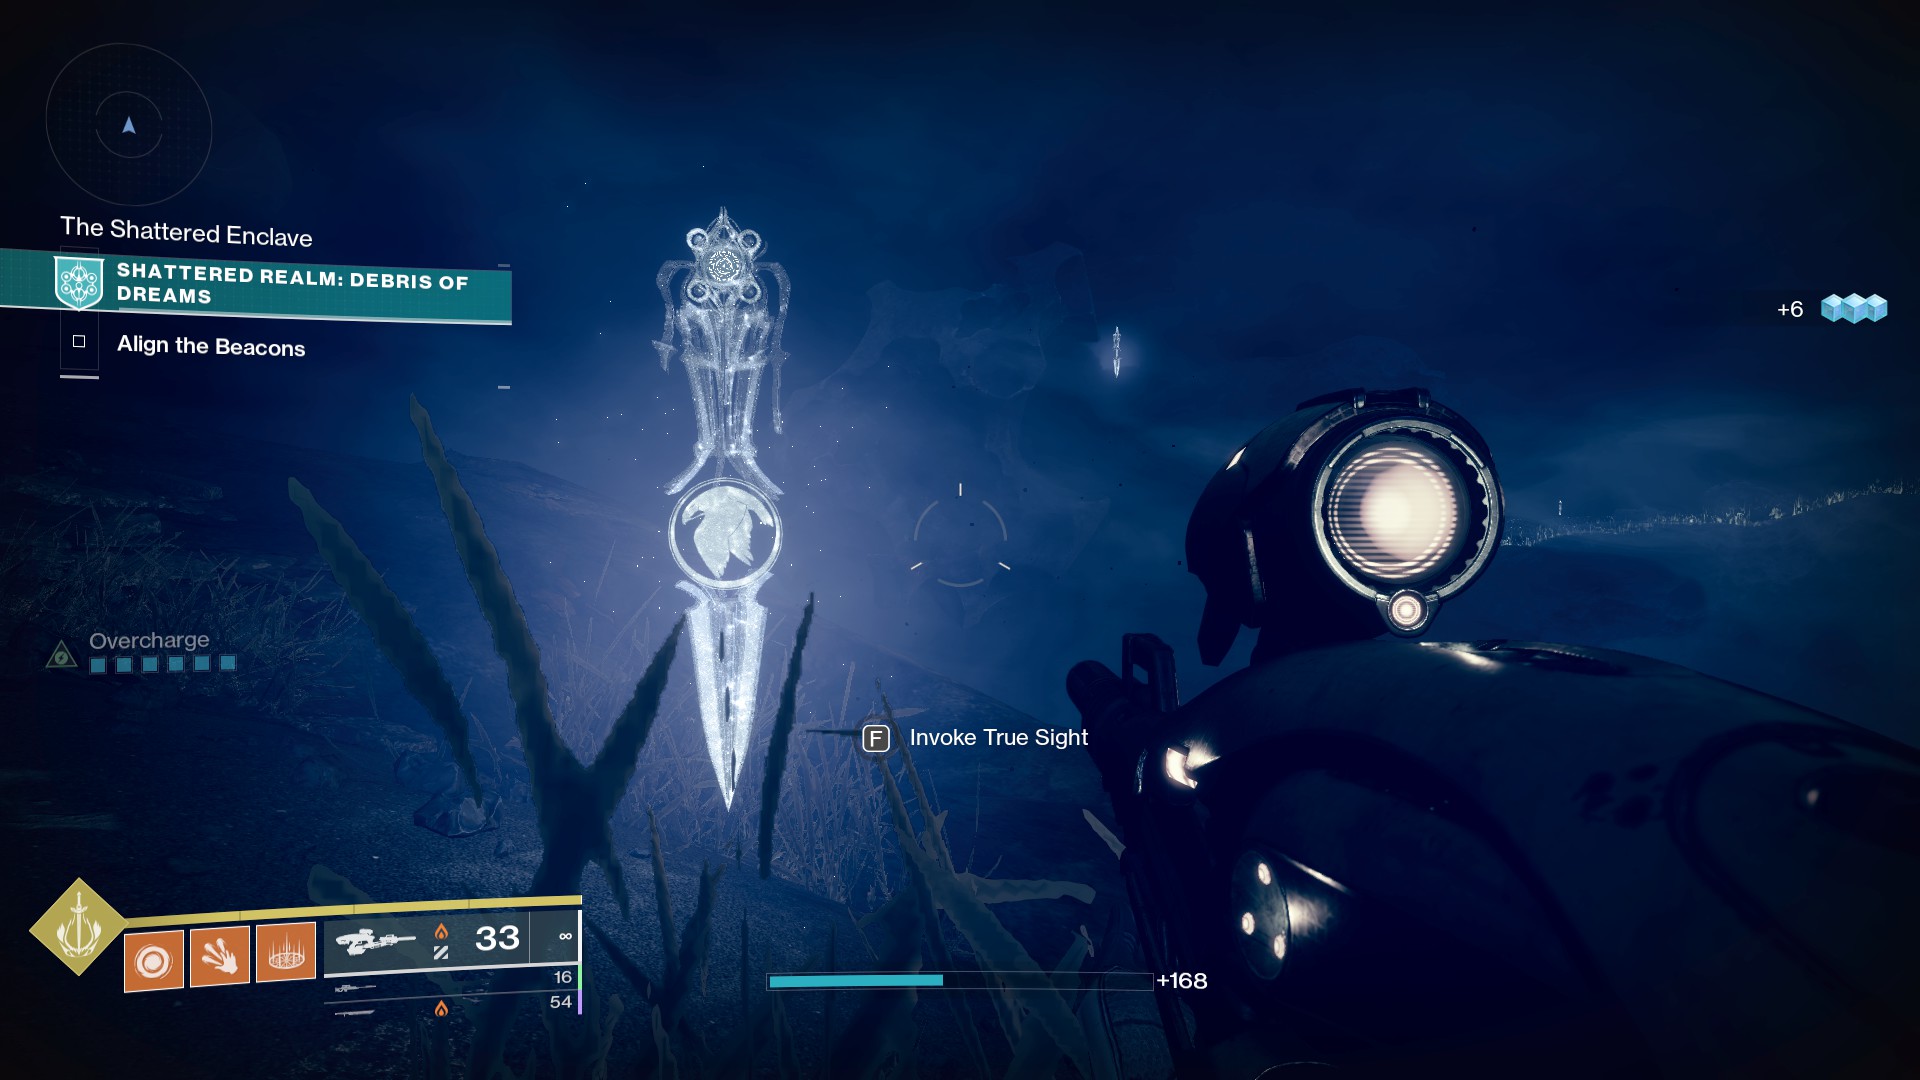
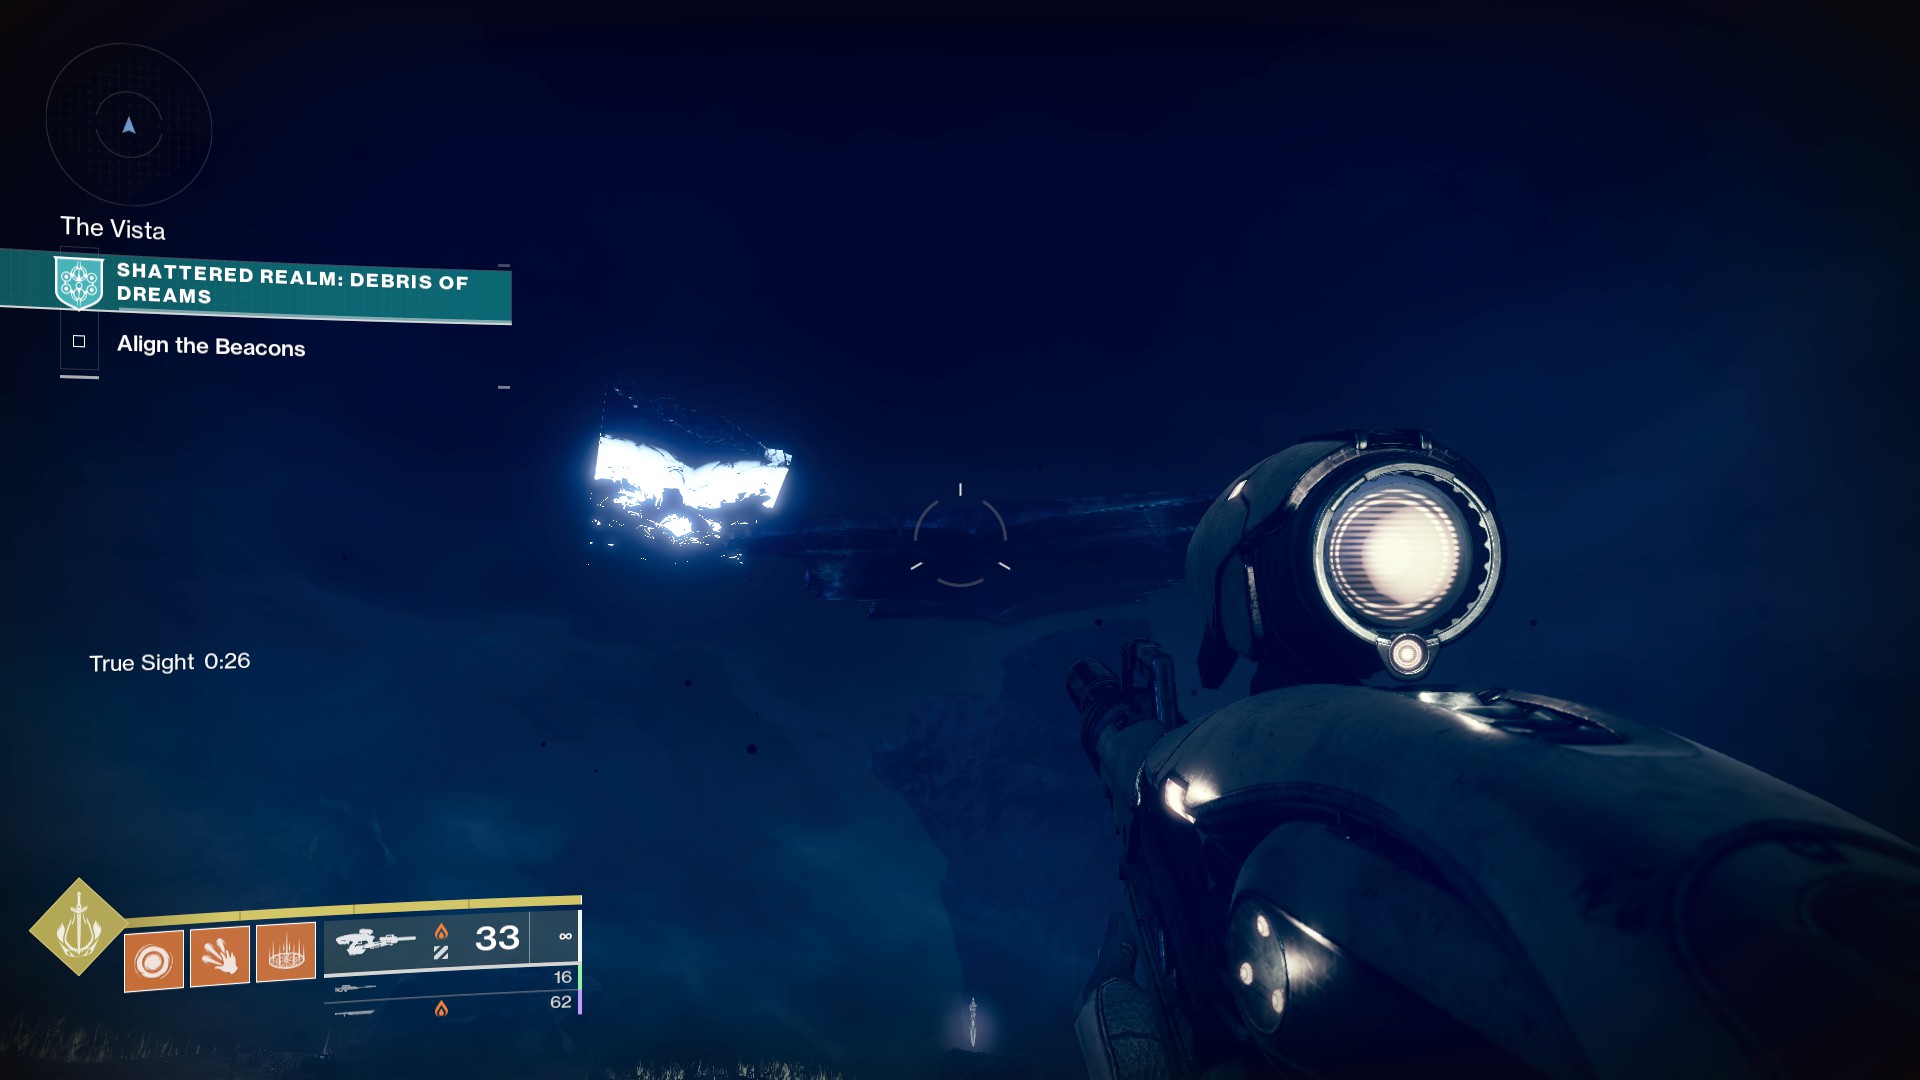
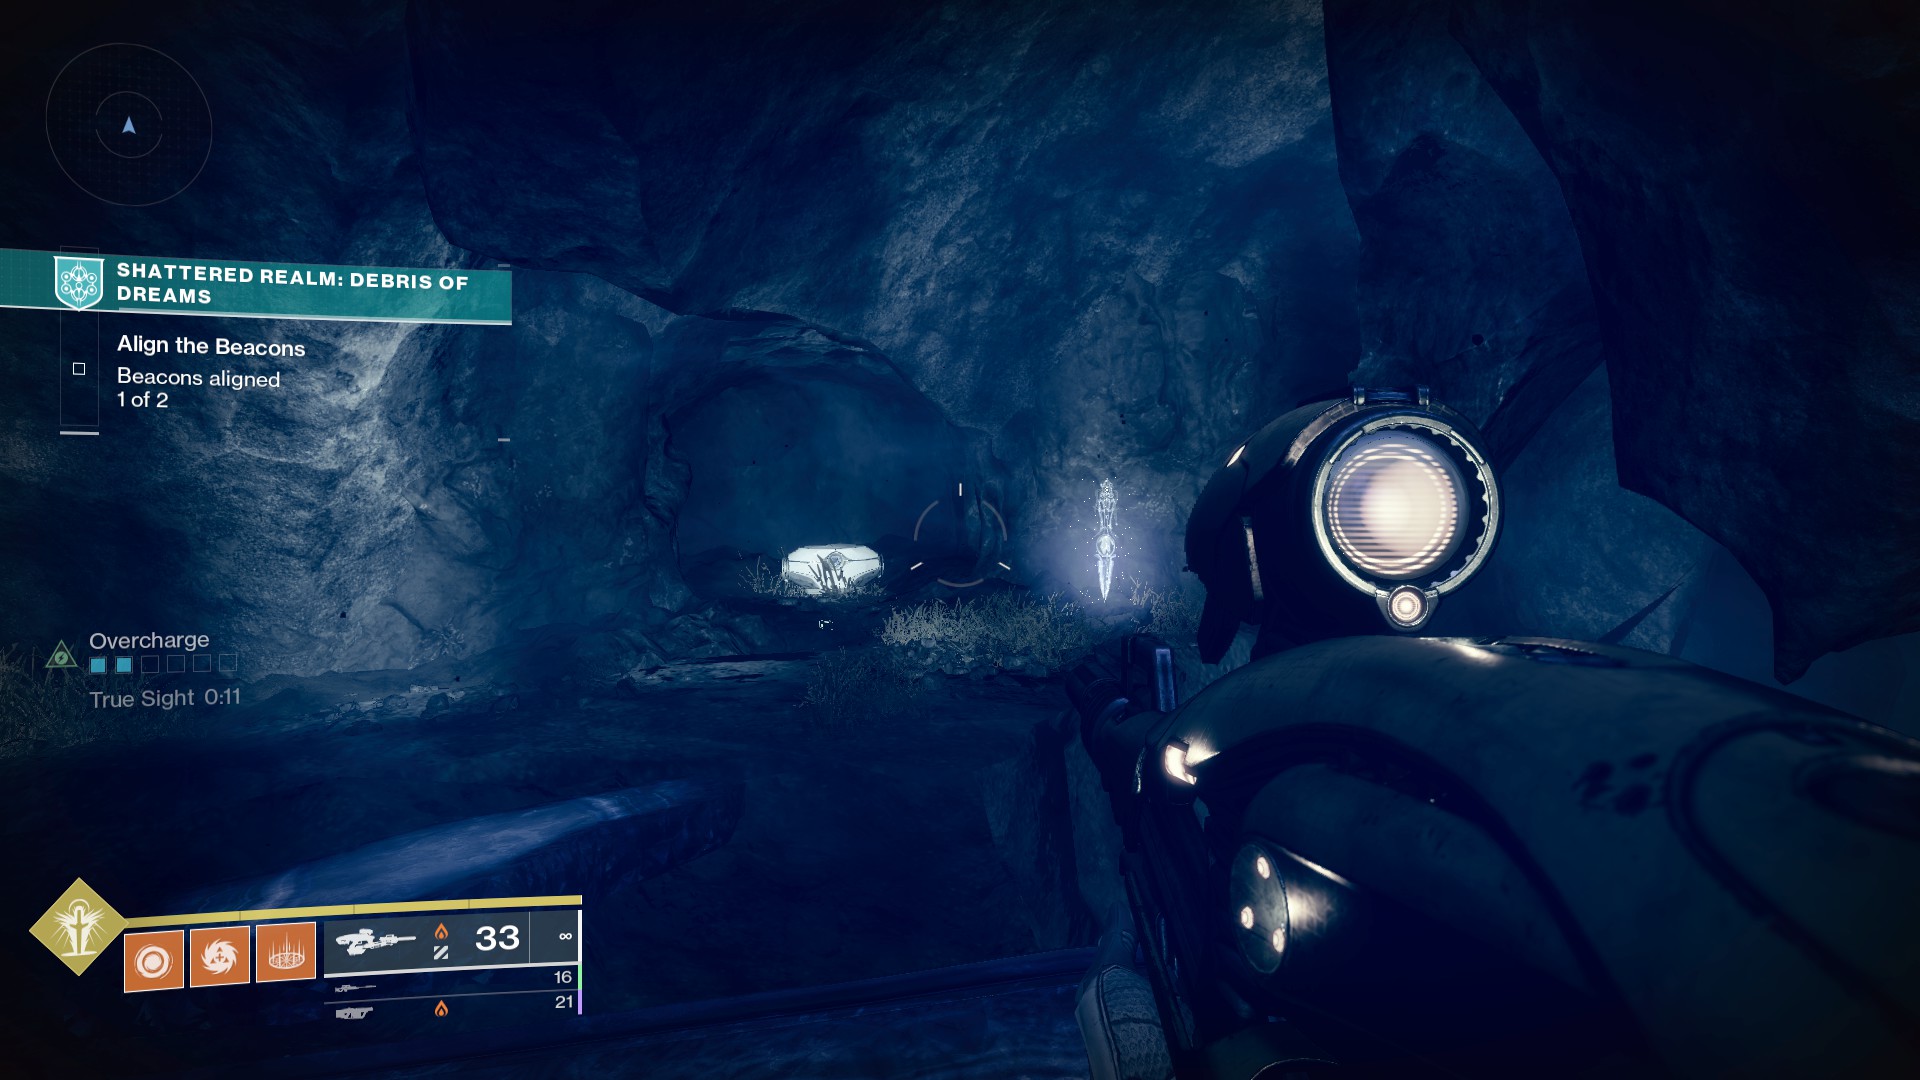
From the hut, you’ll see a True Sight pillar on a jet of rock. Ignore it for now, and instead go to the True Sight pillar on the path toward the first beacon room.
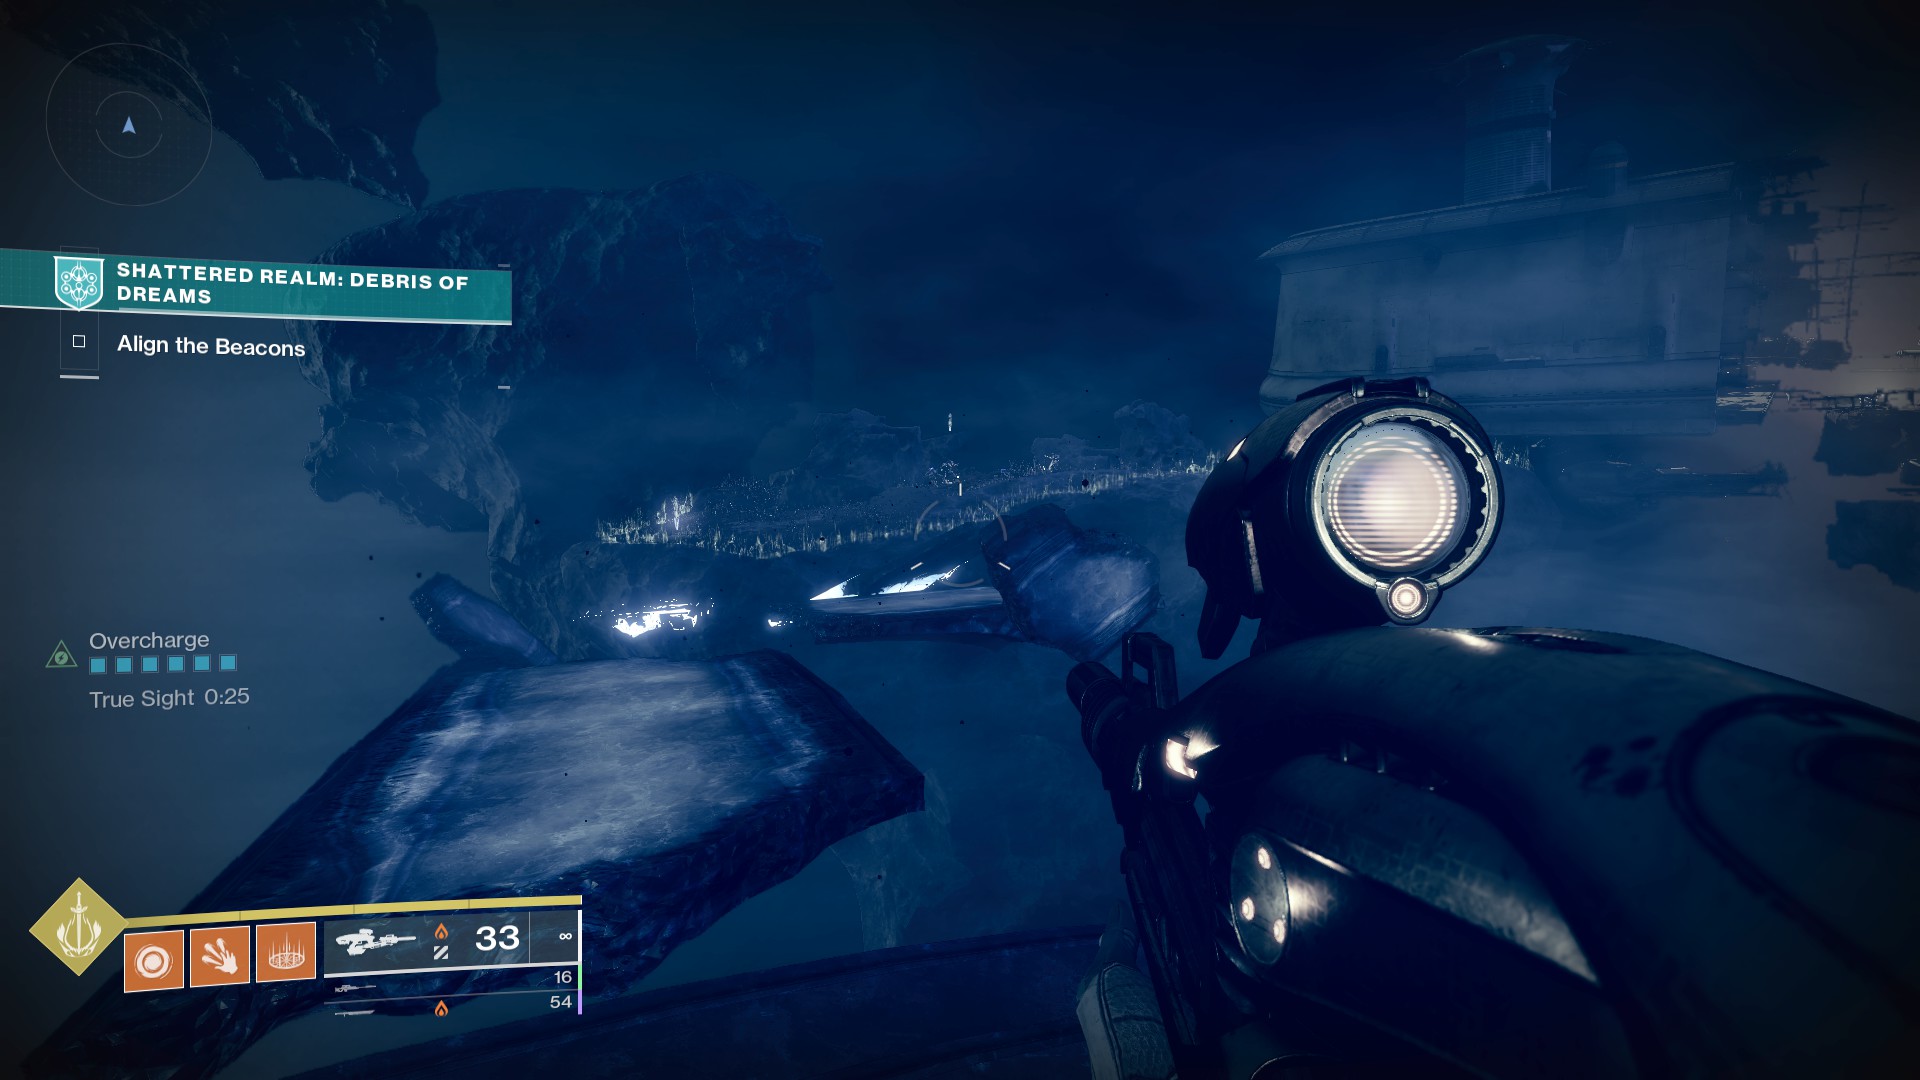
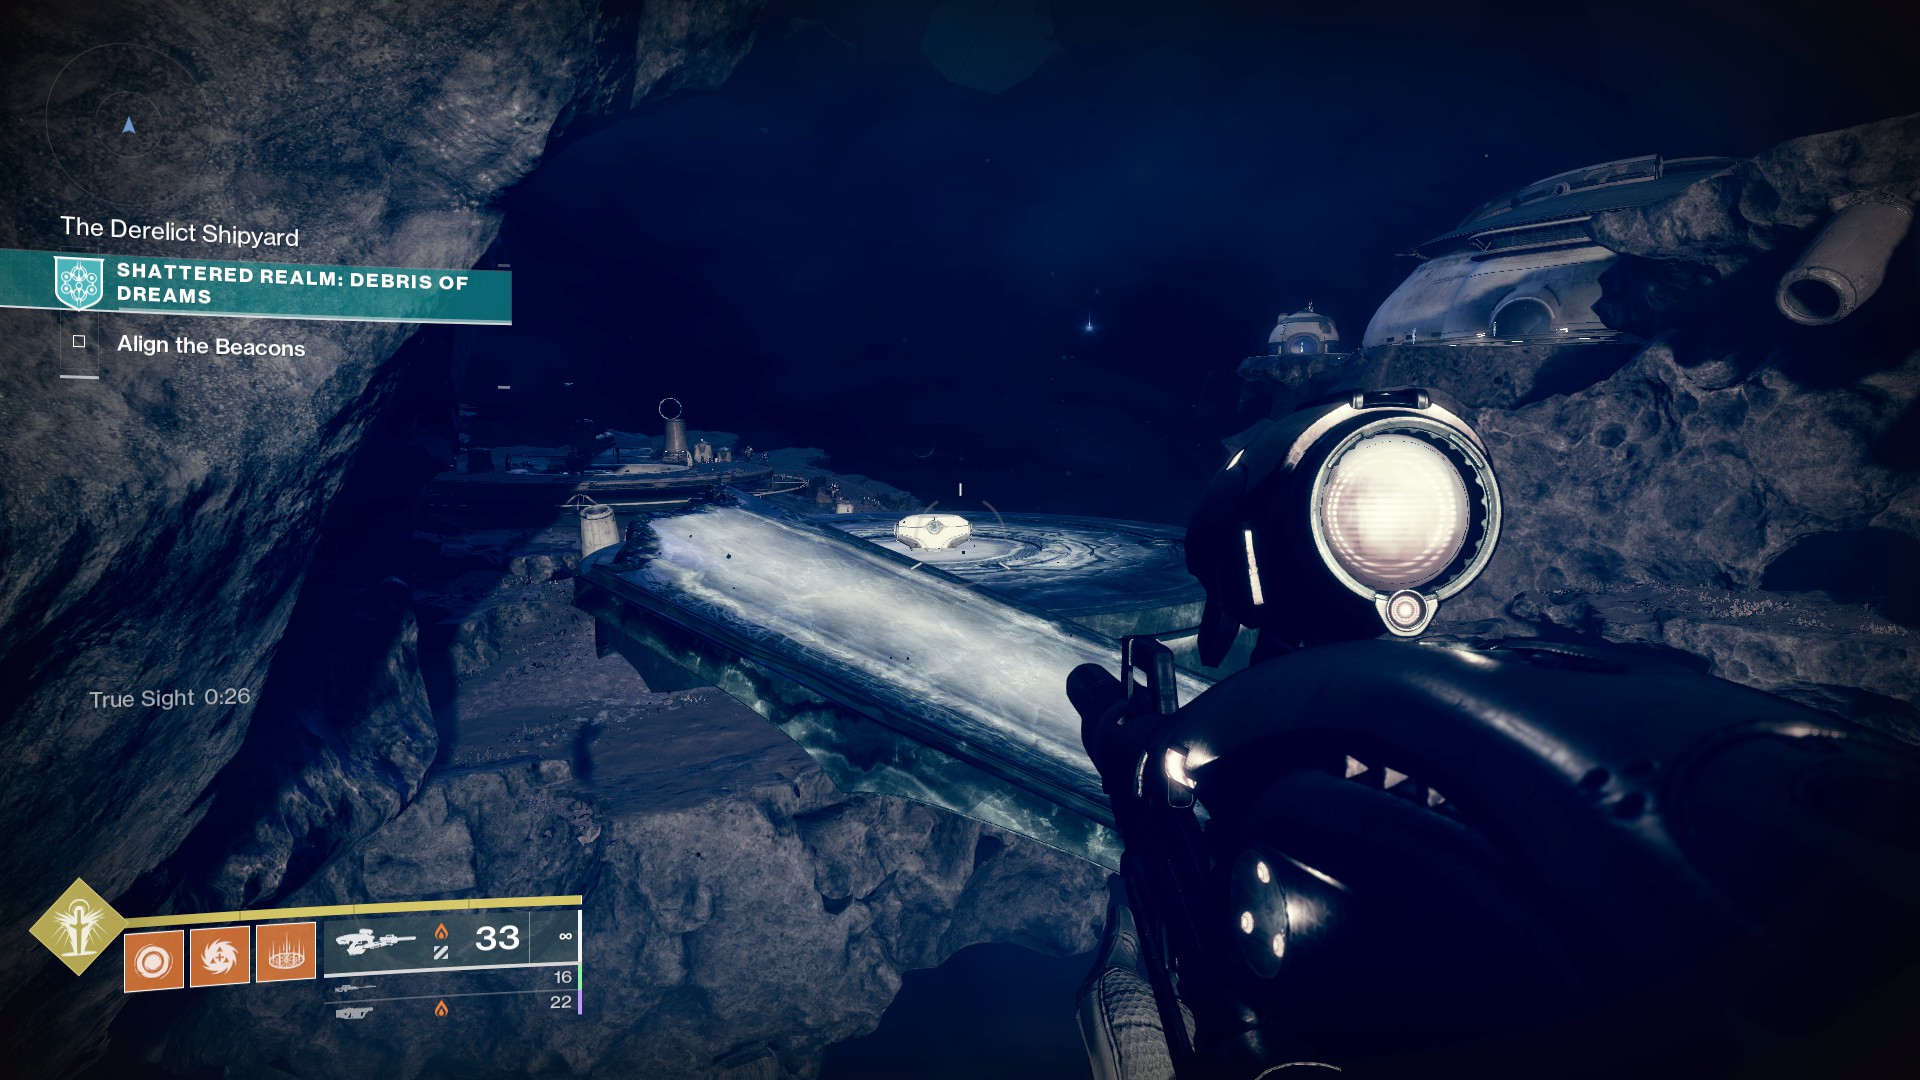
Activate the pillar to reveal a set of platforms leading to a slow area. Jump across. Once you’re surrounded in slow juice, cross to the other side of the island to find another True Sight pillar.
Activate this one too, then jump up to the platform with the chest. Beware that the jump from island to platform can be tricky and may take a few tries. You’re likely to respawn back at the first pillar as well, so subsequent attempts will take a little time.
Enigmatic Mystery 1: Enclave Enigma
From the Perilous Path chest, turn around to see additional platforms above you. These jumps are tricky as well, but you’ll need to make them to reach this first Engimatic Mystery. Follow the platforms up until you reach the chest.
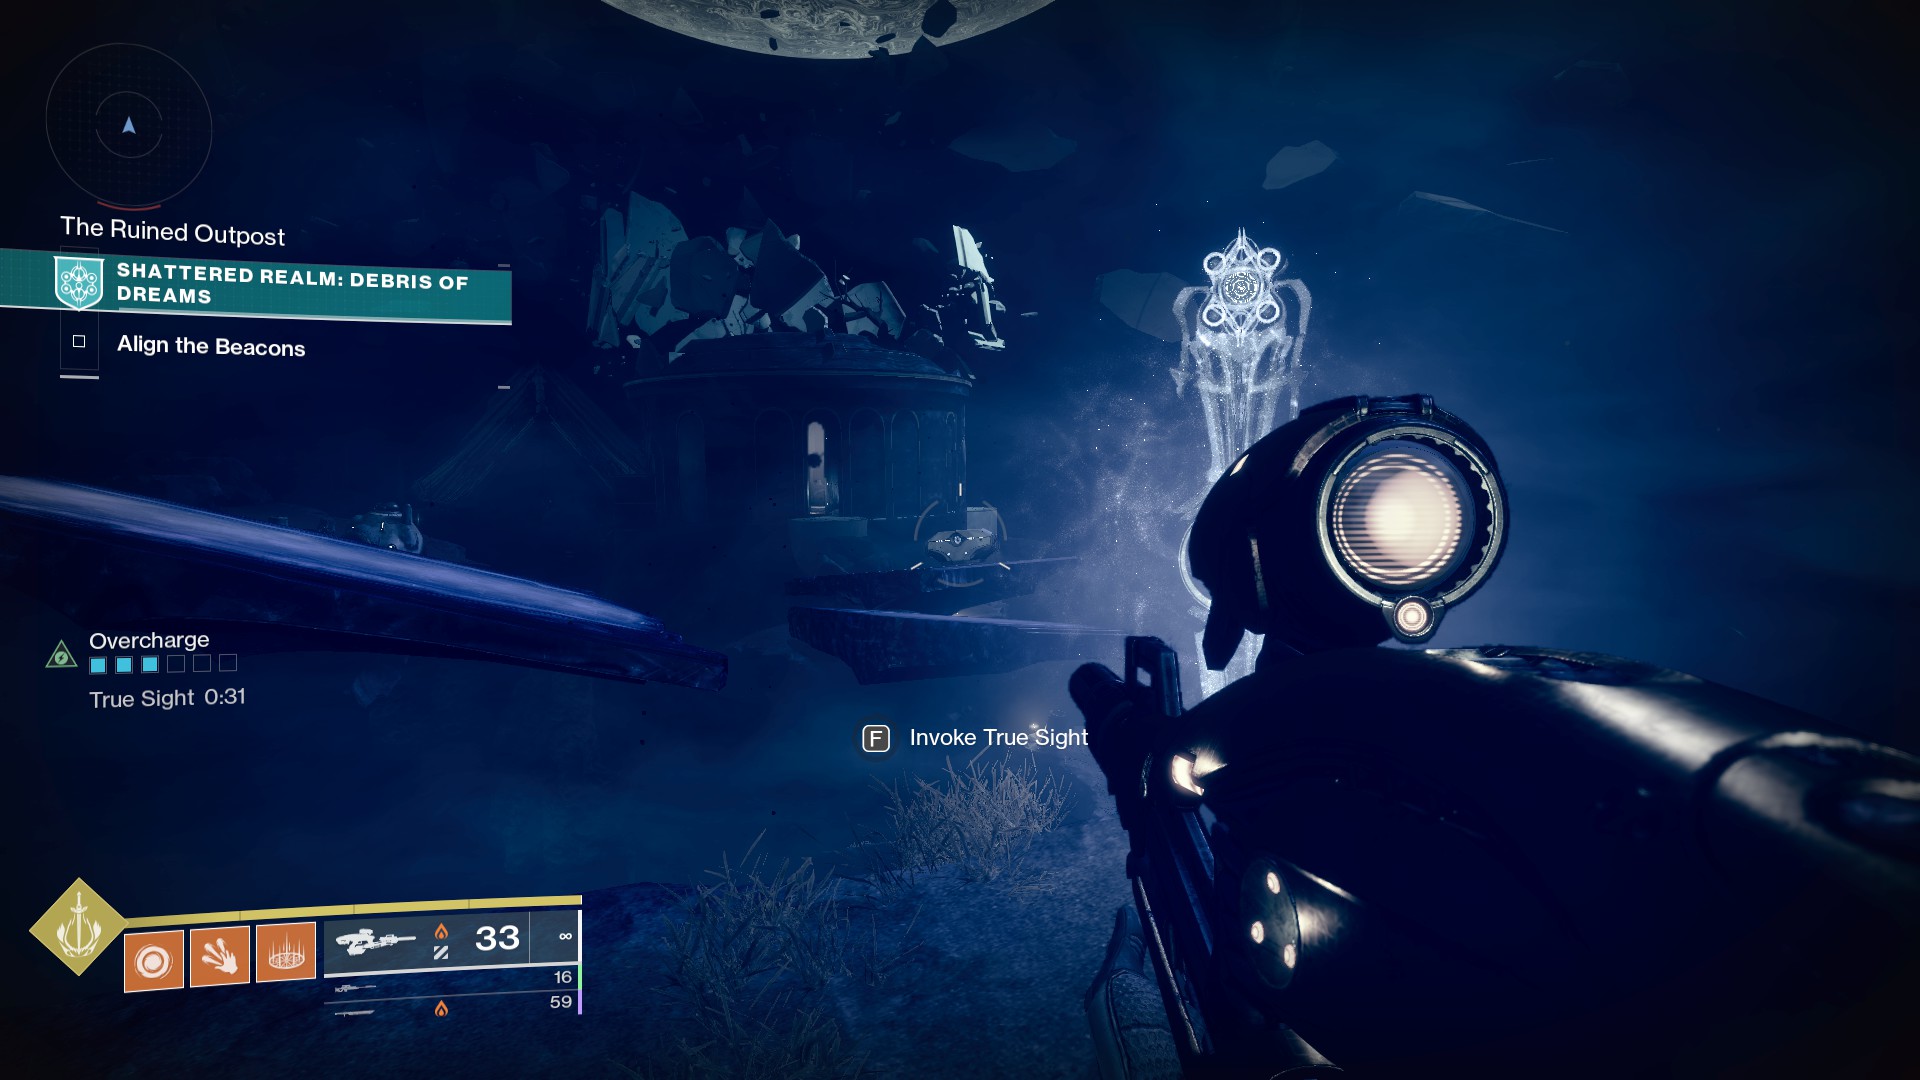
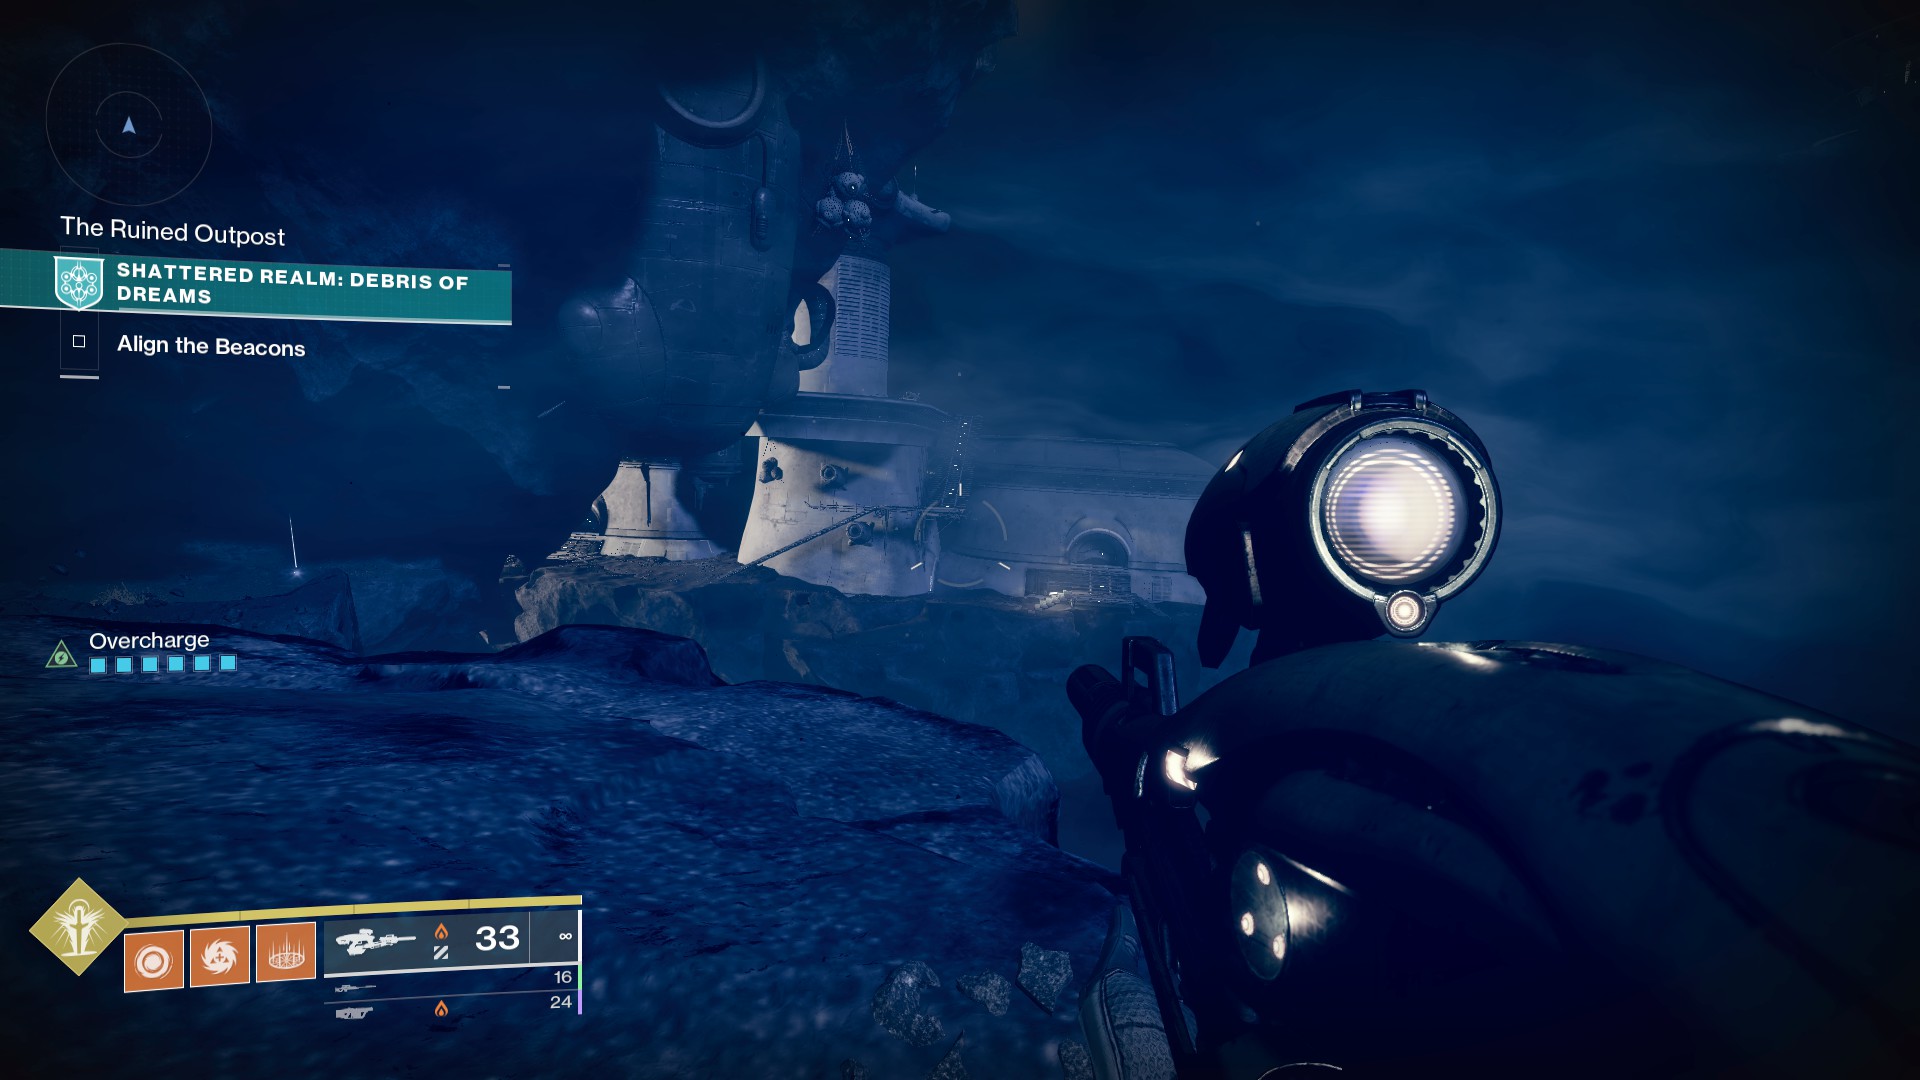
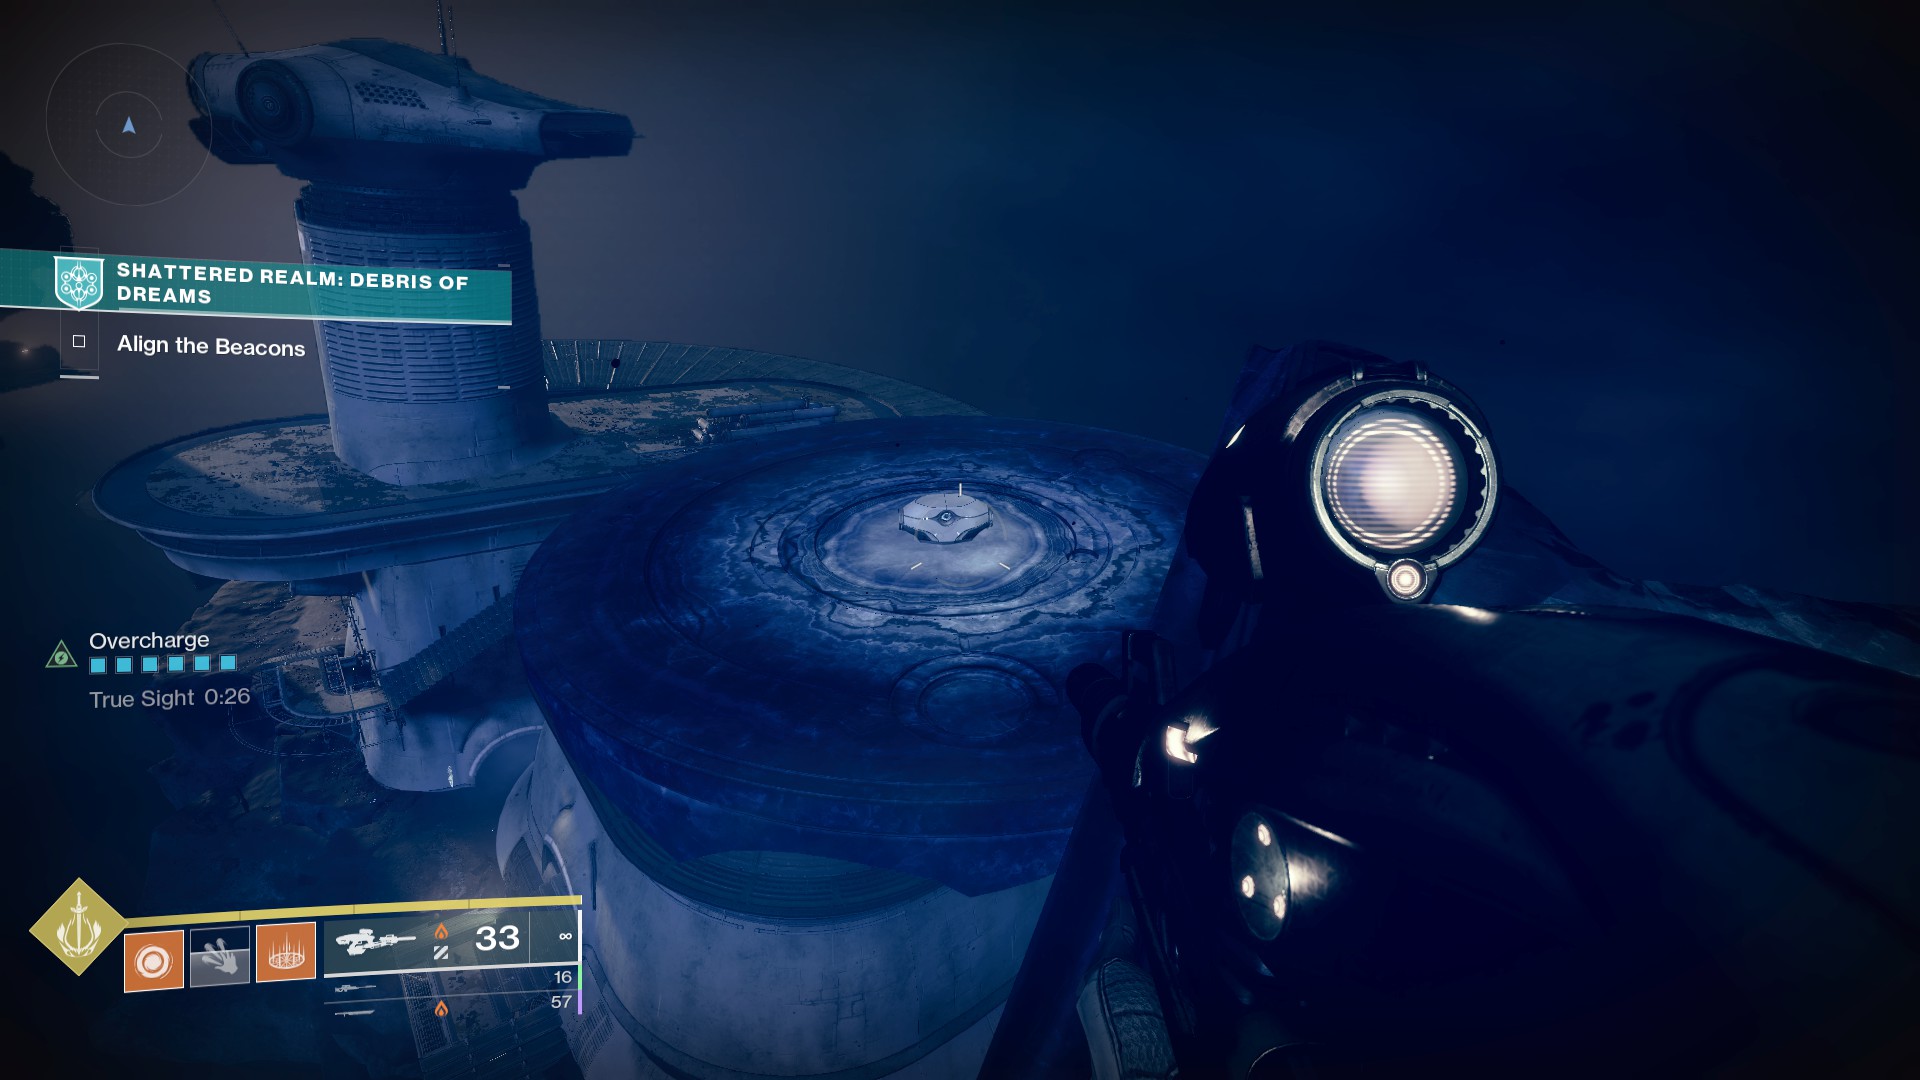
Enigmatic Mystery 2: Outpost Lost

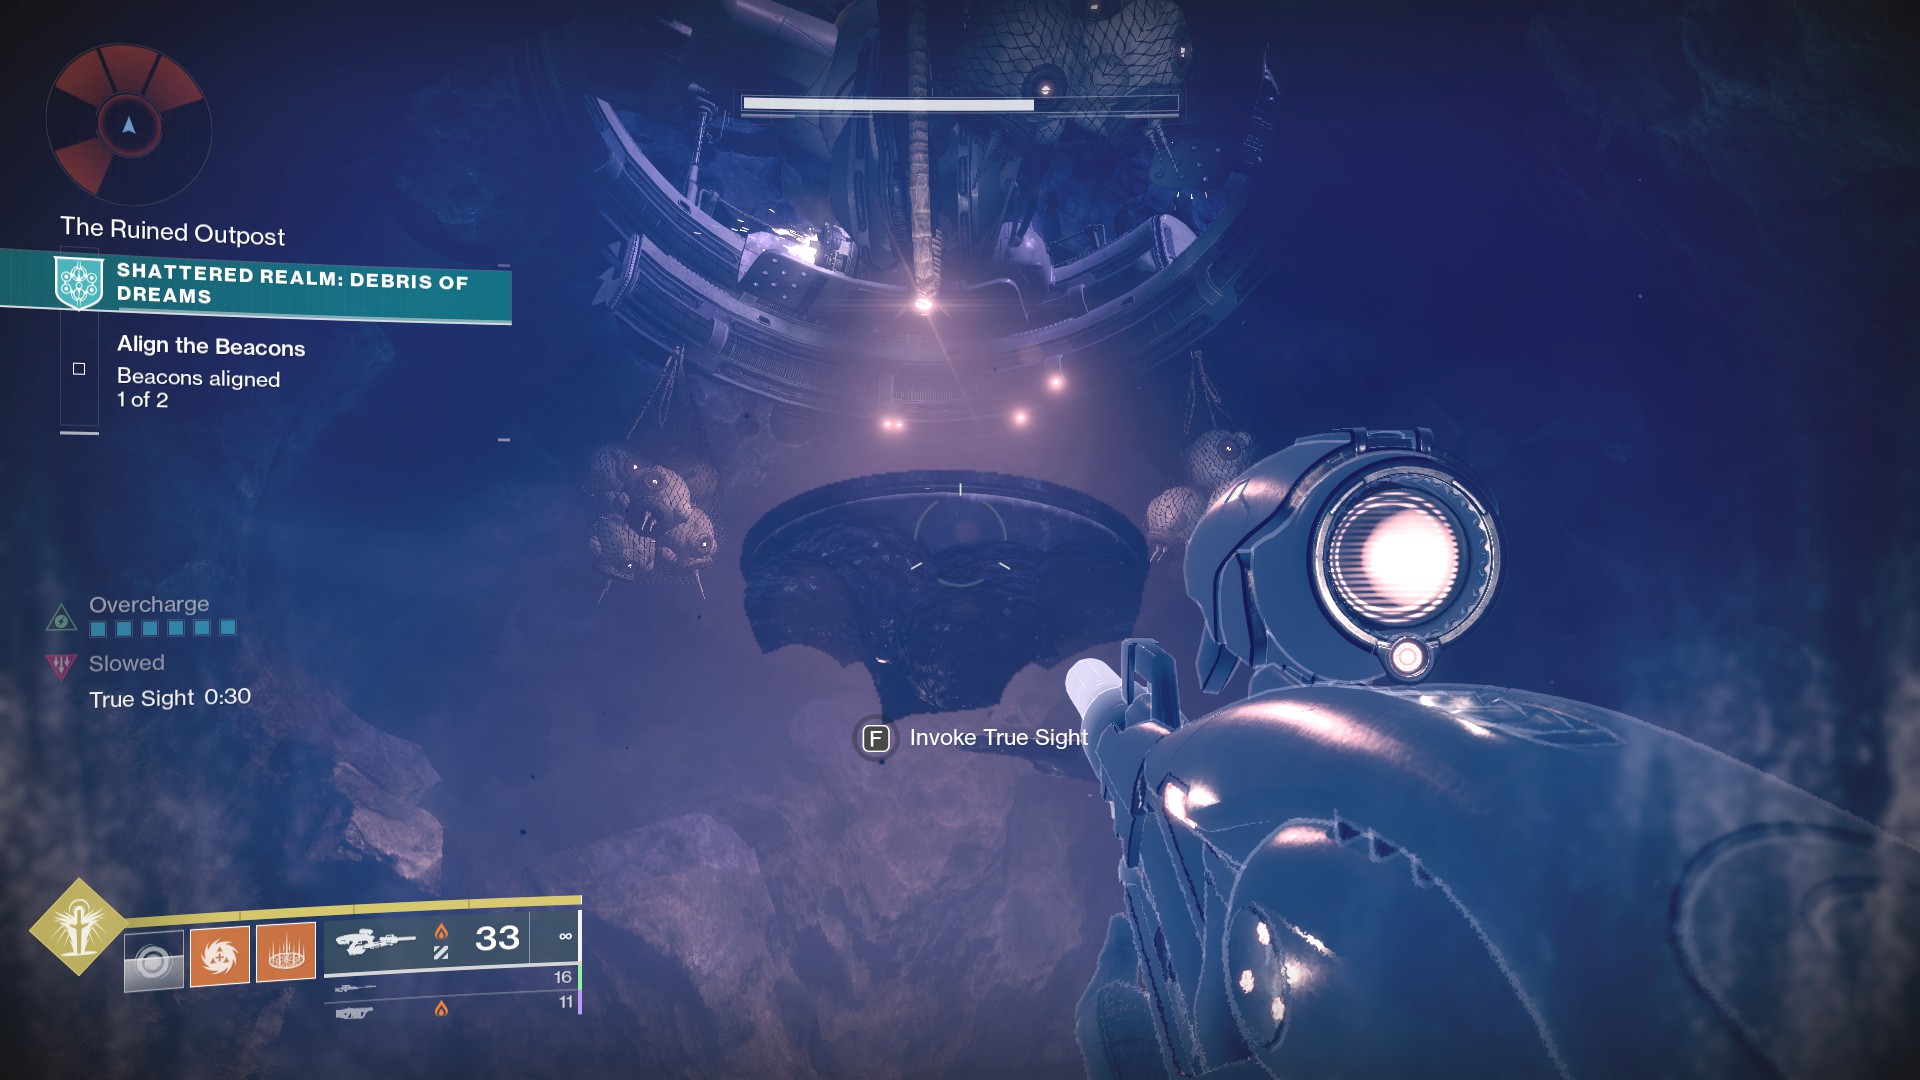
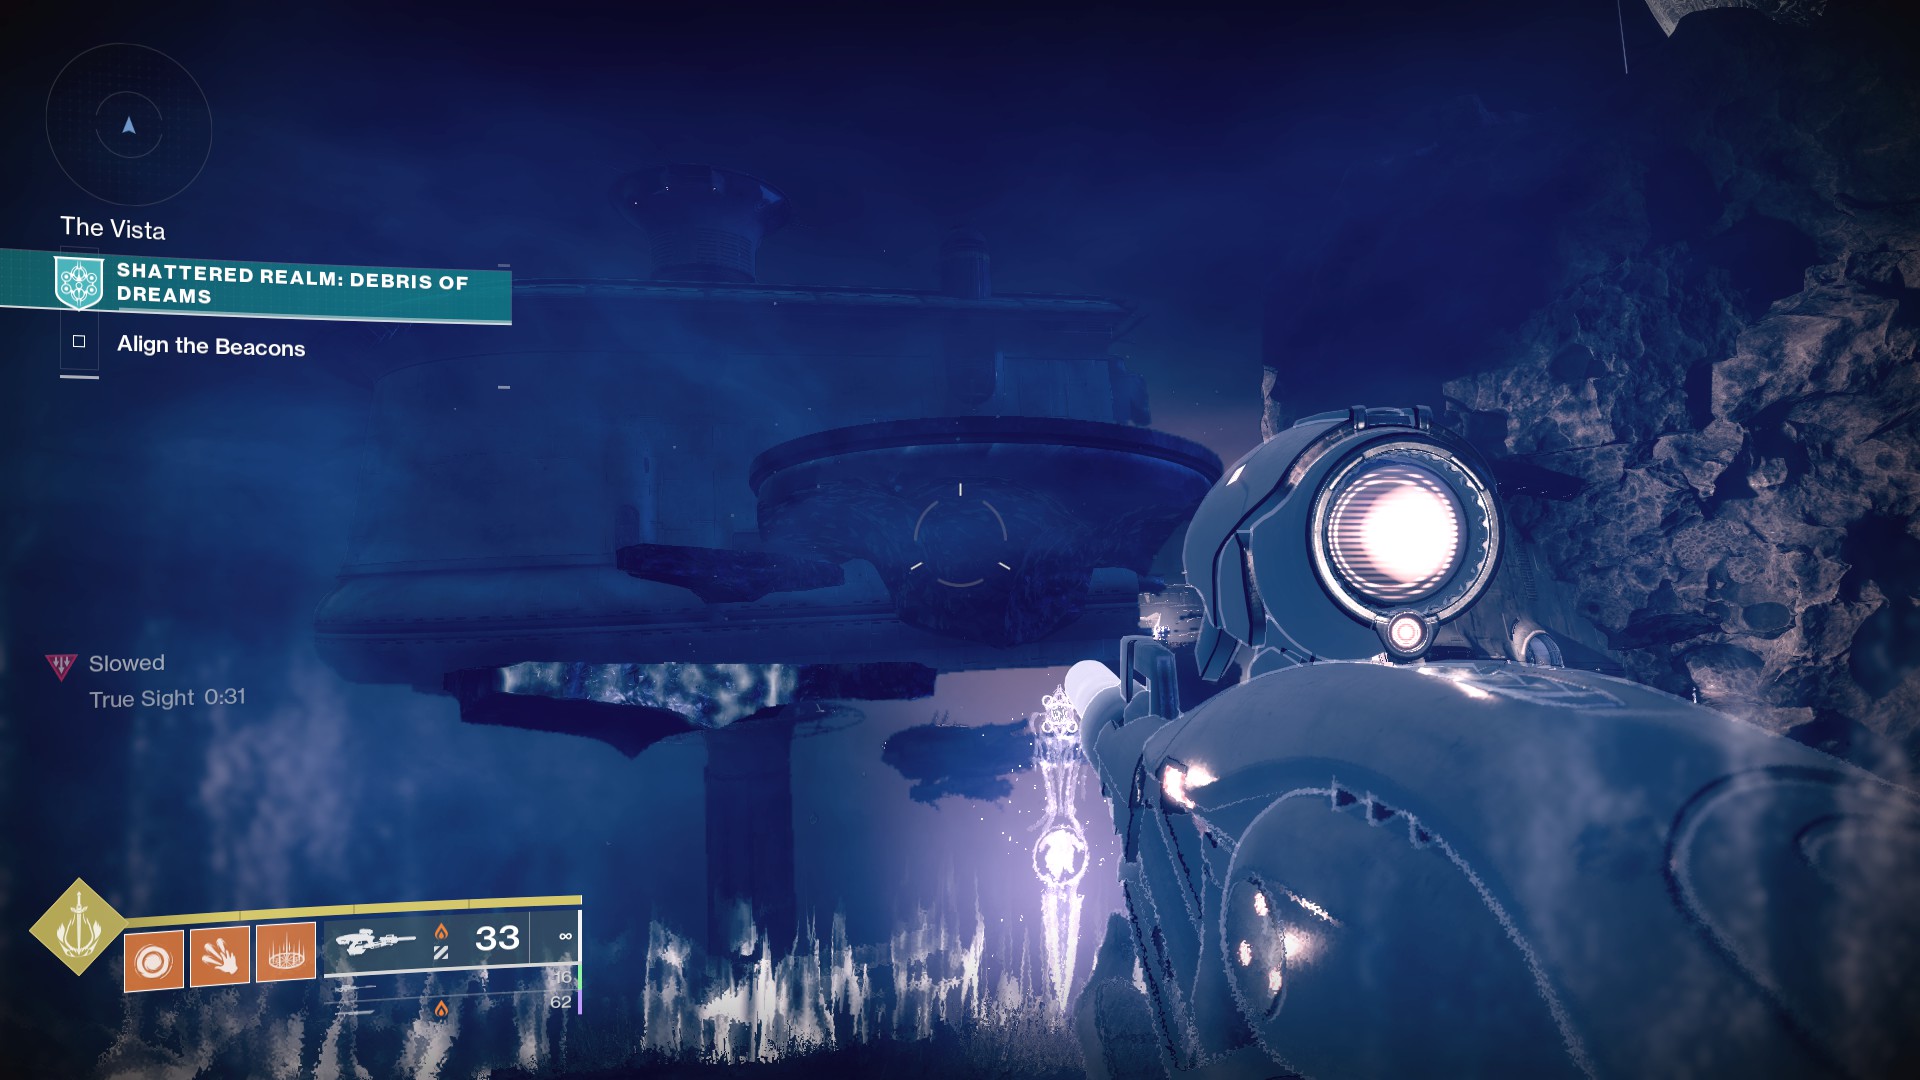
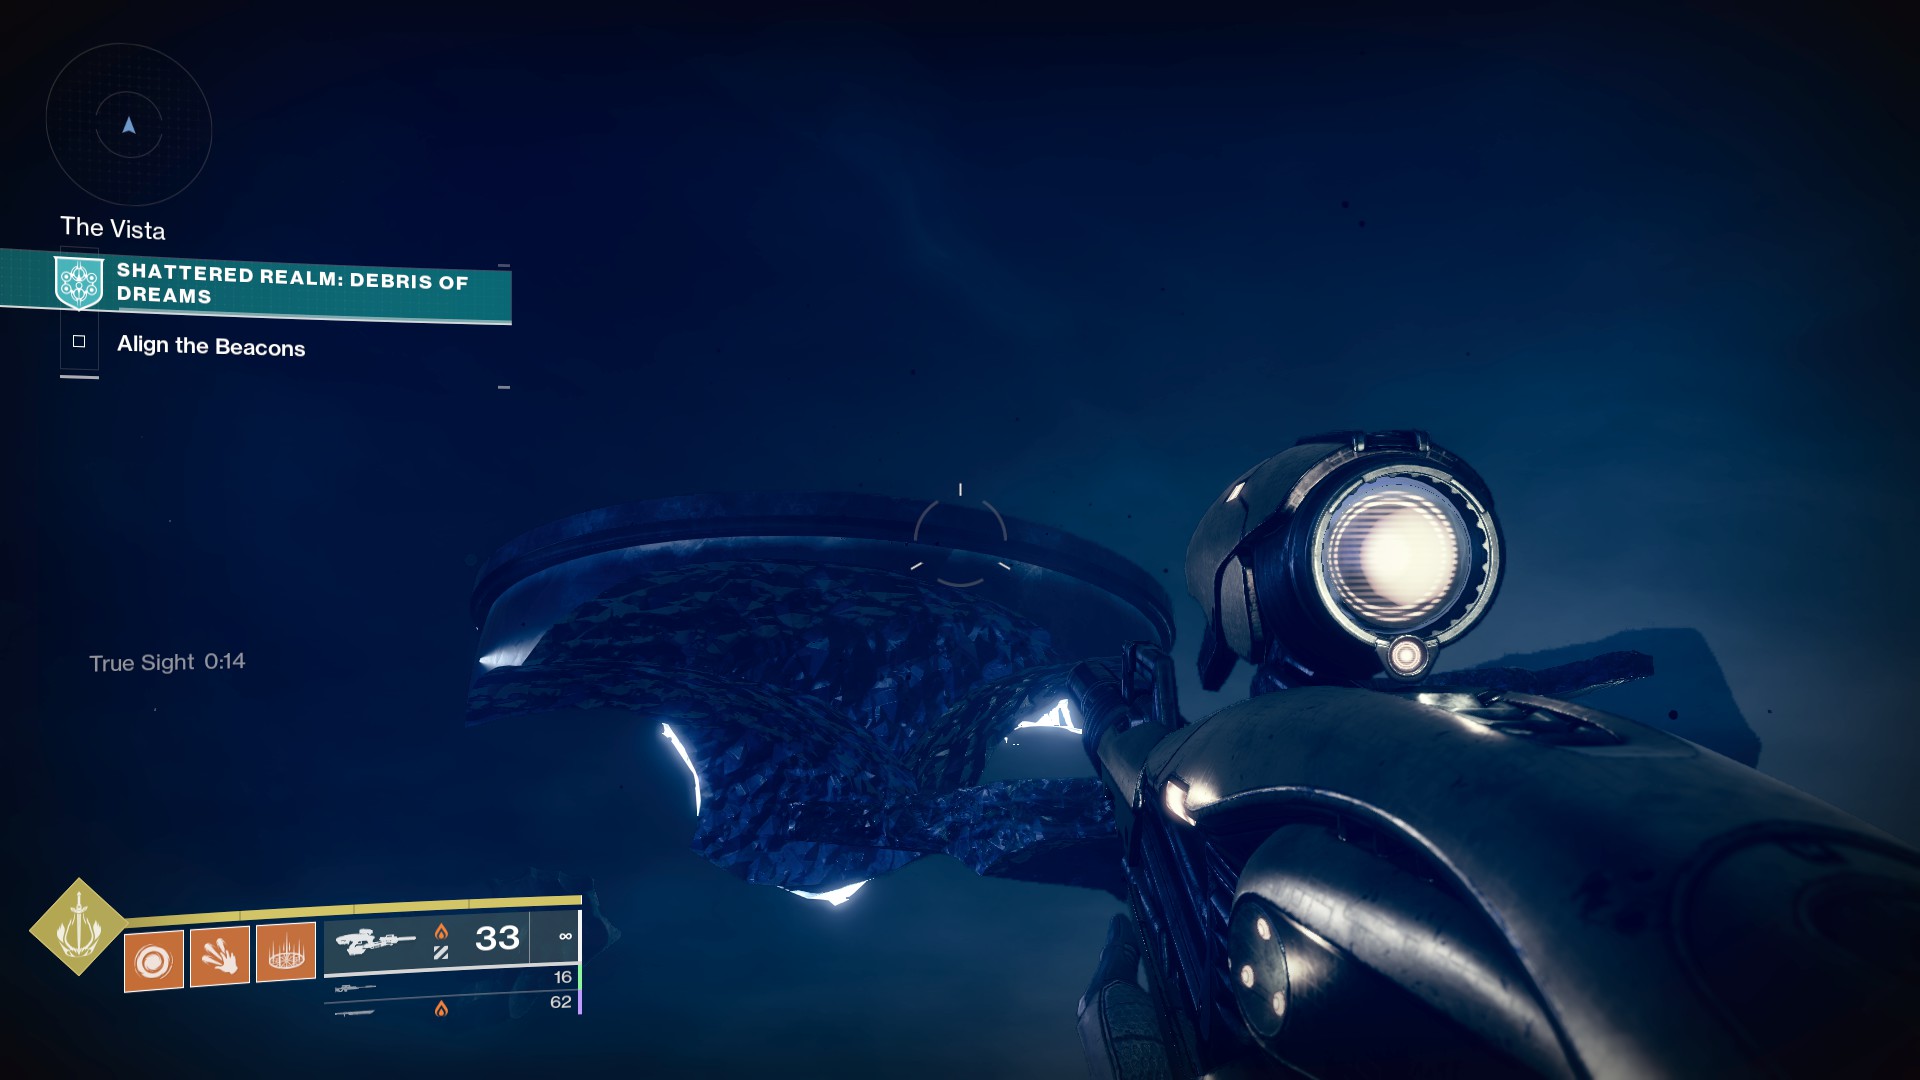
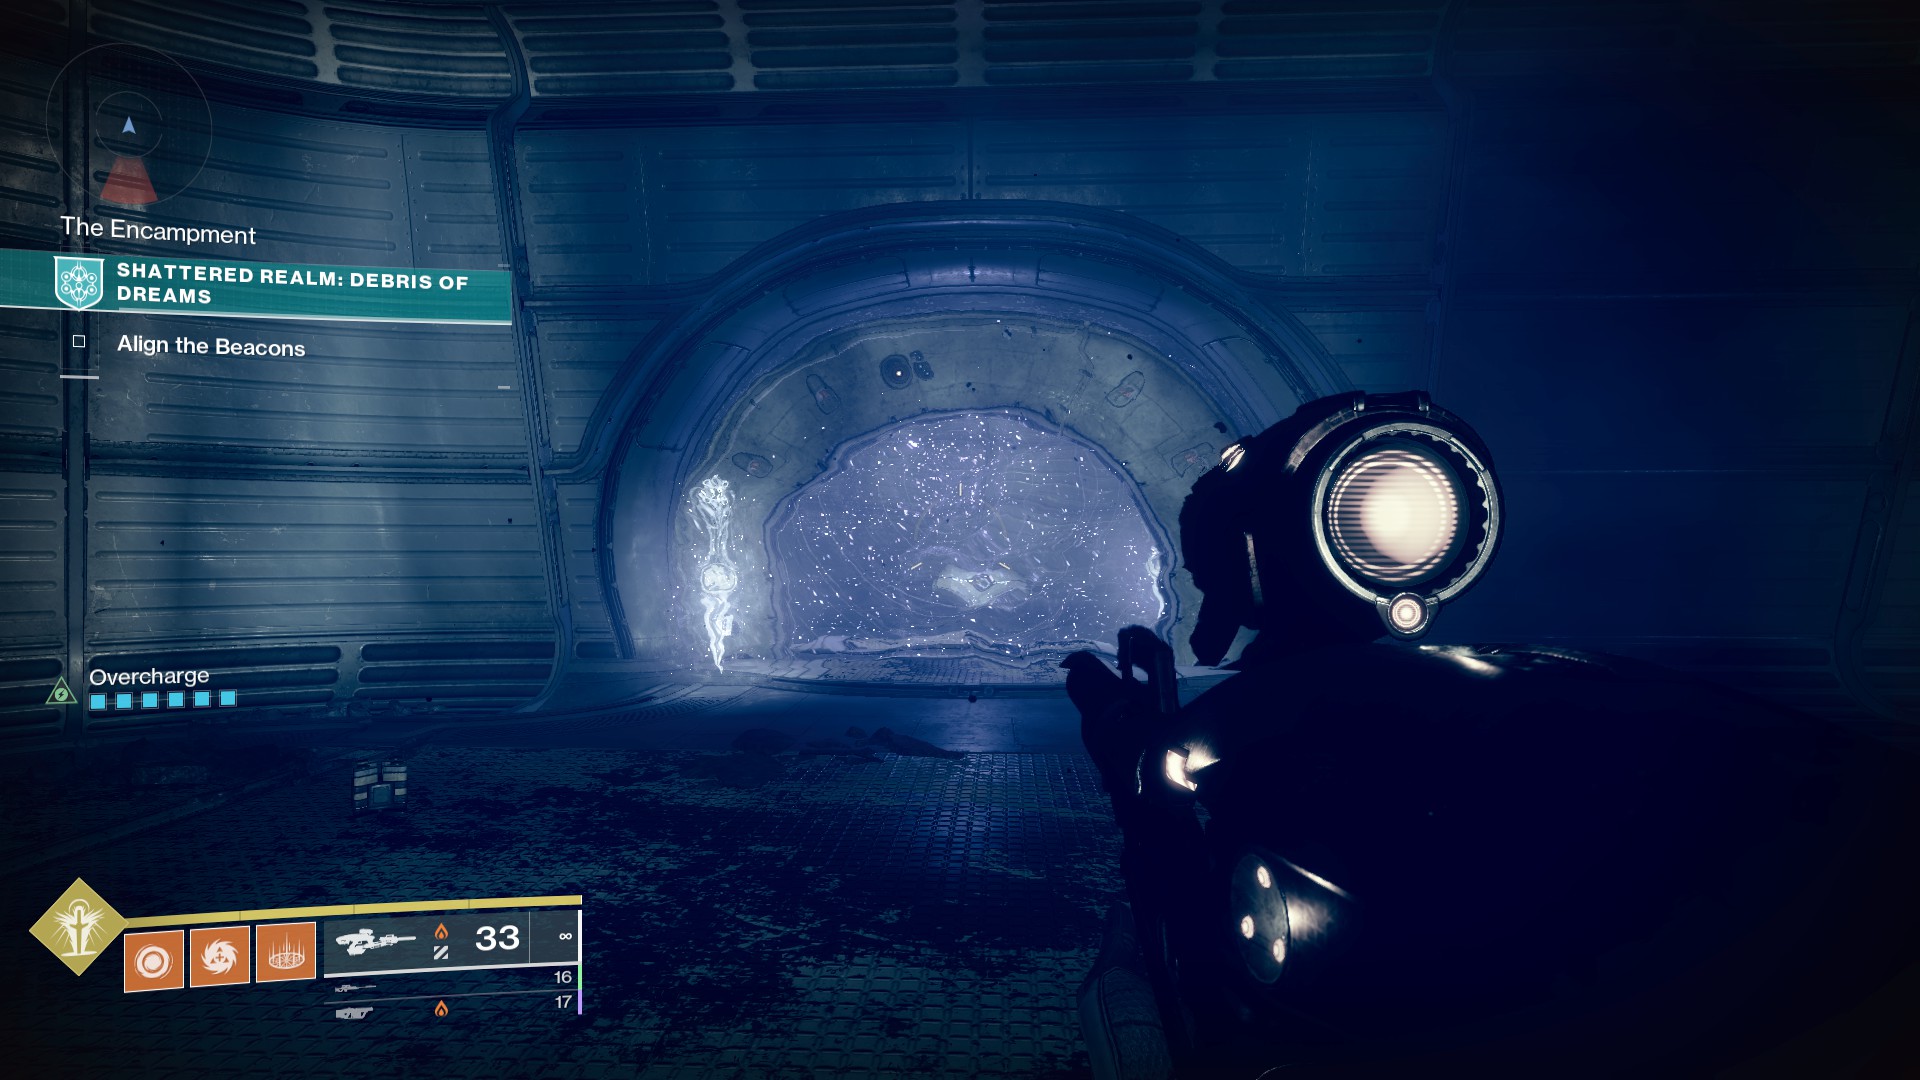
Return to the True Sight pillar near the hut from Supply Stash. Across the way, you’ll see a large island with a spinning turbine. Jump across and fall through the slow-moving blades to reach an otherwise invisible platform with the chest on it.
If your True Sight timer runs out, there’s another one in the chamber you can activate and climb back up.
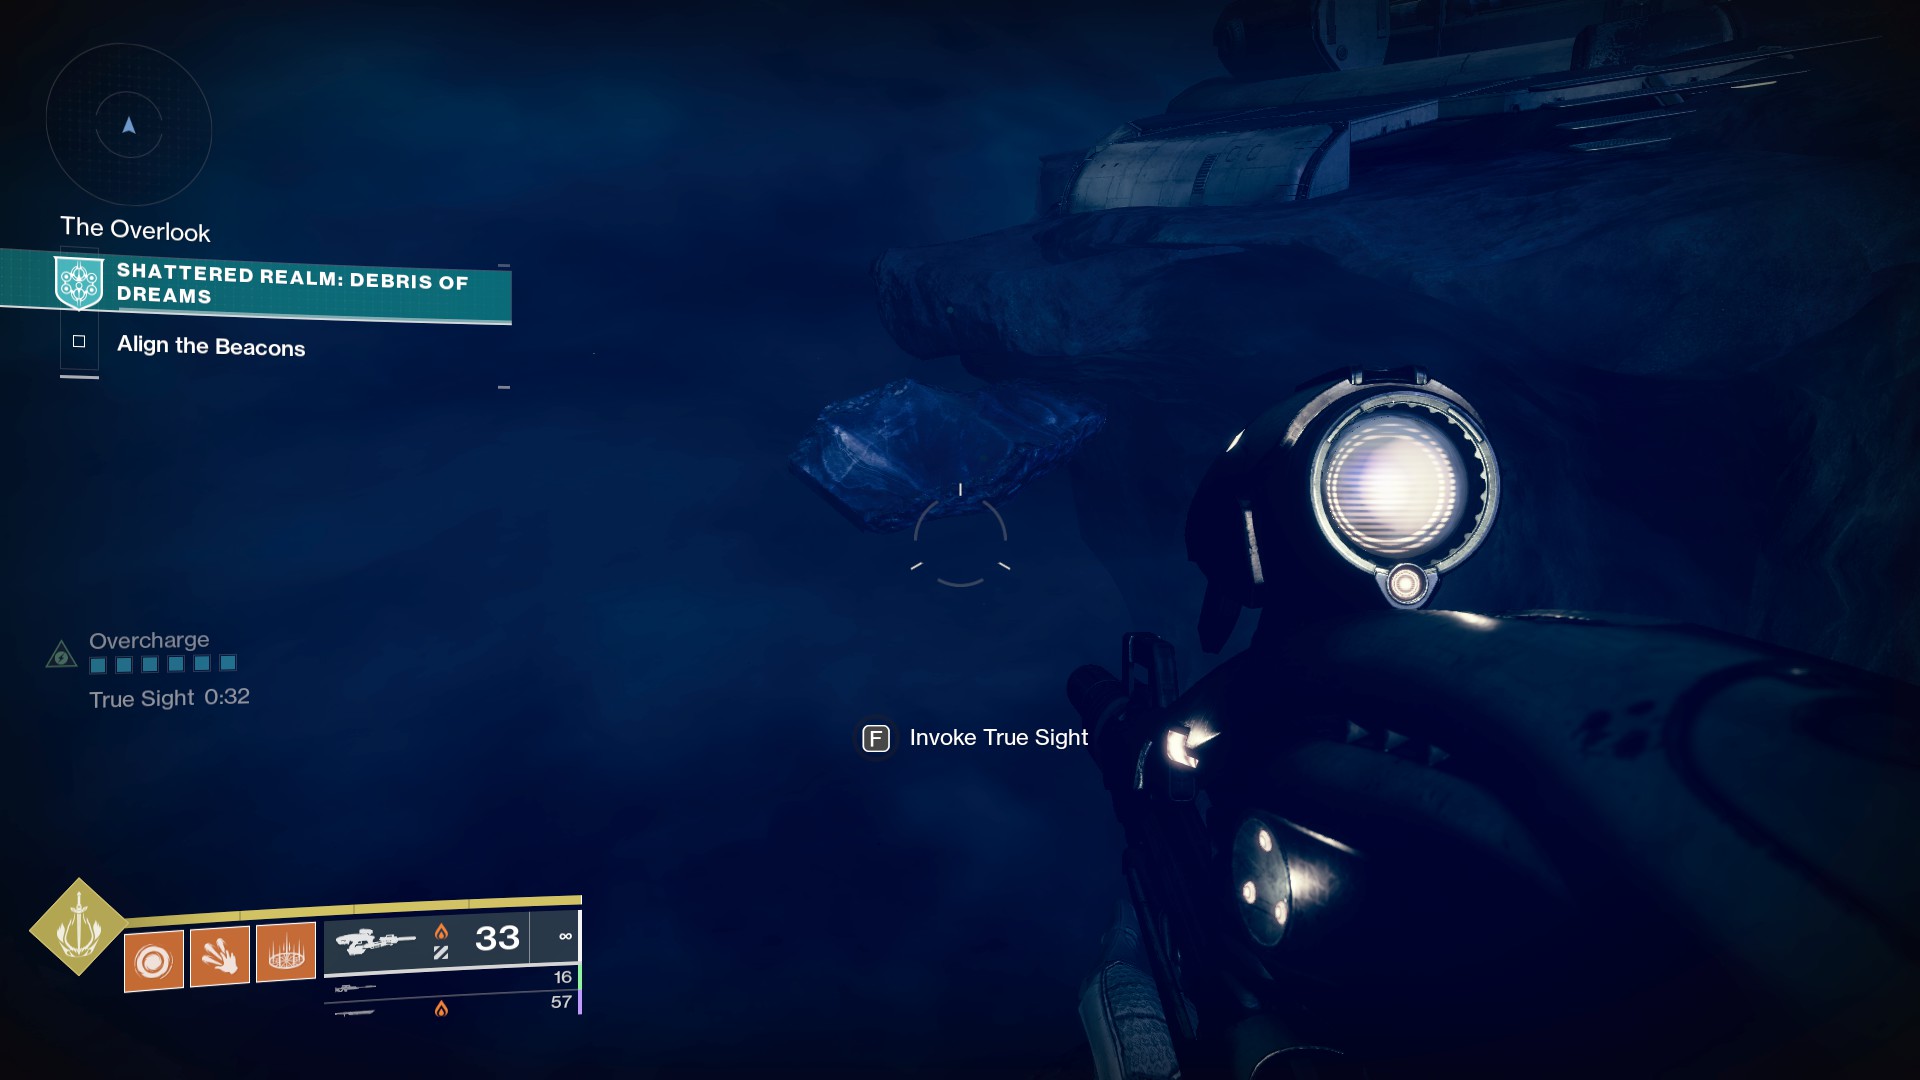
Trivial Mystery 3: The Underhang
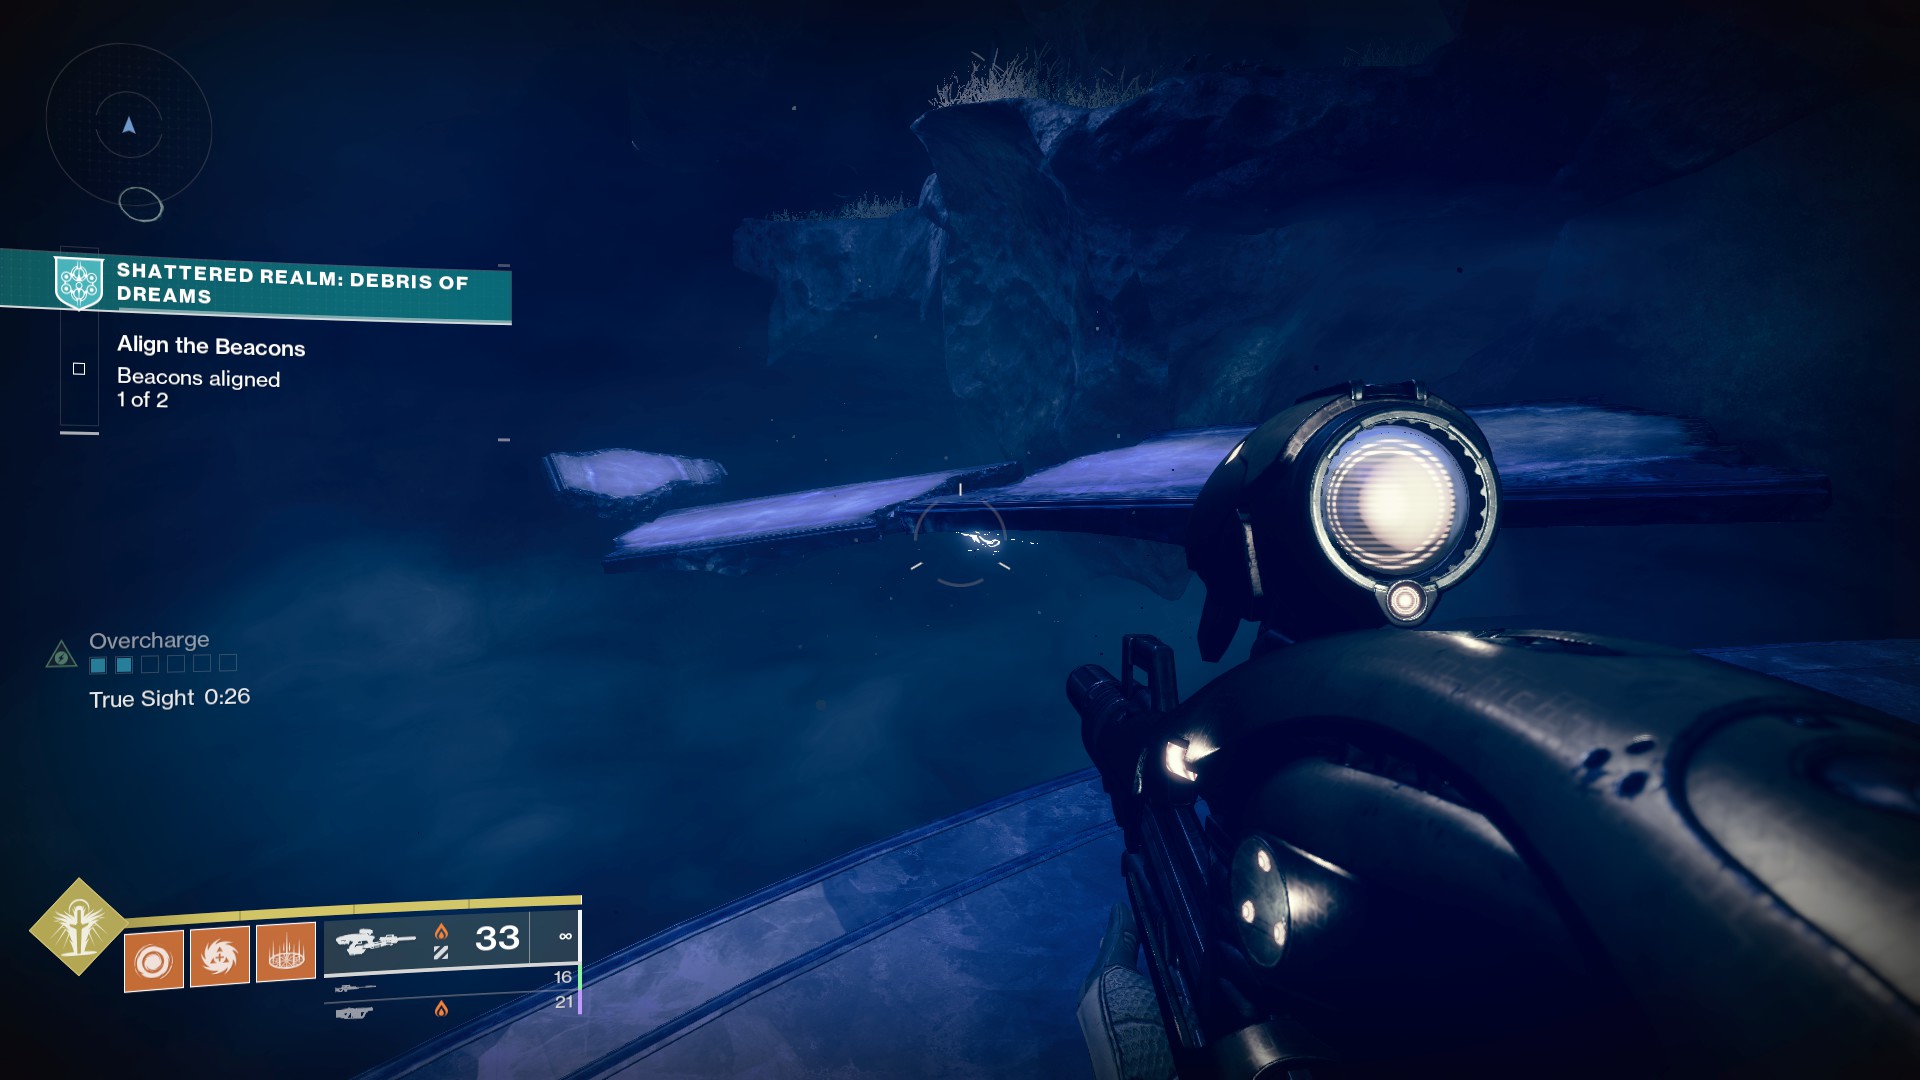
From the Outpost Lost cave, look out toward the well-lit building and you’ll see a True Sight pillar just outside. Activate it to reveal a set of floating platforms going down and to the right. The chest is in an alcove at their end.
At this point, you can proceed to the next beacon. You’ll pass two inactive pillars on the way that will come in handy once you complete the beacon encounter.
Trivial Mystery 4: Concealed Cache
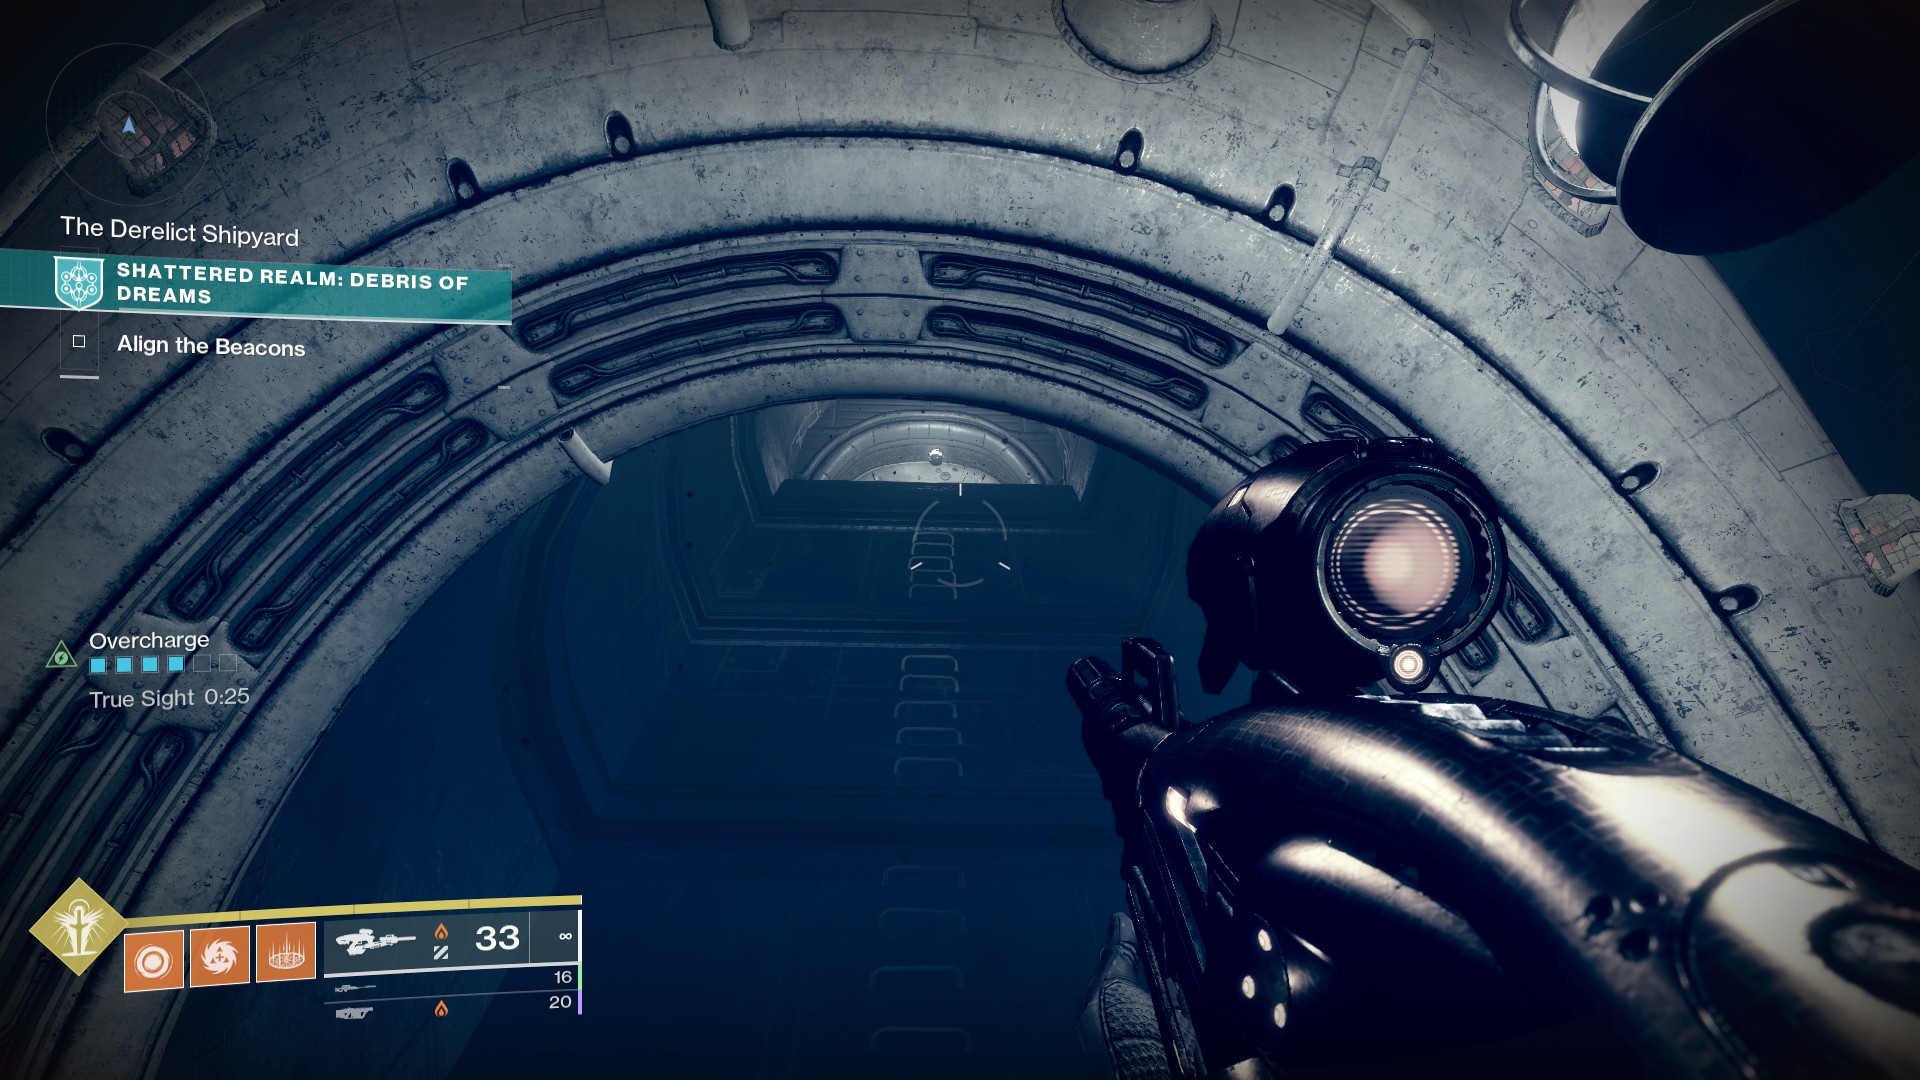
Exit the beacon room from where you first came in and turn left. The True Sight pillar is now active, so pick up the ability then return to the beacon room. Head into the shaft with the ladder in it.
When you reach an intersection, turn right then left to see the chest nestled against the wall. Be aware it will disappear without True Sight, so pick it up quickly.
Trivial Mystery 5: Secret Stash
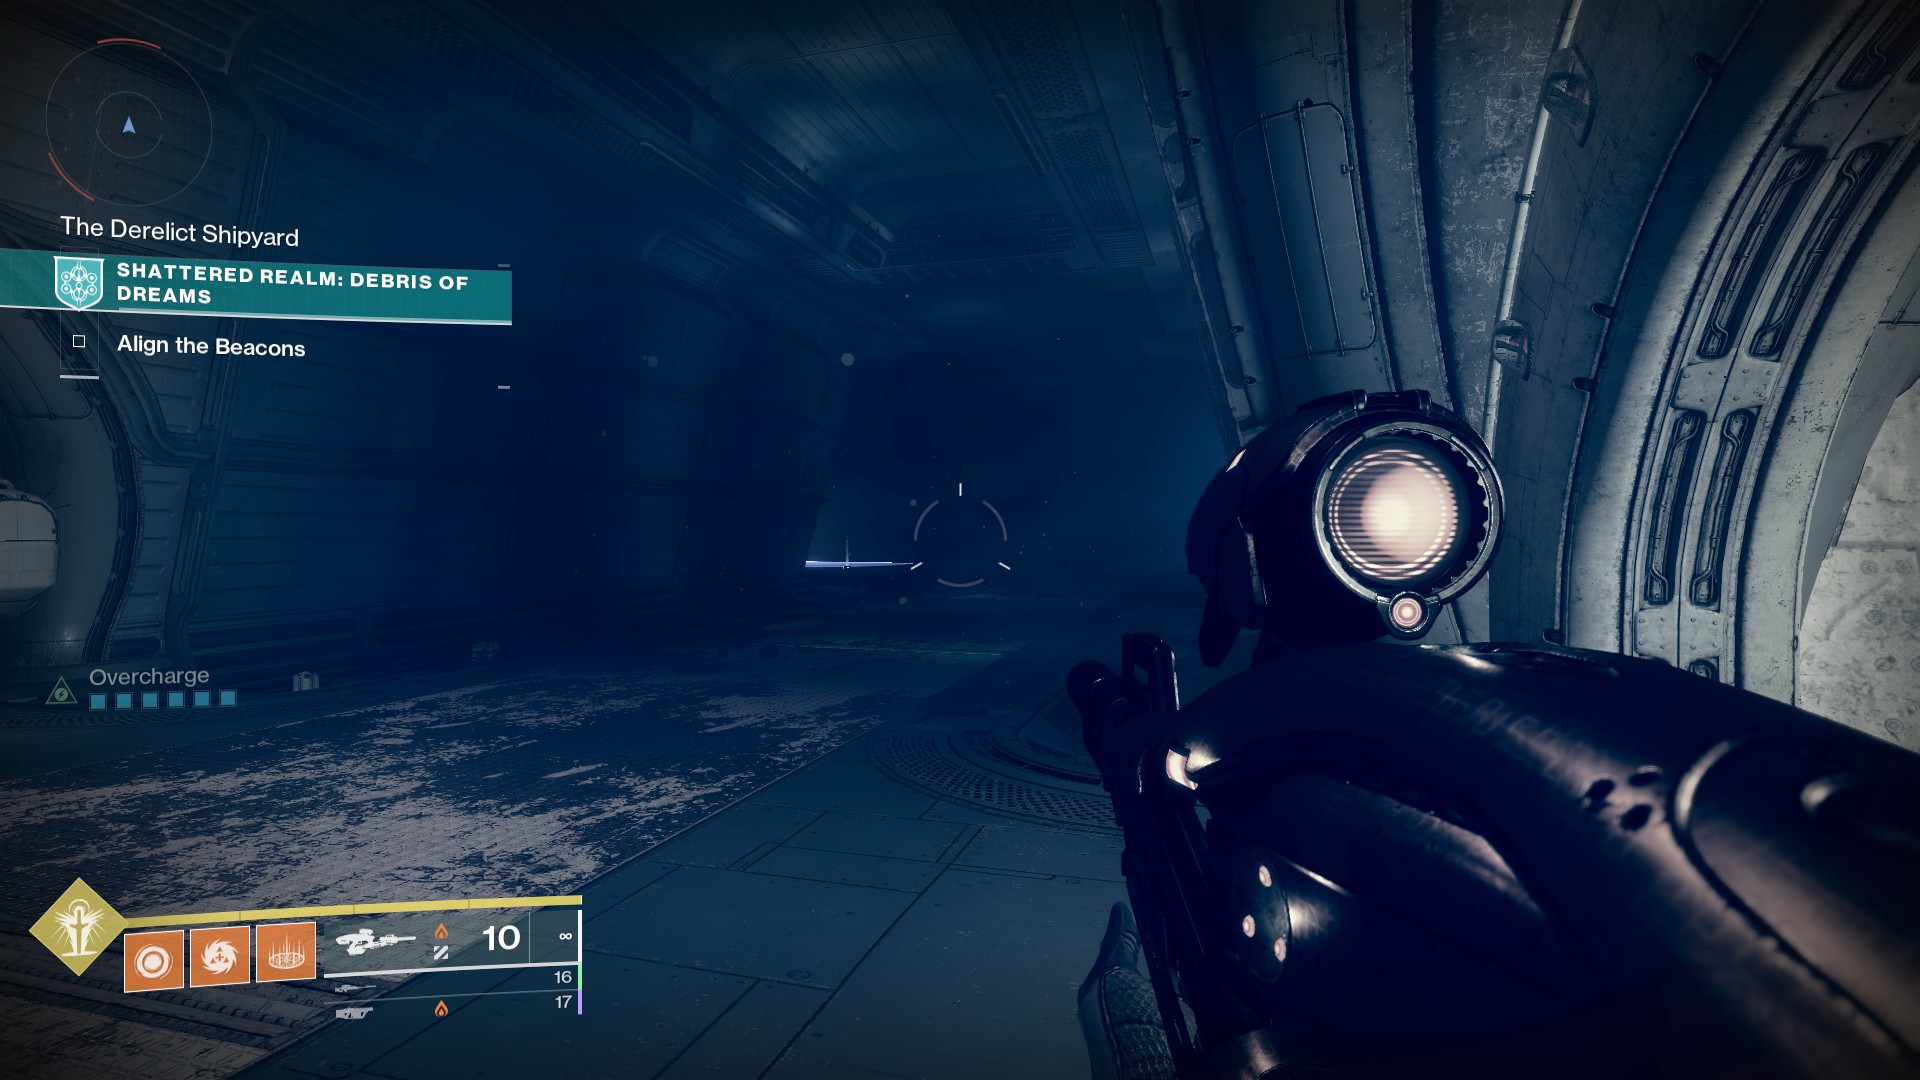
Directly across from the Concealed Cache is a barrier you can breach. Do so and collect the chest.
Trivial Mystery 6: The Hidden Path
Return to the True Sight pillar outside the beacon area, activate it and follow platforms down and to the left. The chest sits on a floating platform.
Enigmatic Mystery 3: Shipyard Secrets

Head back to the beacon room and up through the ladder shaft, turning left at the top. Go through the teleporter to the boss room but don’t start the encounter.
Instead, make your way to the far end of the balcony and look down. You should see a True Sight pillar. Jump carefully down, activate it, then follow the revealed path to the chest.
Trivial Mystery 7: Refined Mystery
Return to the turbine area and look to the left of the Dreaming City structure you came from at the activity’s start. You will see a large building that’s not on the beaten path.
Head to its rightmost section, and look left along the wall to find another breachable barrier. Activate the nearby pillar, go inside, and collect the chest beyond.
Trivial Mystery 8: Envisioned Ascent
Return to the boss room and turn immediately right from the teleporter until you see a lonely floating island with a yellow-lit building in the distance. To reach it, you’ll need to be a top-tree Dawnblade Warlock, a Titan using Lion Rampants and Thundercrash, or a Hunter who can Worldline skate.
Using any of these abilities, make your way across the chasm to the island, then activate the True Sight pillar to the left of where you land. Follow platforms that appear down to the chest.
Trivial Mystery 9: The Hidden Refuge
Return to the True Sight on the lonely island, activate it, and look right. Take the revealed platforms down to another hut with the final chest.
That’s it for the available sets of Trivial and Enigmatic Mysteries. Check out our other articles on Destiny 2: Season of the Lost in the meantime!