
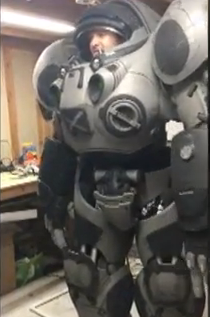
Ever since StarCraft 2: Wings of Liberty came out in 2010, pretty much every fans has wanted to have their own Marine armor. Everyone became obsessed with the military science fiction video game. However, even for seasoned and professional cosplayers, the dream of having this armor seemed unattainable. But one man, Michael Wiggins, was able to achieve this dream — and it looks amazing.
Michael documented his journey on YouTube and in an RPF forum. That way, others could create their own versions — and at the same time, he could get tips on how to make his armor better.
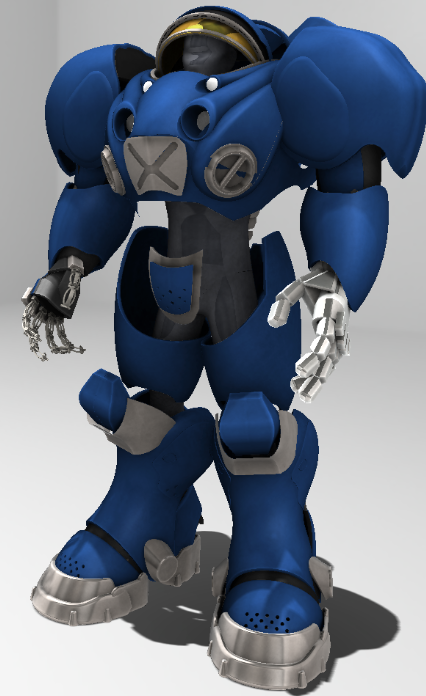
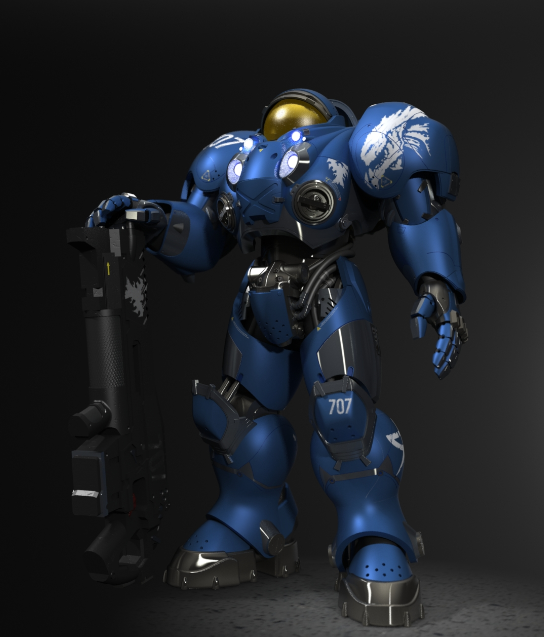
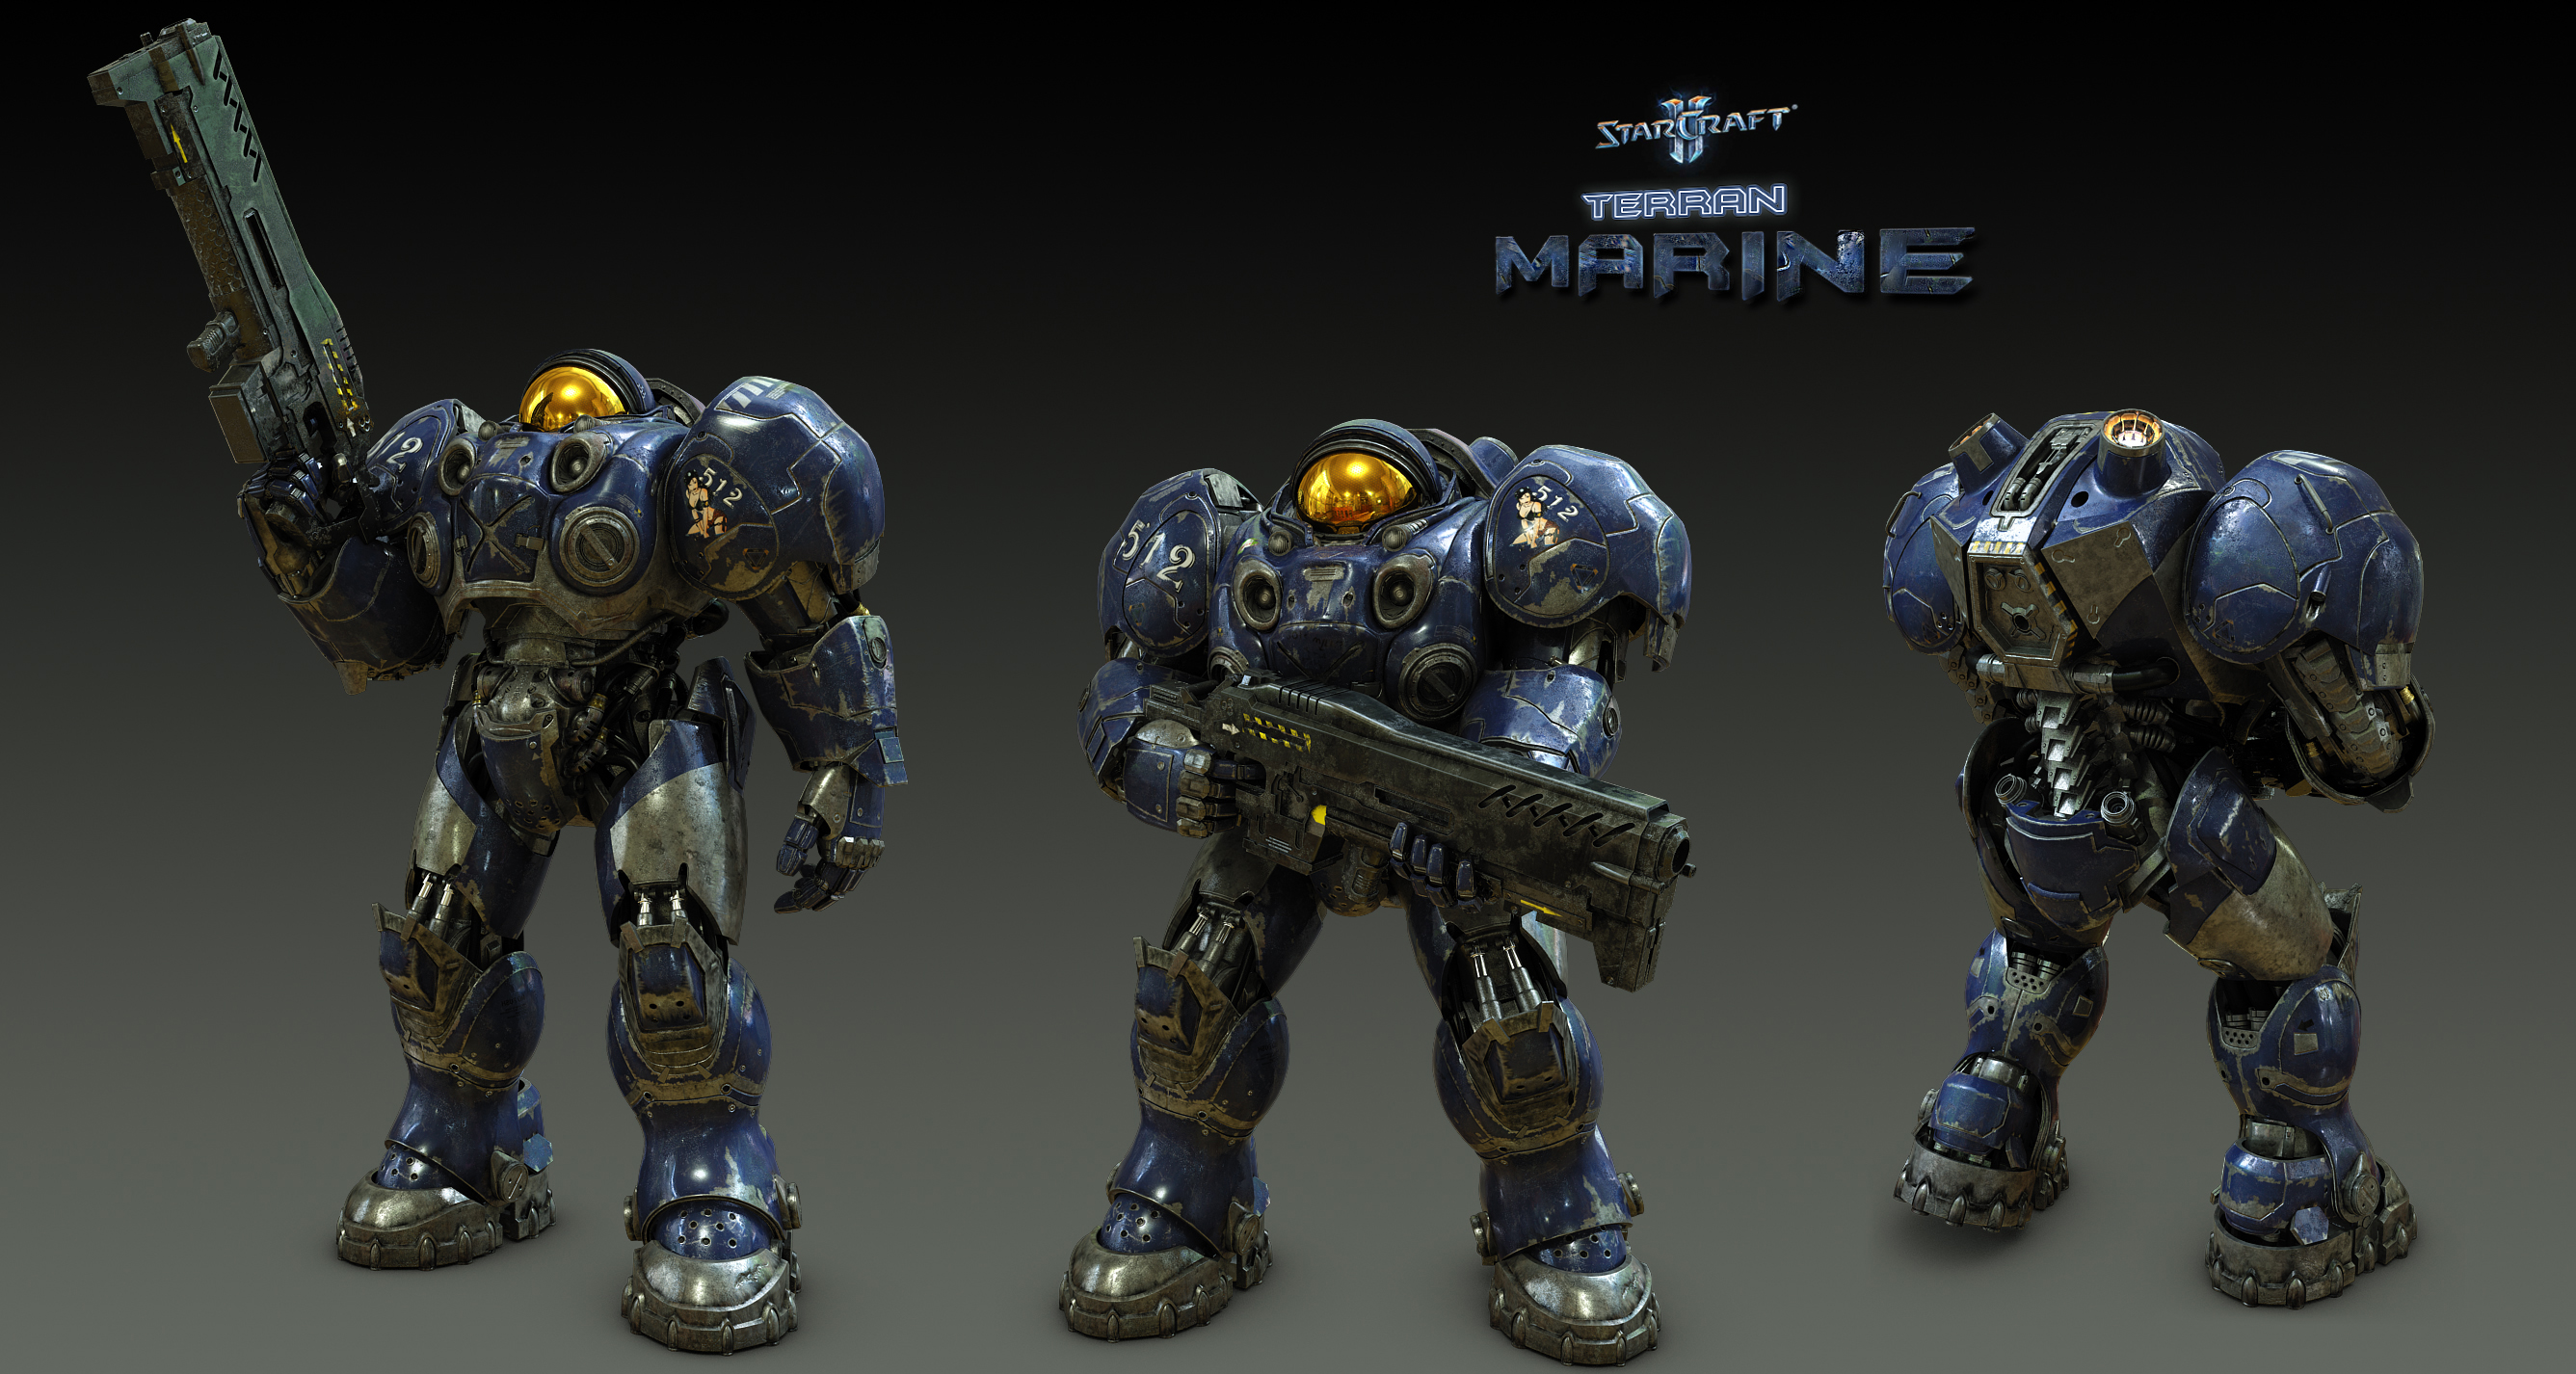
The first step in creating the armor was to gather a pile of photos. Michael gathered every reference he could from renderings, paintings, screenshots, illustrations, etc. He then used these references in Solidworks and Photochop to model the suit. Next, Michael used a mannequin model that on GradCad. He scaled it to match his height and lined up the reference photos he had gathered. He started at the feet and modeled upwards on the program. However, the model wasn’t giving him the results he wanted.
Michael found the website RPF and starting reading about pepakura, extracting game files, and papercraft. He extracted the game models, downloaded the pep viewer, and attempted to unfold the geometry. At the same time, Michael kept researching. He researched about unfolding, printing, cutting, gluing, and getting the 3D shapes. After researching about the materials, he realized that this project was going to cost more than anticipated. All his research pointed to using fiberglass, sanding, and bondo. Michael also wanted a more organic look than any of these could supply. He ended up settling for EVA foam.
Next, Michael imported the extracted geometry into his Solidworks model. He scaled it up and started over using his new template. He also kept in mind his material. He had to accommodate the model for the ½” thick foam sheets. He also planned for strapping, mounting, pivots, supports, electronics, and lights. With his preplanning stage finally complete, he ran to buy supplies.
Michael was able to create his suit using PVC for the exoskeleton and using the EVA foam to place on top. He even used wood at certain points.
If you’d like to create your own StarCraft suit, Michael is very open about his process. You can ask him questions on a RPF forum. Michael clearly has come a long way since starting this project, and his results are amazing.


Published: May 31, 2016 12:56 pm