Category: Tips Returnal Red Doors Explained: What are Red Doors? Jonathan Moore Jonathan Moore May 2, 2021
Category: Tips How to Unlock Rosalina in Super Mario 3D World Josh Broadwell Josh Broadwell Feb 15, 2021
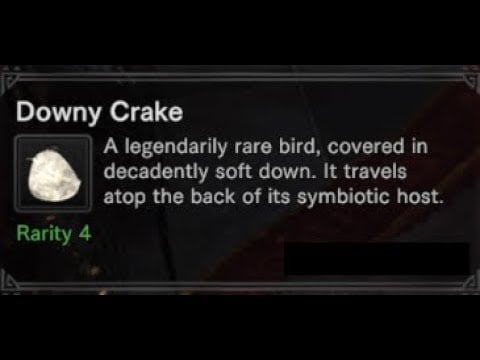
Category: Tips Monster Hunter World Phantom Bird Guide Nicolas Entrabartolo Nicolas Entrabartolo Mar 6, 2018
Category: Tips Xenoblade Chronicles 2 Combat Guide: Excel at Blade Combos, Driver Combos, and Chain Attacks Autumn Fish Autumn Fish Dec 2, 2017
Category: Tips Returnal Red Doors Explained: What are Red Doors? Jonathan Moore Jonathan Moore May 2, 2021
Category: Tips How to Unlock Rosalina in Super Mario 3D World Josh Broadwell Josh Broadwell Feb 15, 2021
Category: Tips Monster Hunter World Phantom Bird Guide Nicolas Entrabartolo Nicolas Entrabartolo Mar 6, 2018
Category: Tips Xenoblade Chronicles 2 Combat Guide: Excel at Blade Combos, Driver Combos, and Chain Attacks Autumn Fish Autumn Fish Dec 2, 2017
Category: News Atlus Thanks Western Fans For Playing Persona 5 Curtis Dillon Curtis Dillon May 4, 2017
Category: Tips How To Get Every Single Capital Cashino Token in Yooka-Laylee GeorgieBoysAXE GeorgieBoysAXE Apr 22, 2017
Category: Listicle Top 5 Most Helpful Threads in the Overwatch University Subreddit Jerline Justo Jerline Justo Mar 31, 2017
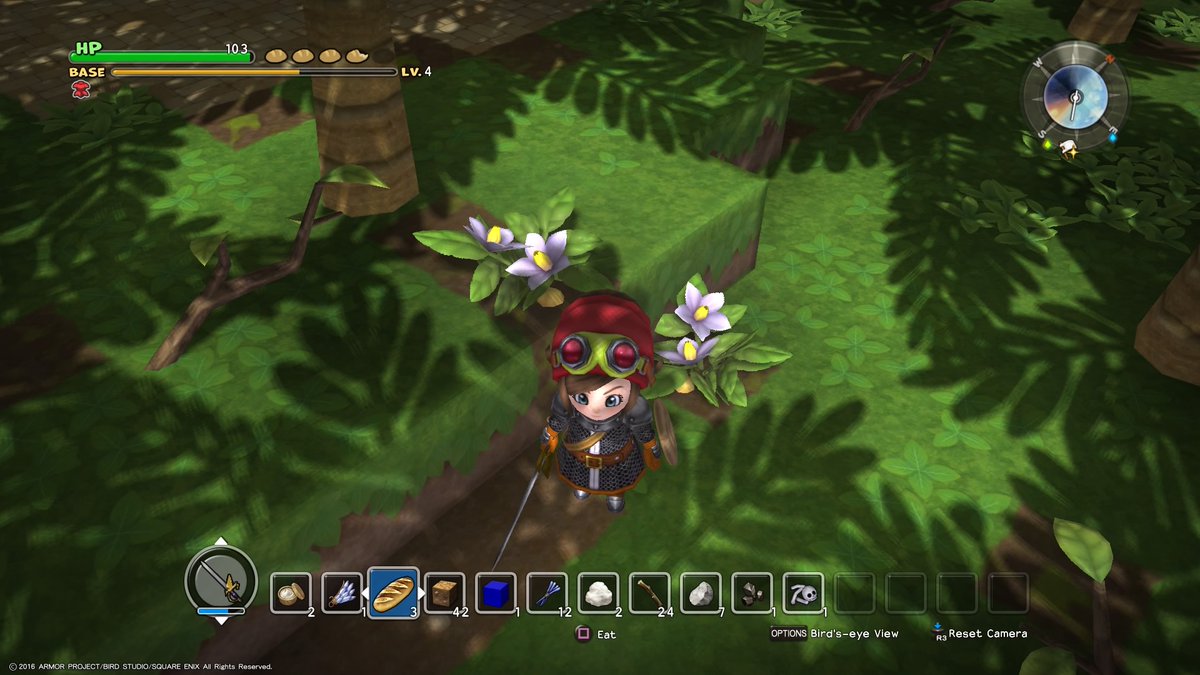
Category: Tips Dragon Quest Builders Guide – How to find Potatoes Autumn Fish Autumn Fish Oct 13, 2016
Category: Culture Guild Guide: How to help your guild get better at any game Eliot Lefebvre Eliot Lefebvre Jul 6, 2016
Category: Tips Road to the Show in MLB The Show 16 Guide: How to make a hall of fame caliber pitcher Eric Adams Eric Adams Apr 8, 2016
Category: Tips Road to the Show in MLB The Show 16: How to make a hall of fame caliber player Eric Adams Eric Adams Mar 28, 2016
How To Get Every Single Capital Cashino Token in Yooka-Laylee GeorgieBoysAXE GeorgieBoysAXE Apr 22, 2017
Road to the Show in MLB The Show 16 Guide: How to make a hall of fame caliber pitcher Eric Adams Eric Adams Apr 8, 2016
Kingdom Hearts Birth by Sleep Guide: Terra’s Ultimate Command Deck Jackson Ingram Jackson Ingram Jul 1, 2015