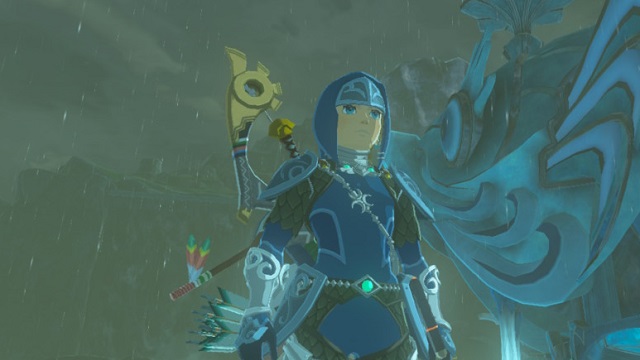
The Zora Armor is a fairly useful set to have in The Legend of Zelda: Breath of the Wild. Not only does it provide you with a decent armor rating and speed increase, but it also grants you the ability to swim up waterfalls. It will also make fighting the Divine Beast of the Zora’s Domain much easier.
As such, this armor set is a must-have when exploring the watery areas of the game, and we’re going to tell you how to get it!
WARNING: SPOILERS AHEAD!
Getting the Zora Armor
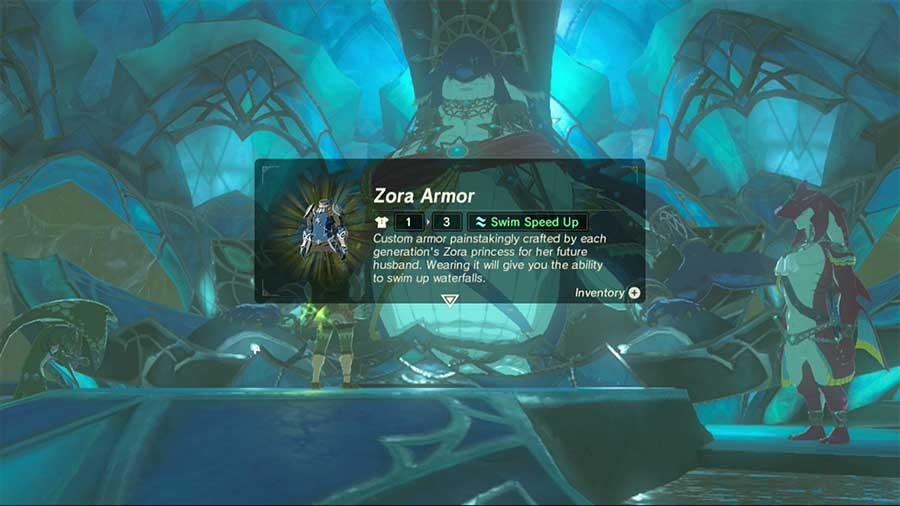
Before we look at getting the other parts of the Zora Armor Set, we first need a means to get up waterfalls. While climbing does work, the areas where the Zora Armor Set pieces are located will require absurd amounts of stamina boosting items. As such, simply follow the main quest for the Zora’s Domain until you speak to King Zora. After the cutscene discussing the fate of his daughter, you will receive the Zora Armor.
After you have equipped the Zora Armor cuirass, we can begin to look for the other pieces of the set.
The Search for the Zora Helm

After you equip the Zora Armor cuirass, head toward the northern-most point of Zora’s Domain. There you will find a massive waterfall with a serious current underneath it. Using your paraglider, get as close to the waterfall as possible (while maintaining a healthy amount of stamina) and then swim upward. From there, swim up the next waterfall until you reach Toto Lake.

Once you arrive at Toto Lake, swim over to the flooded ruins and climb onto the rightmost brick wall. Near the back of the ruins, you should be able to use your magnesis rune to spot a metal chest hidden underneath the water. Drag it back onto dry land and open it to reveal the Zora Helm.
Putting Some Pants On
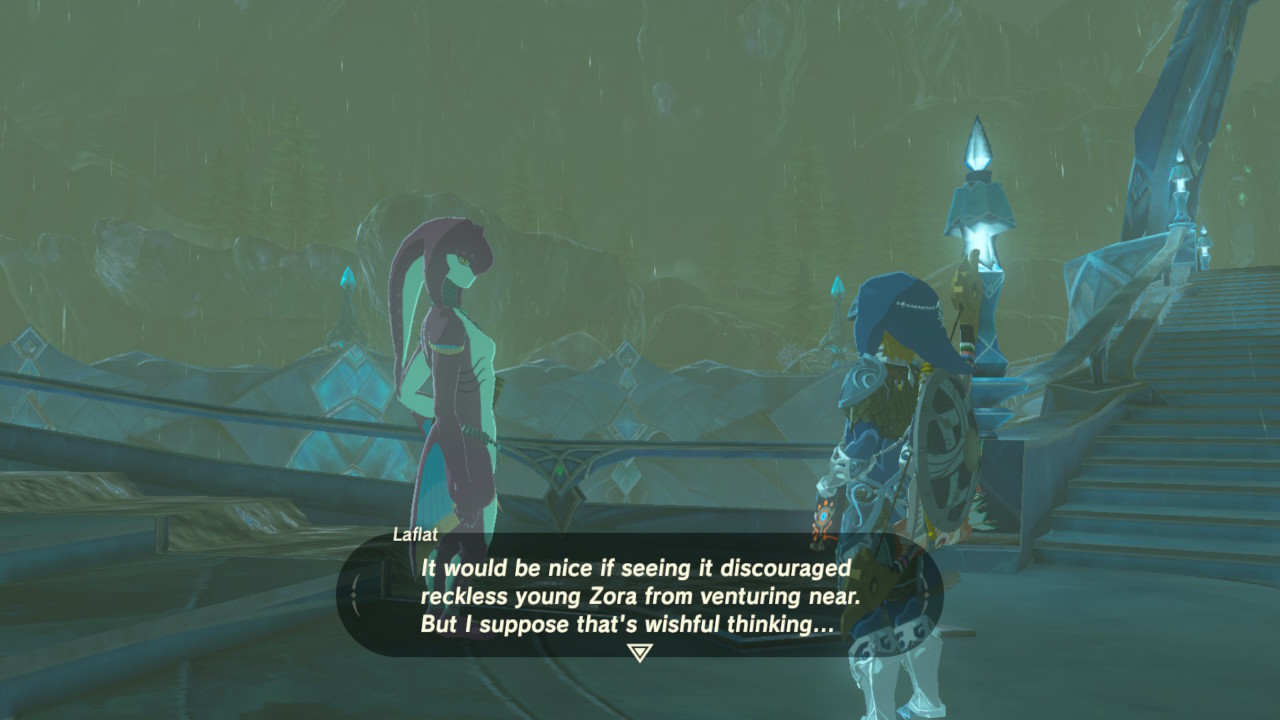
Laflat is a young Zora female who is looking for someone to help her with a problem involving the youth of the Zora tribe. Apparently, a Lynel was spotted atop Ploymus Mountain, and the youth venture up there in an attempt to see it. This is ill advised, as even Link will have a difficult time taking one down.
The young Zora will then ask Link to snap a picture of the Lynel to show how terrifying it is. Considering the fact that you will need to venture up Ploymus Mountain to collect Shock Arrows from the Lynel’s shooting range, doing this kills two birds with one stone.
Return to Laflat with the picture, and she will reward you with the Zora Greaves.
That’s it Folks!
The Zora Armor is a very useful kit to have for both exploration and the Vah Ruta dungeon. Be sure to upgrade this kit to its second level at the Great Fairy to unlock a set bonus that is sure to put a smile on your face!
Check out our other Breath of the Wild guides!
- Melee Weapons Guide
- Horse Taming Guide
- Special Mounts Guide
- Great Fairy Locations
- Sheikah Rune Upgrades
- Zora Armor Set Locations
- Obtaining the Master Sword
- Keo Ruug Shrine Guide


Published: Mar 5, 2017 08:39 pm