What can easily be seen as a shallow rouguelike adventure, Has-Been Heroes is actually far deeper, and thinking otherwise will see you fail time and time again. In reality, Frozenbyte’s latest adventure secretly hides deep strategy and gameplay secrets that can help you better navigate the game’s randomly generated maps. In this guide we’ll cover what you need to know in order to finally put the final nail in the Ghoul’s coffin.
Understanding the Mechanics of Combat
Has-Been Heroes focuses on a lane-based style of combat. Each character is restricted to a single lane, but can switch around at will – provided another character has freed the space by attacking. Any time a melee attack is initiated – or if the player hits the left bumper – the game will pause to allow time for strategizing. While this seems simple enough, there’s actually quite a bit of information on the screen to understand in order to succeed.
Know Your Enemy
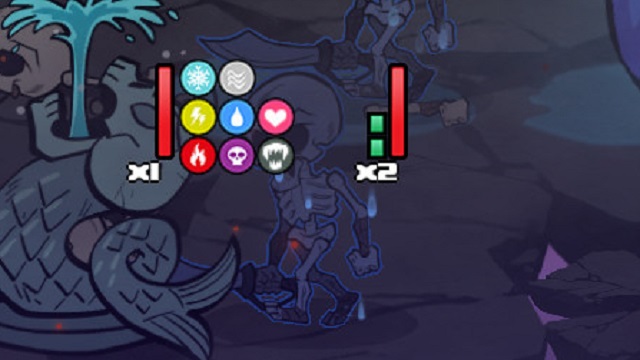
Enemies in Has-Been Heroes have several bars and icons that represent various statuses about them. While not all of them are present in the above image, they are understood as follows:
- Red Bar: Health.
- Green Bars: Stamina.
- Yellow or Blue Bar: Stun or freeze duration.
- Circular Icons: Elements that the enemy is invulnerable or immune to.
While your enemy has stamina bars marked by the white number, they are effectively invulnerable to your attacks. Only once you damage the enemy with enough melee strikes or a stun spell will you actually be able to do damage directly to their red health bar. A hero that has dealt damage to an enemy’s health will send it backwards in the lane where it will recover its stamina bars. Depending on the hero used, the recoverable stamina bar count may be reduced.
Pay close attention to enemies who start glowing or have unique animations as it typically means they are about to cast a spell. Using a spell on them – or attacking them with enough damage — will cause them to fail to cast. Failure to do so could mean anything from enemies recovering health or taking serious amounts of damage.
Reading the HUD
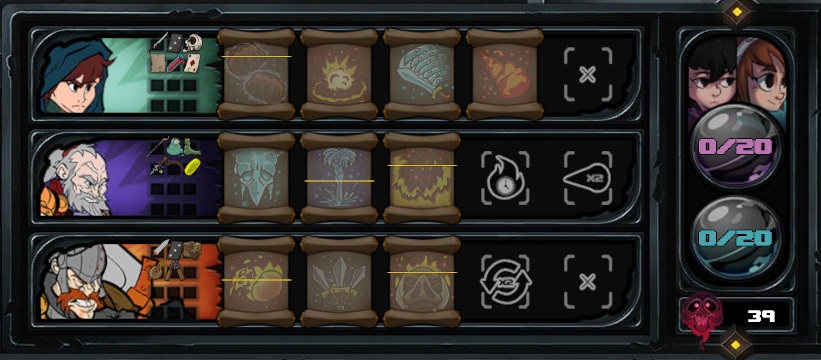
Much more complicated than understanding the enemy’s bars is your own HUD. Here you will find all the information you need to succeed, ranging from each character’s inventory, to spells, and soul charges.
- The Inventory: Accessed by pressing down on the left control stick, the inventory shows you the weapons and equipment currently held by the selected hero. While not entirely important – provided you have been paying attention to who picked up what – it is useful for learning about what each character’s primary weapon does.
- Spell Slots: Each hero has 5 spell slots, with one taken up by their primary spell. When not filled, you can hover over each spell slot to find out what bonus a spell placed in that slot will have. Learning the bonuses of each slot is key to success as there are many spells that greatly benefit from being paired with certain heroes.
- Soul Charges: Soul Charges are collected by defeating enemies. Depending on what lane the enemy was slain in, the souls will go to the princess closest to that lane. In the case of the central lane, souls will go to both princesses equally. Once full, pressing the right or left trigger will allow you to cast a spell for free. However, doing so without thinking is wasteful as the charges are necessary for unlocking new spells upon failure or successful completion of the quest. As such, it is best to only use this ability in a pinch or against bosses.
Learning the Characters
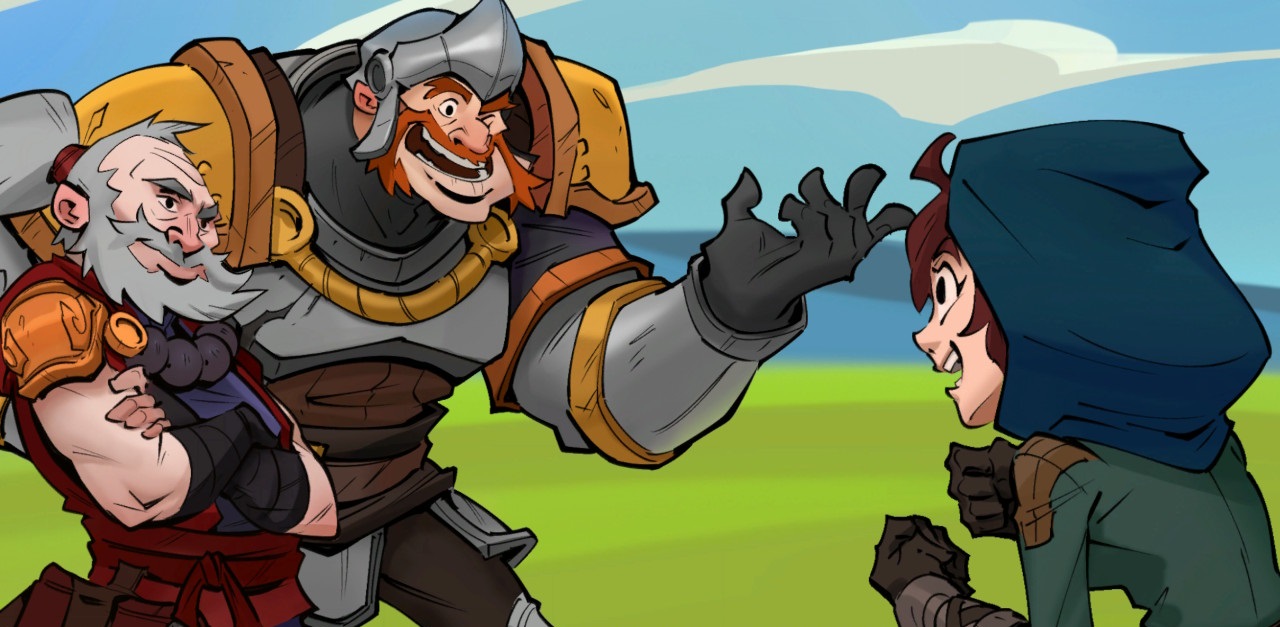
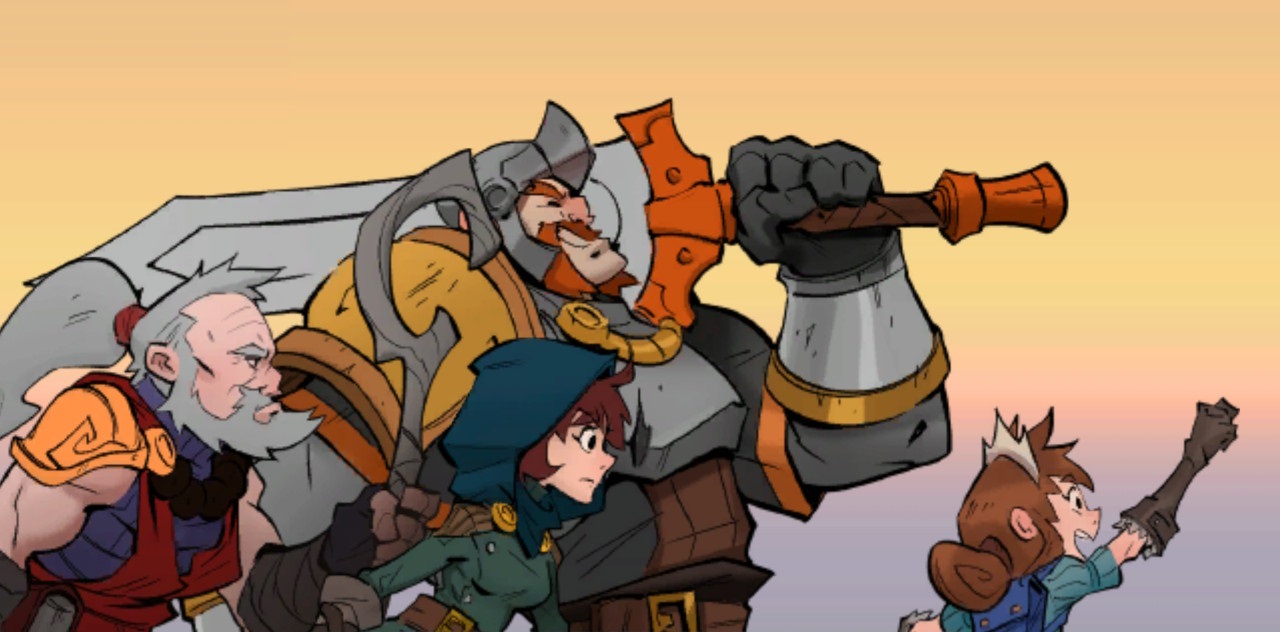
When you first start your adventure in Has-Been Heroes you will only have access to the Monk, Warrior, and Rogue. Each is completely capable in their own right, and are balanced in such a way that they can successfully complete the game without the need for unlocked heroes. That said, you will need to learn their unique traits or else you will never be able to complete even the first run of the game.
Each of the starting character’s traits are as follows:
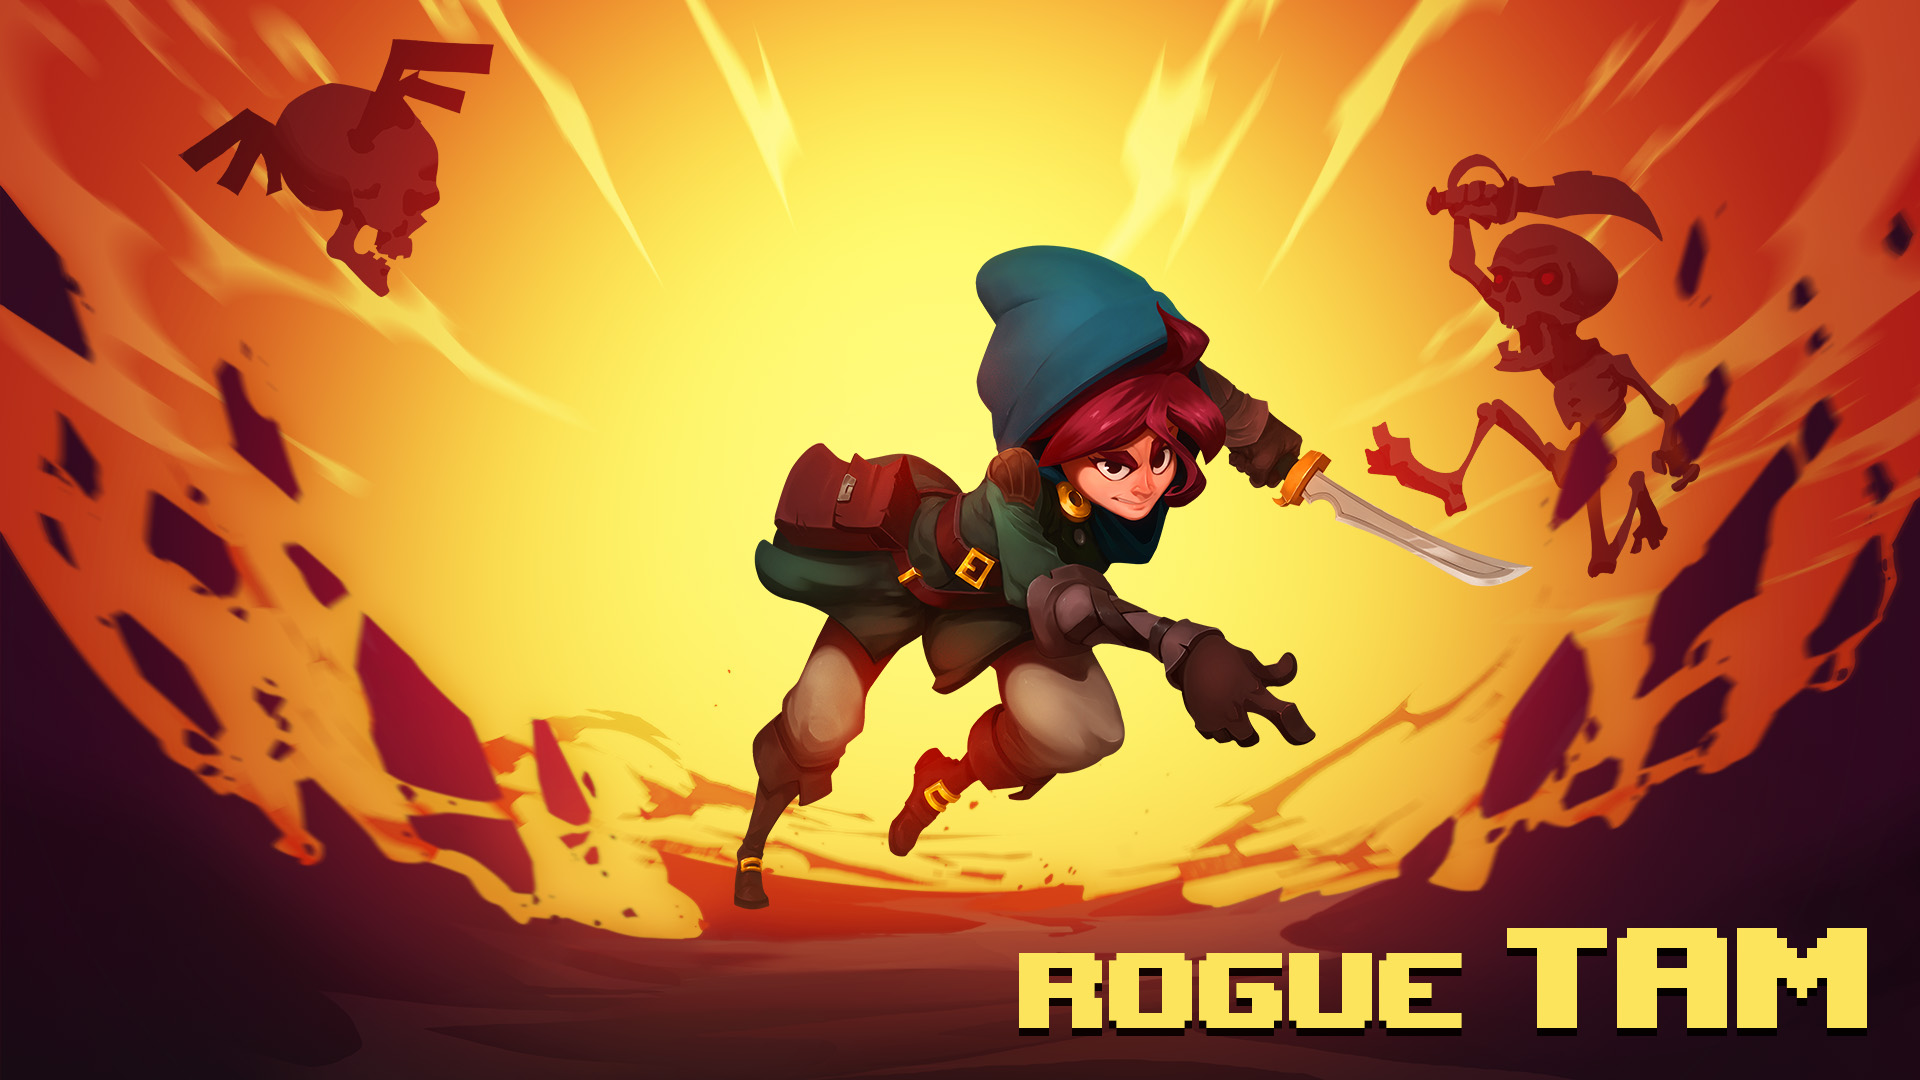
Tam, the Rogue
- Weapon: Rogue’s Dagger – 25-35 damage per hit, 15% increased critical hit chance, +25% spell recharge speed. Has 3 base hits.
- Starting Spell: Doublestrike (25 second cooldown) – Next melee attack has 2x more hits, can be stacked for even more hits.
- Slot Bonuses: Rogue’s third slot spreads buffs across the entire party, while her fourth slot causes projectile spells to hit additional targets at random.
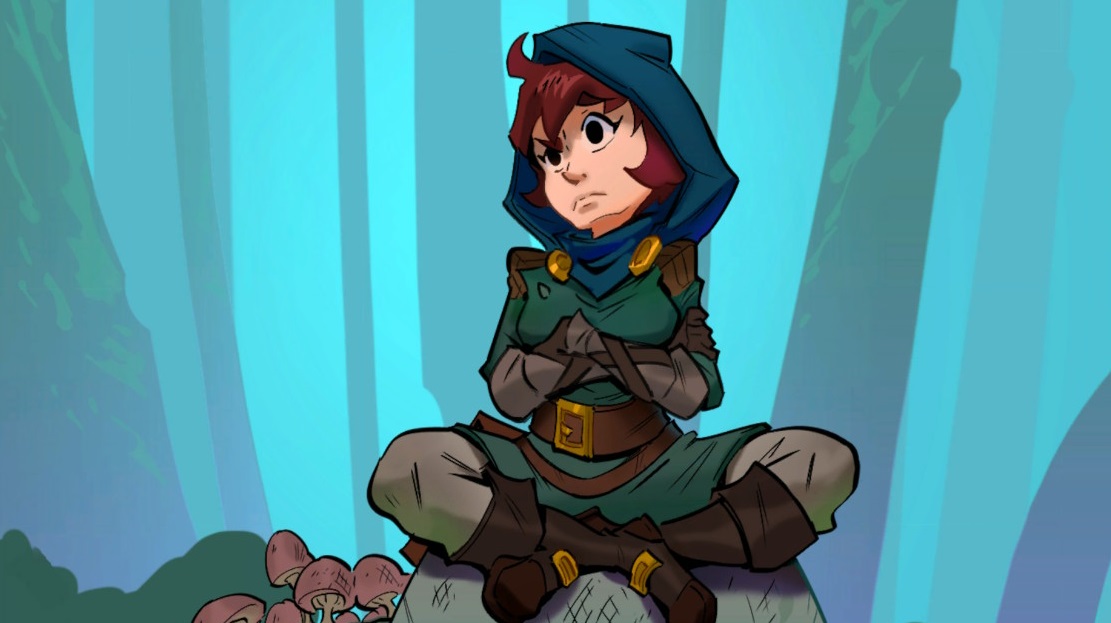
Youngest, fastest, and most agile; Tam is the rogue who only recently joined the Has-Been Heroes team. While she lacks the sheer damage output of Crux the Warrior, Tam is capable of spreading out her damage across three separate attacks. This makes Tam particularly useful for chipping away at enemy stamina gauges, while also dealing a decent amount of damage against stunned opponents.
Doublestrike is a very useful starting spell as it enables Tam – or any of her allies – to strike twice as many times as they normally would. This also means Tam herself will be able to strike at least 6 times before going on cooldown for her melee attack. The ability also stacks, so if you are able to use Tam and Metacles to wear down a boss’s stamina, you can get Crux to dish out serious damage with multiple powerful attacks.
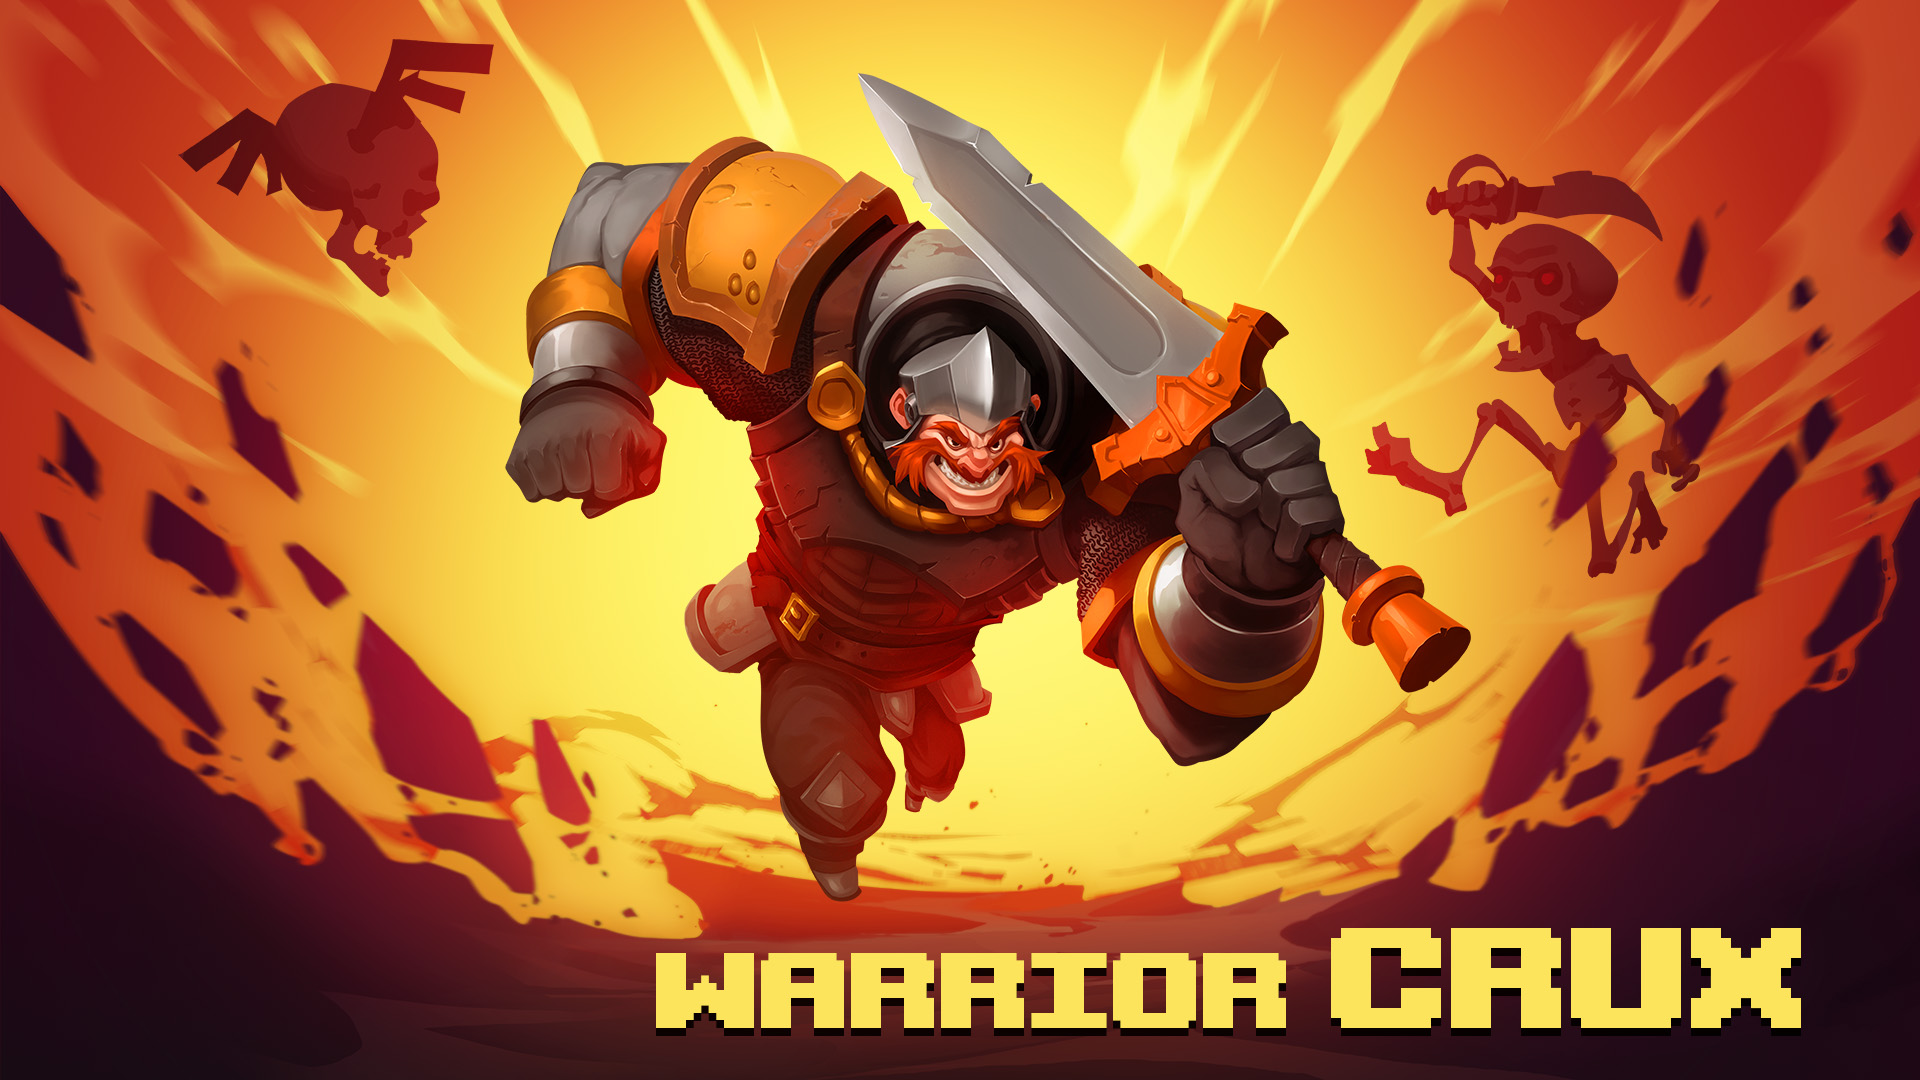
Sir Crux, the Warrior
- Weapon: Warrior’s Sword – 125-150 damage per hit, 50% faster melee recharge, spell casting increases damage of next melee combo by 30%. Attacks once.
- Starting Spell: Hot Potato (30 second cooldown) – Burns the target for 3 seconds, and removes 10-16 stamina.
- Slot Bonuses: Fourth slot causes buffs to be reapplied after they expire.
Crux, like many warrior classes across various games, is simple and easy to use. He attacks only once per melee combo, and deals a heavy hit each time. By casting spells, players can increase this damage to about 160-200 per hit. This makes Crux an essential character until you have a better fighter class character for your team.
When it comes to strategy, Crux should be used as a meat shield when necessary, and only attack when the time calls for it. If you don’t have Doublestrike ready – or if there isn’t enough time to stack it – don’t be afraid to spam his melee attack on enemies since his cooldown is very short compared to the others.
Crux should act as your spell mule for non-damage or buff spells since he only has a single slot bonus that won’t possibly get filled until you have finished your first run of the game. That said, don’t spam his Hot Potato ability on weaker enemies since it will be necessary for taking out bosses, and is otherwise best used on hordes to rack up multi-kill bonuses.
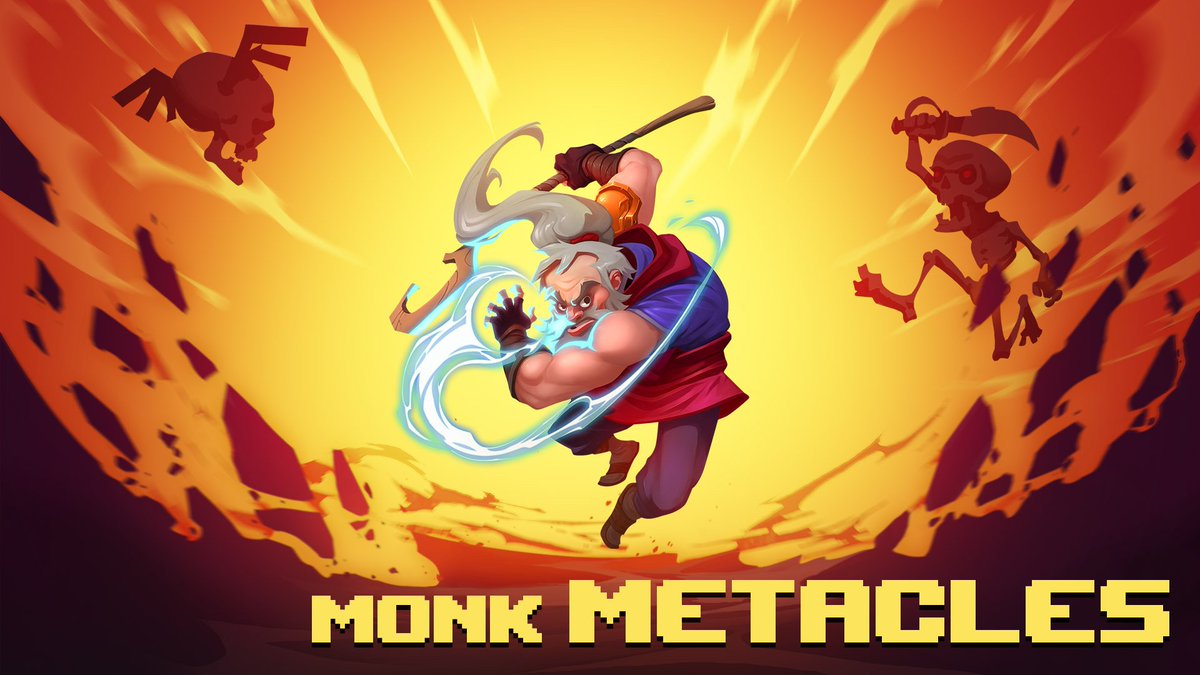
Metacles, the Monk
- Weapon: Monk’s Staff – 1-9 damage per hit, +30 spell damage. Hits 2 times.
- Starting Spell: Curse of Frost (15 second cooldown) – The next time the targeted enemy is attacked, it will become frozen.
- Bonus Slots: Third slot increases area of effect for spells, fourth slot doubles burn durations, fifth slot fires a second projectile.
While Metacles is completely worthless in terms of physical damage, he nevertheless plays an important role in team balance. Since the Monk is able to attack twice, he makes for a perfect stamina breaker or lane pusher for when the odds are against you. Just remember to avoid letting him get too crowded or else you will face certain defeat.
Spellcasting is where Metacles truly shines as his spell bonuses are overly useful for damage spells. As such, Metacles should be given spells at every opportunity possible — provided that the bonus slot matches the profile of the spell, otherwise pass them to Tam or Crux. Metacles will also require a gross amount of spell cooldown or enhancing items, so be sure to pass them to him whenever possible. Likewise with HP recovery as he is the most vulnerable of the group.
When fighting bosses, be sure to cast all your damaging spells on the boss whenever possible since they usually bypass stamina. While you can also use his melee attacks to wear down a boss’s stamina, he is likely to break the stamina and cause very little damage. As such, he is better suited for pushing lanes back.
That’s all for now!
With this knowledge, you should be able to handle your first few quests with relative ease. That said, practice is essential for Has-Been Heroes since there is an absurd amount of strategy involved for what on the surface feels like a simple game. Remember to always arrange your heroes according to lane density, as well as the tips here, and your first victory should be within reach in no time!




Published: Mar 28, 2017 11:39 pm