After a long sleep, The Whisper Exotic mission is back in Destiny 2 as of the Into the Light content drop. The first true Exotic mission in all of Destiny 2, veteran players have been clamoring to have it return for years, and if you’re newer to the game, you’ll need to know how to complete The Whisper to get an iconic Destiny 2 weapons: Whisper of the Worm.
How to Complete the Whisper Exotic Mission in Destiny 2
Thankfully, to start the Whisper mission, you don’t need to wait for a Taken Blight public event to appear. Now, all you need to do is visit Eris Morn on the Moon to pick up the Whispers of the Past quest. It’s only two steps: Complete the Whisper Exotic mission, and visit Eris for your craftable Whisper of the Worm Exotic Sniper Rifle. As for the Whisper mission itself, here’s how you complete it:
The Whisper Part 1: Traversal
The longest and trickiest part of completing The Whisper Exotic mission is the platforming section at its start. The combat challenges are incredibly quick with all the extra power we’ve gained since the mission came out more than five years ago. Here’s how it works.
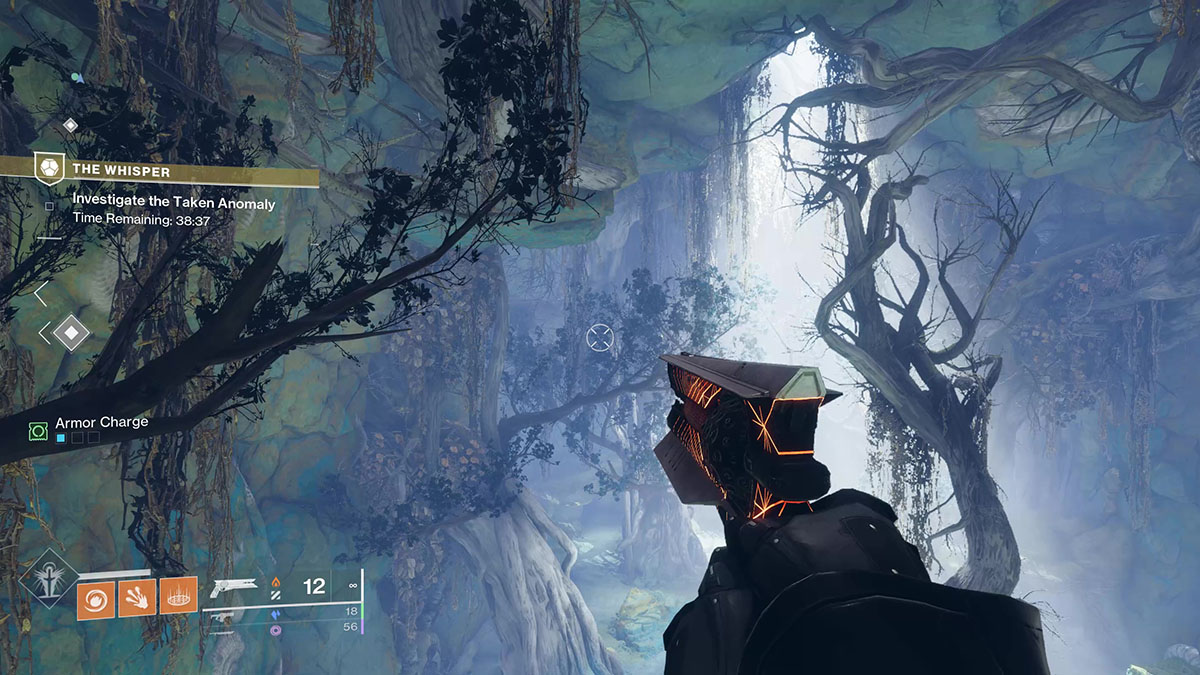
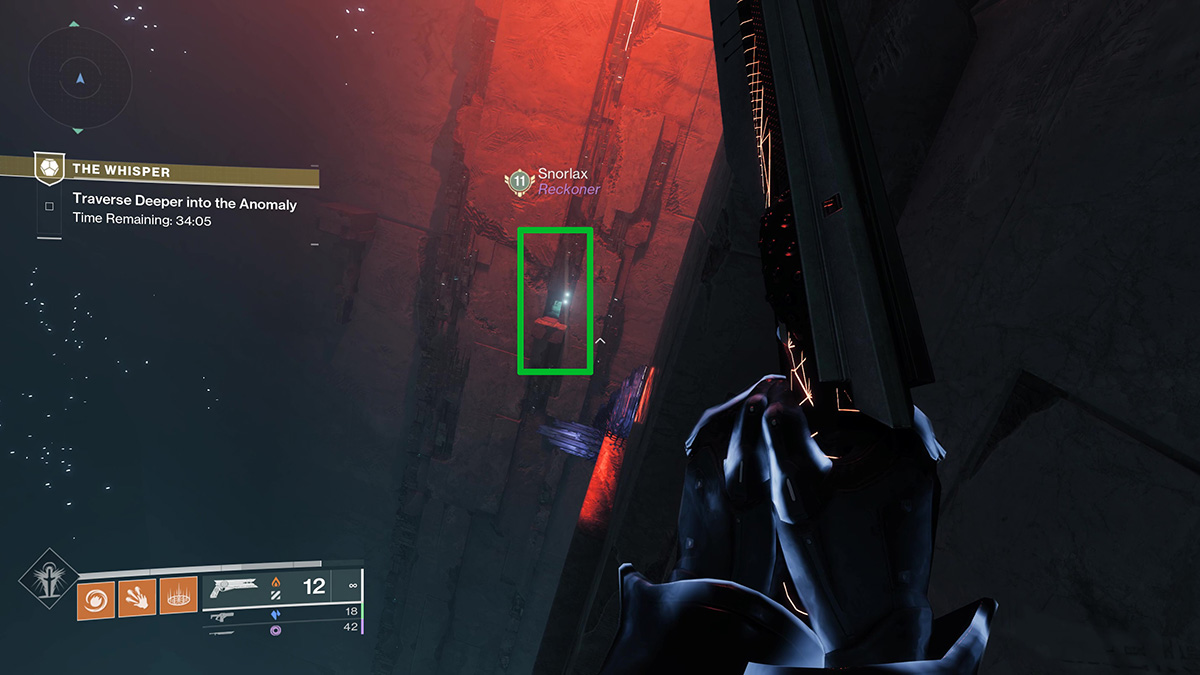
The first problem is getting deeper into the mission. To start, pass through the first chamber you enter after spawning. You’re looking for the small opening near the ceiling of the second room, which you can access by jumping on the coral leading deeper into the caverns.
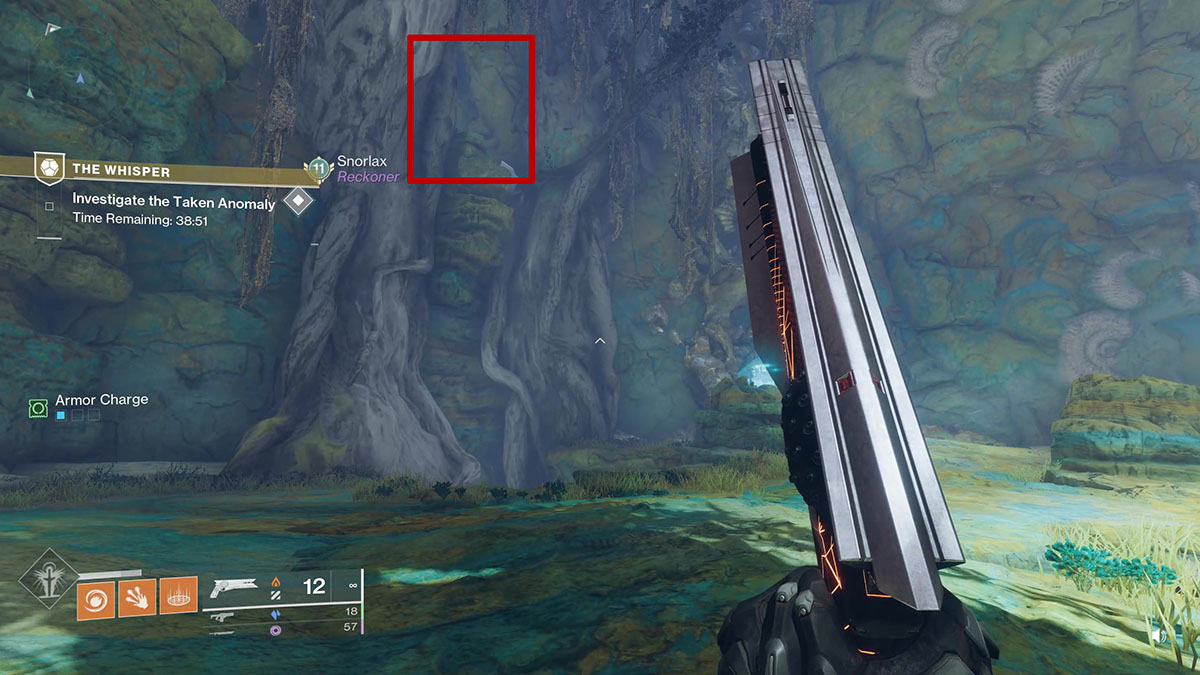
In a new addition, there’s also a Vex conflux crystal you can shoot near the ceiling of the second chamber. It’s easiest to see from the upper platform leading further into the mission if you turn around and look across the room.
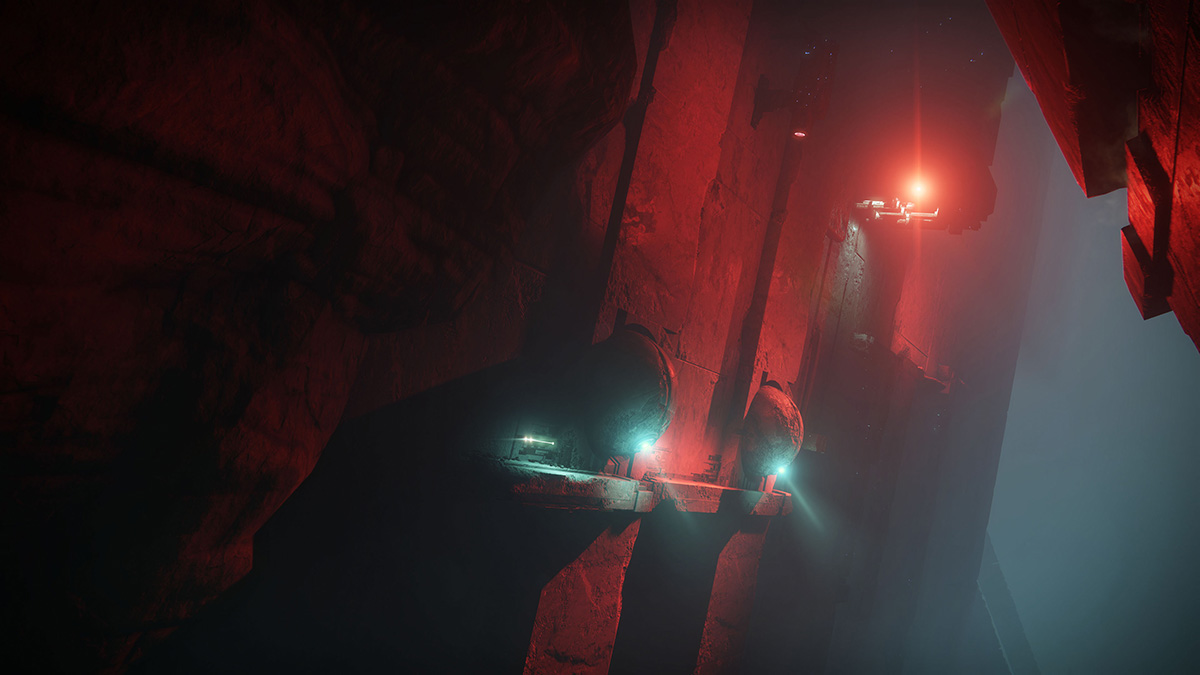
Continue through the small passage, through several tiny holes, and across the small chasm toward the cuthrough in the wall with a red light shining through it. From there, jump down onto the thin, red-lit platform against the right wall, then crouch through the short path.
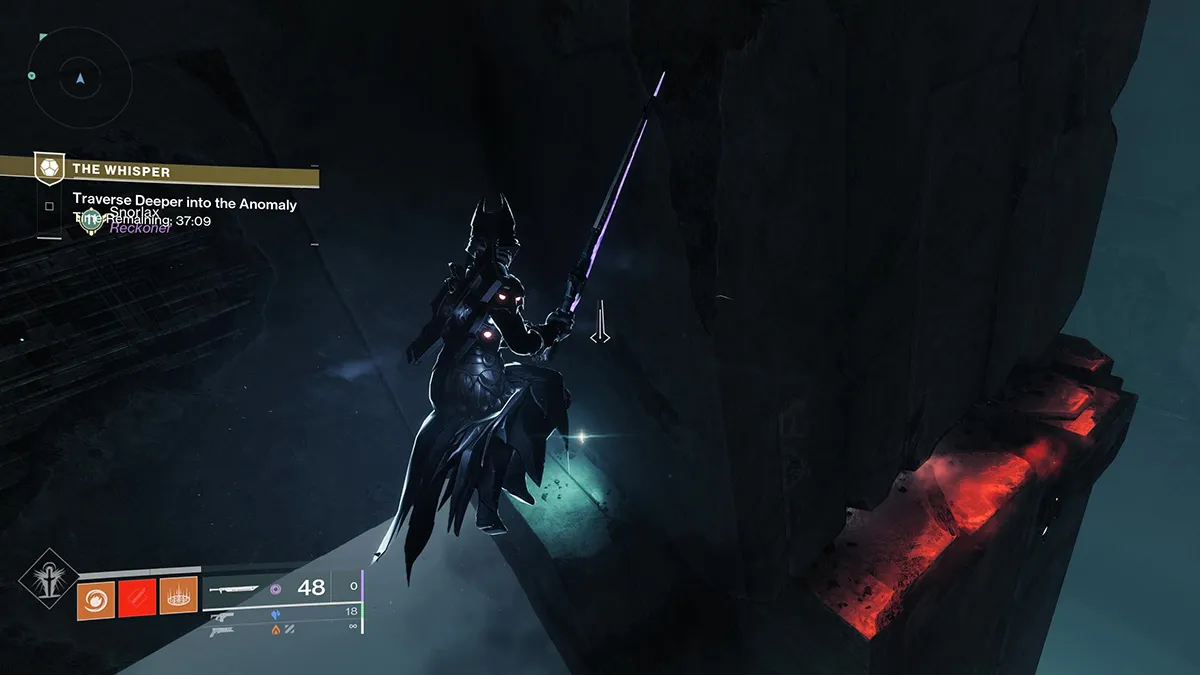
Now comes the first fun part: the yawning chasm. To get across here, you need to jump from the starting point aaaaall the way across to the small platform you can barely see in the distance. To do so, you’ll probably need to jump to the outcropping jutting from the right wall, then to the small, red-lit rock in the middle, then to the destination platform.

But wait! There’s more. At the end of the platform, you need to jump to the right around a blind corner. The easiest ways to do so are to have a Sword with the Eager Edge perk or as a Warlock with the Icarus Dash ability. Titans with Lion Rampant Exotic boots also make quick work of the corner, and Hunters can redirect in the air more easily.
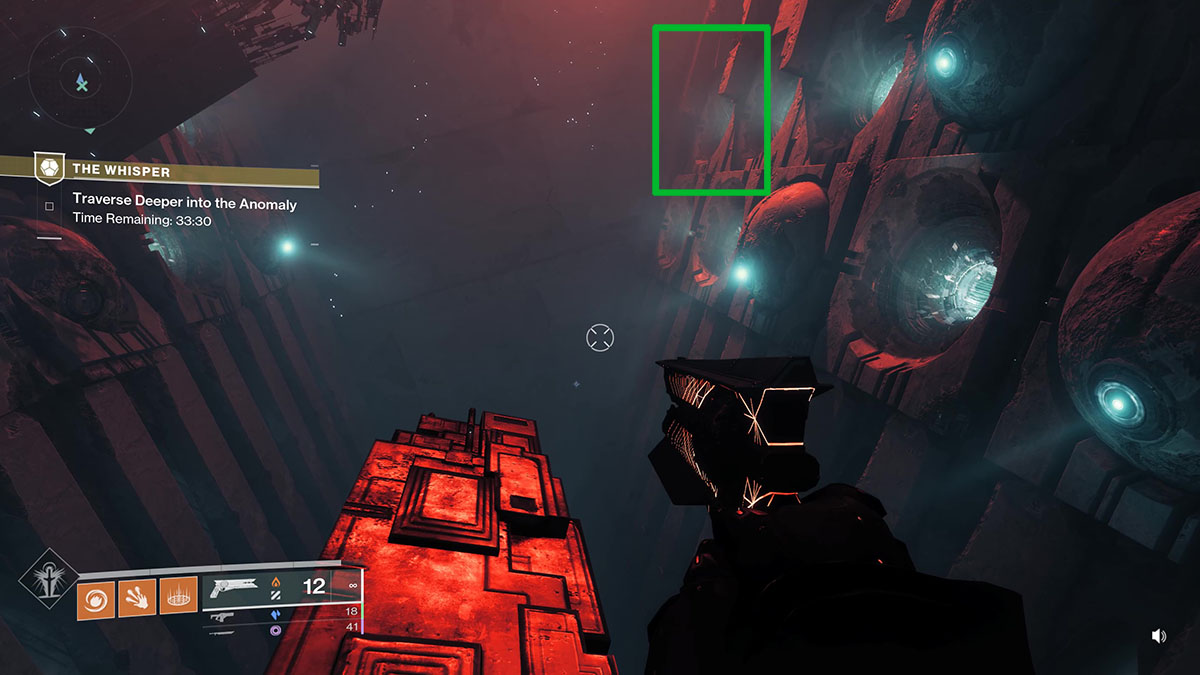
In any event, once around the corner, you can either boost your way across the next pit to the wall with the orbs sticking out of it or crouch through the path along the right wall. Note that sections of the wall will try to push you off.
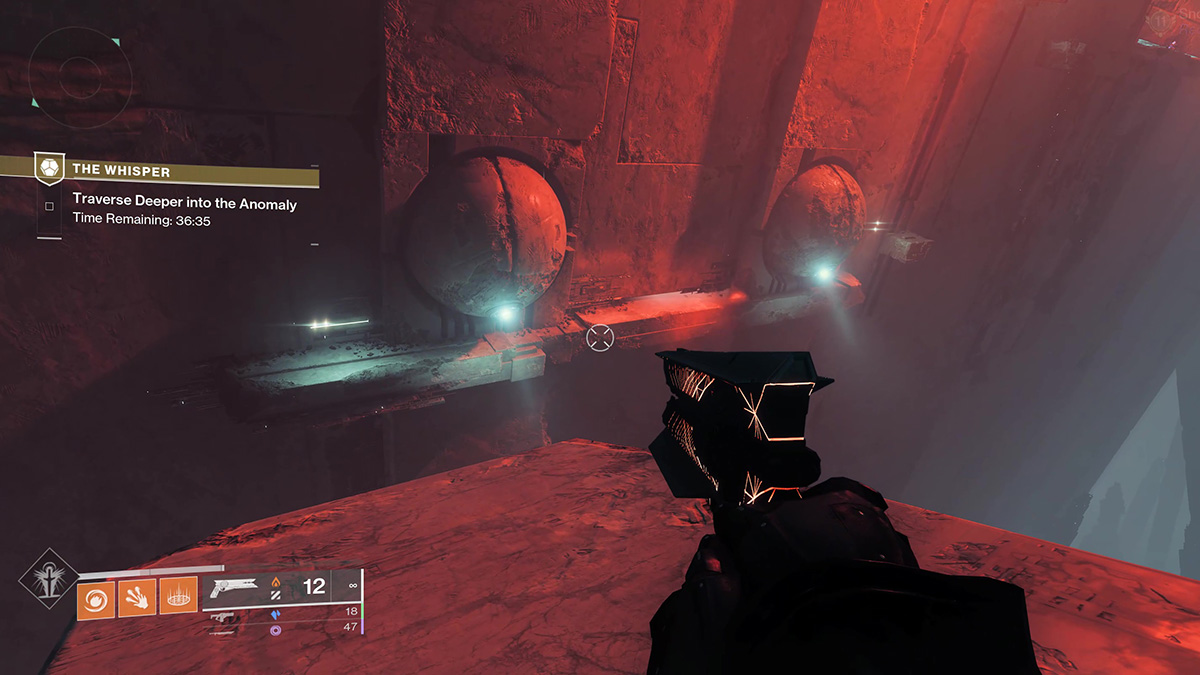
Jump around the orbs coming out of the wall, take the elevator cube all the way up, and jump to the platform across the way. Beware the push wall that will shove you all into the pit. Head around the corner to your left and take the red-lit passage filled with Vex architecture.
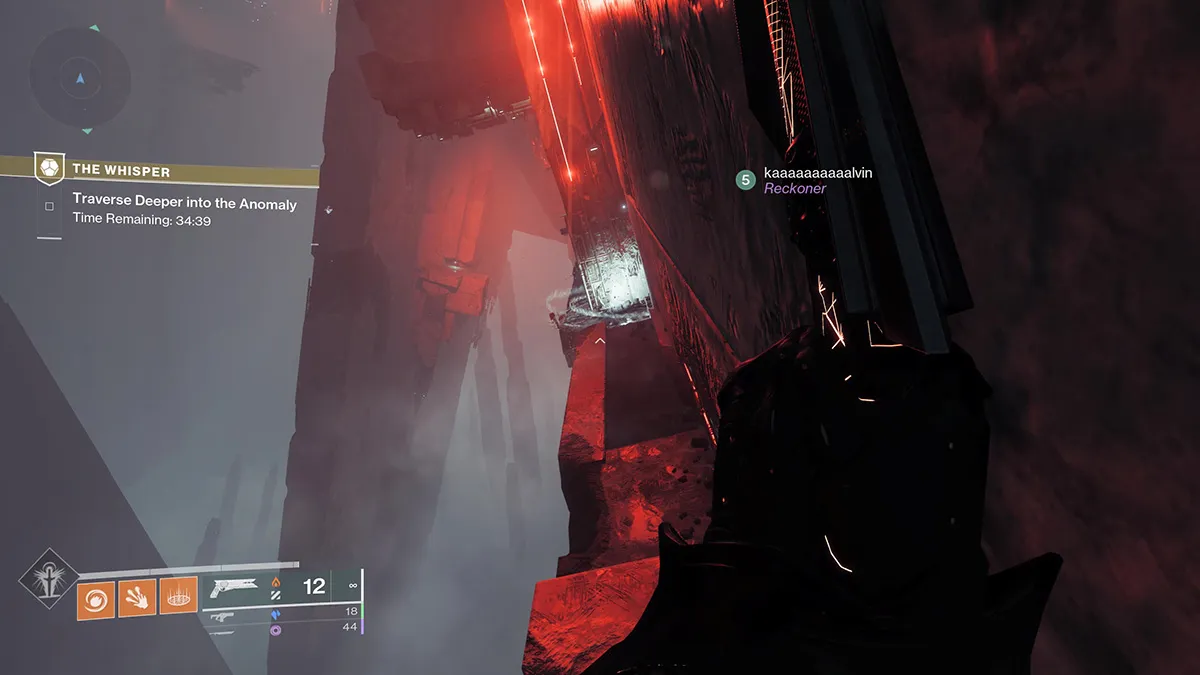
At its end is yet another platforming challenge, this time with Taken launchers on many of the ledges you need to land on.
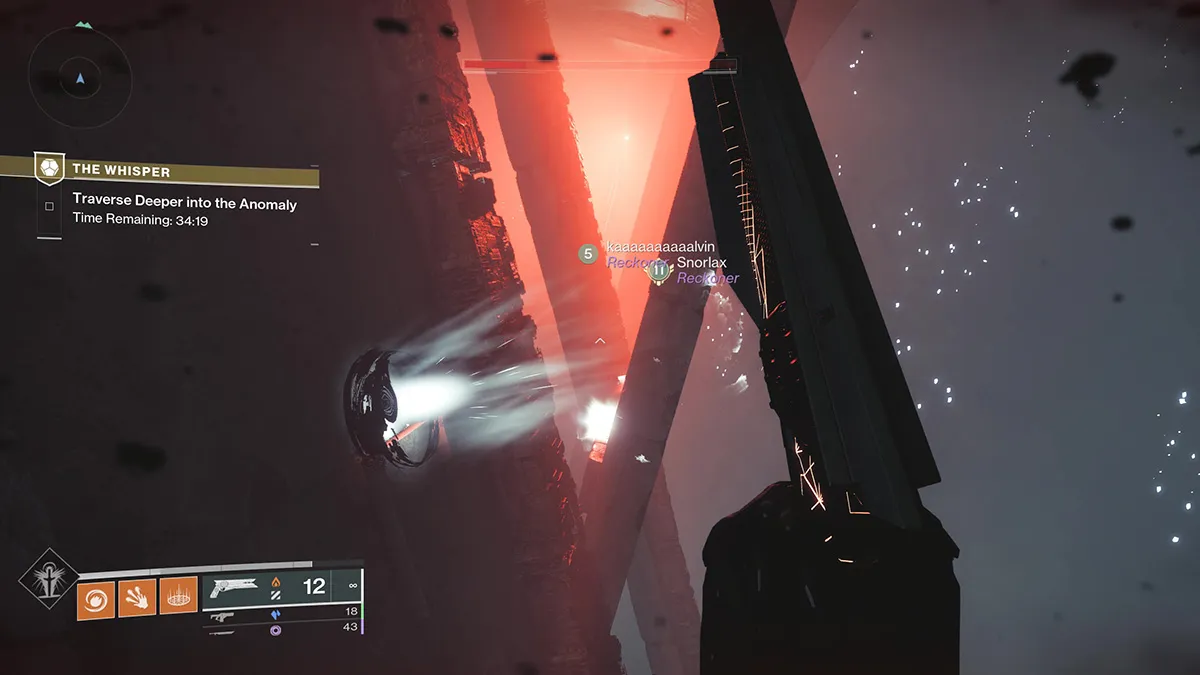
To exit this horrible place, you need to make your way to the opposite end, dodging Taken snipers and the lauchers, then land on a small ledge before the doorway leading deeper. Note the doorway opens and closes at regular intervals.
The next chamber took my team entirely too long to figure out because we thought there would be some trickery afoot. There was not. In this large room with portal-looking opening on either side, you need to jump all the way to the farthest, topmost portal on the right side. The same as it ever was.
Nearing the end now. Once you get to the bottom of the tube, you’ll enter a huge, blue-lit room. Rather than needing to actually navigate it, you can enter the room, drop down a short distance, and turn around. You should see a small, dark hole among the rocks. Crouch to go inside, take the first drop, jump across the small pit, then turn right unit, and you get to a huge, dark room. Hug the left wall all the way around, then jump across the dark chasm to the small, lit opening on the other side.
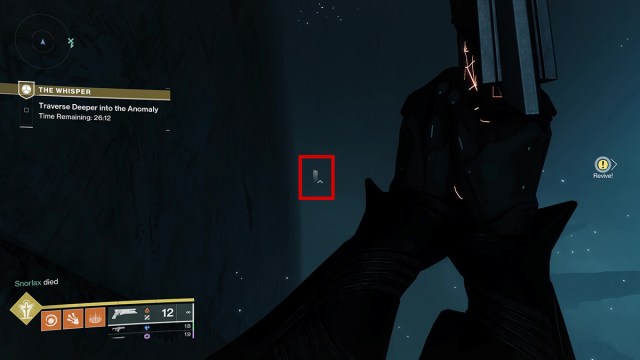
Follow the hallway you reach until you come to a drop-down on your right. Now you’re done with the platforming section. Combat time!
The Whisper Part 2: Combat and Boss Fights
The next section of Whisper goes by much faster, both because it’s much shorter and because you’ll be fighting your way through rather than jumping and possibly dying a bunch.
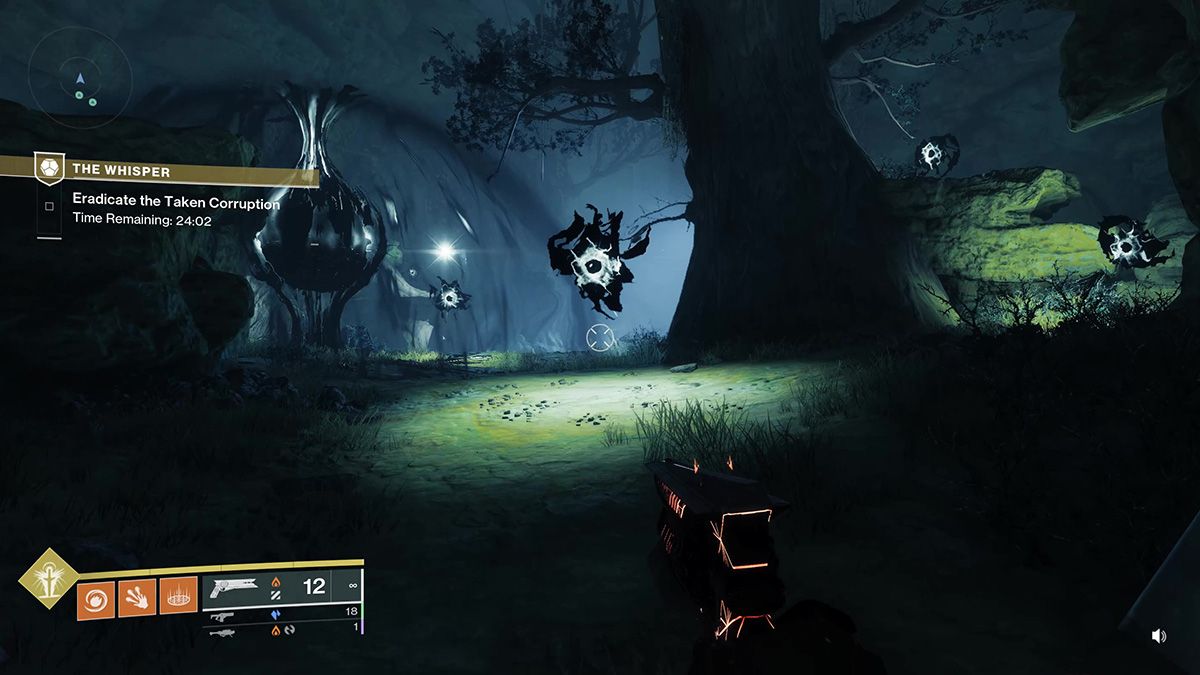
Your objective for the next chamber is twofold. First, you need to destroy all the Taken Blights, each marked with a combat Patrol symbol. Second, you need to completely clear the room of enemies so that the way forward can open.
Next, defeat all the enemies in the small chamber and destroy the Taken orb blocking the passage. The second large room is a repeat of the first: defeat every enemy and destroy every Blight, then blast the Taken orb blocking the way forward. In the next room, defeat all the Taken mobs, destroy the orb powering the barrier, and drop down. Jump when you near the end of the ramp to avoid the death pit and get onto the boss room floor.
Like the Whisper mission of yore, you need to defeat three Taken bosses here: one Knight, one Centurion, and one Captain. You can choose when each appears by destroying the Vex conflux crystals. You can have as many or as few on the field as you’d like, but I often choose chaos and have all three active at once.

Once you defeat the three bosses, a larger Taken Ogre will spawn. To drop its shield, you first need to destroy the Taken Shield Weaver wizards at the back of the room.

After you destroy the shield, the Ogre will be vulnerable until it reaches 50% health when the shield reappears again. You don’t need to destroy the Taken Blights that appear, just the second set of Wizards. Then, you can take out the Ogre.
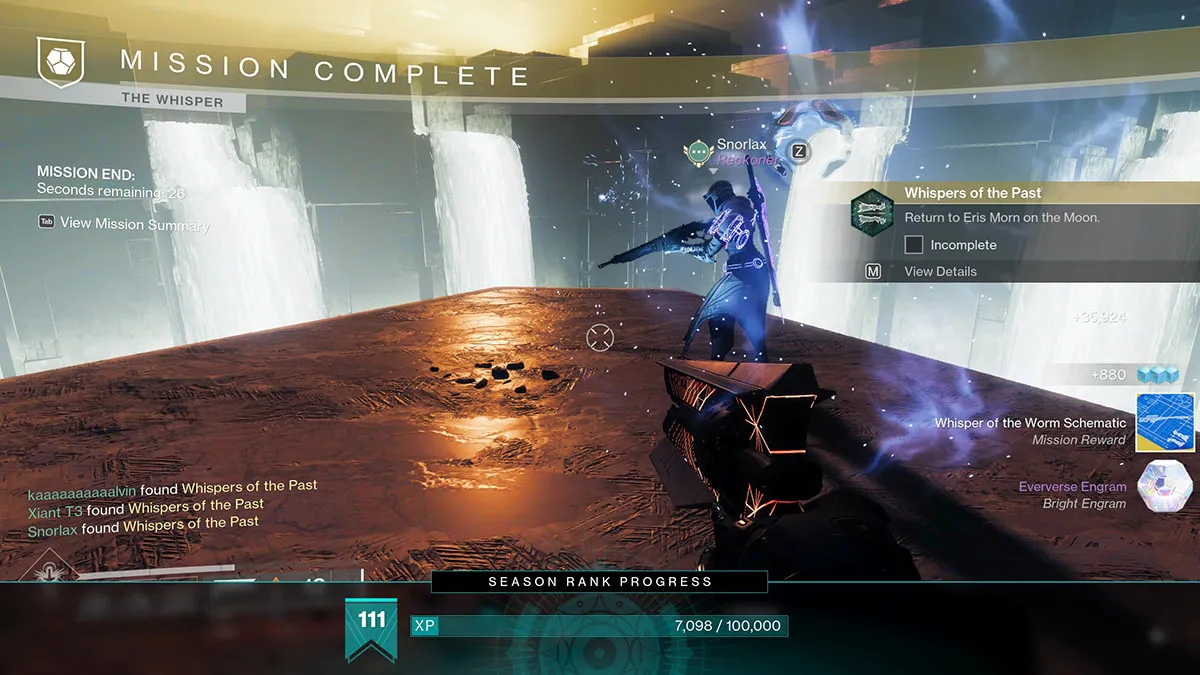
Once the Ogre is dead, the mission-complete loot chest will appear. If it’s your first completion, you’ll receive the Whisper of the Worm schematic, which you can take to Eris Morn on the Moon to receive your new (old) Exotic Heavy Sniper Rifle.
And that’s how you complete The Whisper Exotic mission in Destiny 2 as of the Into the Light content drop. If you enjoyed this guide, or found it helpful, we’ve got tons more in our Destiny 2 guides hub.


Published: Apr 10, 2024 09:10 am