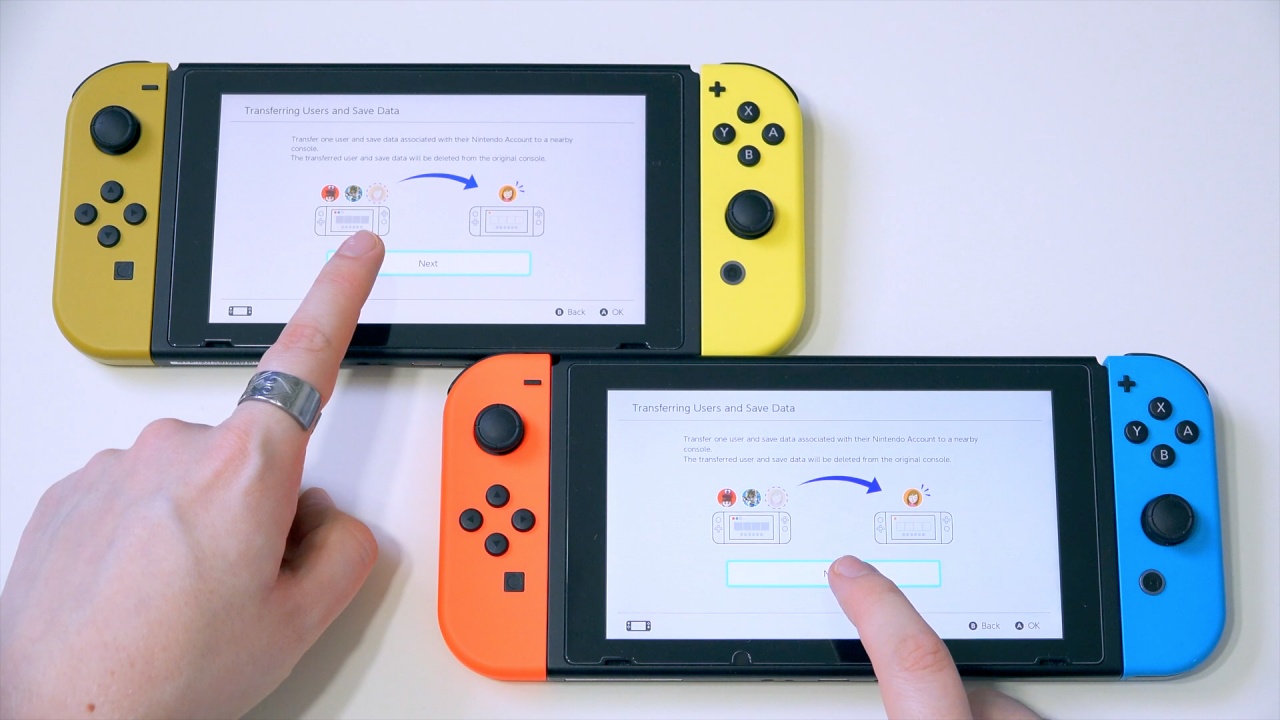
The Nintendo Switch recently got a hardware revision that offers better battery life and the Nintendo Switch Lite is on the way, which means there are lots of people in the market for a second Switch system. That also means dealing with the problem of transferring save data between systems.
It’s a potential issue because save data for the Nintendo Switch is tied to individual user accounts, and those aren’t stored in the cloud.
You can still access your cloud saves if you log in with your Nintendo Account and tie it to a new user profile on your new Switch. However, you won’t be able to access data for games that don’t support cloud saves.
If you don’t have any of those games or aren’t bothered by starting over, it’s a fast and easy way to deal with the data transfer process.
For a full changeover, however, you need to do a system transfer.
How to Do a Switch System Transfer
Transferring data between Switch systems requires transferring your entire user profile in a process similar to system transfers between Nintendo 3DS systems.
You have to have both of these present:
- The original (source) system
- The new source (target system)
Both need to be connected to the Internet and updated to at least firmware 4.0.
The process also requires you to have both systems plugged in via their AC adapters. Fortunately, though, it’s a fairly fast process, with some users stating entire transfers took only about two minutes.
However, it’s worth noting this is only transferring data. You’ll still need to go into the eShop and re-download your digital titles.
You reportedly don’t need a second SD card either, probably because it is just the save data, which takes up less space. After finishing the transfer, power down the source system, take the SD card out, and put it in the new target system before turning the target system back on.
—
All in all, data transfer isn’t a difficult process, but it’s worth keeping in mind if you’re wanting to trade in your old system towards purchasing a new one.
Check with your local GameStop (or other retail location that offers trade-ins) to see if they’ll allow you to complete the transfer process in the store before making your plans.


Published: Aug 16, 2019 11:34 am