The last few Resident Evil games have come with their own baked-in achievements system called Challenges. While some are also trophies/achievements, most of them are ways to earn Challenge Points (CP), which can be spent in the Extra Content Shop for bonus weapons, outfits, and more. Here’s how to complete the trickier Challenges in the Resident Evil 4 remake’s Separate Ways DLC.
Separate Ways Challenges Guide: Challenge Points Rule Everything Around Me
The Challenges in Separate Ways are available at any time from your pause menu, and are generally awarded on the spot once they’re unlocked. The CP you get from SW’s challenges are added to the general RE4 CP pool, so you don’t have to earn two different kinds. That being said, you do have to back out of SW’s submenu and buy all its unlocks from the Extra Content Shop on RE4’s main menu.
A lot of SW’s Challenges are fairly straightforward, such as S-ranking the game, finding at least most of the Yellow Herbs, or killing a certain number of enemies with a certain weapon type (pistol, rifle, shotgun, etc.), and don’t mandate any further explanation. This guide is for the other, more finicky Challenges in the game.
How to Complete Bingo!

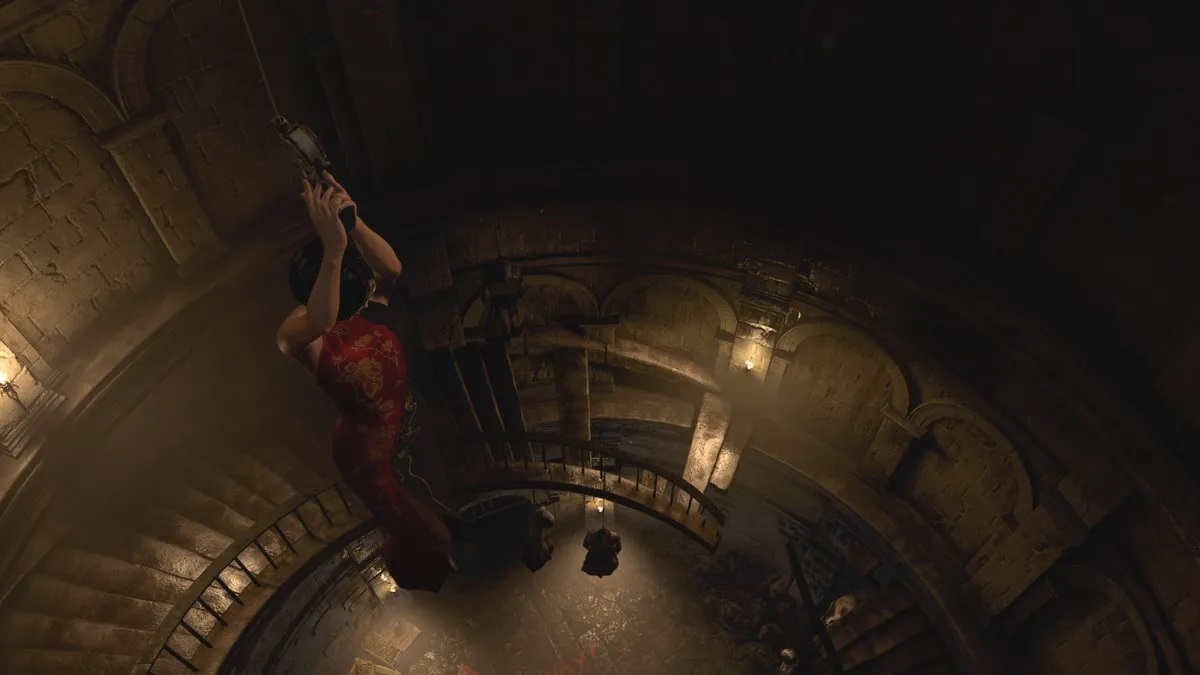
- Bingo!: Hit at least three enemies with a single grapple gun attack.
When you stun an enemy from a distance in Separate Ways, you can follow up by using Ada’s grapple gun to zipline over to them. If another enemy is close enough, Ada’s follow-up kick will damage and knock down multiple targets at once.

I found the easiest place to complete this Challenge was in the Church’s graveyard in Chapter Two. At least two of the three packs of Ganados who arrive after you ring the bell are in a nice tight grouping. Stun the one in front, then bowl them all over with one big theatrical kick.
How to Complete Warm Sendoff

- Warm Sendoff: Complete Chapter 1 without destroying a catapult.
This is easiest on a second run with the High-Power or Bio-Sensor Scope. The catapults do each have a Ganado operating them, but they’re all using the catapults for cover, which makes them hard to see. With a good scope, it’s easy to take them out before they can fire.
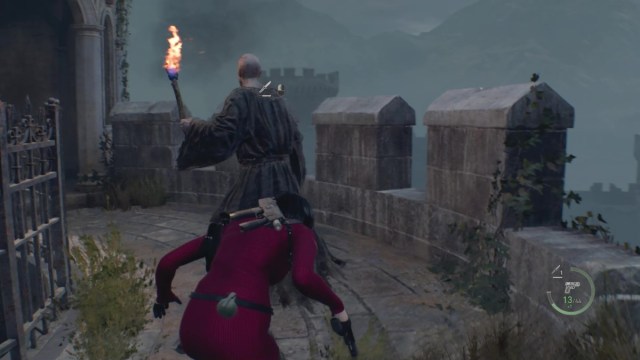
On a fresh run, the best way to accomplish this Challenge is to treat it as a stealth mission. The catapults on the first stretch of Chapter One won’t activate at all unless you alert the Ganados. If you can make it to the first grapple point without being spotted, you’ll never have to deal with the catapults.
Once you reach the second cannon, however, you don’t seem to be able to avoid being detected. Drop the crossbowmen ahead of you by shooting the red barrels, then simply run for it.

Related: Resident Evil 4: Separate Ways Yellow Herb Locations Guide
How to Complete No Witnesses
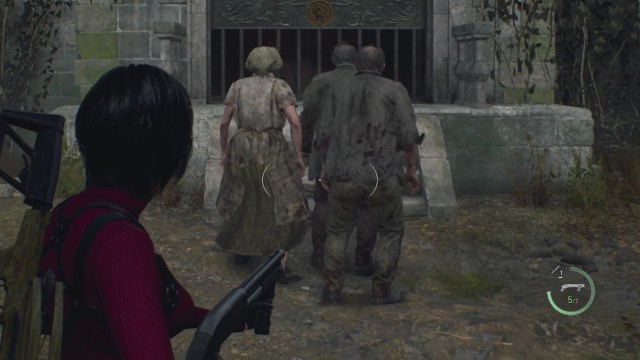
- No Witnesses: Defeat all three groups of Ganados that are headed to the Church after you ring the bell in Chapter Two.
The key to this one is just noticing the third group is there. Two packs of three Ganados will generally attack you as you leave the Church, but a third typically ignores you in favor of going straight to the Church. If you give them time, they’ll end up in the courtyard and are easy to hit from behind.
How to Complete Hats Off to You
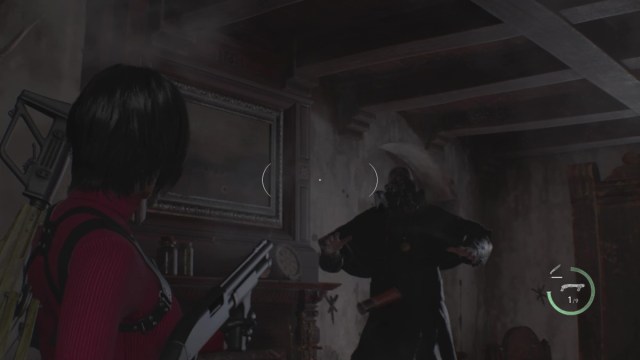
- Hats Off to You: Knock Bitores Mendez’s hat off.
This is a little harder than you’d think. Your one window to do this is during the chase scene in Chapter Three, but Mendez’s hat is much more firmly attached to his head than you’d think.
The best way to do this, in my experience, is to lead him downstairs into the dining room, then drop a flash grenade. While Mendez is stunned, shoot him in the face. This will typically knock off his chapeau.

How to Complete Intuition
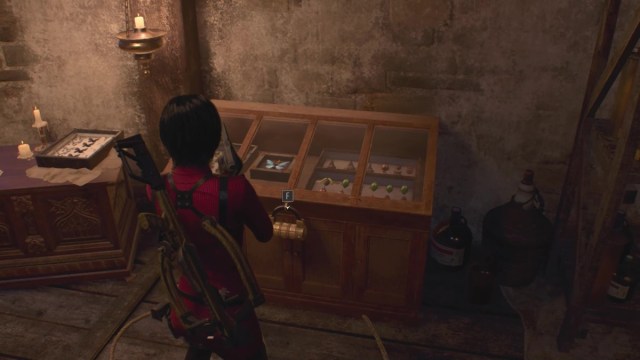
- Complete the Collection Room puzzle at the end of Chapter Four without looking at the file with the clue.
This one is irritating. I’ve turned the Collection Room upside down looking for some subtle additional hint to the butterfly collection’s lock combination, but there doesn’t appear to be one. Ada won’t activate her IRIS hint system until after you’ve read the file in question.
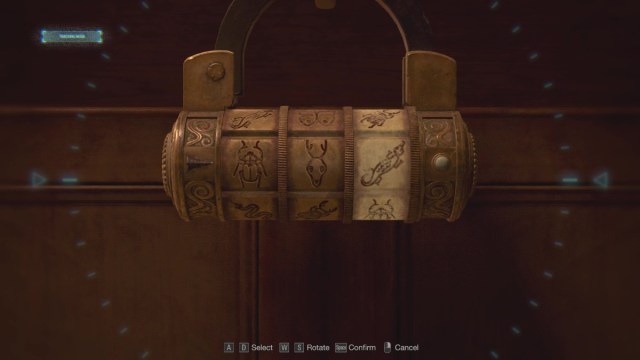
As such, the key to this Challenge appears to be to either figure it out on your first run and input the combination on the second, or look up the combination ahead of time. That combination, incidentally, is Beetle, Skull, Lizard (above).
Related: Resident Evil 4: Separate Ways Weapon Fanatic Challenge Guide
How to Complete Almost a Zealot Sandwich

- Kill five Illuminados with the crusher traps in the Path of Penitence.
It’s easy to get the Illuminados to chase you into any given crusher, but there might not be enough of them to complete this in one go. As far as I can tell, you’ll need to either deliberately leave a few Ganados alive before you reach the crusher traps’ activation lever or do this challenge over the course of multiple runs. At least two Ganados will spawn once you reach the Path of Penitence’s exit tunnel and there’s a third between the last two traps.
How to Complete Judicious Jeweler

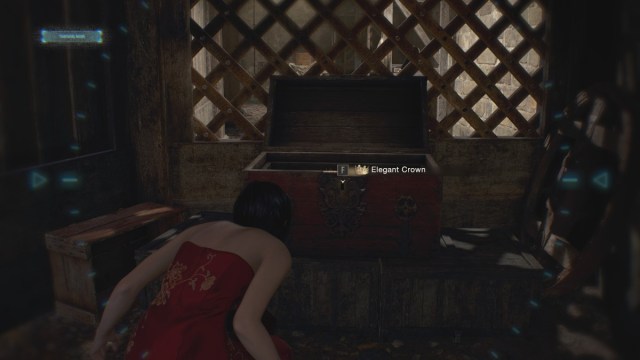
- Sell a single treasure for at least 100,000 pesetas.
As in the main RE4R campaign, the key to this challenge is to find an Elegant Crown. In Separate Ways, one can be found in an unlocked chest on the battlements near the start of Chapter 5. There are no particular tricks to getting this treasure aside from knowing where it is, so it’s worth burning a couple of Spinels on the Merchant’s treasure map.
If you install 3 different square gems and two different round gems in the Crown, the value multiplier will get you to exactly 100,000 pesetas. Note that to get the best multiplier, you have to use a Sapphire and Yellow Diamond to fill the Crown’s round slots, as Rubies and Red Beryls are the only same-color combination in the game.
How to Complete Need the Space
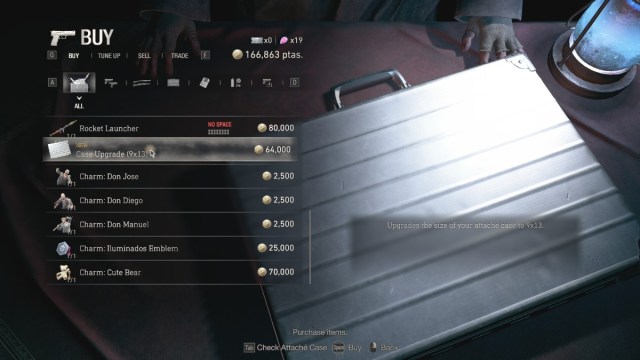
- Get all the upgrades for the attache case.
The final upgrade only becomes available from the Merchant once you start a second run. You can also buy it almost immediately, as the Merchant sets up shop right outside Luis’s cell in Chapter 1 on a New Game+.
That’s our guide to the more elaborate Challenges in RE4: Separate Ways. For more help with Ada’s scenario, check out our RE4 remake guides hub.


Published: Sep 25, 2023 03:46 pm