The Merchant’s got a lot of odd tasks that need doing, and he’s just as willing to bother Ada about them as he is Leon. Here’s how to pull off all the Merchant’s dirty little side jobs in the Resident Evil 4 remake’s new DLC, Separate Ways, and complete the Jane of All Trades challenge.
How to Finish All the Merchant’s Missions in RE4: Separate Ways
- Chapter 2: Blue Medallions
- Chapter 3: Jacket of All Trades
- Chapter 4: Blue Medallions 2
- Chapter 5: Lord of the Waterway
- Chapter 5: Bug Buster
- Chapter 6: Beautiful Beetles
- Chapter 6: Bug Buster 2
Just as in RE4’s main scenario, the Merchant’s side missions can be picked up from blue flyers that are tacked up throughout the game.
These are generally located somewhere obvious, but you can make progress on and even complete a given side mission without ever having touched the flyer.
Your reward for each side mission is a fistful of Spinels, which can be traded back to the Merchant for a number of goods. This includes attache cases, jewels, and an upgrade ticket.
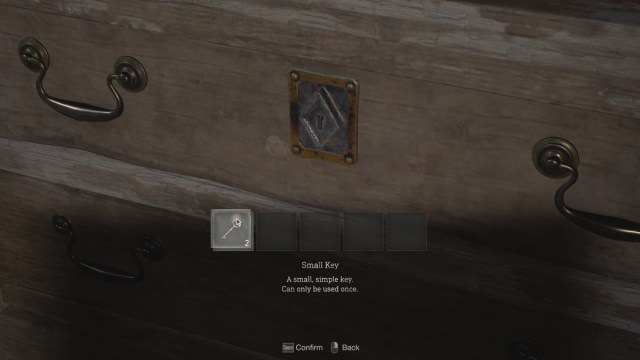
On your first run through the game, however, it’s probably best to buy all the Small Keys first. This lets you open some locked drawers throughout the game (above) for roughly 100,000 pesetas in extra treasures.
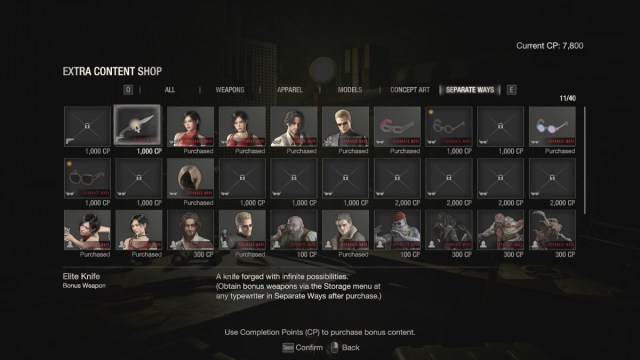
Ada can also unlock the Elite Knife by completing all seven of the Merchant’s jobs. This giant pig-sticker of a weapon has infinite durability by default, and you can increase its hitting power dramatically with its upgrades.
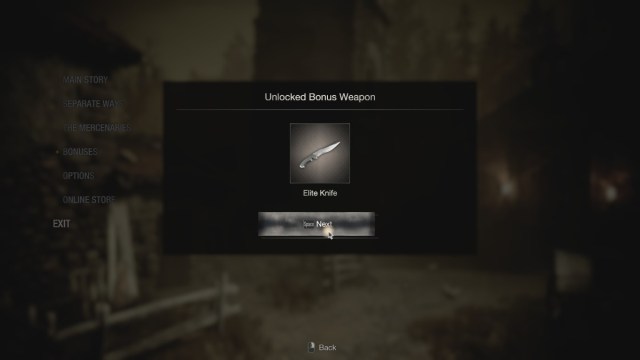
If you’re going to try a knife/handgun-only run in Separate Ways for that particular challenge, you’ll want to grab the Elite Knife first.
Chapter 2: Eradicate the Blue Medallions
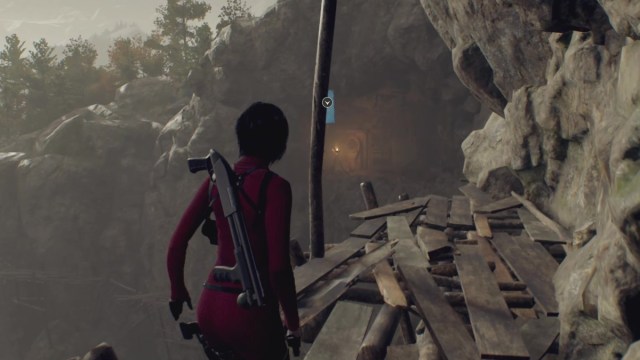
As with any other medallion hunt in RE4’s main campaign, all you have to do is find and destroy four blue medallions in the area nearby. The only complication is that the window for doing it is relatively small, since you lose access to the cliffside area once you’ve reached the Church.
The four medallions can be found:
- directly below the grapple point to the highest platform;
- hanging off the cliffside at that platform’s end;
- in the wreckage at the base of the cliff below the puzzle door;
- and at the top of the cliff.
If you’re standing on the highest platform facing the cliffside puzzle door, the last medallion is above and to the left of it.

Realistically, that medallion (above) is far enough away that you’ll want a rifle to hit it. Fortunately, there’s a free SR M1903 on the desk below the cannon emplacement on the castle walls in Chapter 1.
Reward: Spinel x6
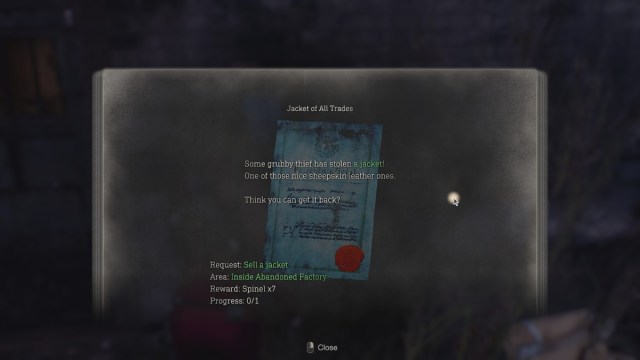
Chapter 3: Jacket of All Trades
This is a gimme. When you investigate the Factory in search of Luis, one of the Ganados you fight in the long double hallway will be visibly wearing Leon’s discarded jacket.
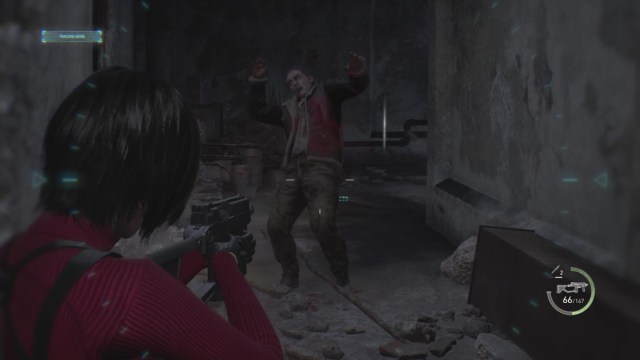
Kill him, take it off his corpse, and sell it to the Merchant to complete the mission.
Reward: Spinel x7
Chapter 4: Eradicate the Blue Medallions 2
The second and final blue-medallions mission is set in the castle’s hedge maze. You’ll probably want to save this until after you dispatch the cultist leader and retrieve the Blue Moonstone.
Otherwise, this isn’t that bad. Ada’s grapple gun lets her navigate the maze a little more easily than Leon could, so once you’ve got some space, the medallions are a cinch to find.
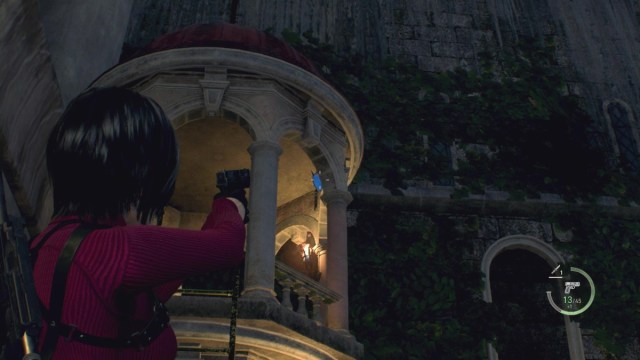
The medallions are located:
- above the blocked-off east exit;
- hanging above the hole in the wall in the elevated balcony;
- inside the dog cage on the south side of the maze;
- inside the tower in the southeast corner of the maze (above);
- and directly across from the Blue Moonstone door.
Reward: Spinel x7
Chapter 5: Lord of the Waterway
This is a little trickier than the other missions. The Lord of the Waterway is an unusually large bass that’s swimming in a hidden section of the nearby drainage canal.
First, use the crank in the control room to lower the water level to wading height. From the ladder in the Merchant’s room in the Waterway, go southeast. In the next room, crouch to get through the hole in the wall.
You’ll enter a small side tunnel where the Lord of the Waterway is swimming nearby. One hit from your knife is enough to kill him, although he’s a 4×2 item, which can create some inventory issues if you haven’t been keeping up with your attache case upgrades.
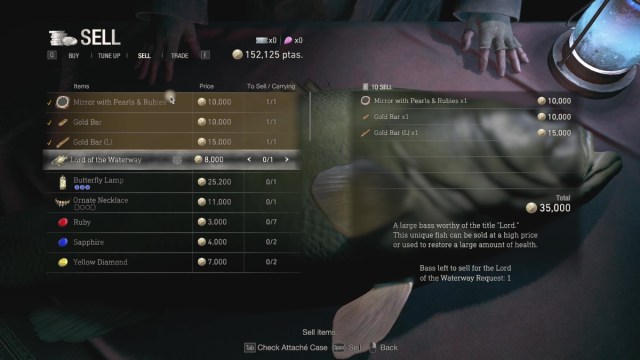
Sell him to the Merchant to receive 8,000 pesetas and complete this mission.
Reward: Spinel x8
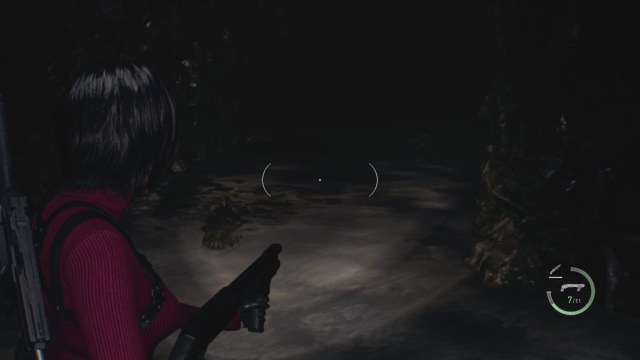
Chapter 5: Bug Buster
There’s a lot to occupy your mind in the Path of Penitence, so it’s easy to pick this side mission up, then forget about it until you’ve passed your next point of no return.
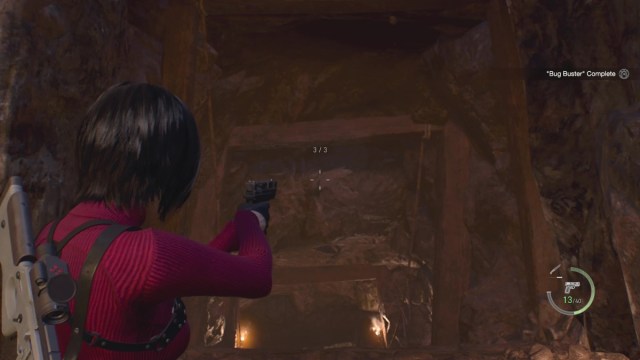
There are three camouflaged Novistadors lurking along and right outside the Path. They can be killed with as little as a single handgun round, but they’re difficult to spot. The easy-mode way to find them is to use a rifle with the infrared scope to scan the area, which penetrates the bugs’ camouflage (below).

The first Novistador is on the ceiling near the lever that activates the crusher traps (above). You can probably hit it before that point, but it’s right nearby after you’ve got past the first crusher.
The second Novistador is on the ceiling that overlooks the far end of the Path of Penitence’s exit tunnel (above).
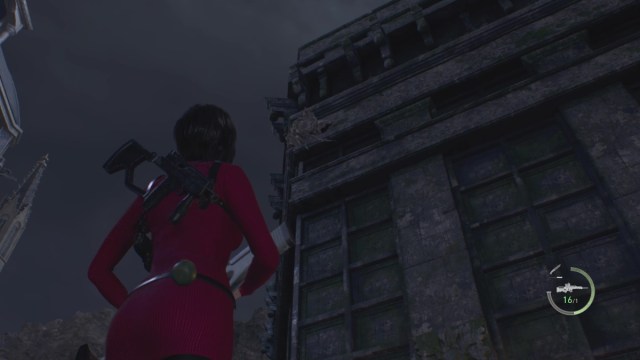
As you’re fighting your way up the stairs after that, keep an eye on the building that’s initially to your left. The final Novistador is above you, clinging to the corner of the building.
Reward: Spinel x8
Chapter 6: Beautiful Beetles
As the note with the mission mentions, the two Ornate Beetles you need are in two particular rooms in the research complex. One is in a display case in the Dissection room. All you have to do is break the glass and it’s yours.

The other’s on the single Regenerador that’s been left in cold storage (above). If you’re careful about how you deal with the Ganado encounter in here, you can equip your infrared scope on the Stingray and drop the Regenerador before it can move.
Otherwise, a stray round or explosion may defrost the Regenerador at the worst possible moment.
Sell the two Ornate Beetles to the Merchant to receive a cool 30,000 pesetas and complete this mission.
Reward: Spinel x10
Chapter 6: Bug Buster 2
The last side mission in the game is set in the defensive perimeter that separates you from the comms array. You’ll want to deal with most or all of the automatic turrets before you go bug-hunting, but this is easy compared to Bug Buster 1.
The first Novistador is hidden on the wall to your left as you initially enter the area, in the no-man’s-land that’s covered by the first two auto-turrets. You can drop it with one handgun bullet before you even pull out your binoculars.
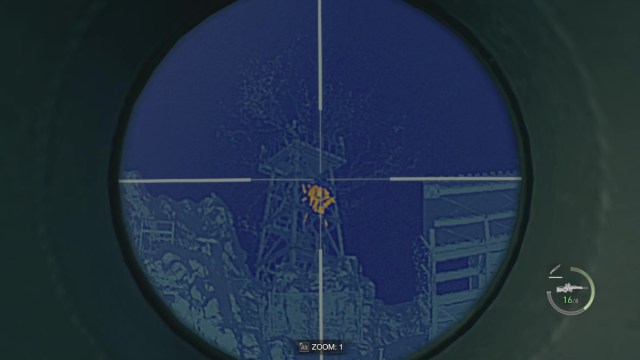
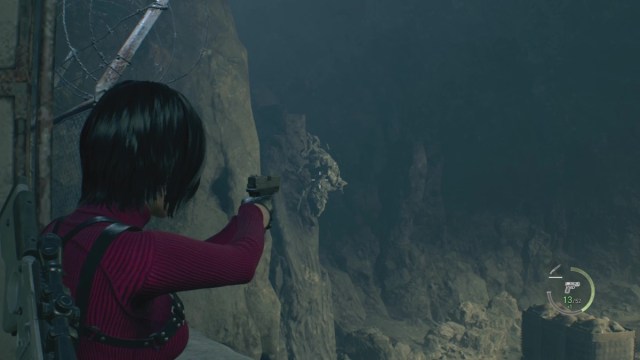
The second Novistador (above) is clinging to a distant comms tower that overlooks the perimeter from the southeast. It’s difficult to spot without the infrared scope.
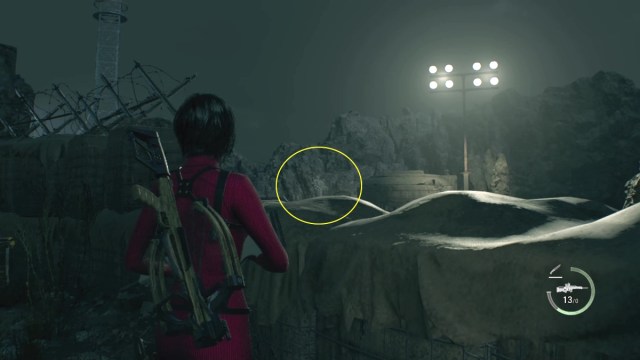
The third and last Novistador is on the wall next to the final auto-turret, near the entrance to the comms array (brightened/circled, above). You can easily snipe it from a distance from the near side of the bridge.
Reward: Spinel x9
Once you’ve turned in the last mission, open your Challenges menu from the pause screen to get awarded Jane of All Trades. This comes with 900 CP to spend in the Extras menu.
You can now purchase the Elite Knife from the Extra Content Shop in the main menu, under the Separate Ways tab. For 1,000 CP, it’ll get added to your storage box, so you can pick it up from any typewriter in Separate Ways.
That’s how to complete the Jane of All Trades challenge in RE4: Separate Ways. For more help with the Resident Evil 4 remake, check out our RE4 guides hub.


Published: Sep 23, 2023 12:06 pm