Looking to brush up on your commands for SNK’s revitalization of Samurai Shodown? Look no further! Here is the list for every fighter’s special moves in the 2019 revival.
Recommended Videos
Before we move onto the full move list, here’s the key so you don’t get lost among the inputs:
Directionals
- B: Back
- Db: Down back
- D: Down
- Df: Down forward
- F: Front
- U: Up
- Ub: Up back
- Uf: Up forward
Attacks
- L: Light attack
- M: Medium slash
- H: Heavy slash
- K: Kick
- S: Any Striking Attack (The chosen attack usually changes the move’s properties)
Multi-press single inputs are shown in parenthesis like so: (Ub+K)
Keep in mind that there are a few techniques that are always executed the same way between characters.
- Weapon Flipping is always executed with D, Df, F, (M+H)
- Super Special Moves are always executed with F, B, Db ,D ,Df, F, (H+K)
Characters are listed alphabetically.
Charlotte
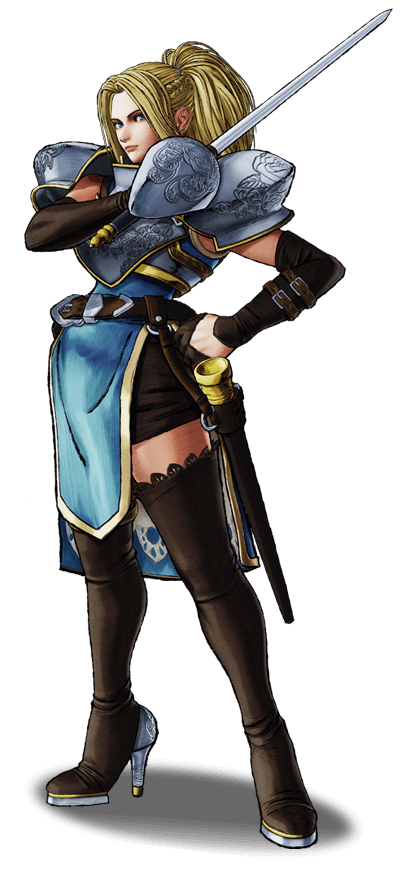
- Power Gradation: F, D, (Df+S)
- Splash Fount: (F+S) (tap S repeatedly)
- Tri-Slash: D, Df, (F+S) (can be charged, stronger during rage)
- Bayonet Lunge: D, Db, (B+S)
- Lance De Lion: D, Df, (F+K) (usable unarmed)
Darli Dagger
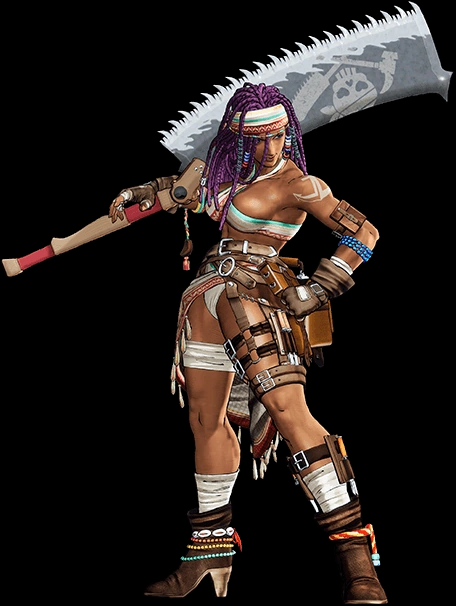
- Blade Surf: D, Df, (F+S) (stronger during rage)
- Serpentine Breaker: D, Db, (B+S) (can be charged)
- High Tide: D, Df, (F+K)
- Riptide Pierce: D, Db, (B+K) (close range)
- Point Break: D, Df, (F+S) (usable unarmed)
Earthquake
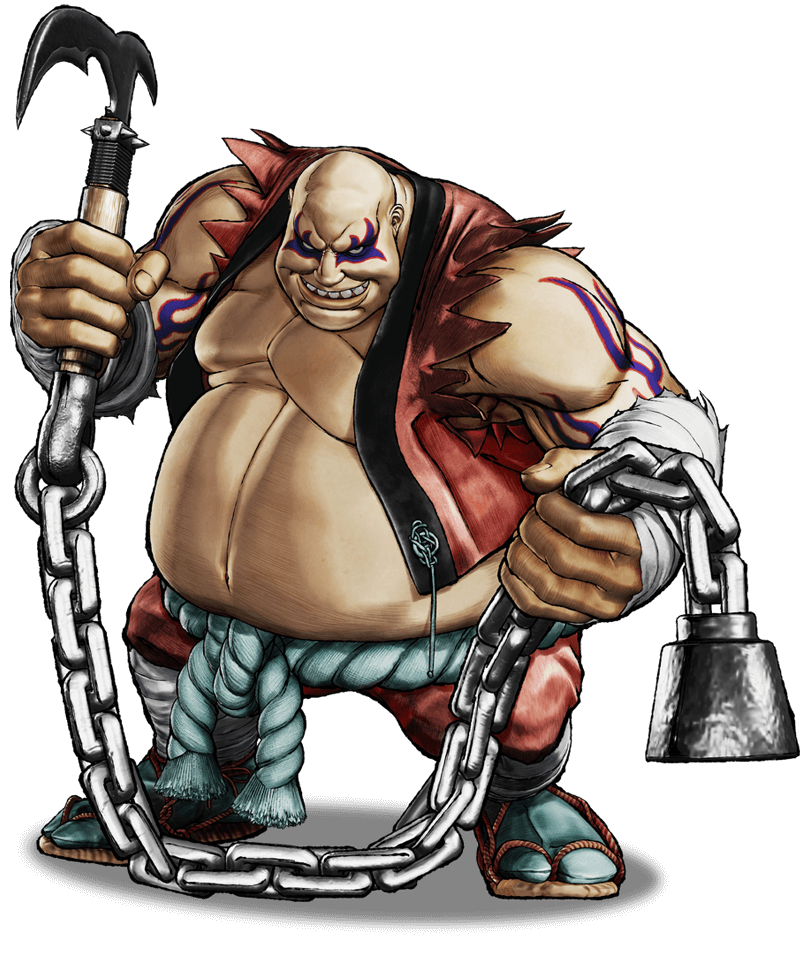
- Wall Jump: Uf (midair near edge of screen)
- Fat Breath: D, Db, (B+S) (usable unarmed)
- Fat Bound: (D+S) (midair, usable unarmed)
- Fat Chainsaw: (F+S) (tap S repeatedly, stronger during rage)
- Fat Replica Attack: F, Df, D, Db, (B+K) (usable unarmed)
- Fat Bomber: D, Df, (F+K) (close range, usable unarmed)
Galford
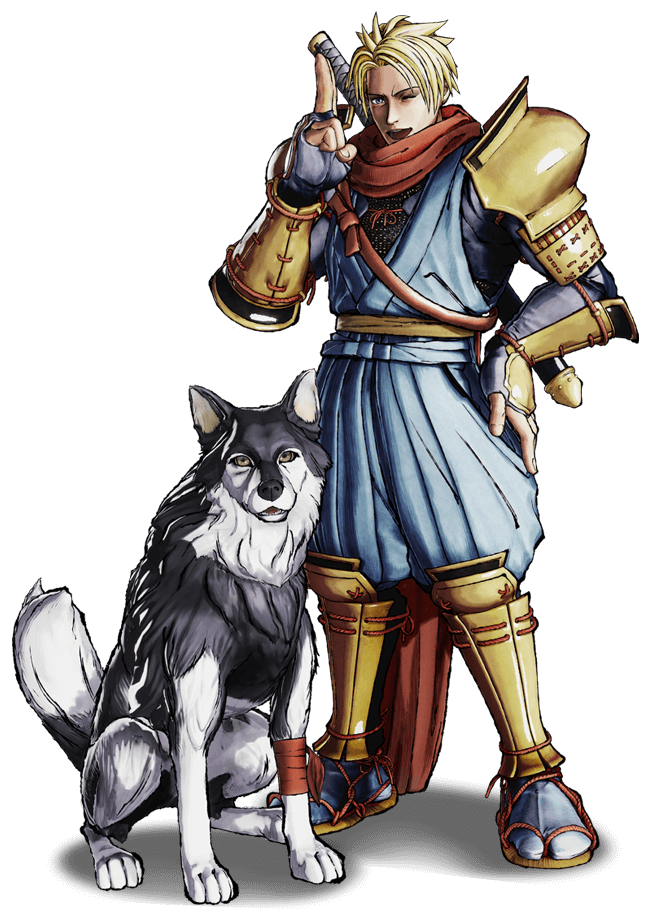
- Stardust Drop: F+K (usable unarmed)
- Wall Jump: Uf (midair near edge of screen)
- Strike Heads: F, D, (Df+S) (close range, usable unarmed)
- Plasma Blade: D, Df, (F+S) (usable unarmed)
- Replica Attack, Head: F, Df, D, Db, (B+L+K) (usable unarmed)
- Replica Attack, Rear: F, Df, D, Db, (B+M+K) (usable unarmed)
- Rush Dog: D, Db, (B+L) (usable unarmed, stronger during rage)
- Machine Gun Dog: D, Db, (B+M) (usable unarmed)
- Replica Dog: D, Db, (B+H) (usable unarmed)
- Overhead Crash: D, Db, (B+K) (usable unarmed)
- Imitate Replica, Head: F, Df, D, Db, B, F, Df, D, Db, (B+L+K) (knocked back, usable unarmed)
- Imitate Replica, Rear: F, Df, D, Db, B, F, Df, D, Db, (B+M+K) (knocked back, usable unarmed)
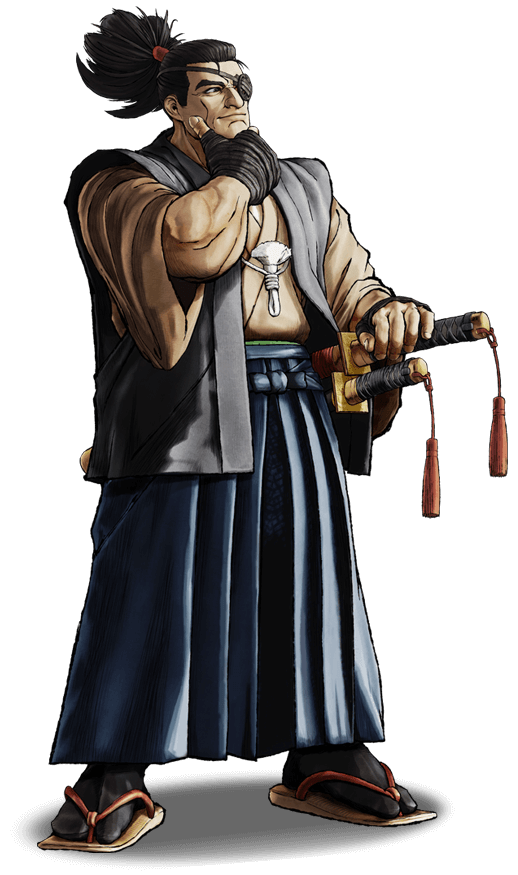
Genjuro Kibagami
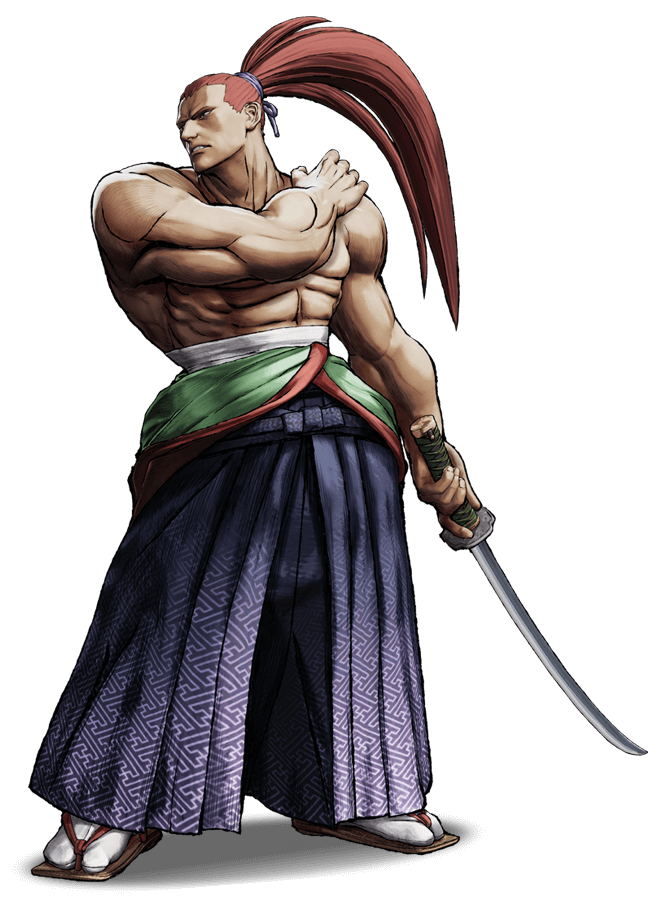
- Triple Death Hack: Fang: D, Df, (F+S)
- Triple Death Hack: Horn: D, Df, (F+S) (during TDH: Fang)
- Triple Death Hack: Element: D, Df, (F+S) (during TDH: Horn)
- Lightning Wings: F, D, (Df+S) (stronger during rage)
- Zen Blade: F, D, (Df+K) (close range, usable unarmed)
- Cherry Blossom Slice: D, Db, (B+S)
- Cherry Blossom Slice: D, Db, (B+S) (hold S) (changes when opponent guards)
- Slash of a Hundred Demons: B, D, (Db+S)
Hanzo Hattori
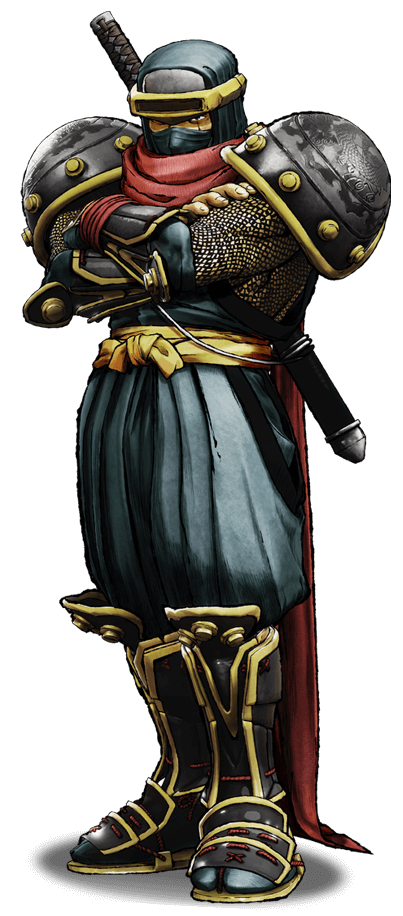
- Rolling Aerial Attack: (F+K) (close range, usable unarmed)
- Wall Jump: Uf (midair, near edge of screen)
- Ninja Exploding Dragon Blast: D, Db, (B+S) (usable unarmed, stronger during rage)
- Ninja Shrike Dash: F, D, (Df+S) (close range, usable unarmed)
- Whistling Shrike Drop: F, D, (Df+S) (close range, step forward, usable unarmed)
- Ninja Silencer: D, (D+S) (usable unarmed)
- Ninja Mon Dance: B, D, (Db+S or K) (usable unarmed)
- Falling Ninja Cicada Larva: F, Df, D, Db, (B+L+K) (usable unarmed)
- Gashing Ninja Cicada Larva: F, Df, D, Db, (B+M+K) (usable unarmed)
- Self-Sacrifice Stratagem of Buddha: F, Df, D, Db, B, F, Df, D, Db, (B+L+K) (knocked back, usable unarmed)
- Demonic Self-Sacrifice Stratagem: F, Df, D, Db, B, F, Df, D, Db, (B+M+K) (knocked back, usable unarmed)
- Ninja Windsplitter: D, Df, (F+S) (midair, usable unarmed)
Haohmaru
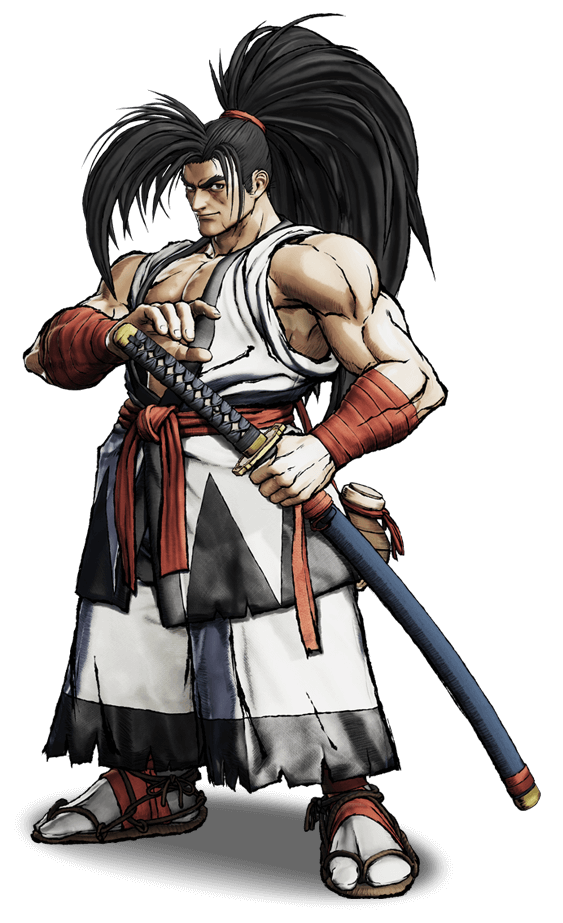
- Crescent Moon Slash: F, D, (Df+S) (stronger during rage)
- Renting Tremor Slash: F, D, (Df+S) (step forward, stronger during rage)
- Cyclone Slash: D, Df, (F+S)
- Fake Cyclone Slash: D, Df, (F+K)
- Earthquake Slice: B, D, (Db+S)
- Rice Wine Whack: D, Db, (B+K) (usable unarmed)
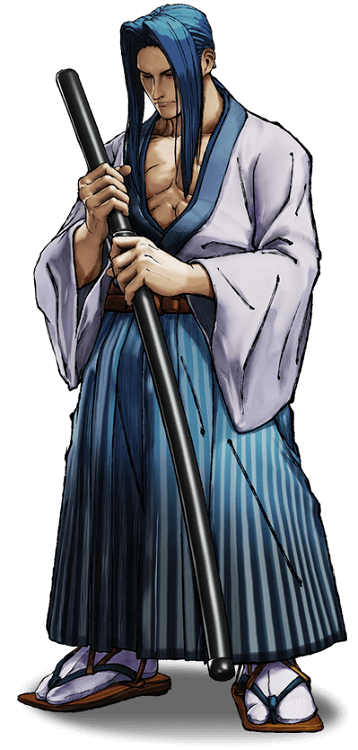
Jubei Yagyu
- Geyser Thrust: D, Df, (F+S)
- Tsunami Sabre: F, D, (Df+S) (stronger during rage)
- Sabre Thrash: F+S (tap S repeatedly)
- Reflecting Mind’s Eye Sabre: D, Db, (B+L)
- Mind’s Eye Sabre of Mutual: D, Db, (B+M)
- Raging Heaven’s Mind’s Eye Sabre: D, Db, (B+H)
Kyoshiro Senryo

- Crouch Walk: Db or Df (while crouching)
- Tsunami Crunch: D, Df, (F+S) (usable unarmed)
- Dance of Fire: B, D, (Db+S) (usable unarmed)
- Lion’s Tail Blast: D, Db, (B+L or M)
- Ragion Lion’s Tail Blast: D, Db, (B+H) (stronger during rage)
- Twisting Heavens: F,D,Df+S
- Smoldering Blood Pounce: (D+S) (at apex of jump)
- Toad Plague: D, Db, (B+K) (usable unarmed)
Nakoruru
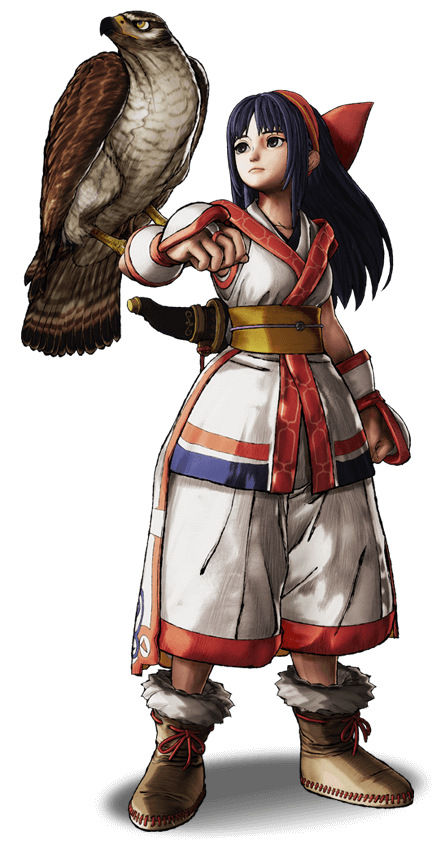
- Kamuyhum Kesupu: (D+K) (midair, usable unarmed)
- Rera Kishima Tek: (F+K) (close range, usable unarmed)
- Wall Jump: Uf (midair, near edge of screen)
- Annu Mutsube: B, Db, (D+S) (stronger during rage)
- Rera Mutsube: D, Df, (F+S) (stronger during rage)
- Kamui Rimuse: B, D, (Db+S) (usable unarmed)
- Kamui Rimuse Return: S or K (during Kamui Rimuse)
- Amube Yatoro: D, Db, (B+S) (usable unarmed)
- Cling to Mamahaha: D, Db, (B+K) (usable unarmed)
- Mamahaha Attack: S (during Cling to Mamahaha)
- Drop from Mamahaha: K or (B+K) or (F+K) (during Cling to Mamahaha)
- Kamui Mutsube: (M+H) (during Cling to Mamahaha, stronger during rage)
- Makuyhum Kesupu: (D+K) (during Cling to Mamahaha)
Shiki
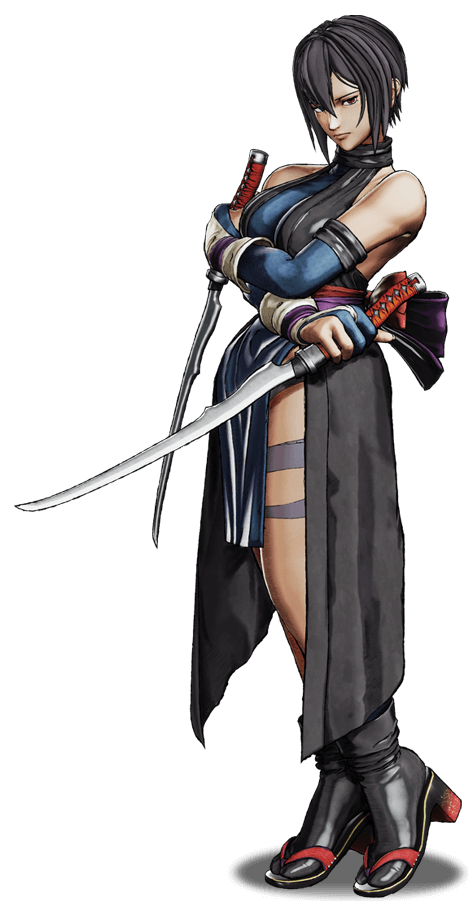
- Exodus Stream: D, Df, (F+S) (stronger during rage)
- Cloudburst: D, Df, (F+S) (during Exodus Stream, stronger during rage)
- Elysium Halo: F, D, (Df+S)
- Tartarus Drop: F, D, (Df+K) (close range, usable unarmed)
- Setsuna: D, (D+S) (usable unarmed)
- Lotus Dance of Sublimation: D, Db, (B+S)
- Lotus Dance of Oblivion: B, D, (Db+S)
Tam Tam
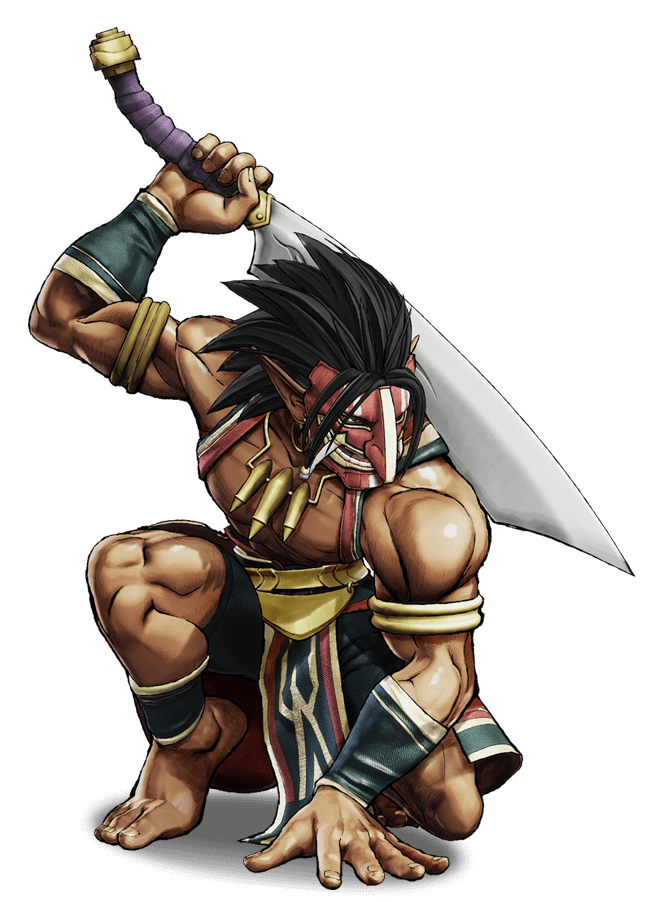
- Paguna Paguna: (F+S) (tap S repeatedly)
- Ahaooh Gaboora: F, D, (Df+S) (usable unarmed, stronger during rage)
- Gaboora Gaboora: D, Df, (F+K) (close range, usable unarmed)
- Pagoona Dios: B, D, (Db+S) (usable unarmed)
- Mula Mula: D, Df, (F+L or M) (usable unarmed, can be done 3x in a row)
Ukyo Tachibana
- Concealed Sabre Snowfall Slash: D, Db, (B+S)
- Swordless Sabre Snowfall Slash: D, Db, (B+K) (usable unarmed)
- Concealed Sabre Swallow Swipe: Db, D ,Df, (F+S) (midair, stronger during rage)
- Concealed Sabre Phantom Strike: D, Df, (F+S)
Wu-Ruixiang
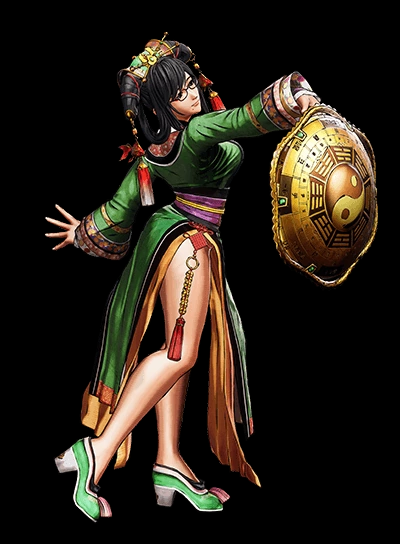
- Black Tortoise Torrent: D, Df, (F+S)
- Vermilion Bird Blaze: D, Db, (B+S) (stronger during rage)
- White Tiger Fangs: F, D, (Df+S)
- Azure Dragon Thunderstrike: D, (D+S)
- Kirin Earthen Rampage: B, D, (Db+K)
Yashamaru Kurama
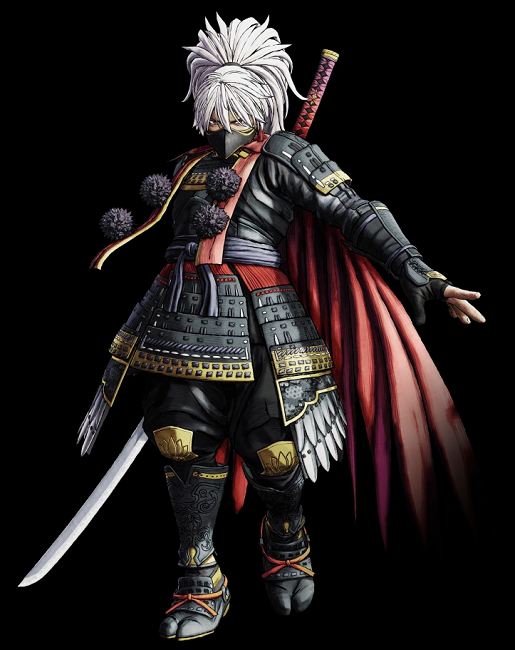
- Double Jump: Ub or U or Uf (at apex of jump)
- Wintry Gust: D, Db, (B+S) (midair, stronger during rage)
- Azure Gale: D, Df, (F+S) (midair, stronger during rage)
- Arctic Tempest: F, D, (Df+S) (stronger during rage)
Yoshitora Tokugawa
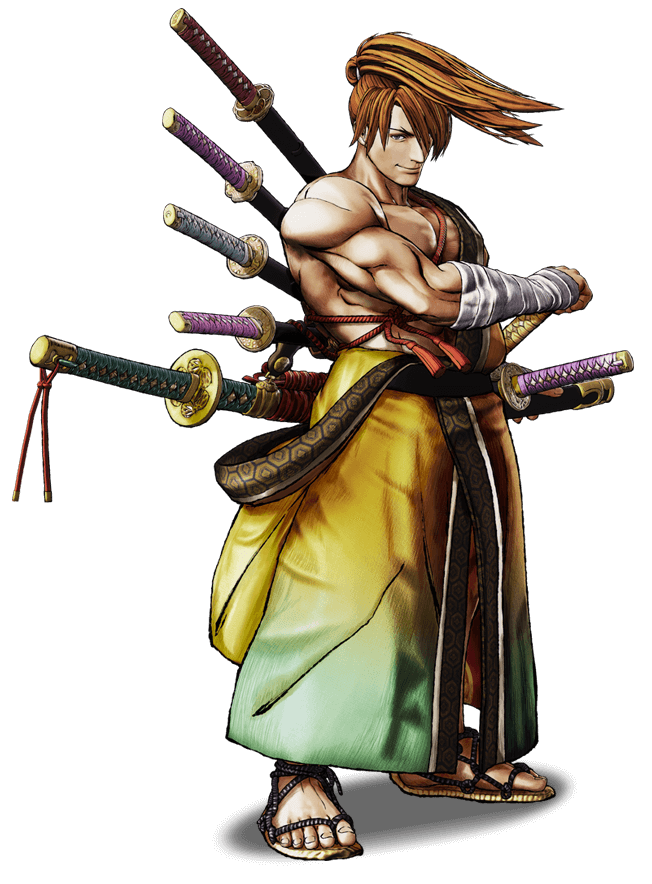
- Pink Blossoms: D, Df, (F+S) (stronger during rage)
- White Lilies: F, D, (Df+S)
- Tree Peonies: D, Df, (F+S) (midair)
- Camellias: B, D, (Db+S)
- Morning Glory: D, Db, (B+S)
- Moonflower: F, D, (Df+K) (close range)
- Fluttering Butterfly Blossom: F, Df, D, Db, B, (F+L+M) (only usable after all over special moves have connected)
Samurai Shodown had seemed to be dead for so long, this brand new entry to the series is a major surprise. Check out our full review of the game here, and good luck with your off and online matches in SNK’s return to this classic franchise.
GameSkinny is supported by our audience. When you purchase through links on our site, we may earn a small affiliate commission. Learn more about our Affiliate Policy


Published: Jun 24, 2019 12:03 pm