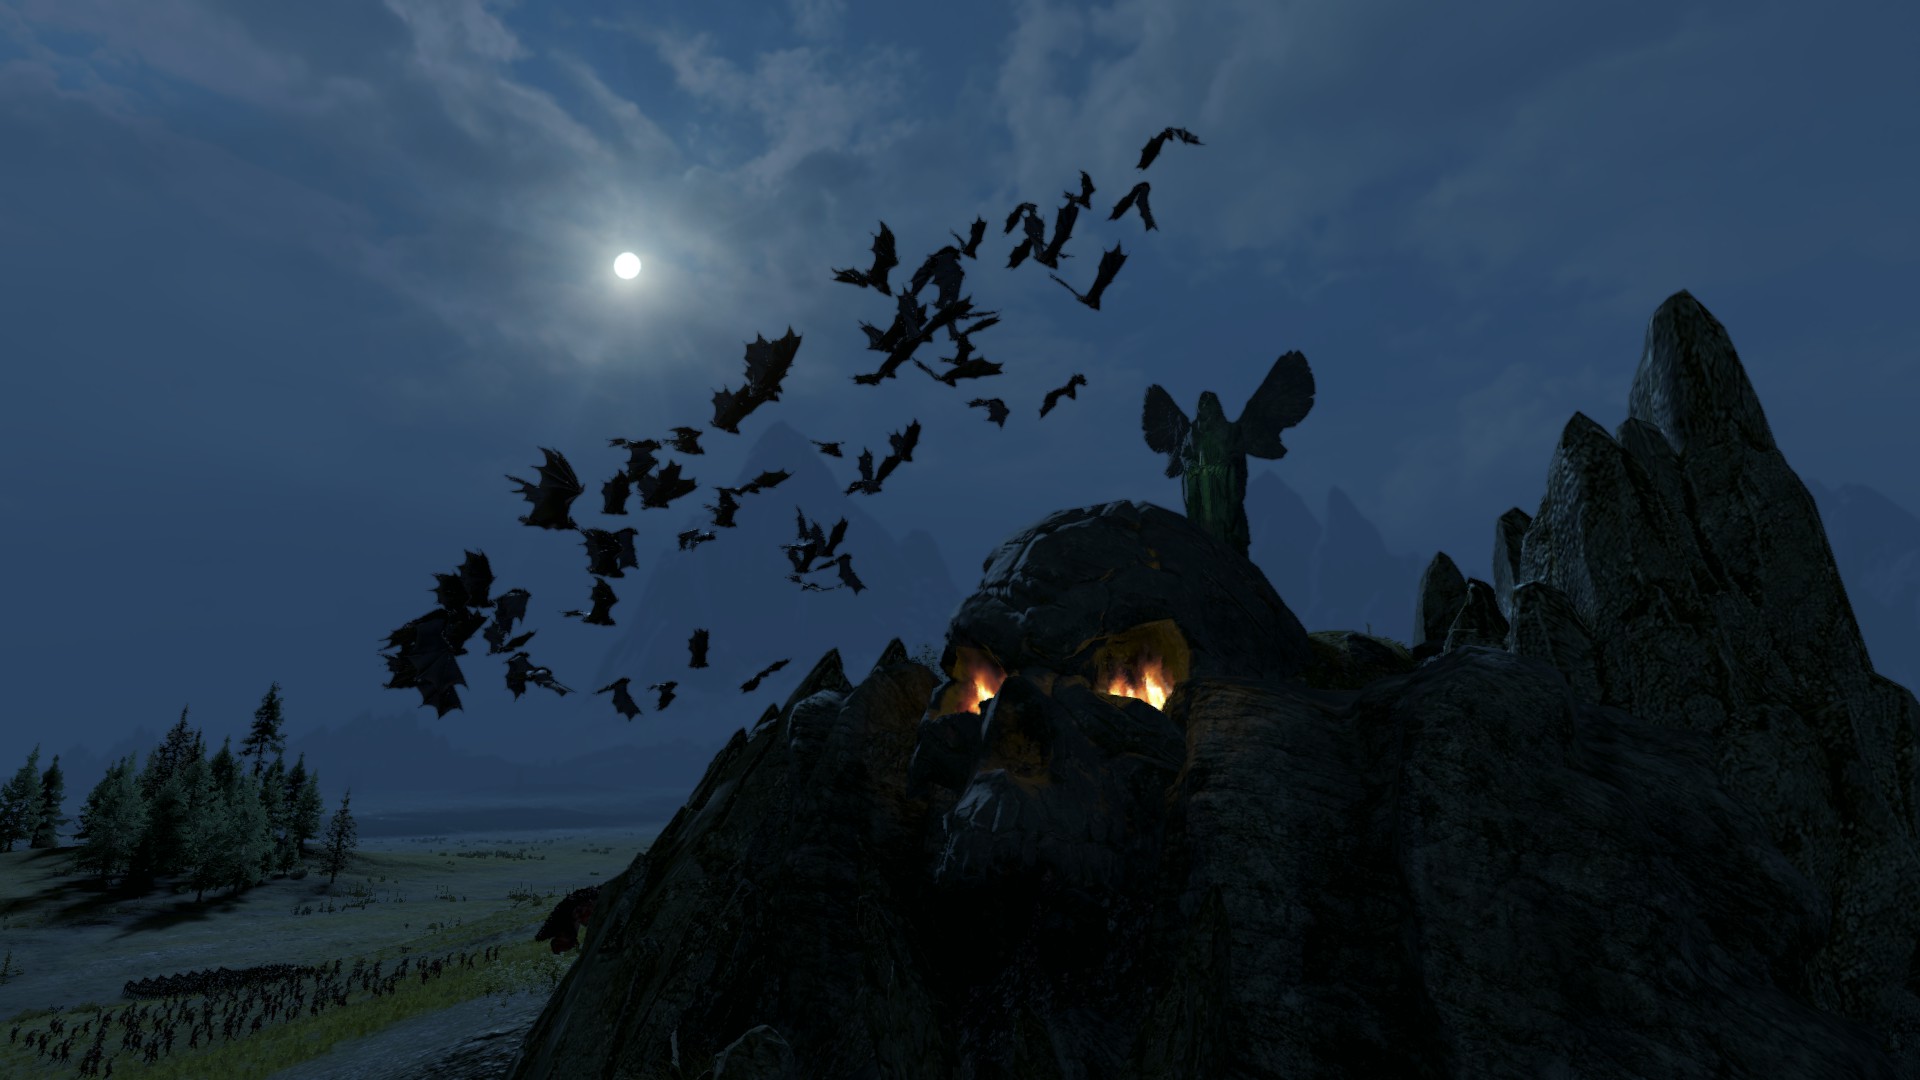
Total War: Warhammer is one of the biggest and best strategy games of the year. With giants, dragons, wizards, and all manner of other wild creatures, it is also the most tactically diverse of the series. As such, it can be extremely challenging. This guide is designed for players who are new to the series or those who need a little brush up on tactics. I’ve used several examples from some of history’s most famous battles and commanders.
- What this guide does — It will give you a solid lesson on tactics and battle strategy that can be used to win the RTS battles in Total War: Warhammer. These lessons can also be carried over to other strategy games including, team based shooters and MOBAs. It also might come in handy during the zombie apocalypse when you are fighting to defend your neighborhood from waves of the undead.
- What this guide does not do — It will not teach you the strategies necessary to win the turn based grand strategy portion of the game. Others have written some fantastic guides for the overall game, so here we will only focus on the tactical battles.
Any combat strategy has two main components — attacking and defending. The tactics for both are very different and will vary depending on the strengths of your faction and the weaknesses of the faction you are facing. Knowing your enemy and knowing how to counter their strengths and take advantage of their weaknesses is the key to winning battles.
If you know the enemy and know yourself you need not fear the results of a hundred battles. – Sun Tsu
Defending
Defending can be quite difficult, but here are a few strategies to help you not only defend, but crush your enemies in the process.
- Remember — location, location, location. It’s true in real estate and it’s true in battle. Where you fight and how you use the terrain will mean the difference between a successful defense or a crushing defeat.
- Always take the high ground if possible and always place your forces as far away from the attacking forces as possible. The farther the enemy has to march, crawl, slither, etc., the more tired they will be when the actual fighting begins. Fatigue plays a big role in the Total War series and that hasn’t changed in their newest release. Tired troops break easier and die faster.
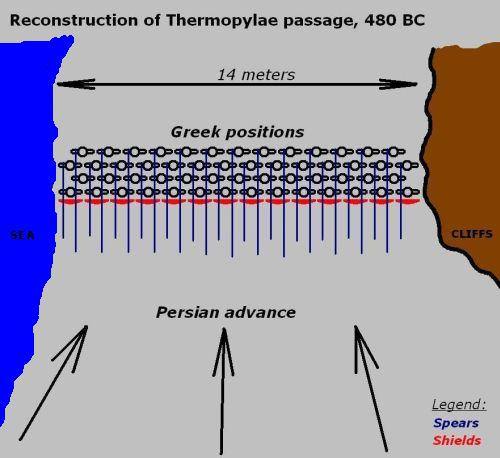
- Choose the best position given the terrain available. At the battle of Thermopylae in 480 BC, 300 Spartans defended a narrow stretch of land for days against overwhelming Persian forces. They were able to this because they positioned their troops in such a way that the Persians could not get to their flanks. Use rivers, hills, rocks, buildings, or anything else that stops or breaks up the enemy forces. Even if you can only protect one flank, you will be better off.
- Choose your formation carefully. That means putting your ranged and artillery units behind a wall of strong front line units. If there are no natural barriers to guard your flanks, then make sure to leave some troops behind to guard those ranged units. Your faction and their abilities play a big role in choosing your formation. Just keep your strengths and weaknesses in mind.
- If you have anti-cavalry units, keep some of them in the back to guard the rear. Fast cavalry will always try to out flank and hit your rear troops. It’s also a great idea to keep some of them on the outer edges of your main battle line to protect against such tactics.
- Order your units to hold ground instead of having them pursue a broken enemy. This keeps your formation intact. If one of your units breaks the unit they are fighting and takes off in pursuit, you will be left with a huge hole in your line. A smart enemy will charge through that hole and smash your ranged units.
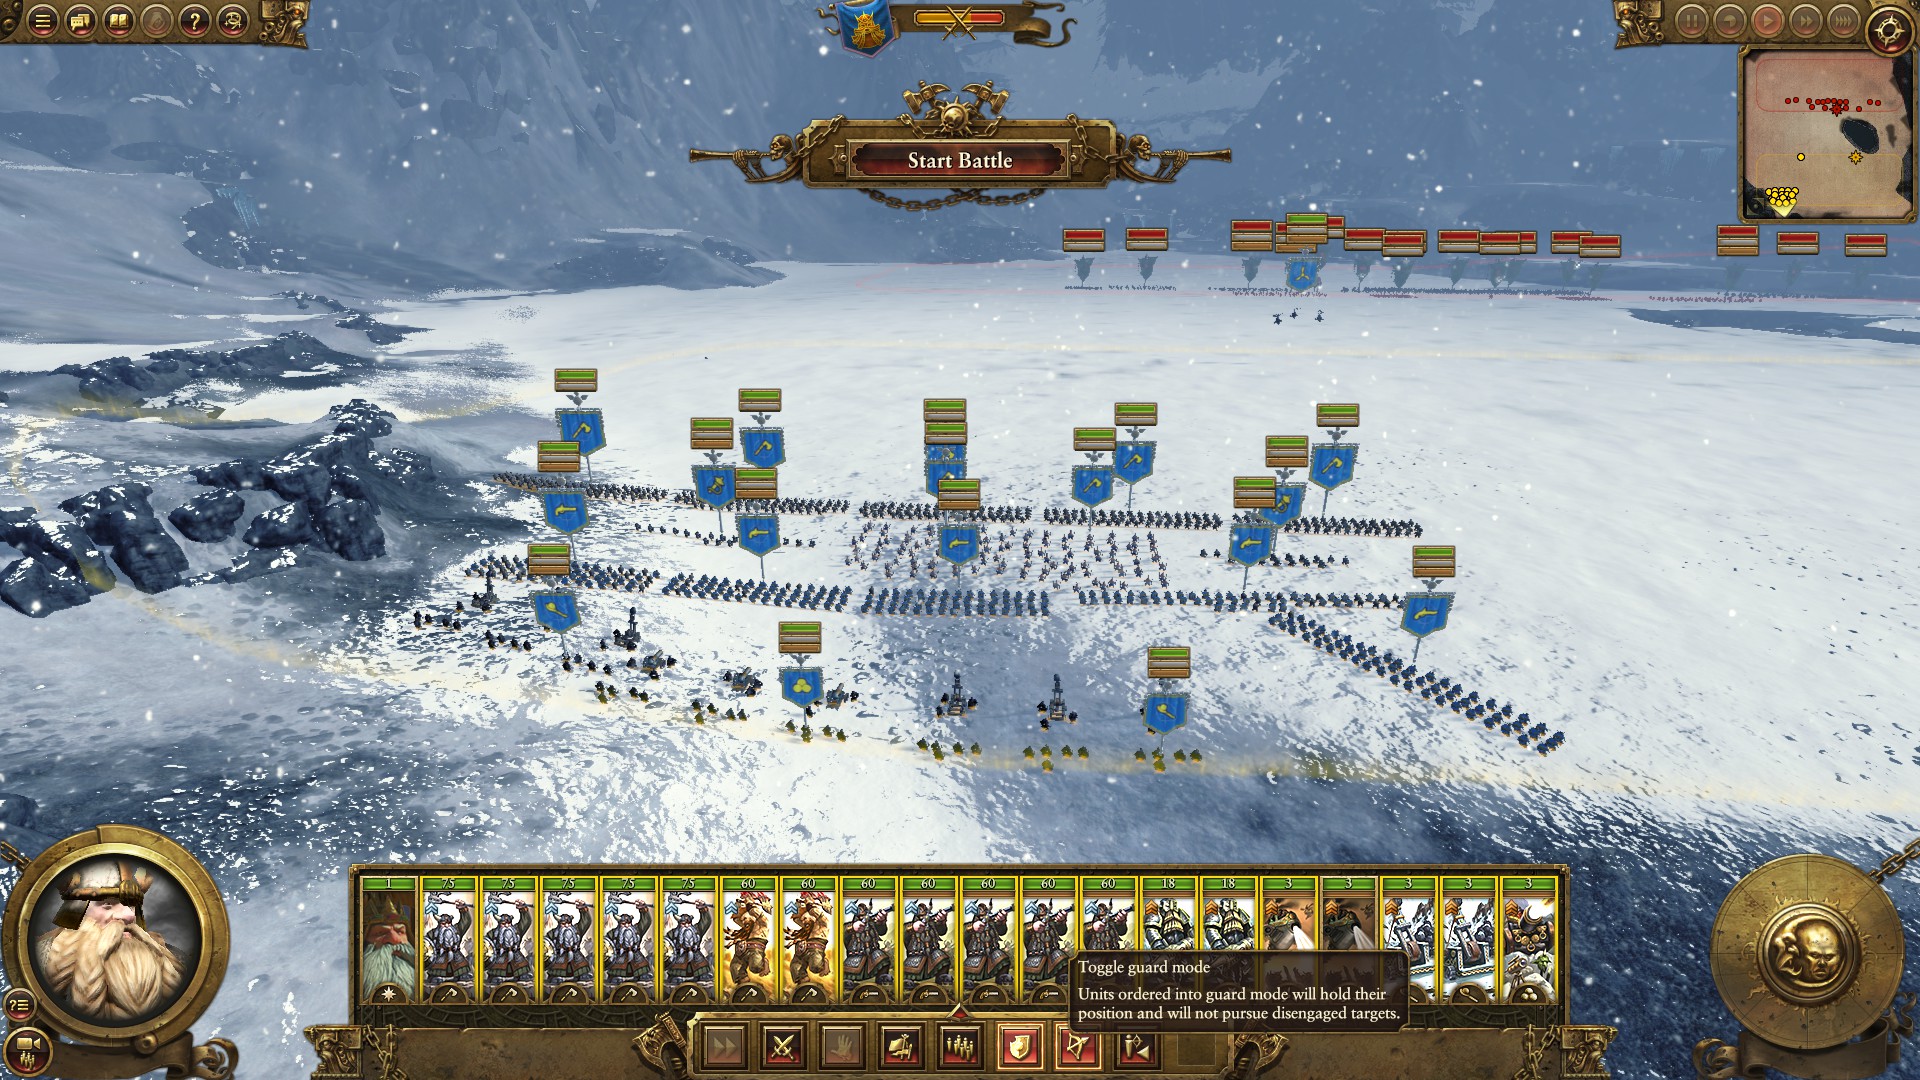
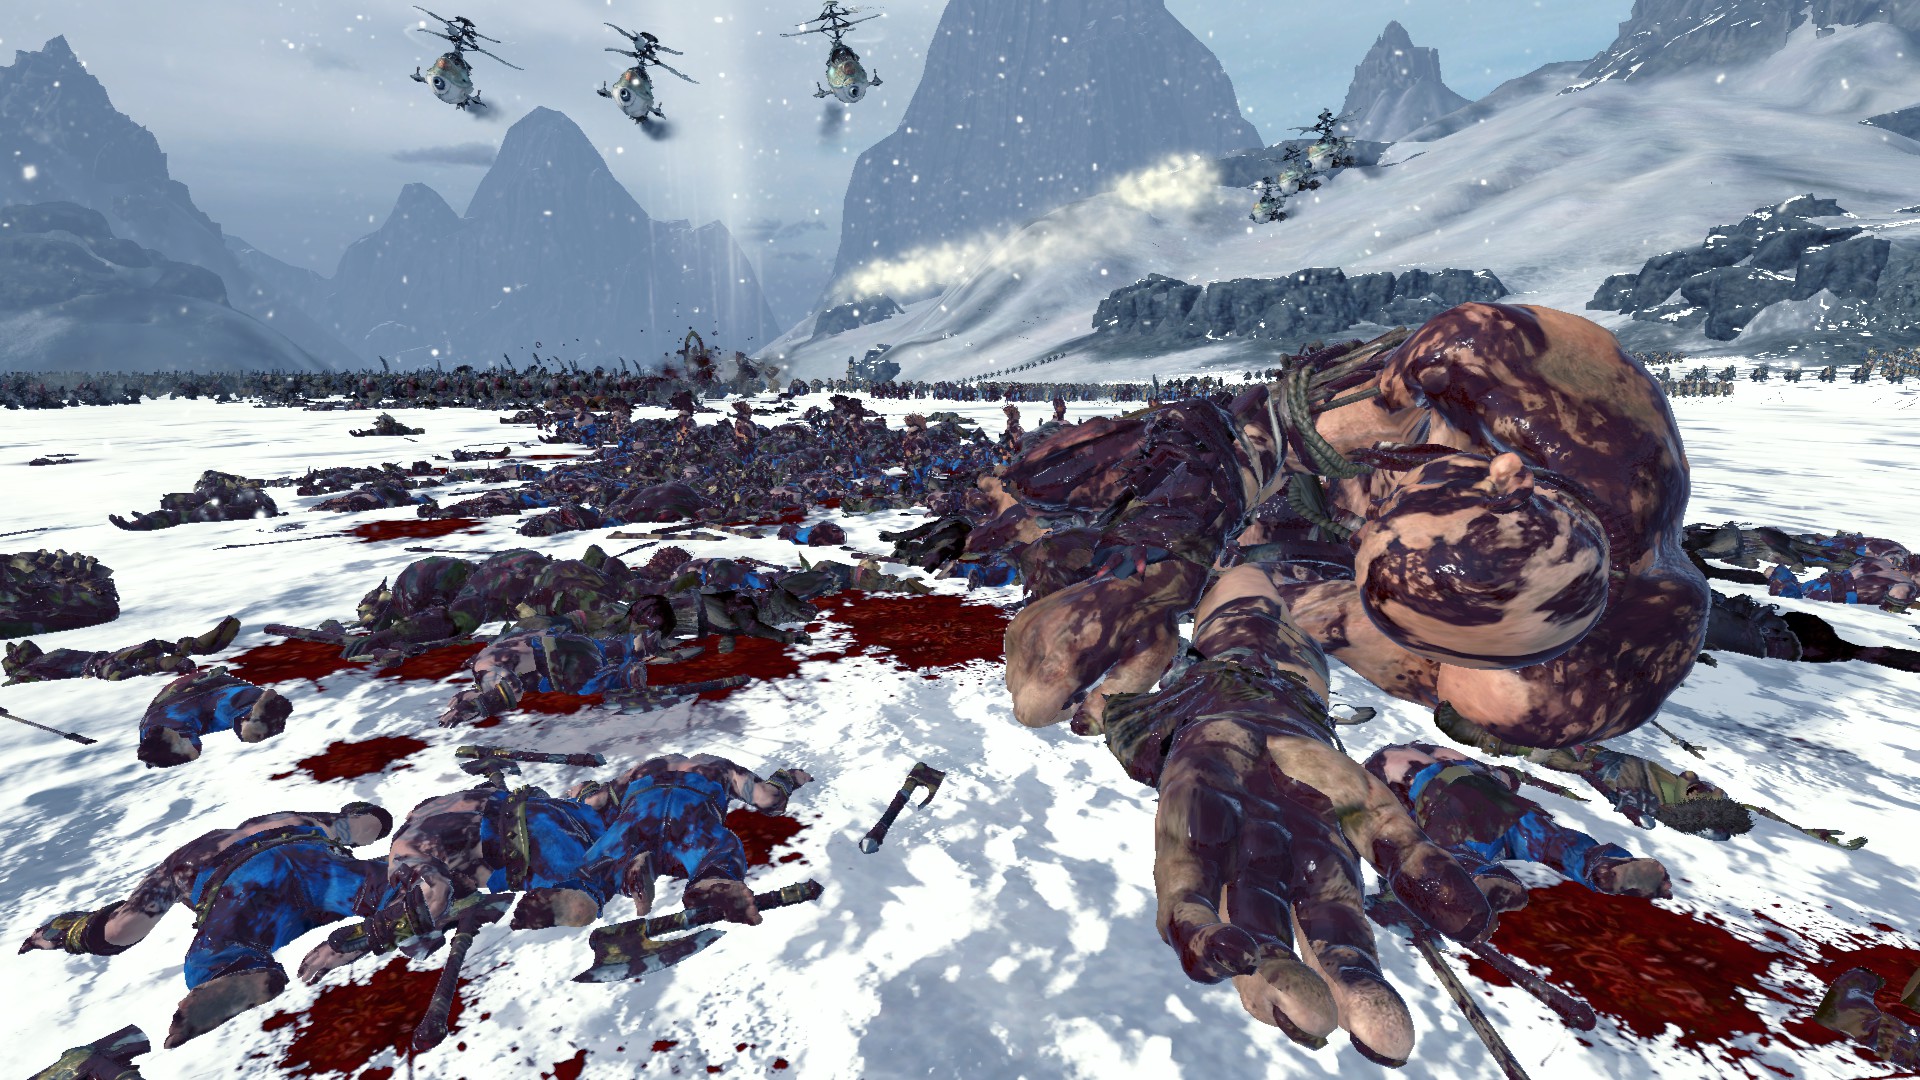
- If you are defending against Chaos or the Greenskins, invest in anti-large units as early as possible. I like to place them right behind the main line, so they can easily stop or slow the giants before they hit the line. Giants will absolutely devastate groups of soldiers. Keep ranged units behind the line, but send melee units out as soon as possible to intercept the giants. Be careful not to get those troops caught up fighting other units if possible. You may lose them regardless, but if they take down the big units they have done their job.
- Last, but not least, always keep a reserve force if possible. Keep them behind your main line and keep them rested. When the fighting starts in earnest you can use these troops to plug holes that open in your line or to bolster units that are struggling. Try to wait until the last possible moment to send them in. A fresh, strong unit charging in can be the last straw for an enemy who was close to breaking anyway.
Advanced Defense
Here are a couple of advanced defensive tactics that you can try. While not always successful, it is a thing of beauty to see when they do.
- Reverse slope defense — When facing an enemy that has strong ranged units like the Dwarves or Empire, consider defending the back side of a slope. If their artillery can’t hit you, that nulls one of their major advantages. Yes you give up the high ground, but sometimes that works in your advantage. Position your own ranged units, if you have any (I’m looking at you Vampire Counts), in a position where they can blast the enemy as they crest the hill. They will be charging downhill, but into a hail of projectiles and a well rested defender.
- The folding center, double envelopment defense — At the battle of Marathon on 490 BC, 10 thousand Athenians fought over 100 thousand Persians. They won that battle by charging the Persians with their center, then when the Persians were confident of victory, the Athenian center folded and ran away. The Persians pursued them. When the Athenian troops stopped and rallied, their wings closed in on the overstretched Persians and attacked their flanks from both sides. You can use this tactic in Total War: Warhammer. It works best against the AI or any player who has not read this guide. Just make sure to keep your flanking troops hidden or in a non-threatening position.
Attacking
Attacking can be just as difficult as defending, sometimes more so. Choosing the right formation and tactics can mean the difference between a decisive victory or a sad, sad, defeat. Here are a few tips to help you bring the hurt to your enemies.
“The opportunity to secure ourselves against defeat lies in our own hands, but the opportunity of defeating the enemy is provided by the enemy himself.” – Sun Tzu
- Mind your surroundings. In 1415 Henry V, the king of England, faced off against a force of French troops at the battle of Agincourt. He chose the ground wisely and despite having less than 5000 men against a force of nearly 20,000, he won the day. How you ask? The French were weighed down by heavy armor and slogging across 1000 yards of very muddy ground. Henry’s archers chewed them to pieces in no time. They lost nearly 6000 men that day compared to a loss of 400 on the English side. Keep this in mind when attacking and choose your path wisely.
“The backbone of surprise is fusing speed with secrecy.” – Carl von Clausewitz
- Flank your enemy as often as humanly (goblinly?) possible. This is easier for some factions than others. The Vampire Counts, Empire, Greenskins, and Warriors of Chaos factions all have strong cavalry and/or flying units. Invest in these early and use them to sneak around your opponent’s flank and attack ranged units, artillery, or the rear of the main line of battle. Just be careful of anti-cavalry units like spearmen and halberdiers.
- For the Dwarves, flanking is not always an option. They do have Gyrocopters in the late game, but they are not the best at flanking. It is possible for them to flank, but it requires a lot of sneaking and helpful terrain. The best strategy for them is to use their ranged units to break the enemy down before engaging.
- Walk, don’t run, to your nearest battle. As mentioned previously, fatigue is real and it will be your undoing if you ignore it. Set your troops to walk on your initial advance. If you are walking into artillery or heavy ranged fire, try alternating walking with running. This throws off their aim sometimes. The important thing is to get to the battle as rested as possible. Don’t charge until the last possible moment.
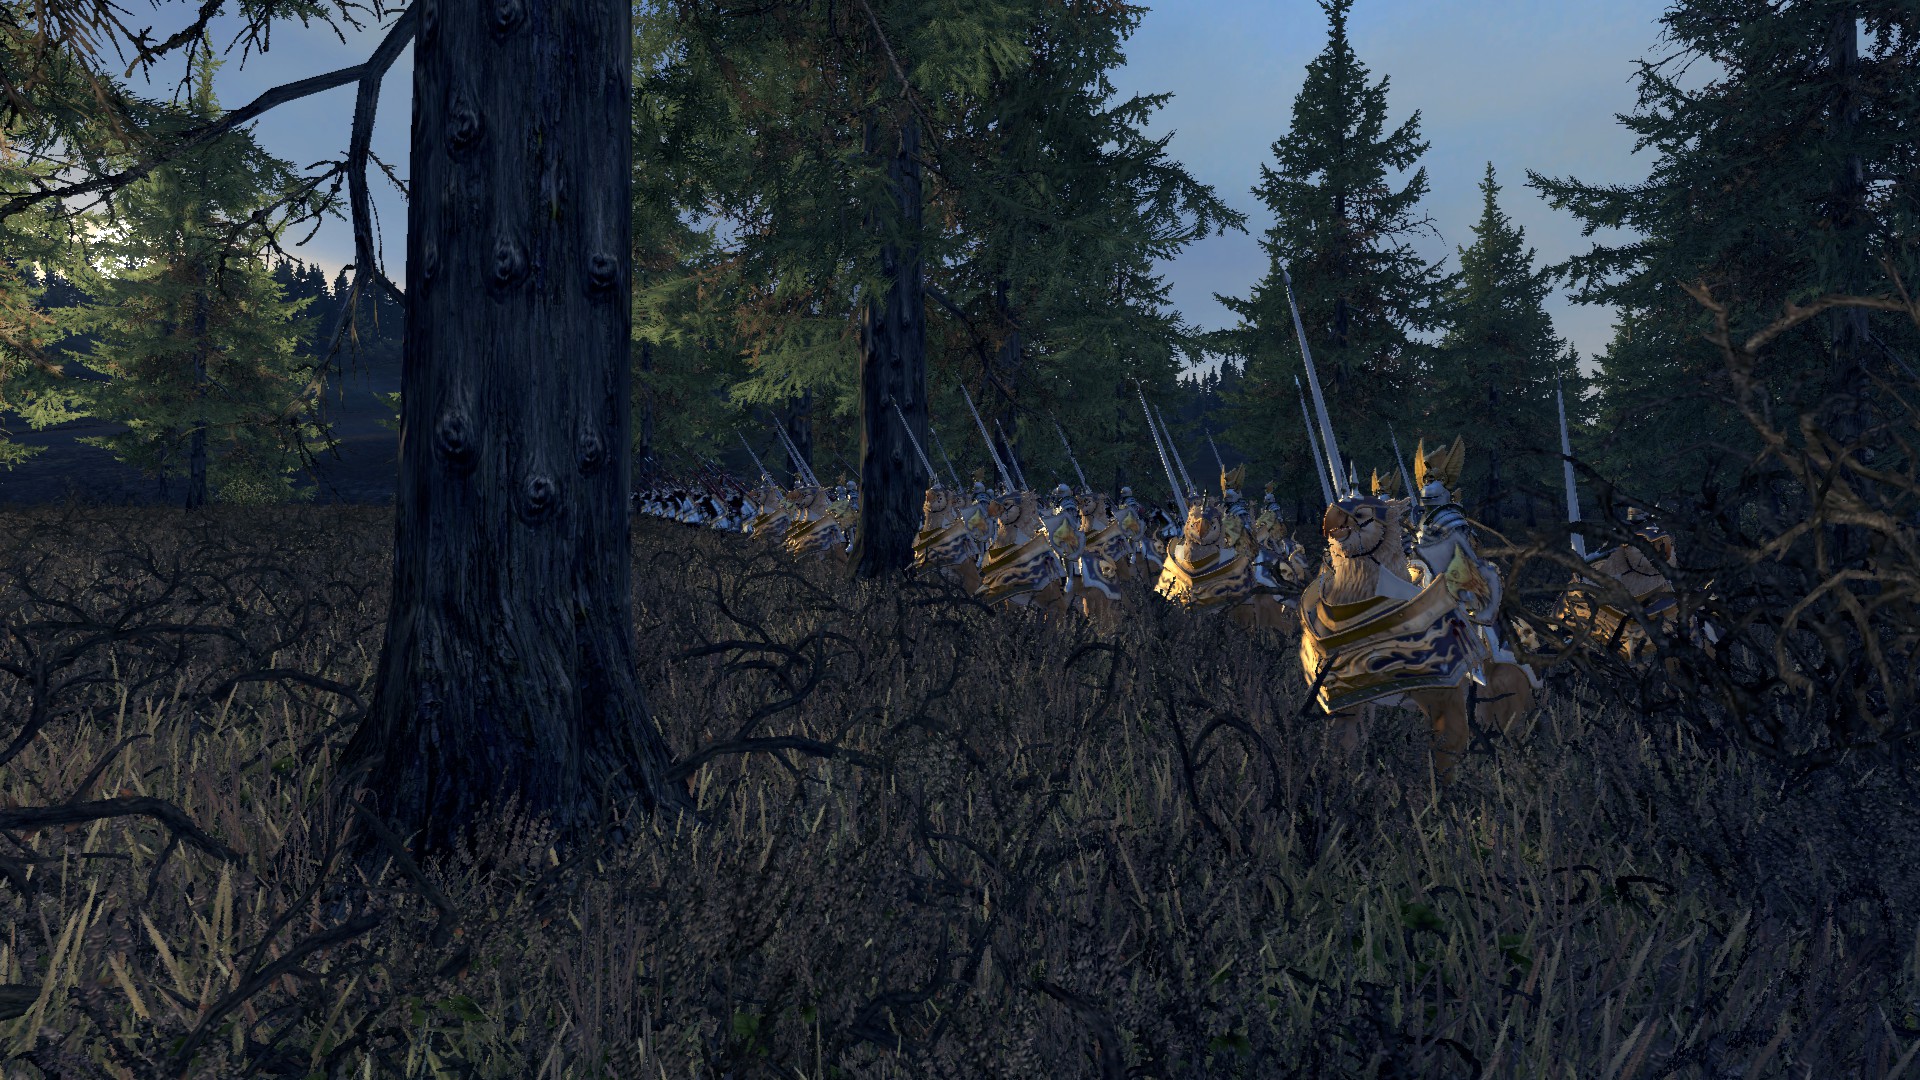
- Use the terrain to your advantage. Keep your troops hidden as much, and as for as long as possible. Use forests and hills to block your troops from the enemy’s sight. This is especially important for your flanking troops and cavalry. Some units, like giants can’t hide, so keep them in the open for the enemy to focus on. Then hit them from the sides or rear when they least expect it.
- Ranged units are useful in an attack, but more so if you can get them into flanking positions. If the enemy’s shields are facing your attacking troops, they can’t stop arrows from the sides or rear. In a siege, send them in ahead of all the other troops to pick off as many defenders as possible while your towers and siege equipment trundle up to the walls.
- If you have magic, use it as often as possible to weaken the enemy during the initial advance. Many of the AOE spells are best to hit them with before your own troops get in the way. If your faction doesn’t have mages, then save your other abilities until you need them. Bolstering your troops or demoralizing the enemy at the right moment can help to break enemy units who are already faltering.
- Keep troop types in mind. Don’t charge your cavalry into a wall of spears or send regular units into combat with giants alone. I suggest playing all of the factions — at least in a custom battle or two — to try out the different units and get a feel for what they can do. This will help you plan effective attacks.
Advance Attacking
Here are a couple of advanced tactics to try when attacking. Again, they will not always be successful, but they are really fun when everything works out.
- Double envelopment — This tactic can work for an attacker too. Try pulling back your center troops. Then, if the enemy pursues, have them stop and fold your wings in around them. This works very well when fighting a smaller force, but if played right it can be devastating even to a larger force. Try to get cavalry units into positions on the wings and hold them in reserve until the right moment. They can add that extra punch to this flanking maneuver.
- Cavalry charge on the center — While generally not advised, if played correctly you can smash a hole in the enemy line and then fill it with eager troops. Wait to charge until the last moment and make sure you have fast troops positioned behind them to take advantage of the opening. Charge in and then pull your cavalry back before they get bogged down. Rush your fast troops in and try to punch through the hole. If successful you can envelop and flank the enemy from all sides. Timing is everything. This one is tricky, but loads of fun. Try hitting the center with a good spell just ahead of the cavalry charge too. With luck they will break and run.
Hopefully these tactics will give you an advantage on the battlefield. For more details on Total War: Warhammer, check out the official webpage.


Published: Jul 2, 2016 08:53 am