There may only be four base Total War: Warhammer 2 factions to pick from, but there’s a surprising amount of variety between those vastly different races.
The chaotic Skaven are always on the hunt for Warpstone so they can take over the magical Vortex, and they have a lot of mechanics that set them apart from the Lizardmen or Elves.
To win as the Skaven, you sort have to think like a cowardly rat while also behaving like a horde of unstoppable plague rats rolling over a city. Below we cover all the basics you need to know to get started. Looking for help with other Warhammer II factions? Check out these guides instead:
The Best Skaven Lord for Your Total War: Warhammer 2 Campaign
Your basic decision with the starting Skaven Legendary Lord is between fighter or wizard, but there’s actually a bit more to it than just melee or spells when you consider the faction effects of both choices.
Queek Headtaker is your straight up melee duelist, who has high armor and can penetrate enemy armor. Queek offsets your weak starting units in the early campaign. The exact opposite of Malekith from the Dark Elves faction, Queek actually steals some of the XP earned by any other Lord, so he will consistently be at high level even if he doesn’t go directory into combat all the time. He’s not big on wizards though, so Grey Seers you recruit will have reduced loyalty.
Lord Skrolk is your spell casting option, and he doesn’t include a tutorial mission — so make sure you’ve mastered the game’s basics first! There’s a lot of reasons to pick Skrolk, though, like the fact that plague buildings cost half as much to build or that the Pestilent Scheme rite is reduced in cost by a whopping 75%! Additionally, Skrolk is actually a competent melee fighter besides just casting spells, and his skills let you increase his combat prowess even further.
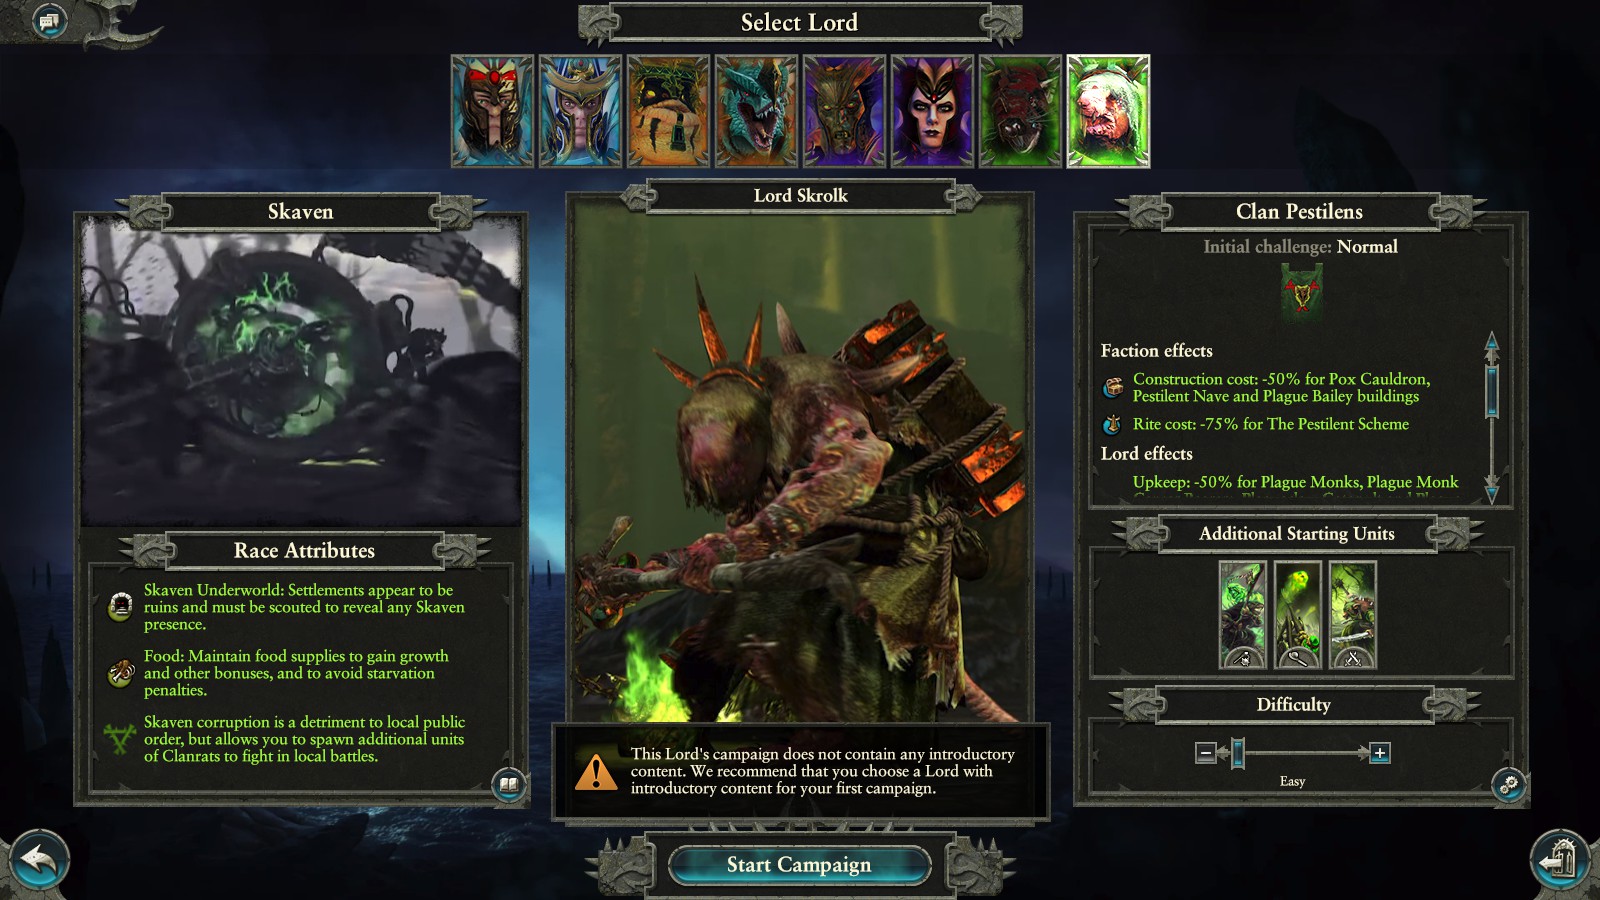 Picking a Skaven Legendary Lord
Warhammer II Skaven Campaign Strategy
Skaven spread corruption, but it works a bit differently than vampiric or chaos corruption does for any other faction. Your public order will go down as corruption spreads just like with the other types, but it will also cause problems for the other factions and let you use the vital Menace Below ability. Spreading corruption to a nearby province before going on the offensive can be a great way to get ready to invade that area.
Unlike the other three main factions, Skaven settlements are underground and invisible to the other players, showing up as ruins that have to be explored. Some will have nothing, and some will be flooded with your vile ratmen. The result here is that its less dangerous to leave a settlement undefended than with the other Warhammer II factions.
While moving around your Lords, your typical stance will be Ambushing — but don’t forget you can use the Underway to move through otherwise impassable terrain, making the Warhammer II campaign map much more wide open to Skaven than any other faction.
Your strengths as Skaven are your ability to constantly ambush enemy armies and your overwhelming numbers. Your weakness is that those numbers are hungry. While Dark Elves have slaves, Skaven also have a third resource — in this case, it’s simply food. Your endless vermin tides have to consume a lot, and they eat all the time.
Keeping food stocks high gives bonuses, but when food hits 40% or less you take a hit to growth, leadership, and public order. And it gets exponentially worse as the food supplies tumble from there.
Some buildings provide food, but in the beginning your main food gathering technique will be combat — eat survivors after a battle and loot a settlement when raiding. The end result is that you essentially have to play aggressively. Your empire is a horde of rats expanding outward in a tide. Many of those rats will die. But that’s OK, because there’s always another wave just behind ready to push forward.
Constant expansion is usually needed to keep up with the pace of food and army growth, and that’s where Rites like the Scheme of DOOOOOM! come in, letting you knock down enemy walls so you can easily invade without needing siege equipment.
The Pestilent Scheme Rite (which is super cheap if you picked Lord Skrolk) will kill off armies quickly, again making it quite easy to siege cities after they have been devastated by plague (just don’t accidentally infect your own units).
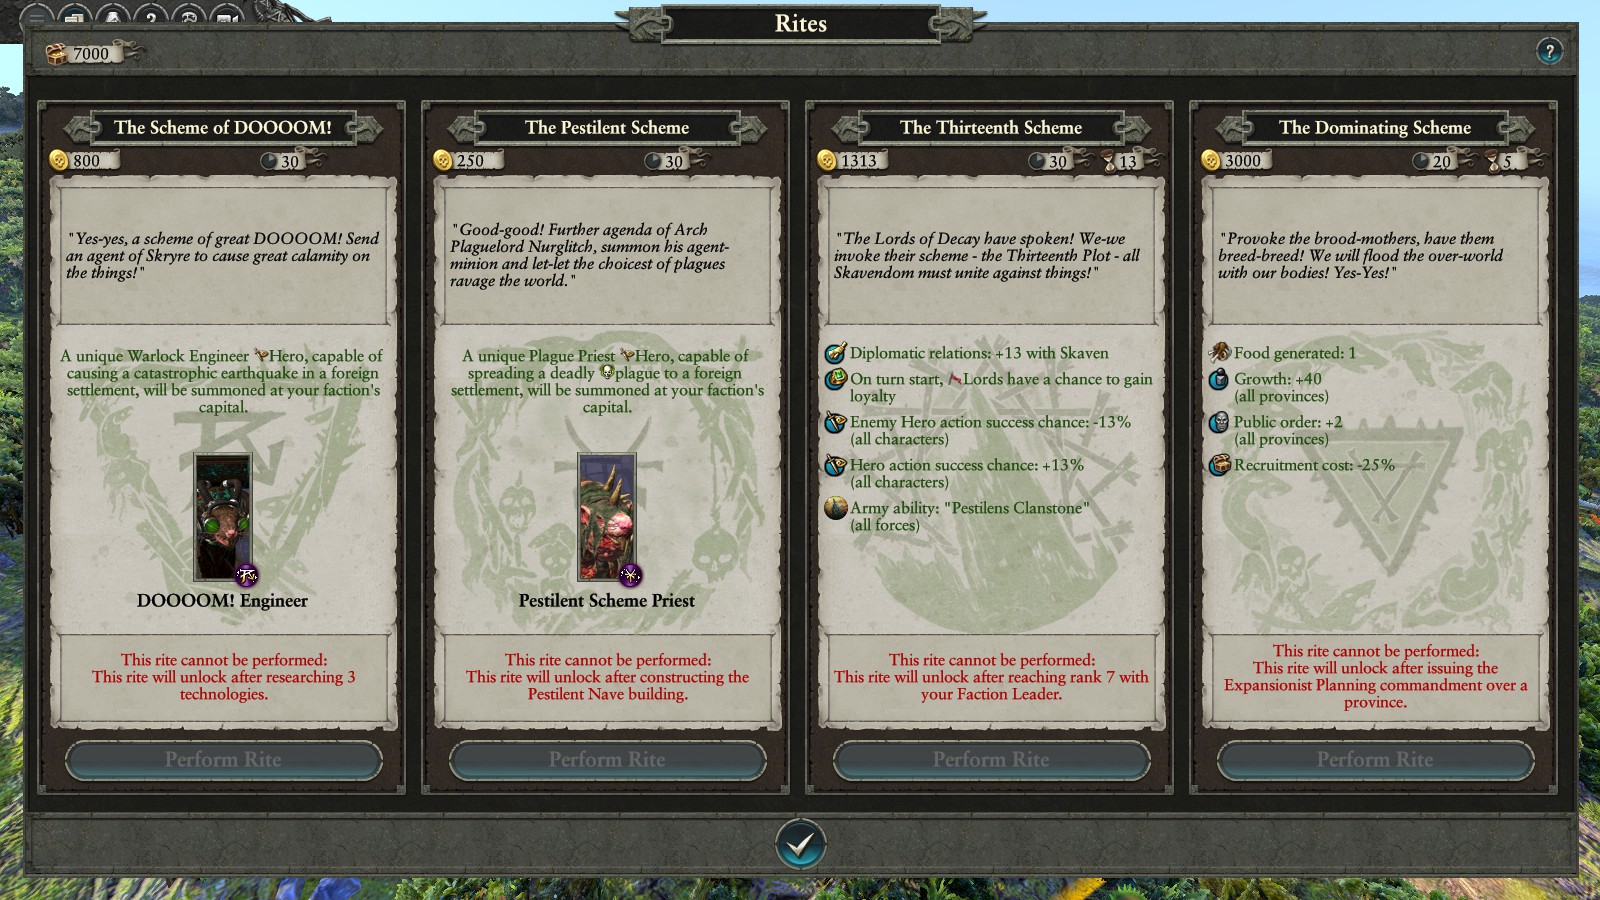 Skaven Rites
You have to be strategic in how you expand as the Skaven faction, however, because every army and settlement uses up food every round. Don’t take more locations than you can consistently feed! Being low on food will set you back significantly, both in keeping armies on the map an in being able to overwhelm opponents in battle.
When you do take a settlement, food comes into play yet again, as you can spend food supply to skip previous buildings in the chain and start with up to a tier III building immediately.
This is a huge advantage and can put you way ahead of the competition, since you get to skip all those turns waiting to build the previous tier buildings. Use this ability wisely to get needed infrastructure while skipping anything that isn’t immediately useful.
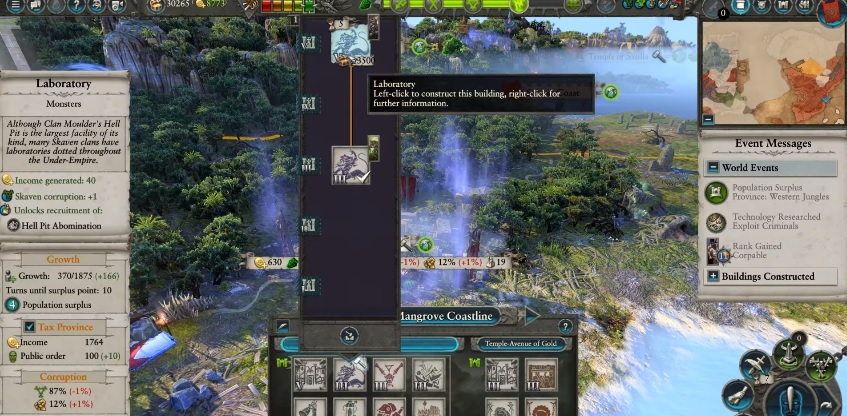 Going straight to a Tier III Laboratory
Warhammer II Skaven Combat Strategy
All of the factions play differently in combat, and with Skaven your early campaign battles are all about waves of cannon fodder that swarm over the enemy. You need to outnumber the opponent because your units overall are much weaker. Until much later in the game, you won’t have much in the way of mounted units or well-armored characters, so get used to having big groups of rats sacrifice themselves and be replaced.
The flow of combat significantly changes when playing Skaven as opposed to a faction like the Lizardmen, where you would usually want your melee bruisers to rush in and stay put until the enemy is dead.
Most skaven melee units flee easily, but they actually get a speed bonus when ignoring your commands and running for their lives — which can be used to your advantage. Although they lose morale and flee at the drop of a hat, they recover and regroup quickly. Combat becomes a fluid movement with Skaven, re-positioning across the battlefield and bringing in new units to flank enemies who are chasing your fleeing cowardly rats.
The Menace Below ability is your trump card, so make frequent use of it as needed. The summoned rats aren’t super powerful, but having a sneaky surprise attack always available to flank enemy units can be devastating when used properly.
There are plenty of ways to increase your Menace Below usages available, from high food supply to spreading corruption. Anywhere you drop the rats is going to force your opponent to move some units to deal with them, which is perfect for flanking attacks from Night Runners or some ranged fire from Slingers. You can even drop them on much more powerful units — like right behind a bunch of charging cavalry — and still get decent results.
While using hordes of weak creatures in the early game, you need to pick your battles wisely. Armored saurus warriors or devastating ranged spells from enemy heroes can annihilate your forces. In the mid to late game, Plague Monks, Storm Vermin, and Warp Lightning Cannons are your saving graces and finally let you meet more heavily armored melee fighters on even ground. Field these better units to finally bring about some serious devastation.
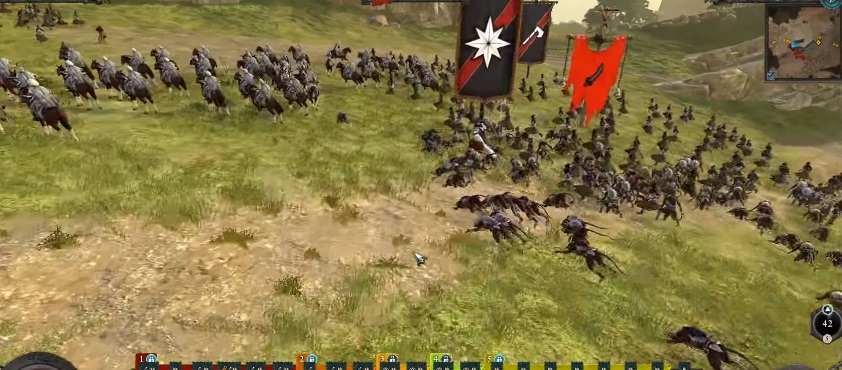 Summoning the Menace Below to flank mounted units
Those are all the basic tactics you need to know to get started! Do you have any other strategies or tips for the Warhammer II Skaven campaign that have worked well? Let us know in the comments!


Published: Oct 3, 2017 04:27 pm