Dauer HQ is the first mission Wanted: Dead plops you into. Featuring different categories of collectibles ranging from character profiles and reports to photos, our guide takes you through each of the collectibles found in this first mission The collectibles are listed in order as you traverse the mission.
Wanted: Dead Dauer HQ Collectibles Locations
Dauer HQ Map Location
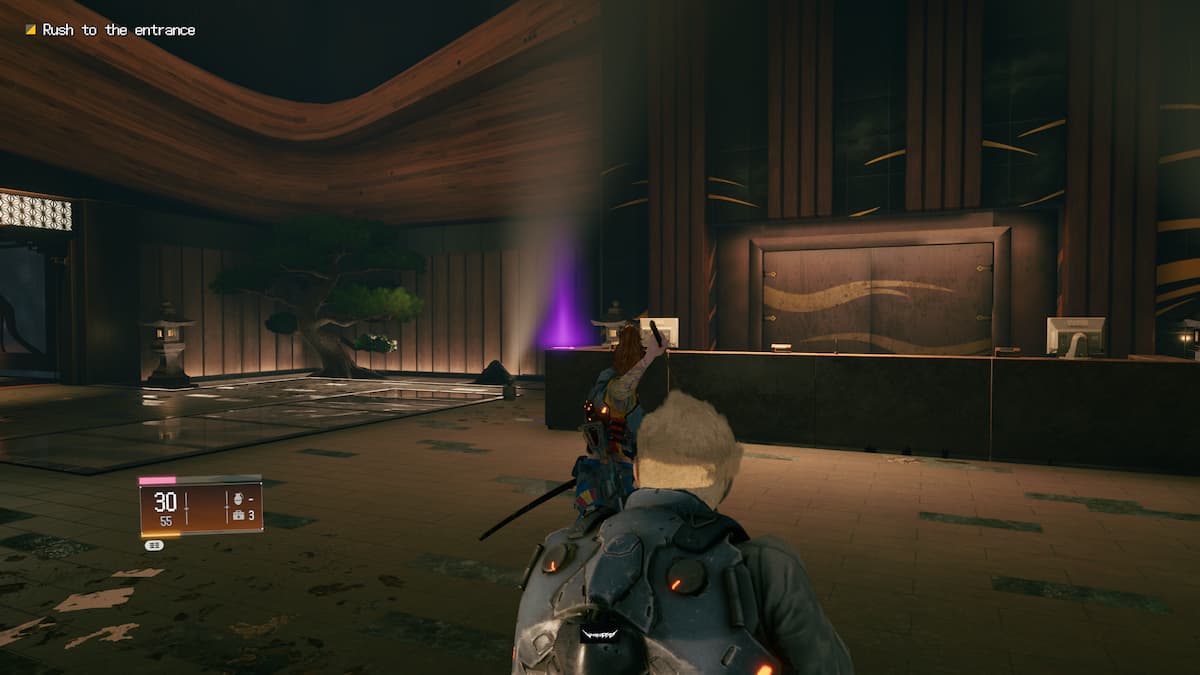
This first collectible is found in the game’s very first room, which is the Dauer HQ entrance. After taking out all the enemies in the area, head to the end of this room before taking the hallway to your left. The Dauer HQ Map is sitting on the reception desk.
Safety Department Reports Location
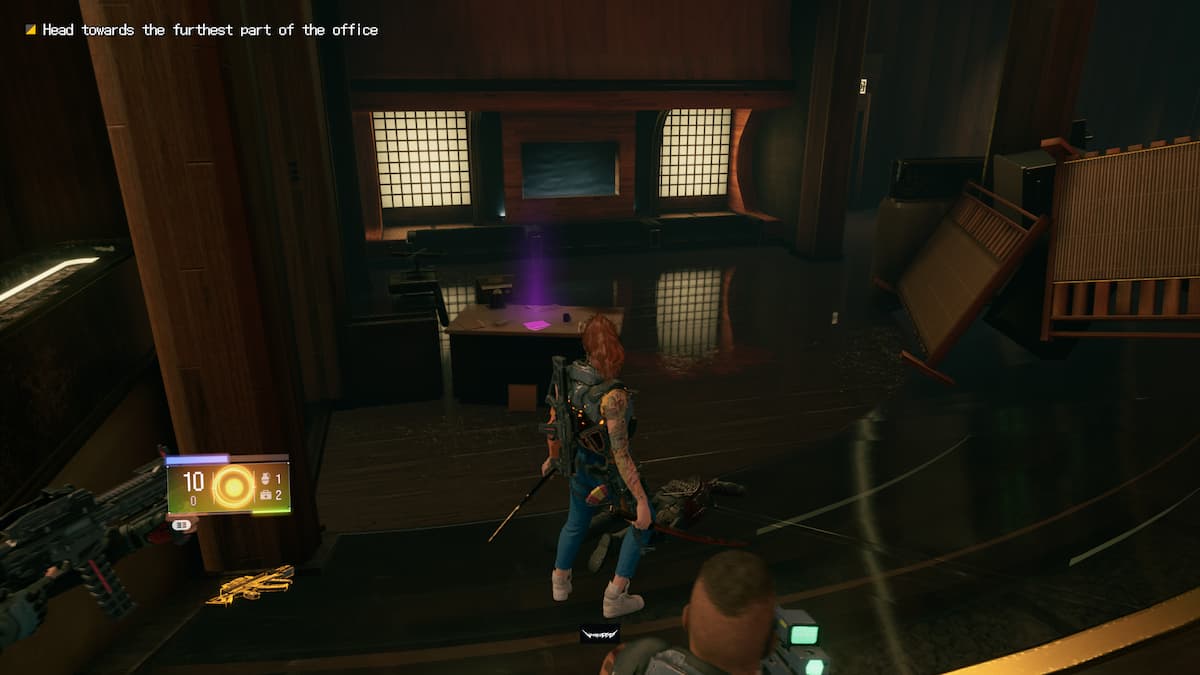
This next collectible isn’t too far from the Dauer HQ Map. After grabbing it, you’ll travel through a hallway that connects into an office space with tons of work desks and enemies spawning in.
After defeating this wave of enemies, follow the critical path forward until you head down a short set of large steps. The Safety Department Reports are sitting on the work desk at the foot of these steps.
Unknown Gunner Report Location
Shortly after this, you’ll follow the critical path up a sloped walkway, which leads to another wave of enemies. After taking them out, interact with the door. This will be your only means of continuing through the level. The staircase leading downward is blockaded, but you’ll luckily be able to drop down from an unguarded perch to reach the next area.
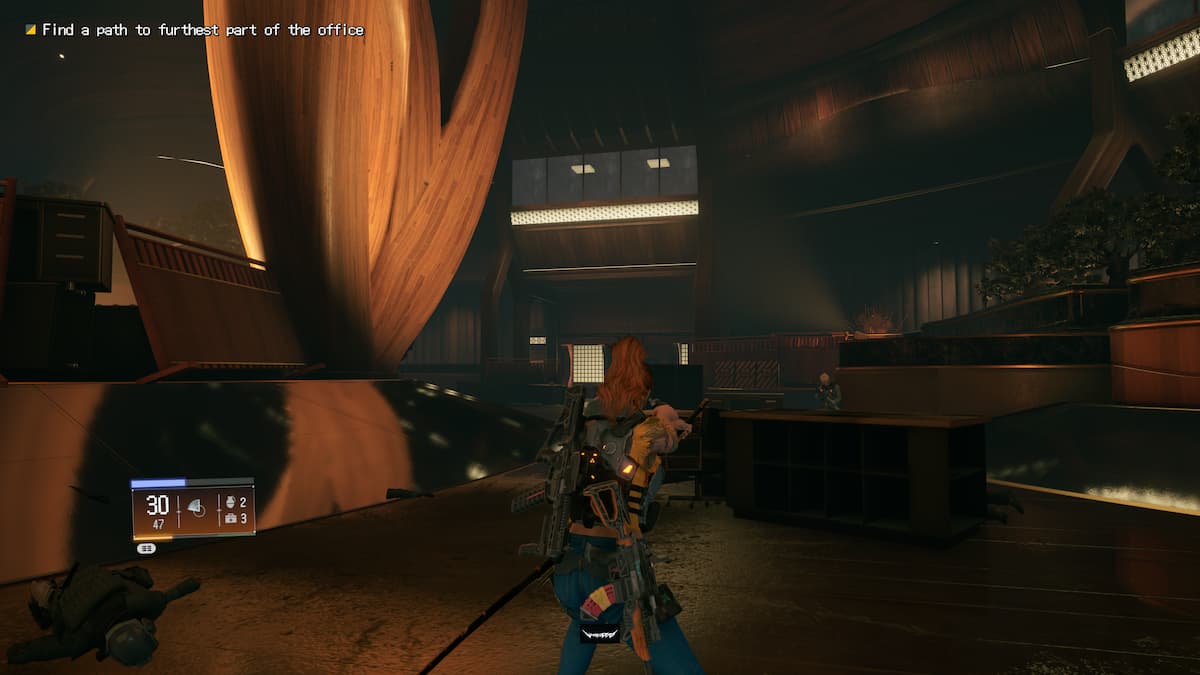
After passing through the doorway after you’ve dropped down, you’ll need to fight a few more enemies. Take everyone out in the immediate vicinity. Once you’ve killed everyone, take note of the sculpture pictured above.
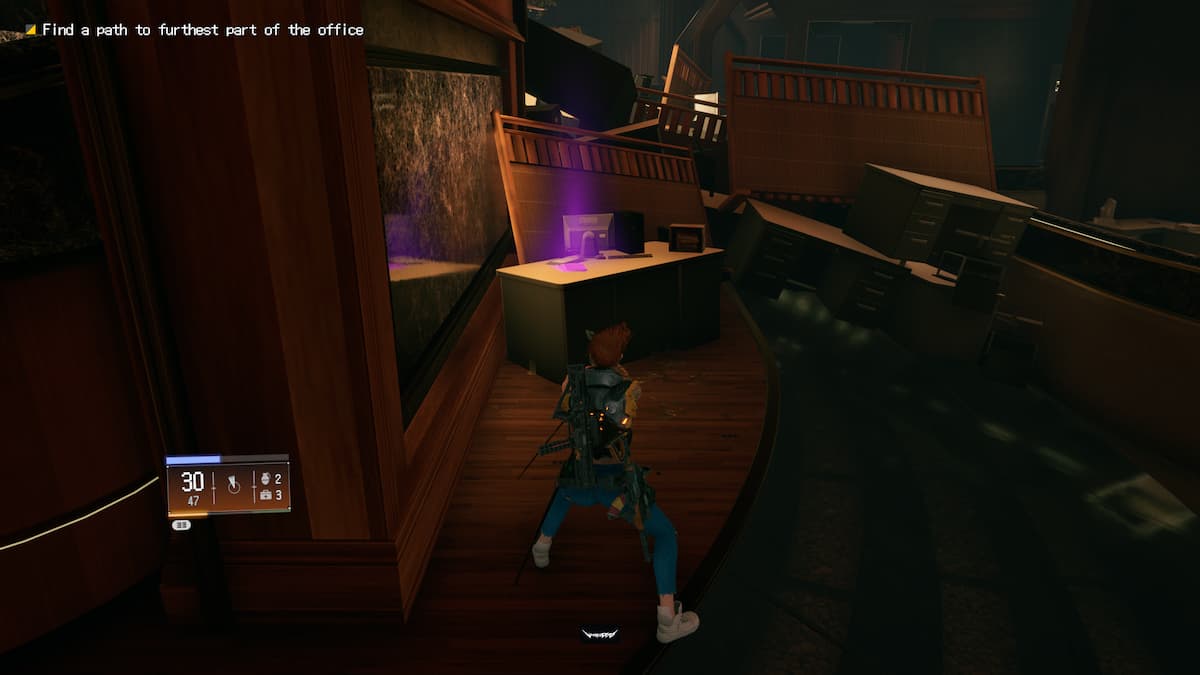
Hug this sculpture, following a curved pathway until you reach a dead-end. The Unknown Gunner Report is sitting on top of the only standing work desk at this dead-end.
Dauer Maintenance Notice Location
This collectible is almost impossible to miss. After continuing along the critical mission path, you’ll pass through a door and trigger a cutscene. Once this cinematic ends, you’re spawned into a meeting room with a massive table adorning the center along with multiple enemies scattered around.
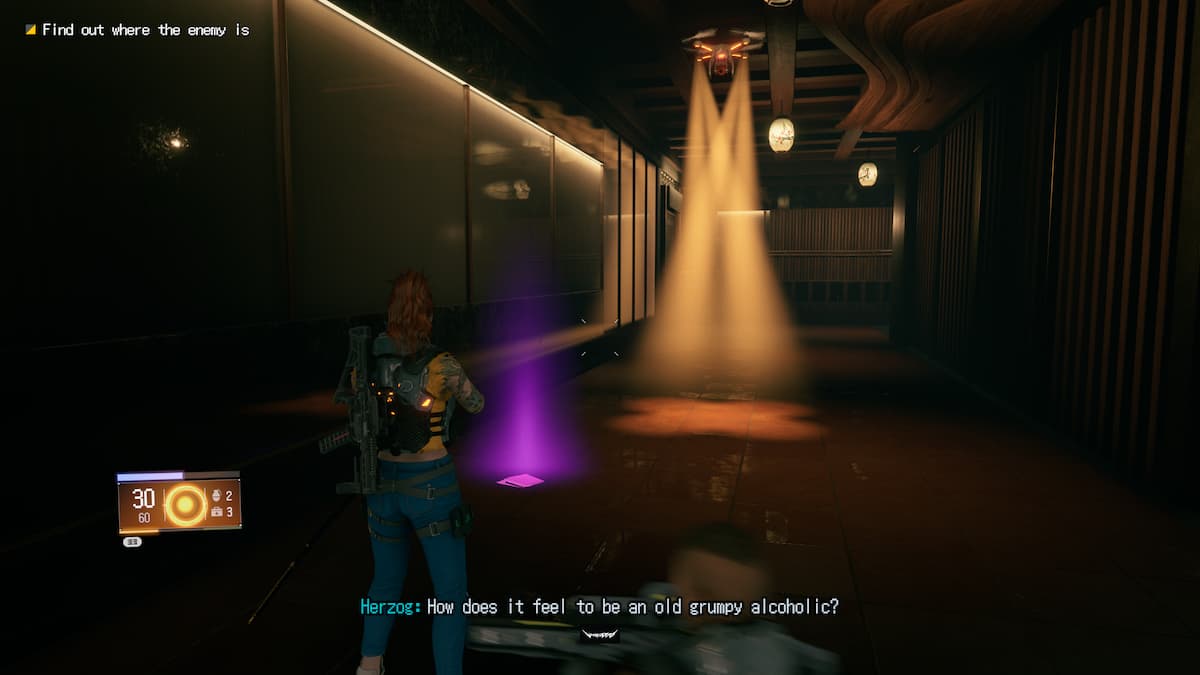
After killing every enemy, interact with the console to open the exit door. Pass through and turn right to find a checkpoint drone. The Dauer Maintenance Notice is on the ground in front of the checkpoint.
Unknown Shielder Report Location
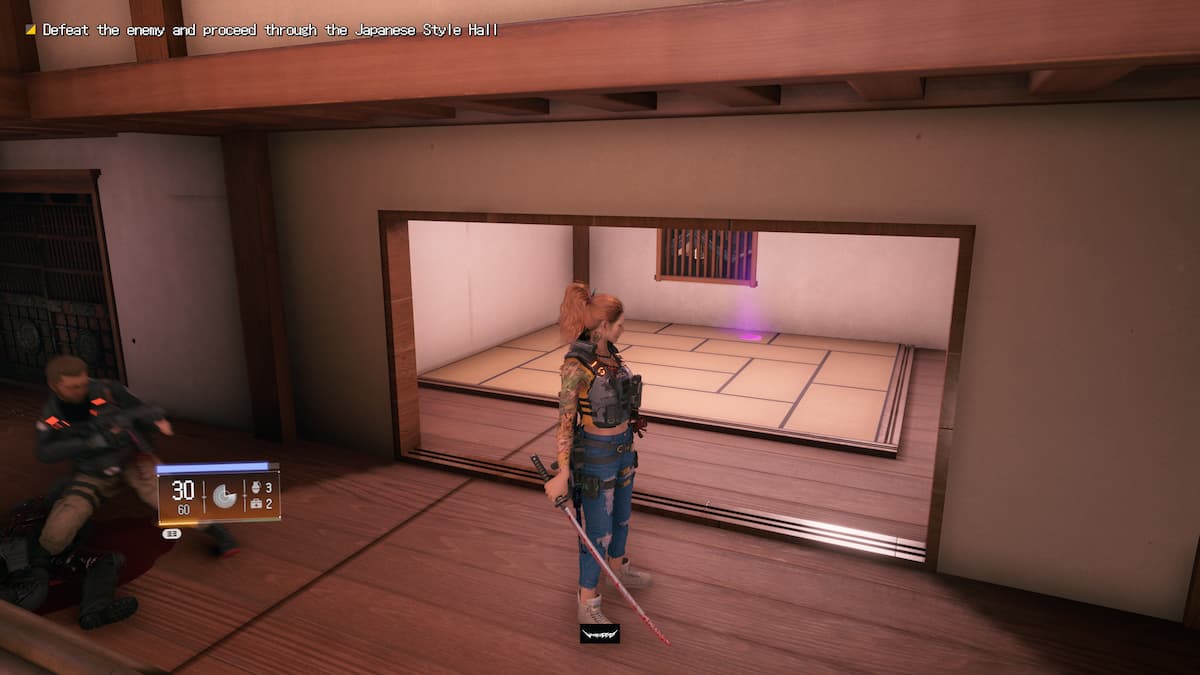
After continuing a little further through the level, you’ll witness a cutscene in which Hannah steals a katana from a Japanese-style room. This triggers a wave of enemies, which you should take out as soon as possible. From this room’s spawn point, follow the only path you can take until you have to head up a flight of stairs.
After this first flight of stairs, you can either continue up another flight or turn right to head down to the other end of the Japanese-style room. At this fork, take the second flight of stairs and make a right. You’ll find the Unknown Shielder Report in the room at the end of this path.
Dauer Pamphlet Location
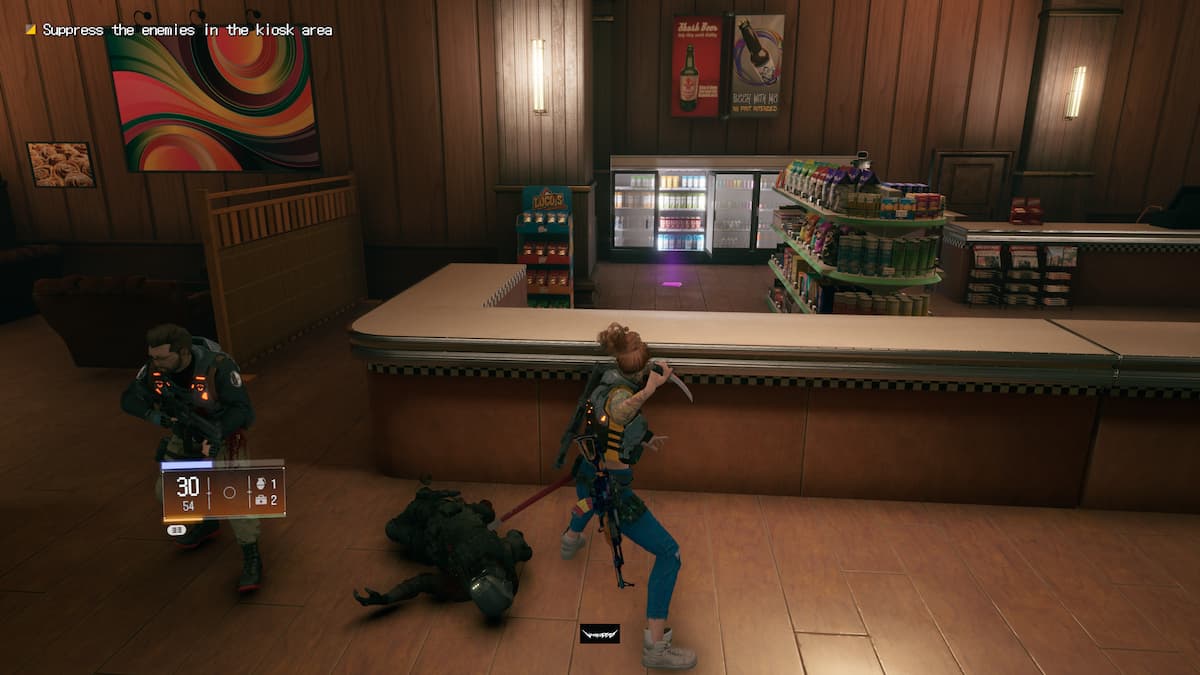
A little further along the level, you’ll face some enemies in what appears to be some sort of employee cafeteria, indicated by a bakery menu hanging on the wall behind your foes.
Follow the cafeteria’s only path forward until you come across a counter with shelves of snacks behind it and fridges lining the back wall. The Dauer Pamphlet is sitting on the ground in front of the only open fridge door.
Unknown Elite Report Location
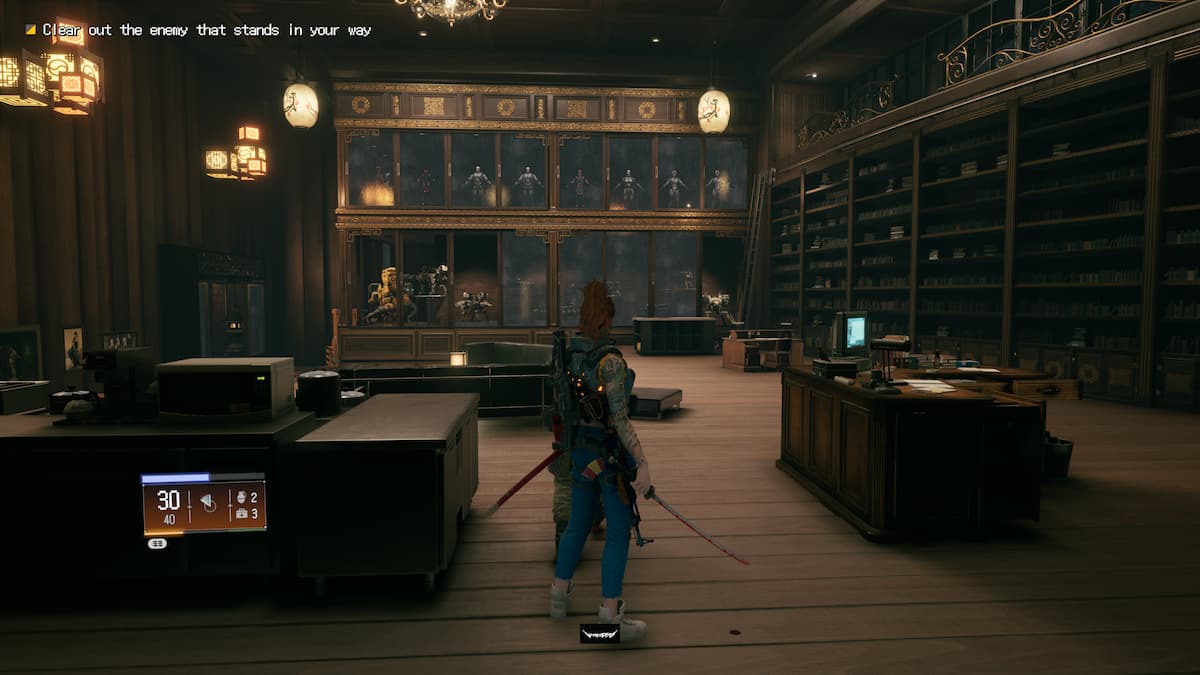
Shortly after the encounter in the rain-soaked courtyard, you’ll get ambushed by enemies in the museum room pictured above. Defeat all the enemies and continue through the doorway.
Before transitioning into the much larger hallway just ahead of you, take note of the display case featuring two mechanized samurai in fighting stances to your right. Now all you have to do is turn around. The Unknown Elite Report is on the ground on the other end of this room.
Those are all the collectibles in Dauer HQ, Wanted: Dead‘s first mission. To keep the collecting going, head over to our Kowloon Park guide. You also shouldn’t neglect keeping up with the Police HQ between missions, which we have covered here. Check out our other Wanted: Dead guides here on GameSkinny.





Published: Feb 1, 2023 01:01 pm