The Legend of Zelda: Tears of the Kingdom Aid From Above puzzle will probably make Link seem like an action star or a spy as you make your way through the Sahirow Shrine. In the Aid From Above puzzle, you’ll need to make your way through several sets of lasers to reach the end. Here’s our complete guide to help you solve the Sahirow Shrine’s Aid From Above puzzle in Zelda: Tears of the Kingdom.
Sahirow Shrine Aid From Above Puzzle Solution in Zelda: Tears of the Kingdom
Sahirow Shrine Location
The Sahirow Shrine is found directly east of the Rospro Pass Skyview Tower in the Hebra region. The best way I found is to use the launch pad and look to the west, where you’ll see the Shrine on a ridge.
The only hassle here is that the Hebra region has freezing-cold temperatures. As such, you’ll want to wear cold-resistance gear or eat meals that provide warmth on your way to this puzzle.

TotK Sahirow Shrine Aid From Above Puzzle Walkthrough
When you reach the Zelda: Tears of the Kingdom Aid From Above puzzle in the Sahirow Shrine, you’ll notice that the place is filled with lasers. Accidentally hitting one will trigger a trap, which will make the floor collapse and send Link to his doom. Here’s how I solved this puzzle.
First Aid From Above Puzzle Solution
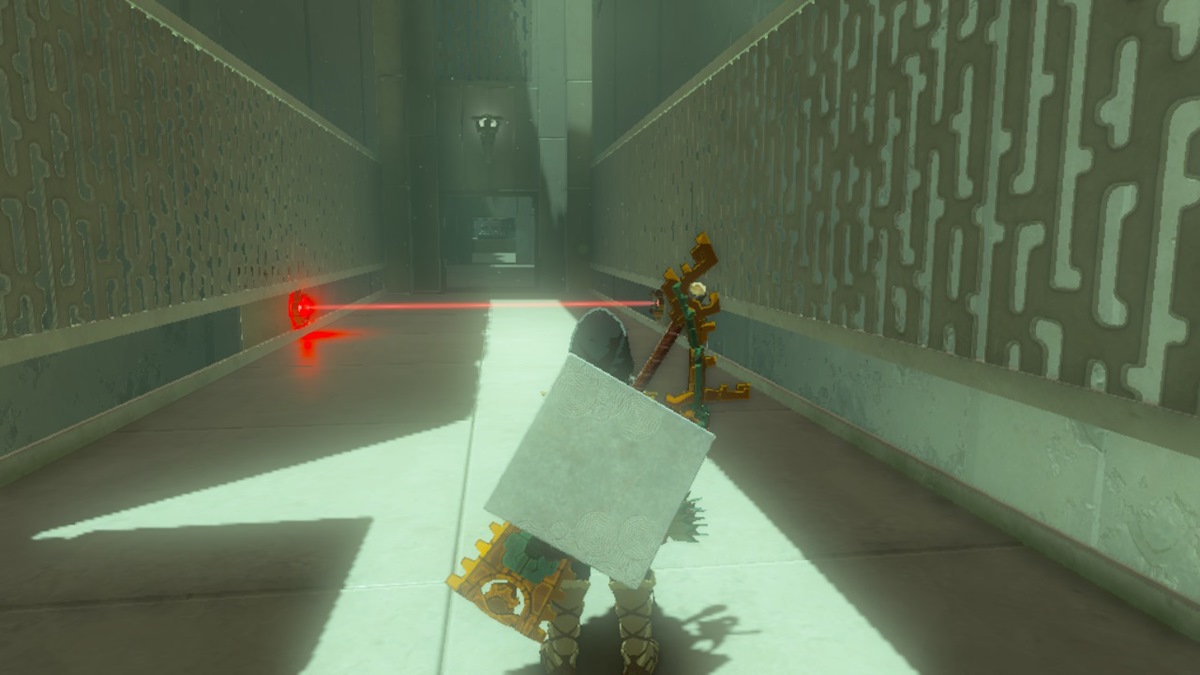
For the first part of the TotK Aide From Above puzzle, simply jump across the initial laser, then crouch for the next set. You may then climb on some crates to glide past the rest.
Second Sahirow Puzzle Solution
You should come to a fork during this part of the Sahirow puzzle. Don’t bother with the corridor on the left for now.
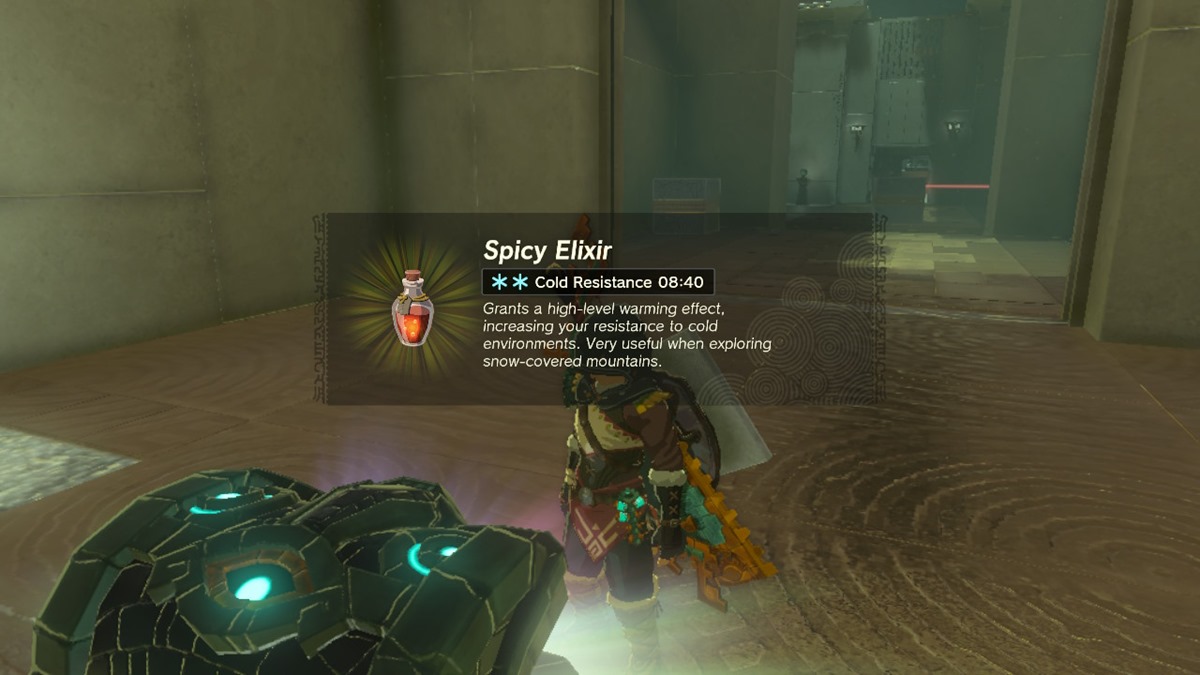
Instead, head right. You’ll see a laser, a couple of blocks, and a barred gate. Hop over the laser and grab a block with Ultrahand. Move it so that it blocks the laser beam.
Doing so will not only collapse that floor section (which won’t bother you). However, it will also open the gate in this part of the Sahirow Shrine. This lets you open a chest that contains a Spicy Elixir. Return the block to its original spot, then hop over the laser once more to continue on with the Aid From Above puzzle.
Third Puzzle Solution
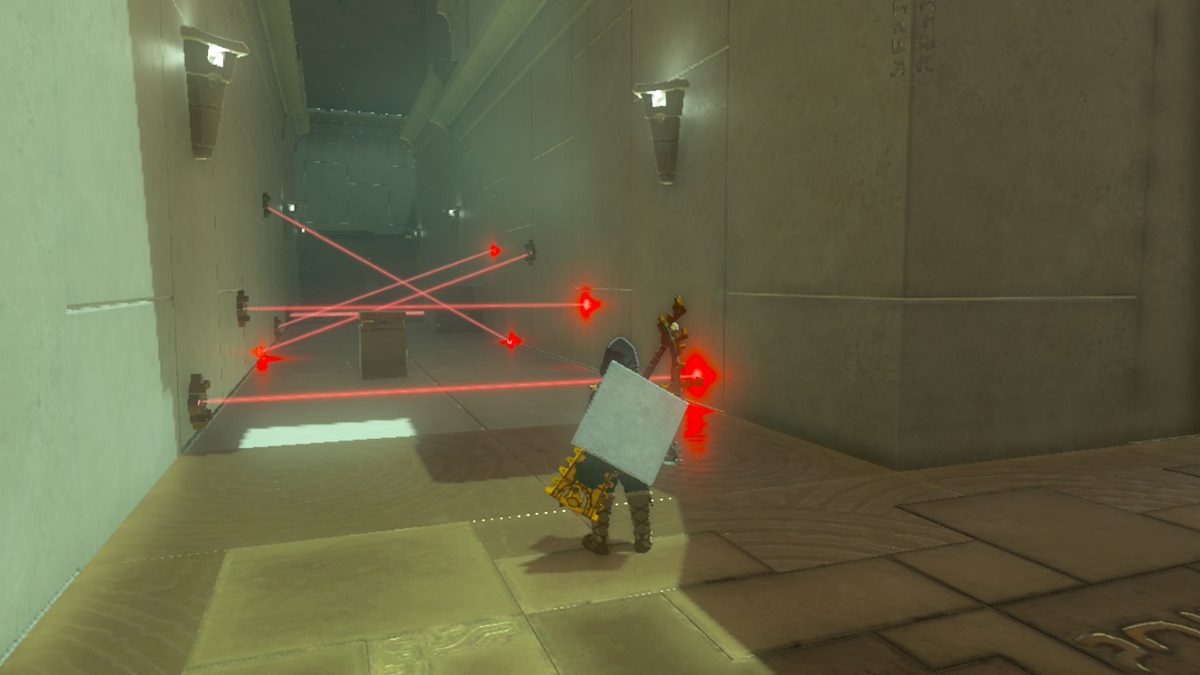
Now, go to the opposite corridor of the Sahirow Shrine for this last part of the TotK Aid From Above puzzle. As you advance, you’ll notice that laser traps are moving toward you. Do the following for each trap:
- Jump over the laser beam.
- Crouch under the laser beam.
- And, surprise, it’s an entire array of lasers (just like in the first Resident Evil movie)! This portion requires you to wait until the overhang is close enough, then pop Ascend to spawn up top. This is the only way you can avoid the laser array trap.
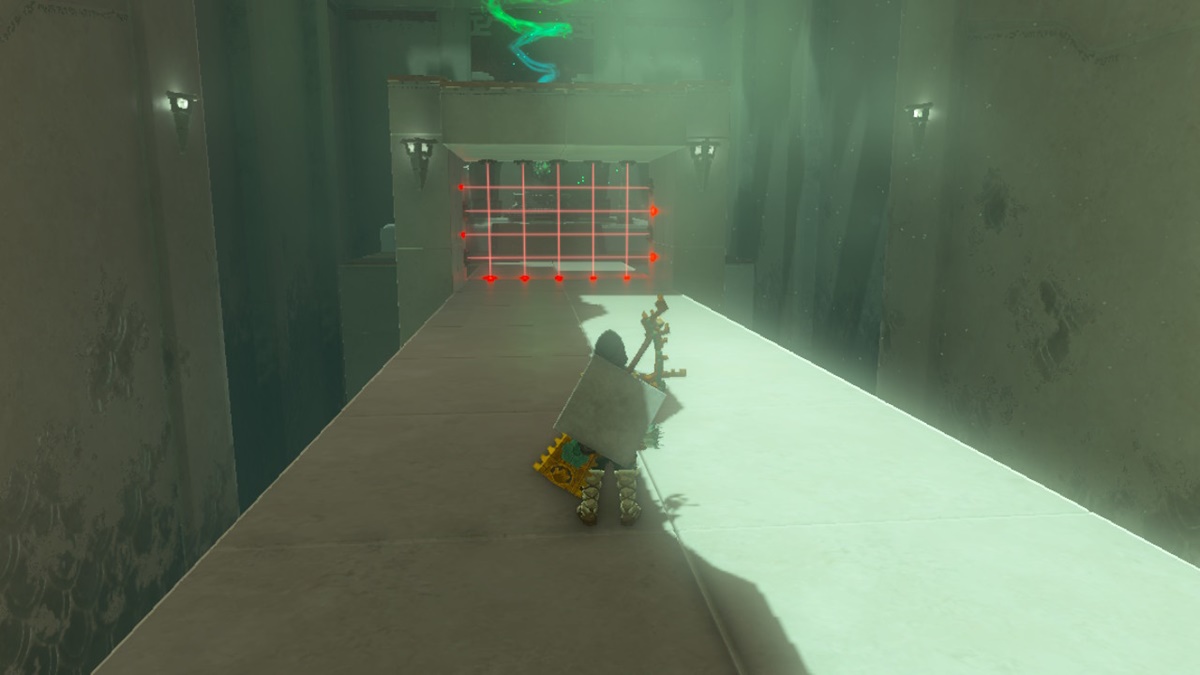
In any case, that’s why this Sahirow Shrine puzzle has the name Aid From Above. The aid you receive from above is but a ceiling that lets you use your Ascend ability, letting you reach the altar for the Light of Blessing.
Once you’ve done the above, you’ve completed the Zelda: Tears of the Kingdom Aid From Above puzzle for the Sahirow Shrine. This is just one of many Shrine challenges that you can solve. For more tips and walkthroughs, visit our Zelda: TotK guides hub.


Published: May 18, 2023 06:00 pm