Patch 3.1.0 of Starcraft II: Legacy of the Void is here, and with it came a new Allied Commanders map, as well as a new character leading the allied armies to victory. This guide will inform you on how to proceed through the Lock & Load mission without getting overwhelmed!
Lock & Load
General Strategy
Lock & Load acts as the Allied Commanders’ version of the Temple of Unification mission from Legacy of the Void. It is a slightly larger map compared to what Allied Commanders players are used to, and will provide a bit more of a challenge than the standard missions. Why? Because unlike previous co-op missions, Lock & Load requires that both armies be present while capturing the targets.

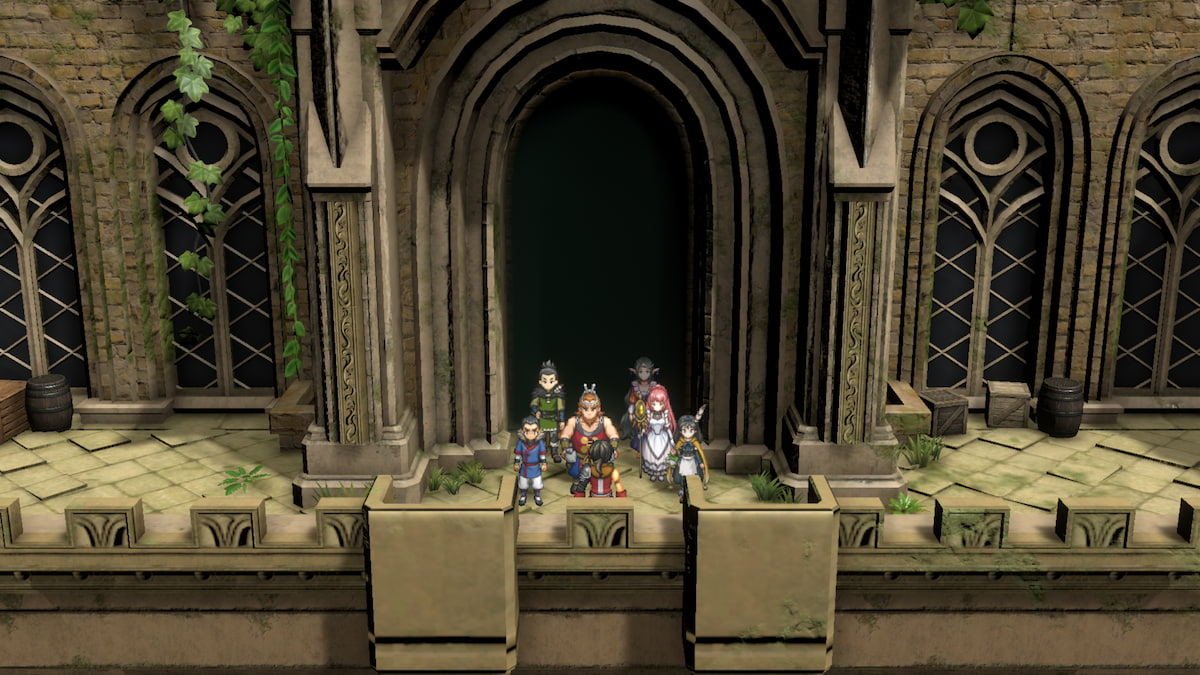
As is clearly visible in the above image, this map is at least twice the size of the typical Allied Commanders missions. With enemy bases on either side of the allied base, one can expect to be attacked at any time by enemy waves. It is generally ill-advised to attack the main enemy bases on the southeastern most part of the map as it is heavily guarded – in contrast to previous maps where an entire enemy base could be wiped out on easier modes.

The goal of Lock & Load is to secure the Celestial Locks (seen to the right). Amon’s forces will constantly send out waves of troops to claim the Locks for themselves, slowly adding to a timer found on the top-right of the screen. If the enemy force holds any of the locks for too long, then the allied players will lose the game.
When it boils down to it, Lock & Load is a countdown map. All you need to do is make sure that your army is big enough to take on a small to mid-size base, as well as any enemy troops that will come your way. The enemy waves are also much more powerful – and larger – than any previous Allied Commanders map. Even on Normal mode, players can expect to be overwhelmed if they do not build up a force fast enough to fend off attacks.
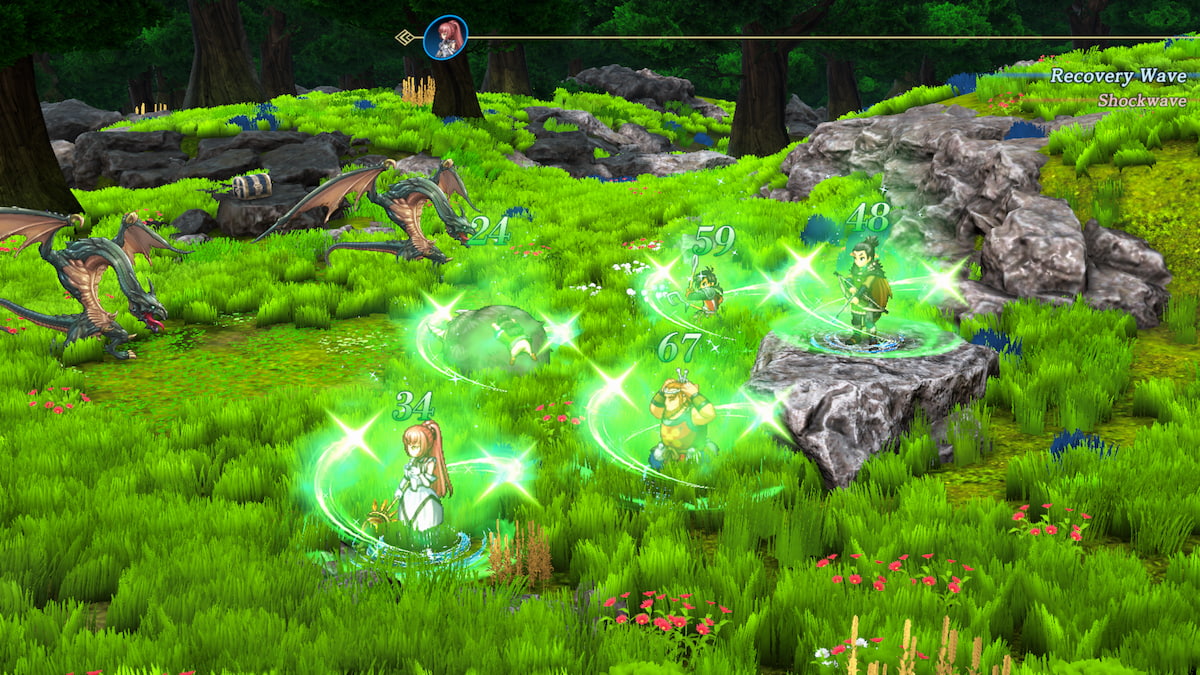
When taking locks from the enemy, be sure that both players are present. Even if you have to send a worker unit in place of a soldier both players have to stand on the point to secure the lock. That said, you can leave one unit (from each team) at the point and still secure the lock. The enemy typically sends a recovery wave every 2 minutes or so. As such, any lonely troops that are securing the locks can do so without worry of retaliation. Just make sure that your ally understands this, and you will secure victory without any problems.

Lock & Load is a brutal map on harder difficulties. In the above image we managed to capture the last lock only seconds before the overload gauge filled up and our main base went up in flames.
Bonus Objective

The Xel’naga Construct – seen above – is an enemy unit that can be destroyed to receive a whopping 3000 XP. It can be somewhat tricky trying to balance destroying the construct with securing the Locks, but it can be done.
Just remember to micromanage your units so that only a single ground unit is standing by the locks at any given time. By doing so, you can free up the rest of your remaining troops while the Locks are being purified. The Construct has a fairly large HP pool, so be sure to bring enough backup to destroy it in one go. If you don’t, it will recover Health and Shield points until you return.
That’s all there is to it!
Well, that’s a bit of an understatement…however, as long as you remember your Starcraft II basics and follow this guide, there should be fairly slim odds of you failing to finish the mission with a “Victory” screen. Just remember: only one of each team’s units needs to stand by the Locks to purify them, and the enemy will only reclaim the locks every 2 minutes or so. Otherwise, play this map as you would any multiplayer or campaign map and you should be fine!
Also, if you’re looking to get used to Karax as a commander, you can find the all-you-need-to-know guide here!