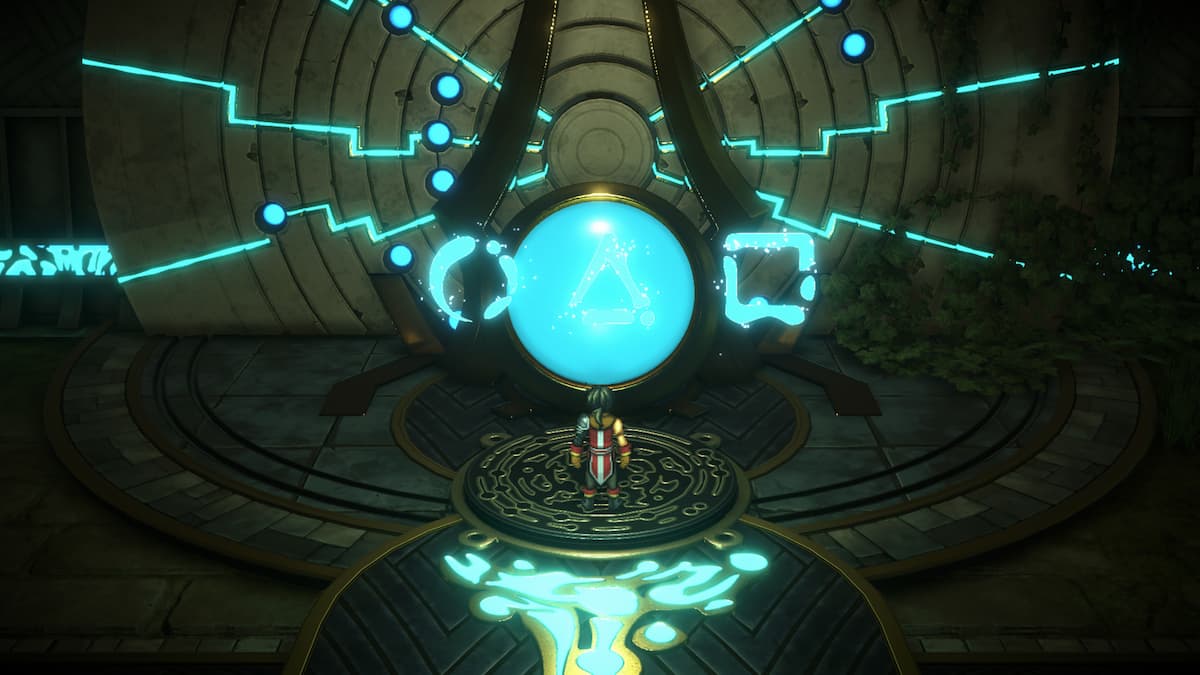
Final Fantasy XIV’s Patch 2.5, Before the Fall, brings players back to The Wanderer’s Palace. This time around, you’re liberating the Tonberries from the Mamool Ja that have overrun the place. This is actually feels like one of the easiest dungeons that has released lately. In this guide I’ll cover the special attacks of each boss and how to deal with them.
Frumious Koheel Ja:
This boss is much like the Wivre riding Mamool from FFXI. Nothing too fancy happens, just takes awhile to kill. Some of the attacks seem to be randomly targeted, as there are points when I had aggro yet the boss still focused on the ranged. During the recording, the Dragoon refused to swap to the spears so I ended up helping the Black Mage kill them.
Attacks:
- Battlehorn: A moderate damage melee attack.
- Blazing Angon: Summons a Sacred Spear that deals AoE fire damage until it’s destroyed. DPS should swap to these immediately.
- Fire Angon: A single target fire based attack.
- Burning Memories: A ground target AoE attack.
- Clobber: An AoE knockback, there is no warning indicator for this attack. I’m not sure what caused it, but one of the Clobbers hit me twice.
Slithy Zolool Ja:
This is a mage type monster that spams Fire magic. While he deals massive amounts of damage, he isn’t very hard to handle. This fight is more about positioning then anything else. Avoid harmful Standards and you’ll be fine.
Attacks:
- Fire: Standard Fire magic attack.
- Firespit: A classic Mamool attack on a single target. This version does quite a lot of damage, it hit my warrior for 2050 with Galvanize on, over 3k without it. I also watched the Dragoon take 3/4’s of his health from the attack.
- Sacred Standard: This summons a standard on the ground, the most effective way to deal with this is to just kite the boss away from it, as he’ll just pick it up shortly after. These standards have a varying array of effects, I stood in one to see what they do and I turned into a frog. The two standard effects I know of are Red and light blue. Red applies Heavy on the person who activates it, and Light Blue is Toad. I saw the Dragoon step in Purple and Green, but I didn’t see the status effects for them.
- Standard Retrieval: This picks up the standards that Slithy placed with Sacred Standard.
- Toad: Turns targeted player into a frog. This is independent of the standard that has the same effect.
Manxome Molaa Ja Ja:
If you played FFXI at all, you’ll recognize this boss. Although he was called Gulool Ja Ja in FFXI, it’s the same character model. While this is not at all a difficult fight, you need to be constantly aware of what is going on, especially as a healer due to Doom. Manxome uses the self-buffing standards, which for the most part he can be kited away from. If they get to be too much have the DPS kill them. Idols on the other hand should be destroyed immediately as they tether to the boss directly.
Attacks:
- Rushing Slash: A frontal slashing attack. It doesn’t seem to be nearly as powerful as Slithy’s Firespit, but he uses it often.
- Tyrannic Blare: A massive conal AoE attack that puts status debuffs on players hit. One of the debuffs is a stun, I’m not sure what the other is.
- Rot Gas: A self-centered AoE attack that applies Disease and Poison on those hit. Manxome also seems to summon his standards and idols in conjunction with this attack. Standards apply a vulnerability down and damage up buff on the boss. Idols appear to do the same, but also tether to Manxome.
- Soul Douse: This applies Doom on the target hit and deals decent damage. Doom dropped off when the Scholar used heals directly on the target. It seemed to drop off when Adloquium and Physick hit the afflicted character. I’m not sure if it’s based on a number or % of HP restored, or just casting a heal on the target.
- Adds: At around 50% two Silverscales Zenist spawned. DPS should focus these down immediately. They use Groundburst which does AoE damage.
That pretty much covers everything on this dungeon. If you have any questions, comments, or concerns, leave them down below. Be sure to check out my FFXIV guide list for more upcoming Patch 2.5 content.

