Crawling through dungeons. Hacking and slashing. Killing monsters and breaking lots of barrels. Is that your kind of thing? Fancy that, mine too.
Legacy Quest isn’t the first action RPG that we’ve seen hit the mobile market, but it is definitely one of the newest; it’s got it’s own funky, blocky style, enough story to keep you moving, and comes chock-full of all the stuff that makes a mobile game sell these days. (It would, it’s a Nexon game.)
While I’ve certainly enjoyed being able to hit up old classics like The Bard’s Tale on mobile, the sheer amount of stuff that you can and need to do in a game like that just doesn’t play nicely with the concept of gaming on the go.
Not so with Legacy Quest — available on both the Apple App Store and Android’s Google Play, the game keeps things simple and clean, pared down to just the gameplay you’re looking for – although mostly at the expense of an in-depth story (the first dialogue you have after the opening cutscene is a few lines long and carries the emotional weight of a wet sandwich but it does get better).
If you’ve just started in on playing Legacy Quest, here are some tips and tricks you should know to get ahead:
1. Get as much free stuff as you can.
Let’s face it, it’s a mobile game, and that means a cash shop and micro-transactions. For those of us that just aren’t interested in the wallet-gouging, it’s time to take advantage of whatever freebies the game throws at you.
And they do! There are daily rewards just for signing into the game every day – and the game will make sure to remind you with a notification every time you’re due to pick up something new. Just for kicks, you’ll occasionally get some extras in your mail as well.
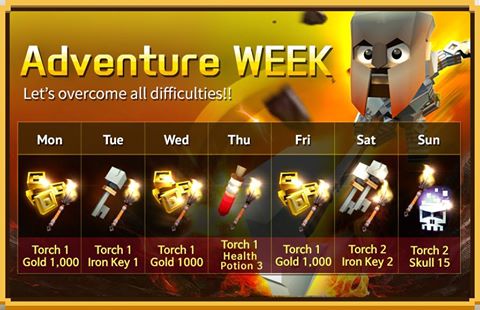
Occasional mini-events like the above also throw out some super-helpful items for those extra-hard dungeons. They’ll change from week to week.
2. Know your currencies.
Legacy Quest throws a number of different currencies at you, all of which help you accomplish different things:
Torches:
- These are the big ones; they’ll probably be the limiting factor in your extended session’s game time because they’re what you need to get into the dungeons (think stamina/energy, or x number of hearts).
- The number of torches you’ll need per dungeon is different depending on the difficulty – a normal dungeon will take 1 torch, while boss fights will take 3.
- They automatically replenish if you wait long enough, although sometimes the devs will throw out an event with some torch rewards.
- If they are extinguished, you have the option of relighting them with Skulls.
- The higher your Legacy Level, the more torches you’ll be able to carry.
Skulls:
- This is one of the harder kinds of currency to get – or at least harder kinds to get for free. The game will simply give you a number of them, but if you’re not paying attention you can blow through them almost immediately by refilling your torches.
- You can receive Skulls by clearing dungeons and opening reward chests in-game, but they’re also available through the cash shop.
- These can be used to replenish torches, upgrade inventory space, and purchase premium items.
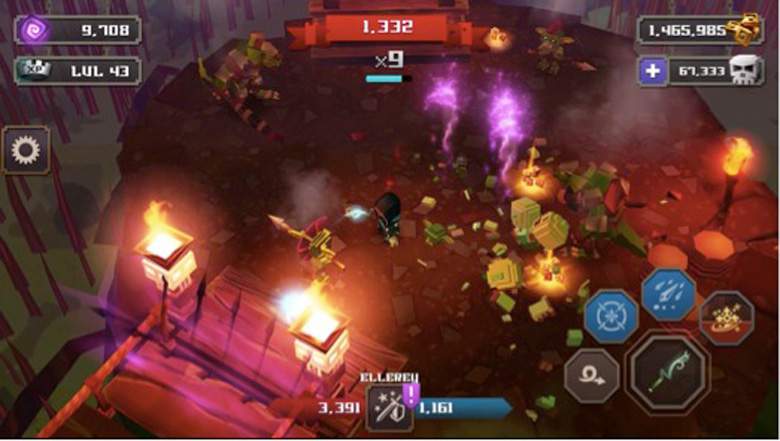
Gold:
- Gold is one of the easier forms of currency to get, and you’ll pick it up as a reward for nearly everything you do – killing baddies, opening chests, smashing open anything and everything that you can see, and by selling off unneeded items.
- You’re going to need a lot of it for castle and character upgrades, to unlock skills, and to recruit new heroes.
Souls:
- These are the purple swirly things you pick up occasionally whenever you kill something in a dungeon.
- You’re going to need them to upgrade your characters and unlock talents in the talent tree or revive your characters if they die.
3. Spend wisely!
The game will prompt you to use up the Skulls whenever your torches run out, but you should definitely consider saving them to expand your inventory instead. (Torches will come back by themselves eventually!)
Always remember that you have health potions at your disposal (you can carry max 10 at a time), so try to use those when you’re near death. If you die, you’re going to need to re-roll your character or waste your souls.
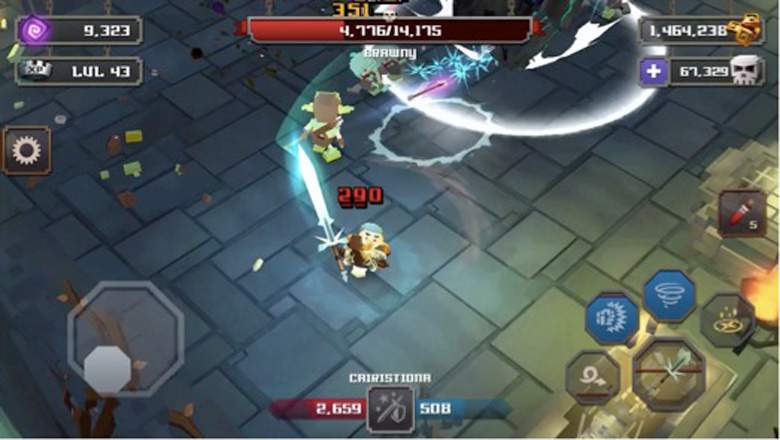
4. Always try to complete dungeons with 3 stars.
The higher your star rating, the better your rewards. Like most RPG-style games with this kind of mechanic, your star rating is dependent on a few factors:
- Maintain a high multiplier bonus (watch the multiplier bar). Never let too much time pass between monster kills (use your dodge rolls if necessary, but don’t over-use them).
- Kill as many monsters as you can (although it’s handy to keep at least or two chasing after you while on the hunt for more to maintain your multiplier bar for as long as possible).
- Get through the dungeon as quickly as possible.
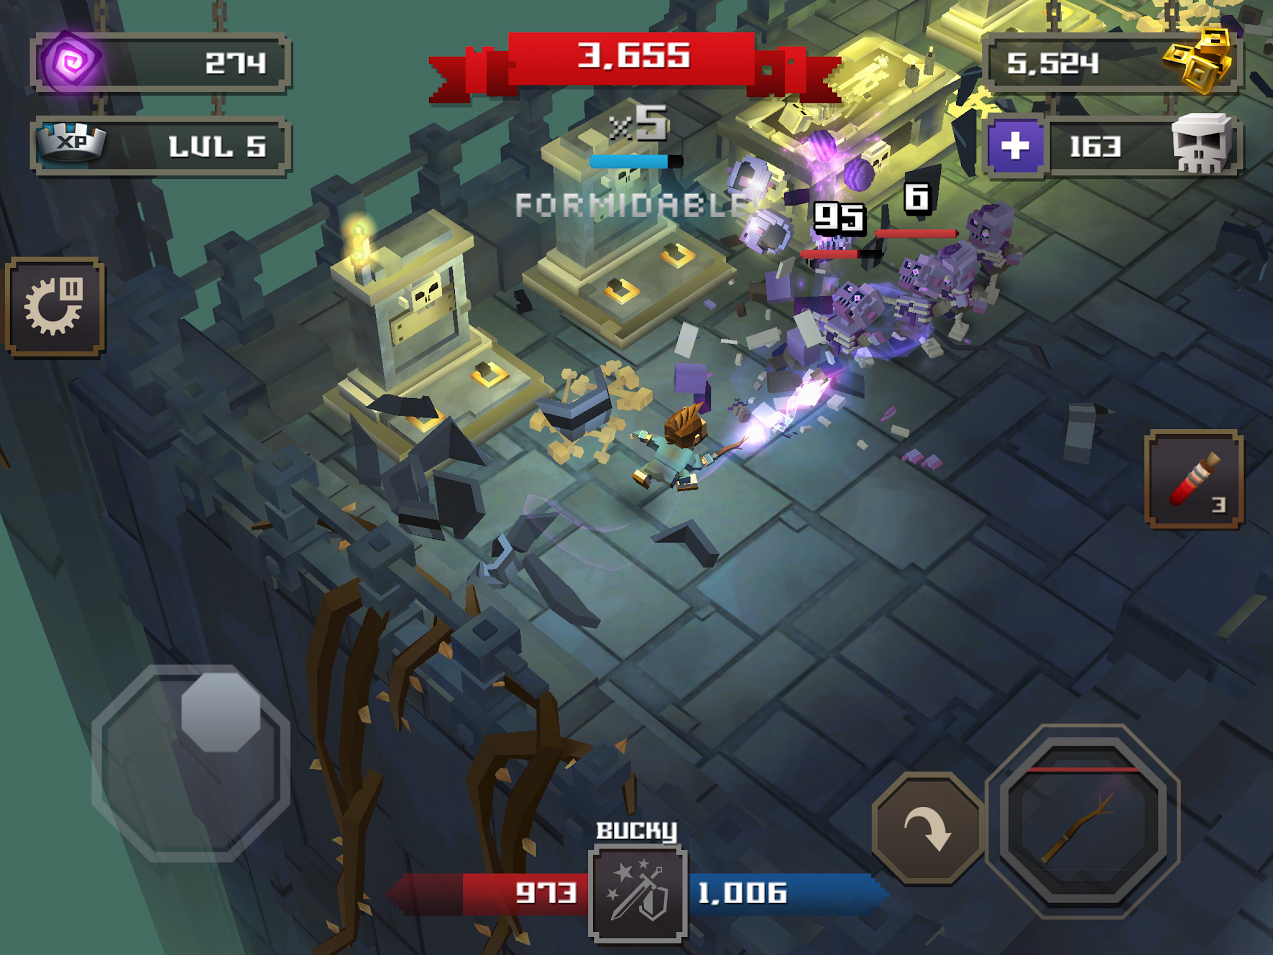
5. Be efficient in your dungeon crawling.
- There is a cooldown on your dodge roll in dungeons. If you spam it just to move around quicker, you might find yourself landing in a trap so never over-use. Use this skill during battles, when you need to get out of major attacks or traps.
- Don’t waste all your mana on the trash mobs by spamming your skills. Save it for the boss. Don’t forego them altogether though — many randoms will drop mana orbs.
- Choose the right target for your attacks. When facing a mob, try and take out ranged enemies first. They go down a lot easier than the melee types, but can hit you for a lot if you let them get too far away.
- Always try and break as many barrels as you possibly can along the way, they’ll usually reward you with something good – gold, crafting materials, and occasionally potions.
6. Manage your inventory.
- When you start out, your inventory has 24 slots. You can expand it by spending 25 items per expansion. You’re going to start running out of space fairly soon, so inventory expansions are something you should start saving for right from the get-go.
- You can sell stuff if you run out of inventory space during a dungeon, but remember that it will simply sell outright without a confirmation pop-up. Be careful and make sure you really want to sell what you’re selling! (e.g. You’ll want to hang onto any Skill Books your current characters need for later use or for other characters.)
- Everything can be stacked up to 99 except for gear (which stacks up to 10).
7. Get crafting.
Crafting takes Cubelets of different materials and with different levels. Cubelets of lower levels can be upgraded into higher level ones. Doing so will net you gear as good as the items you find in dungeon chests. You can improve them with Orbs, but I recommend hanging onto those for better items at high levels.
When you’re just starting out, craft some good attack gear (weapon and off-hand) first to start out with the upper hand, and remember to improve your gear regularly using the crafting shop as you progress.
8. Other things:
- Doing main story quests will earn you legacy points, which thereby increase your Legacy level. This is what unlocks new buildings and harder dungeon difficulties.
- Always level up your skills so that you are able to beat higher dungeon difficulties. Active and ultimate skill damage benefits from your hero’s damage dealing capabilities.
- If your hero dies and you choose not to resurrect them, you will lose that hero and will need to get a new one. Most of the experience gained from that hero will be lost, but their weapons and equipment are saved and can be passed on to the next recruit.
- If you’re re-rolling for a new recruit of the same class, you don’t have to stick with the first one you come to. Each hero comes with a random set of traits and you might get lucky if you try a few more times (though you’ll need to spend gold after the first roll).
If you have any other questions, or tips and tricks to suggest, please feel free to leave a comment below!