The Khvostov in Destiny is the first gun you pick up and use. This has been a favorite of players, who often keep it in the Vault or even use it in the Crucible. In the latest expansion, Rise of Iron, players can now complete a quest to unlock an exotic version of this beloved weapon.
I’ll help by going over the method and quests required to unlock the exotic Khvostov. You can also check out my guide to get the Gjallarhorn.
This guide will go over how to get the exotic Khvostov in Destiny Rise of Iron including:
- How to Get the Starting Quest – What you need to start the quest for the exotic weapon.
- How to Get Exotic Khvostov – The quests required to get the weapon.
How to Get the Starting Quest
There are 2 ways you can start this quest.
- Dismantle the normal Khvostov you got from the beginning of the game.
- Go to the Fallen Ketch during Plaguelands patrol
Both of these methods will give you a Khvostov Schematic item. Take that to the temple and you’ll get the quest.
How to Reach the Fallen Ketch
- When you go to Plaguelands patrol, go right and continue until you see a building you can go through that leads to Foundry 113.
- Follow that until you make it out to the Rocketyard.
- From the Rocketyard, go left until you reach the Divide, opposite direction of the Devil’s Lair strike.
- Once in the divide, go left into the Breach and follow that until you make it out in the open area.
- Keep going until you see the Fallen Ketch (ship). Jump on it and kill the Pilot Servitor to get the schematic.
How to Get the Exotic Khvostov
When you turn in the schematic, you will get a quest to pick up manual pages and weapon parts.
Go to Plaguelands patrol and kill enemies until you get all of the manual pages.
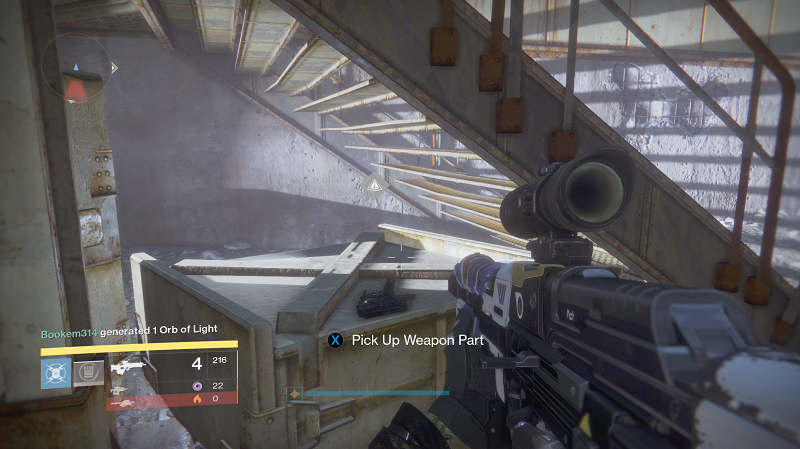
The weapon parts are in 3 specific locations. You can also see where to go, if you are near it, by zooming down a scoped weapon. An icon will appear like there is something you need to pick up.
1st Weapon Part
- Head back to the Rocketyard, then go to the Divide.
- Go right and through the building, not the Breach, until you reach a dead-end and some stairs.
- Under the stairs is the first weapon part.
- This is also where you fight a Devil Archon in one of the first Destiny missions.
2nd Weapon Part
- Head back to the Rocketyard, but this time go right towards the Devil’s Lair Strike.
- Follow the path until you reach a small room and you’ll see the icon near a wall.
3rd Weapon Part
- Continue after 2nd part until you reach the open area with the fallen walker.
- Go to the front of the center building, across from the walker, and you’ll see the last part.
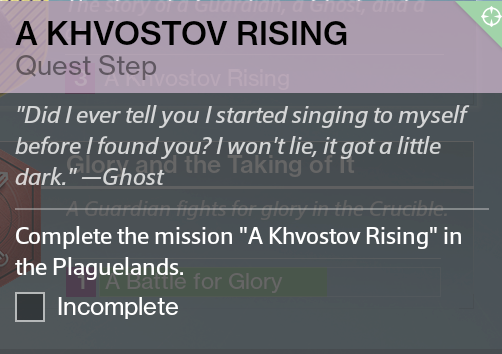
A Khvostov Rising
After you get all the parts and manual pages, head back to the temple to get your final mission.
“A Khvostov Rising” is a mission on earth that involves chasing a Fallen boss and killing it. Afterwards, it drops the exotic weapon, but the mission is not over.
Follow the mission until you go to the Fallen ketch and kill the enemies. Go to the target point, talk to your Ghost, and get ready for some feels.
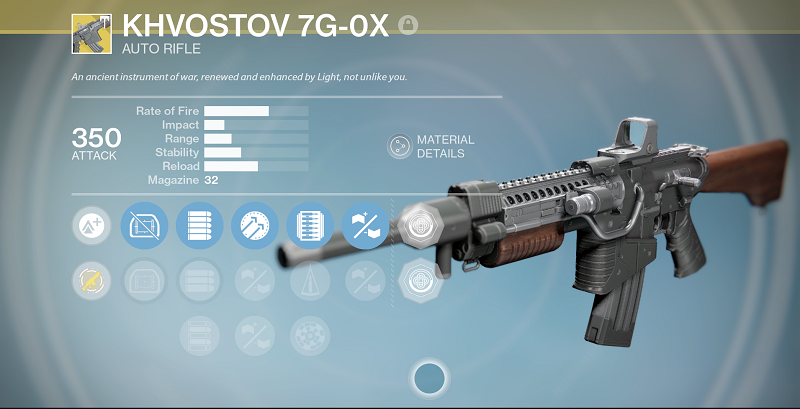
After that, the mission is over and you can turn it in at the temple. You must level the gun up to unlock the other options.
The gun has 3 different firing modes and multiple configurations. It doesn’t have anything new, but it is the only gun in the game that is this versatile. It can be either an Auto Rifle, Pulse Rifle, or Scout Rifle on 1 gun.
That’s it for my guide on getting the Exotic Khvostov in Destiny: Rise of Iron. Let me know if you have any questions!


Published: Sep 21, 2016 08:51 am