Perks are important in any game that hosts them, and the same can be said for farming RPG Gleaner Heights. The game’s perk system is the most direct form of progression you’re going to run into while farming, adventuring, and socializing.
You are able to choose a perk after you’ve gone to bed on a day you’ve leveled up. You are able to choose up to 24 perks as you progress, so you need to choose wisely. It’s not an easy choice: There are 35 for you to pick from.
This guide will be going over each of the game’s perks and either list them as ‘recommended’, ‘highly recommended’, ‘not recommended’, and ‘personal preference’. They are listed in the order you see them on the perk selection screen.
Don’t take the guidelines here as being written in stone. Everyone plays the game their own way, so choose the perks you think will help the way you play most.
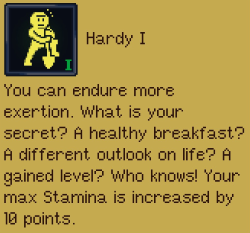
Highly recommended: Hardy 1, 2, and 3 are all worth choosing no matter which way you want to play the game. Yeah, that’s three of your perks but it’s worth it for the total 30 extra stamina.
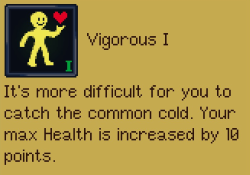
Personal preference: Vigorous isn’t bad and has three ranks, but you may want to invest your perks in more direct benefits rather than health. The extra health can certainly help with adventuring and bosses, but it’s not mandatory.
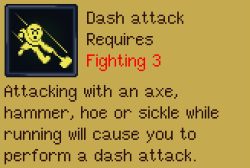
Not recommended: This isn’t recommended because of its conditional nature and the fact this maneuver costs stamina. No thank you.
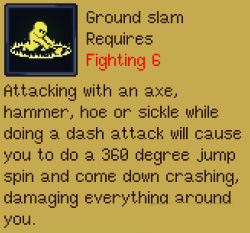
Not recommended: Pretty much for the same reason as Dash Attack, but this is the one to take if you want one of them.
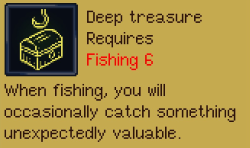
Highly recommended: You’ll pull up a lot more than fish with this perk. You won’t necessarily get treasure from every fishing trip, but you get treasure enough to make this worth the perk investment.
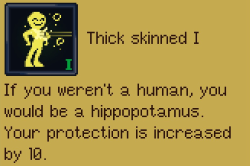
Recommended: I’m not sure whether I’d recommend Thick Skinned 1 & 2 over Vigorous 1~3, but both are good investments if you’re going to be combat-oriented.
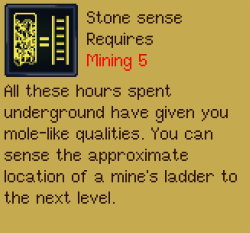
Highly recommended: This perk is extremely useful. Stone Sense will make delving into the mines less of a chore as you can more easily tell where the ladders are. It’s not mandatory, but it helps.
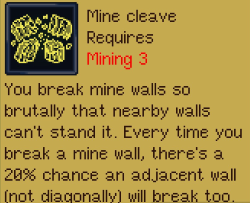
Highly recommended: Even if you decide to skip on Stone Sense, you should take Mine Cleave. You have to delve the mines whether you like it or not, and this perk makes it an easier task.

Highly recommended: You want to rush your friendships with villagers for the gifts, this perk is a must-have. Unless you’re lazy and only gift once a day, always. Then skip it.
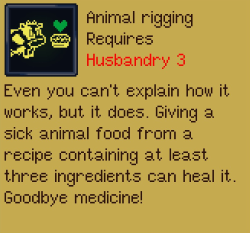
Not recommended: This neither sounds nor is useful. Don’t waste the perks (and the ingredients) on this perk.
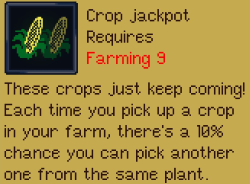
Highly recommended: A one in ten chance to get an extra crop is nothing to scoff at. I recommend getting this one as soon as you can.
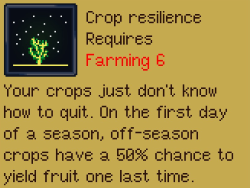
Personal preference: This seems like it might be decent, but this sounds like a nightmare if you’re the type who prefers a tidy farm. An off-season crop taking up a slot on the first day of the new season just for a single yield? Not for me, thanks. Could be useful for some, though! Especially when paired with Crop Jackpot.
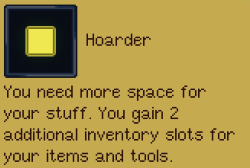
Highly recommended: Let’s just say “Yes!”
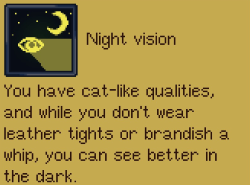
Recommended: This does affect your vision in the mines. That’s what makes it worth it.
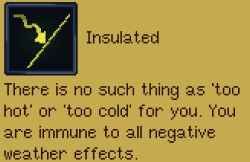
Highly recommended: Stamina management is a struggle as it is, it’s in your best interest to mitigate weather effects with this perk. Insulated is a no-frills but pretty much perfect perk.
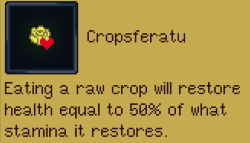
Not recommended: Some may disagree, but I just don’t see the value in this perk. It’s better to save crops for cooking, gifting, or selling than to just munch on them on the go.
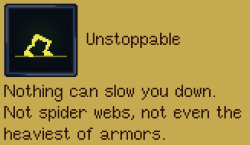
Personal preference: This one is really up to you. I do like this one, but skip it if you don’t care about slows.
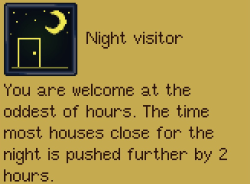
Personal preference: If you’re the type to break your back at the farm all day and stroll the streets of Gleaner Heights at night, this is recommended.
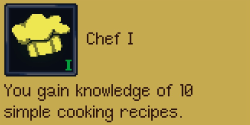
Not recommended: You can learn recipes from the villagers in town, why waste the perk? Conversely, if you’re being completely antisocial this is the only way to rack up those recipes.
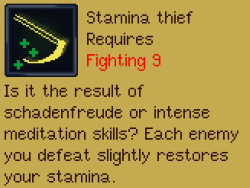
Personal preference: This at least makes it so you’ll recover some the stamina you spent smiting your foes. The fact that it requires a fighting skill of 9 makes it less desirable, though.
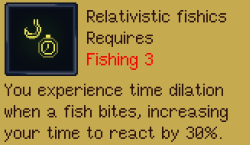
Personal preference: If you’re having trouble reeling in fish, this is pretty much mandatory. If you’re doing fine with fishing, don’t bother.
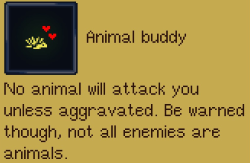
Not recommended: This only works in the wild, and not in the mines.

Highly recommended: Even if you stop needing Green Herbs, Apples, and the like for your personal use, you can still give them to people as gifts. This perk is pretty great.
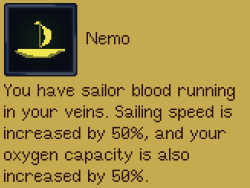
Recommended: Nemo just makes sailing and diving easier, and that’s a big plus. 50% increase to both sailing speed and oxygen capacity is significant.
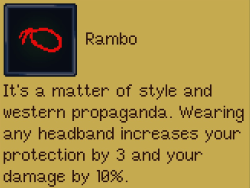
Not recommended: I don’t want to be tied to using headbands, and you probably don’t either.
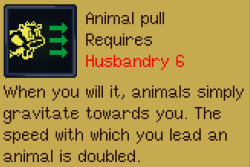
Recommended: Why struggle with pushing your animals in and out of their homes? Just grab this perk and nudging them in the right direction becomes easier.
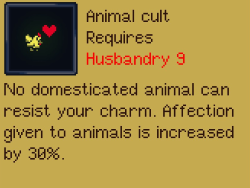
Not recommended: There is just no reason for it, especially since you can only get it at Husbandry 9.

Highly recommended: Never lose a crop to excessive rain again. This is a must-have.
If you found this guide helpful and are still trying to feel your way around the game, check out my other Gleaner Heights guides. There’s a lot to uncover in this game, and we’re doing it together!