Solving the cassette puzzle in Deathloop will let you unlock the bunker where Charlie and Fia meet up in Fristad Rock during the afternoon. Not only will doing so let you kill both Visionaries at once, but it will also give you the Dangerous Liasion trophy and achievement for completing the Afternoon Delight lead.
Here’s how to find and solve the cassette puzzle in Deathloop. This guide also includes all of the pictogram locations in Fia’s bunker.
How to Find the Cassette Puzzle
When you toss Charlie’s bedroom in Updaam in the morning, you’ll find a picture of Fia and Charlie on his bed, giving you the Search Fristad Shore lead.
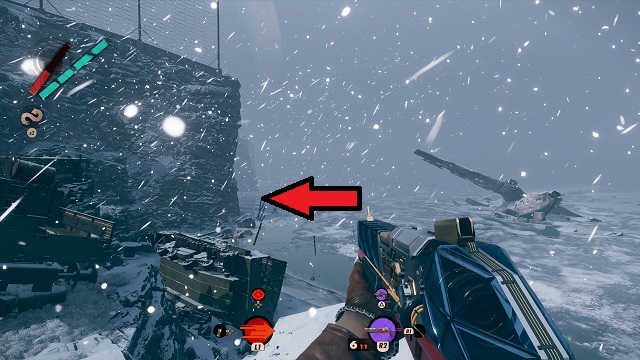
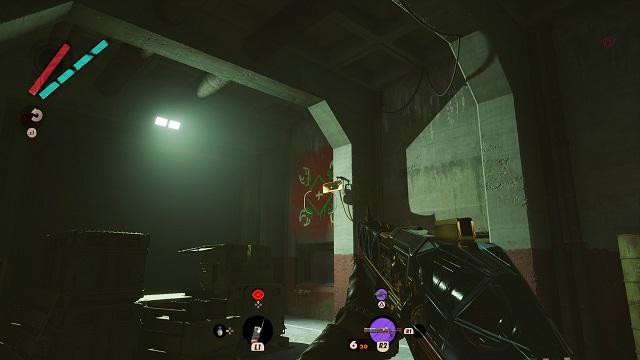
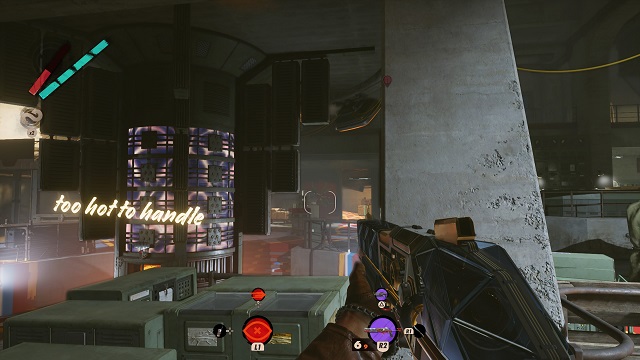
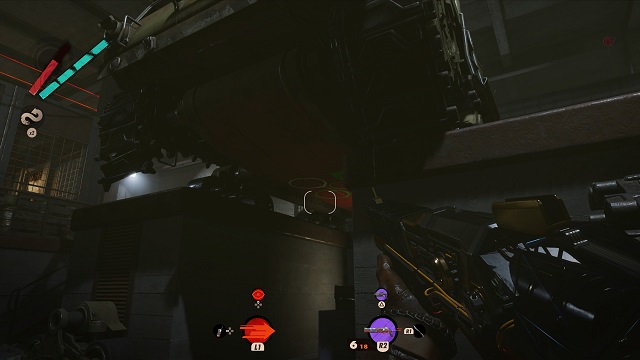
Head there in the afternoon, and exit the tunnels through the right door. Take the right path at the pink smoke in the next area. Go past the shipping container and down to the area with the crane overlooking the water.
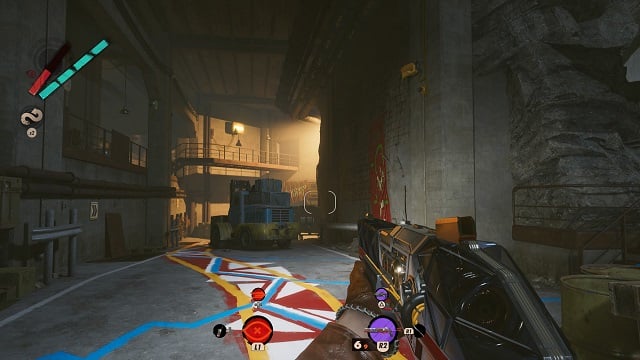
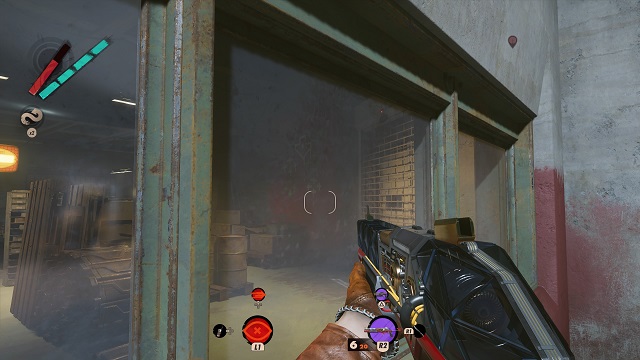
Stay on the right side, and drop down to the beach. Go straight ahead and follow the beach when it juts out toward the water (there are two buoys here). Near the end of the path, you’ll see a door on the left with “09” written next to it.
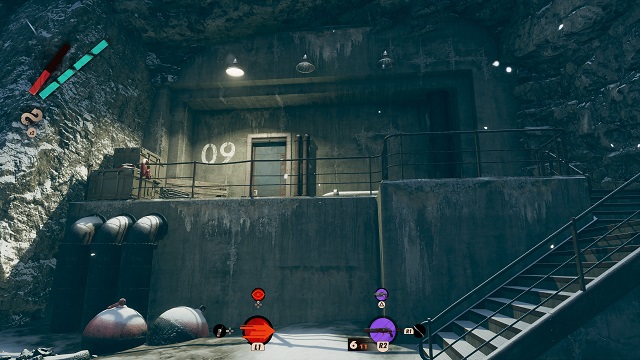
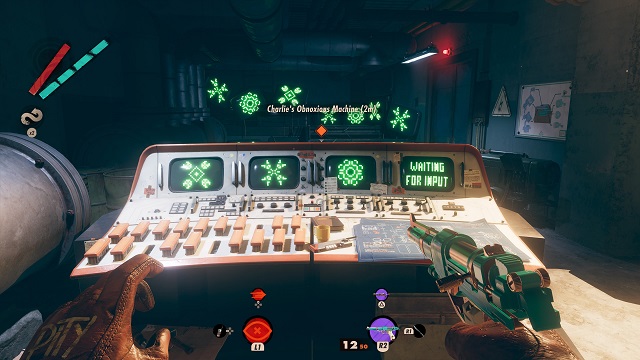
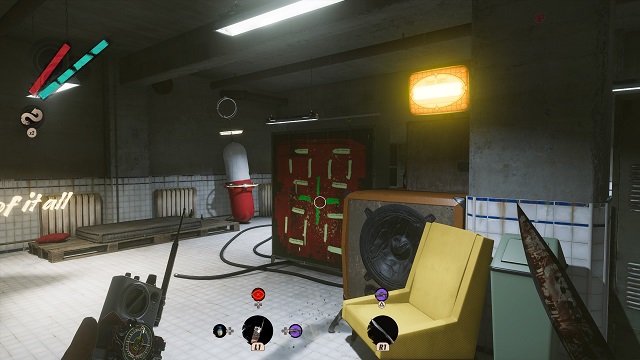
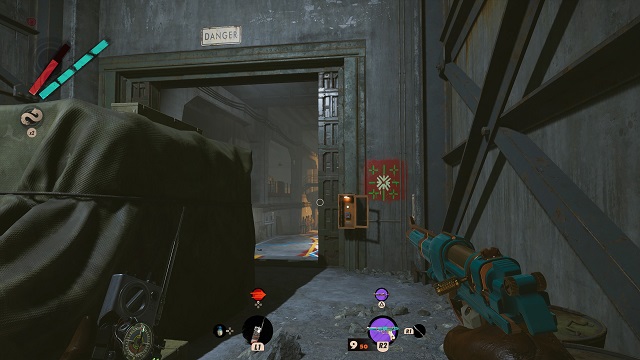
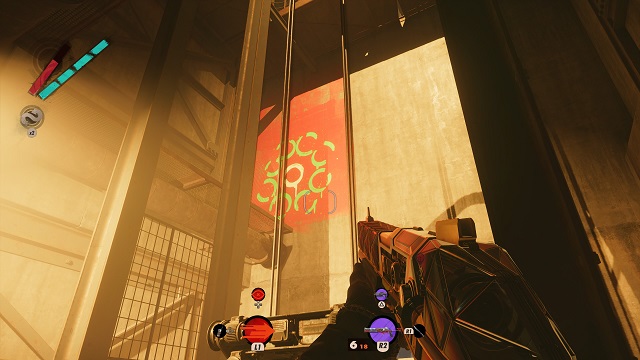
Go through that door, and follow the path through the broken wall. You’ll see the cassette puzzle in front of you with the Order of Operations book on it. Read the book to get the safe code for Charlie’s stash in Karl’s Bay near the Yerhva terminal.
Go there in the afternoon, and complete “Find the Cipher.” Doing so gives you the book Aesthetics Are Key. Inside that book are the four riddles that will lead you to each of your four pictograms in Fia’s bunker to solve the tape puzzle.
Pictogram Locations
All of these pictograms are in the same spots in Fia’s Bunker. There are 14 of them in total, though you’ll only need four to solve the puzzle. Which four you need is completely random to your game.
To see which ones you need, open the Visionary Leads submenu, and look at the four clues in the Afternoon Delight lead. I’ve laid these out in order from the bunker’s rear entrance and marked the four I had in my game with the clues associated with them.
Pictogram #1
This one is on the floor at the rear entrance to the bunker, just inside the door in front of the crates.
Pictogram #2 (Ogles the Rear Entrance)
This pictogram is to the right of the first piece of art. It’s above the room where you get the delivery booth code, to the left of the speaker up on the wall.
Pictogram #3
This one is in the locker room near the rear entrance to the bunker. It’s to the left of the station if you’re coming from the rear entrance; it’s to the right of the health station if you’re coming from the reactor room.
Pictogram #4
Exit the door leading into the reactor room from the lockers. Go through the space in the railing, and drop down to the terminal below. Turn around, and go to the right of the cardboard box and behind the vertical terminals. Turn right to find it on the floor.
Pictogram #5
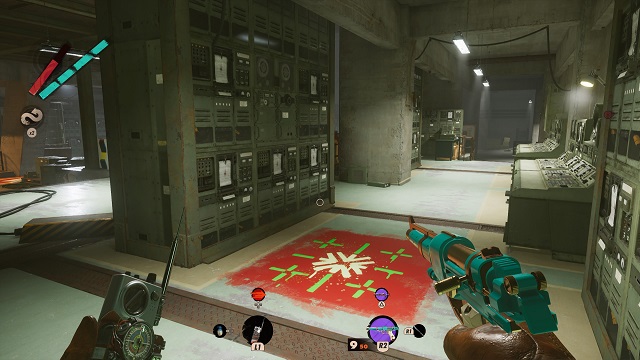
This pictogram is behind the reactor in the reactor room, the large open area in the bunker filled with computers and terminals.
Pictogram #6 (Marks Fia’s Stage Exit)
This one is also in the reactor room. Turn 180 degrees from Overshadowed by Fia’s Shimmering Masterpiece to find it on the opposite wall. If you’re coming from the front of the bunker, it’s just past the door marked with “Forever Young” above it.
Pictogram #7 (Tends the Main Hall)
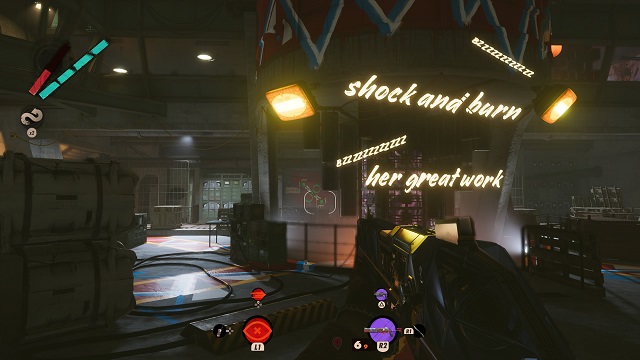
You can find this pictogram in the main hall near the front entrance to the bunker. It’s just before the door marked with “Forever Young.” There’s a forklift in the middle of the path right by the art on the wall.
Pictogram #8
From the last one, go straight ahead toward the spotlight. Go through the large bunker door just behind it, and turn left. This one is next to the orange switch box on the wall.
Pictogram #9
Exit that door, and turn right. Hack the security camera to get it out of the way, and turn right. Go through the bunker door, and turn right just inside. This one is painted on the floor.
Pictogram #10
Turn around from the last one, and go toward the truck in the repair bay with “Let Yourself” written on corrugated steel propped up on the back of it. Drop down into the bay in front of the truck, and look on the truck’s underside to find this one.
Pictogram #11
Exit the repair bay and enter the door in front of you (the one that was guarded by the security camera). Open the door, turn right immediately. It’s on the right wall.
Pictogram #12

Exit the room from the above, and turn right. You’ll see the next pictogram in the secured room in front of you. If you have a battery, you can use it to open the door. If not, shoot the lasers and use Shift to get inside.
Pictogram #13 (Lubricates the Shaft)
With Wants for Power to your back, turn left. Smash through the boors blocking the doorway, turn 180 degrees, and look up. This art is high up on the wall. Use Shift to get up on the small catwalk to interact with it.
Pictogram #14

From the last one, turn around and look up to the right. Use Shift and double jump to climb up to the room above. Follow the path left, and turn right past the first small set of stairs. You’ll see another set of stairs leading up and the pictogram painted on the wall.
Cassette Puzzle Solution
Now return to the rendezvous point on Fristad shore in the afternoon. Use the blueprint on the right side of the terminal to see which tapes you need to interact with based on the pictogram associated with them; each corresponds to a tape number. For example, my code was 25-08-24-41.

Once you insert the correct tapes, a door in the back right corner of the room will open, giving you access to the shaft in the pumping station. Use Shift to get down to the bottom.
Once there, you’ll get the Dangerous Liaison trophy and achievement for completing Afternoon Delight. Return to the hideaway in the afternoon to find Charlie and Fia on the top catwalk. You can them on however you want or flood the area to kill them using the lever in the pump control room, though escaping yourself is a pain.
However you do it, you now know how to find all of the pictograms and solve the cassette puzzle in Deathloop. For more tips, consider heading over to our guides hub where we tell you how to get all of the half-naked characters in the game, as well as things like the Heritage Gun.


Published: Sep 20, 2021 04:43 pm