Since the main character in Agony is already dead, getting torn to pieces by vagina-headed demons isn’t the end of a playthrough.
When you eventually meet your moist, fleshy demise, it’s time to put those afterlife powers to use and possess some other poor sinner to start the horror all over again.
Actually getting your astral form into those broken martyr bodies is quite the chore, though, and may be one of the most, ahem, agonizing parts of the game mechanics.
Agony Possession Basics
First and foremost, you can only possess a martyr if you’ve previously removed the bag from their head. When exploring the different corridors and tunnels of Hell, always be sure to interact with any non-demon you come across so they will be available as a future body source.
When you die, you have free range to move in any direction (even up and down) so you can see an overview of the whole maze and quickly find a replacement body.
There’s a limited time frame in which to possess a martyr or demon before getting thrown back to your last soul mirror, however. There’s some relief on this front, though — movement and possession attempts lower the countdown timer, so you can stand still for an indefinite amount of time and wait for enemies to leave.
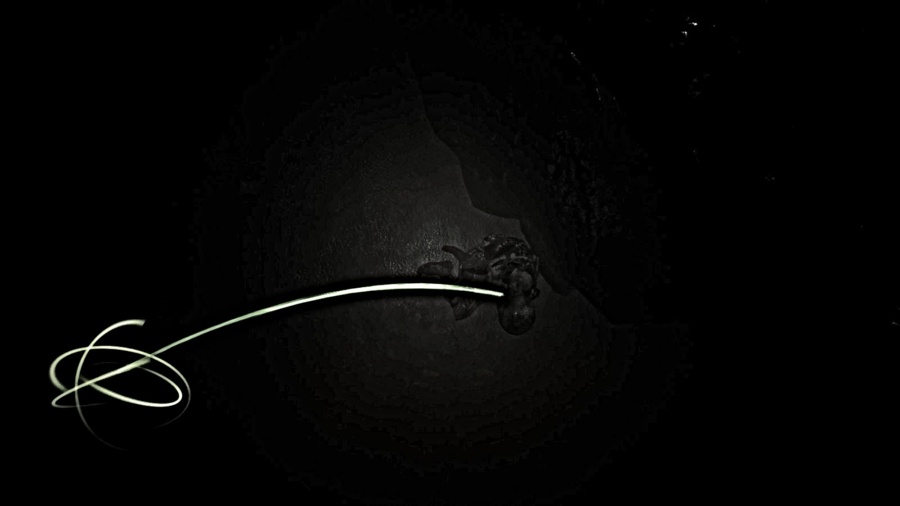
 When time is running short, this seizure-inducing image will flash across the screen
Remaining stationary is a particularly useful tactic if there are martyrs in the same room where you died, but a pack of succubi are still prowling around the area. Waiting there can be a better idea than using up your limited time trying to find a new body somewhere else.
Demons can’t be possessed during the early portion of the game. That ability is unlocked later on, so during the initial level in the maze of blood and body parts, don’t bother trying to possess the succubi, as it can’t be done at all (even though the game will let you try).
How to Possess Martyrs (and Demons) in Agony
A green soul tether appears leading from the target of your possession to your disembodied astral form. This is where things get confusing, as there’s no proper tutorial, and it’s not clear what you should be doing. The tether also moves unpredictably.
The goal is to get your end of the tether with the circular section to be positioned exactly in the center of the screen, and then keep it there. You will have to move up and down quickly and then rotate left and right to keep up with the fast, jerky movements of the tether and hold it position in the center long enough to complete the possession.
 With the tether at this position, you’d need to move left and then down.
Agony Possession Tips
Because of how the tether moves, this is one instance where having the ability to change the DPI sensitivity for your mouse is incredibly useful. Moving too quickly is actually a bad idea here because the tether will slip away. Dropping your mouse DPI down to 400 makes this much, much easier.
For those who don’t have software to change DPI or a button on the mouse for automatic sensitivity changing on the fly, your best bet is to use the WASD keys during possession and ditch the mouse entirely.
During the first possession forced on you by the story, you only have to move the keyboard or mouse, but subsequent possessions that you initiate require holding down the E key the entire time. Letting it go will cause the possession to fail. Hopefully this issue will be patched out quickly, as it makes possession quite difficult while using the WASD keys.
Agony Cheat for Easy Possession
OK, so it’s not really a “cheat” since the game lets you do this … but if you find that you just can’t get the hang of the possession mini-game and are tired of losing at the last second and getting thrown back to a soul mirror — you can turn on Easy Possession mode in the game’s menu at any time.
In this mode you still have to perform the possession, but the tether doesn’t move nearly as much and the possession only takes a few seconds, so it’s nearly instantaneous for the average martyr once the tether is lined up in the center.
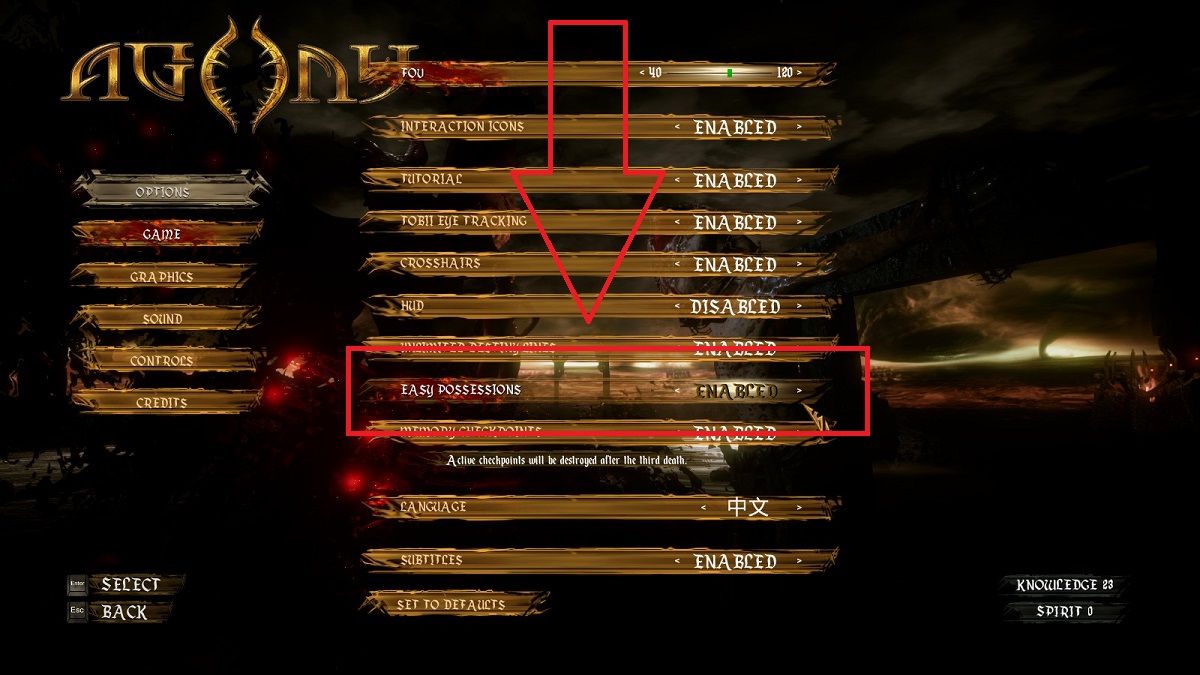 For a less frustrating experience, enabling this option is the way to go.
Good luck with your Hellish explorations, and do try your best to be messily devoured or torn into pieces! Stay tuned for more Agony guides coming soon covering all the game’s secret collectibles.


Published: May 28, 2018 12:49 pm