KING Art’s Black Mirror is a re-imagining of the original point-and-click mystery horror series. It takes place in a manor in Scotland filled with shifty people and a family mystery that you must uncover. To help you uncover the truth about the family, we’ve compiled a guide complete with item locations, puzzle hints, and even a full walkthrough.
As we know most of you don’t want to spoil the story, we’ve organized this guide in a way that allows you to get help without doing that. For those who would rather have a full walkthrough, that’s here as well. We just put it at the bottom. The least spoilery thing (drawing piece locations) can be found at the top. These are followed by puzzle hints and help that do not just give you the answer. Finally, the walkthrough offers the quickest way to get through the chapter and provides all the answers to the puzzle. We avoided relaying the entire story, but there are spoilers in that section.
Drawing Piece Locations
Set 1
When in your bedroom, investigate the chest on the left side of the desk. You’ll find them nestled inside.
Set 2
Upstairs. The pieces are on a table to the left of the clock just as you exit your room.
Set 3
Upstairs, there is a hallway near the portrait of your grandfather Edward. Follow it all the way to the end and look on the floor.
Set 4
When you are zoomed in on the desktop in the library, you’ll find the pieces on the left side near some bottles and other items.
Piece 5
These can be found in the top right-hand drawer of the desk in the Master Study.
Spoiler-Free Puzzle Hints
Desk Puzzles
One — Lock Code
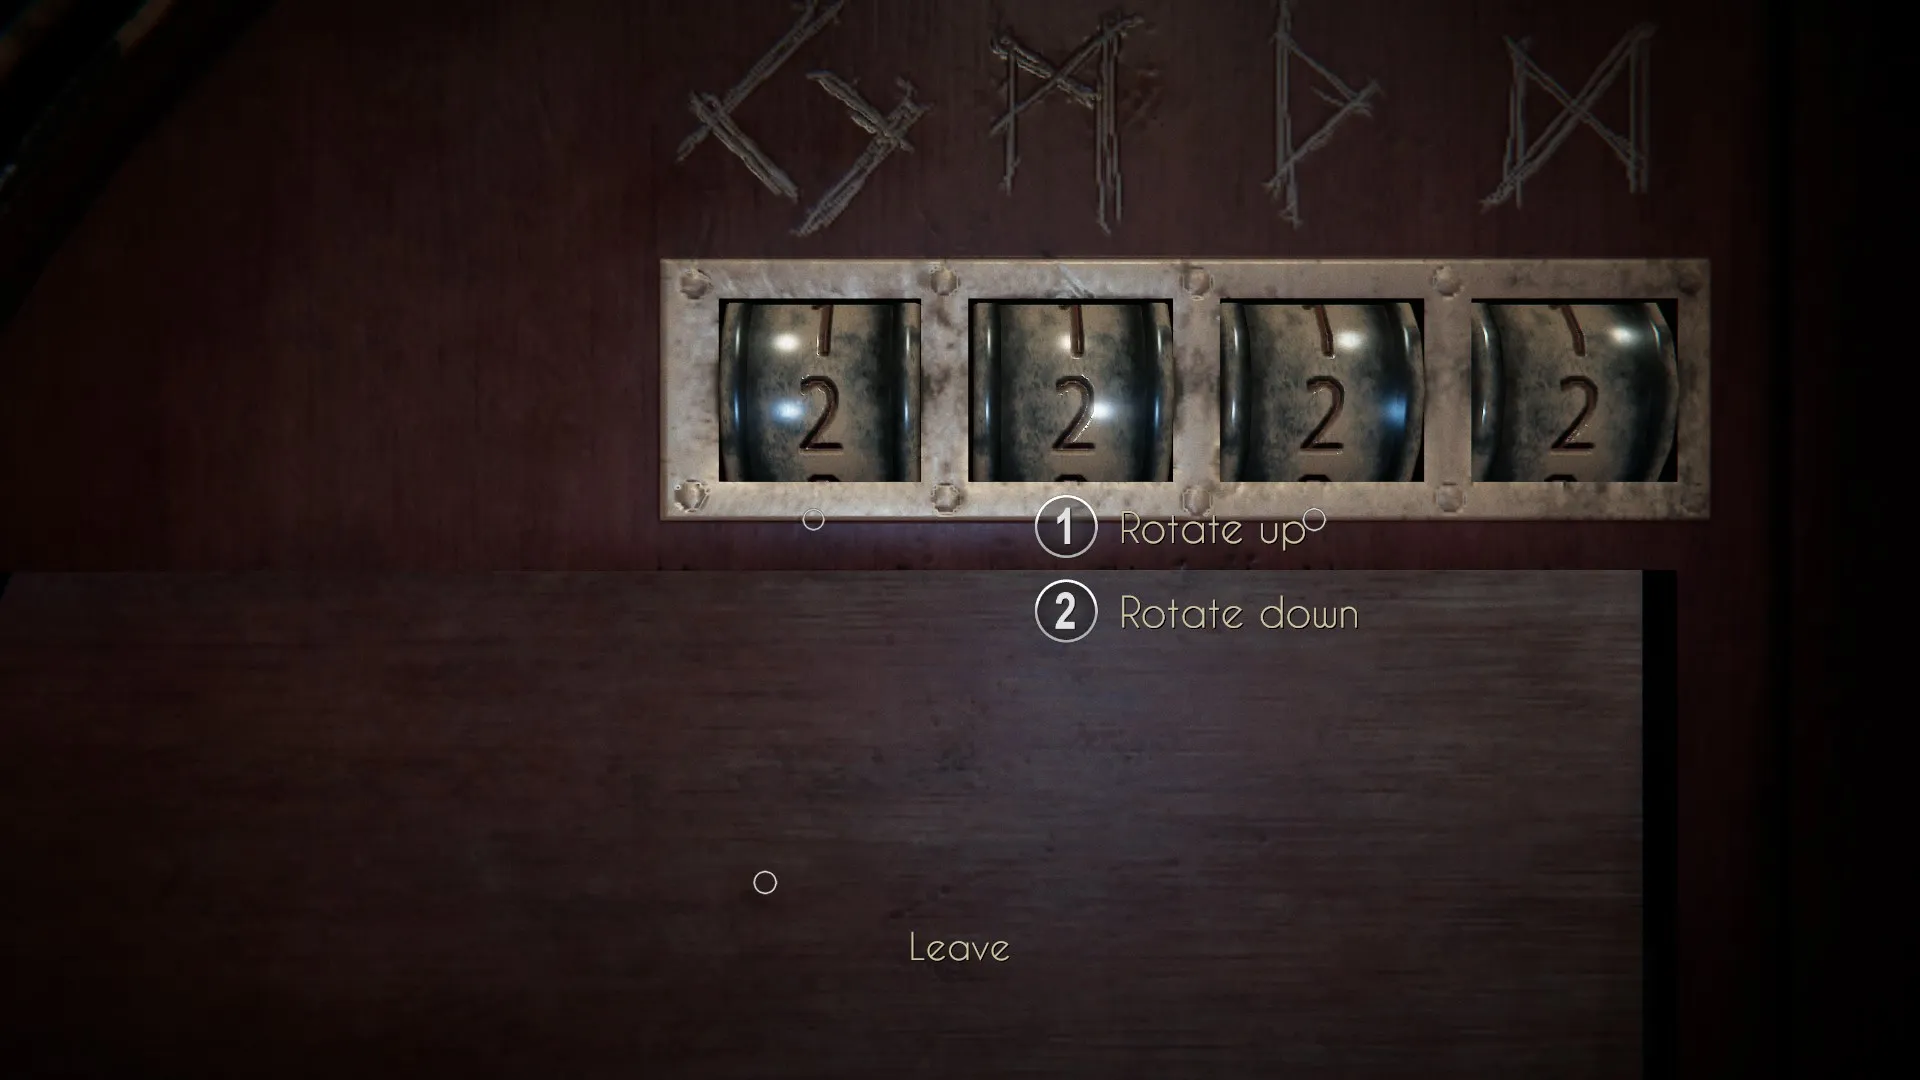
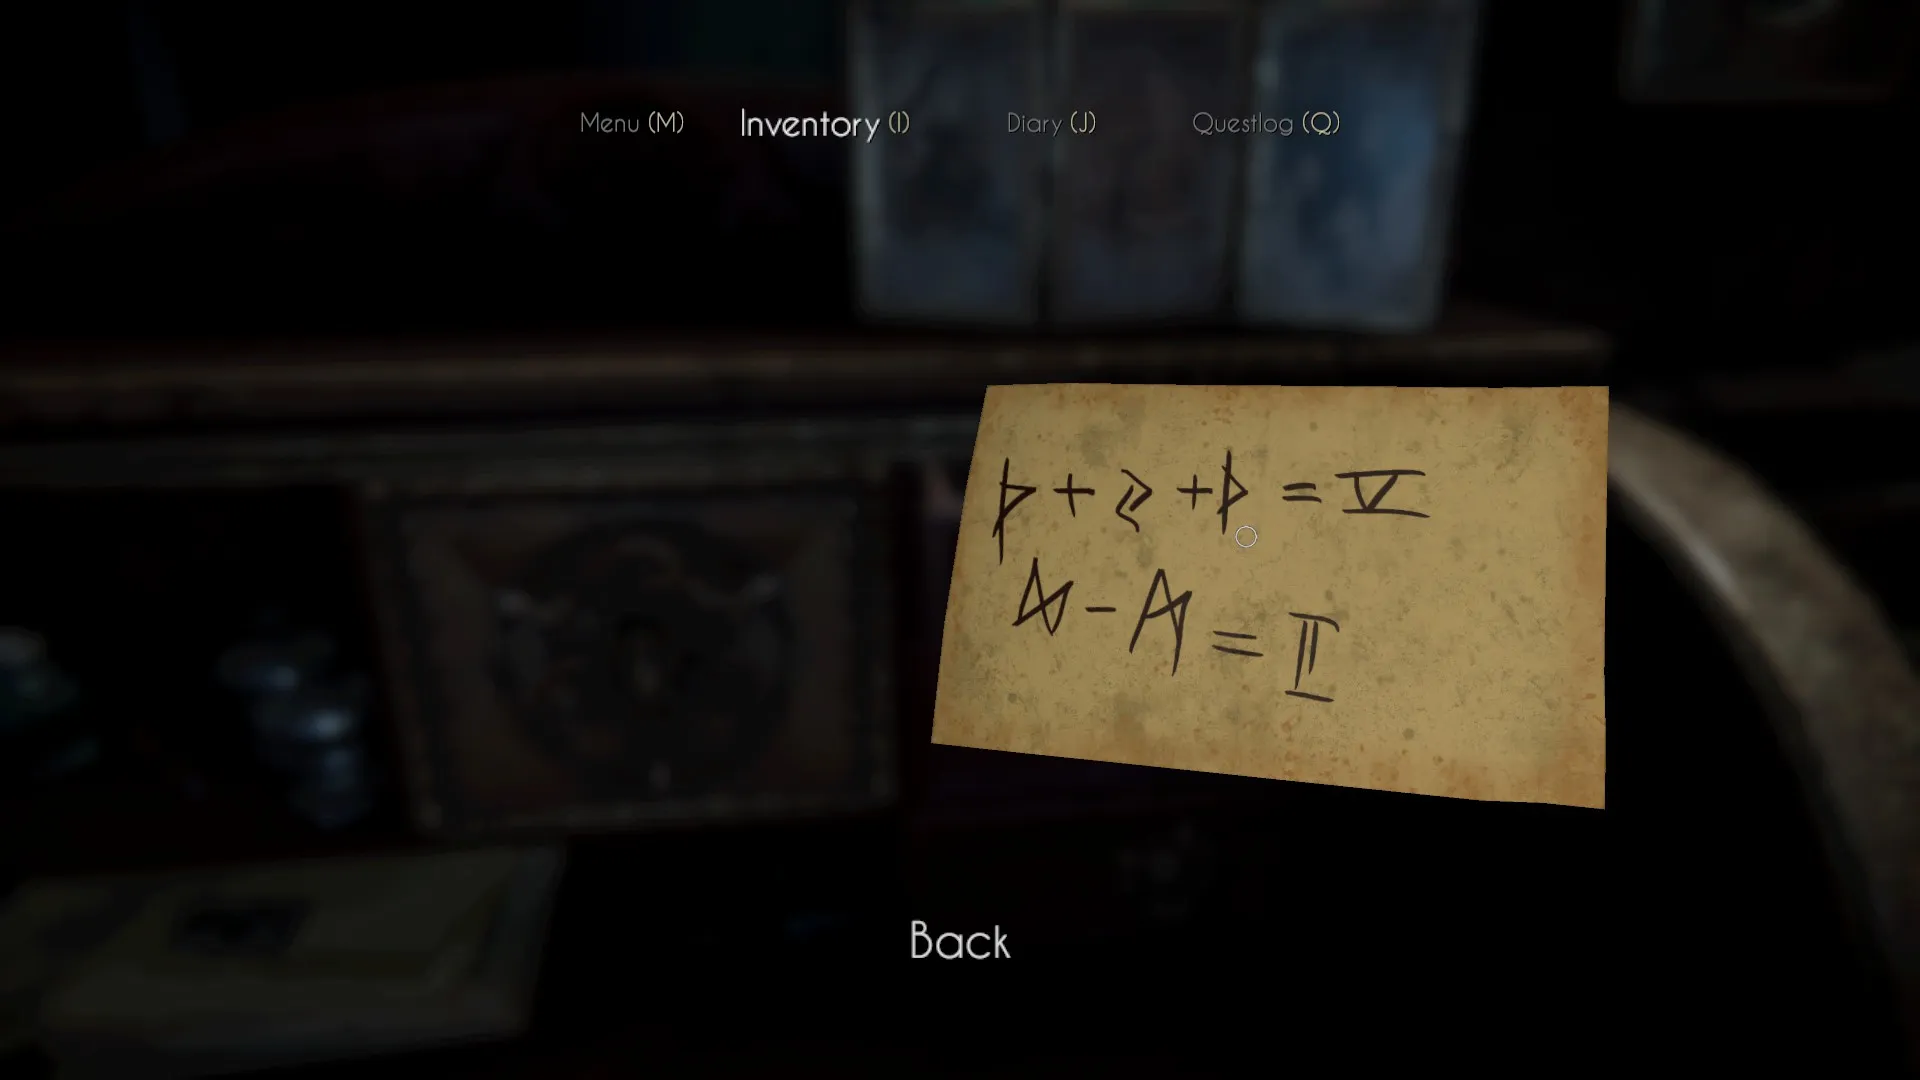
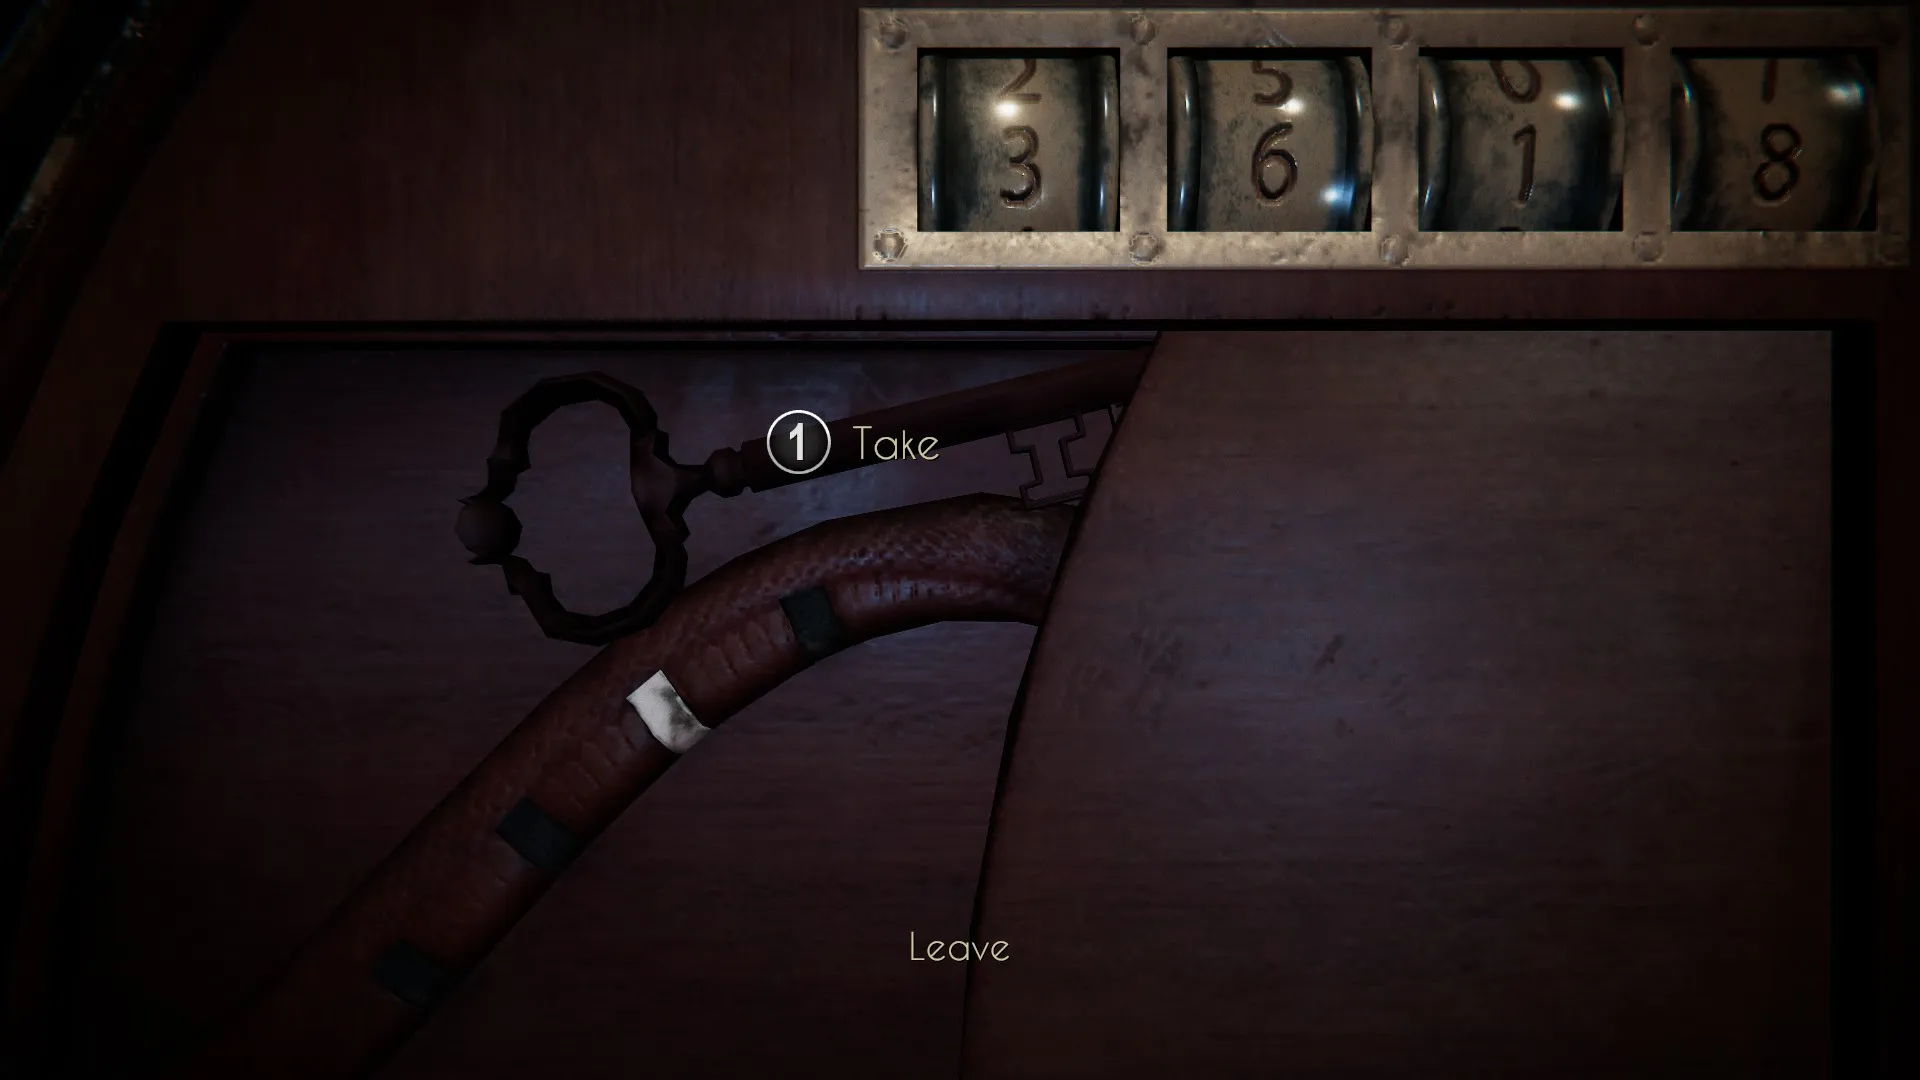
To solve the lock code, you’ll need to do some basic math using a clue found in one of the desk drawers. There are two simple problems. The first is basic addition where the answer must equal 5.
There are three possible solutions for this:
0+5+0=5
1+3+1=5
2+1+2=5
Solving this puzzle will give you the first and third digits. The second problem asks you to solve for 2 through subtraction. The answers here cannot be the same as the ones used in the previous problem, so you’ll need to use a bit of trial and error to get the right answer.
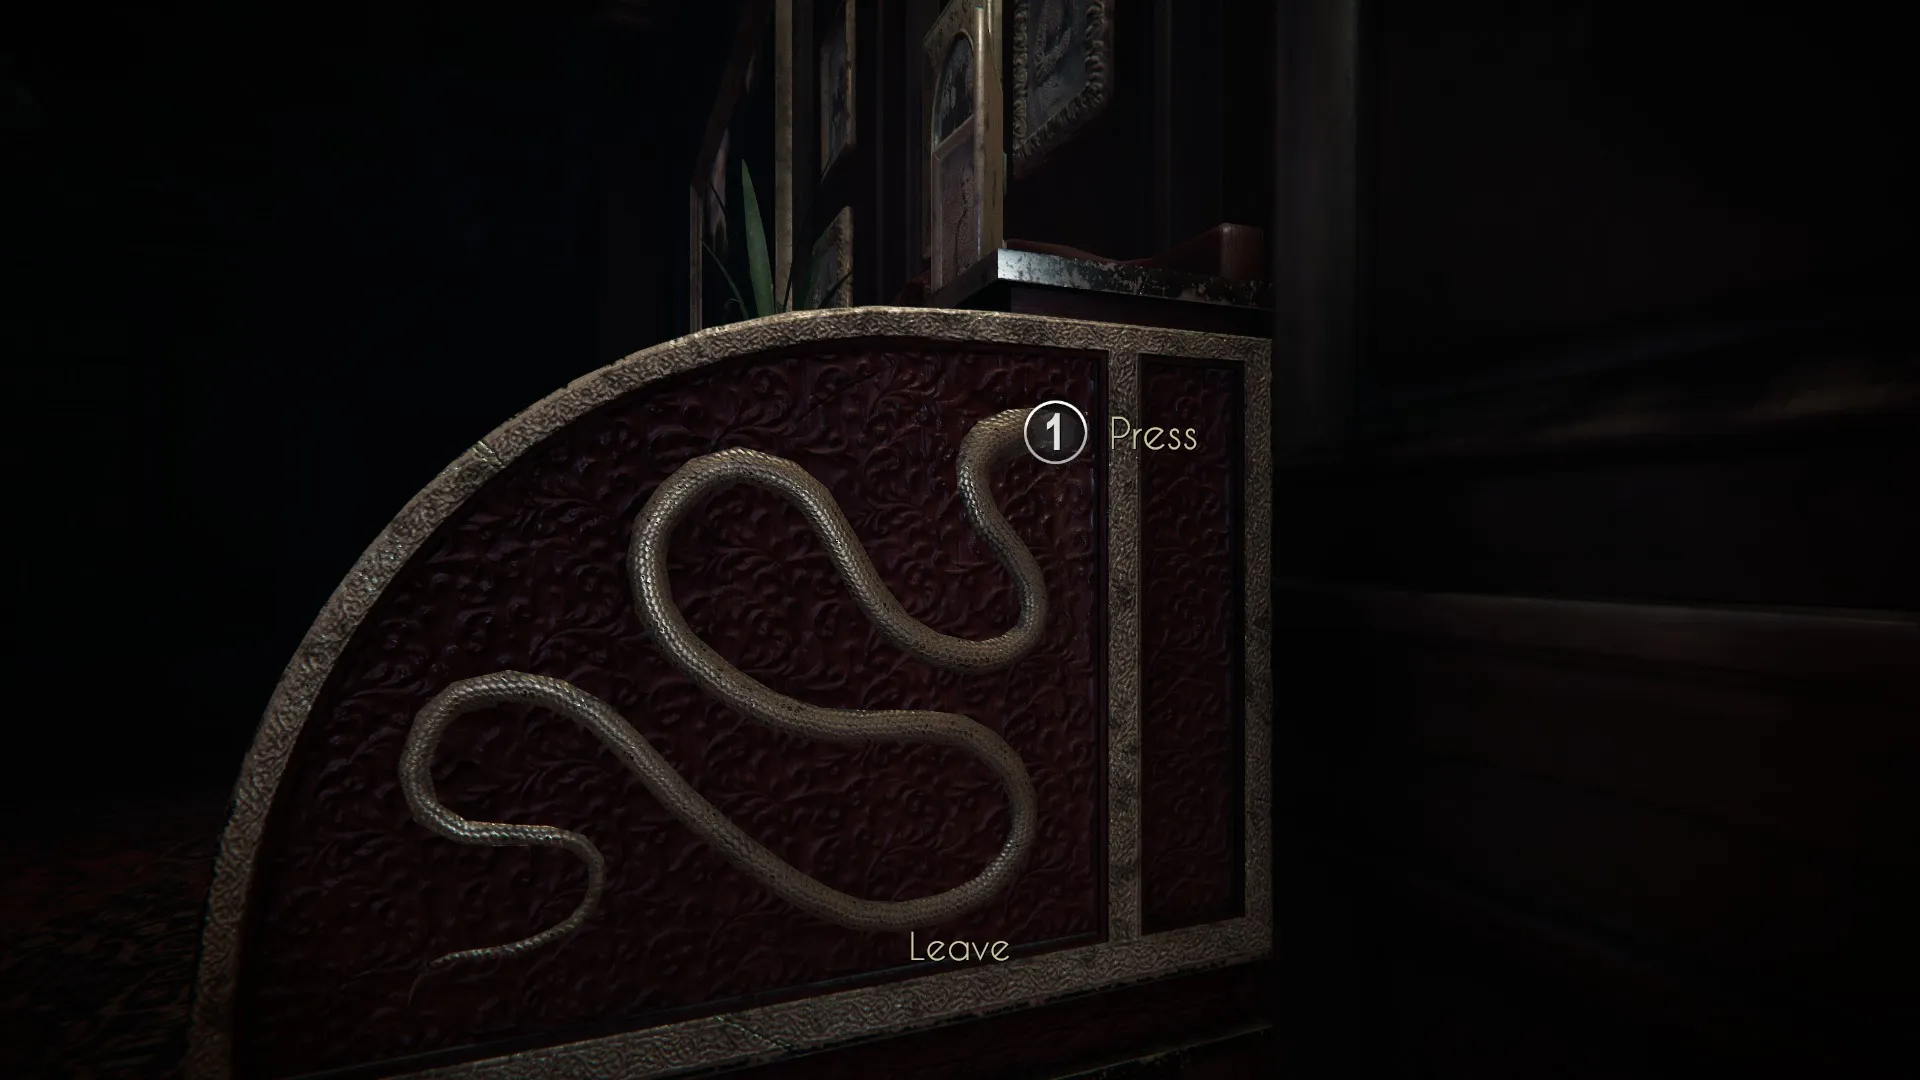
Two — Snake Stripes
This one’s pretty basic, and most of it’s laid out right there in front of you. You have two buttons next to each other: black and white. You have a snake with a black-and-white striped pattern. You just need to be observant.
Master Study Door Lock
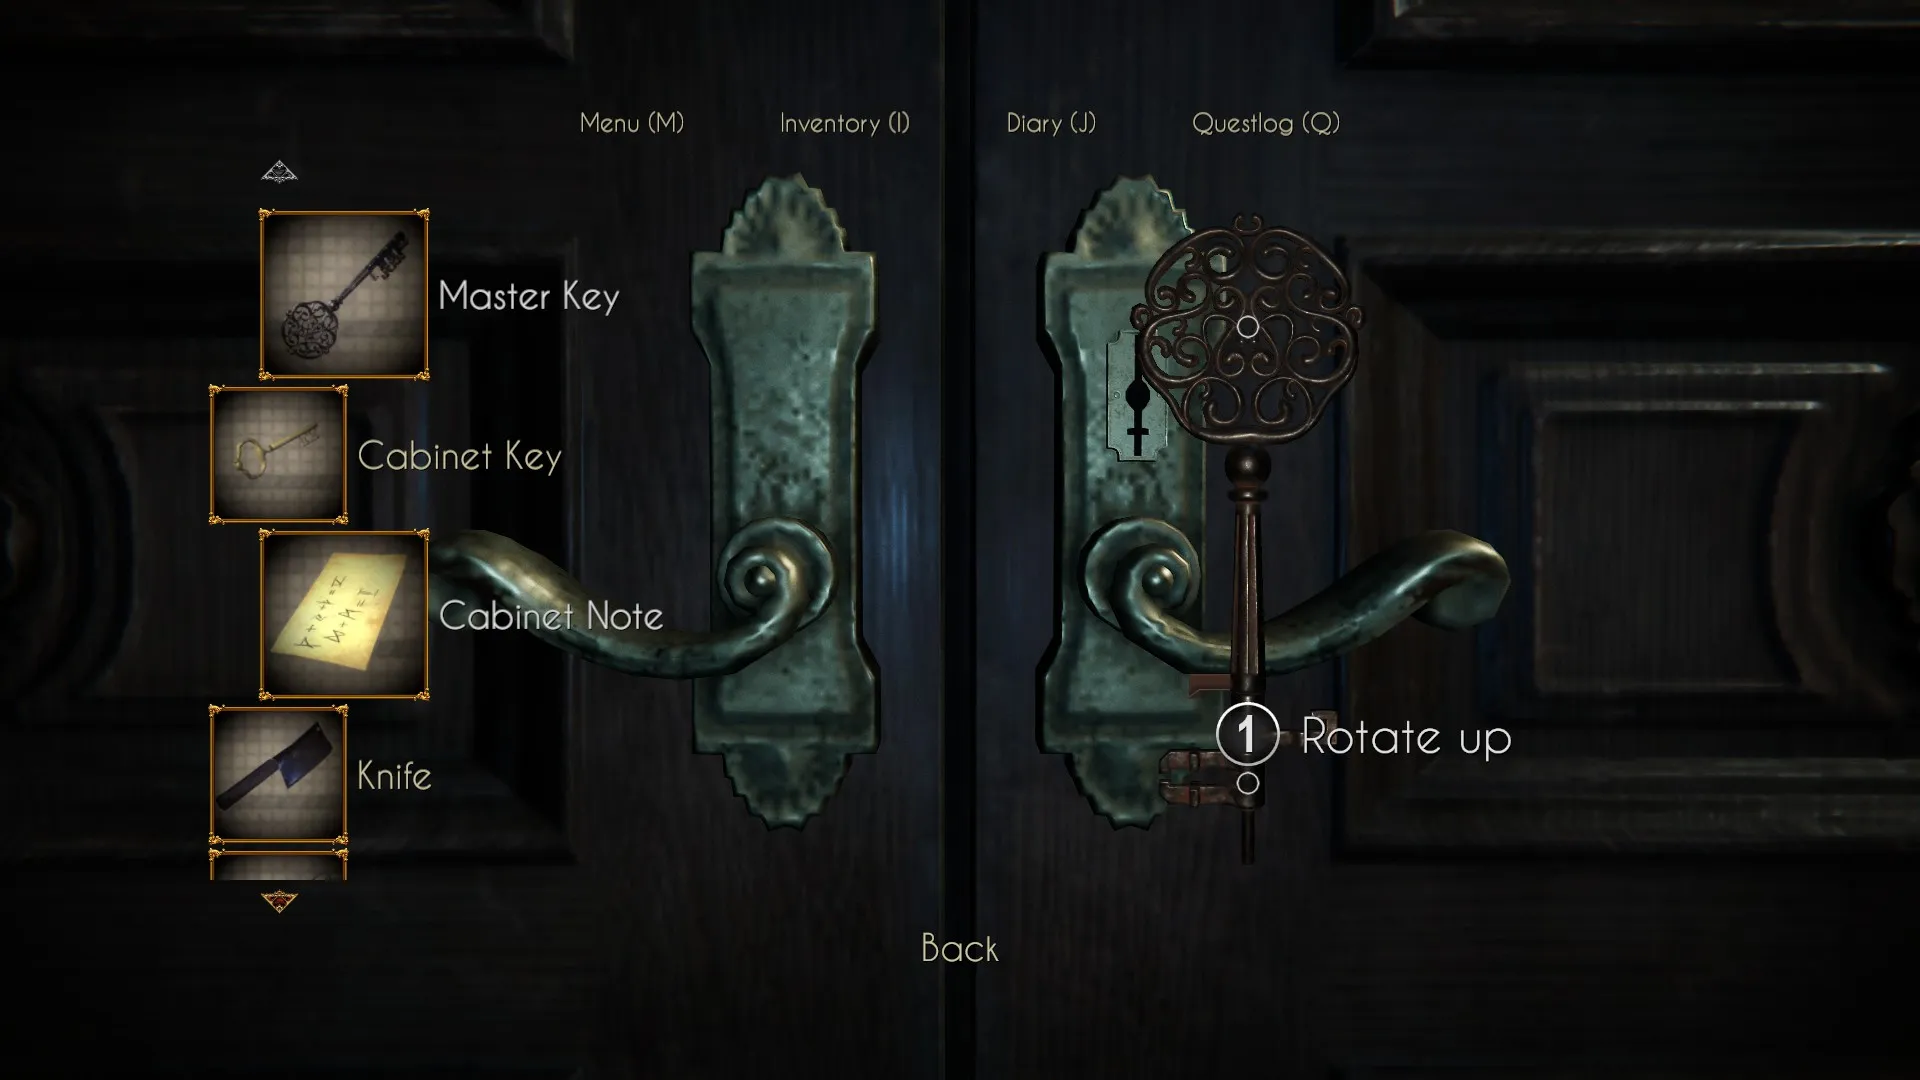
You won’t be able to open this until you find the proper key. This key can be manipulated. Take a look at the keyhole in the master study door, and then adjust the key to make it fit.
Master Study Dial
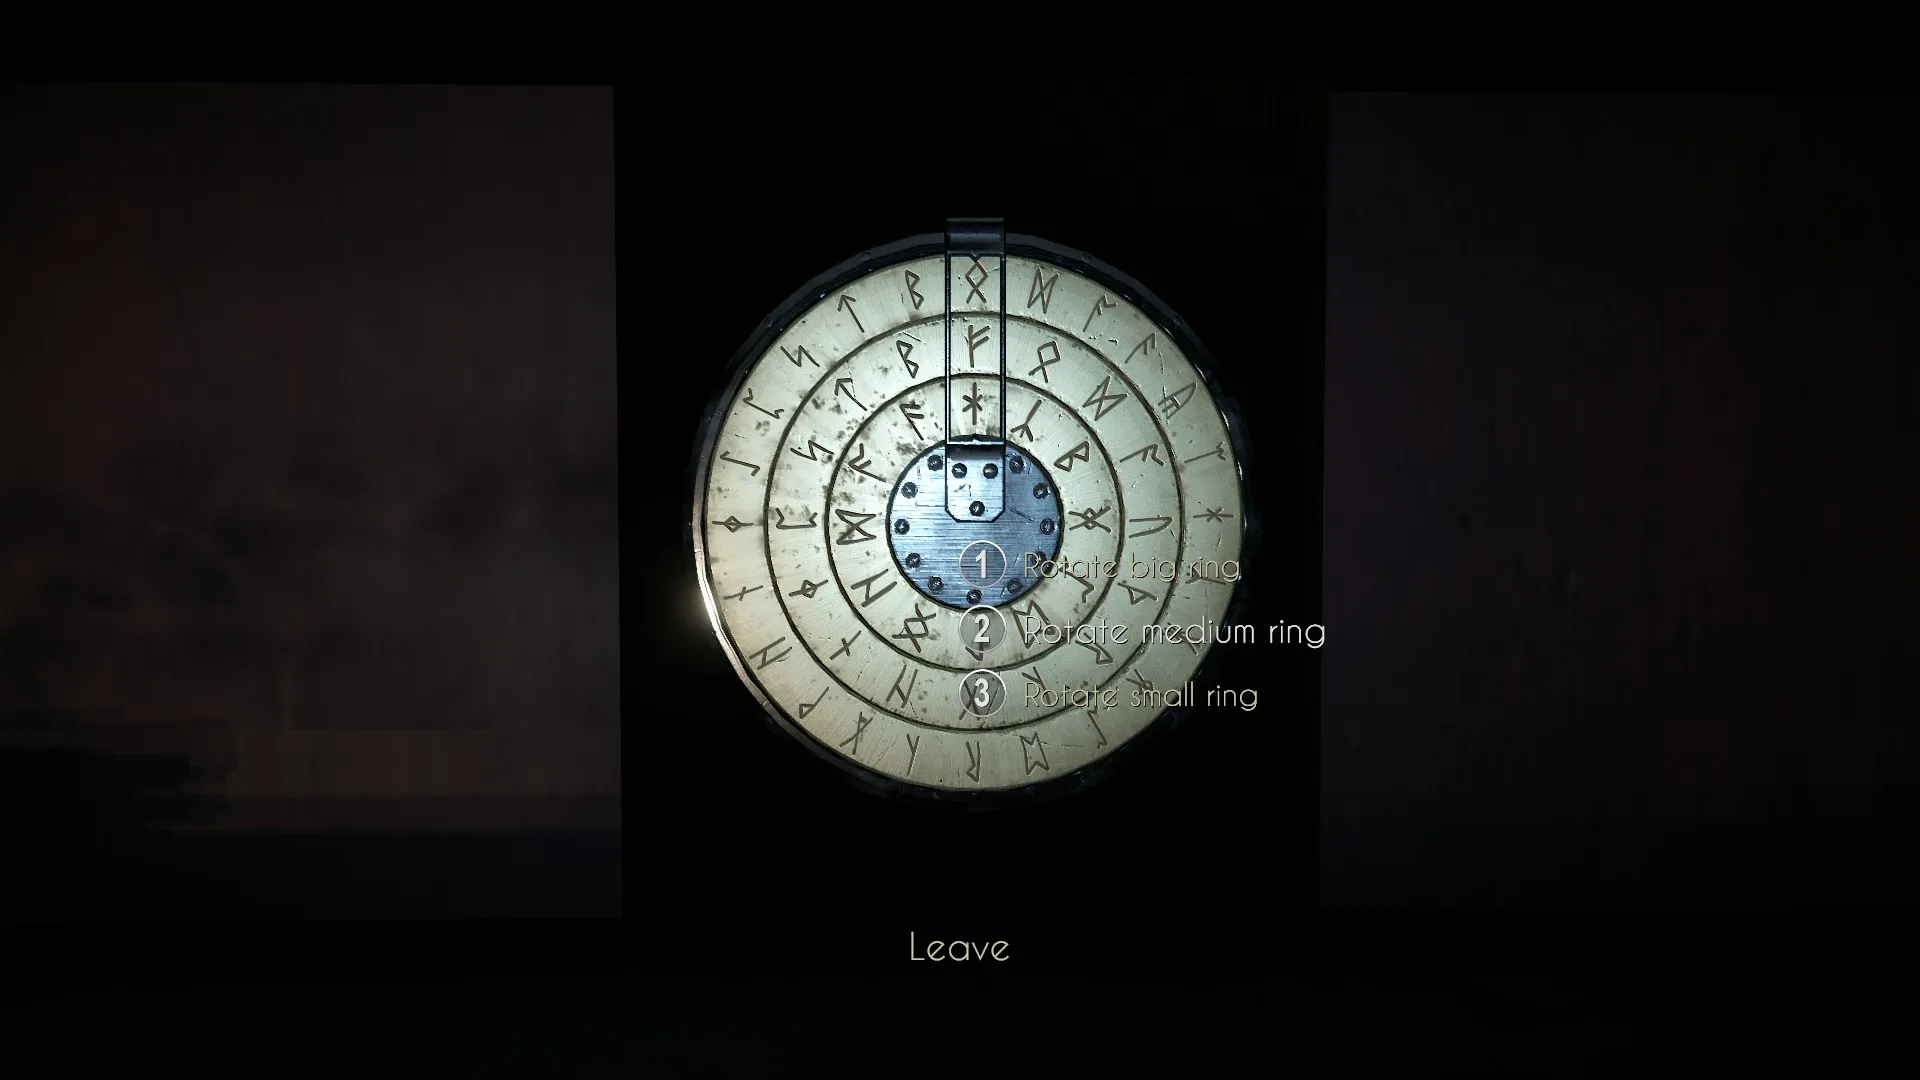
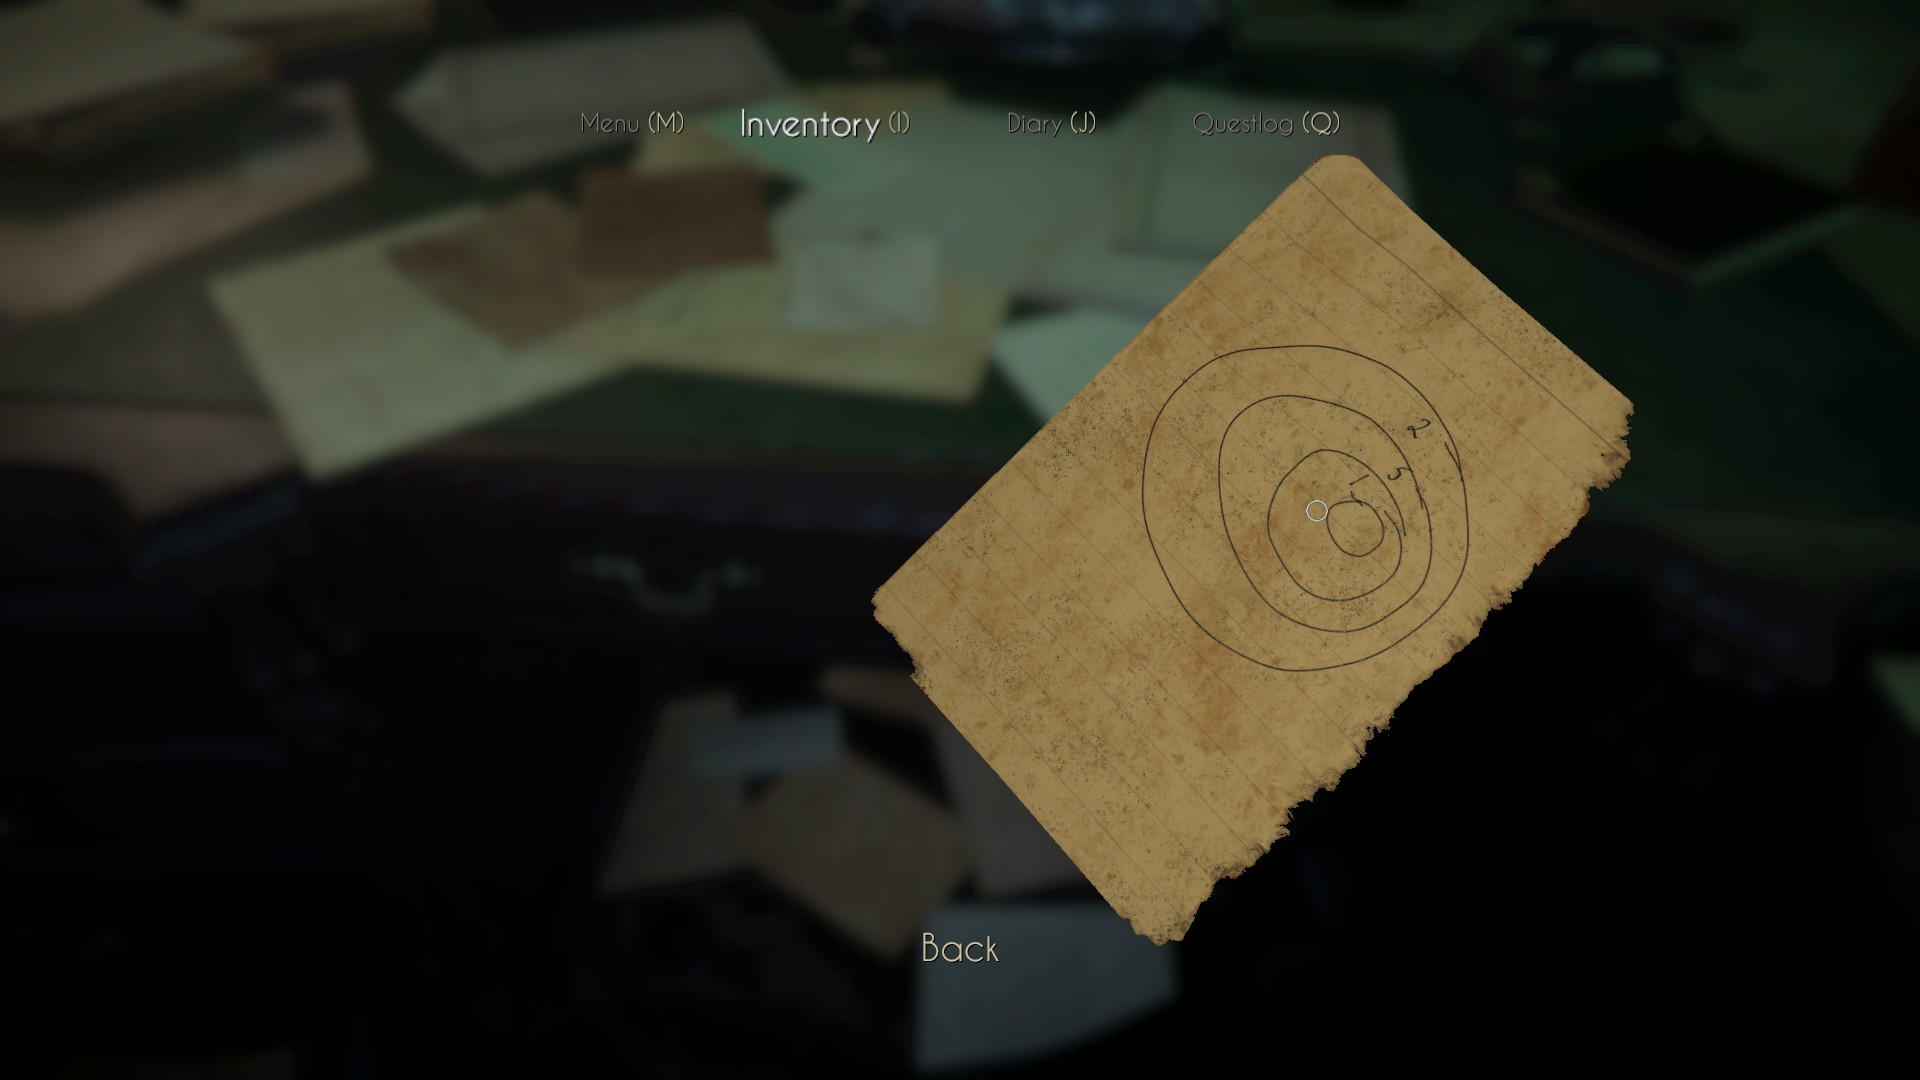
This puzzle is much easier than it seems. You’ll find two sets of clues nearby. The first is a drawing of the dial with some numbers in it. Running from inner dial to outer: 1, 5, and 2. The other piece to the puzzle can be found on the same bookcase as the dial. There’s no math involved here. Just basic logic.
Detailed Walkthrough
Prologue
You’ll find yourself running from some unknown entity. This whole section is on rails, so just follow the road until you get to the cutscene, where you’ll be given the first chance to interact with something.
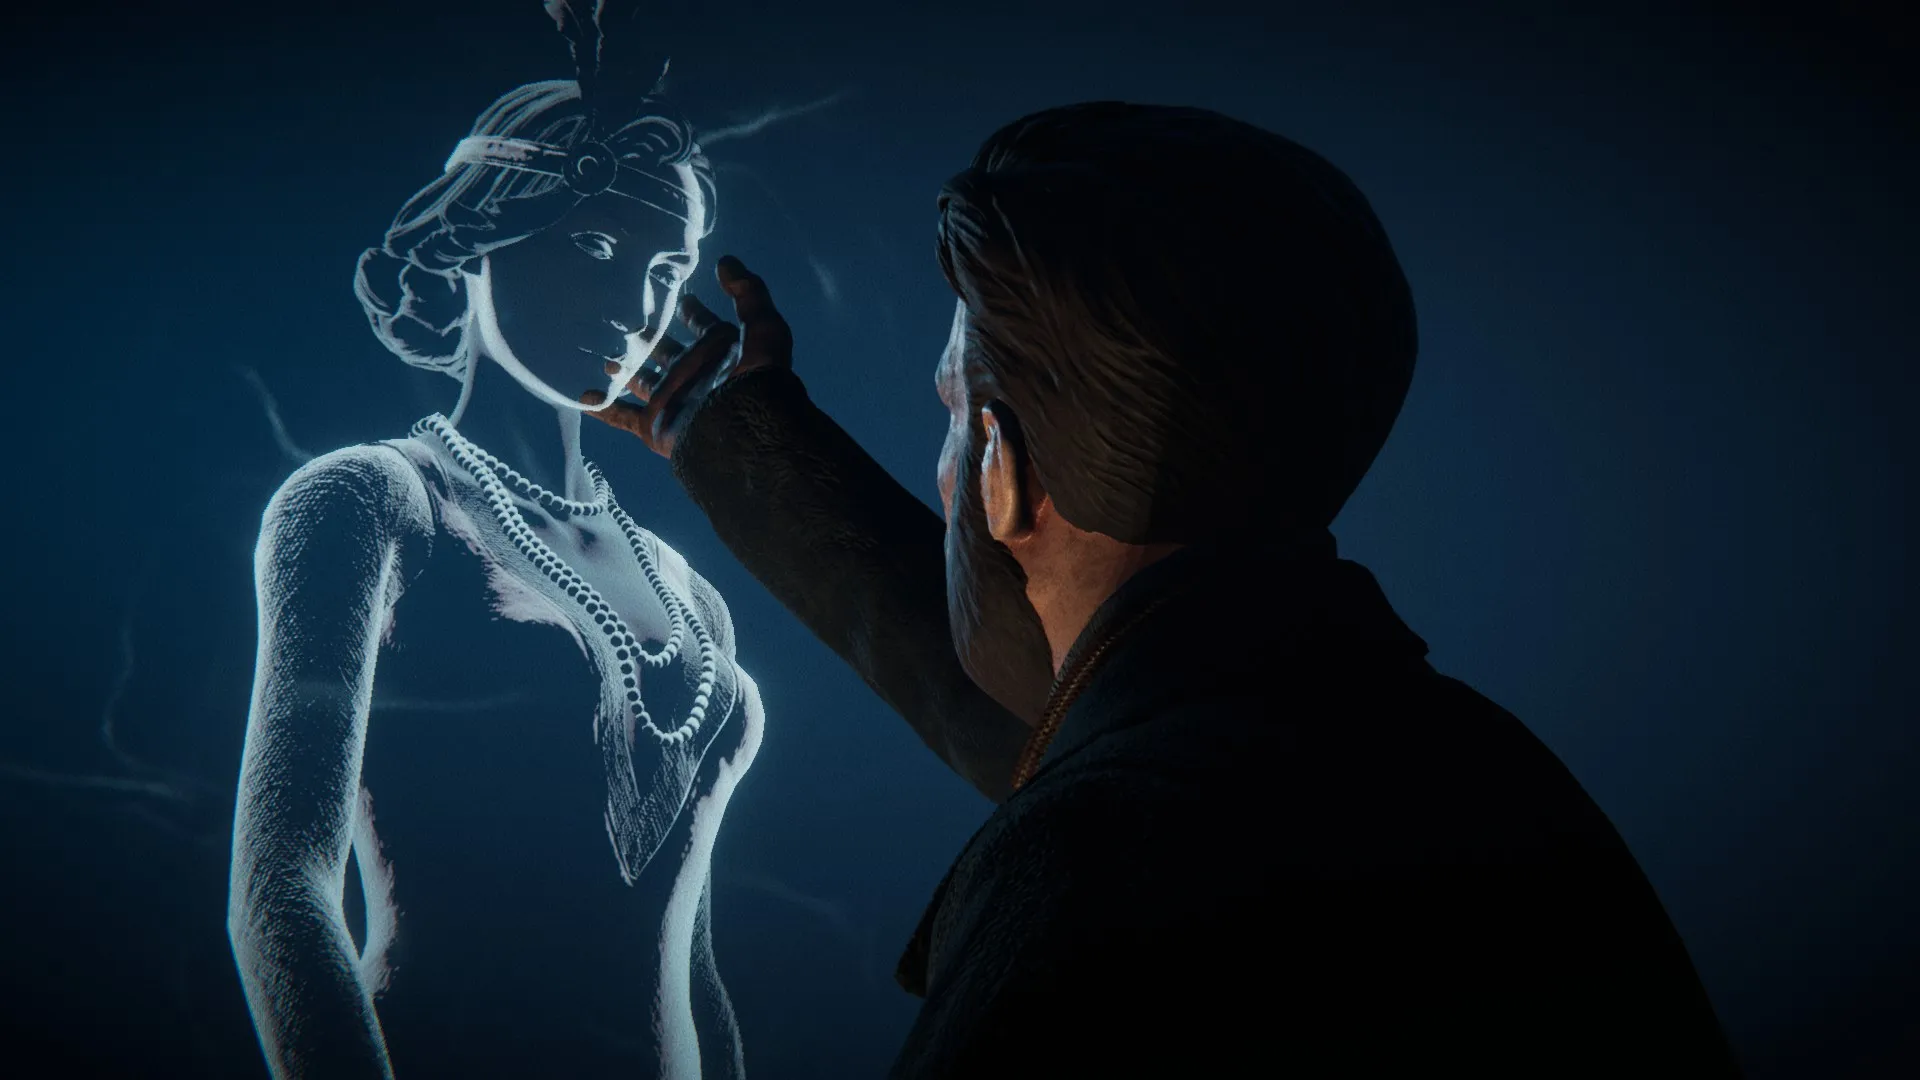
Simply click the circle to interact, and watch the rest of the scene before moving on. Keep going until you run across a ghost. Touch her for another cut.
Once the scene is over, begin your run again — into the circle of stones. Here you’ll find an altar. Walk up to it and take the item from the ground. Here you’ll get a third cutscene before being allowed to interact directly with the stone. Once you’ve examined it, pick up the lantern you’d set on it. One last scene will play before the game’s first chapter begins.
Chapter 1
The Car Ride
Before getting started, you’ll have to roll through another short cutscene that outlines the game’s backstory. You’re sitting in a car, on your way to the old family home in Scotland. It is here that you will find your first clues.
Take a look around the car before interacting with anything. There are a few options, but as soon as you interact with the items in the chest next to you, you will arrive at your destination and be forced to move on.
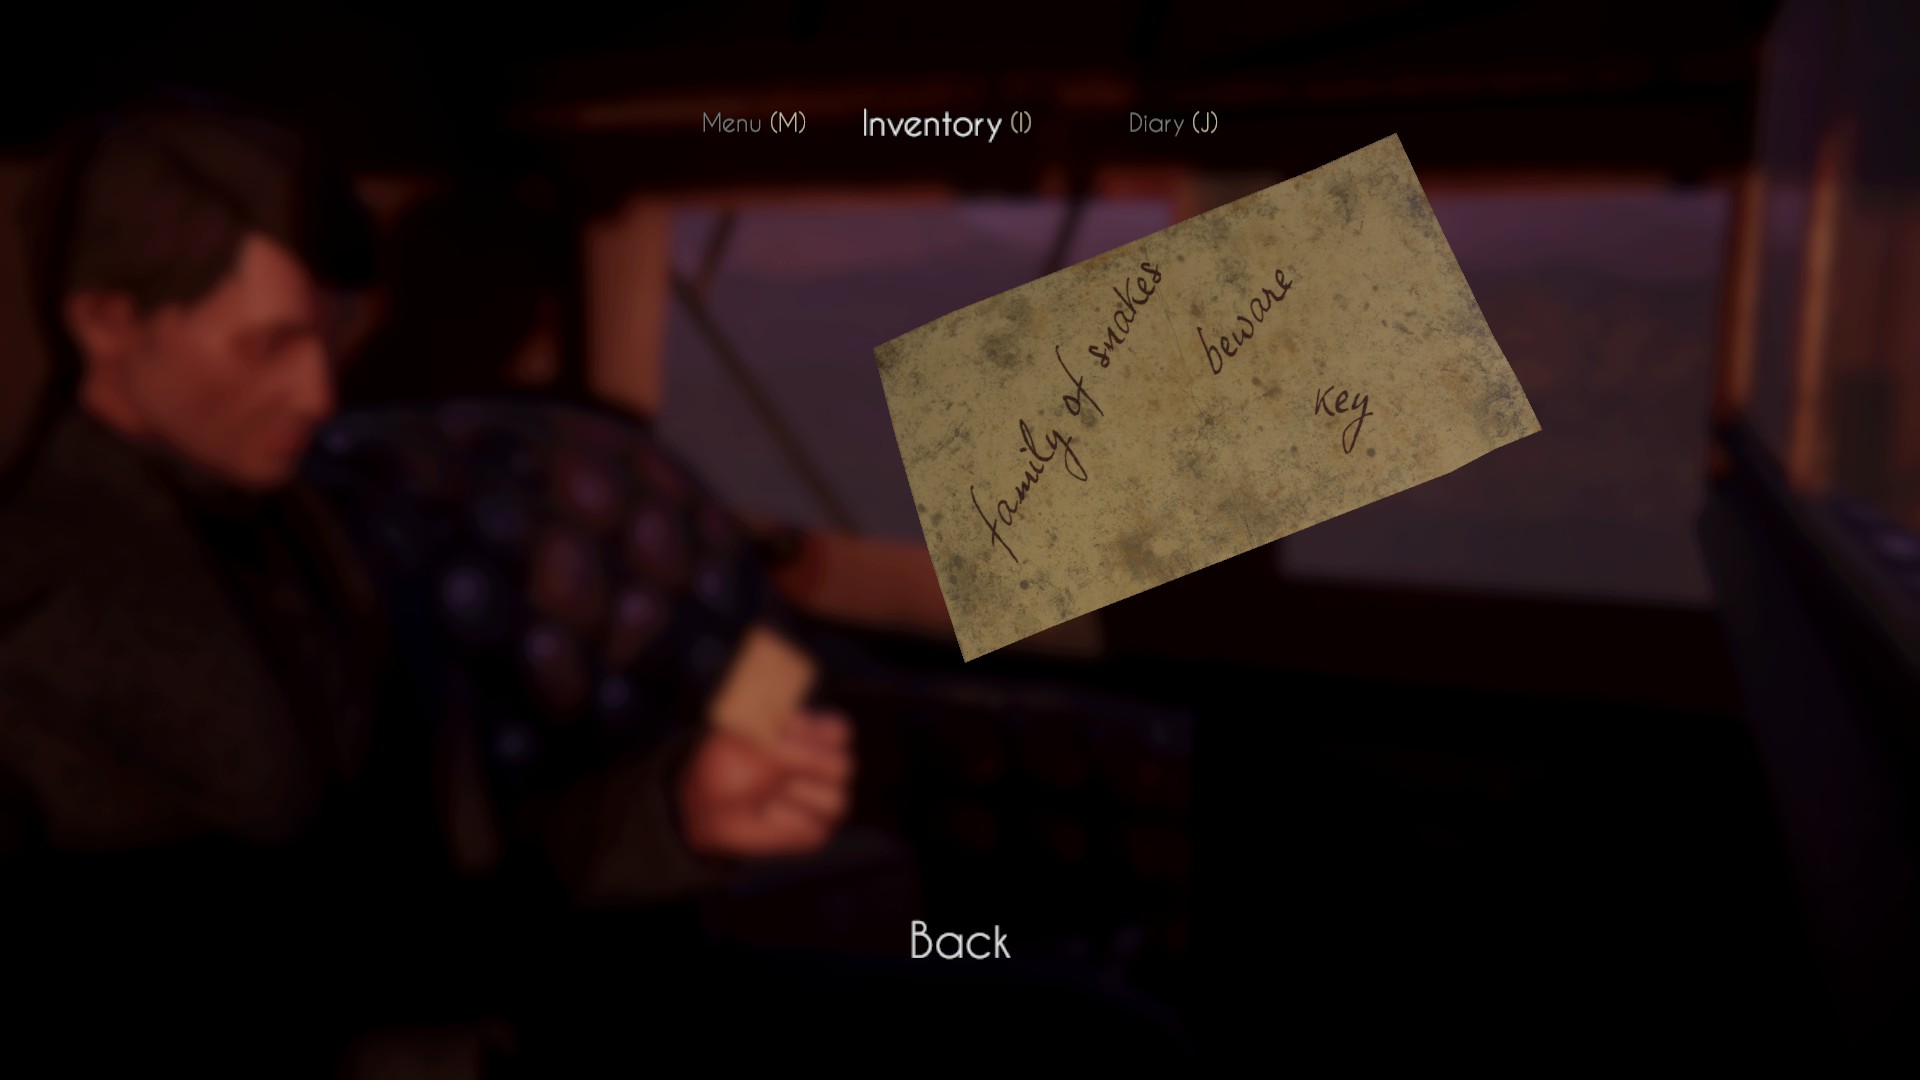
The first clue you are given sits on top of the chest. It’s a note with a few random words on it. If you flip it over (by clicking on it with the mouse and dragging), you’ll find a code as well. Put the paper away and you’ll be given the option to open the chest.
Inside the chest is a replica of a castle turret. Inspect this, and then put it away as well. Doing so will bring the car ride to an end — at the Black House driveway.
Introductions
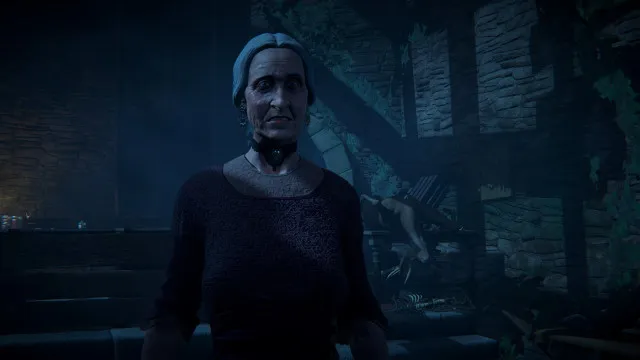
Here you’ll be greeted by the family lawyer, one Andrew Harrison. He’ll hurry you inside and introduce you to the family matriarch — your grandmother, Lady Margaret. You’ll ask her a few questions, and she’ll give you a few smug answers before leaving you in the hands of her butler Angus and wandering off.
Before Angus can direct you to your room, Andrew will inquire as to proof of your identity. When you go to hand him the papers, you’ll drop the turret you found earlier. You can either lie or tell the truth when he asks you about it. Angus seems to be familiar with it but doesn’t say anything.
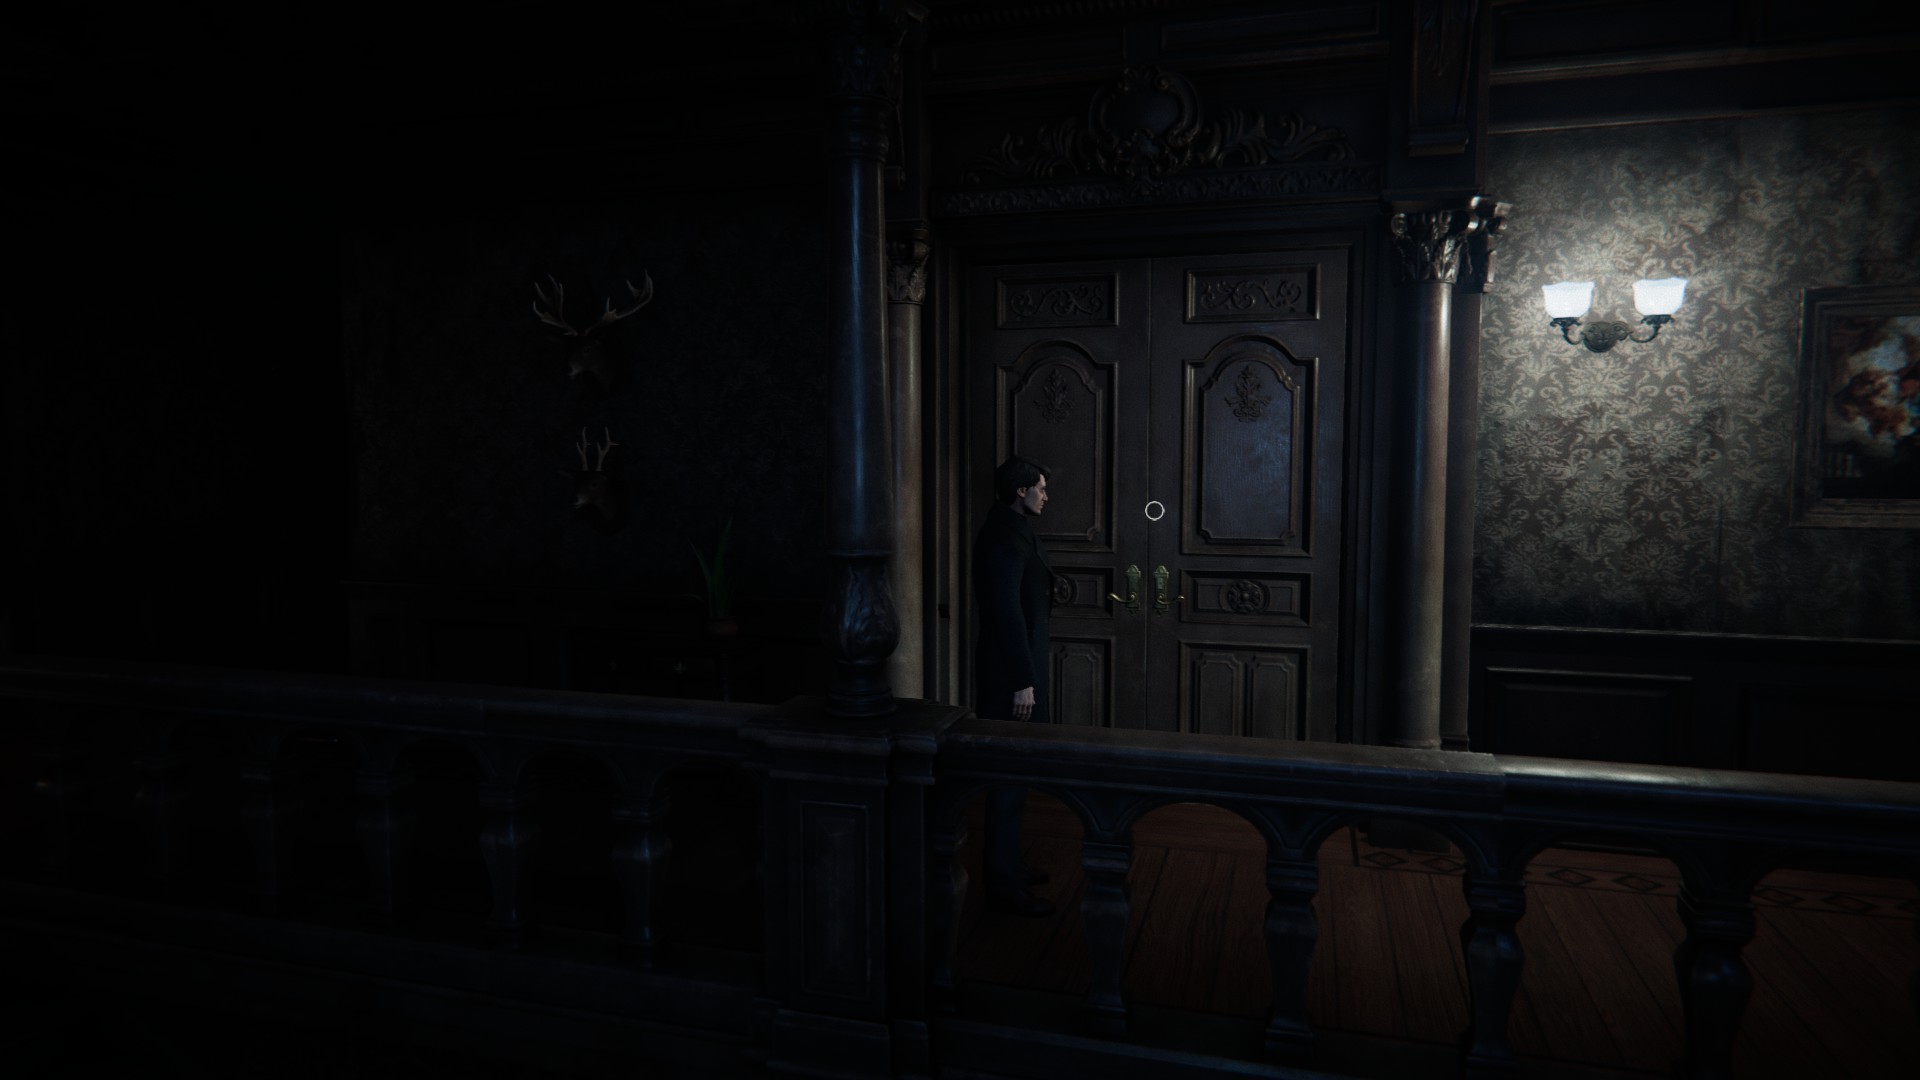
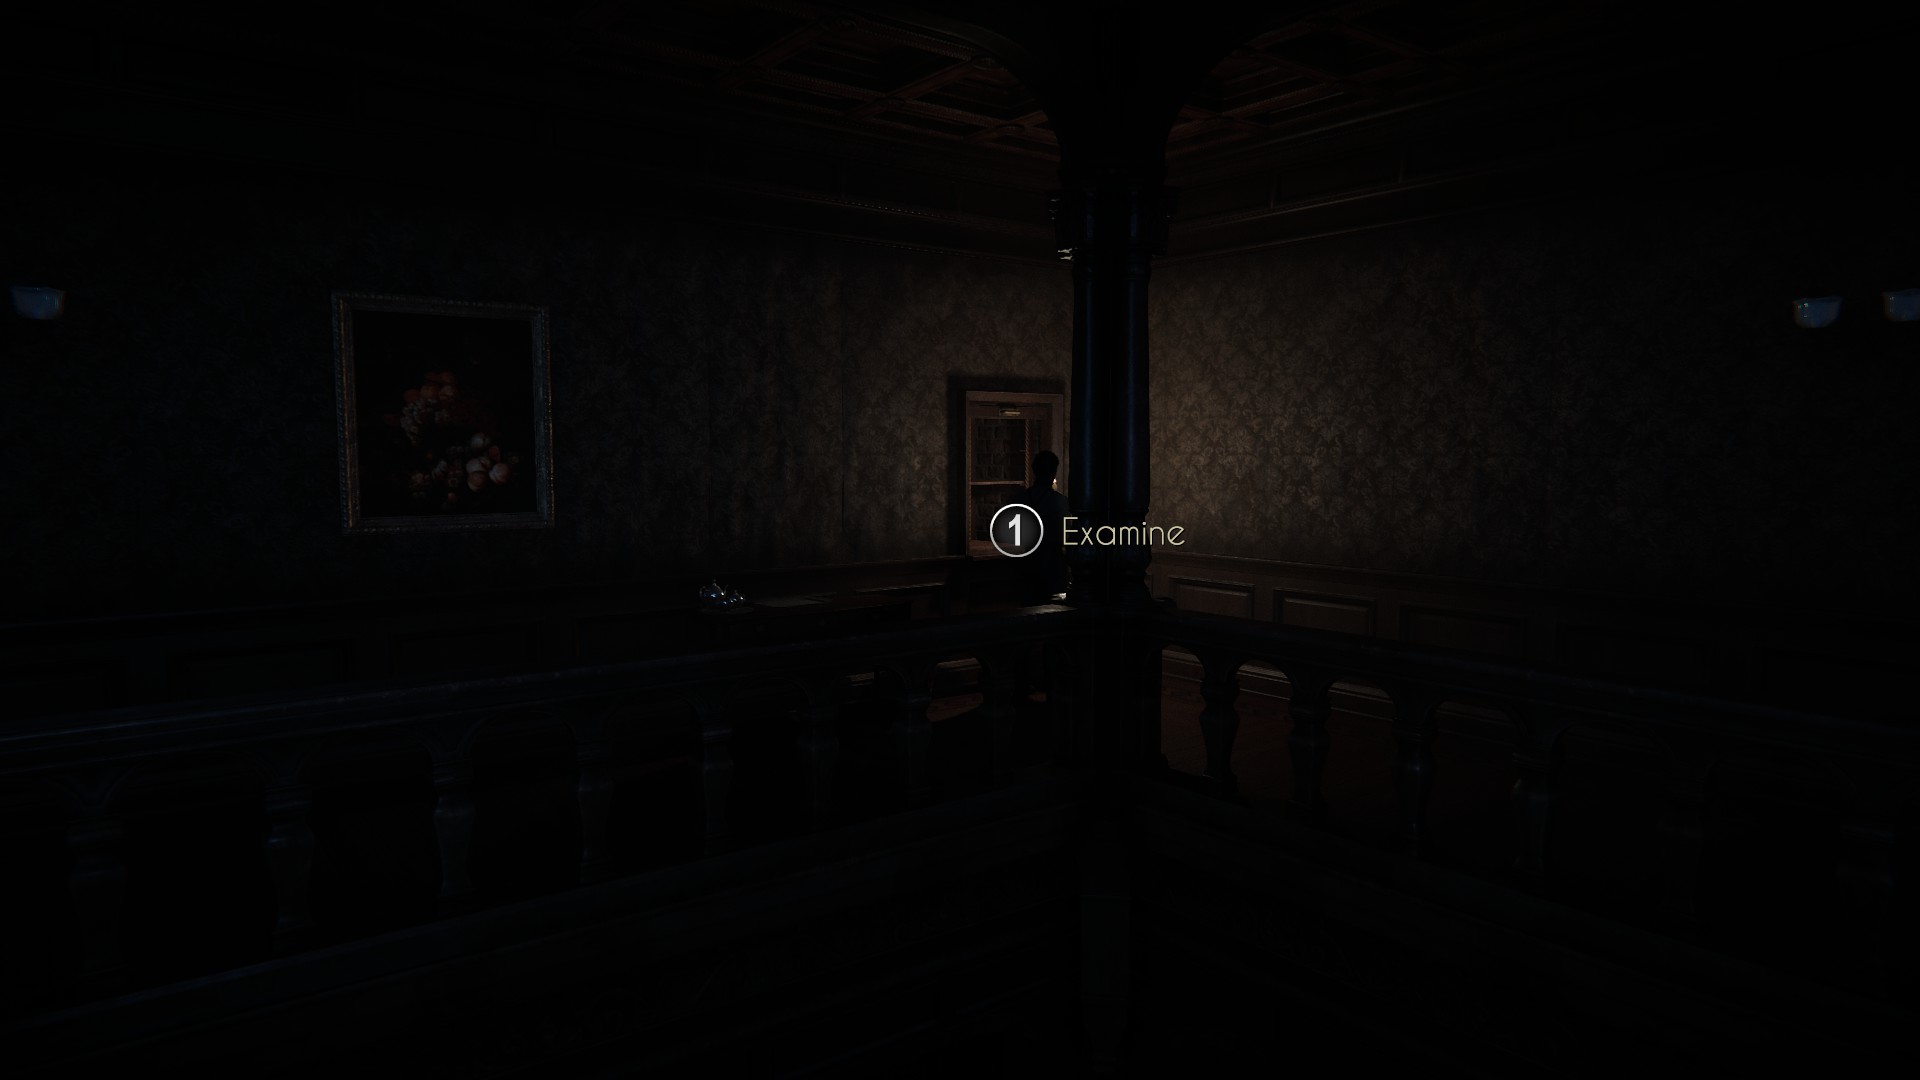
Once you’re done with Andrew, follow Angus up the stairs. At the top, you’ll come face to face with a portrait of your grandfather Edward. Take a closer look at it before following Angus around to the right. About midway down the hallway, you’ll spot a set of double doors. Inspect them, and Angus will inform you it’s the “Master Study” and that you’ll be able to check it out tomorrow.
Continue to follow Angus to your room. Before getting there, you can comment on the peeling wallpaper if you like. Otherwise, just get to your door and wait for Angus to open it. While you wait, you’ll hear a noise and look around, spotting something in the distance before being startled by the clock next to you. Once in the room, Angus will advise you to not wander about at night — advice you obviously don’t plan to take.
Your Room
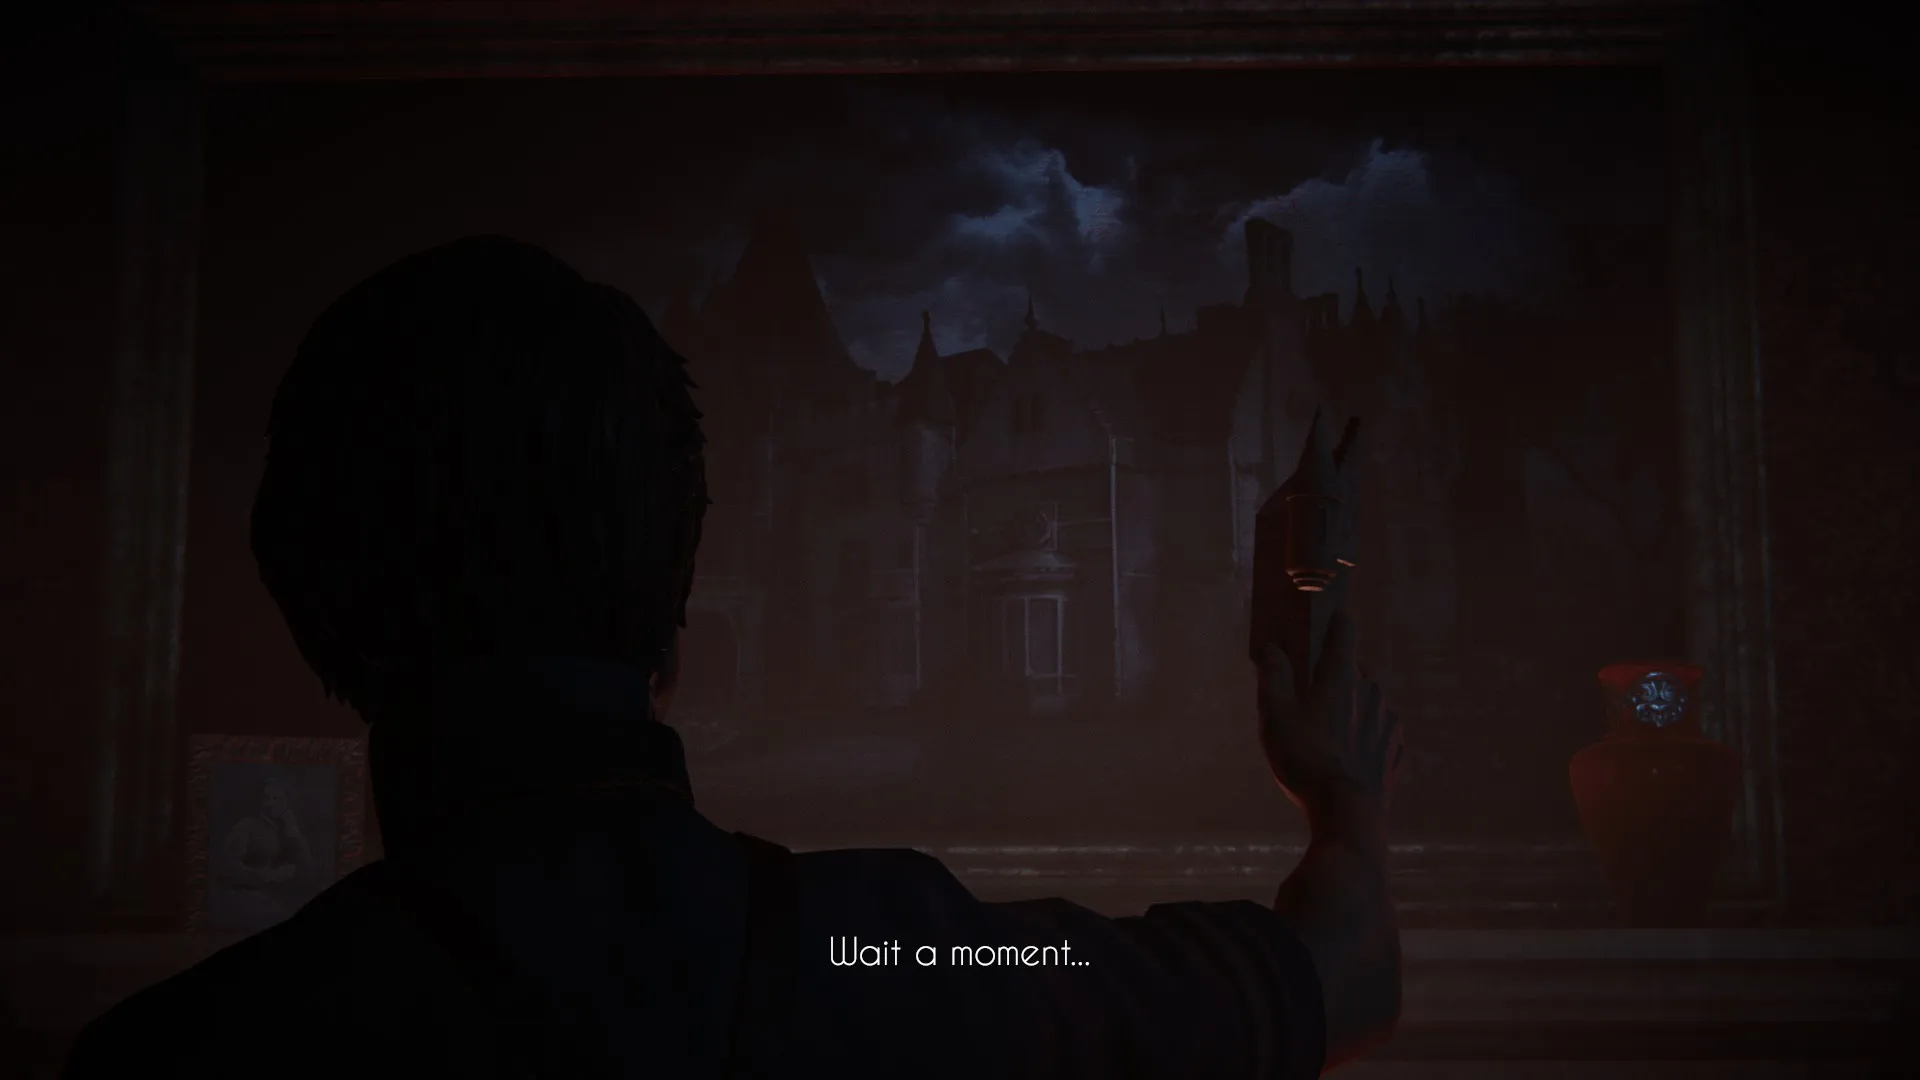
Take a look around your room. You can inspect the fireplace and a painting above it. Examining the painting will let you take an even closer look. Click both points and you’ll spot something familiar.
Wander over to the bed and open your luggage. Inspect the documents and picture before taking the matches hidden behind the telegram. You can also try to go to bed, but the game will insist you keep going. Instead, head over to the desk.
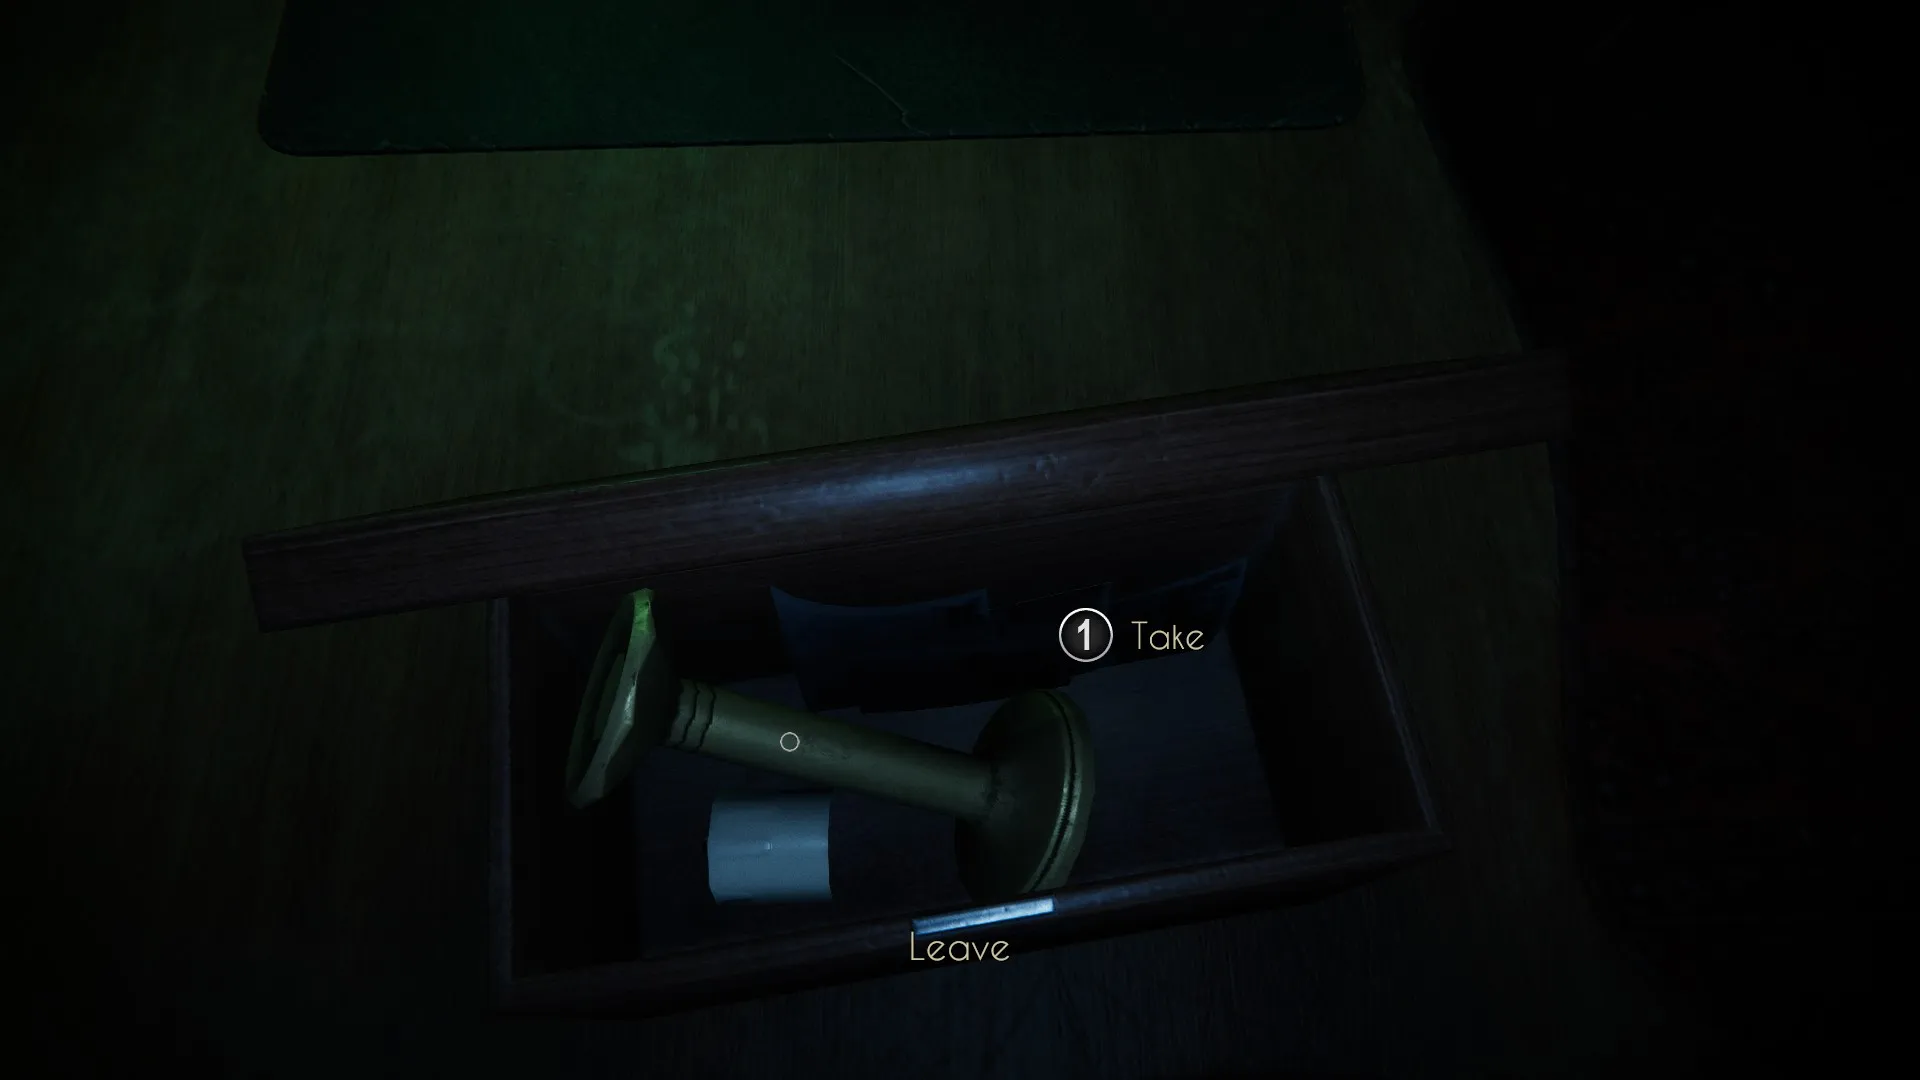
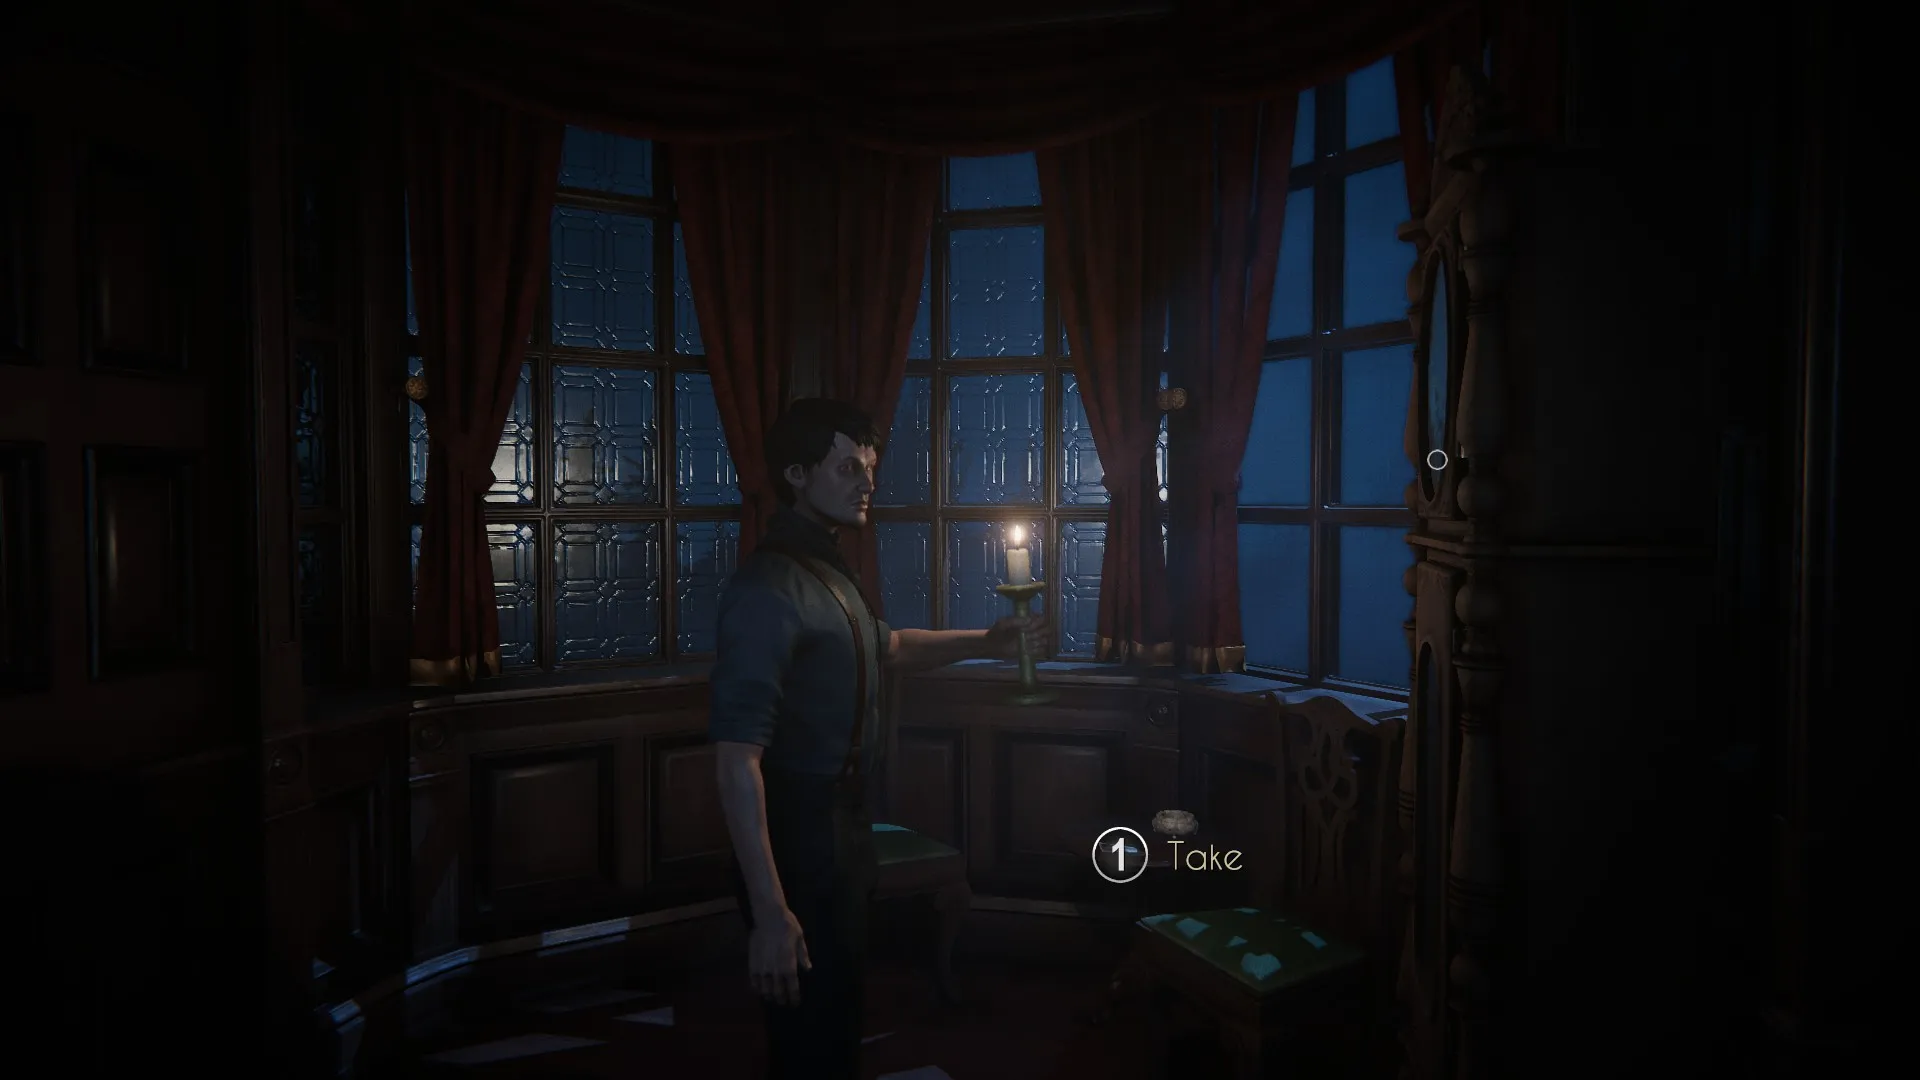
On the left side of the desk is a small chest. Open it and take the first pieces of a drawing. (You’ll be collecting these). Then select the “Light” option on the candle. Keep in mind this will only be available if you already have the matches.
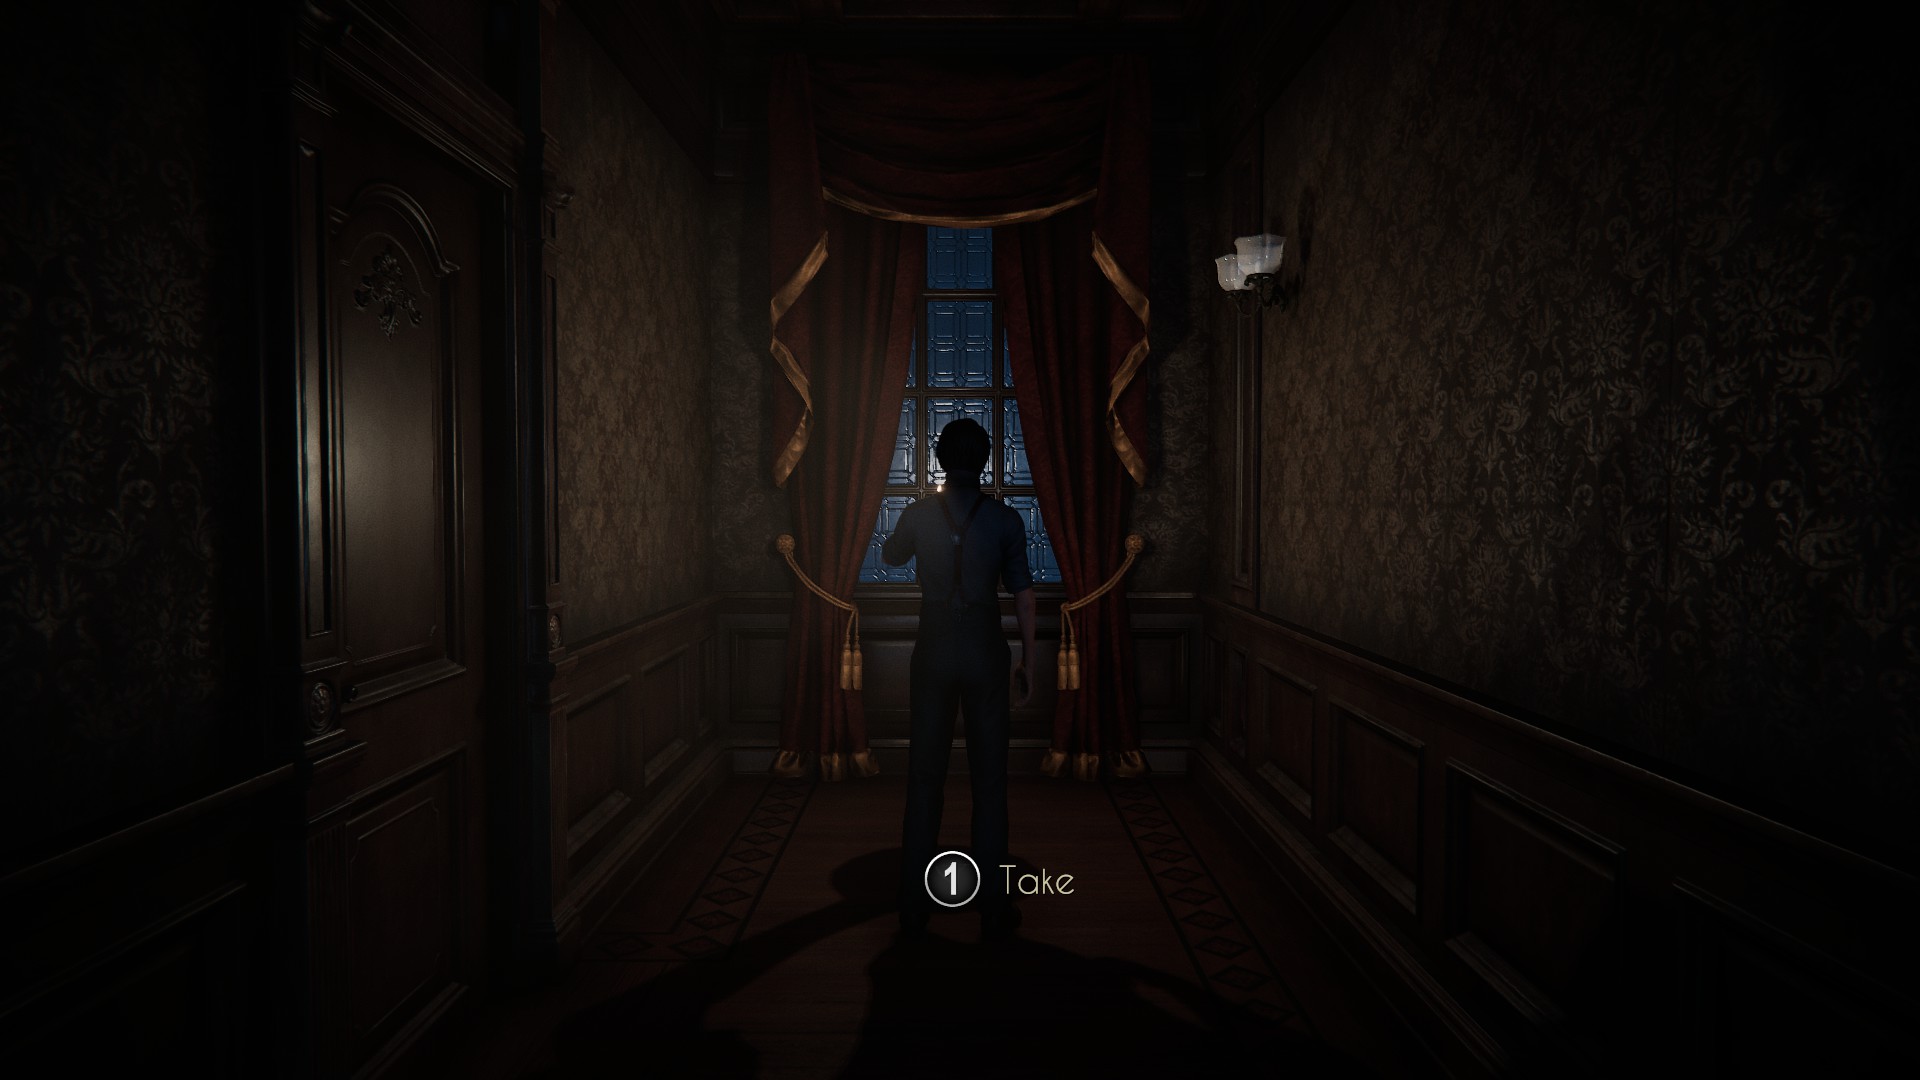
Once you have your lit candle, you’re ready to explore. Head out the door into the hallway.
Upstairs Landing And Hallways
Out in the hallway, turn left into the alcove with the clock in it. You can take a closer look at the clock and will also be able to grab the next set of drawing pieces off the table next to it.
From here, you can either head straight or go right. The landing goes in a big circle, so either is fine. You will want to inspect all the inlets and hallways while you’re here.
If you go straight from your bedroom door, you’ll encounter a dumb waiter. Make a note of it for later. From there, turn right and make your way around the landing. You’ll pass the upstairs entrance to the library and the stairs to the attic before reaching the next inlet, where you can examine one of the doors.
Continue down the hallway, and you’ll run into your grandfather’s portrait again. Inspect it again to learn more about him. Once you’re done with the painting, head straight down the hallway next to it — all the way to the end — to find more drawing pieces.
Go back to the library doors and enter.
Library
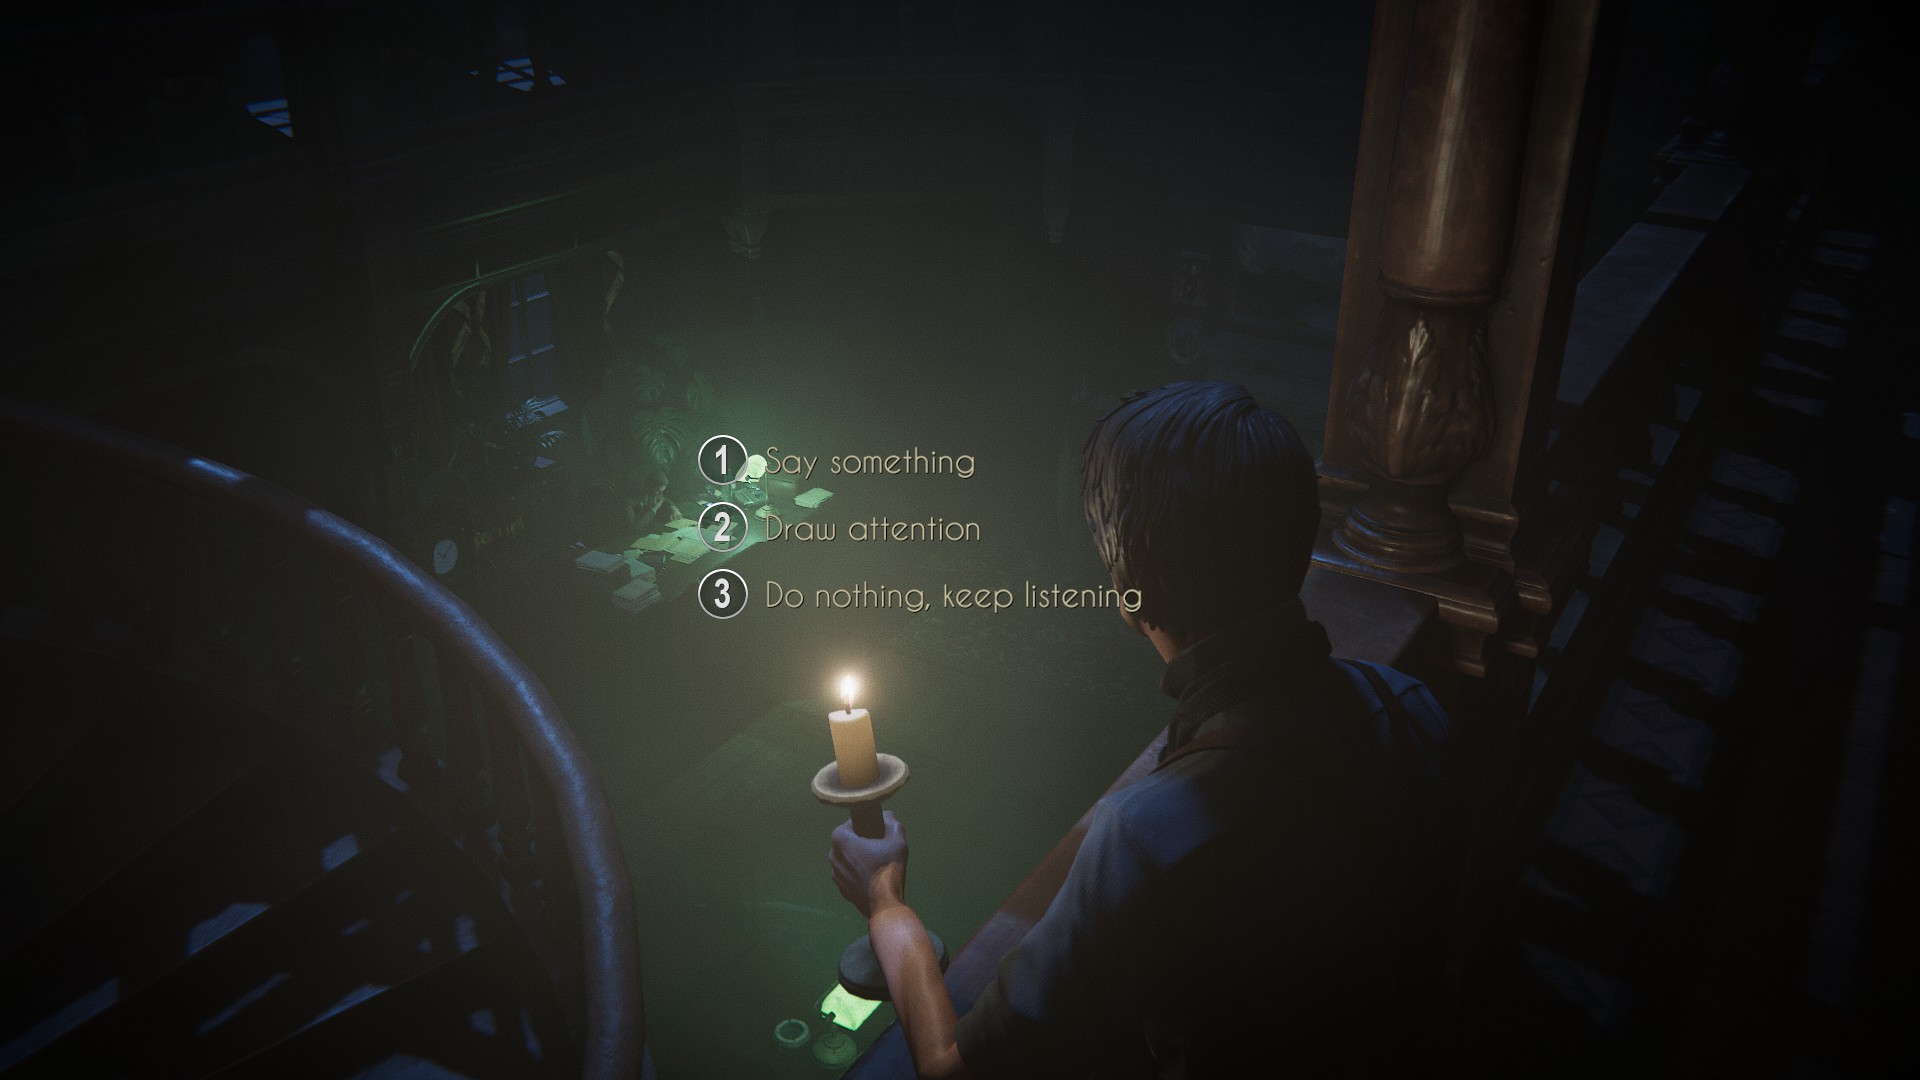
In the library, you’ll see Andrew looking over some papers. You can do something to attract his attention or simply listen in on him. If you choose to eavesdrop and do it long enough, he’ll notice you.
Since you’re on the landing, go ahead and make the circuit before heading downstairs. You’ll find a few books to examine — Lovecraft, Poe, and the like — and you’ll also find a roll-top desk. You won’t be able to do much more than look at it now, but when you do that, your quest log will update.
Head down to talk to Andrew and you’ll learn a bit more about your family history. When the conversation is over and he leaves, take a peek at the papers on his desk. You can also explore the rest of the library, but there’s nothing else to do there at the moment. Exit by the downstairs entrance and return to the foyer.
Kitchen
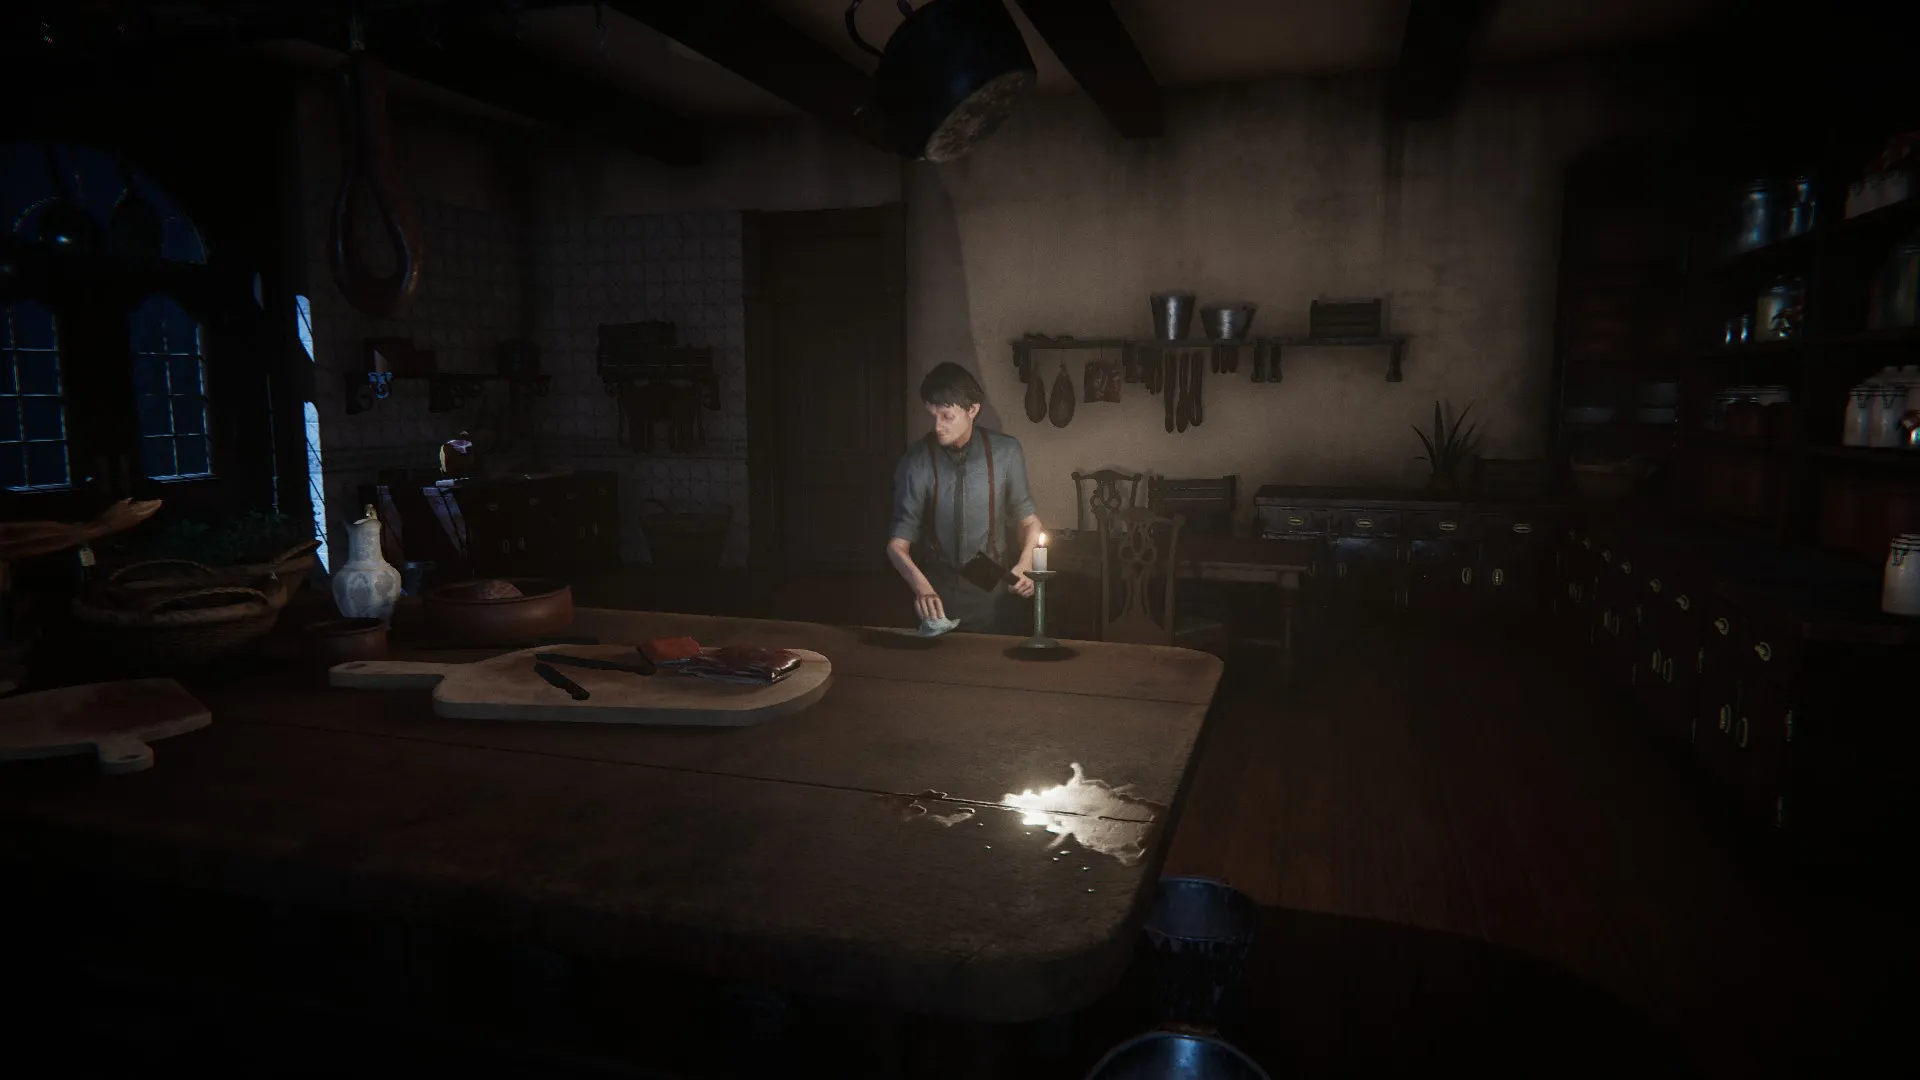
When you enter the foyer, follow the wall to your character’s right until you come to some French doors. Go through them and follow the hallway to the kitchen, where you’ll find a creepy, old, blind guy by the name of Rory. This is the house gardener. Talk to him for a bit. He’ll finish eating and leave.
Explore the kitchen to find a couple of useful items. The first is a piece of wire located in a drawer at the end of the island. The second is a hatchet sitting on top of the island. Take them and return to the desk in the library.
Library Desk
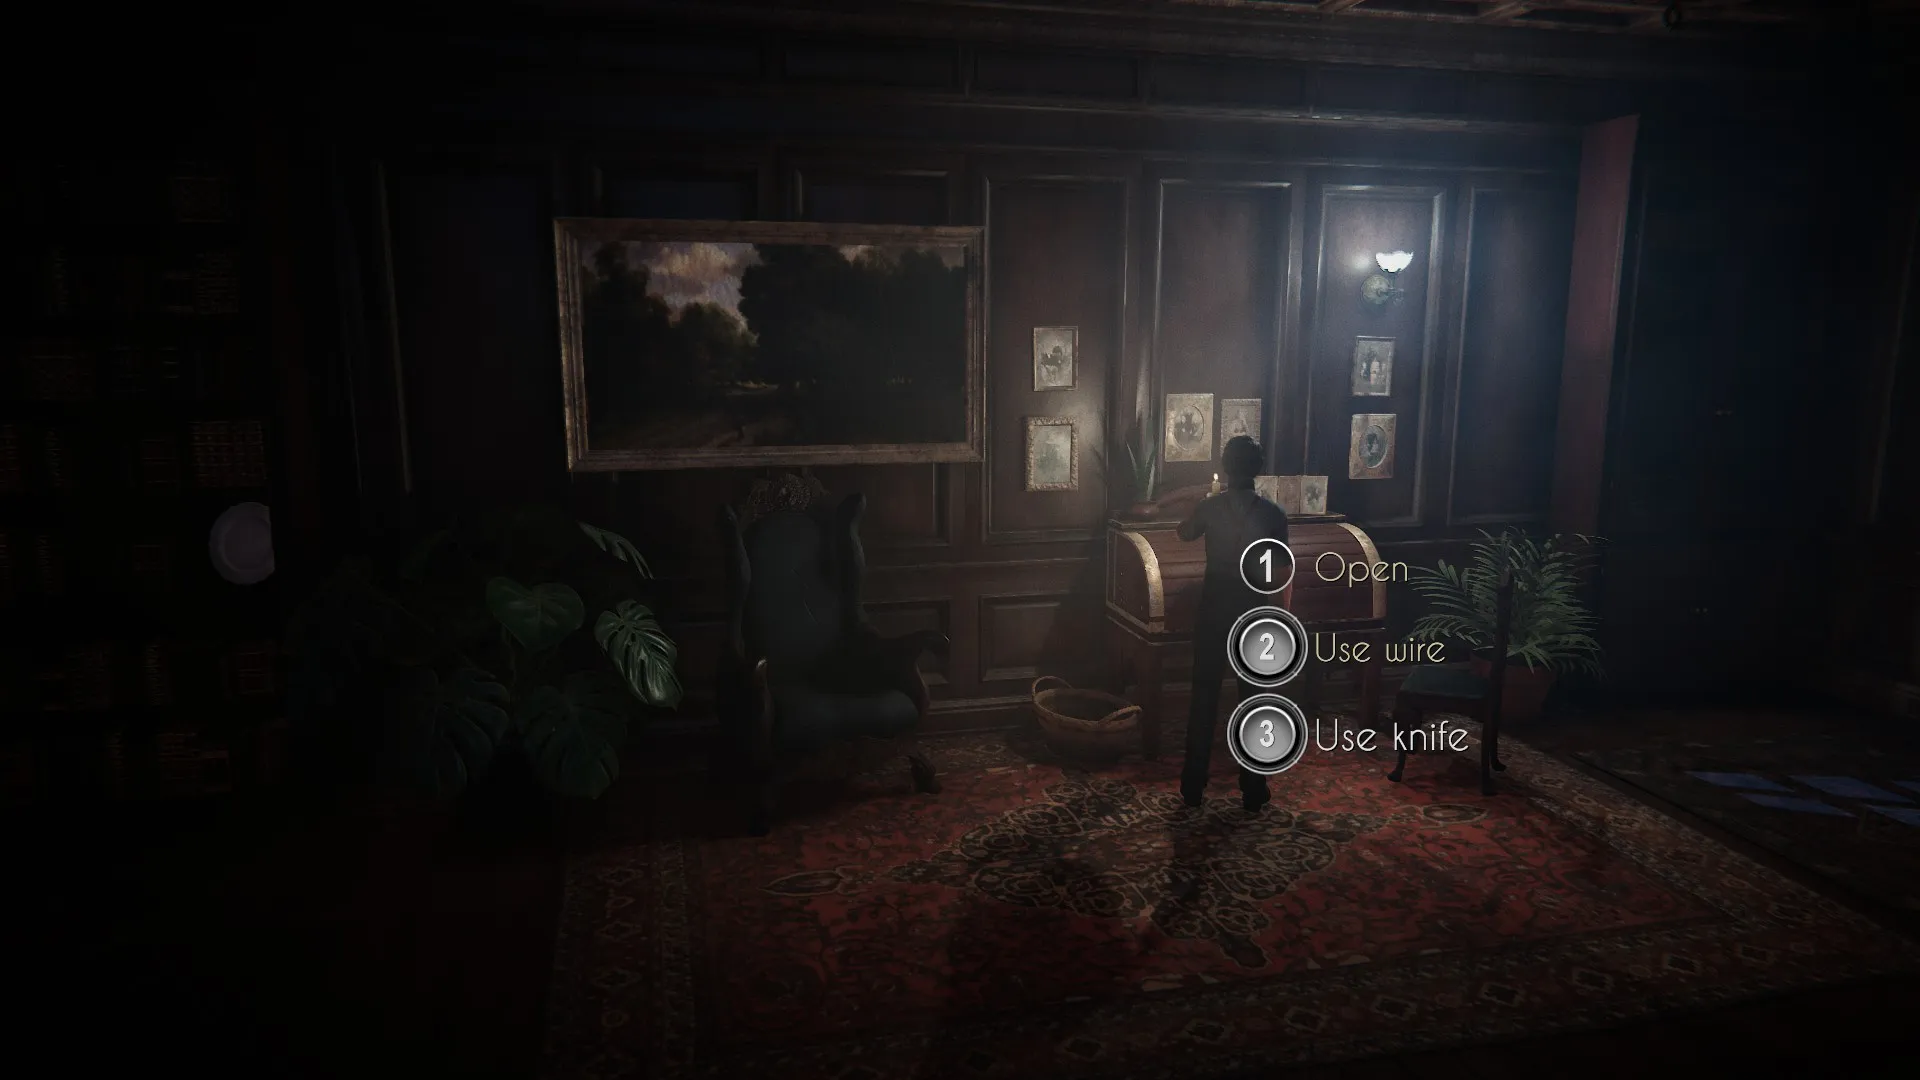
Back at the desk, you’ll now have options for opening the desk. If you grabbed the wire, use it. This will allow you to obtain the “No Scratches” achievement. (You’ll need to hold down the mouse button with this option.) Now that the desk is open, you can take a closer look.
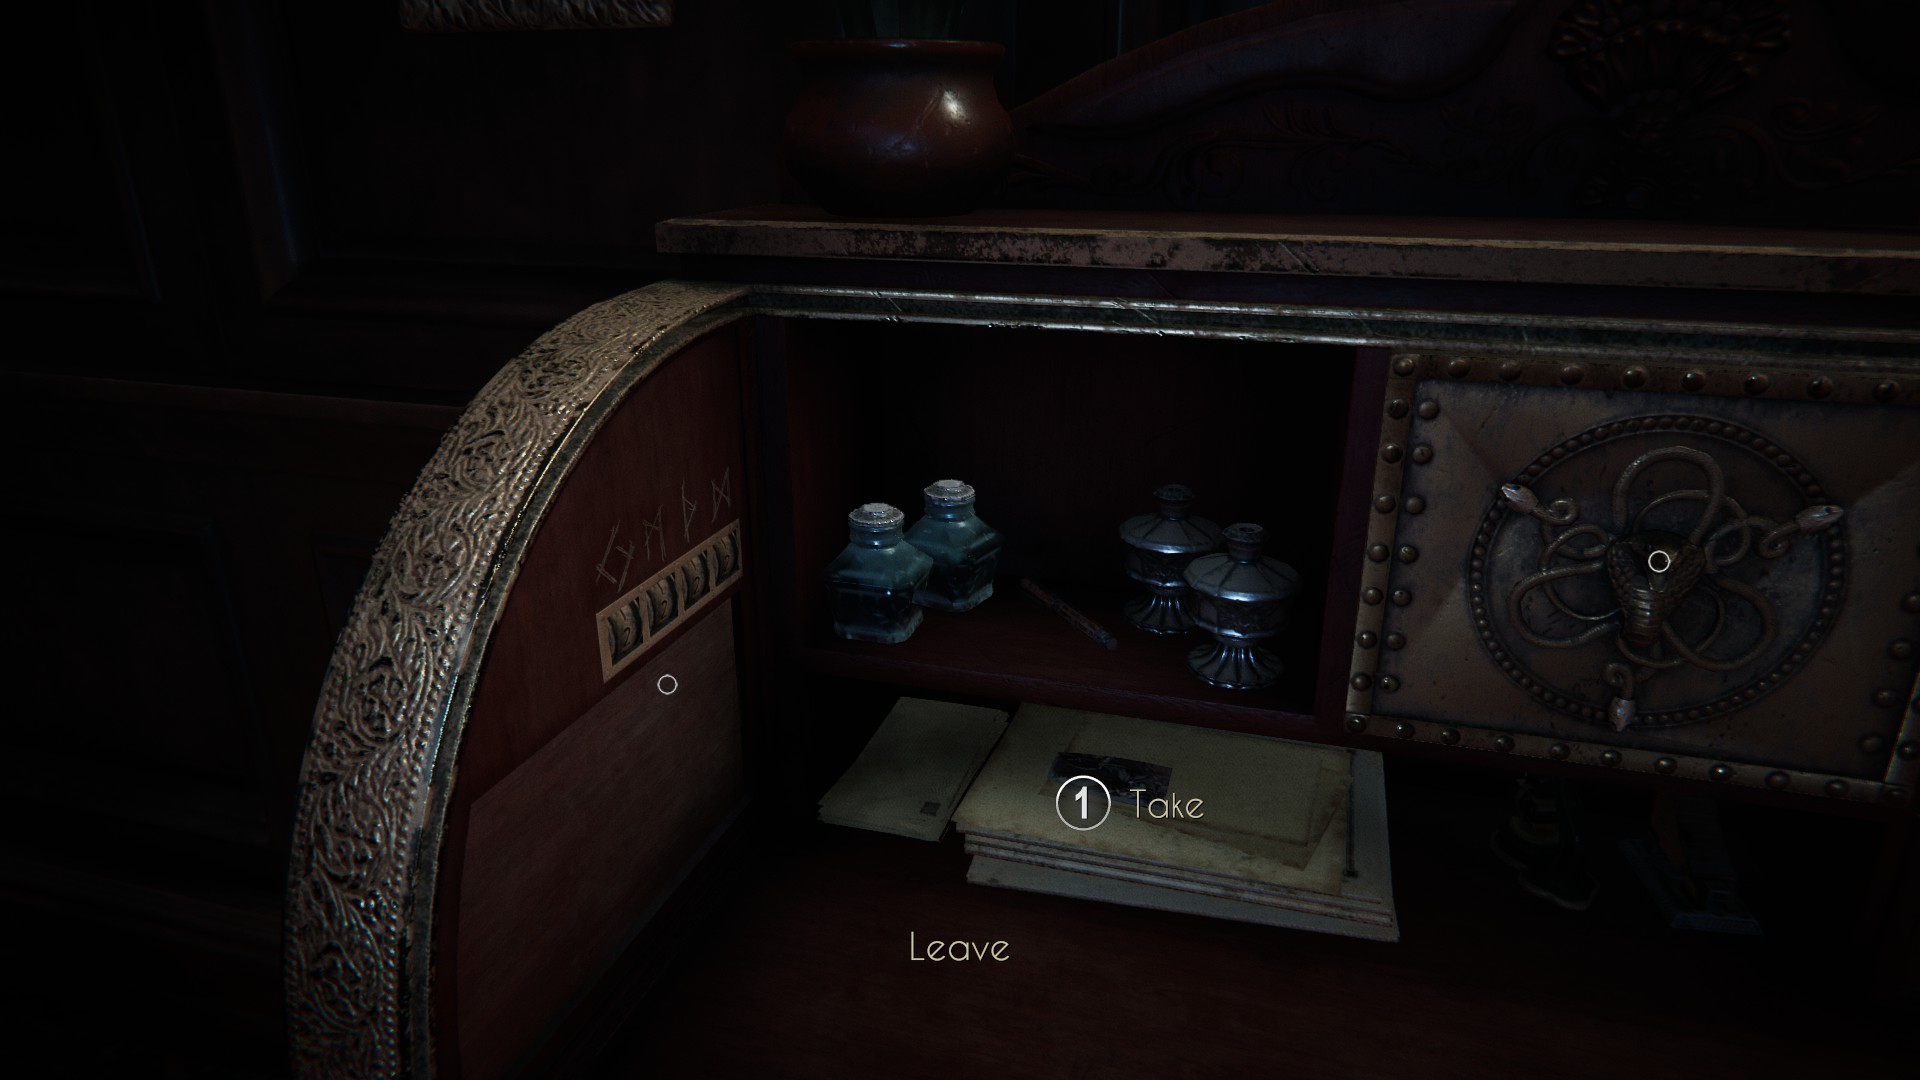
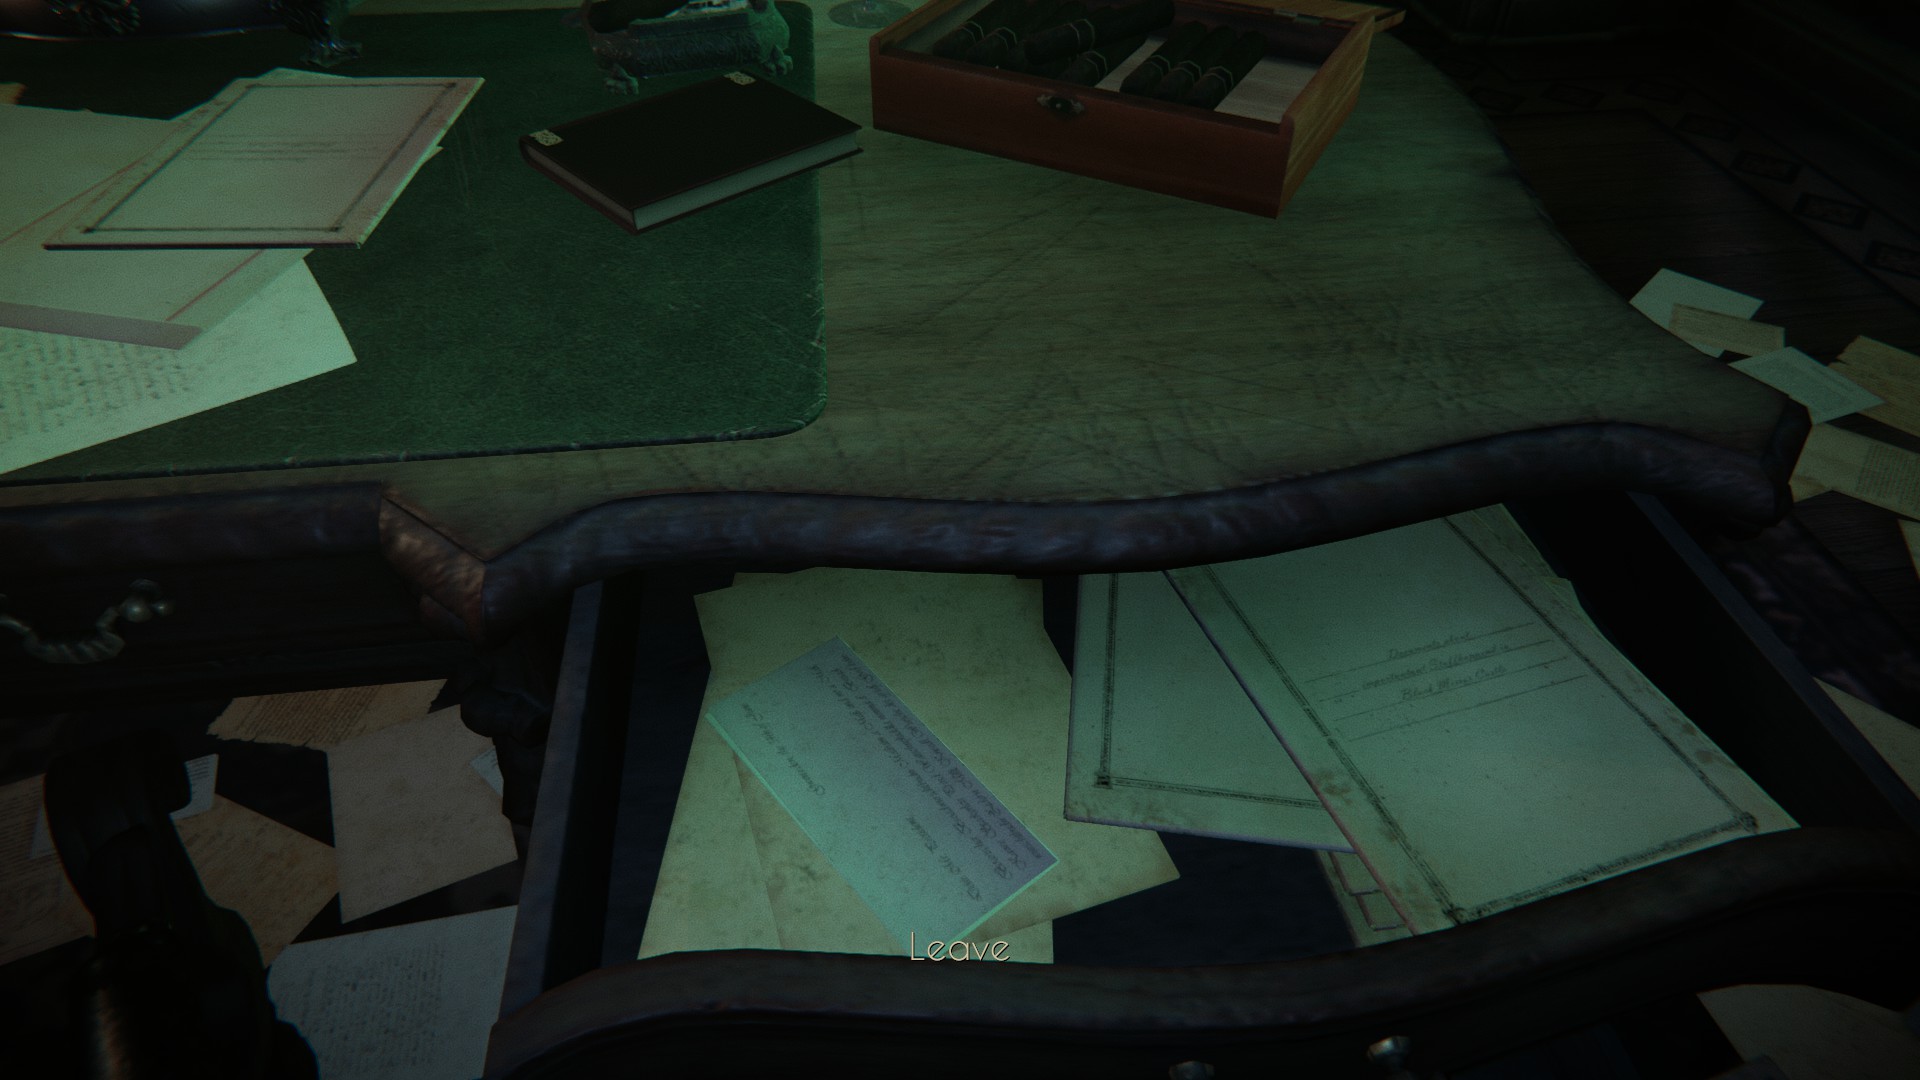
Open the top drawer on the right and you’ll get another clue, which you will need to solve the next puzzle. The second drawer contains a letter. The third is locked.
On the left side of the desk, you’ll find more drawing pieces. To the left of them is a panel that can be investigated, but you’ll have to figure out the combination in order to get into it. Luckily, it’s written there for you . . . in runes. This is where the clue you just found comes in. It’s a basic math puzzle. The way to solve this is in the story-spoiler-free puzzle solutions available earlier in this post. Or, you can just look at the image here:
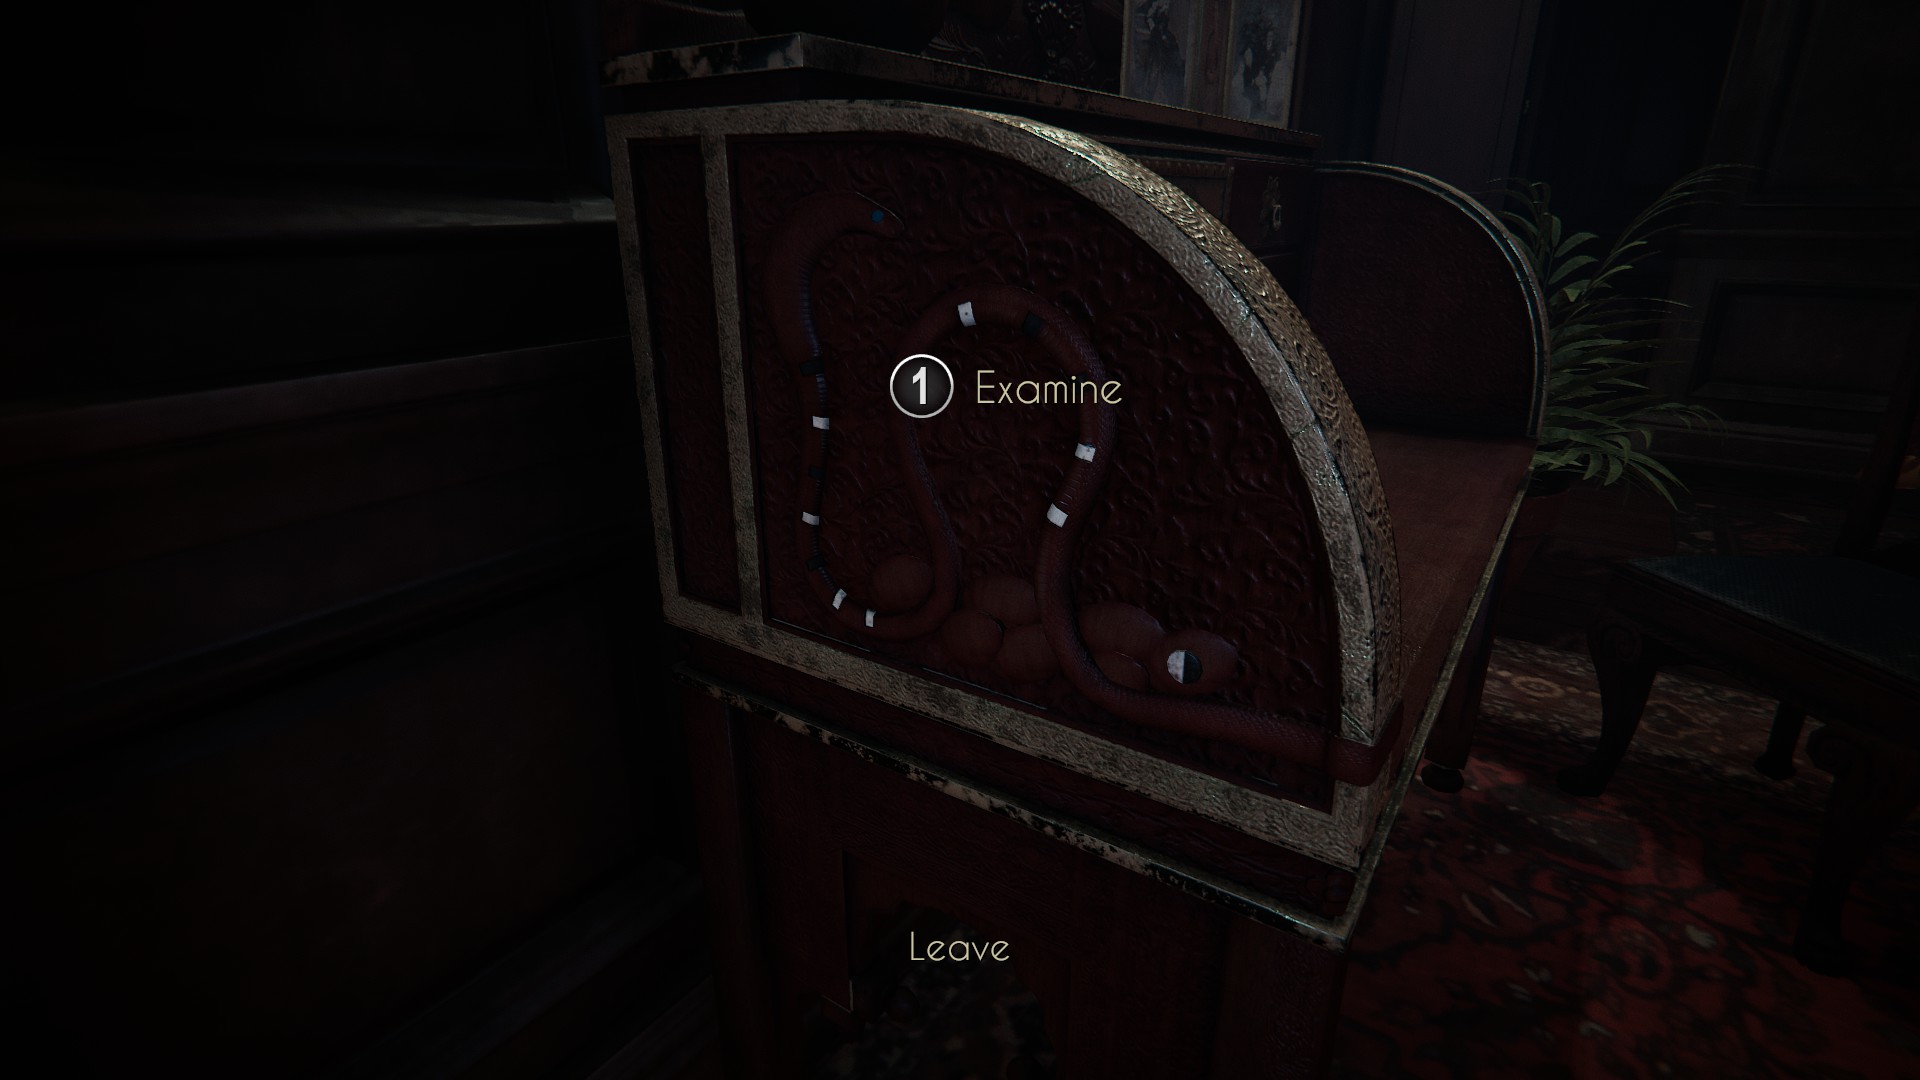
Once you have this solved, the panel below the lock will open. Take the key inside and make a note of the white and black stripes on the snake. You’ll need these for the next puzzle.
Back out of the exam mode by one step so you can see the desk drawers. Unlock the third one, and one of the snake heads will open. To open the next snake head, you’ll need to inspect the left side of the desk. Stay zoomed in and simply move all the way over. Remember those stripes I mentioned? This is where you’ll use them.
On the end of the desk is a snake with a black-and-white striped pattern and two buttons: one black and one white. Just press the buttons in the order dictated by the stripes on the snake — remembering the ones on the inside of the desk as well. This would be:
BWBWBWWWBBWWBBWB
Finally, to finish opening the desk, you’ll need to look at the right side. Again, there’s a snake design. But in this case, all you need to do is press the button on its head.
This will unlock the third snake head and reveal the items locked behind them: another letter and a key. If you play with the key, you’ll see that the teeth on the end can be rotated . . . making it useful for different kinds of locks.
Exit out of examine mode, and a little boy will startle you. He’ll apologize and run into the hallway. Unfortunately, he disappears. Don’t worry about him right now. Instead, walk around the landing to the Master Study door.
Master Study
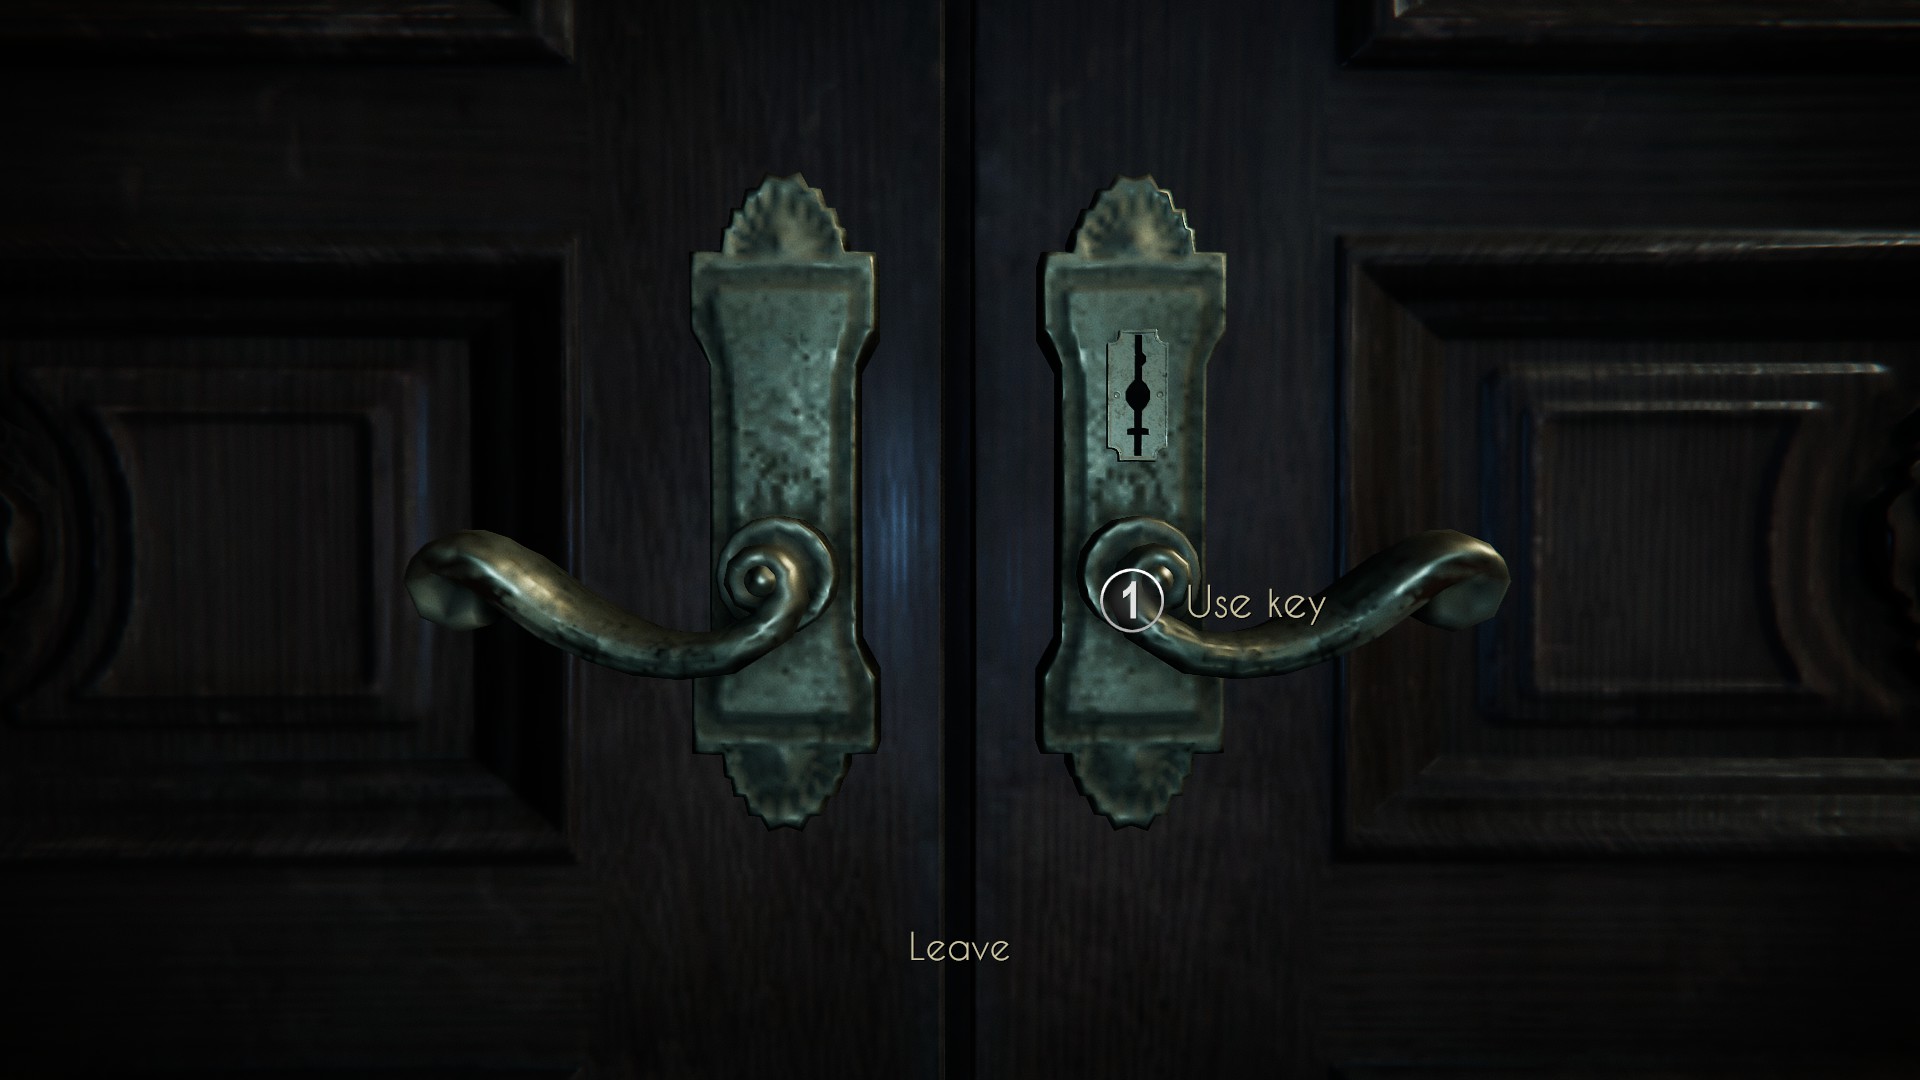
Now that you have the key, you’ll see you have the option to unlock the door. However, it won’t be as easy as simply putting the key in the lock. Remember that the teeth at the end can be moved. Click the unlock option, and take a closer look at the lock hole.
For the key to fit this hole, you’ll need to rotate the inner tooth. In the inventory, click the tooth twice, and it’ll be straight up from the rest. Now exit back out and unlock the door.
Once in the study, take a look at the desk. As with the other desk, you’ll need to move the camera around a good bit once you’re in investigation mode. There will be drawers to open that contain more clues as to what the family is like.
The third drawer on the left will have a hidden compartment containing a few sheets of paper. One has a clue as to how to solve the next puzzle. The top drawer on the right has more pieces of the drawing.
Leave the desk and head over to the book case on the left. There you’ll see a dial with runes. This is where the clue comes in. Luckily, this one’s a bit more simple than the last rune puzzle. There’s no math involved. Instead, take a look at the left side of the bookcase. There you will find five runes. The numbers on the clue you just found correspond with the runes on the side of the case. You’ll be able to look at them more closely by moving the camera while zoomed in. Rotate the dials until all three correct runes are aligned at the top, keeping in mind that the runes on the side of the case are ordered 1-5 from top to bottom. Once the dial is set right, you’ll get another cut scene and find yourself looking at a miniature version of the house.
Look closely at the house, and you’ll see a spot where something is missing. Click to use this spot, and you’ll get a series of cutscenes that end with you falling down the stairs. When you wake up, it’s the next day and the start of Chapter 2.
—
Make sure to check out our other Black Mirror guides and walkthroughs here.




Published: Dec 3, 2017 04:00 pm