Not all Shrine Dungeons in The Legend of Zelda: Breath of the Wild are about fighting or physics puzzles. Some instead require you to solve a riddle before solving the actual puzzle itself. Deep in the Lost Woods, beside the Master Sword, lies one of these puzzles inside the Shrine of Keo Ruug. The dungeon title – Fateful Stars – hints at the use of constellations to solve this puzzle, but it can be a little misleading at first.
Here’s what you need to know to complete this shrine dungeon…
The Question of Stars
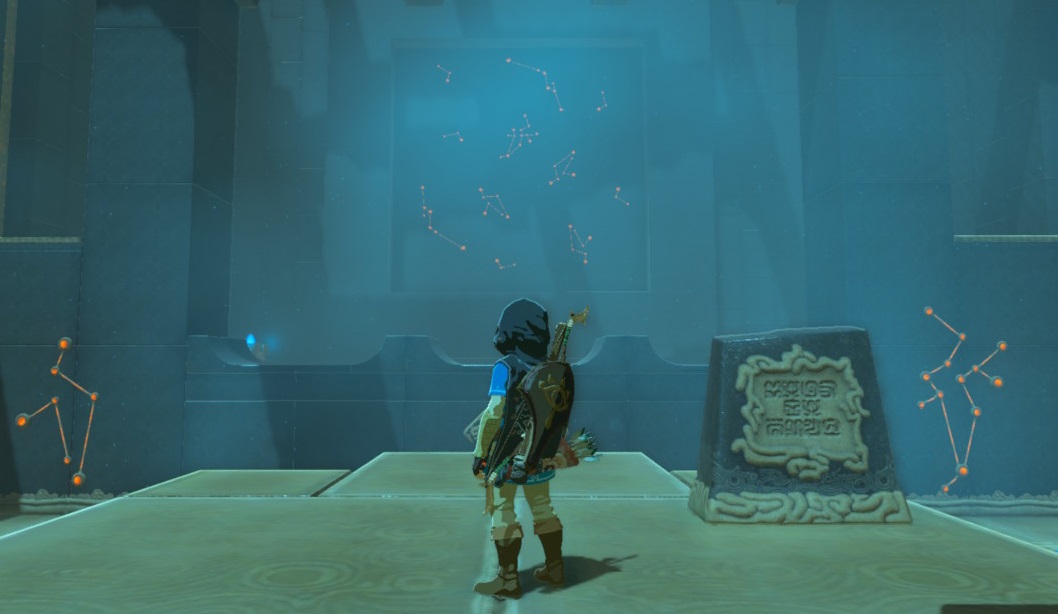
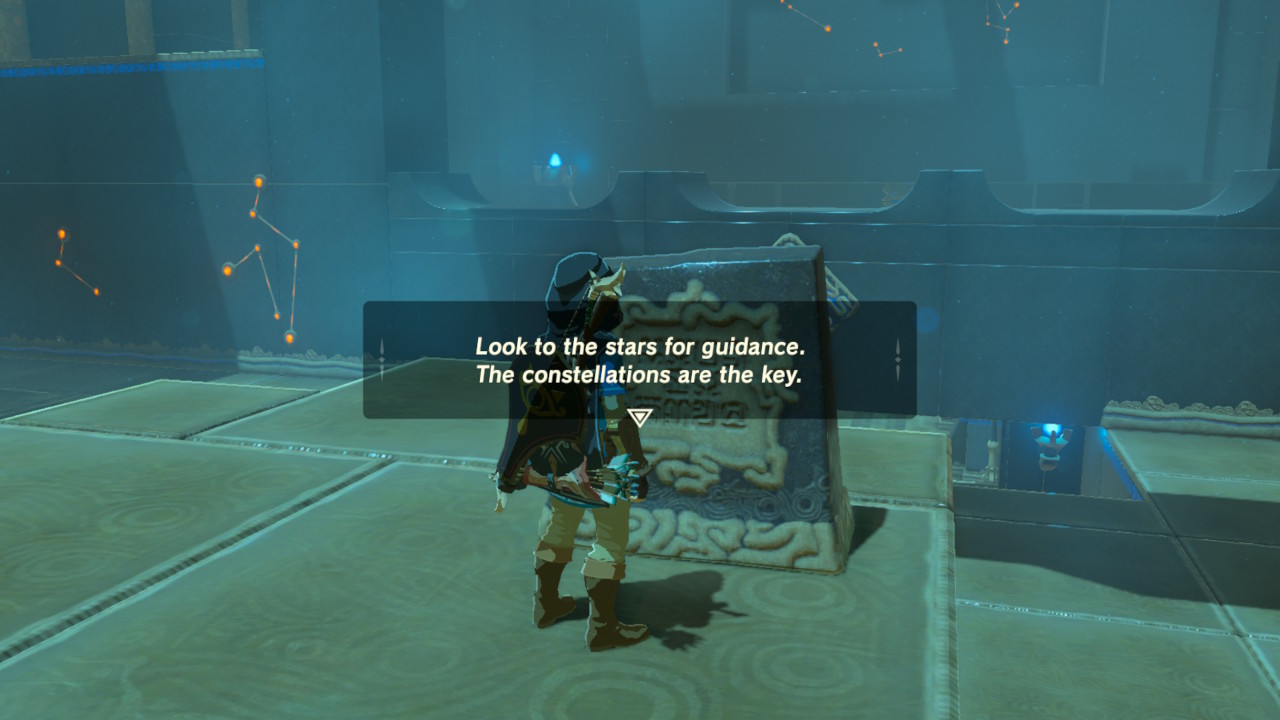
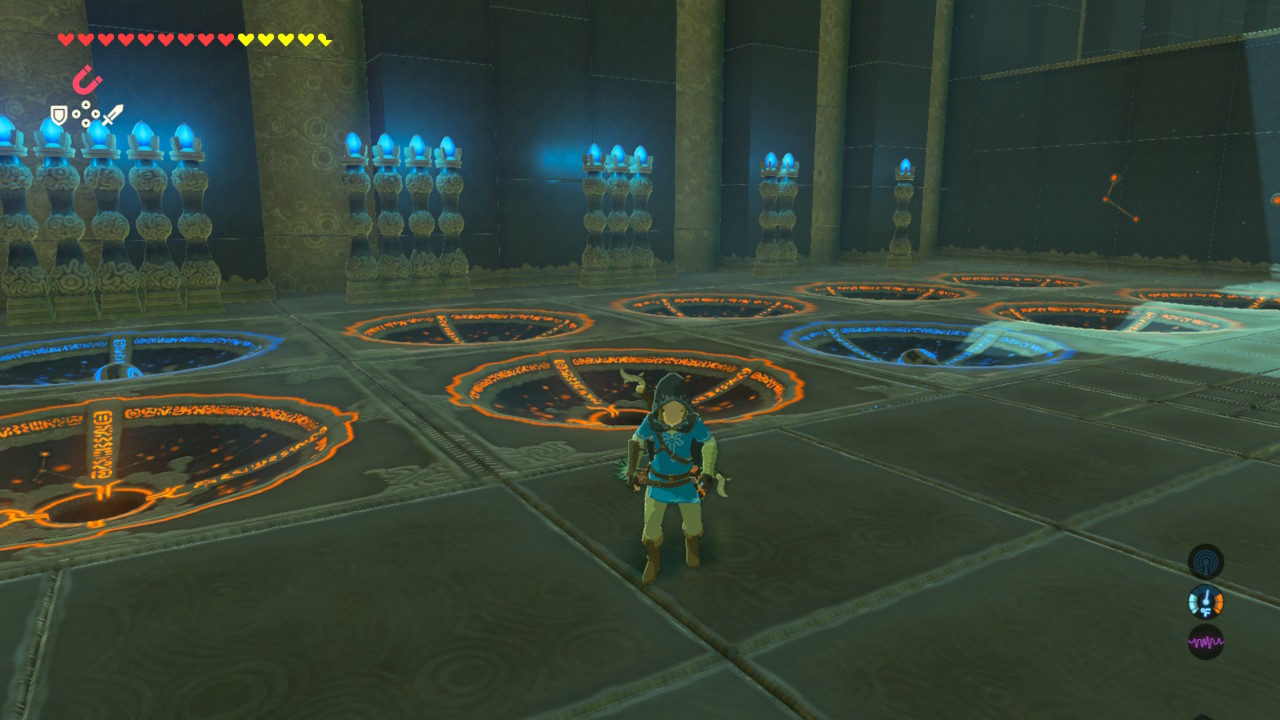
You will recognize the Keo Ruug shrine by its unique design featuring a stone sign that reads: “Look to the stars for guidance. The constellations are the key.” Surrounding this sign are multiple pits that are activatable by the four orbs provided to you. The key to unlocking the gate where the Elder is located is to place these balls into the correct pits.
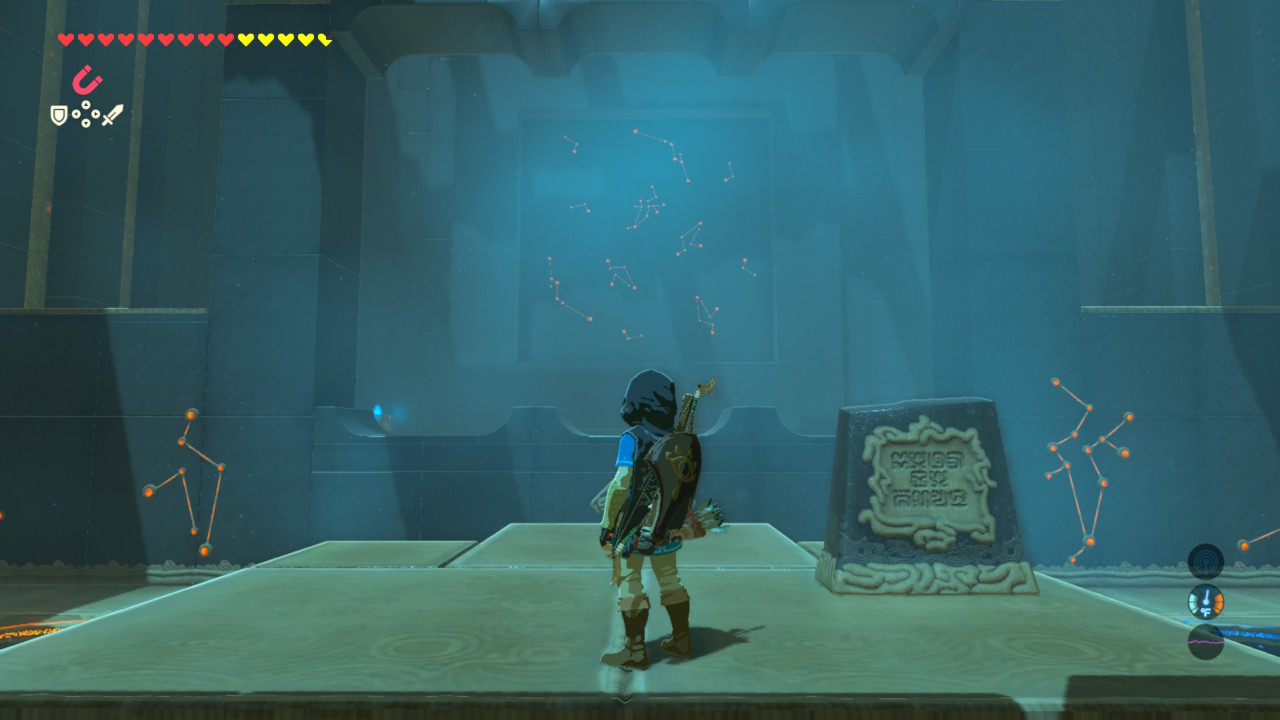
Ahead of you, you will notice a large square with various constellations drawn upon it. These correspond to the four large constellations shown on the inner wall at the head of each column of pits.
Your task will be to count how many of each constellation is found on the back wall. Each constellation appears multiple times, but they are in various angles. As such, be sure to zoom in using the Sheikah Scope (press on the right stick) and ensure that you have the correct count for each.
Once you have the number of constellations, grab an orb and place it into the corresponding hole. You will know which one to put it in based on the number of torches in each of the rows. From left to right, the numbers are: 5-3-1-2.
There is another set of constellations on the inner wall near the Elder’s stasis cell. If you want to earn a Knight’s Claymore, reorder the orbs accordingly to open a new path.
That’s it for now!
Hopefully this guide helps you get through one of the more vague shrines in the game. Be sure to check out our other guides below!
- Melee Weapons Guide
- Horse Taming Guide
- Special Mounts Guide
- Great Fairy Locations
- Sheikah Rune Upgrades
- Zora Armor Set Locations
- Obtaining the Master Sword
- Keo Ruug Shrine Guide


Published: Mar 6, 2017 12:59 pm