
Wishkeeper is the new Exotic Bow in Destiny 2, and you can only get it by completing the Starcrossed mission. Thankfully, both are worth the effort, though how you start Starcrossed is an interesting design choice.
This mission is a long one. There’s a lot to do and there are plenty of places where things can go wrong. With that in mind, use these links to jump to a specific section of my guide if you have start over — or if you’re finding it for the first time already halfway through.
- How to Get the Wishkeeeper Bow
- How to Start and Complete Starcrossed
- The Right Symbol Order for the First Encounter
- How to Reach the Second Encounter
- How to Complete the Second Encounter
- How to Reach the Third Encounter
- The Correct Phalanx Symbols for the Third Encounter
- How to Beat the Vex Hydra
How to Get the Wishkeeper Exotic Bow in Destiny 2
So how do you get the Wishkeeper Bow? Simply complete Starcrossed. You’ll receive the bow automatically upon reaching the final reward chest. However, like the Exotic missions for Revision Zero and Vexcalibur, you’ll be going back into Starcrossed week over week to acquire additional Exotic Catalysts that you can swap out at the Relic crafting bench on Mars. You do, of course, need to complete Starcrossed once before all that can happen, so here’s how.
How to Start and Complete the Starcrossed Exotic Mission in Destiny 2

For some reason, you start the Starcrossed Exotic Mission as a step in the Wishing All the Best weekly quest. It’s part of Week 4, specifically Step 29, so if you haven’t made your way to that point in the weekly story, you’ll need to play some catch-up.
Once you do progress far enough, you can launch the mission either from the H.E.L.M. Director screen or from the quest step itself. I did the latter, as it guarantees you go directly into the mission without having to search for a node or any other nonsense.
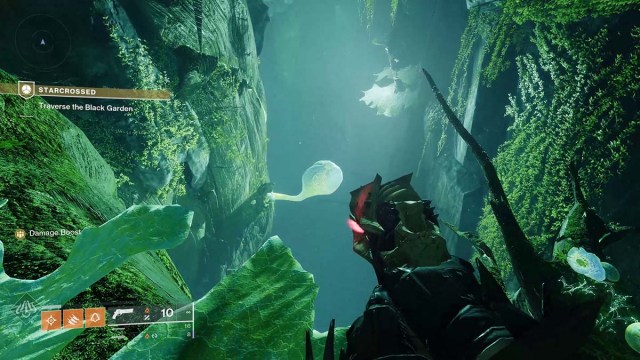
Once you’ve loaded into the Black Garden in Starcrossed, turn right off the start. Don’t be like me and take an immediate left and have nowhere to go. To progress, you’ll need to shoot the bright white-blue plant bulb to make it open into a platform you can stand on.
Jump onto the open plant, then cross the chasm to the other leaves coming out of the right wall. Jump directly up onto the leaf above you, then across the gap facing away from the wall. Turn right, jump across another gap, then keep right across the large branch, shoot another bulb to make a platform, and continue up. You should see some Vex Goblins if you’re going the right way.
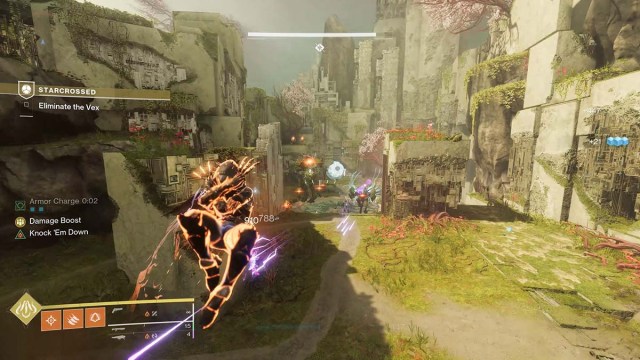
You should eventually reach a large area with a huge structure in the distance, and Taken enemies will start appearing. Keep going straight, clearing the enemies, until you reach a thinner path toward the structure. There are three things of note here. The pool of blue energy, a symbol hanging above a field of energy, and a glowing Taken Phalanx surrounded by an immune shield.
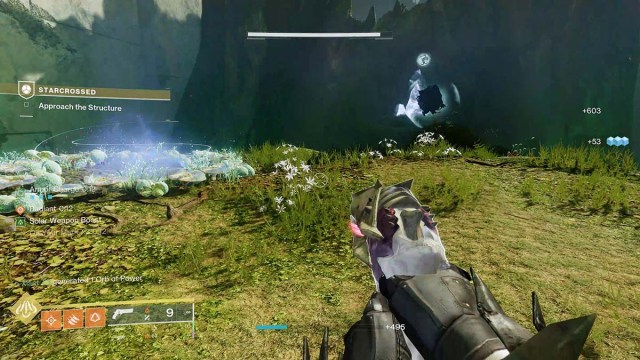
All three of these things are key to the first, third, and final encounter of the mission. Here’s what to know:
- The puddle of energy grants the Sire’s Obligation buff. Once you leave the puddle, the buff starts a 45-second countdown, and you can only damage the shielded Phalanx with the buff active
- The Phalanx is a tanky SOB, so I highly recommend using the Dragon’s Breath if you’re running solo like I did, as it feels like a much safer option. As a squad, you can kill the thing with whatever you have to hand, but Rockets are still the best overall option.
- The symbol over the opening is the “key” to the barrier “lock.” In encounters where you need to use Sire’s Obligation to defeat the Phalanx in the location nearest the correct symbol. We’ll go into more detail in the encounter section, just below.
Once you defeat the first Phalanx and clear the energy barrier, go back and pick up the buff. Carry it into the first encounter arena. You won’t need to do so a second time. Once you place the buff and go further into the arena, the first encounter of Starcrossed begins.
What is the Right Phalanx Symbol Order for the First Encounter?

The first encounter in Starcrossed is essentially an expansion on the smaller fight you had just outside it. The difference is there are now three Phalanx to destroy, each corresponding to a particular symbol. The energy barrier at the back of the arena now has three symbols above it, and you need to defeat the Phalanx in the right order to open the way. Be aware the order changes from encounter to encounter, but you’ll always read the order the same way: from the top down.
The Phalanx with the symbols are at three areas of the room:
- The left Phalanx unlocks Bird.
- The middle Phalanx unlocks Fish.
- The right Phalanx unlocks Dragon.
If you activate each symbol in the right order, the barrier at the back of the arena will open, and the encounter will end. If you activate the wrong one at any point, the locks will reset to default, and you’ll need to do the whole process over again.
Each time you unlock the first symbol, Vex enemies will appear. Beyond the Taken Acolytes and Vandal snipers, two Cyclops will also appear and rain down mortars on you. The Phalanx do not respawn if you defeat them in the right order, but they do if you get it wrong. With all three symbols active, the barrier at the back of the arena will drop, and it’s time for a jumping puzzle.
How to Reach the Second Encounter in Starcrossed
Follow the path out of the first encounter, not that there’s anywhere to go but straight. You’ll eventually reach an open space with a pool of orange energy in the middle. Standing in it gives this second of three buffs in the Starcrossed mission: Dam’s Gift.
This buff allows you to safely traverse the areas filled with orange mist. If you don’t have Dam’s Gift, you’ll get the Unwelcome debuff which will quickly drain your health on top of whatever other threats are nearby.
Pick up the buff and head into the orange haze. Jump across the small gap and hug the right wall. The path might appear to end, but it’s actually a narrow right-hand turn. Watch out for the crushing instant-death death traps on the way. Turn left, and you’ll be at the second encounter. You’re about halfway to getting the Wishkeeper Bow.
How to Complete the Second Encounter in Starcrossed
The second encounter was my least favorite of the four in Starcrossed. It’s a mix of traversal and boss clearing. Instead of three symbols, you need to activate three nodes to clear another barrier. It’s different, I swear. Also, do not overuse your Heavy ammo. There is no place to plant a rally flag, and there is a boss wave at the end of the encounter you’ll want Heavy for.
From the central area, there are three pathways you’ll need Dam’s Gift to traverse — left, back, and right — each with a Wyvern mini-boss you’ll need to defeat. Once the Wyvern dies, you’ll go up to a small terminal they were guarding and interact with it to deactivate one of the nodes.
Here’s the order I recommend doing things:
- Go right first, as it’s the easiest to get to. The whole room is protected by the orange haze, but the Wyvern and the other enemies are immediately right there; you don’t need to do any traversal or other mechanics to reach them.
- From the right room, go through the opening at the back of the room, directly across from the entrance. It will take you to the next Wyvern without adding any jumping mechanics or deathtraps. Beyond the Wyvern and its guarding enemies, at least.
- Return to the center and go through the back orange haze. There are death pits and traps along your path, so tread carefully. Past some Hobgoblins and Minotaurs, you should eventually reach a large room with the Wyvern at the back. Defeat it and activate the final node it was guarding.
Once you activate all three nodes, return to the center area. You’ll need to defeat not one but two bosses: an even bigger Wyvern and a second, still bigger Minotaur.
If you die at this phase, you need to start the whole encounter over again. Hopefully, you’ve retained or found some Heavy ammo, or at least have an easy way to get your Super quickly. No matter how you deal with the bosses, once they’re dead, it’s time for a jumping puzzle.
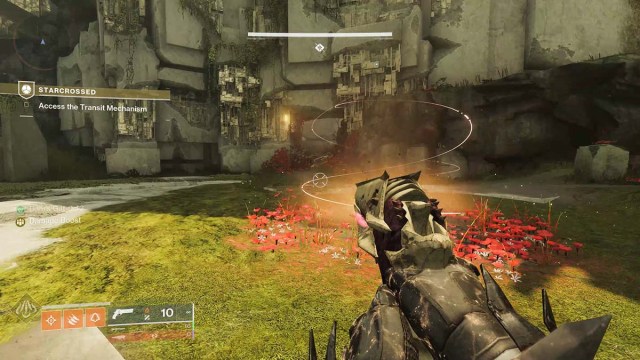
How to Reach the Third Encounter in Starcrossed
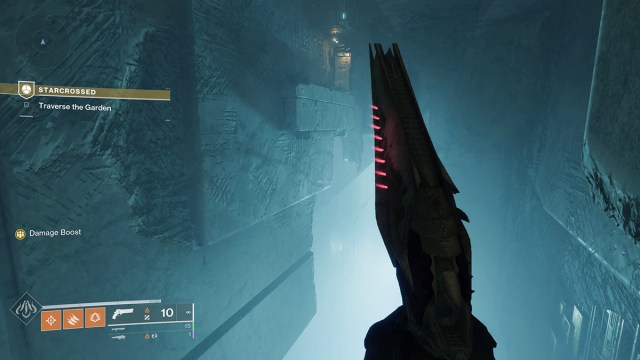
The jumping puzzle after the second encounter is a bit tricky. I’ll do my best to describe the steps succinctly.
- Once through the Vex Transit Mechanism, wait until the crush trap opens up, then go through it.
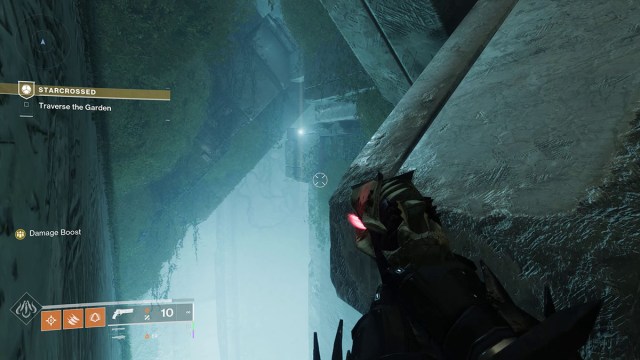
- Jump across the gap, turn left, and hug the wall around the corner.
- Follow the wall to your left, then jump up across the chasm onto the small platform above you.
At the end of the overhang is a push deathtrap. Wait until it recedes, then jump across and to your left to the orange-lit platform across the way.
Follow the path until it ends at another pit and look slightly to the right. You need to cross the gap when the push trap is out of your way, so you need to time your first jump just before the trap is about to move. The next jump you need to make is similar to the last, but this time you need to navigate around a small obstruction. The same rules apply: wait until the push trap is about to clear the way, then jump across.
Hug the wall, as the platform you’re on now is very thin, crouch through the short cranny, then jump across to the well-lit passage. Once in the daylight again, go through the passage the Vex are coming out of. Keep left initially; then, once you reach a huge chasm, keep right, jumping along the cliffs. Fight through the Taken and Vex until you reach the third encounter area.
The Correct Phalanx Symbol Order in the Third Encounter

The third encounter in the Starcrossed Exotic Mission builds on the last two. You’ll be making use of both the Dam’s Gift and Sire’s Obligation buffs, combining them into the Crowned by Dragons buff that contains both effects.
Much like the first encounter, you need to disperse the barrier locked by the Bird, Dragon, and Fish symbols, but now some of the Phalanx enemies are guarded not only by enemies but by the orange haze as well. The order of things is:
- The left Phalanx unlocks Bird.
- The middle Phalanx unlocks Fish.
- The right Phalanx unlocks Dragon.
The right and left Phalanx are guarded by haze. The middle has additional enemies, including a mini-boss Taken Wizard to deal with. Remember that the buffs in Starcrossed, including Crowned By Dragons, only last 45 seconds once you leave the pools that grant them. In practice, that means you’ll only have about 35 seconds at most to get into the right and left rooms and defeat the Phalanxes.
As with the first encounter, Dragon’s Breath was my best friend in this encounter, as was the Solar Hunter’s ability to sustain. If you’re going solo, I think it’s a great idea to have a Healing Grenade handy for those “Oh, s@$%” moments.
Other than these wrinkles, the third encounter in Starcrossed plays out much like the first. Note what the symbol order opens the way forward and then defeat the Phalanx mini-bosses in that order. Once the battle is over, you can finally plant a Rally flag and start the final boss encounter.
How to Beat the Final Boss of Starcrossed (Vex Hyrda)
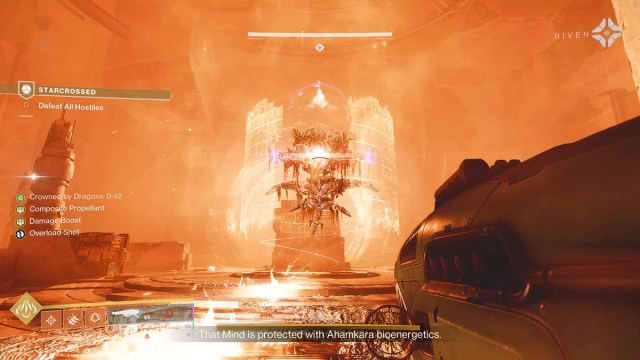
The final encounter in Starcrossed — and the last standing in your way of the Wishkeeper — is a giant cluster. You’re facing a huge Vex Hydra, but there are a few mechanics at play here. First and foremost, you need the Crowned by Dragons buff to damage the boss, and not only are there tons of both Taken and Vex enemies, but you can also be Detained by those pesky Vex drones.
Additionally, there are two more miniboss Phalanx enemies at either side of the arena that power the boss’s floating and rotating shields. Defeating these Phalanxes removes the rotating barrier around the Hydra, making it much easier to damage.
The last hiccup is the Taken Goblins that appear in waves during the fight. If left alone, they’ll put immune shields around themselves and the boss, so you’ll need to defeat the ones generating the shield to continue doing damage. There will also be hordes of Haries to contend with.
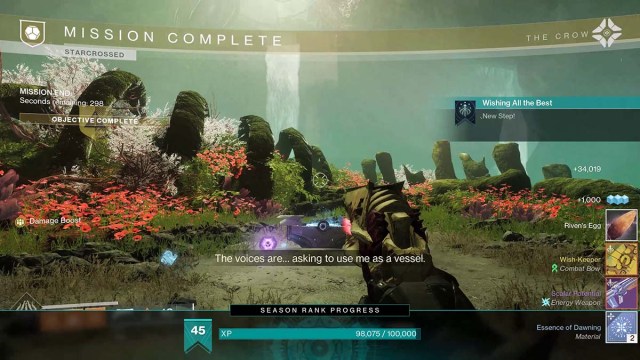
Provided you can survive the waves of enemies, the boss has no additional protections. Do as much damage as you can whenever you can, and it should fall eventually. Once it does, pass through the small opening at the back of the arena, open the reward chest near Riven’s egg, and claim the Wishkeeper.
If you’re still with me after all of that, thanks for sticking around and using our guide. It took us all a while, but we’ve completed the Starcrossed Exotic mission in Destiny 2. Now you’ve got the the Wishkeeper Bow — and some more grinding to do. Which is fine, considering we have so long until The Final Shape. In the meantime, check out our dedicated D2 guides hub, where we cover all sorts of things about Bungie’s shooter, from the best PvP weapons to all the ingredients you need for The Dawning 2023.


Published: Dec 19, 2023 05:23 pm