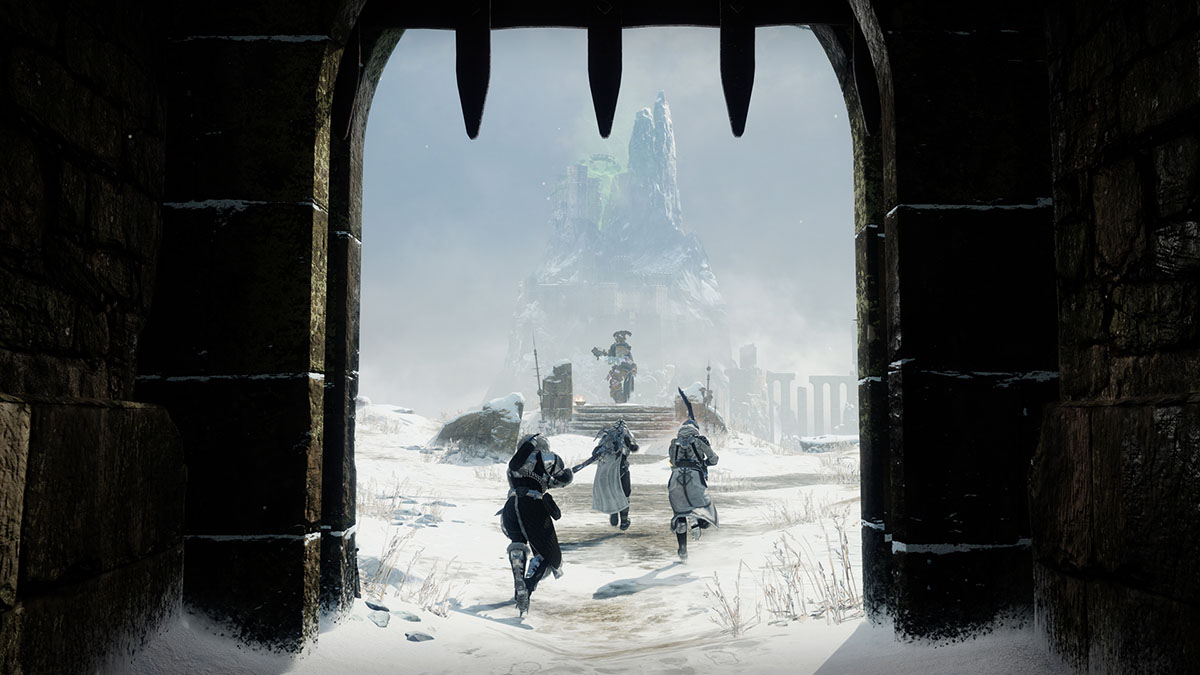
The Warlord’s Ruin Dungeon is one of the best activities in Destiny 2 right now, largely due to its fantastic boss fights. Beating the first boss, Rathil, sets the tone for every fight to follow. While it’s not easy, it does take quick thinking and good reflexes, so here’s how to beat Rathil in Destiny 2.
How to Beat Rathil, First Broken Knight of Fikrul in Warlord’s Ruin
Of the three bosses in the Warlord’s Ruin Dungeon, Rathil, First Broken Knight of Fikrul is the easiest by a wide margin. And that’s by design. Rathil is the template on which the two subsequent bosses iterate, so his mechanics are relatively simple by comparison.
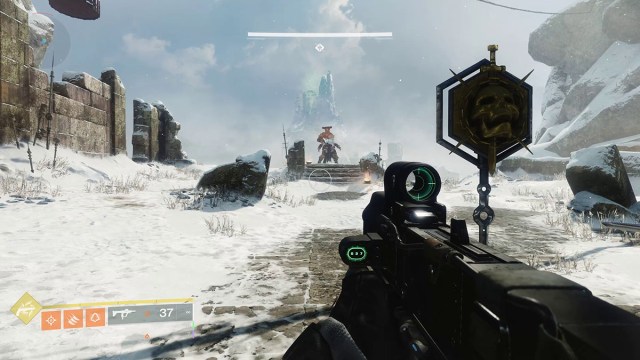
To start the fight, simply shoot Rathil once. You’ll note that he’s immune to damage initially, and the only real mechanic in his fight is making him vulnerable. As the fight progresses, Rathil will summon a black, glowing Totem, and you’ll receive the Imminent Wish buff on the right side of your screen. These totems are the key to damaging the boss, but you can’t do anything with them right away.
Instead, Rathil teleports you into a cage hanging above the arena. These cages slowly rise into a group of spikes that instantly kill you if you touch them. To escape the cage, you need to destroy three Blighted Eyes surrounding it, which will cause its front door to open.
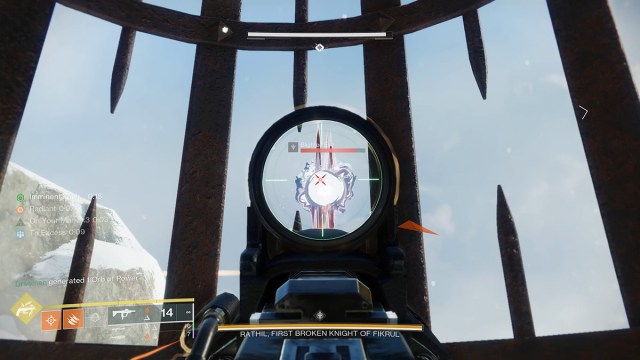
These Blighted Eyes can spawn above and below you, and don’t take too much damage to destroy. You’ll also hear a rising sound cue the closer you get to the spikes, sort of serving as a hidden timer. If you’re running with a fireteam, your teammates can also shoot your Blighted Eyes if you can’t find the last one, and you can do the same for them.
How to Start DPS Against Rathil, First Broken Knight of Fikrul

After you get out of the cage, you can drop down and start interacting with the totems. There’s a white circle surrounding each totem, and to activate it, you need to stand inside this radius. As you do so, the black, Taken energy core will shrink over about ten seconds until it flashes and turns a bright shade of blue.
Rathil summons up to two totems, and the number you activate determines how long the DPS phase is. Doing this solo, I found it difficult, but not impossible, to get Rathil to summon totems such that their circles overlapped. Standing in the space where the totem circles overlap lets you activate two at a time, giving you a free, full-length DPS phase.
Once you activate the totems, you’ll need to wait for the Imminent Wish buff to reach zero, at which point you’ll get a message in the bottom left saying, “Rathil’s hex backfires!” That’s your sign it’s time for DPS. Use whatever your favorite setup is until Rathil is either dead or his immune shield comes back up. I recommend a Solar build with the new Dragon’s Breath Exotic Rocket Launcher.
That’s the whole fight, minus dealing with the trash mobs that constantly appear. There’s no time limit or wipe mechanic when taking on Rathil. You can do as many damage phases as you need to take him down.
For more Destiny 2 Dungeon content, check out our guides to both the Grasp of Avarice and Duality Dungeons, plus much more in our D2 guides hub.


Published: Dec 9, 2023 05:54 pm