Mission 4 in Evil Dead: The Game is in contention for its longest and most grueling yet. For a mission that doesn’t have a single checkpoint, “It’s Not Gonna Let Us Go!” asks a whole lot of the player.
It will be unlikely you will complete this mission in the first go. But if you want some preemptive tips or you’re just tired of beating your head against the wall check out the following step by step guide on how to beat Mission 4.
How to Beat Mission 4, It’s Not Gonna Let Us Go!
Like Mission 3, Mission 4 of Evil Dead: The Game begins by asking you to get in a vehicle. Once again, you should not do this immediately. Make sure to search the nearby house for weapons, Cola, and some matches before heading off and getting the mission started proper.
Now you’ll need to drive Pablo to Camp Green Bird to look for Ash. There will be a circling of Deadites who you can dispose of by running them over with the car. However, we recommenced holding onto the car and dispatching the enemies with your gun. This way you can drive over to the next objective, El Brujo’s Hut.
At the hut you will be met with a forced encounter with a wave of Deadites. Remember to keep your flashlight on during this fight, it’s one where you’ll need it the most. Additionally, even though you don’t have a melee weapon yet doesn’t mean you have to waste all your ammo. You can still do some damage with your fists.
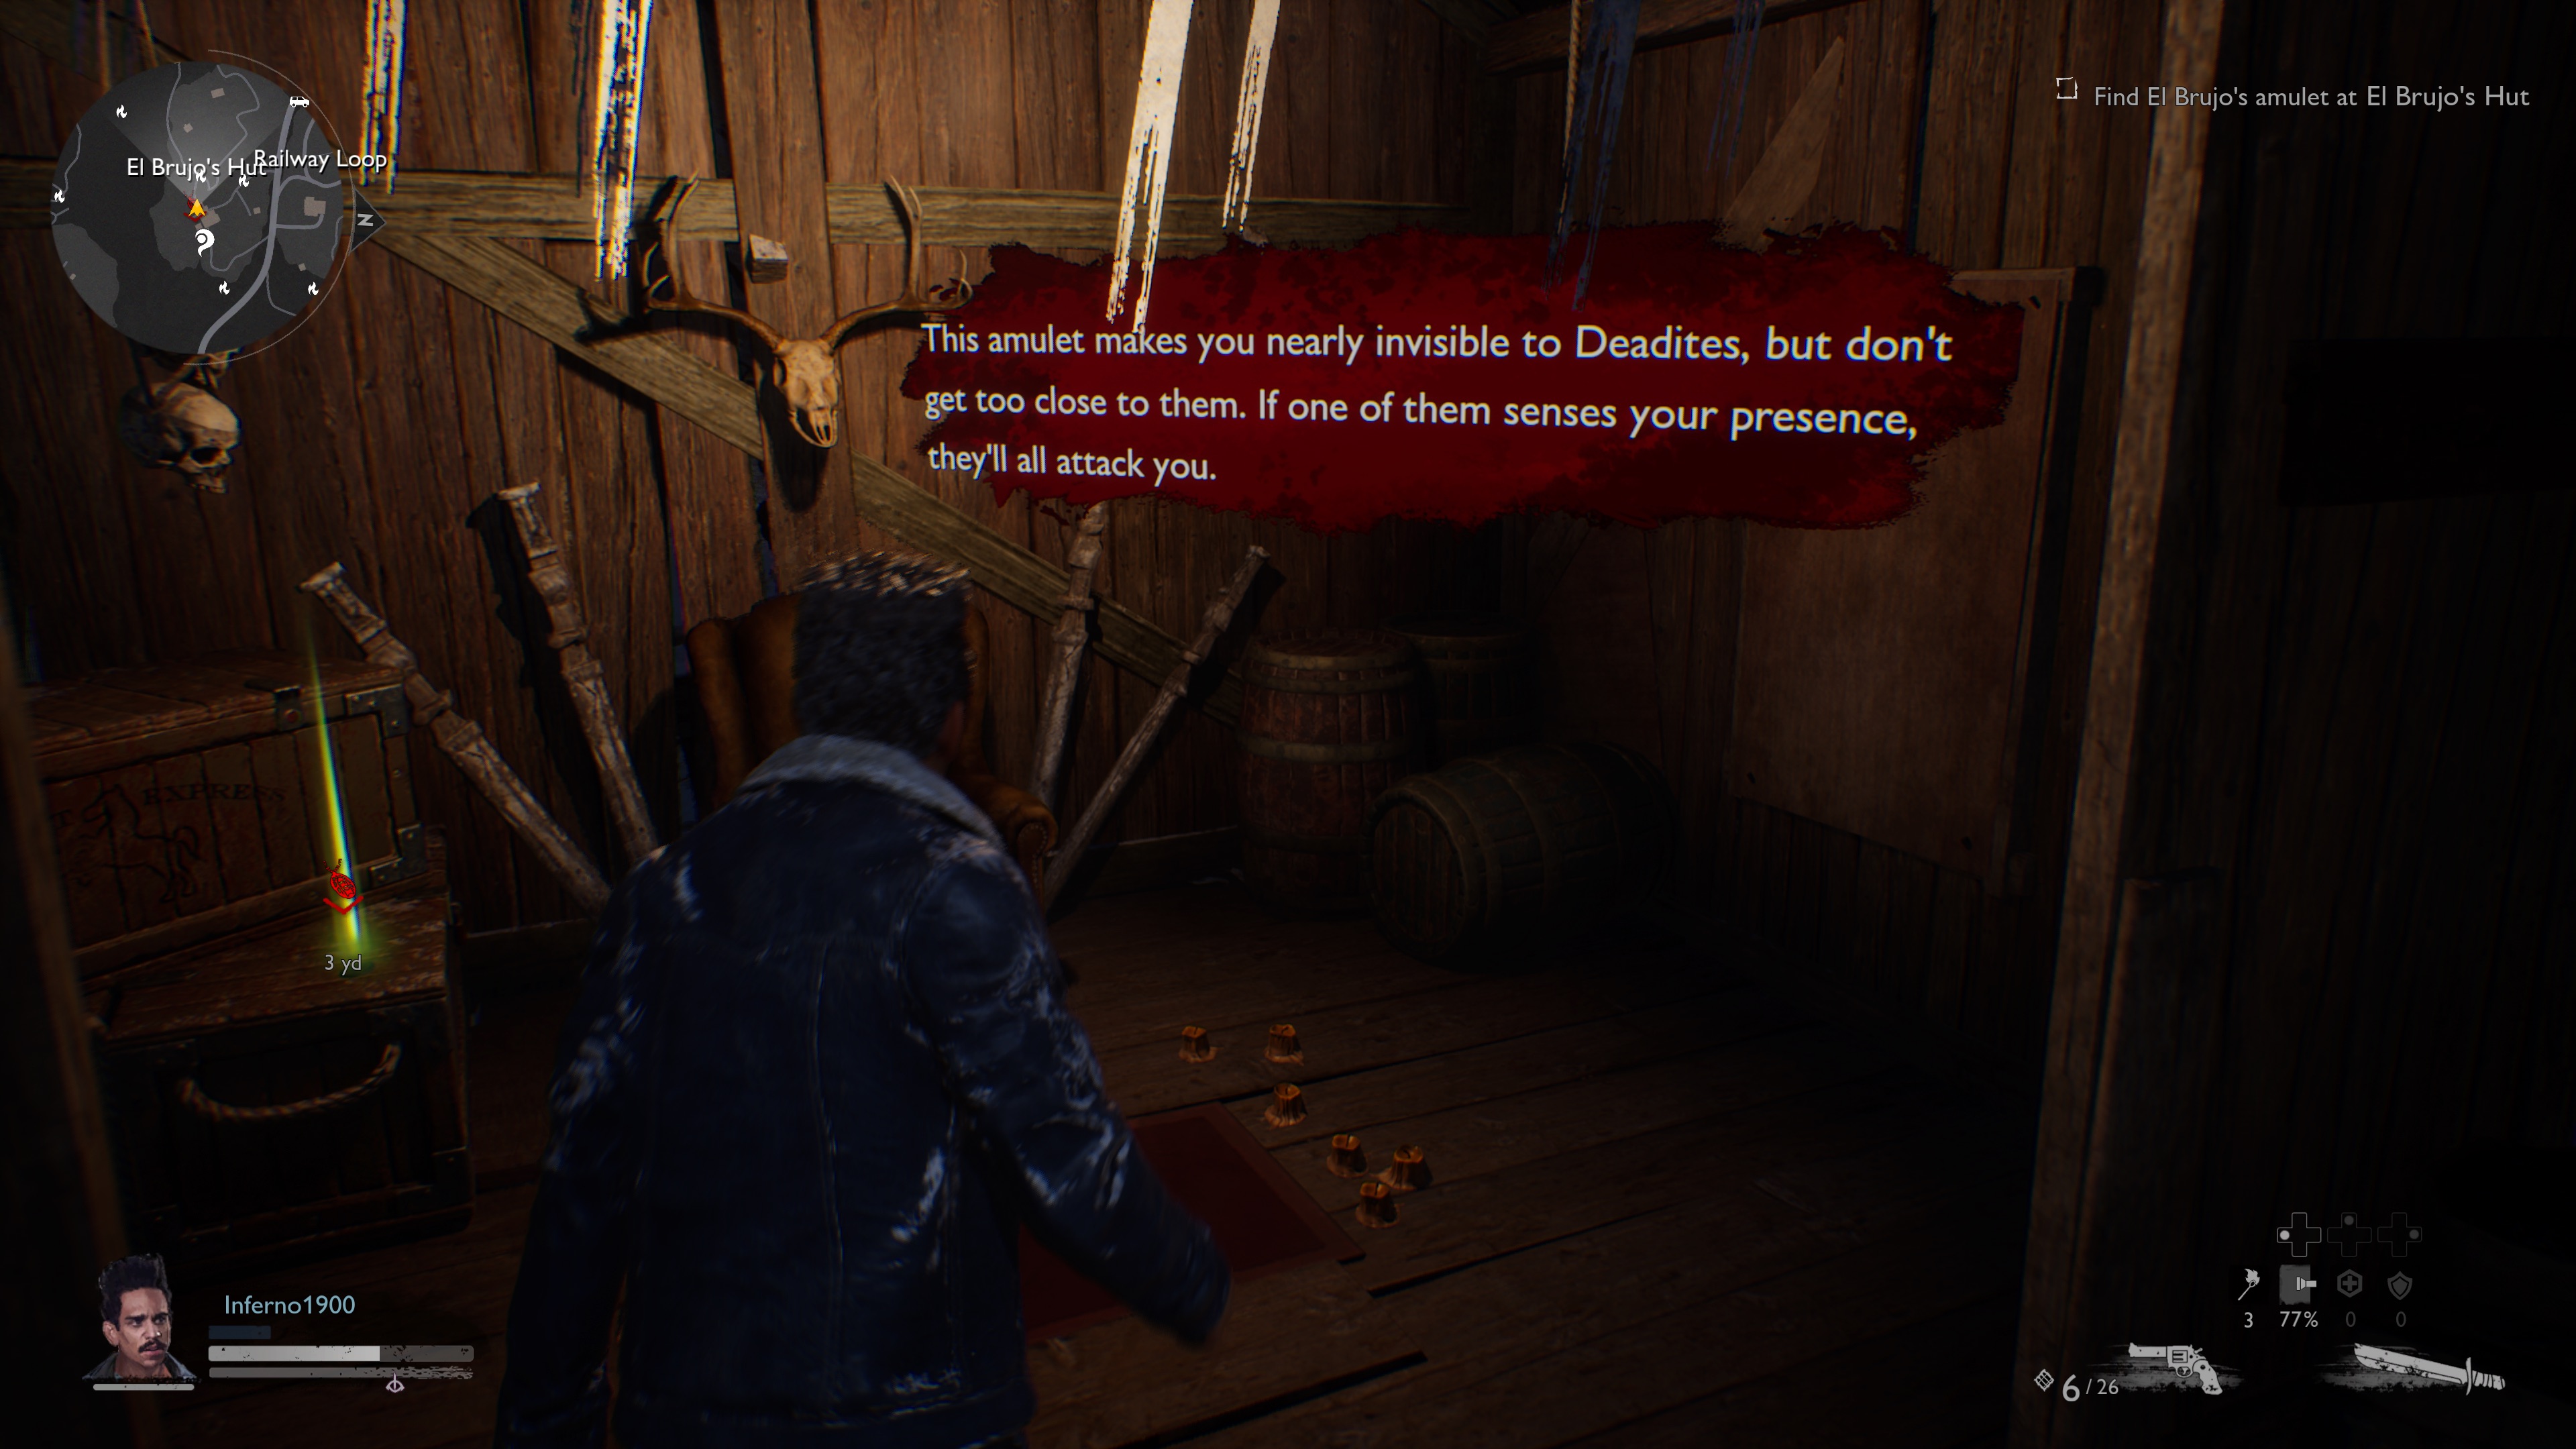
The game will then point you to the location of the El Brujo’s Amulet inside the hut. This is the mission’s interesting twist. Once you pick it up, you will now be invisible from Deadites unless you get too close. Sprinting and using your flashlight will also give Pablo’s location away easily.
This ability will allow you to sneak around and avoid combat and will be especially useful in the upcoming section. Unfortunately, there is no stealth kill system so you do have to avoid enemies here for the optimal outcome.
Head to the Railway Loop to find Ash’s severed hand. In the basement of a building on the way you can find a rare machete, the best melee weapon in the mission. You’ll need to go a bit further, making sure to keep your distance from the Deadites as you enter the house where the hand is.
Grab the hand inside, along with another Shemp’s Cola, and you’ll get a cutscene telling you the hand ran off. Time to track it down again.
You’ll be pointed towards a house in Dead End. You’ll be ambushed by a Demi-Eligos demon and one other Deadite before you can enter. As with the last mission, we recommend melee for dealing with the Demi-Eligos.
Inside the house you will find a stockpile of weapons, amulets, cola, and ammo of all types. Grab whichever weapon you want, a shotgun or crossbow should do the trick. Grab the hand and begin on another long, stealthy journey across the map.
Use your flashlight sparingly but don’t let any enemies know you are lurking around. Luckily getting caught here won’t trigger a mob like in other areas. Eventually you will arrive to find Ash at Jake’s Gas n’ Go.
The eastern entrance to the gas station is the only one not guarded by tough enemies. Use it to get in to find Ash and a shield amulet. He tells Pablo he’s got an escape vehicle but just needs the fuel to get it running. Do not give up hope yet, we are getting close to the end now. But two of the toughest parts are still ahead.
To get the first gas can you will need to break into Wadesboro Junkyard. The place is crawling with Deadites and altering one means taking on them all. To avoid them enter the compound from the South and hug the fence as you move forward.
Once inside you will see a ramp. Head up the ramp and around the corner, immediately heading into the building on your left. Look carefully for a small gap between shipping containers to the North and go through it to find the gas can next to a nice refreshing can of Shemp’s. Now get out without being detected and you are golden.
There are two more cans at Shockley Auto. The first is inside the house. Make sure to grab the ammo here, you’ll need it. The next gas tank is in an open courtyard. Be prepared because once you grab it the boss Eligos shows up. This can be a run killer but its all amount countering with the correct attacks.
Make sure to keep your distance and know that every time the boss teleports it will shoot a projectile at you. Immediately dodge and then get in one or two shots. When the Eligos teleports on top of you to do a melee, do the same thing. Dodge and then you can return the favor with a melee strike of your own.
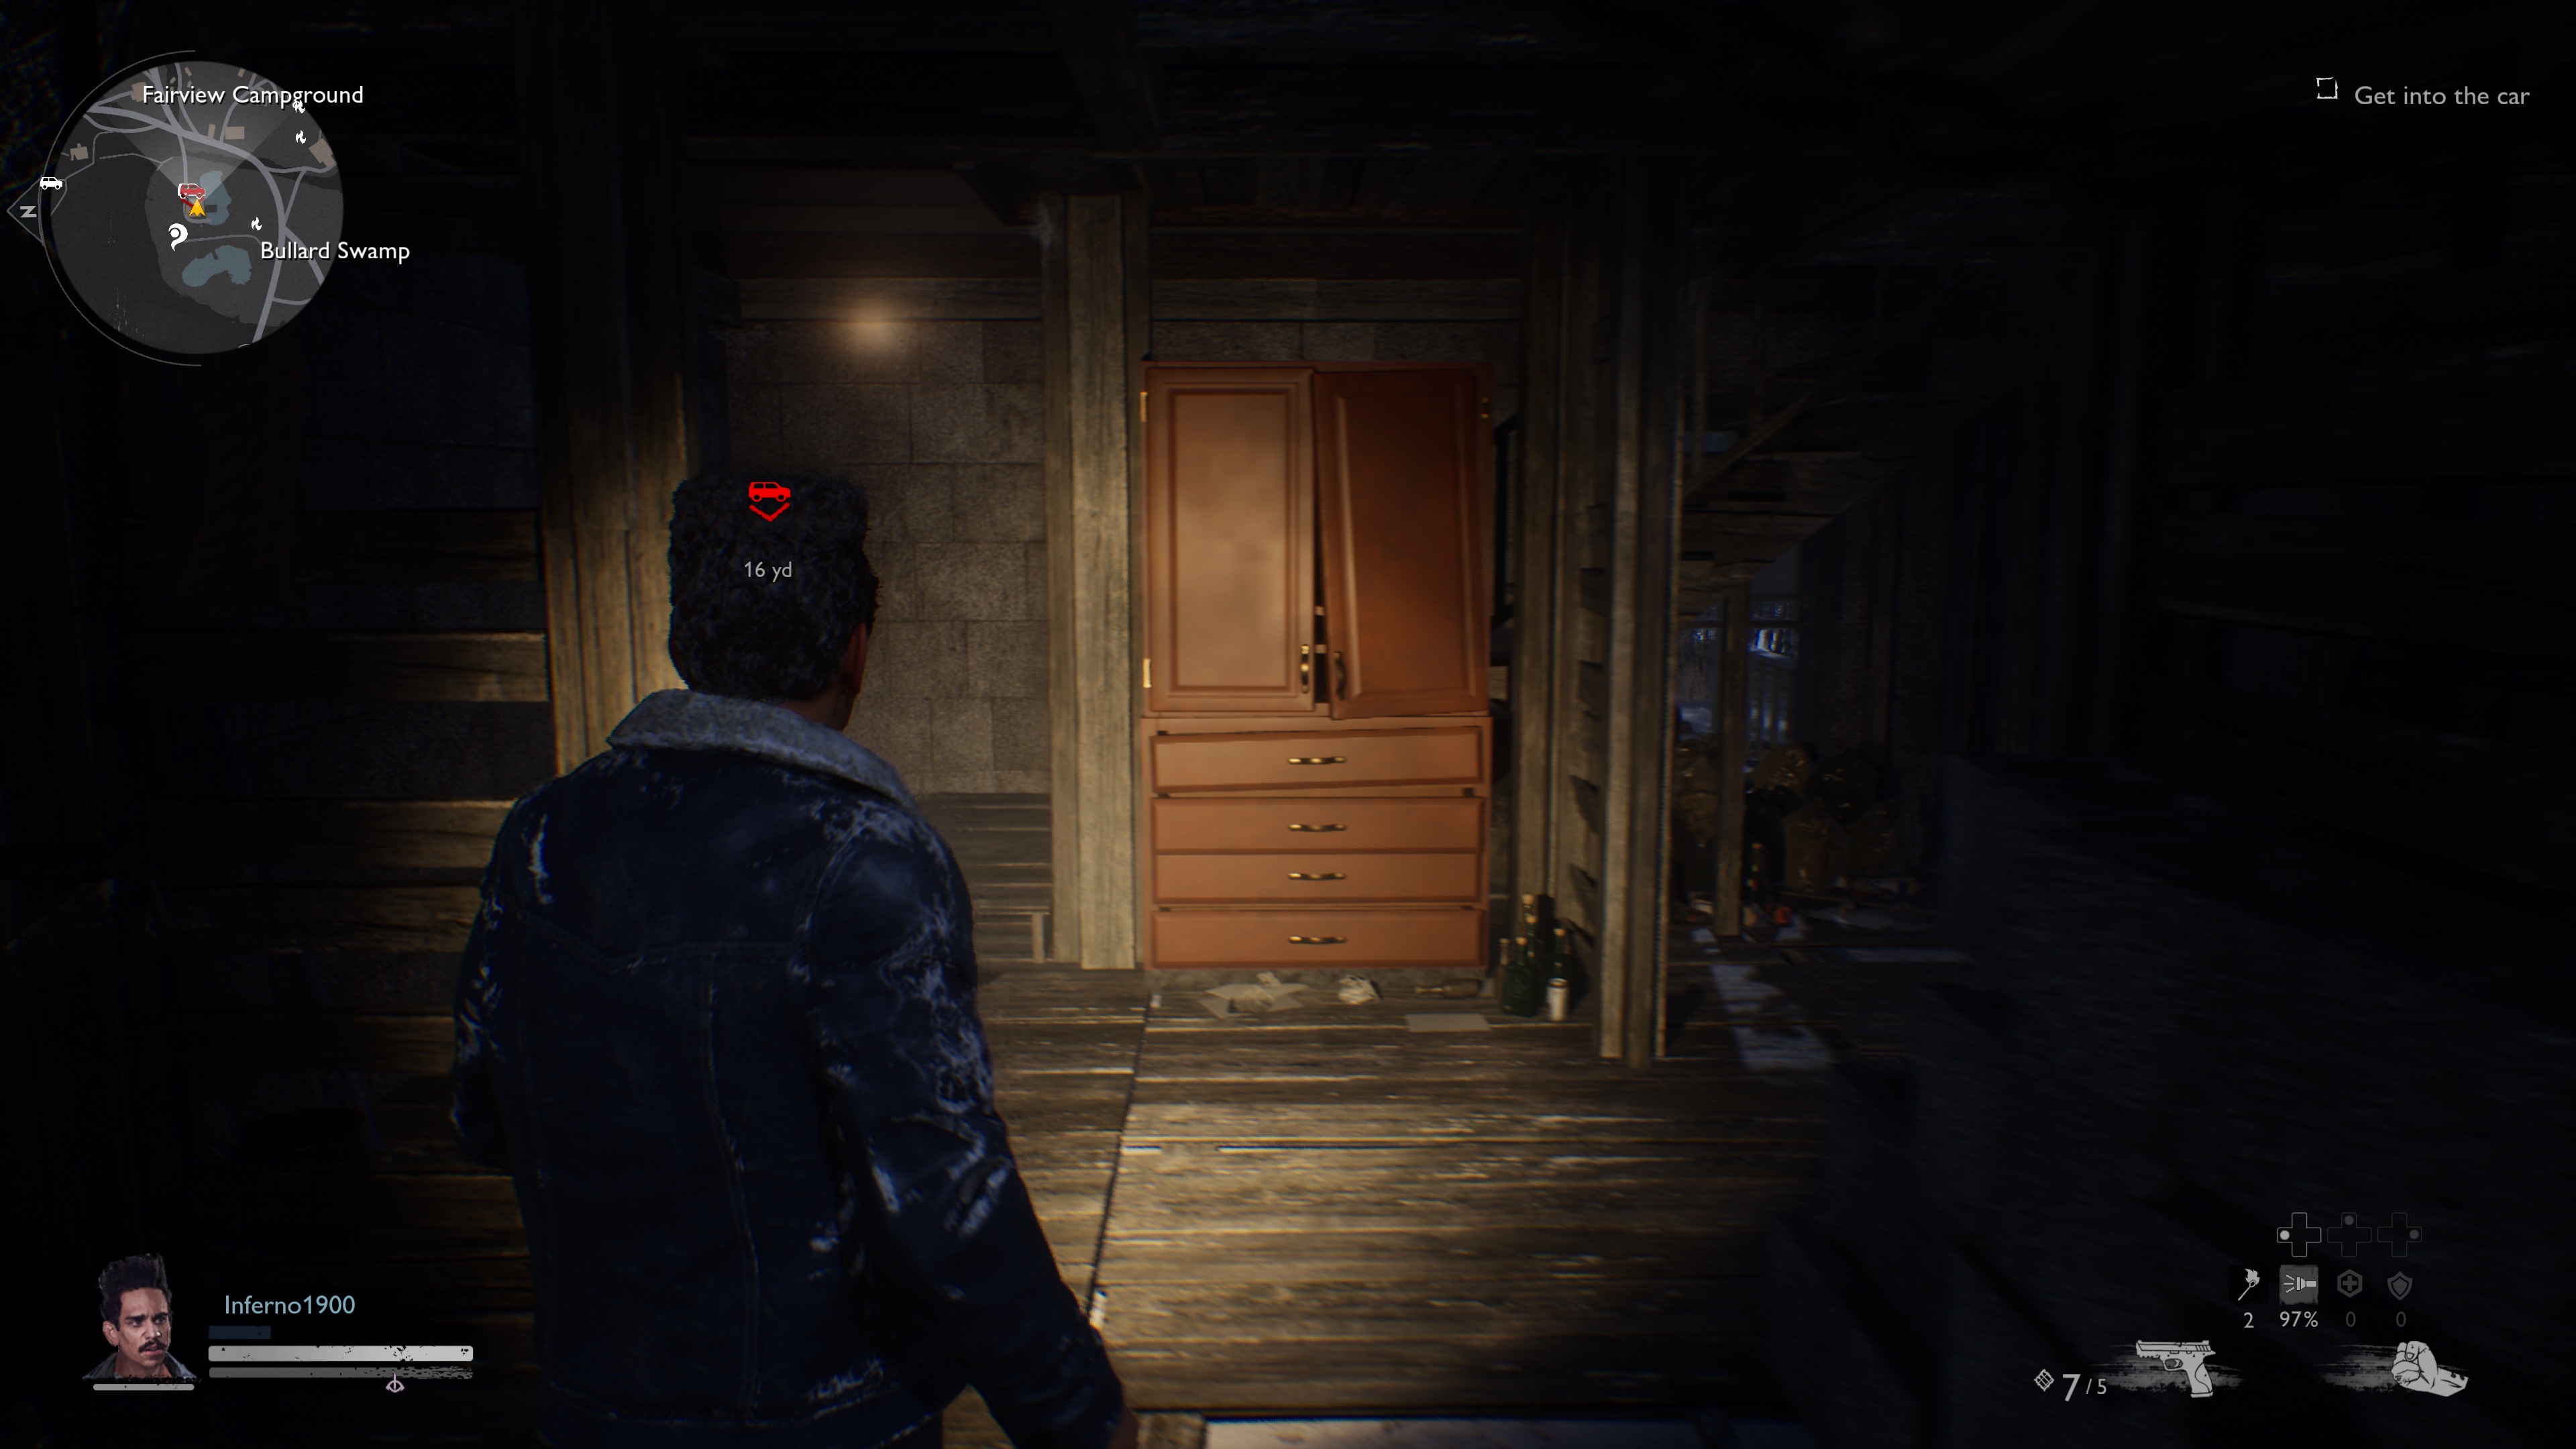
Now that you have defeated the boss and have the gas head back to Ash’s location at Jake’s. The hero will be waiting in his ride. Drive to the marker on the map, avoiding all Deadites along the way, and once you arrive you will have reached the end of Mission 4.
That’s the overview of how to beat Mission 4 “It’s Not Gonna Let You Go!”. Check out our other guides for Evil Dead: The Game.


Published: May 26, 2022 05:05 pm