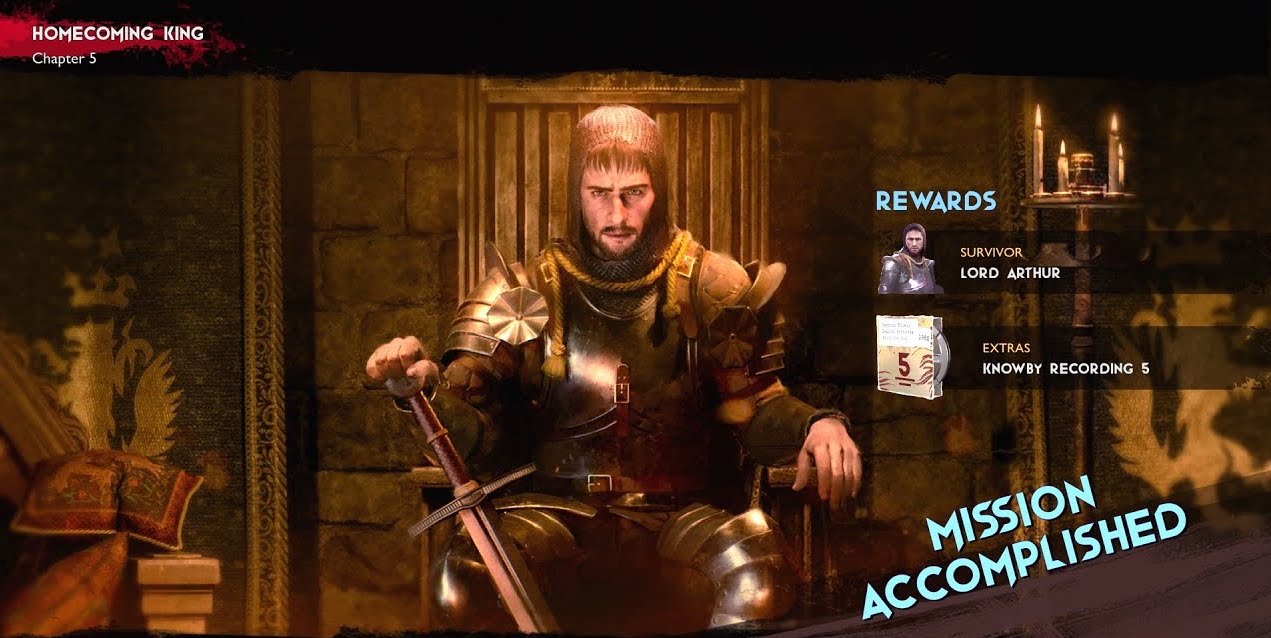
For beating Mission 5 “Homecoming King” in Evil Dead: The Game you will receive Lord Arthur as a playable character in the Leader Class as a reward. This one will take upwards of half an hour, so buckle up and be patient with yourself. But not too patient! While there is no time limit, there is an incoming circle Fortnite Battle Royale style closing in on you for most of the mission.
Out of all of them, Mission 5 of Evil Dead: The Game might actually be the most challenging. Nevertheless, you persist.
How to Beat Mission 5, Homecoming King
During Mission 5 you play as Arthur as he recovers his legendary sword and sends Evil Ash back to hell. You will spawn near a vehicle in Lucky Valley Lodge.
You will want to gather some good supplies from the nearby shacks including a shovel and shield amulets. Now drive the nearby vehicle (marked on the map) off course, all the way to the two story building north of Misery Manor.
There will be a skeleton on the first floor. Defeat it with your shovel and go upstairs to find a trusty Blunderbuss. There is more ammo and supplies in these houses.
From here you are going to head to where the game tells you the Kandarian Dagger is: either the Fishing Village or Flight 666. You’ll want to pull in as close as you can with your vehicle, get out for a quick grab-and-go, and then drive as far away as possible from the roaming Deadites.
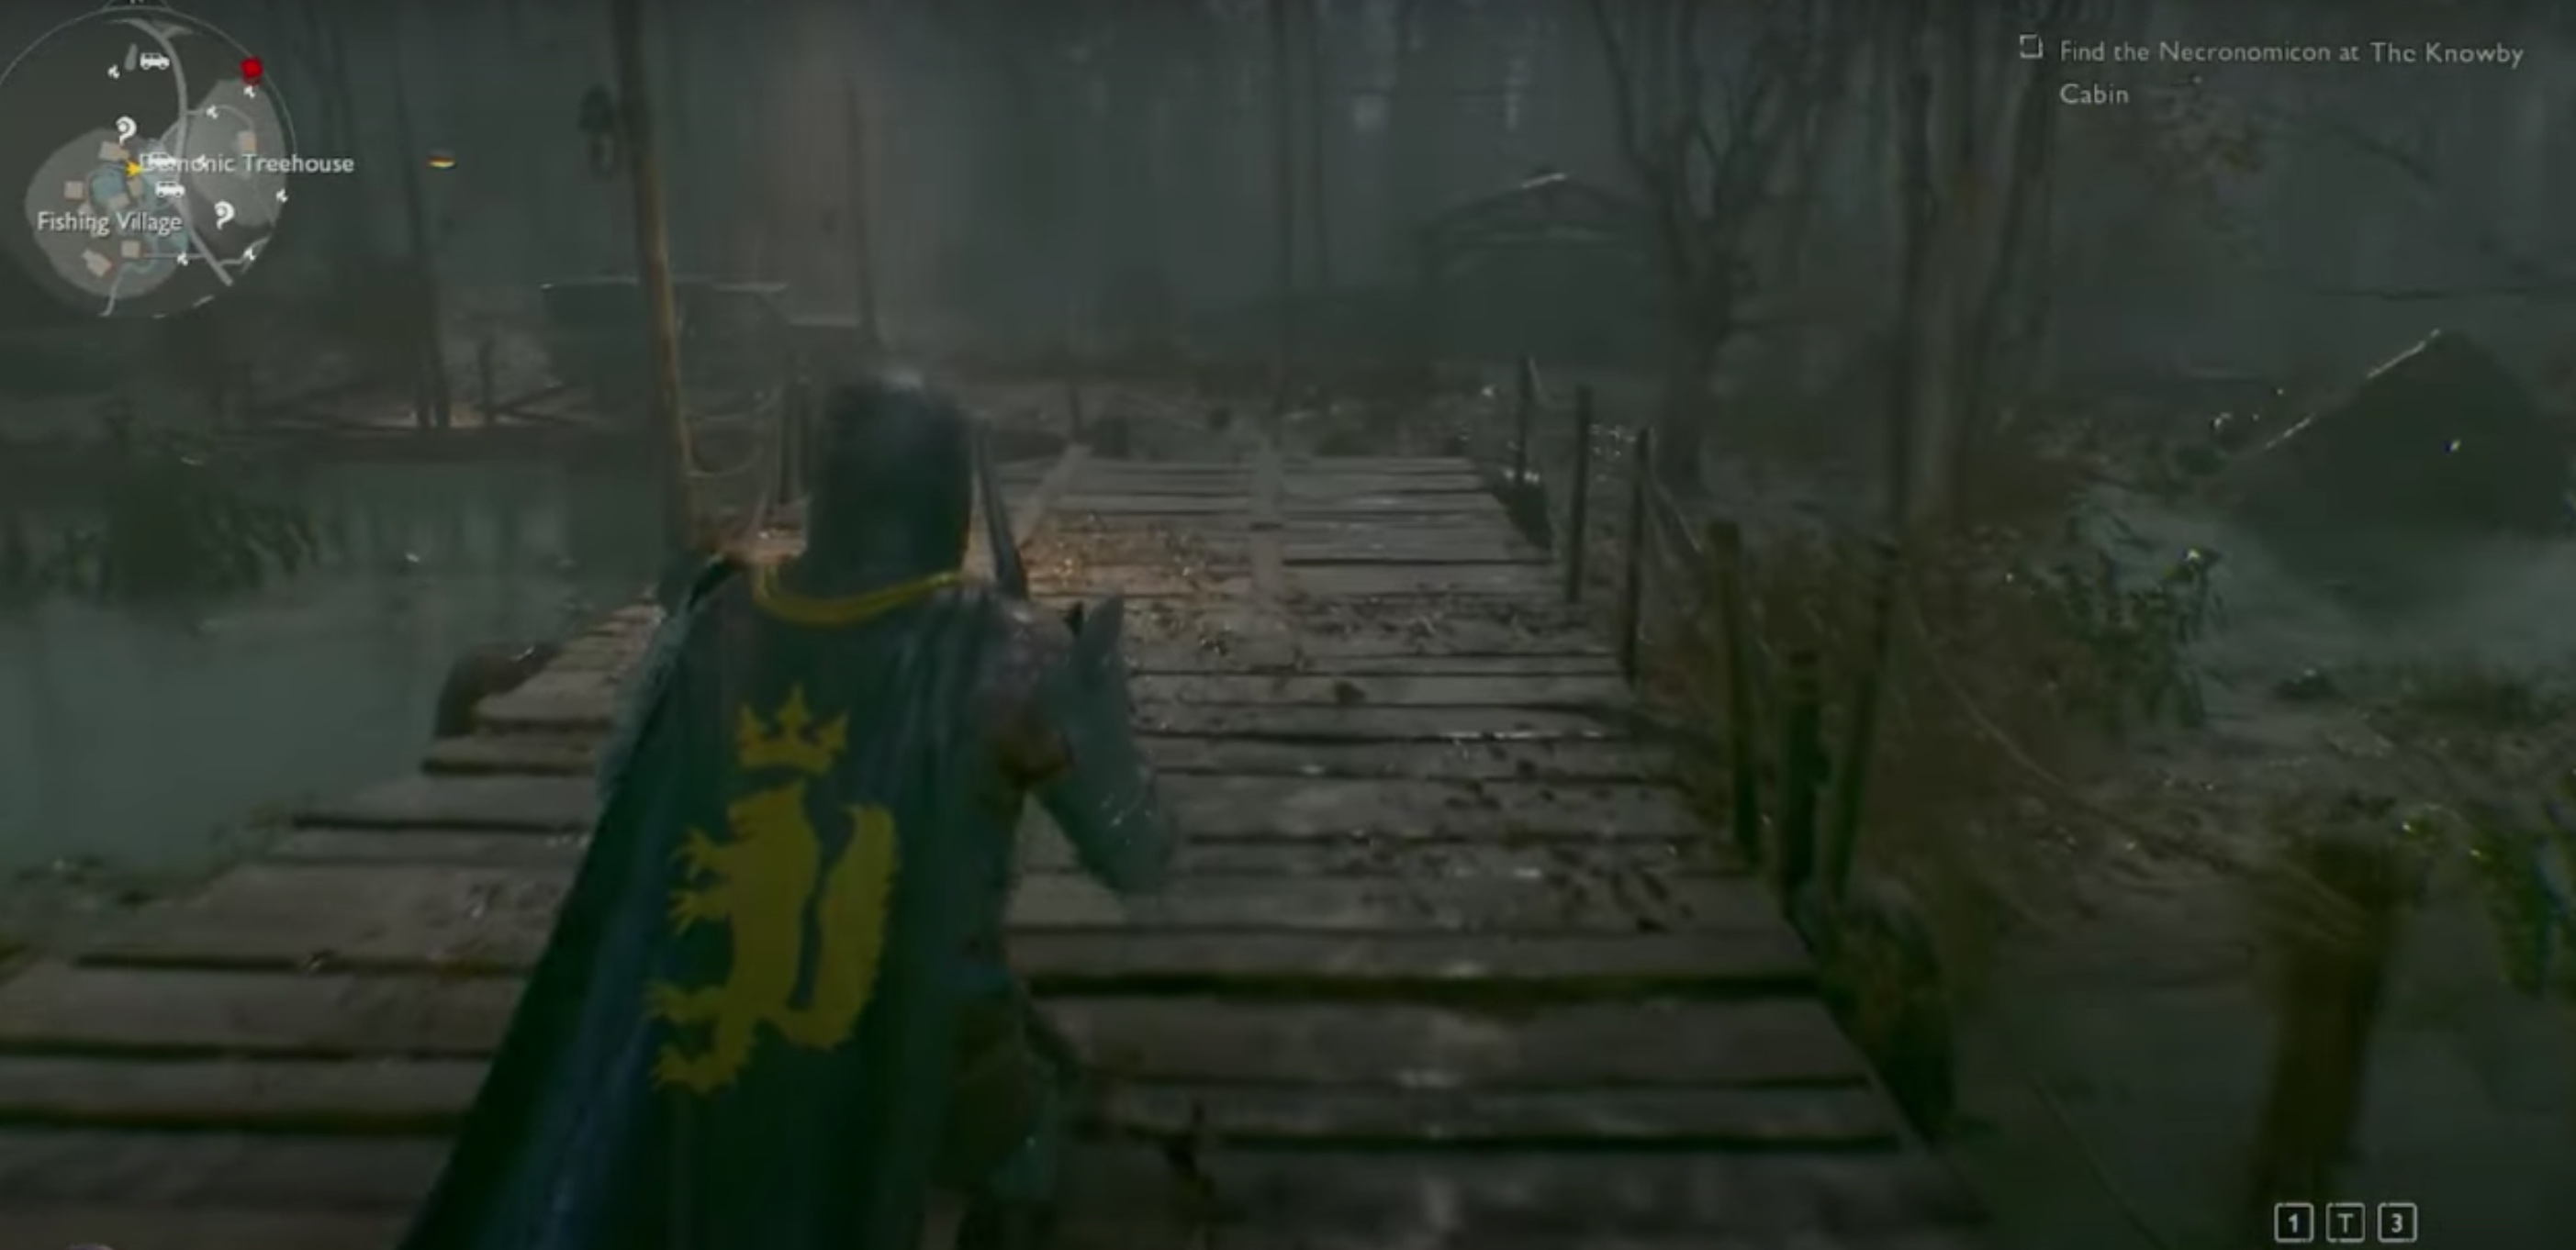
Next you will be prompted to head to grab the Necronomicon from Knowby Cabin. Here you will find some Cola, ammo and other resources. There will also be a rare Fire Axe and Epic Meat Cleaver in the living room.
The Axe is actually the superior weapon. If you want either you will have to fight Deadite Scotty, who will surprise attack you if you pick one up. He’s not the toughest enemy and he’s vulnerable to headshots so its your call. The rare Fire Axe is admittedly pretty good.
Now pick up the Necronomicon and leave. Just kidding, you will have to fight a wave of eight skeletons that will attack you inside the cabin. Use that good melee weapon you may or may not have just picked up to help you out with this close quarters combat.
Next in Mission 5, you will be sent to the rift in space and time. Once you arrive at the objective you will “fight” Evil Ash. You can’t kill him during this fight so focus on the skeletons that Ash spawns while avoiding his attacks for 60 seconds. The dodge is your best friend in this encounter.
Next the game will tell you to head to Payne Manor to grab Arthur’s Legendary Sword, which you will want to do, but first make a pit stop at the Sewage Treatment Plant.
The Sewage Treatment Plant is loaded with goodies for your looting pleasure, including an Epic bat, Shemp’s Cola, matches and ammo. If you want the Legendary Crossbow here, you can pick that up too. It will do a lot of damage if you can consistently land headshots on Deadites. Now it is time to go to Payne Manor.
As you approach, pay attention to your mini map. Get close enough and red crosses will start appearing on your map. These mark the location of flute-playing skeletons that spawn more enemies and buff nearby allies. There are five of them in the area.
Use your Crossbow or Blunderbuss to take these enemies out from a distance, which both saves you from taking unnecessary damage and prevents the flute-players from spawning skelly friends.
Once this is done you can enter the manor and scavenge what is there. Just don’t put your guard down, enemies will still be inside. Grab the resources here as well as the Legendary Blunderbuss upstairs before picking up Arthur’s sword. From here you will be sent a great distance to yet another rift.
The next two steps (of only three left!) in Mission 5 are the trickiest. First, you will want to be careful on your 360 yard dash to your objective.
Avoid enemies, but manage your stamina so you can get away if need be. Don’t use finishers because a heavy attack from the Sword kills most everything in one or two hits. Simply run and fight when you have to in order to avoid taking unnecessary damage while conserving your ammo in the meantime.
Once you arrive, you will be teleported to the final area of Mission 5 where you will face two bosses in succession. The first is the toughest. The Pit Deadite will rush you with a strong melee attack you will need to watch out for and dodge each time.
If you follow every dodge up with a heavy attack or two you should be able to get a rhythm going. You’ll want to save your ammo for the last boss. Once you kill it, the Pit Deadite will drop a Shemp’s and an Amulet.
Now its time to take on Evil Ash for real. If you’ve fought players using the Evil Ash boss in multiplayer you will have an inherent advantage knowing his moveset. Honestly, playing online games is an easier way to learn this fight than doing the whole mission again just to get one shot at Ash. Regardless, you will have to ensure you keep your distance and dodges his attacks.
Use your Legendary blunderbuss or crossbow to land headshots. Evil Ash will spawn weak skeletons. You have to jump on these guys as quick as you can with your sword before they can become a distraction. Just remember to watch your stamina the whole way and you’ll be victorious in no time.
With that you’ll have completed Mission 5 “Homecoming King” and unlocked Lord Arthur for use in multiplayer. For walkthroughs on each of the game’s missions, check out our Evil Dead: The Game guides.


Published: May 27, 2022 04:09 pm