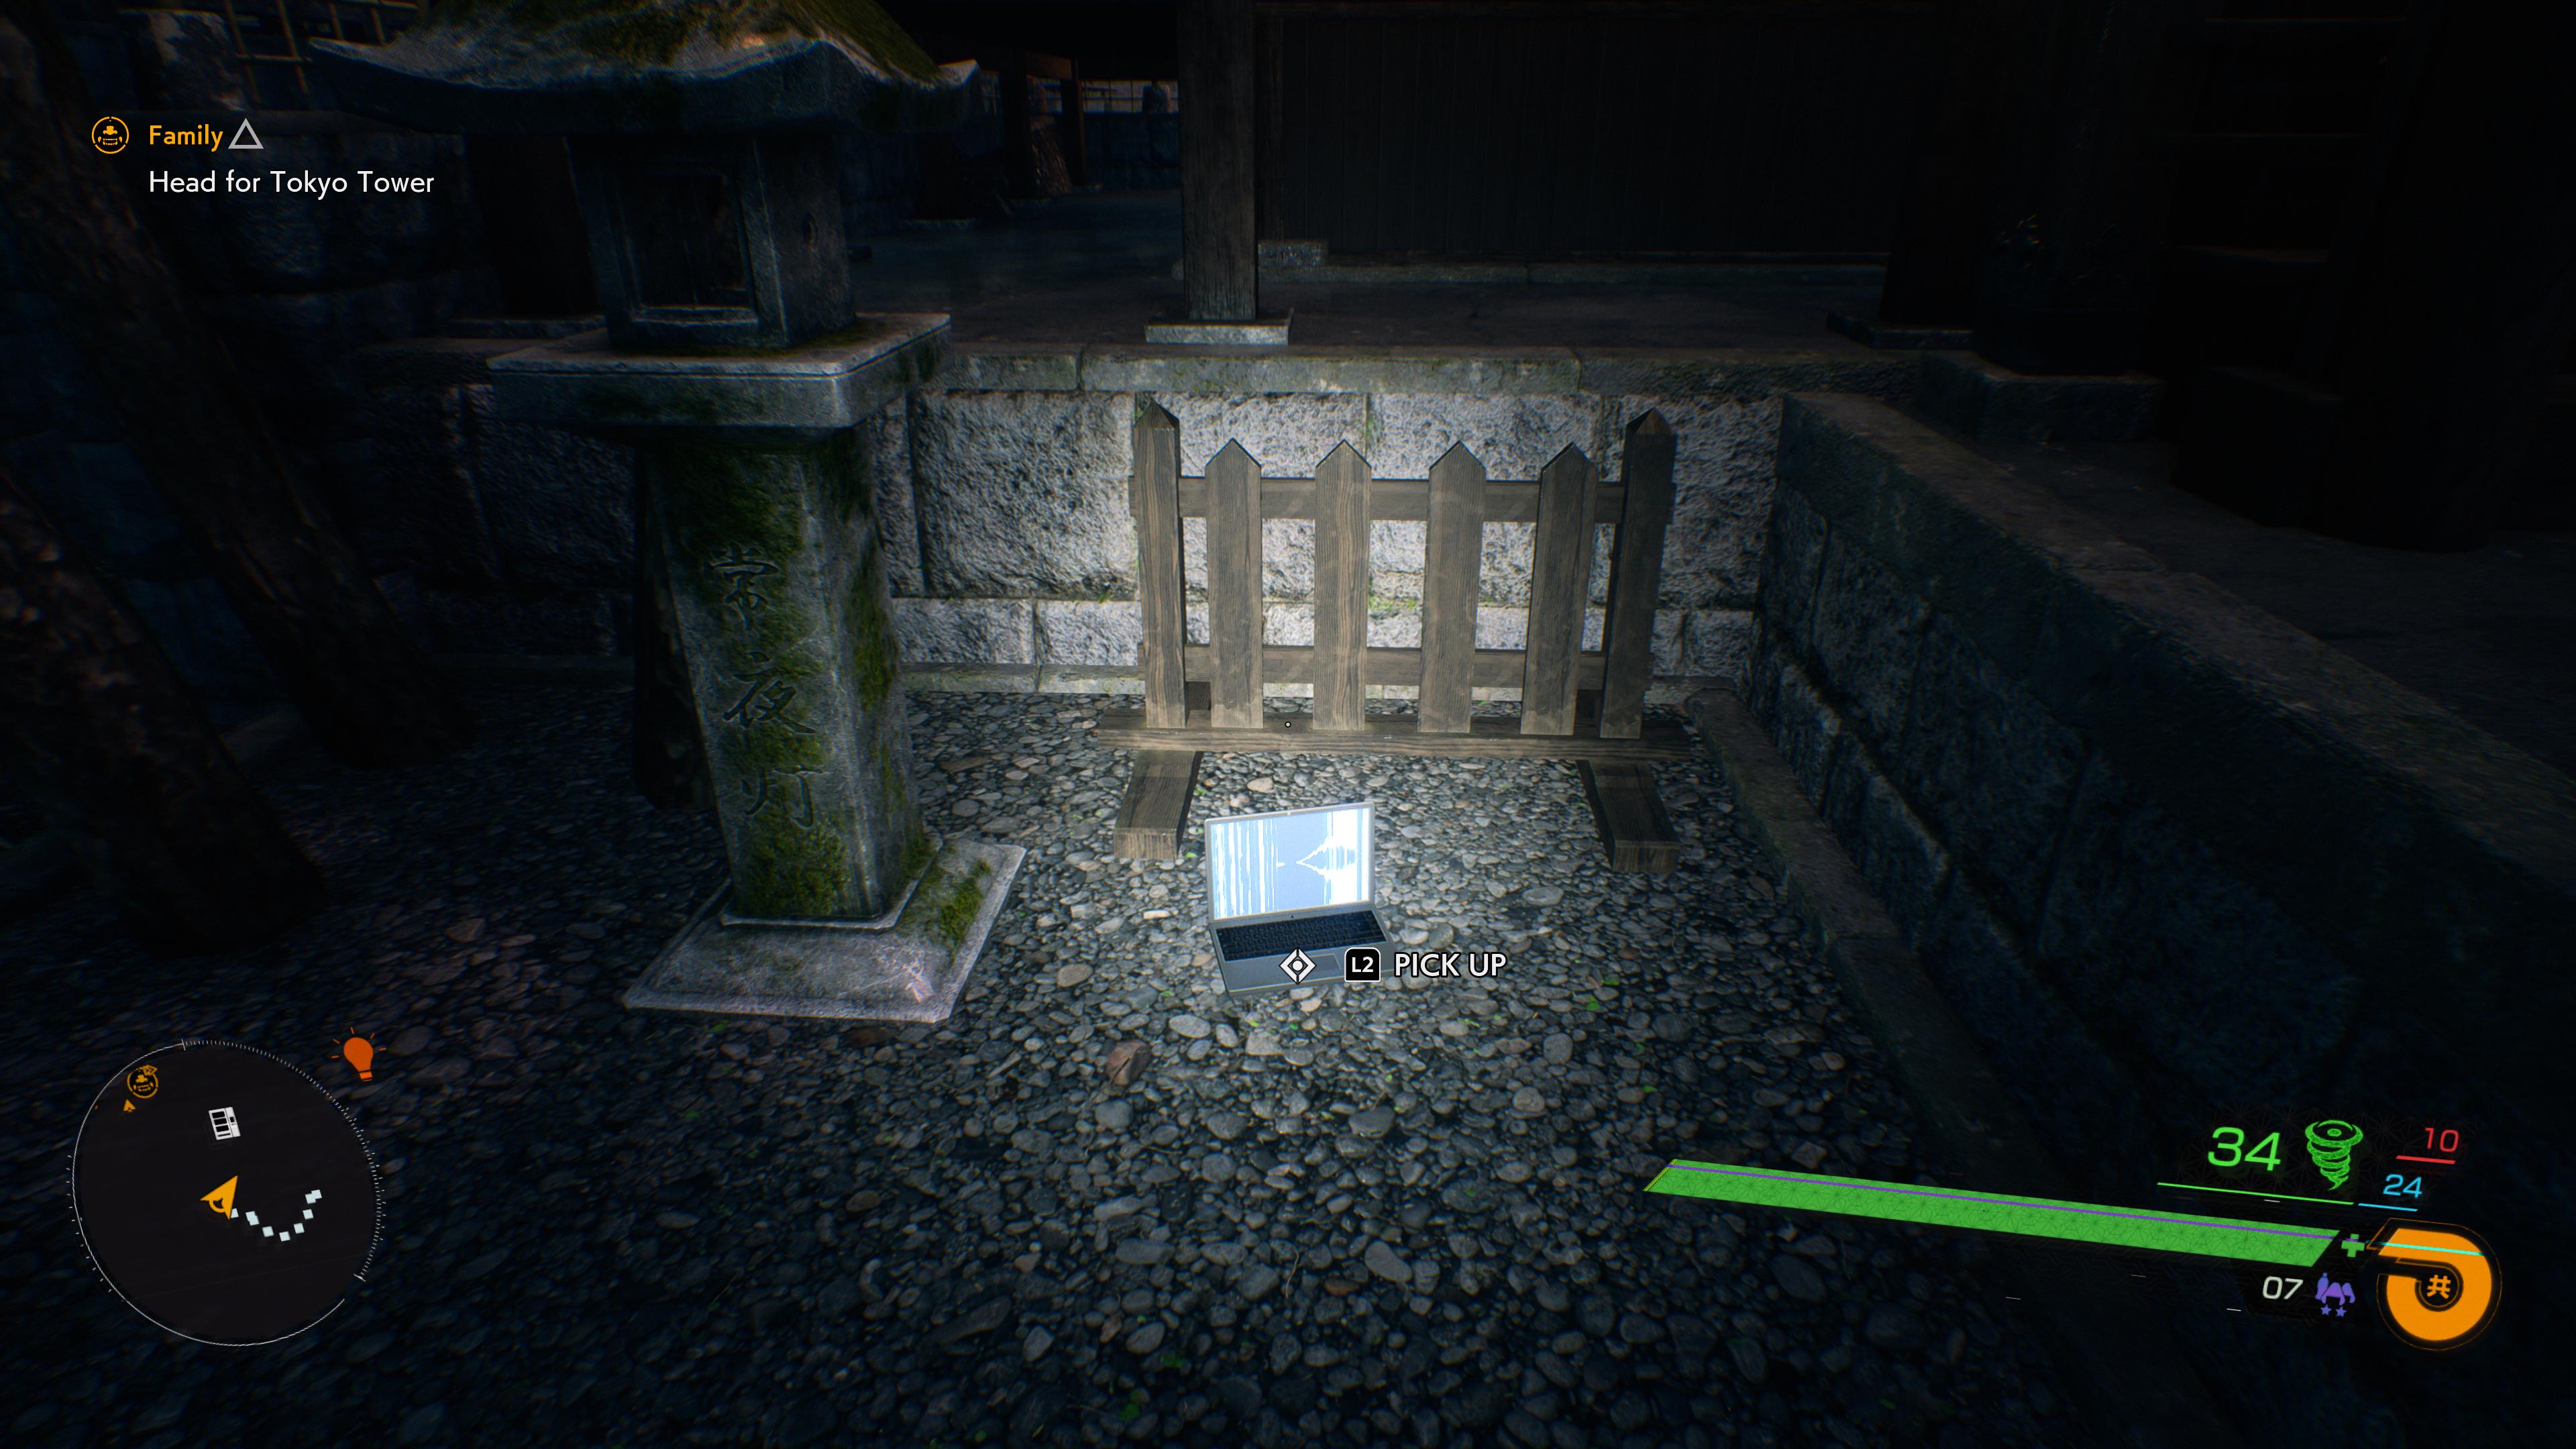
There are a total of 17 audio logs in Ghostwire, which take the form of dictaphones and laptops. If you want to learn all there is to know about the supernatural world of Ghostwire: Tokyo through audio logs, the man to talk to is Ed Warren.
The problem is, well, Ed doesn’t really talk to people; he’d much rather dictate his thoughts into a recording device, then leave it lying around Shibuya. Ed’s got his own deal going on, and that’s fine.
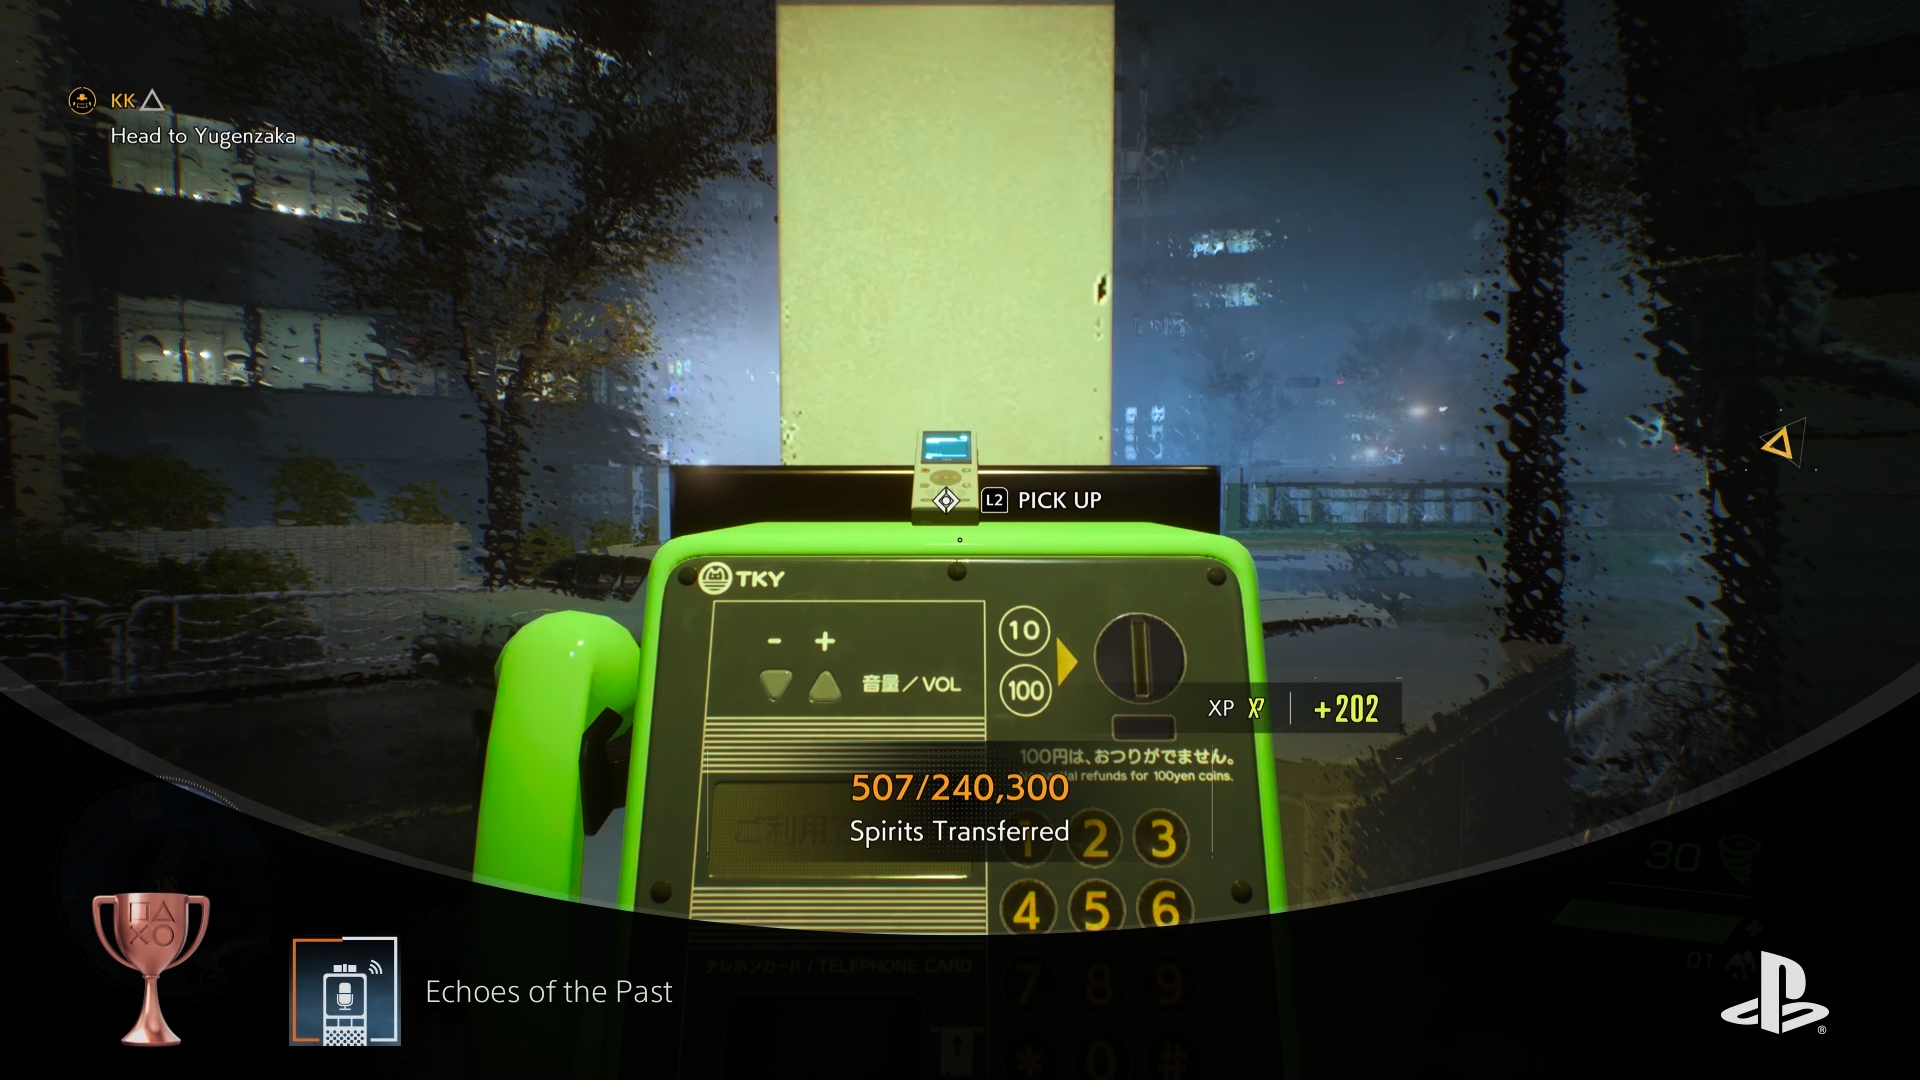
Your first audio log unlocks the Echoes of the Past trophy/achievement, while finding all 17 unlocks The Whole Truth.
You don’t have to listen to the logs to get credit towards these achievements, but many of them do provide useful background for the game’s story and world. Unlike other collectibles in Ghostwire, there’s no in-game “cheat” like the offering boxes for finding Ed’s audio logs. You just have to be thorough and get lucky.
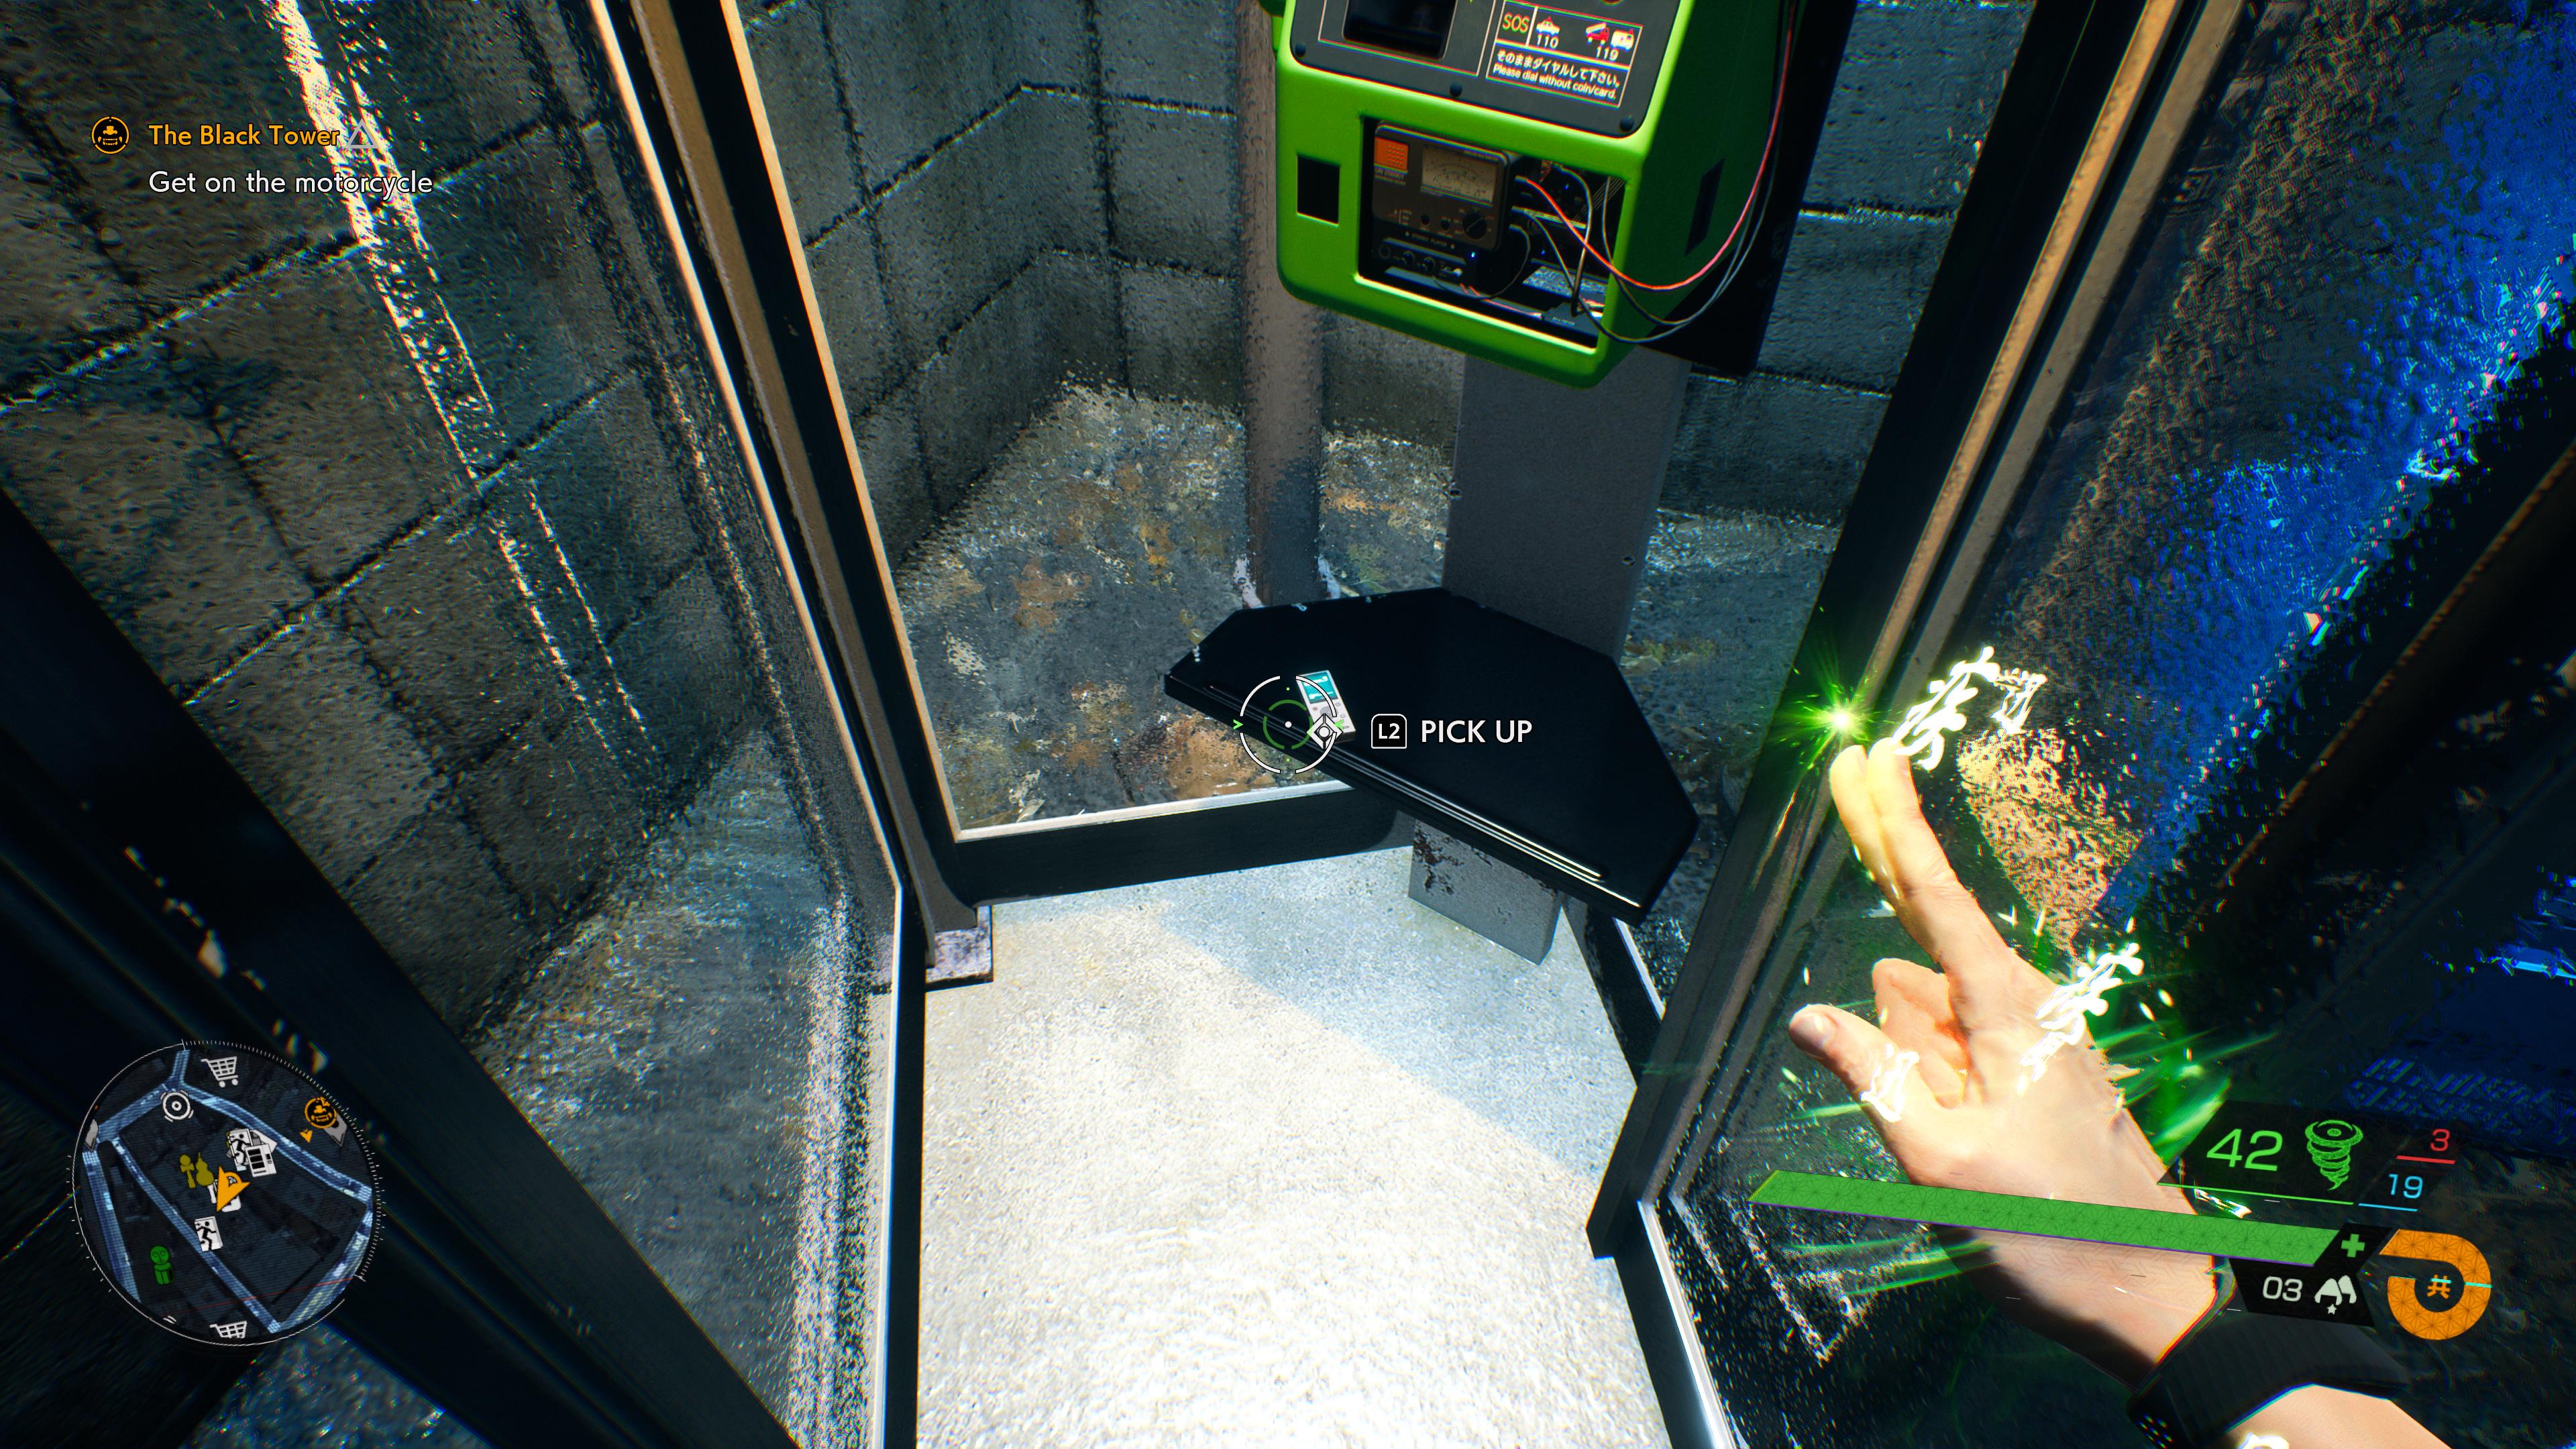
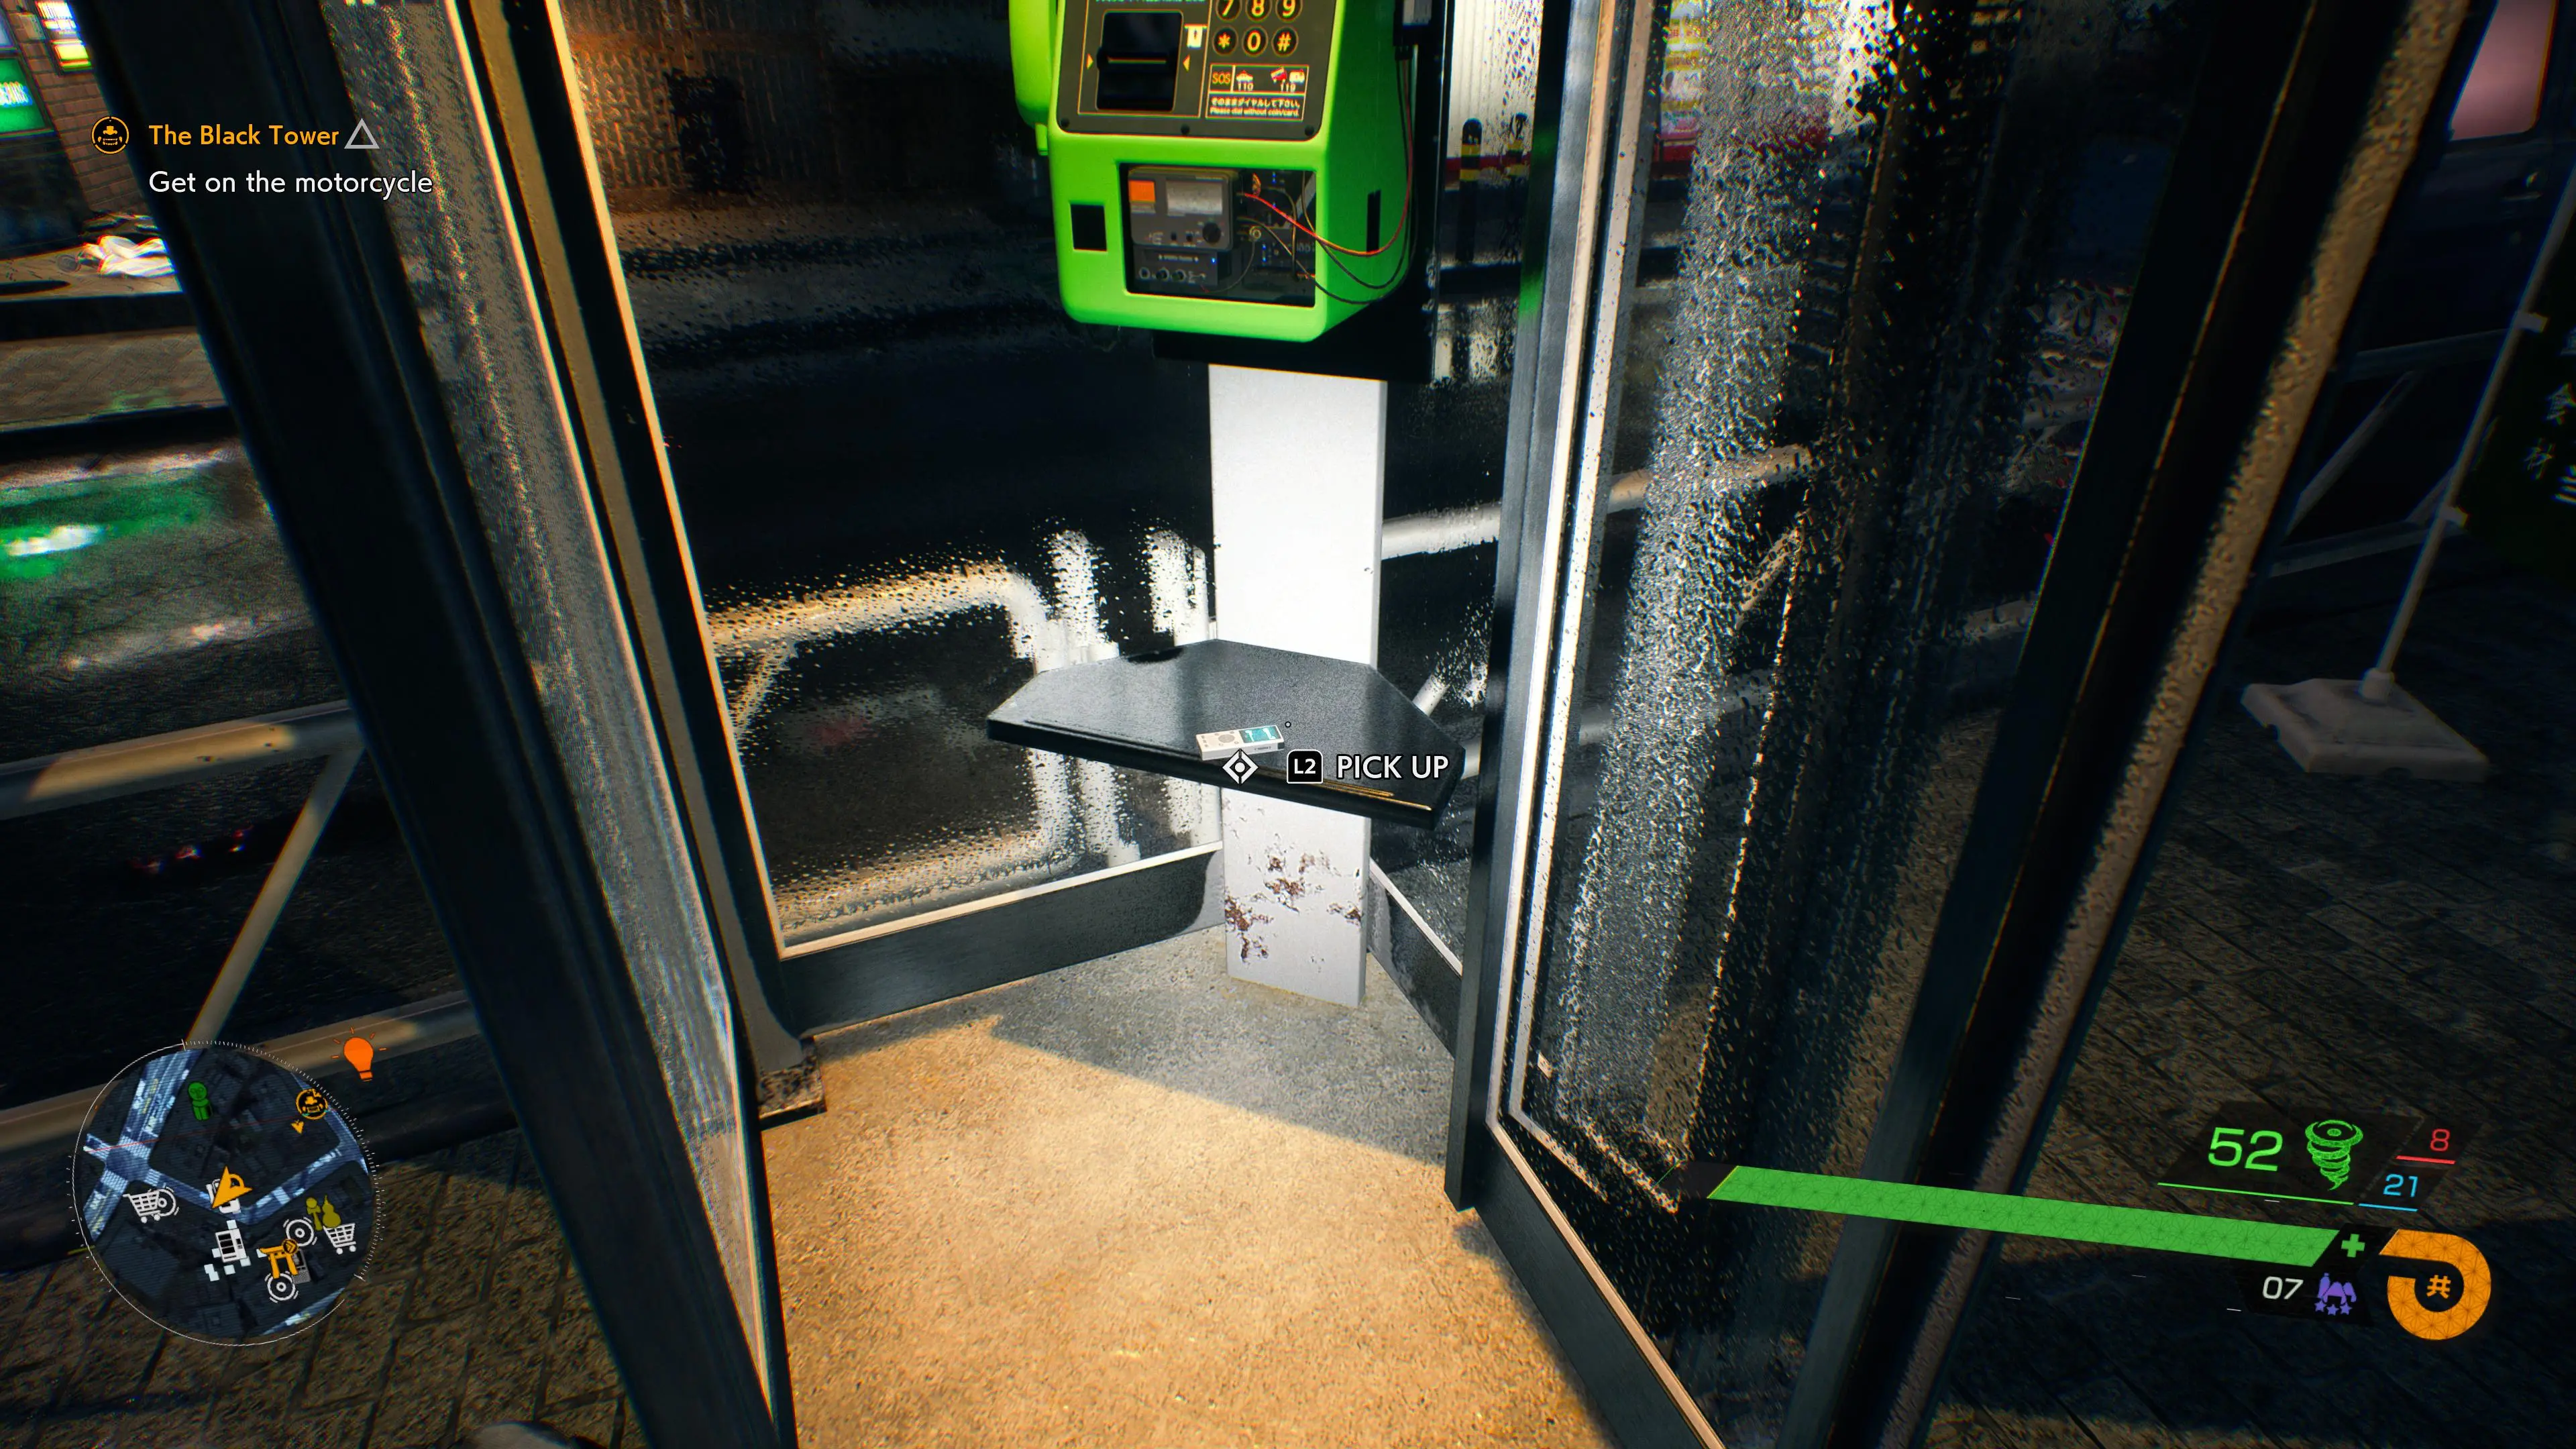
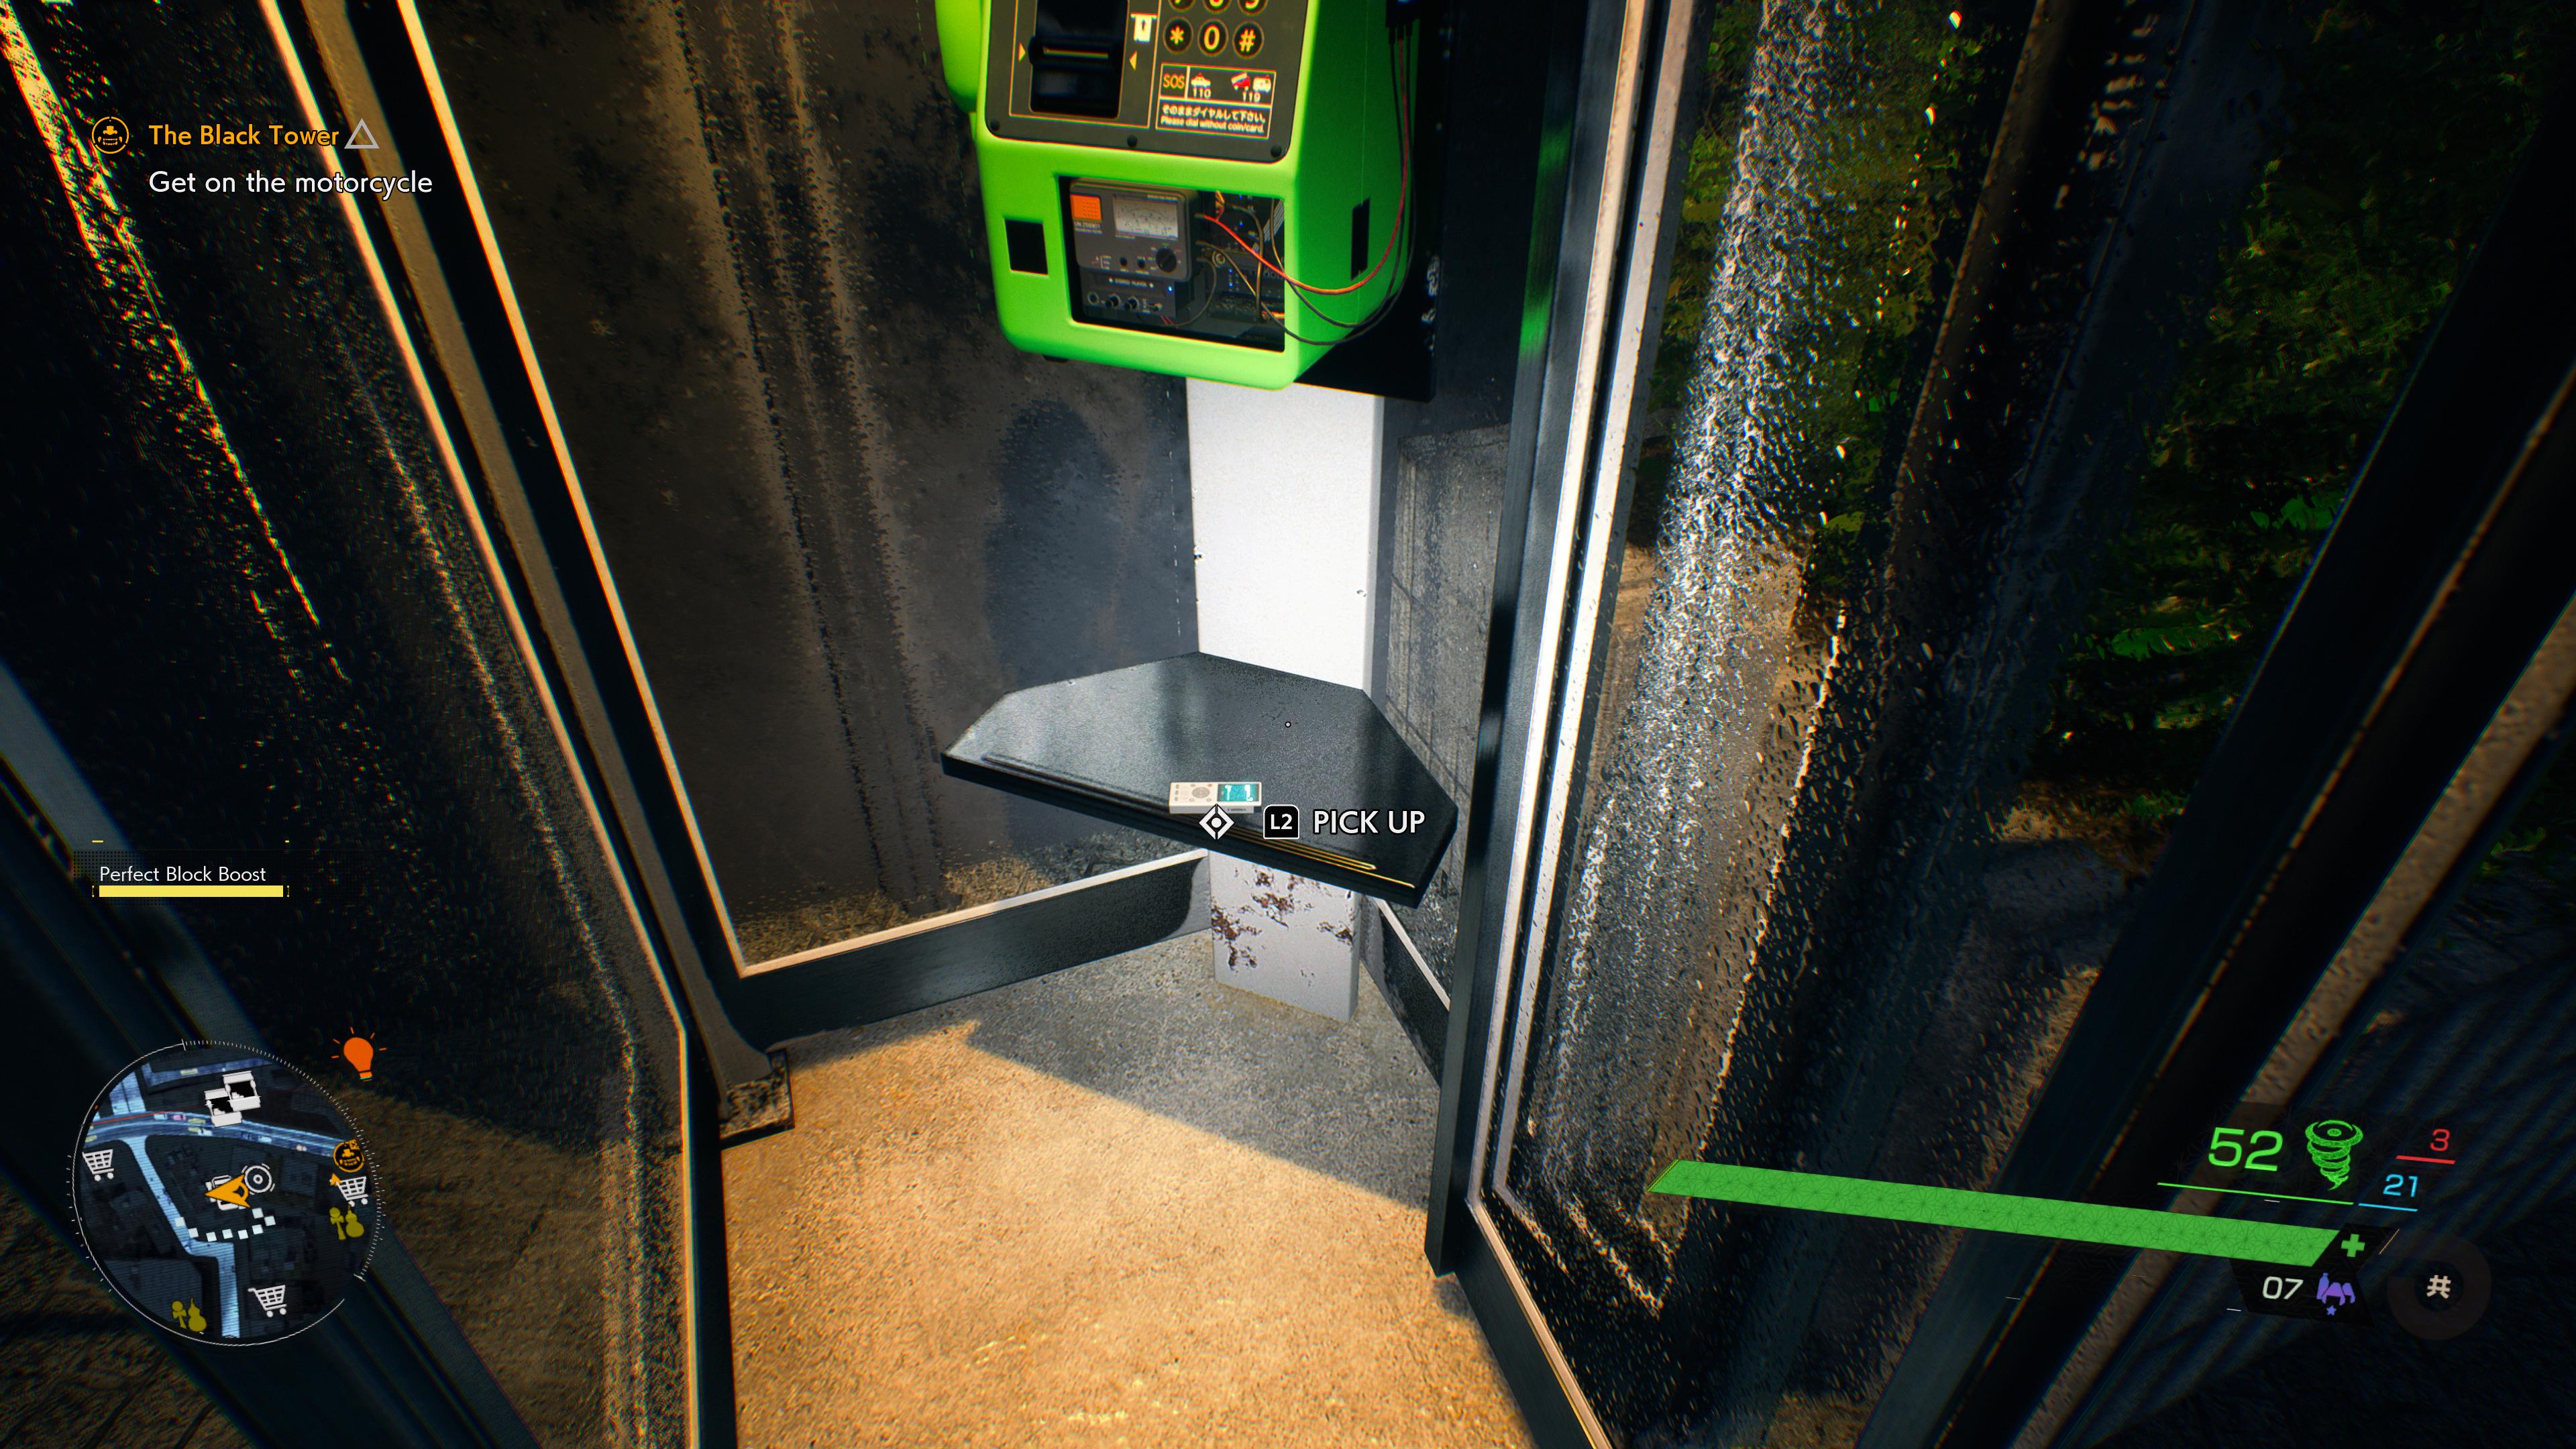
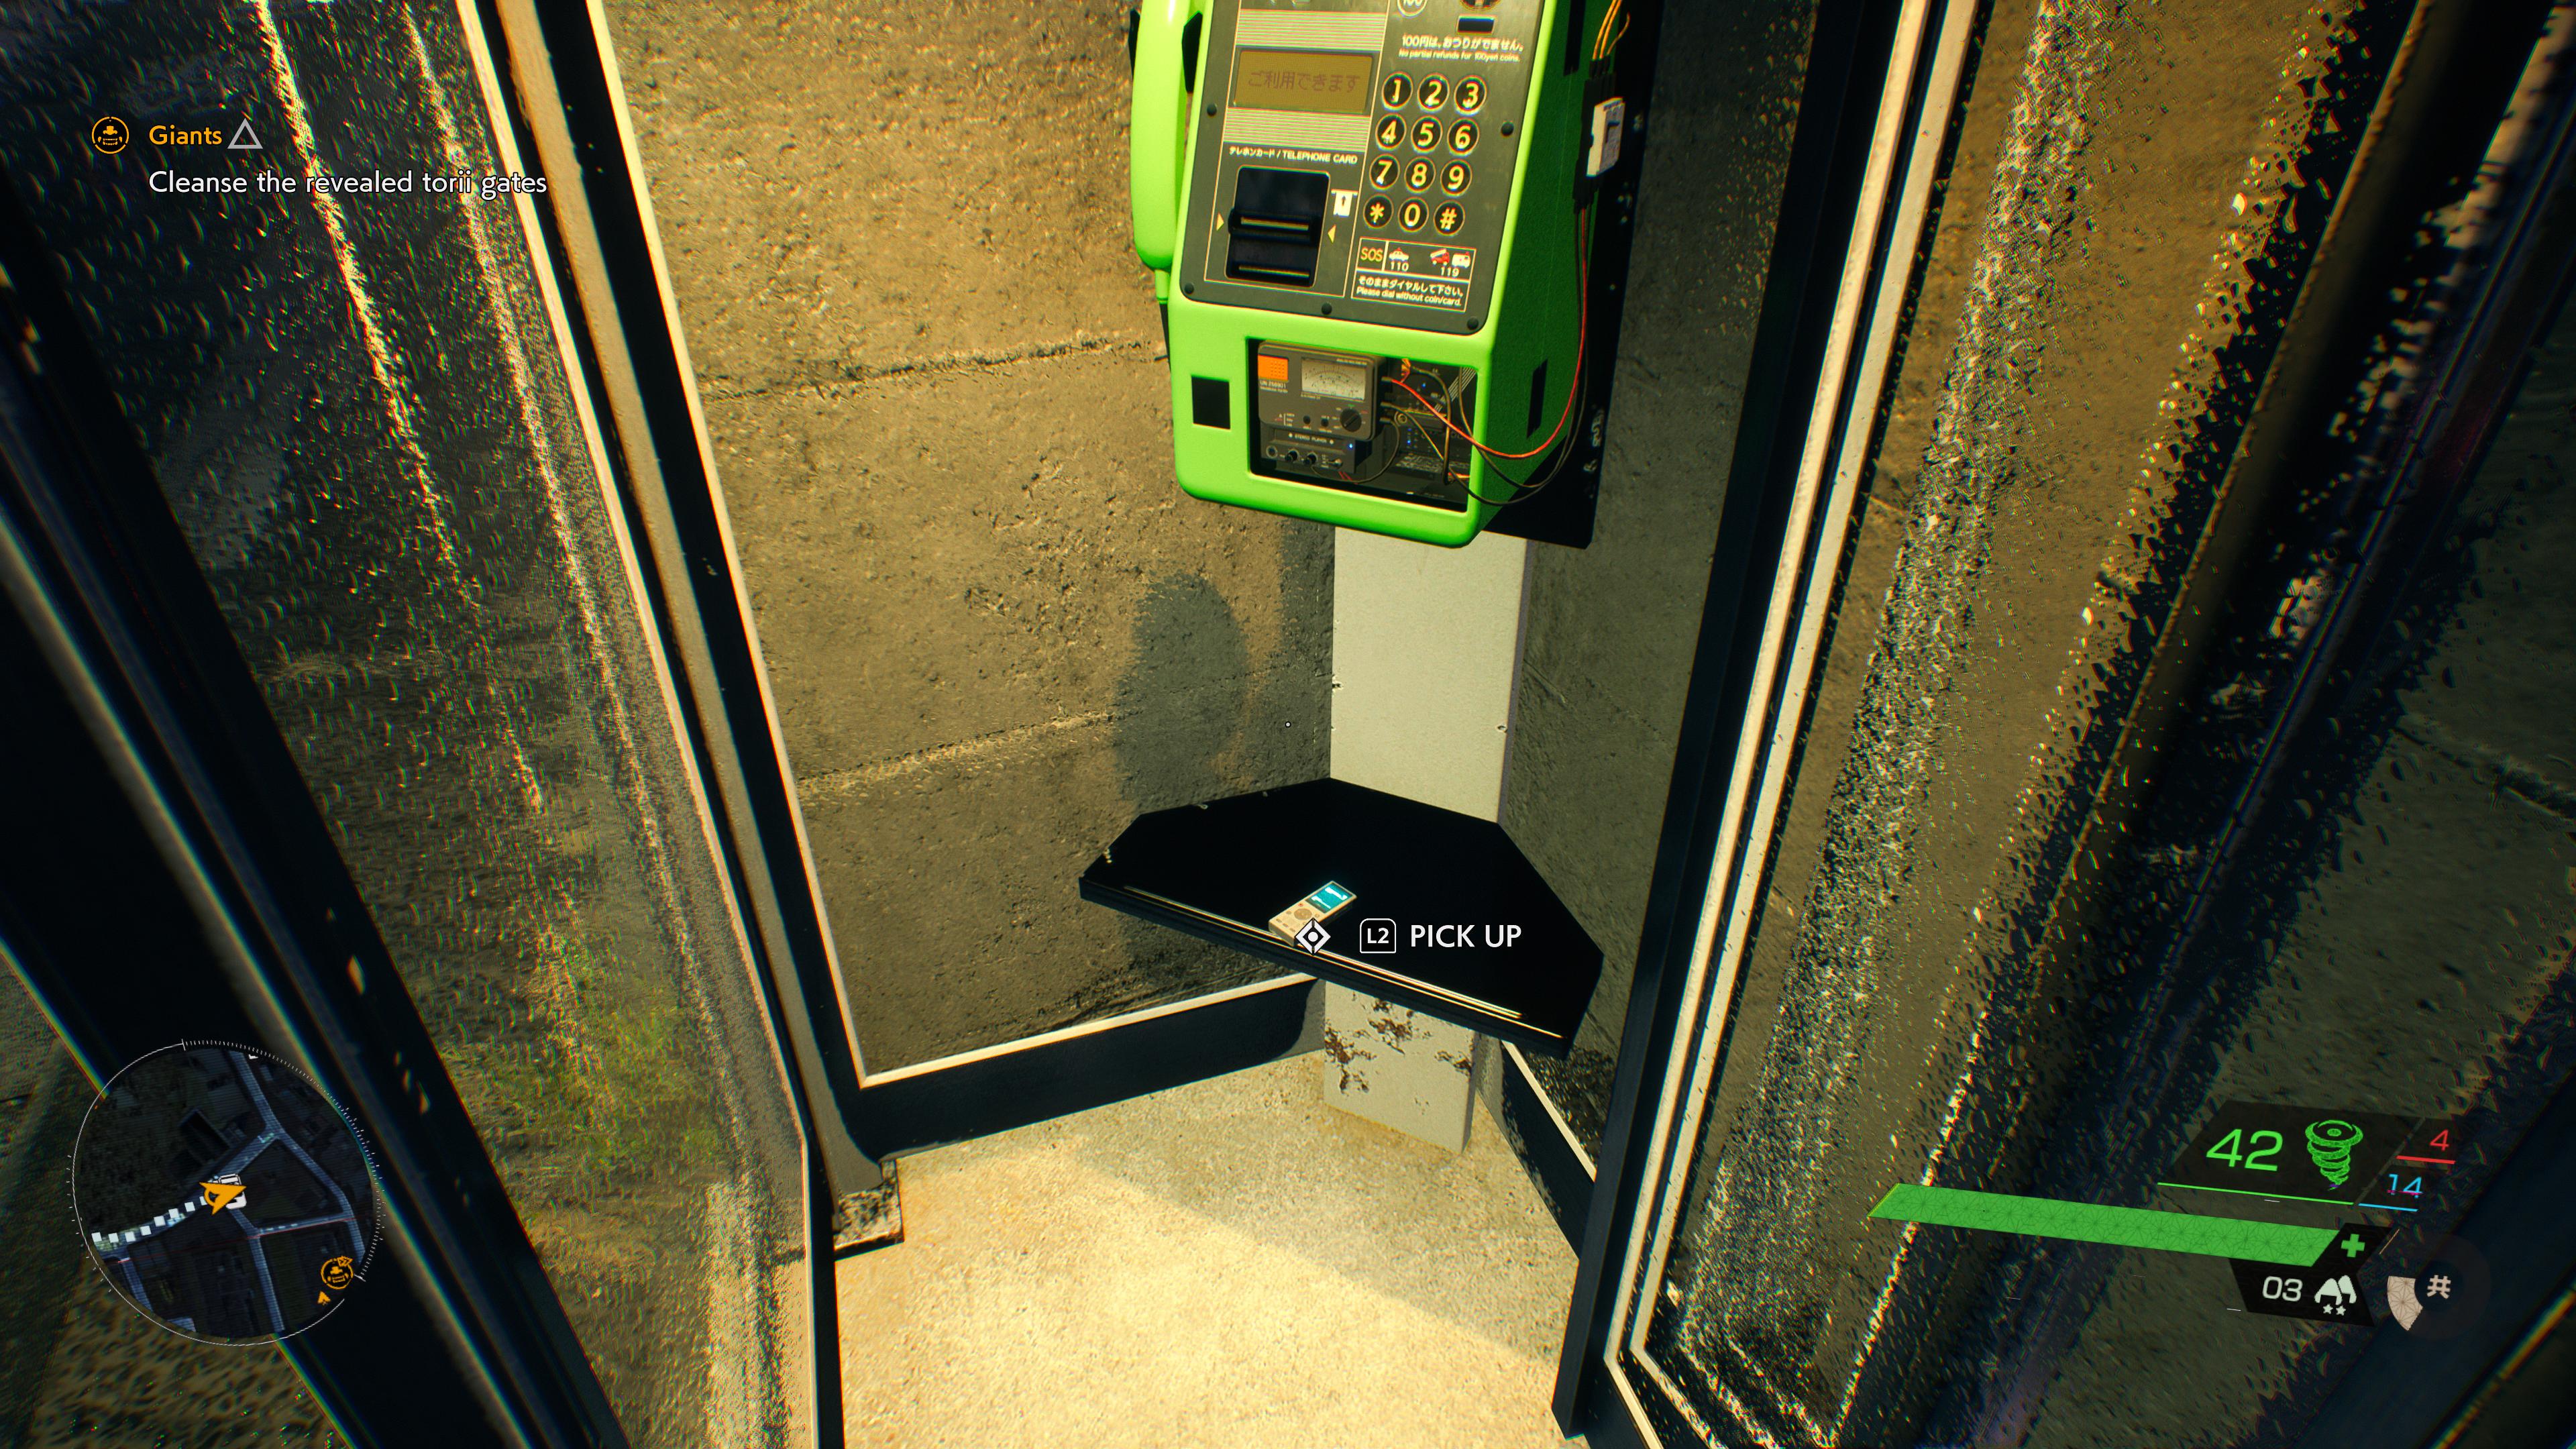
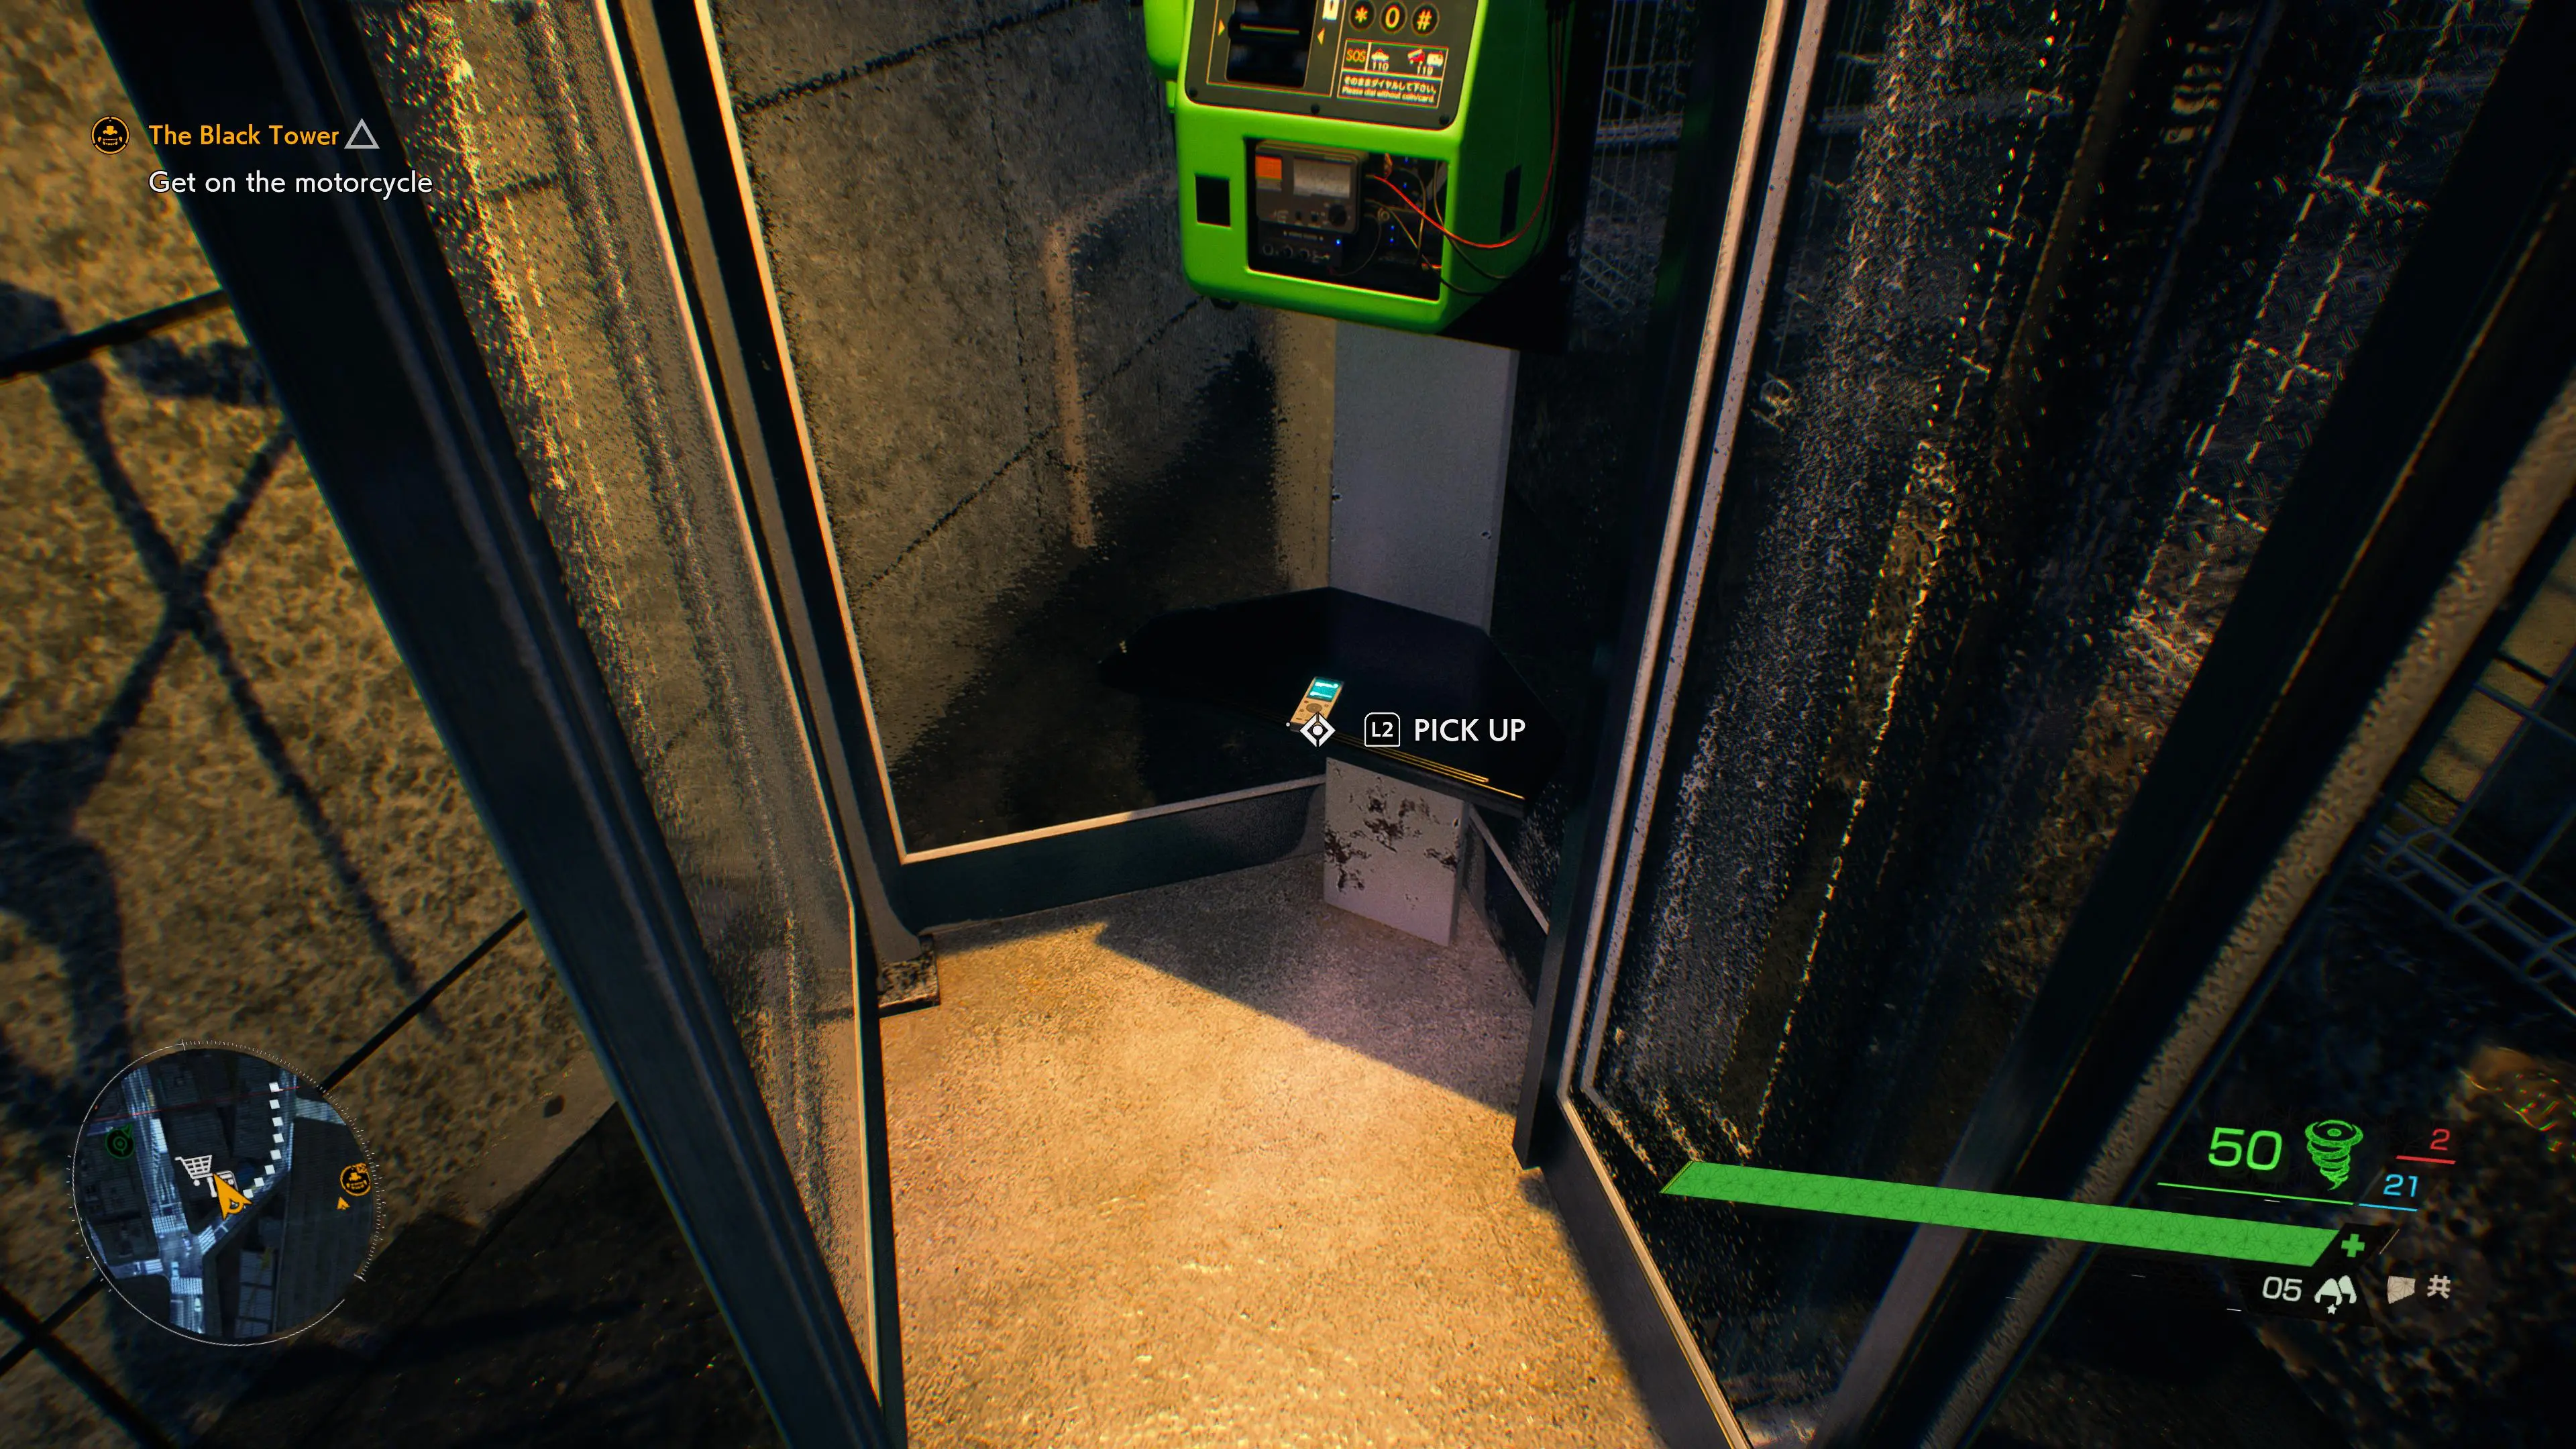
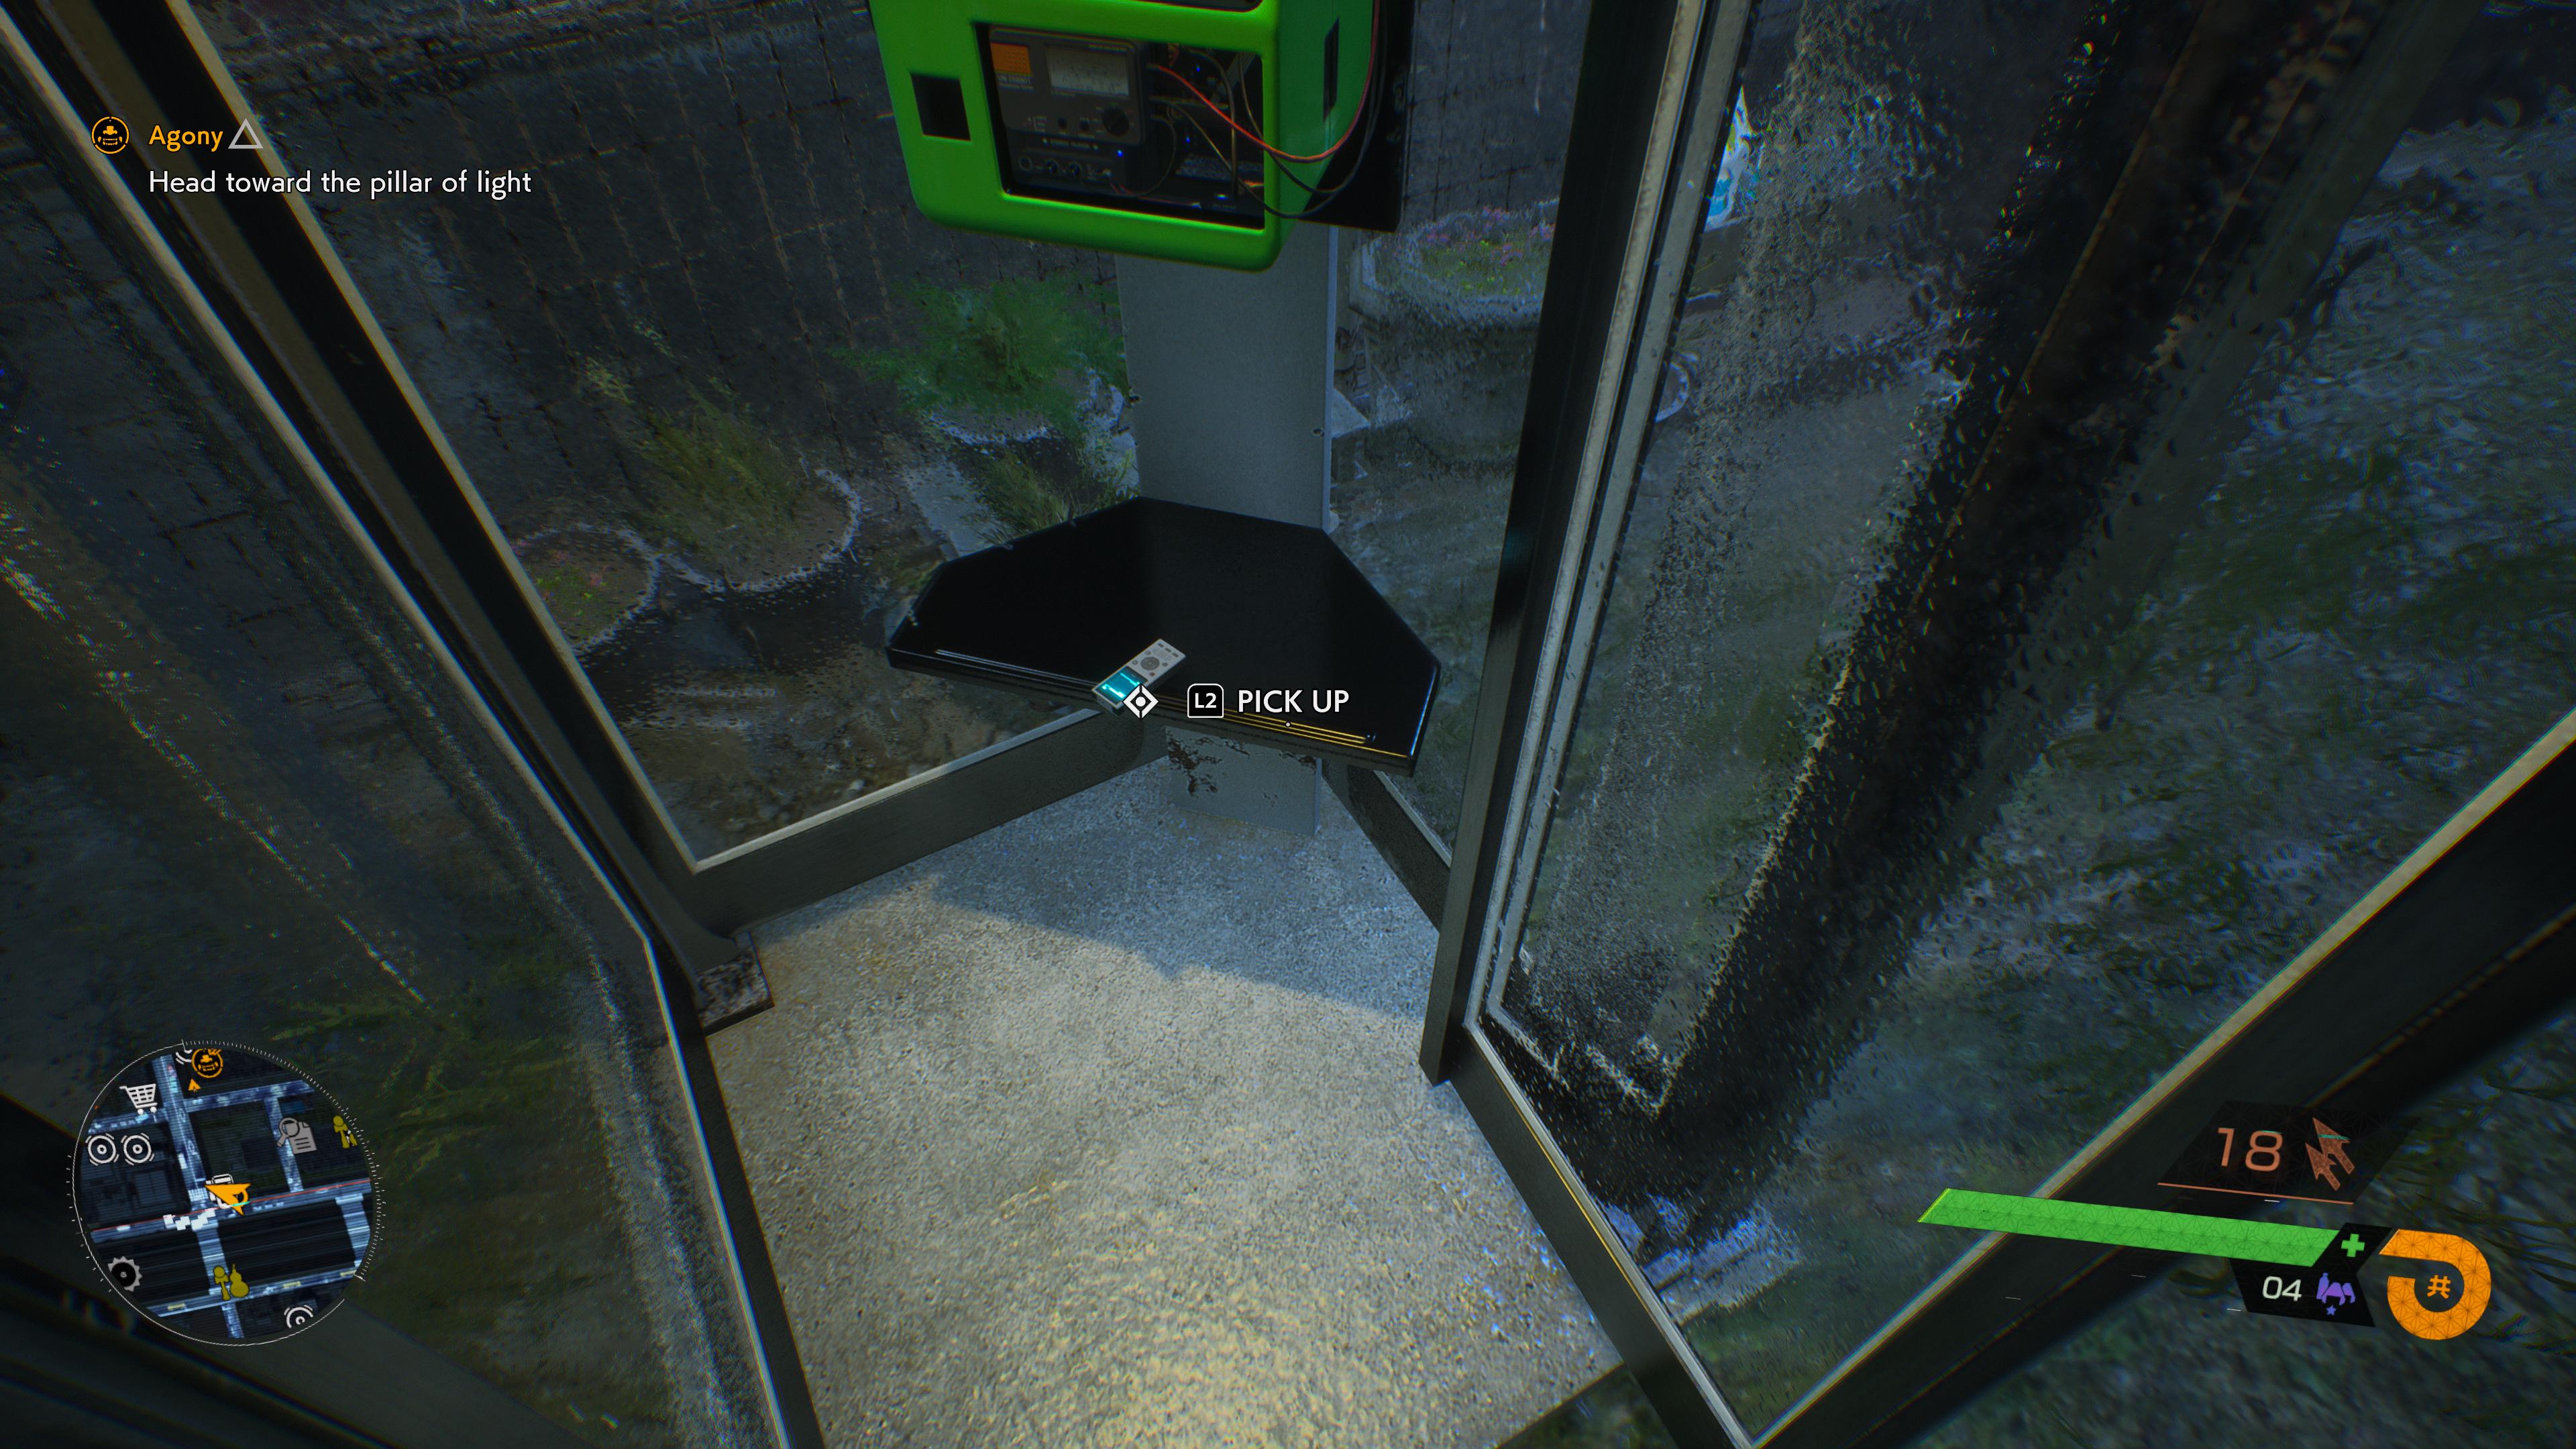
Fortunately, none of them are really out in the middle of nowhere. Most of the audio logs are found in specific phone booths throughout Shibuya, and a few are on laptops that have been left open near shrines. Even so, you’d need a lot of luck or insane persistence to do this on your own.
Like other Ghostwire collectibles, the only limiting factor in audio logs’ discovery is your ability to clear out enough fog from the city to be able to reach them. 16 of the 17 logs can be found by Chapter 4 when you’re finally able to cleanse every torii gate in Shibuya, while the last one is hidden near the start of Chapter 5.
While you do hit a point of no return near the end of Chapter 5 where you can no longer backtrack, you do have the option after Ghostwire‘s closing credits to make a new save file. If you load that, you’ll be returned to Shibuya at the end of Chapter 4. As such, you can’t permanently miss any audio logs, or indeed, any other collectibles in the game.
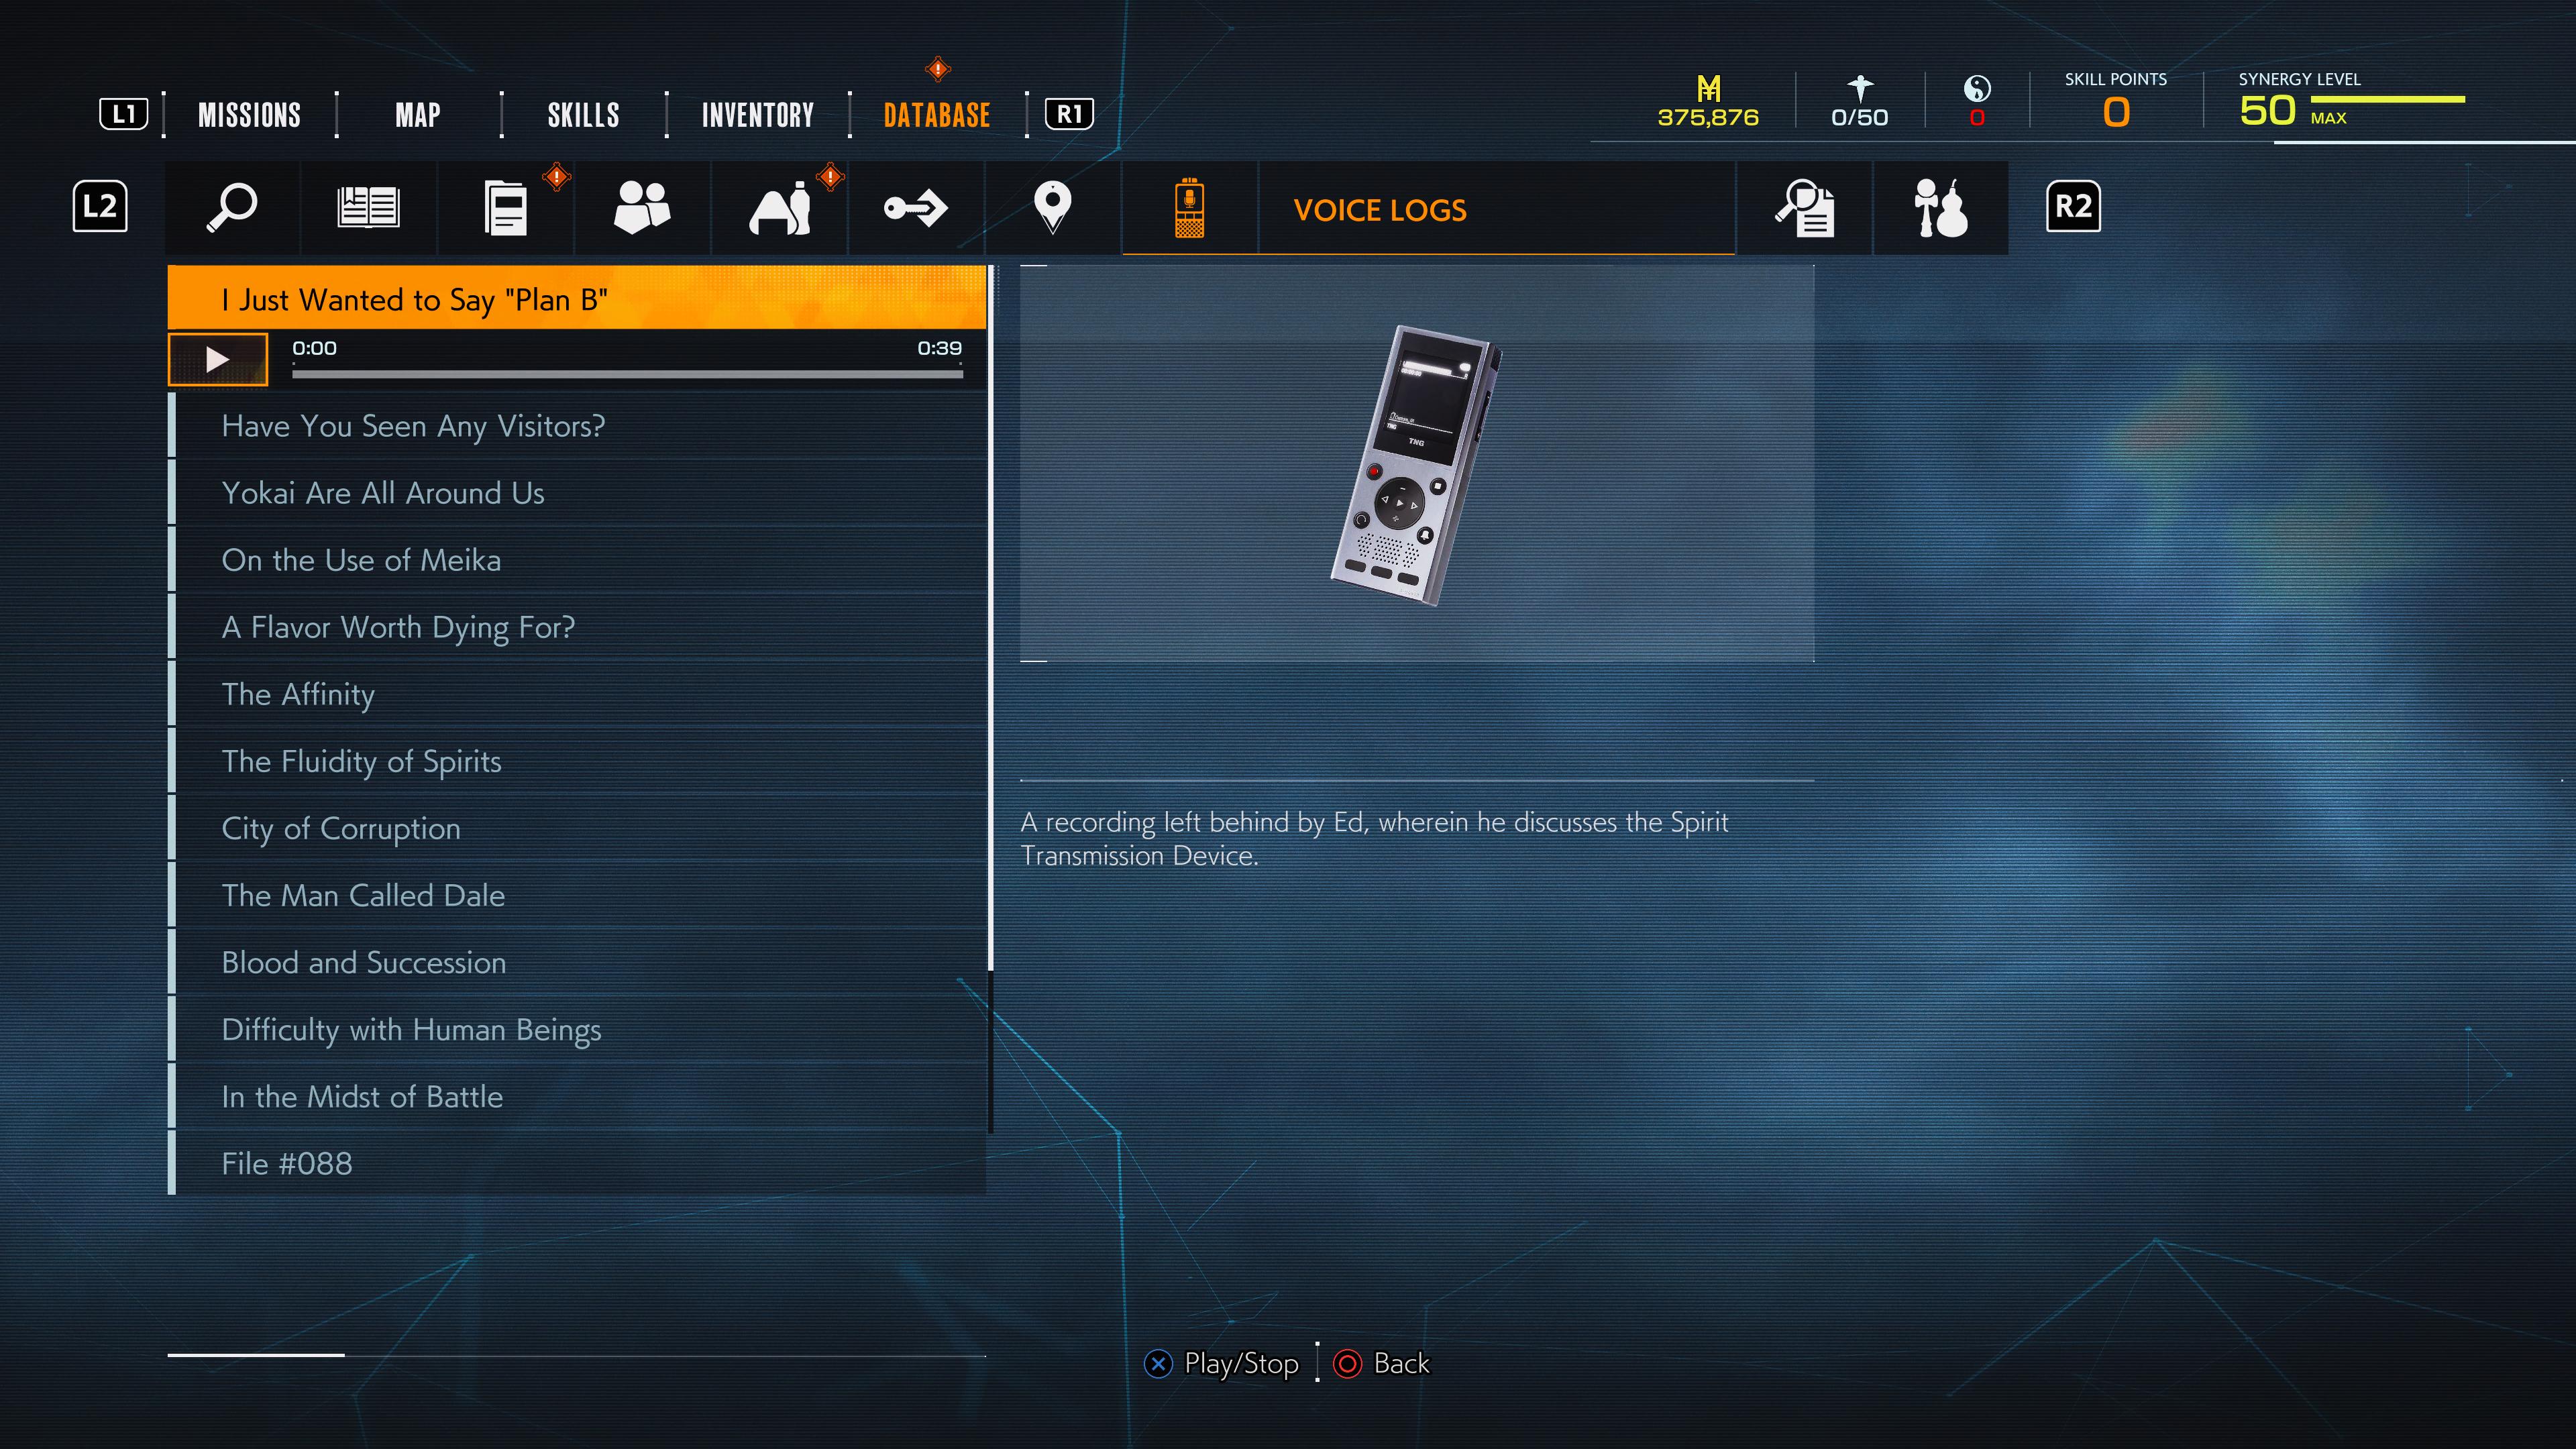
The following list is set up in the order in which the logs appear in your in-game database, which also roughly corresponds to the order in which they can be found. Naturally, this includes mild spoilers, so you may want to clear the game before you use this guide.
Ghostwire: Tokyo Audio Log Locations
I Just Wanted to Say Plan B
In the first phone booth you enter, as part of the in-game tutorial on their use, look on top of the unit. This is an outlier among audio logs, as most of the rest of them are on the shelf below the phone, rather than on top of it.
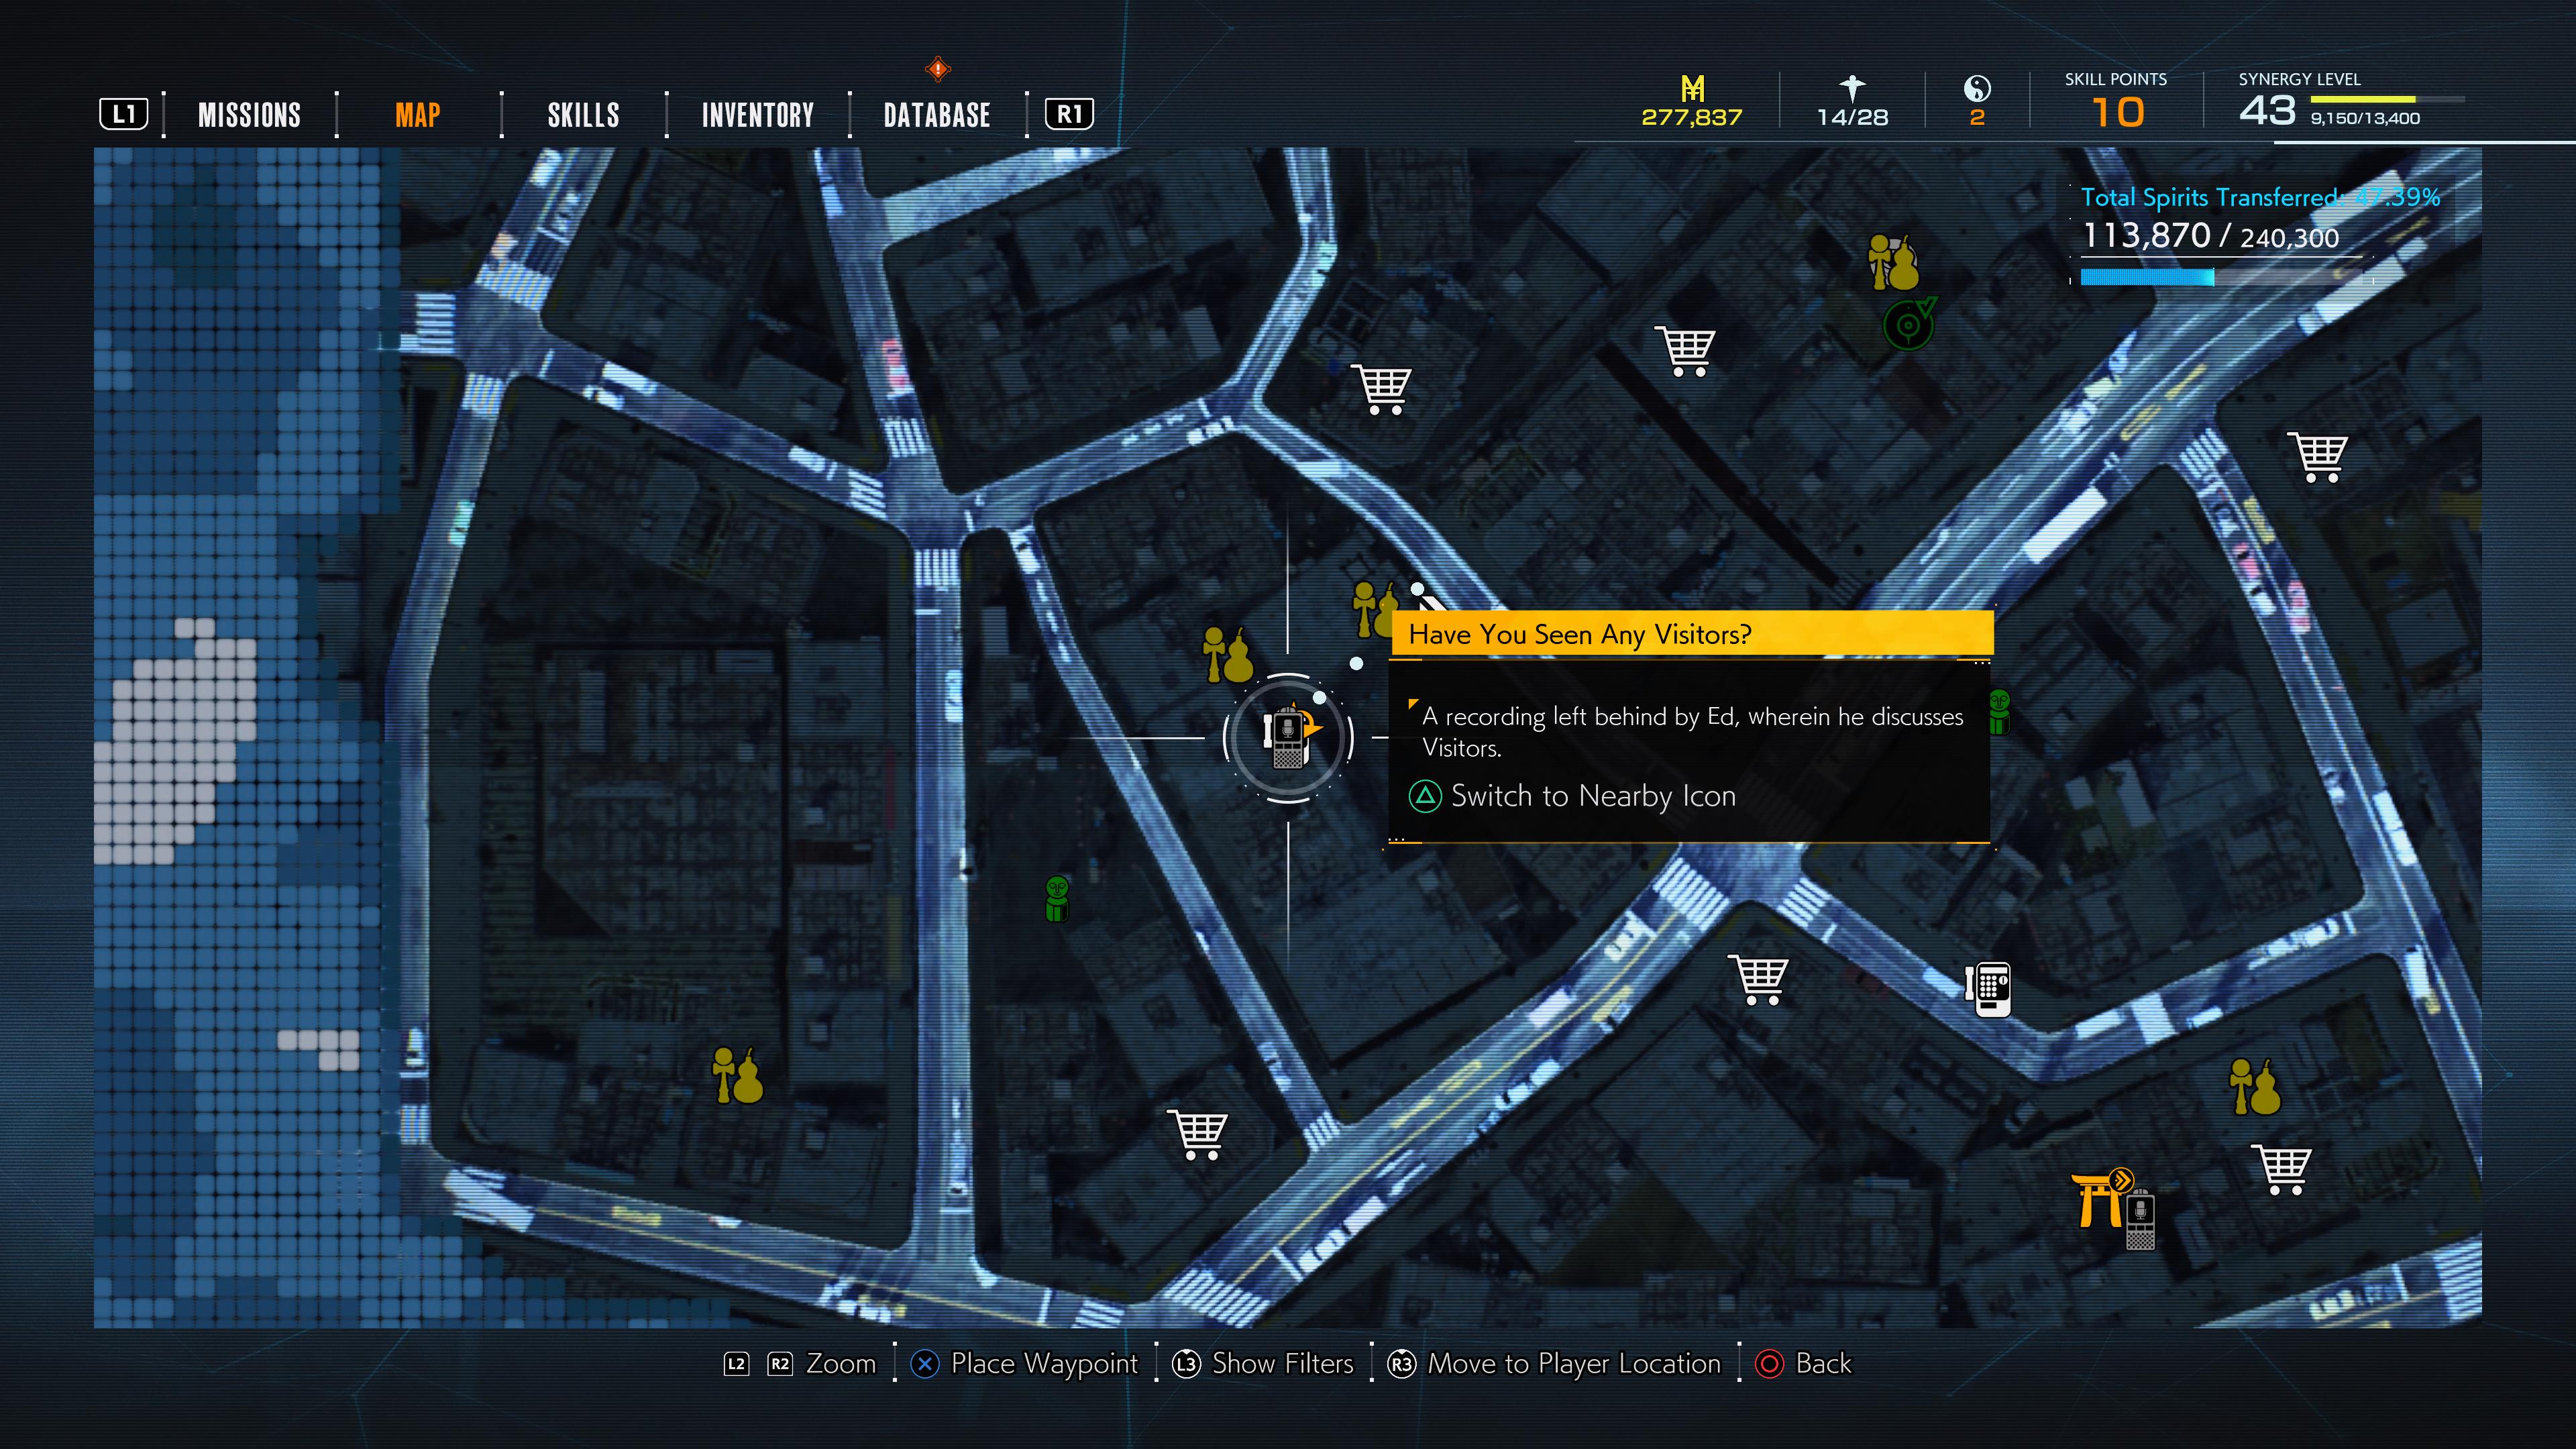
Have You Seen Any Visitors
Check the phone booth behind KK’s safehouse, on the west side of town.
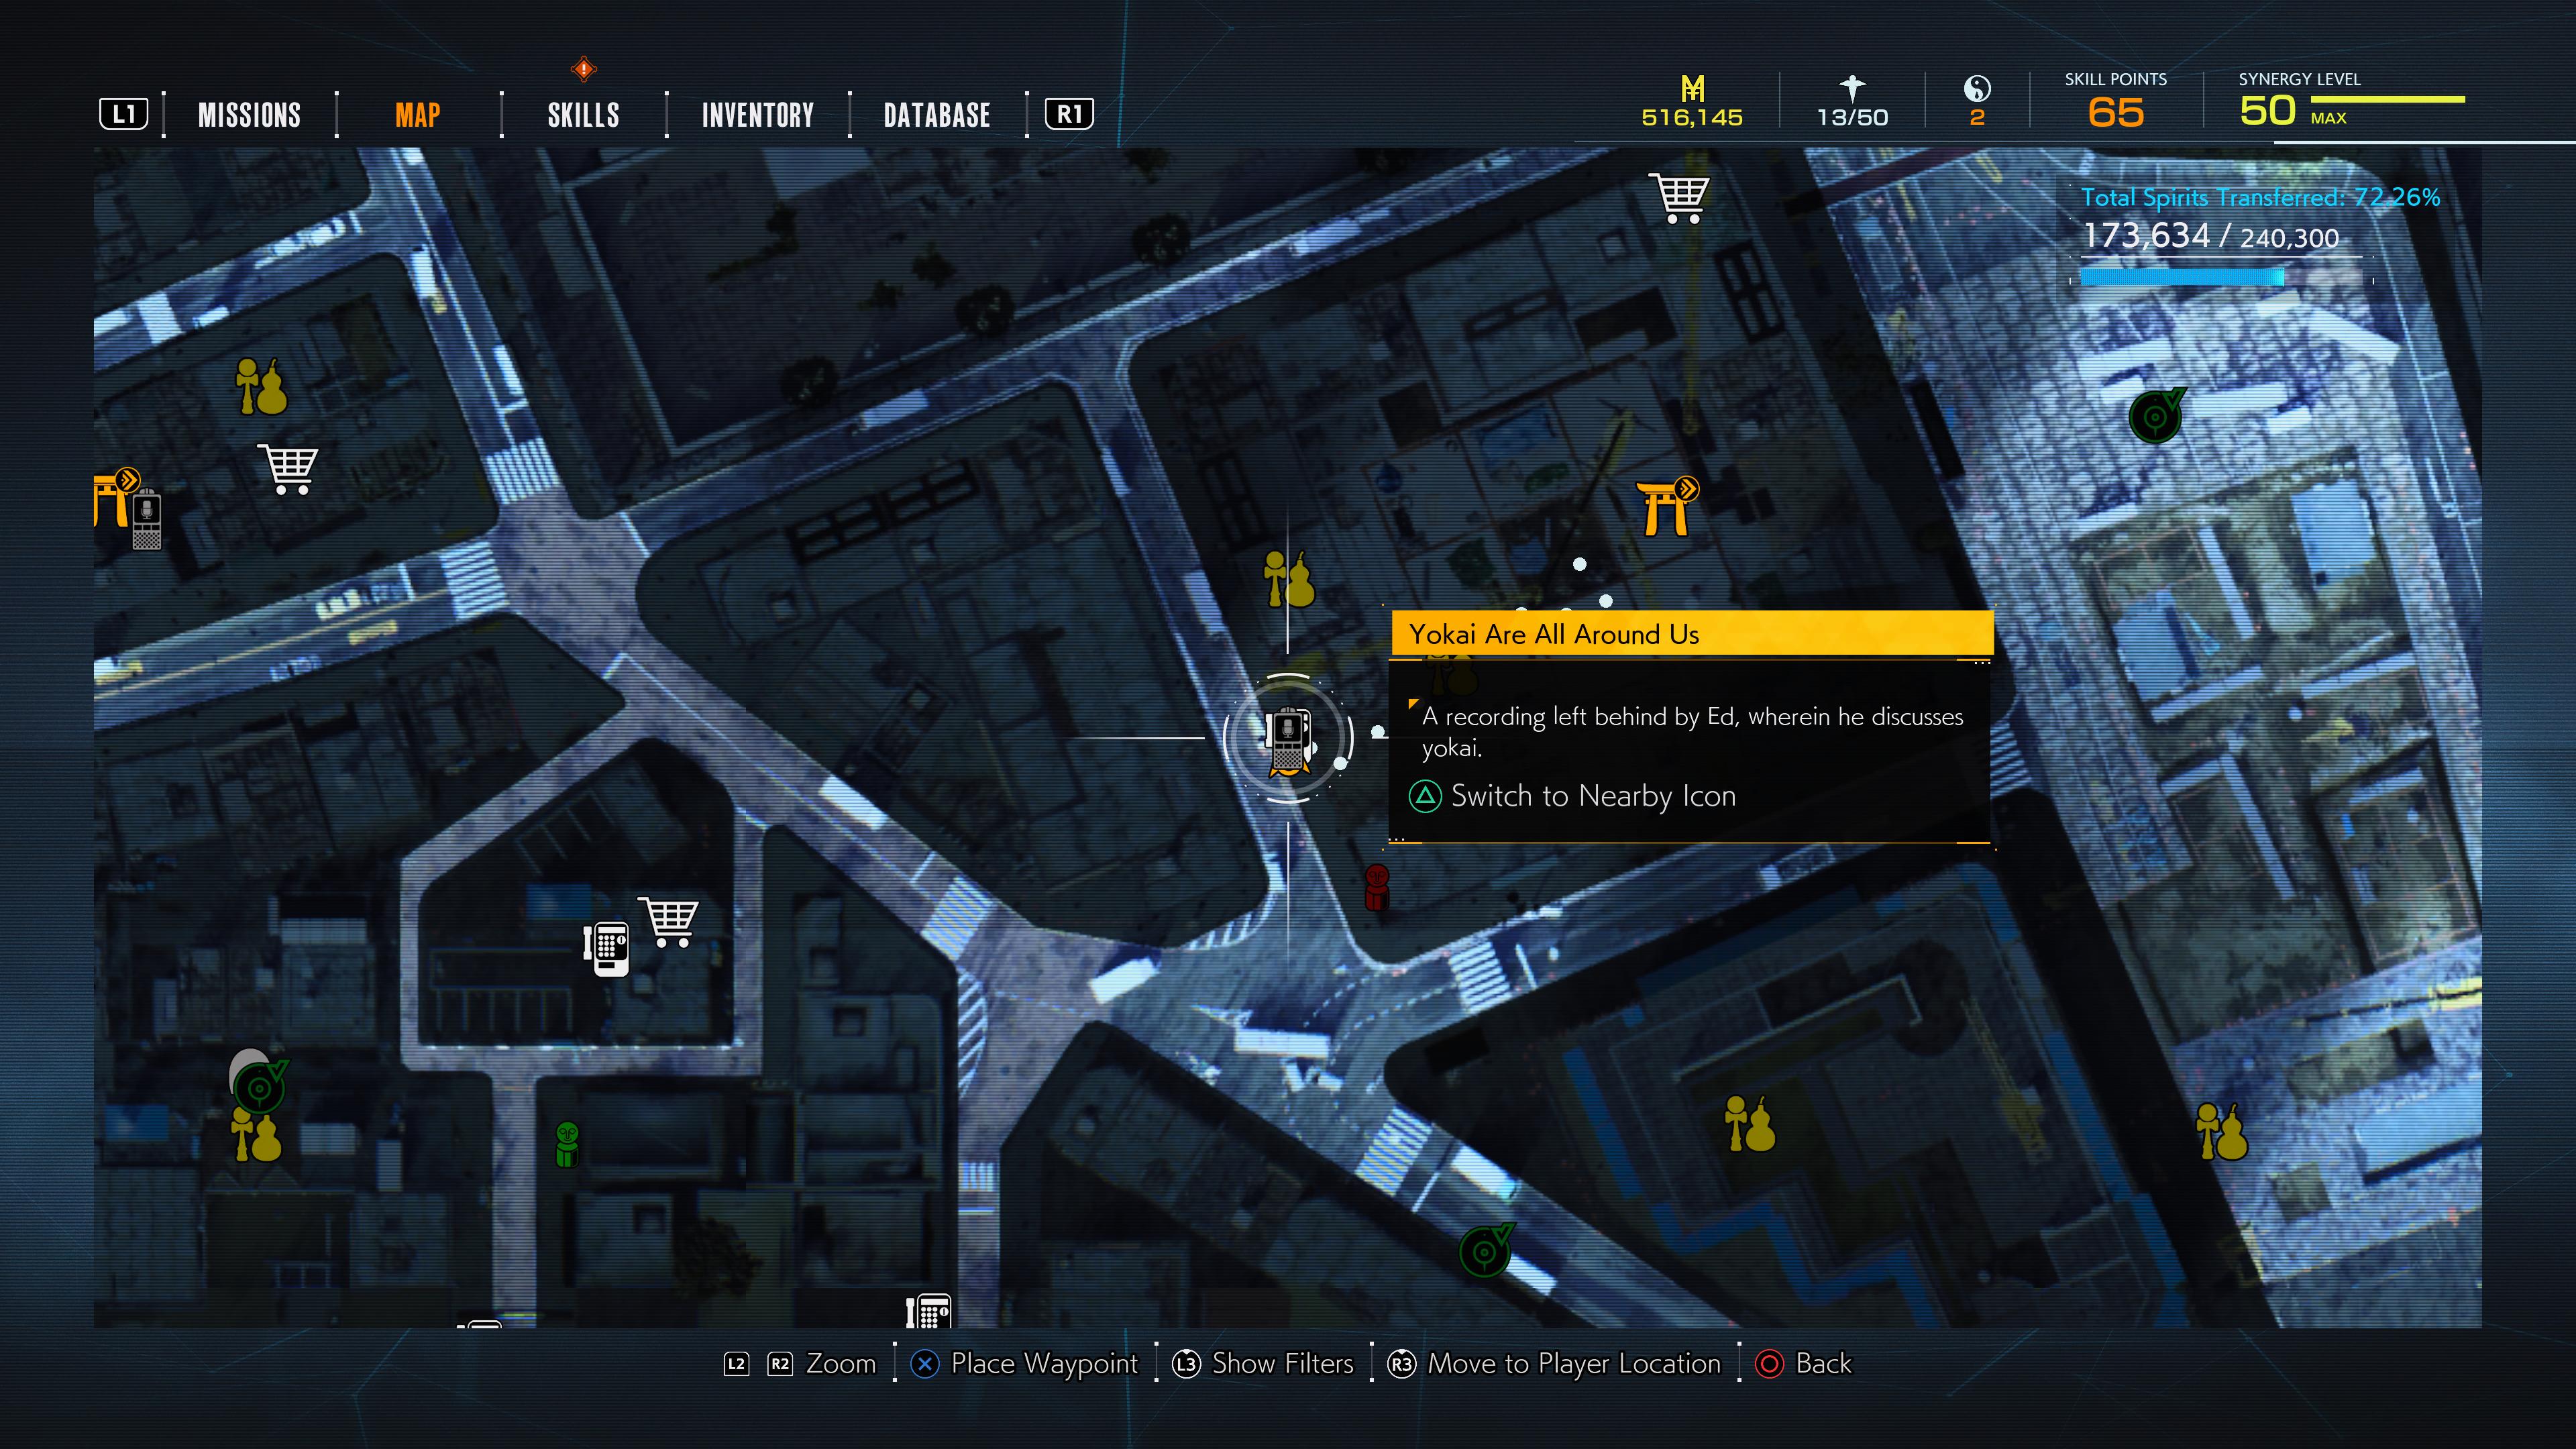
Yokai Are All Around Us
Look in the phone booth directly west of the Yashin Shrine.
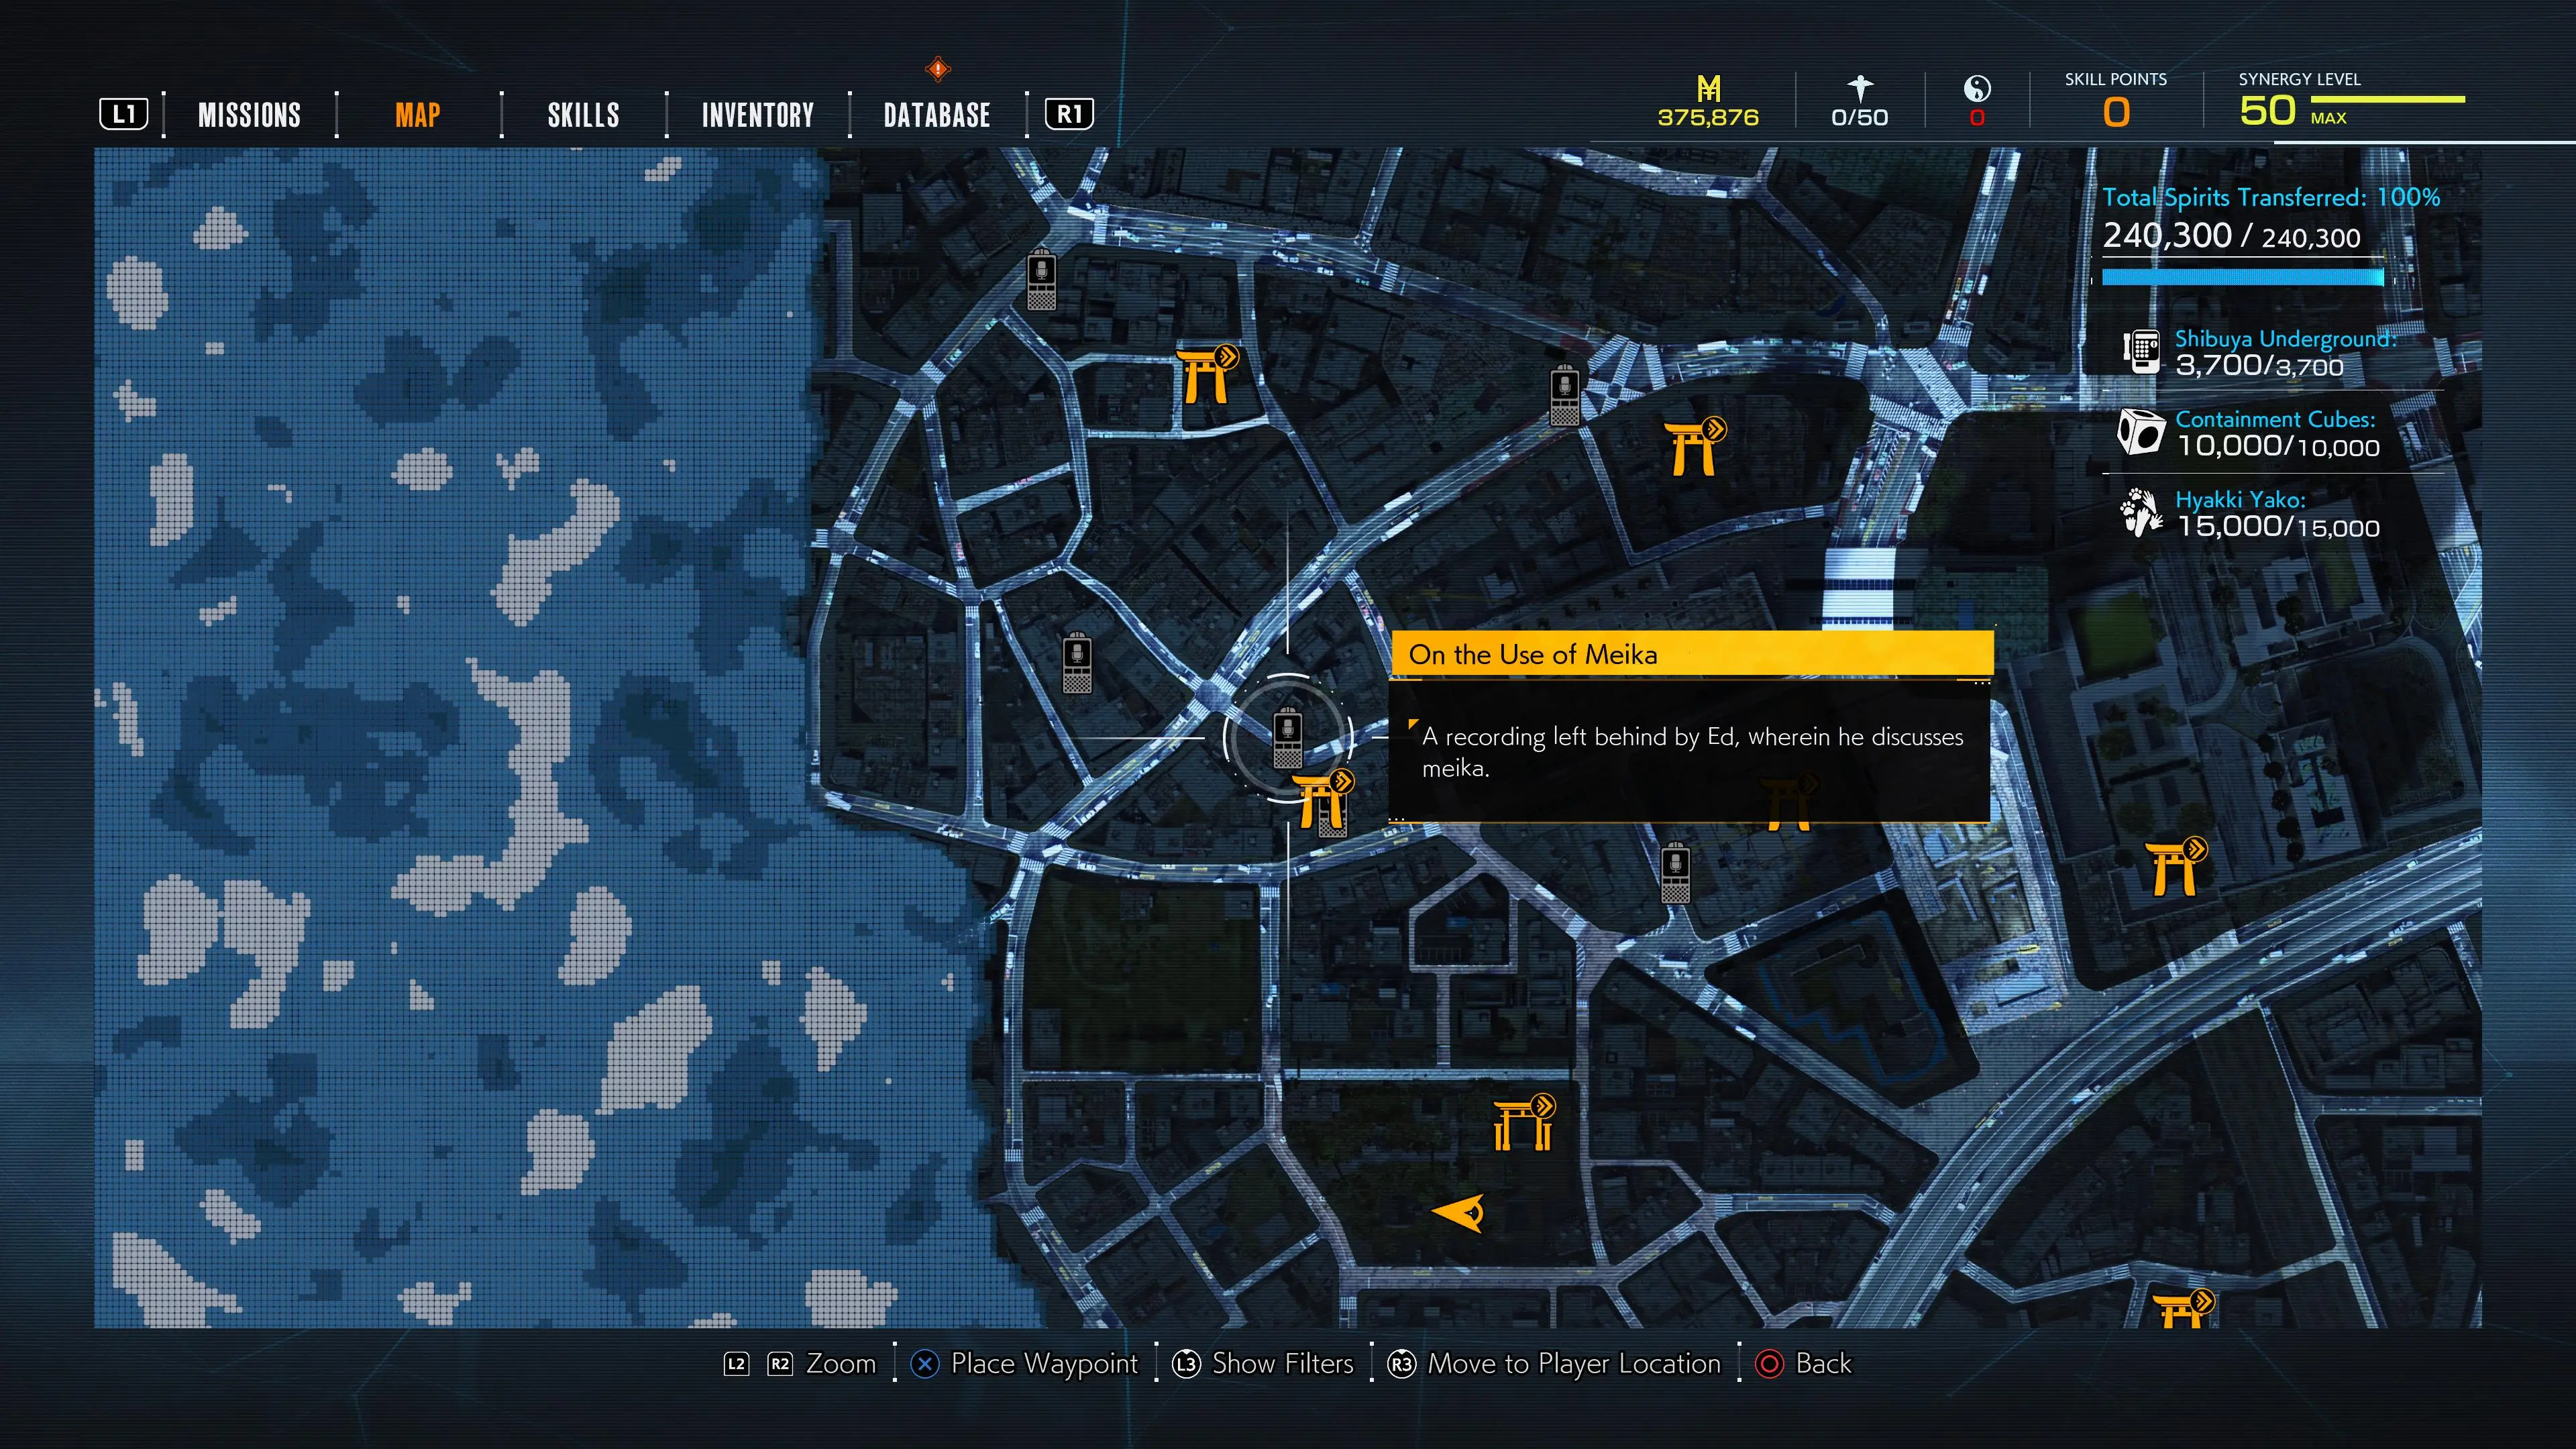
On the Use of Meika
Grab the recorder in the phone booth that’s just north of the Namita Shrine. If you fast-travel to Namita, then turn around almost 180 degrees and jump off the roof, you’ll land next to the right phone booth.
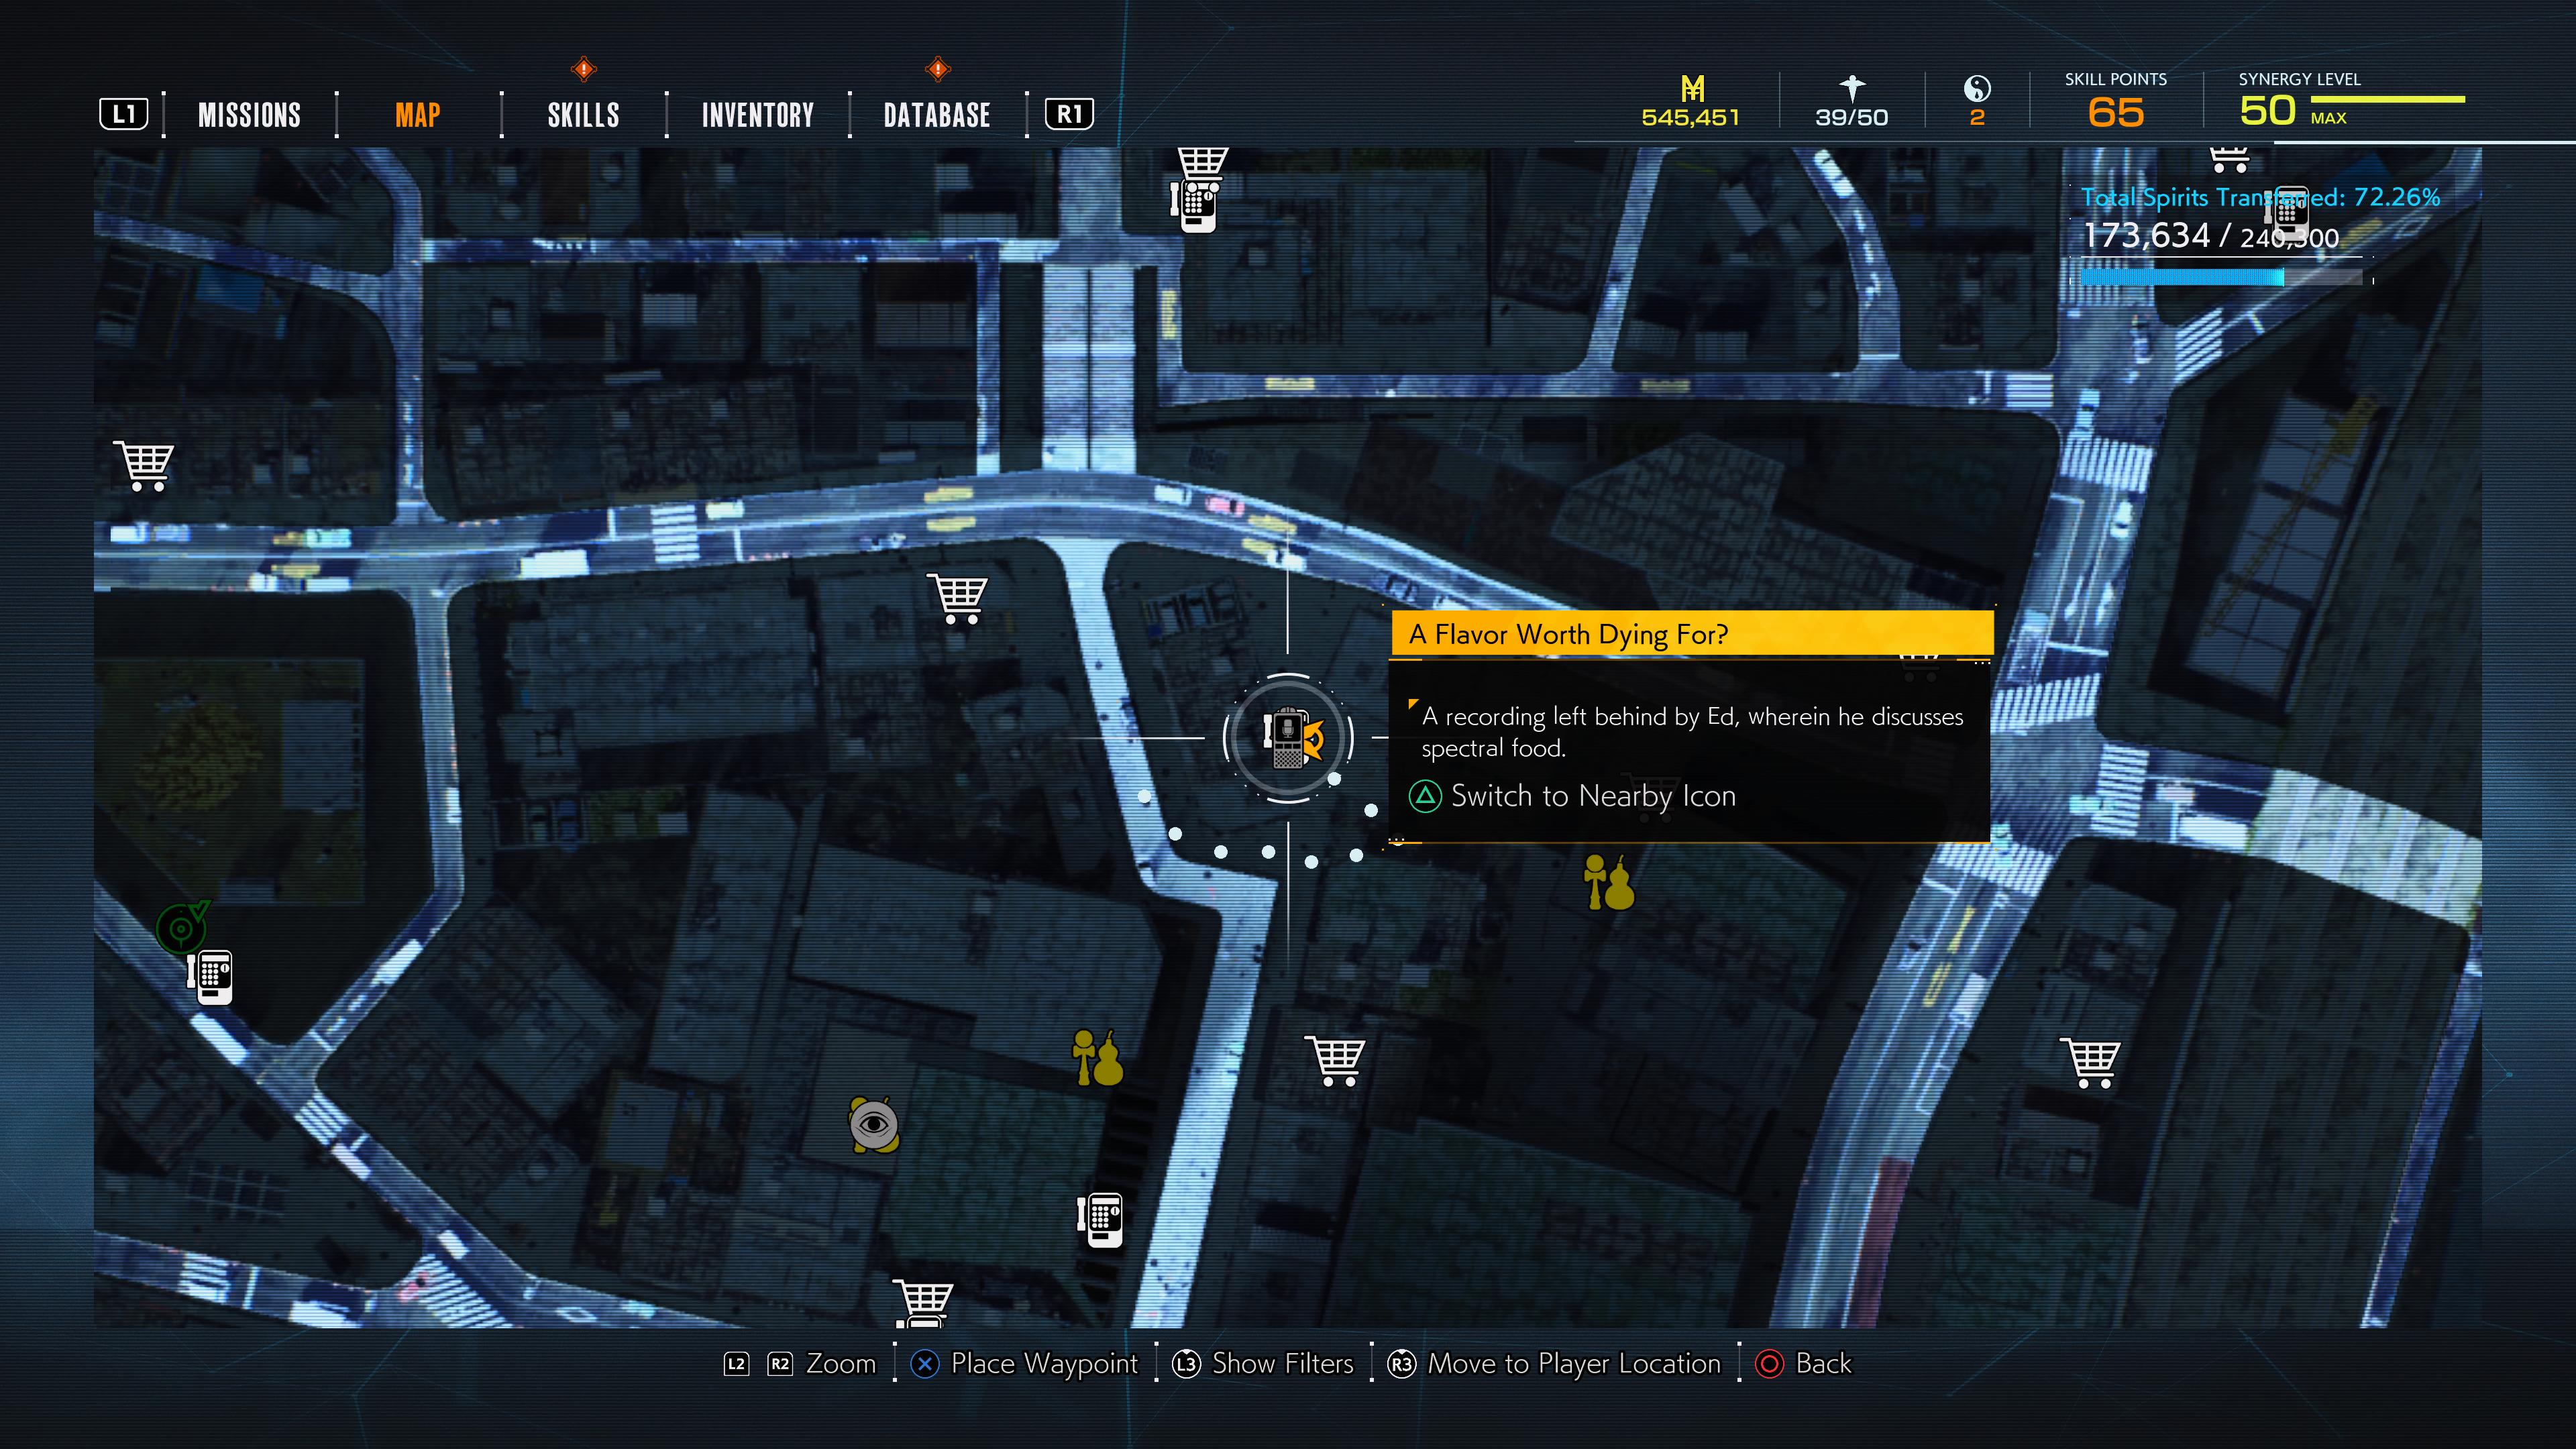
A Flavor Worth Dying For?
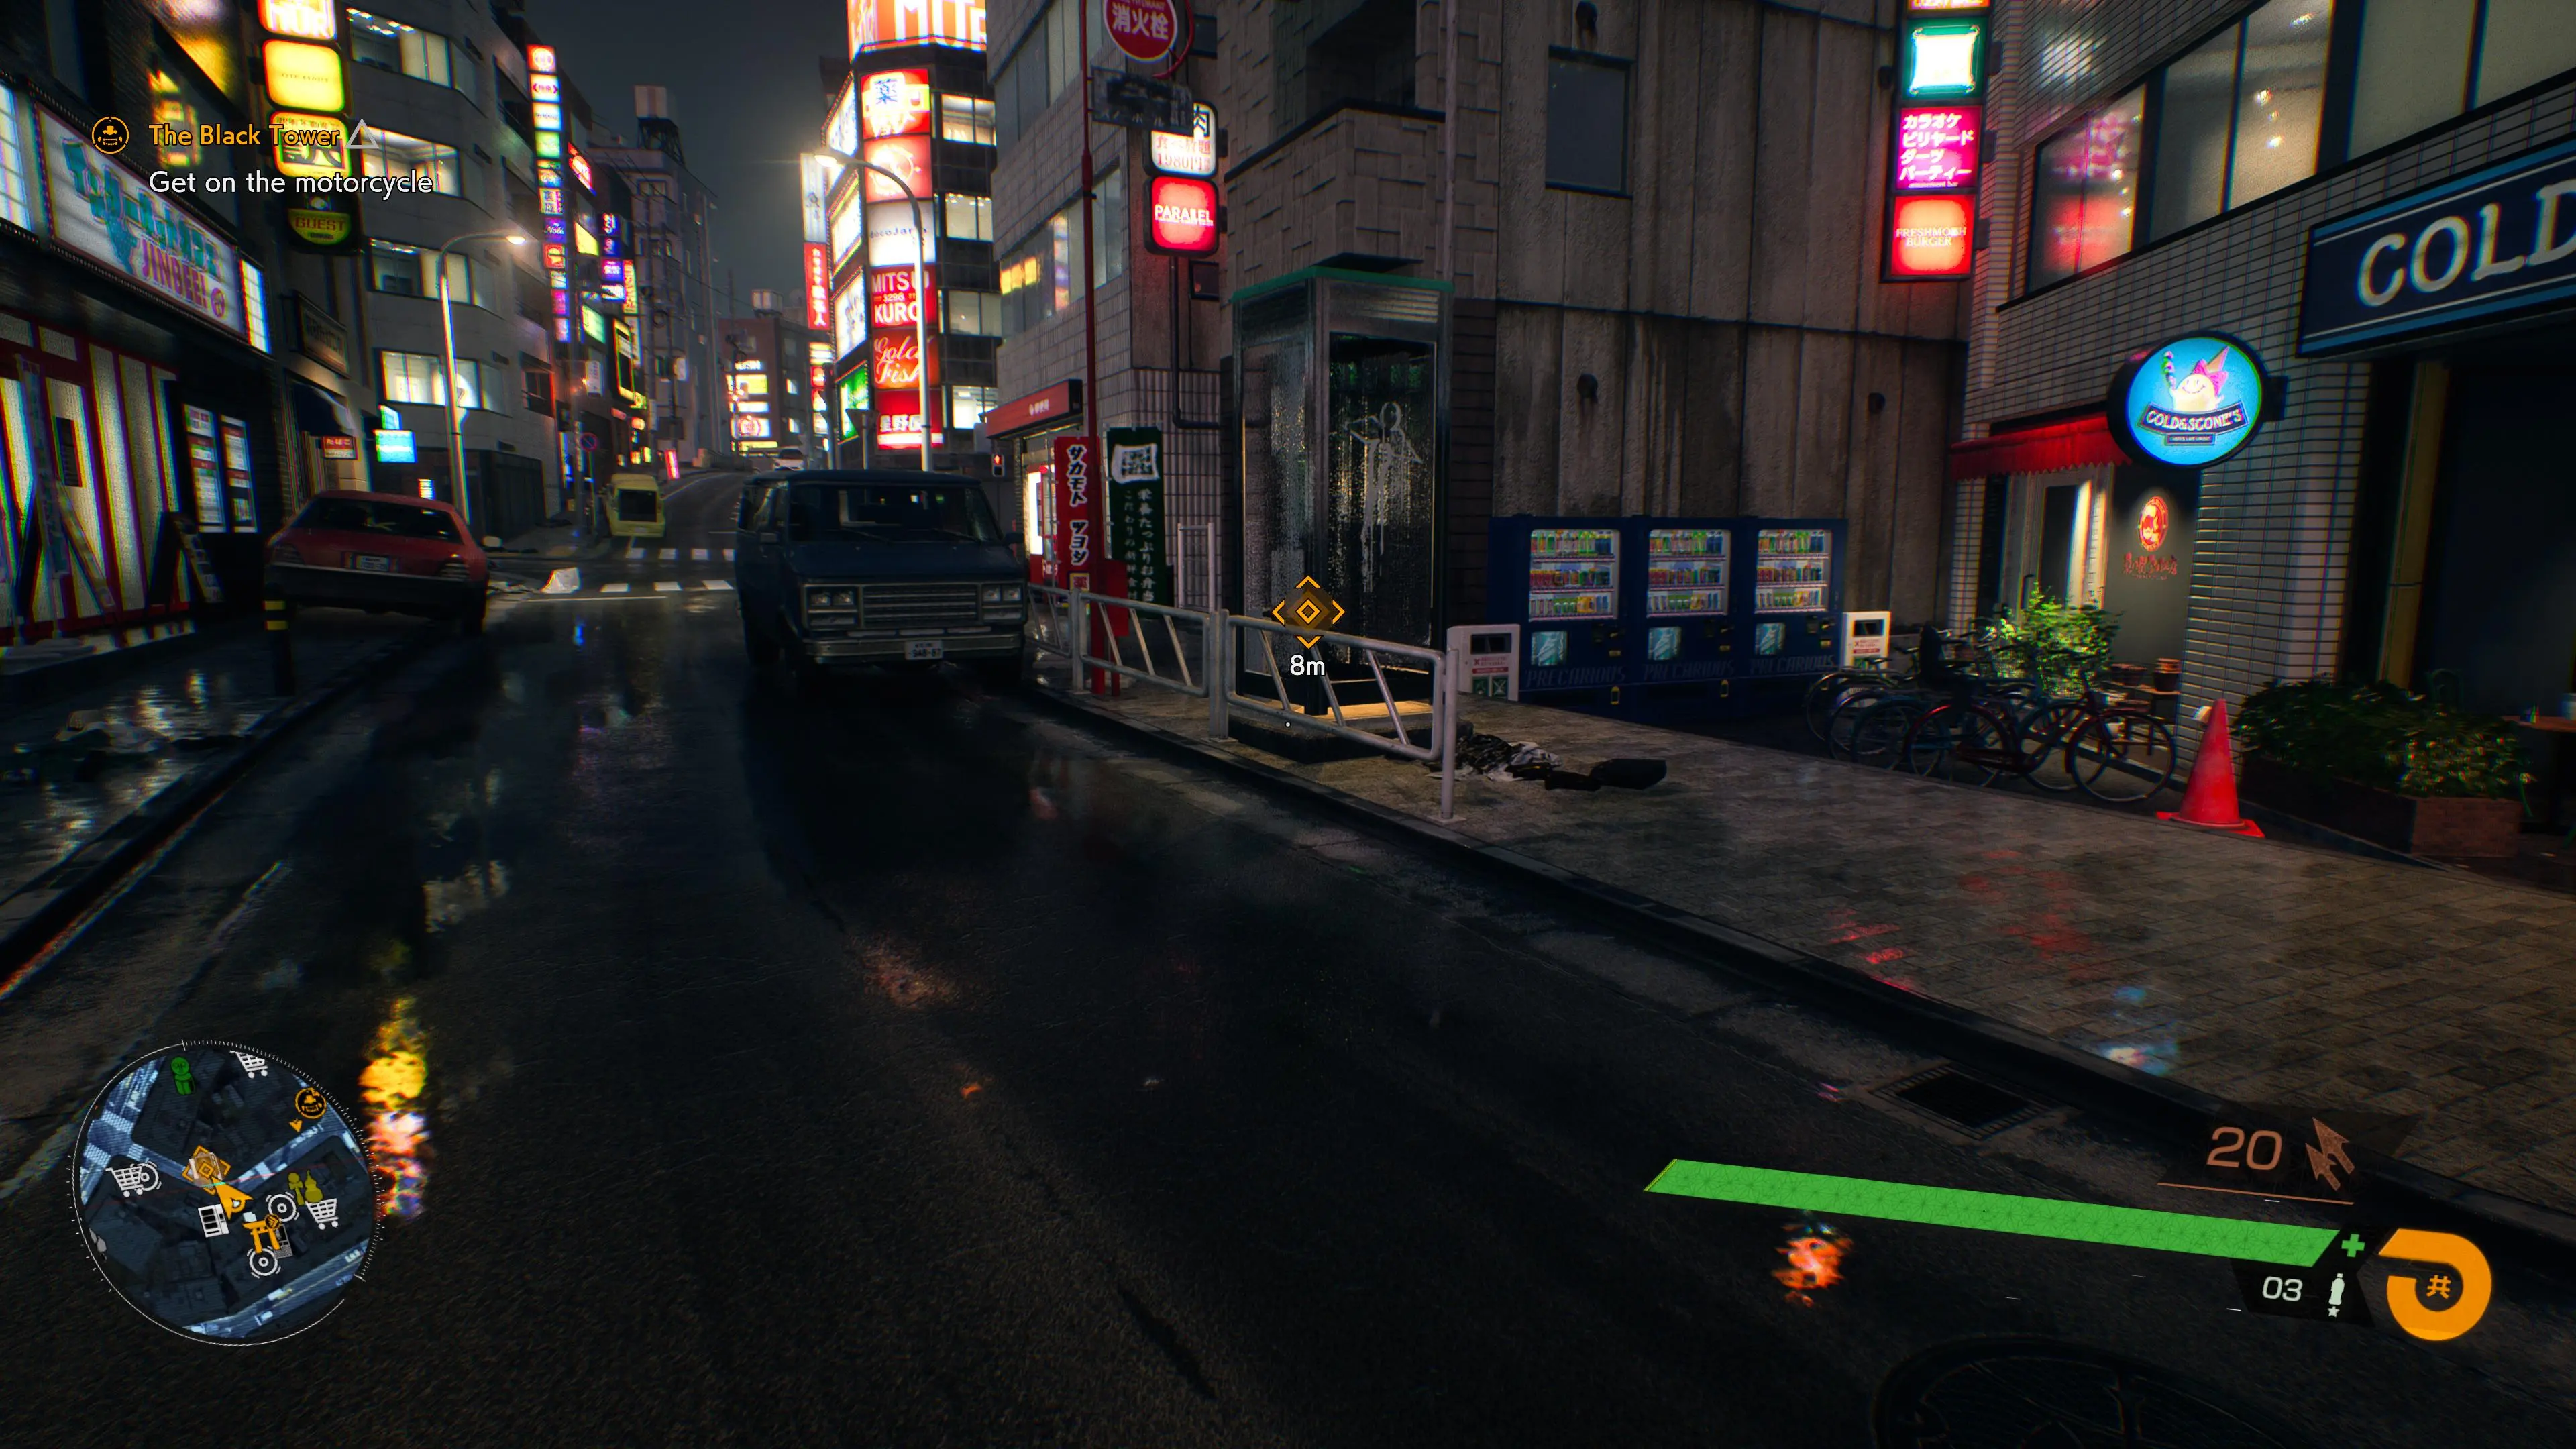
This is a little hard to find. Start from the torii gate in the Utagawa Shopping District and go south along the street. Ignore the first phone booth you pass and check the second, which will be in a darkened alley on your left.
The Affinity
Check the phone booth just north of Yamaki Shrine and west from the Noto Shrine, on the southeastern edge of the wooded area.
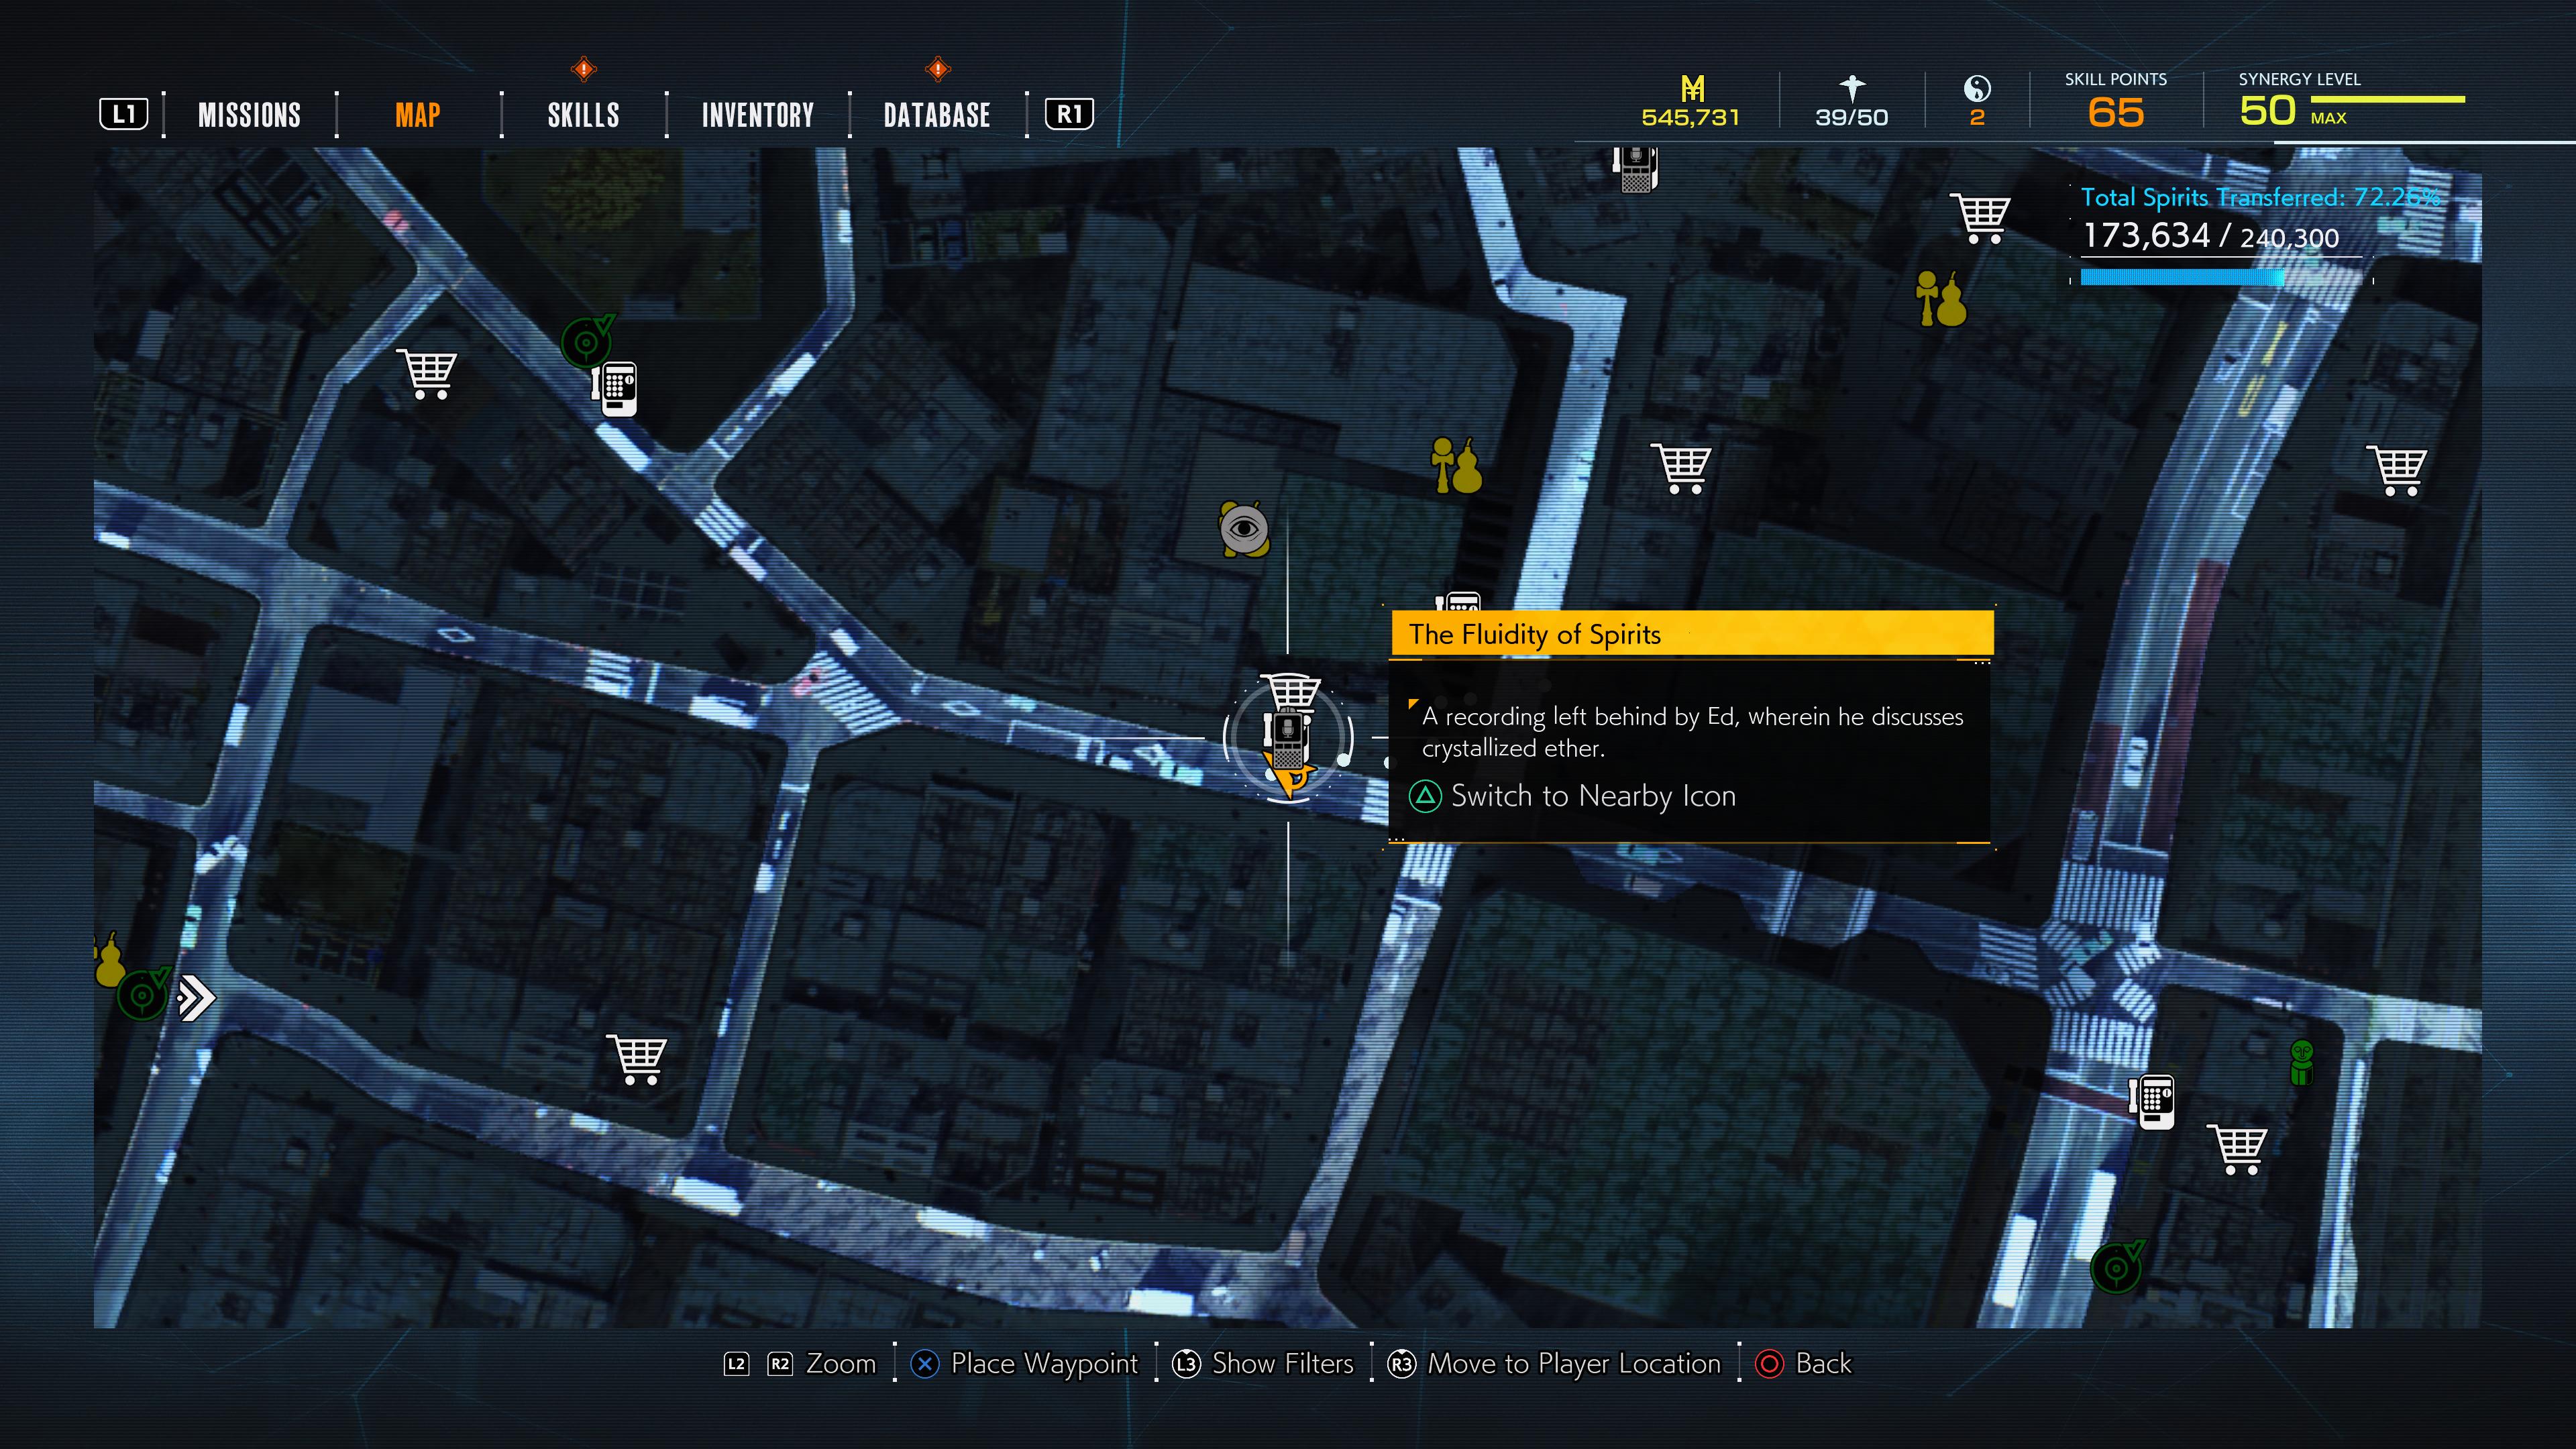
The Fluidity of Spirits
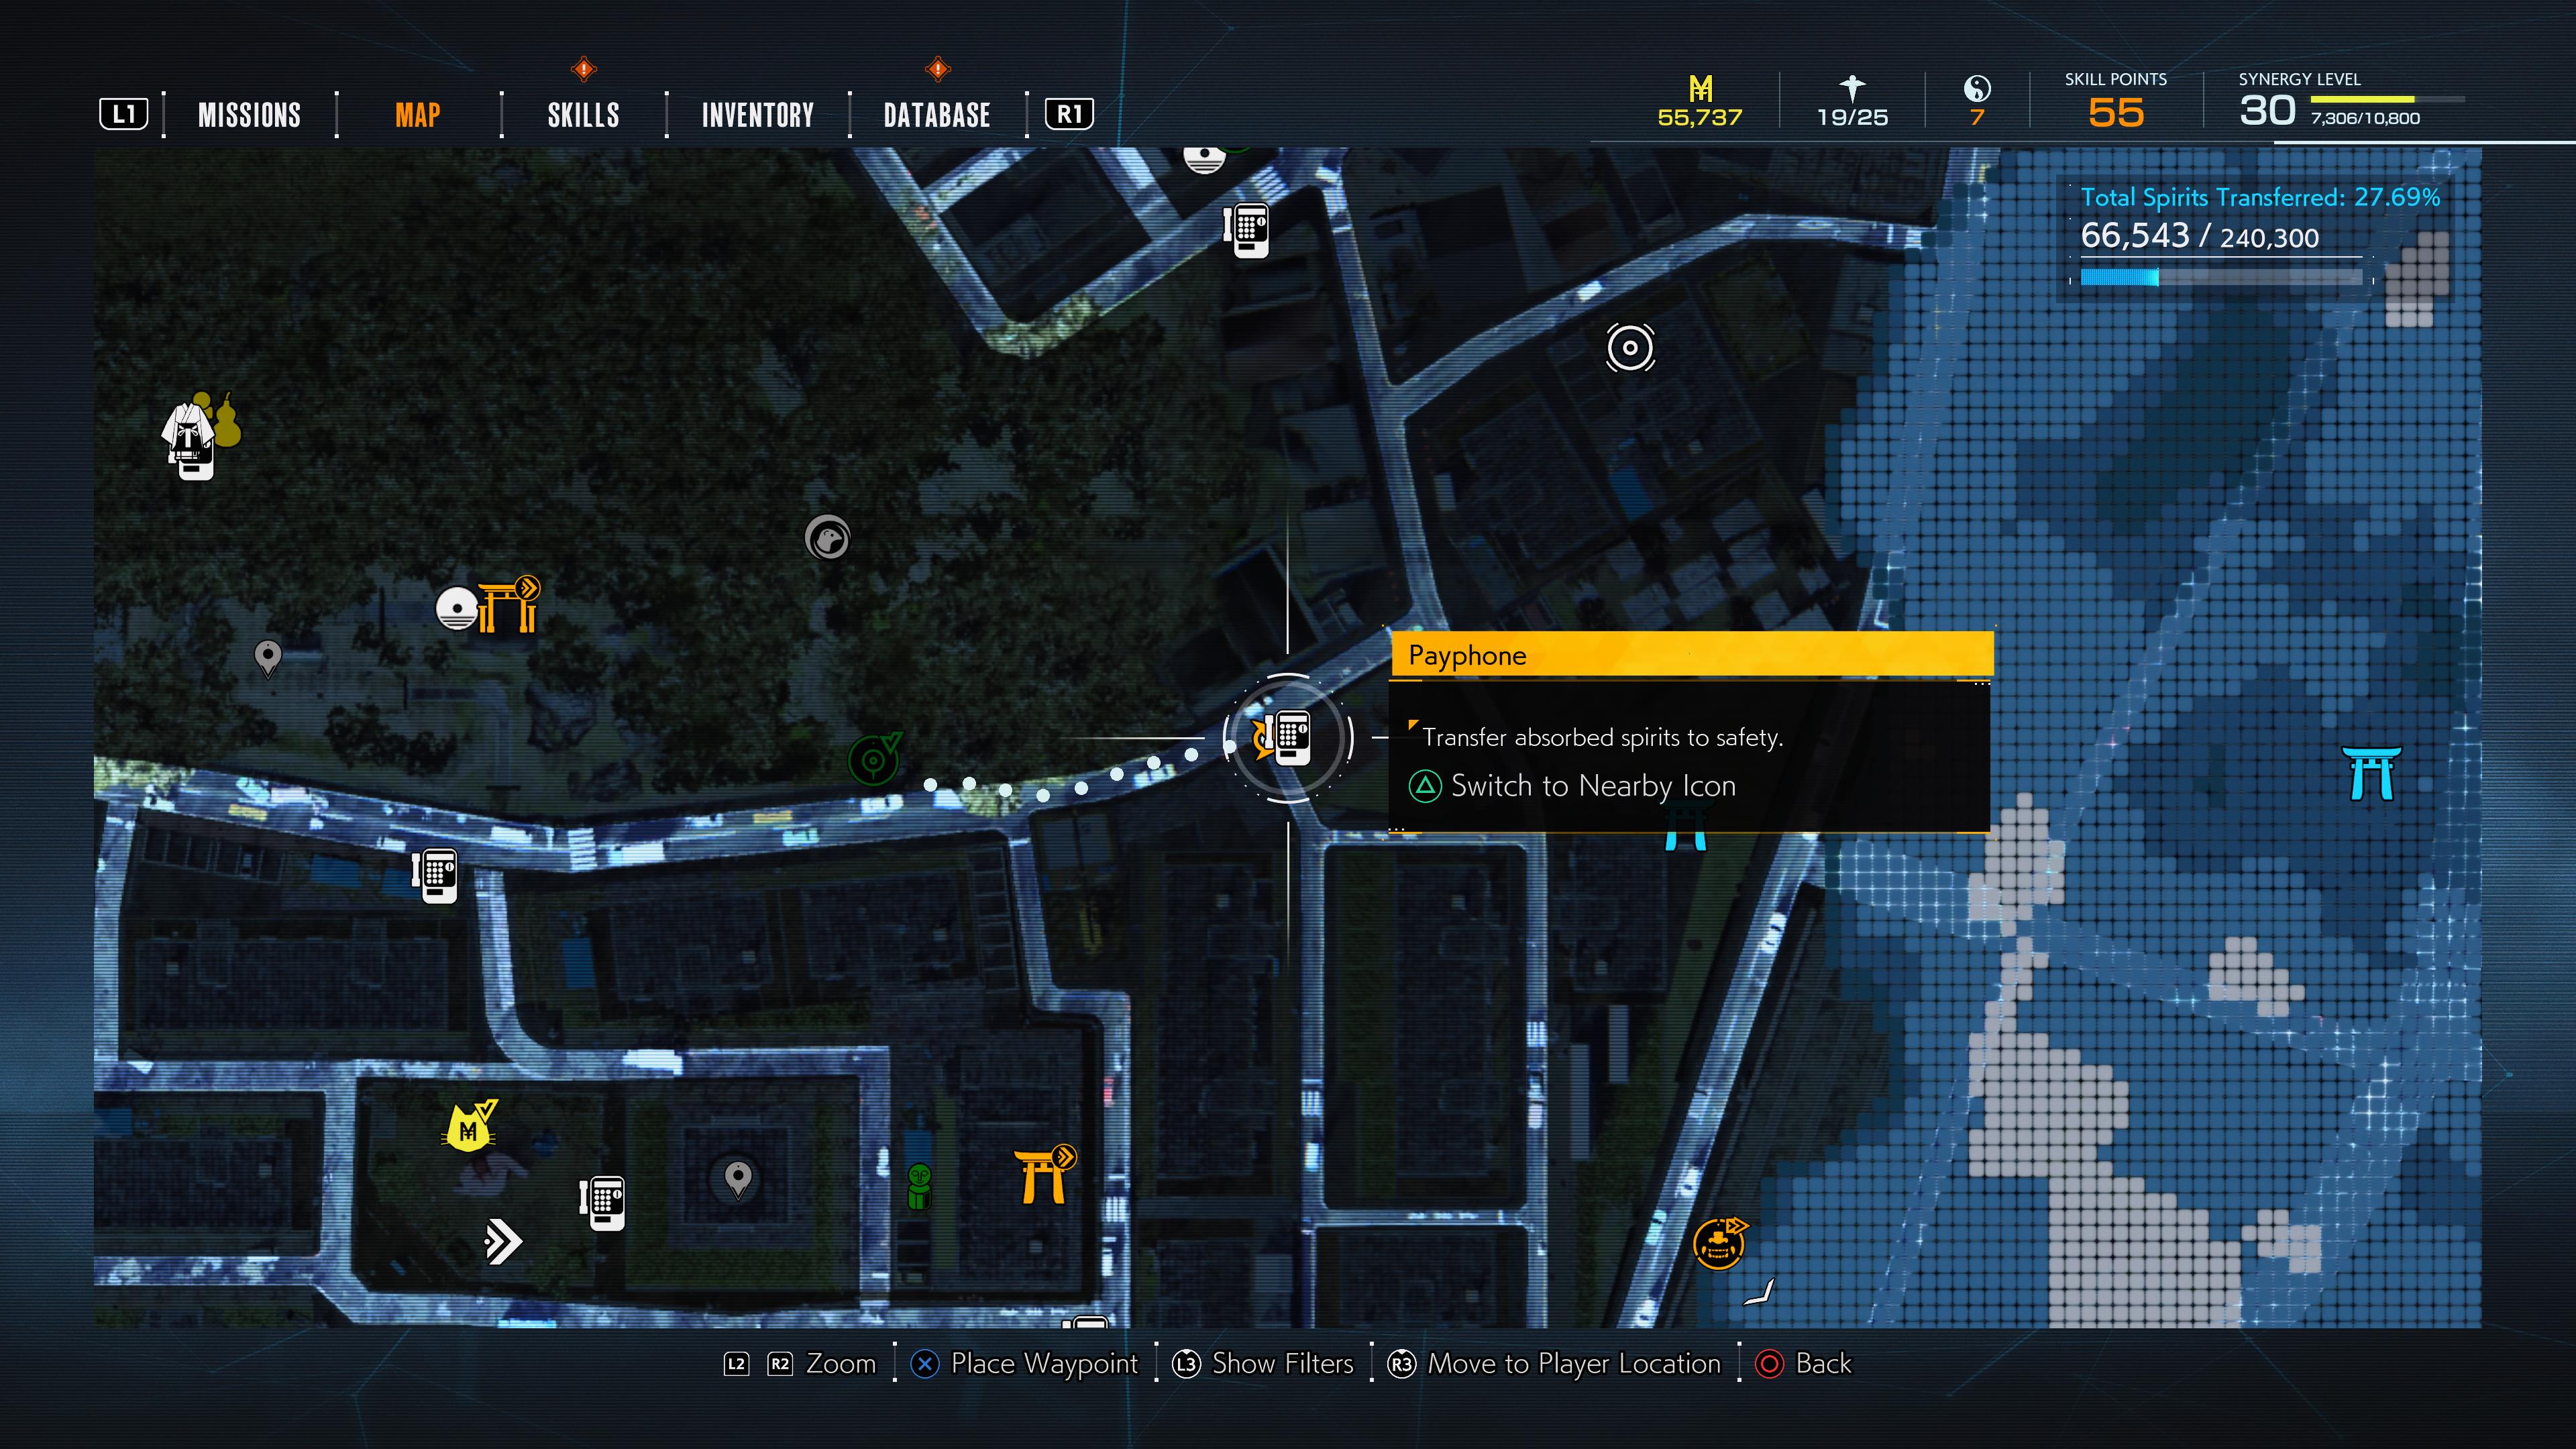
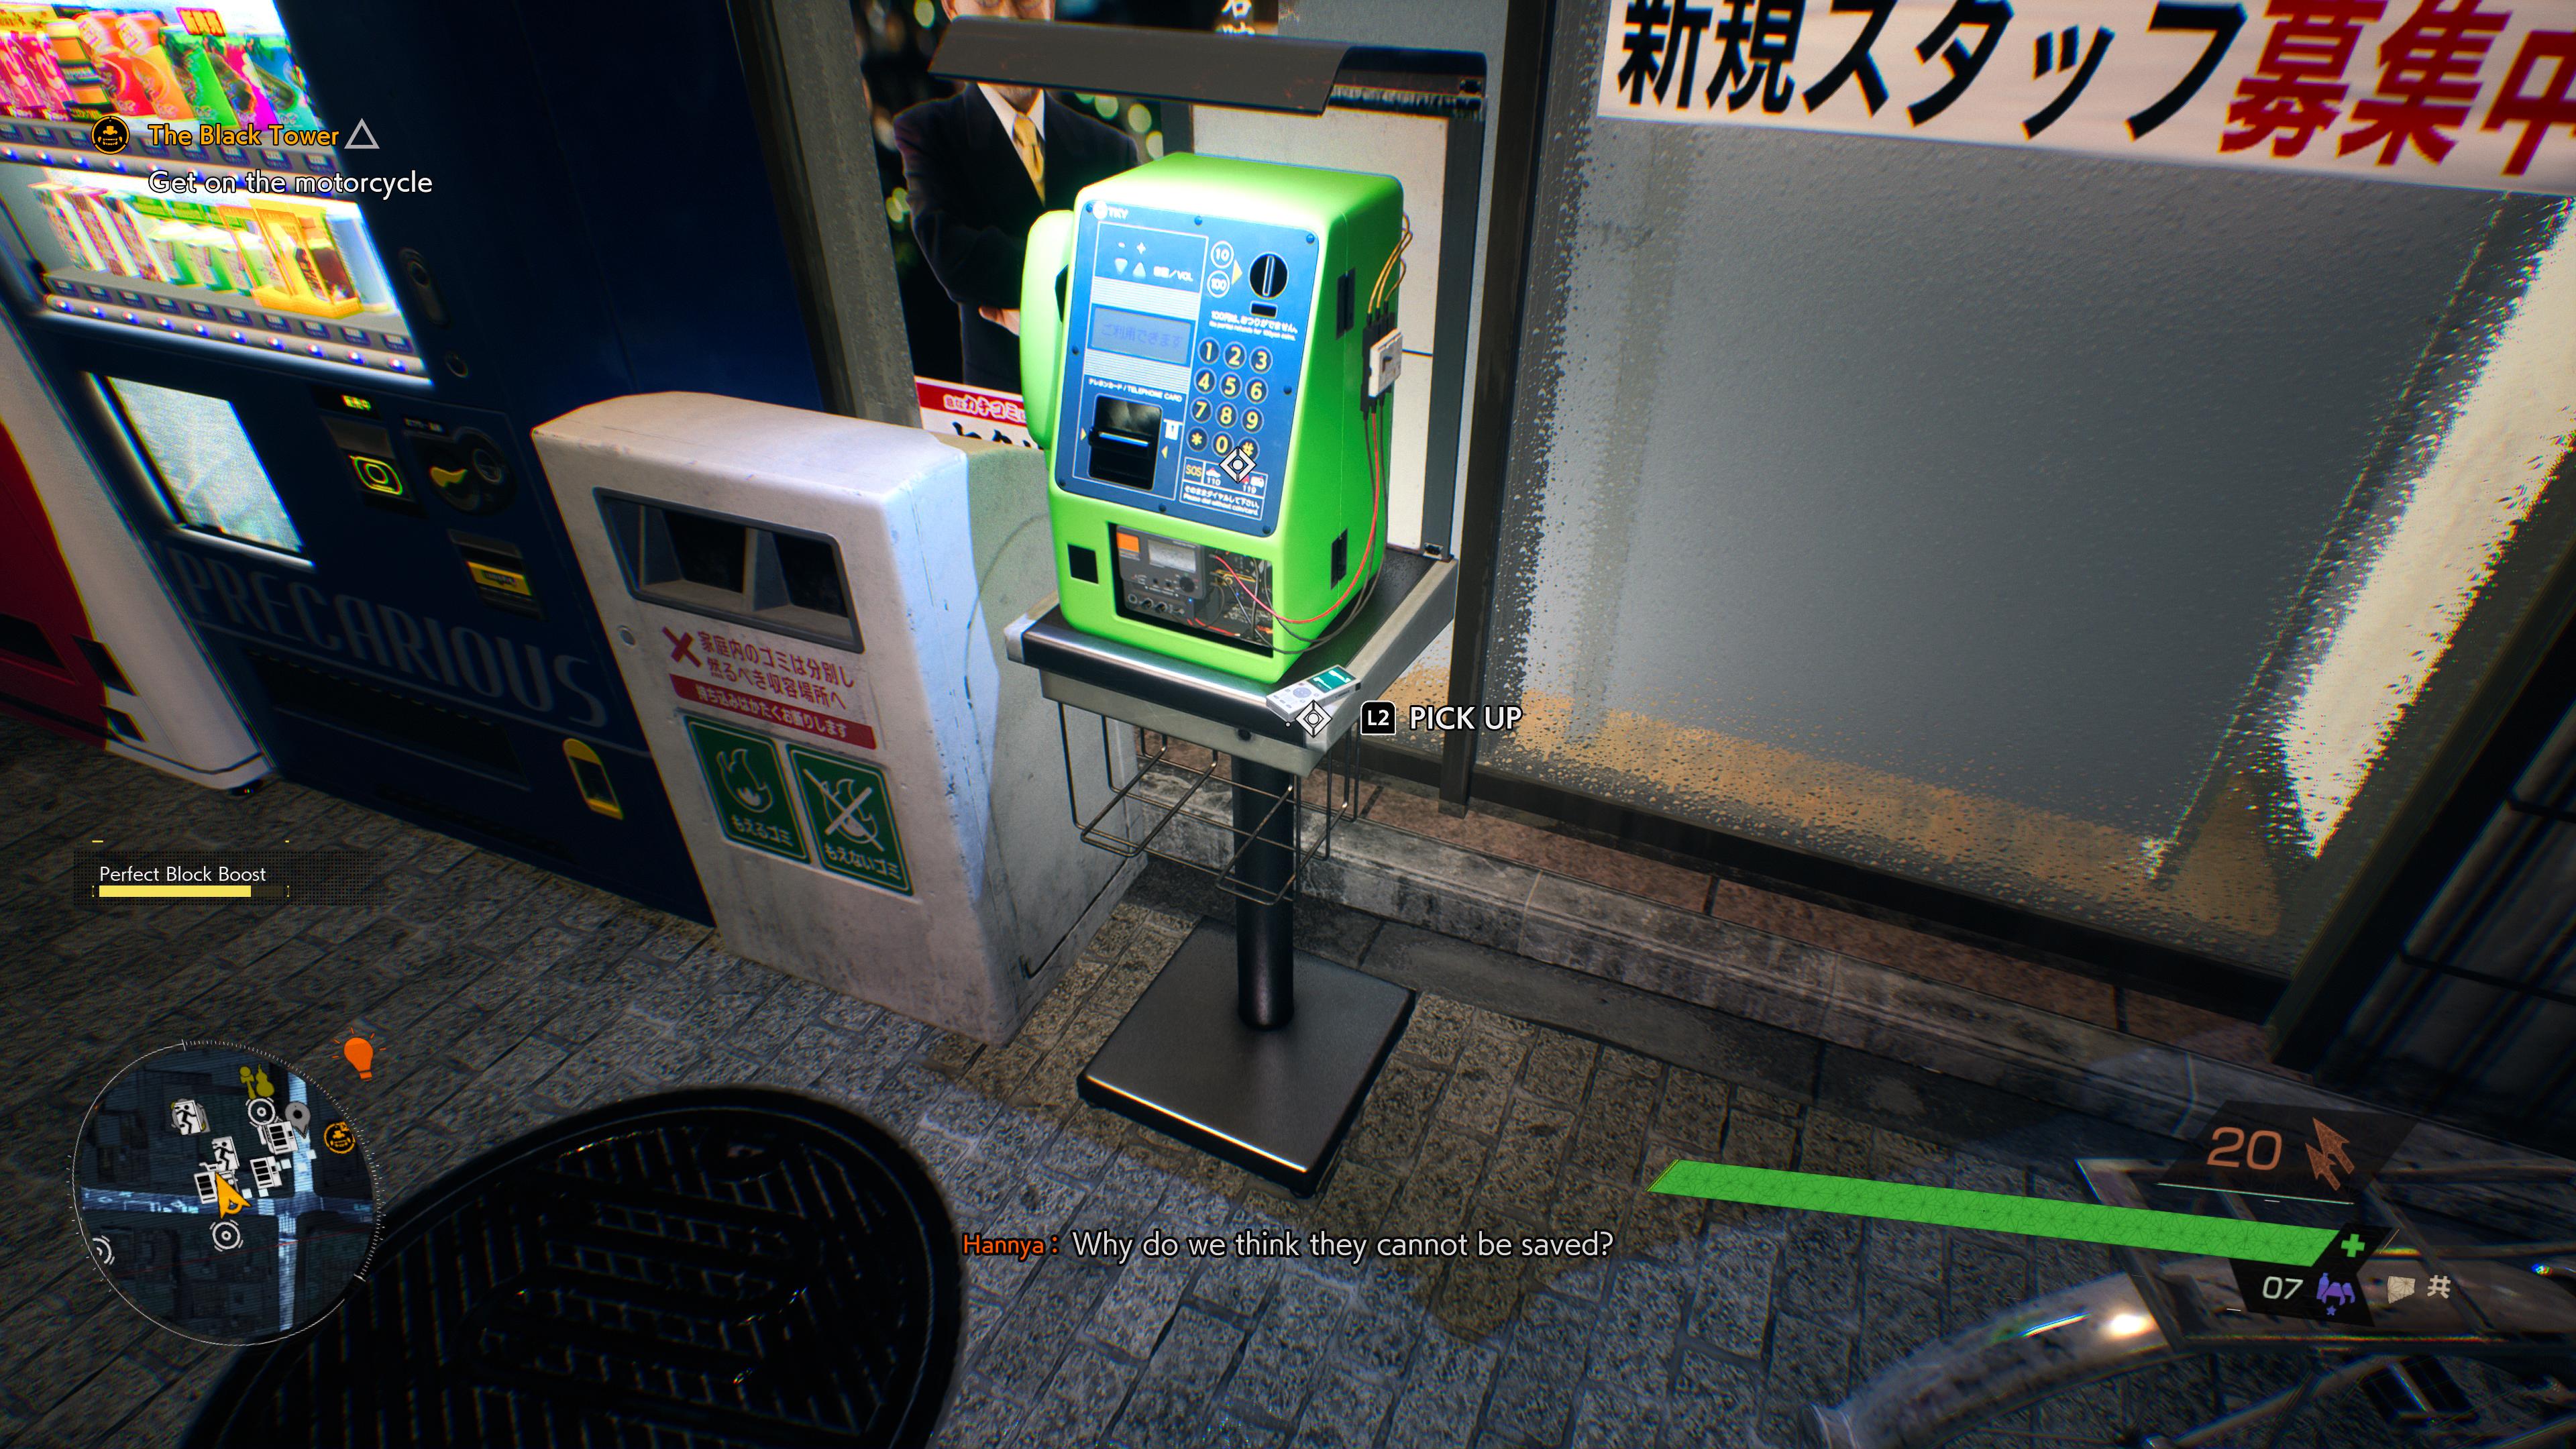
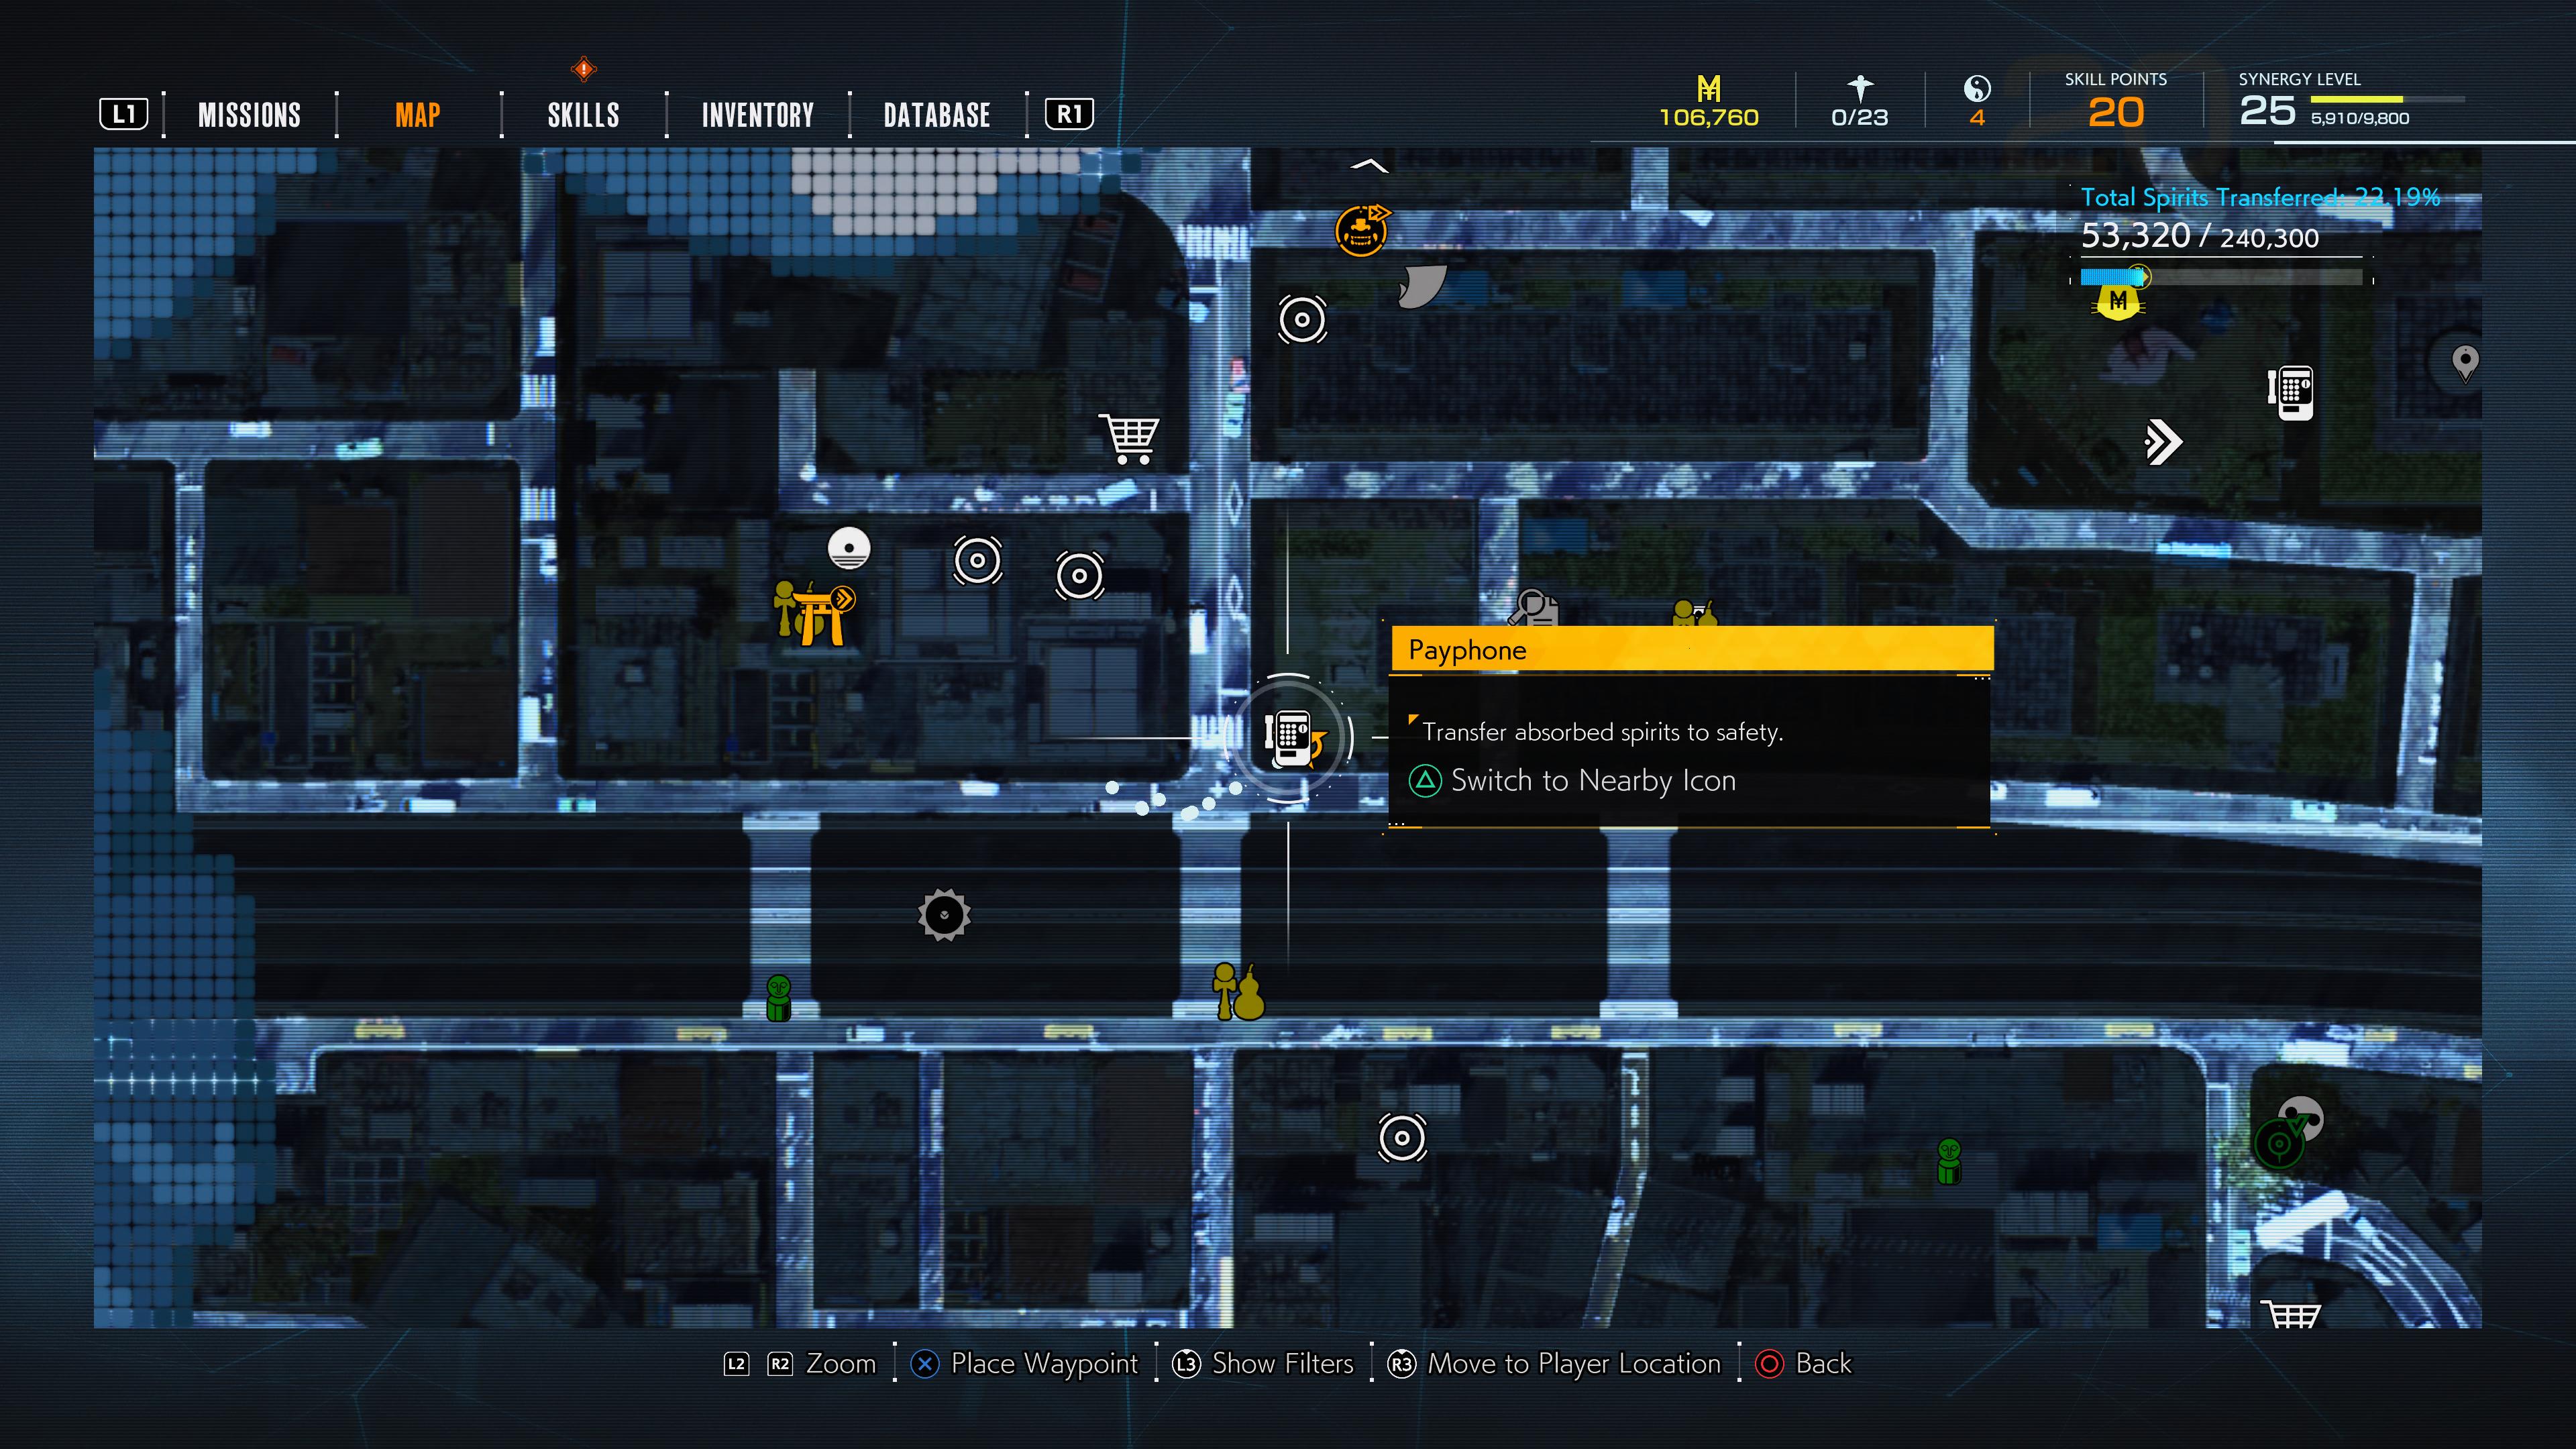
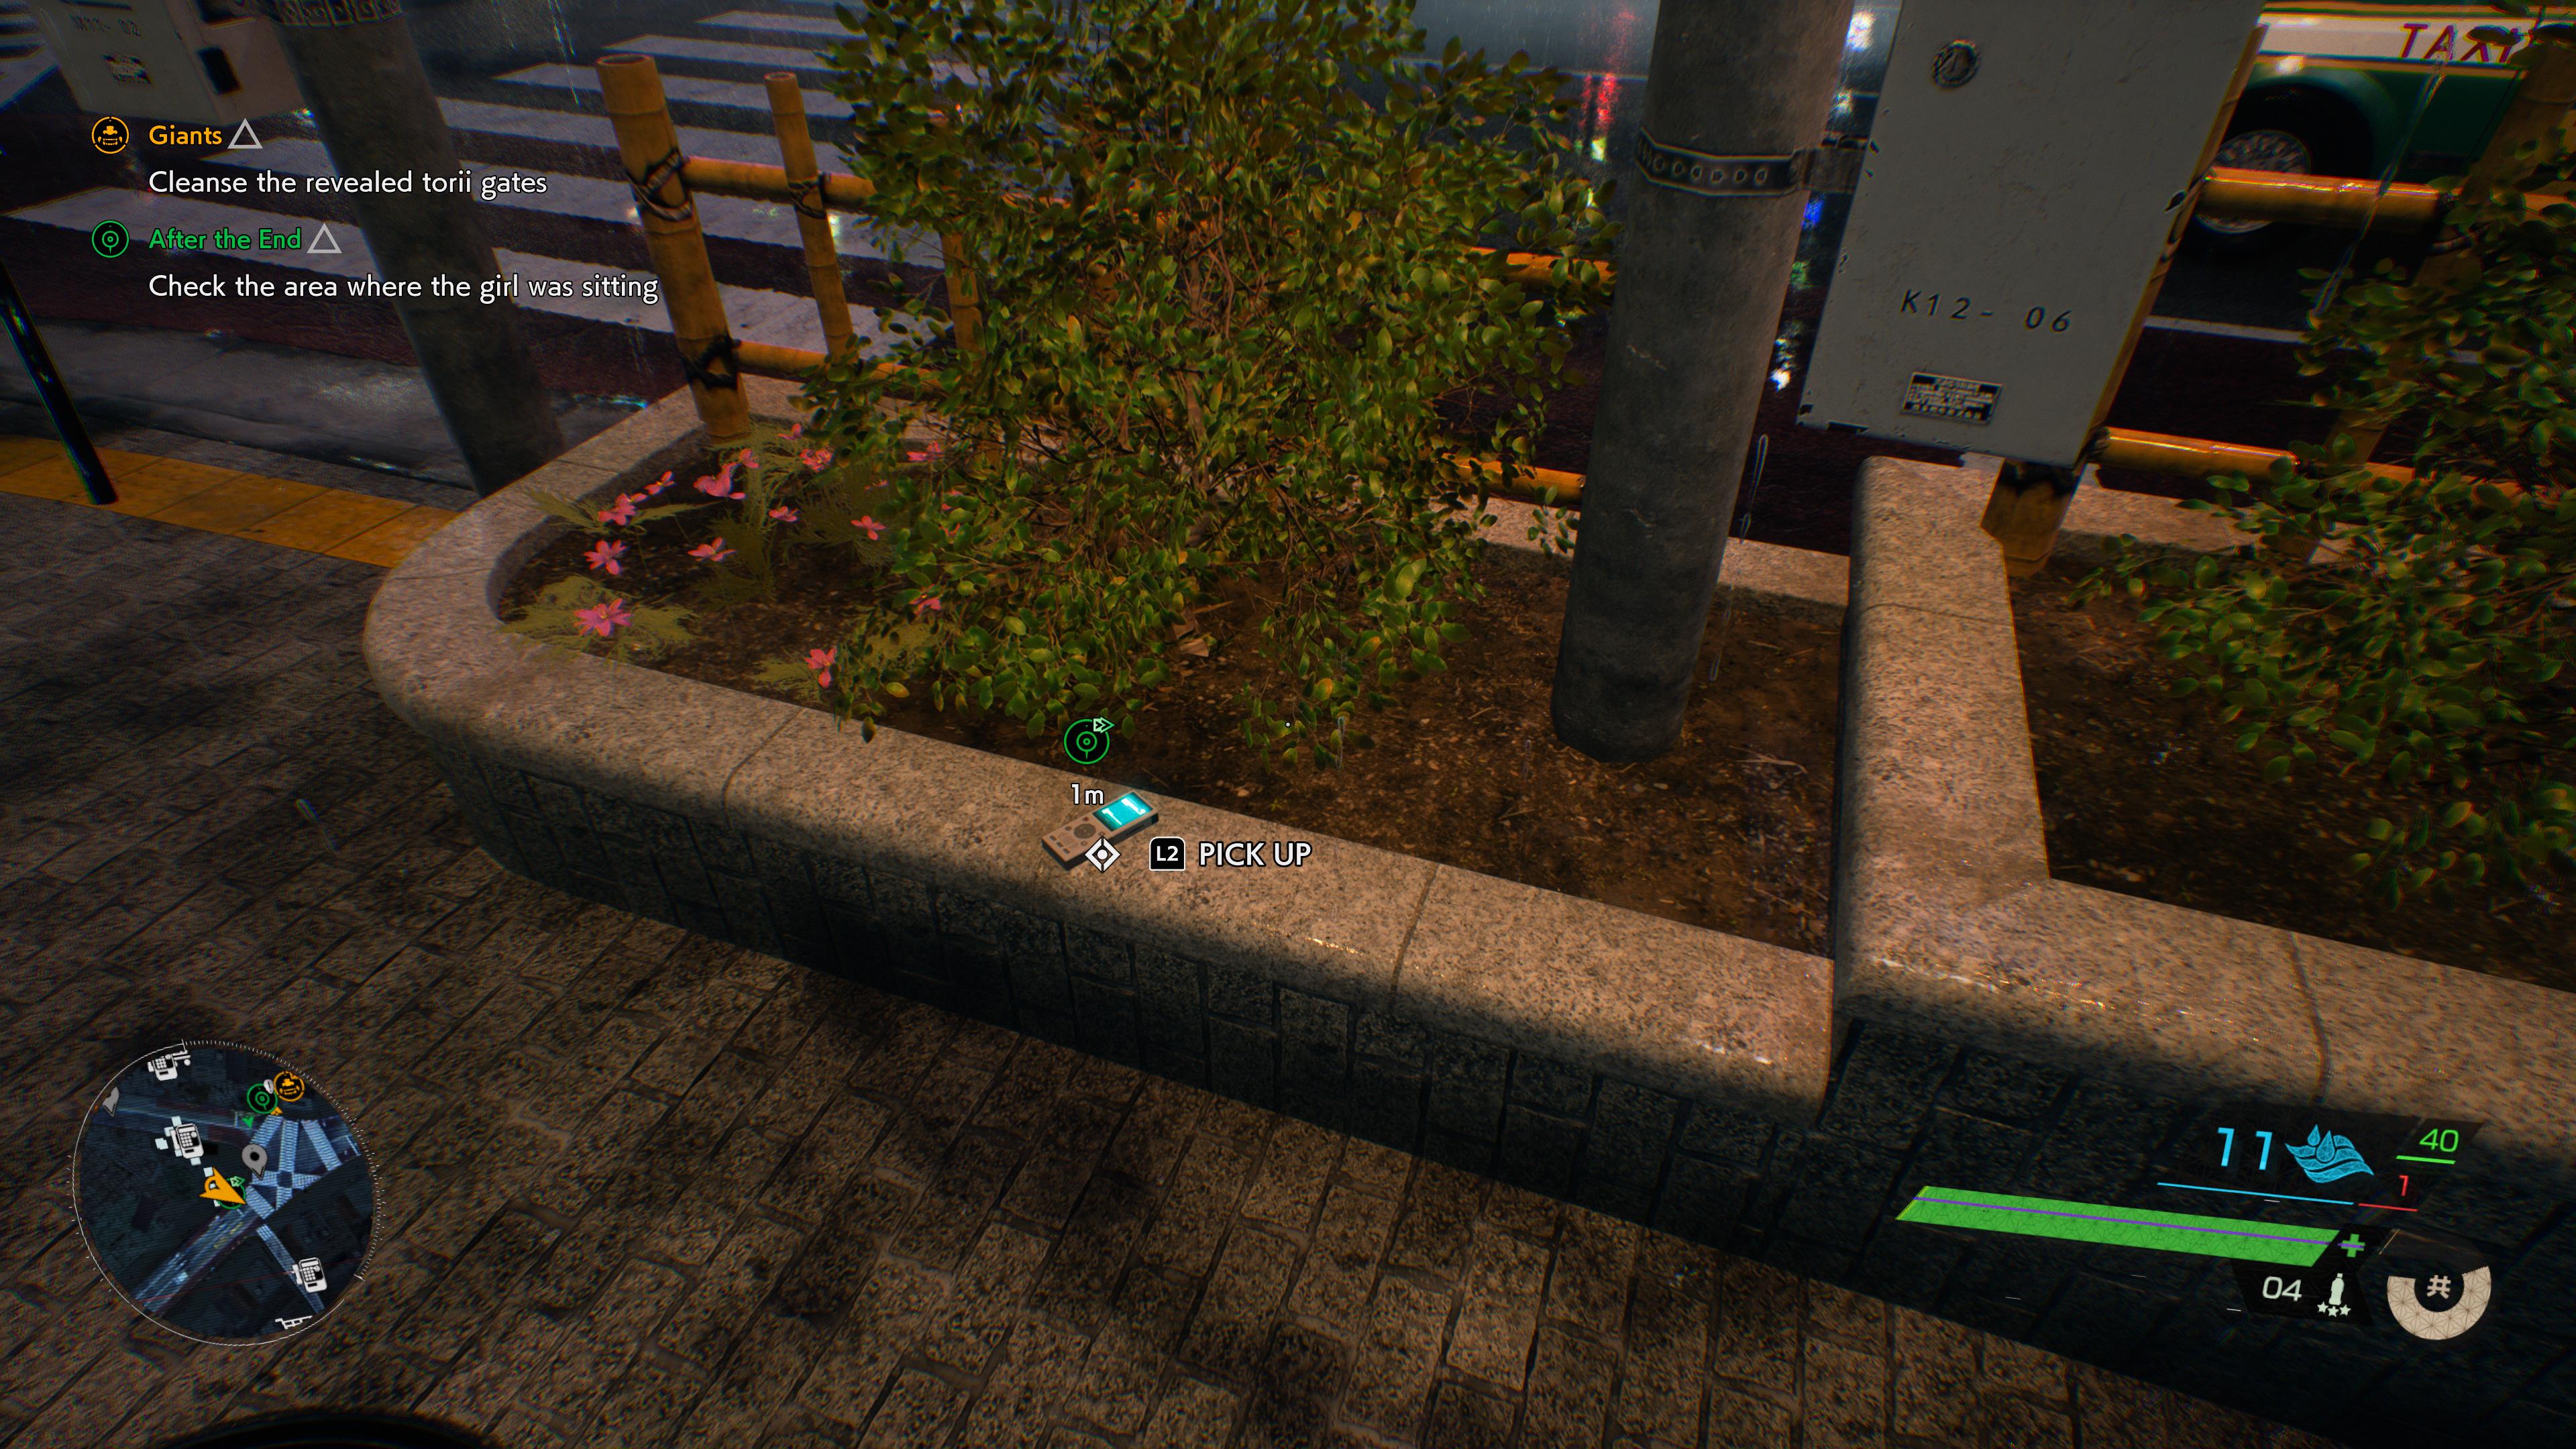
This one’s irritating, because it’s not even in a phone booth. Instead, it’s carefully balanced on the edge of a payphone that’s right at the southern end of the Utagawa Shopping District Torii Gate’s area of influence.
If you start at the Utagawa Shopping District gate again and head south, you’ll find the payphone in question right outside a convenience store, directly south from the Nurikabe icon on your map.
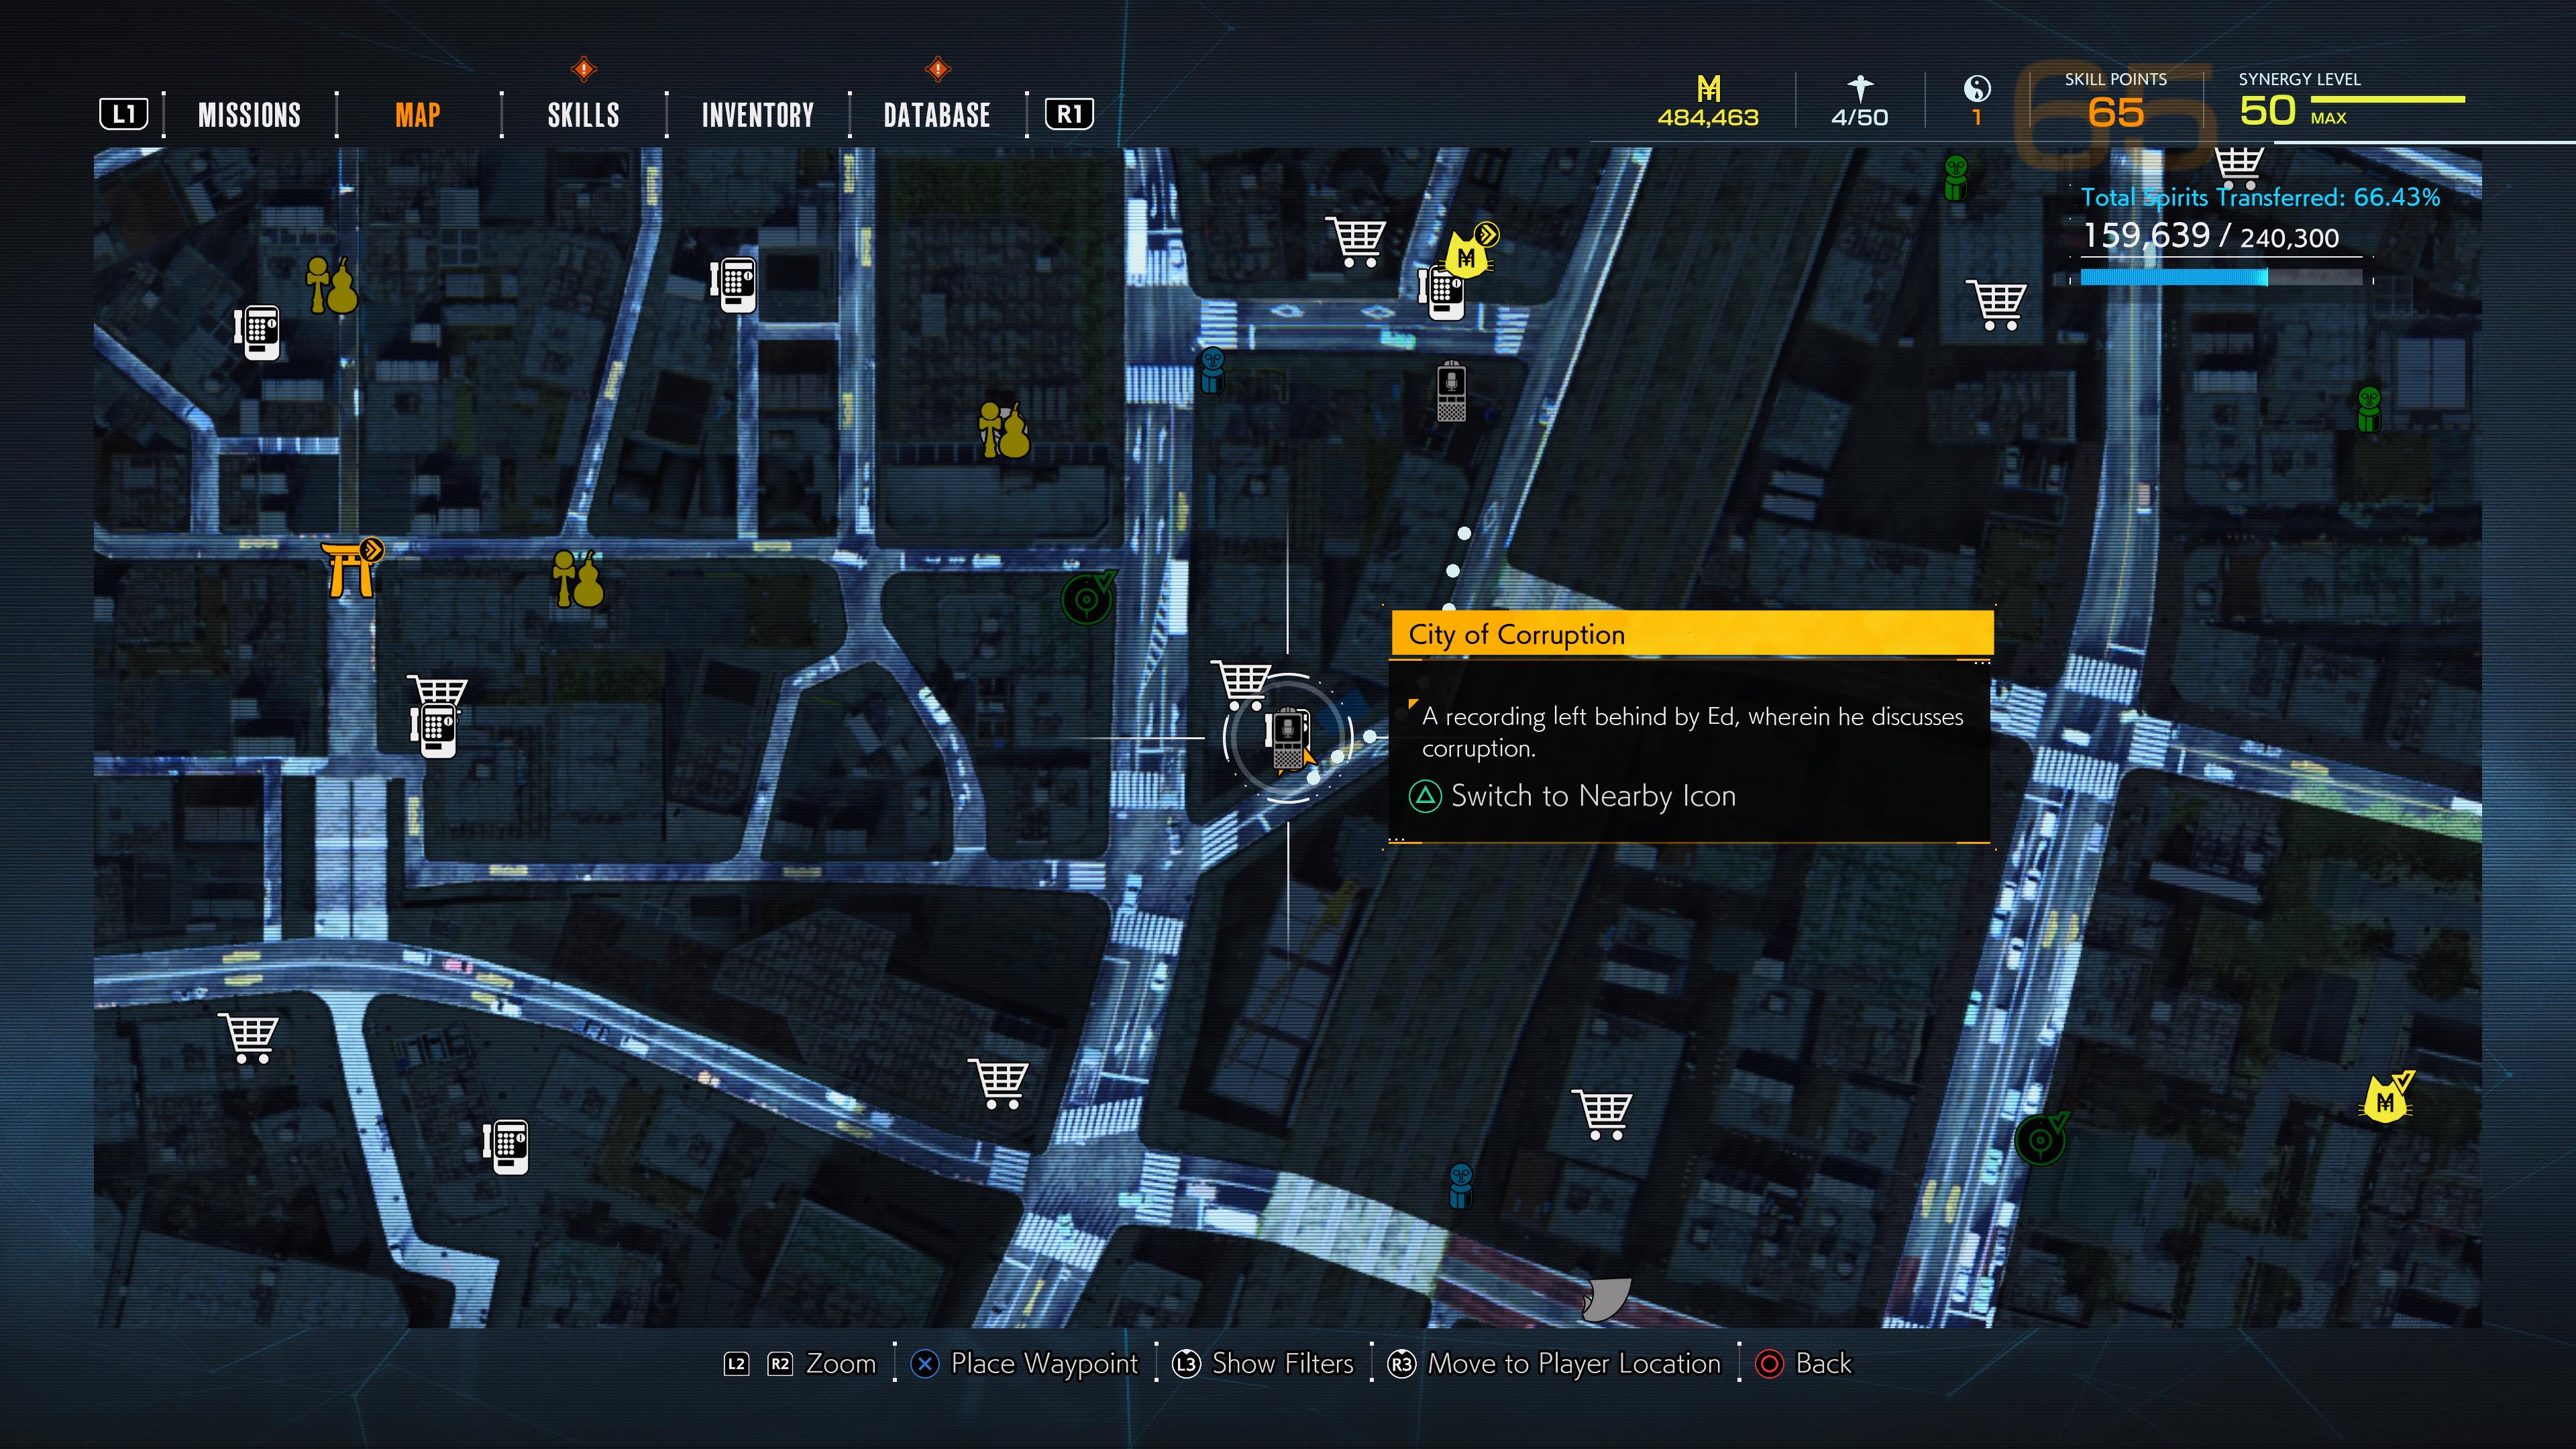
City of Corruption
Go one block south from the Japanophile Nekomata’s booth and check the phone booth on that block’s southern tip.
The Man Called Dale
Grab it from the phone booth that’s just east from the Hitani Shrine.
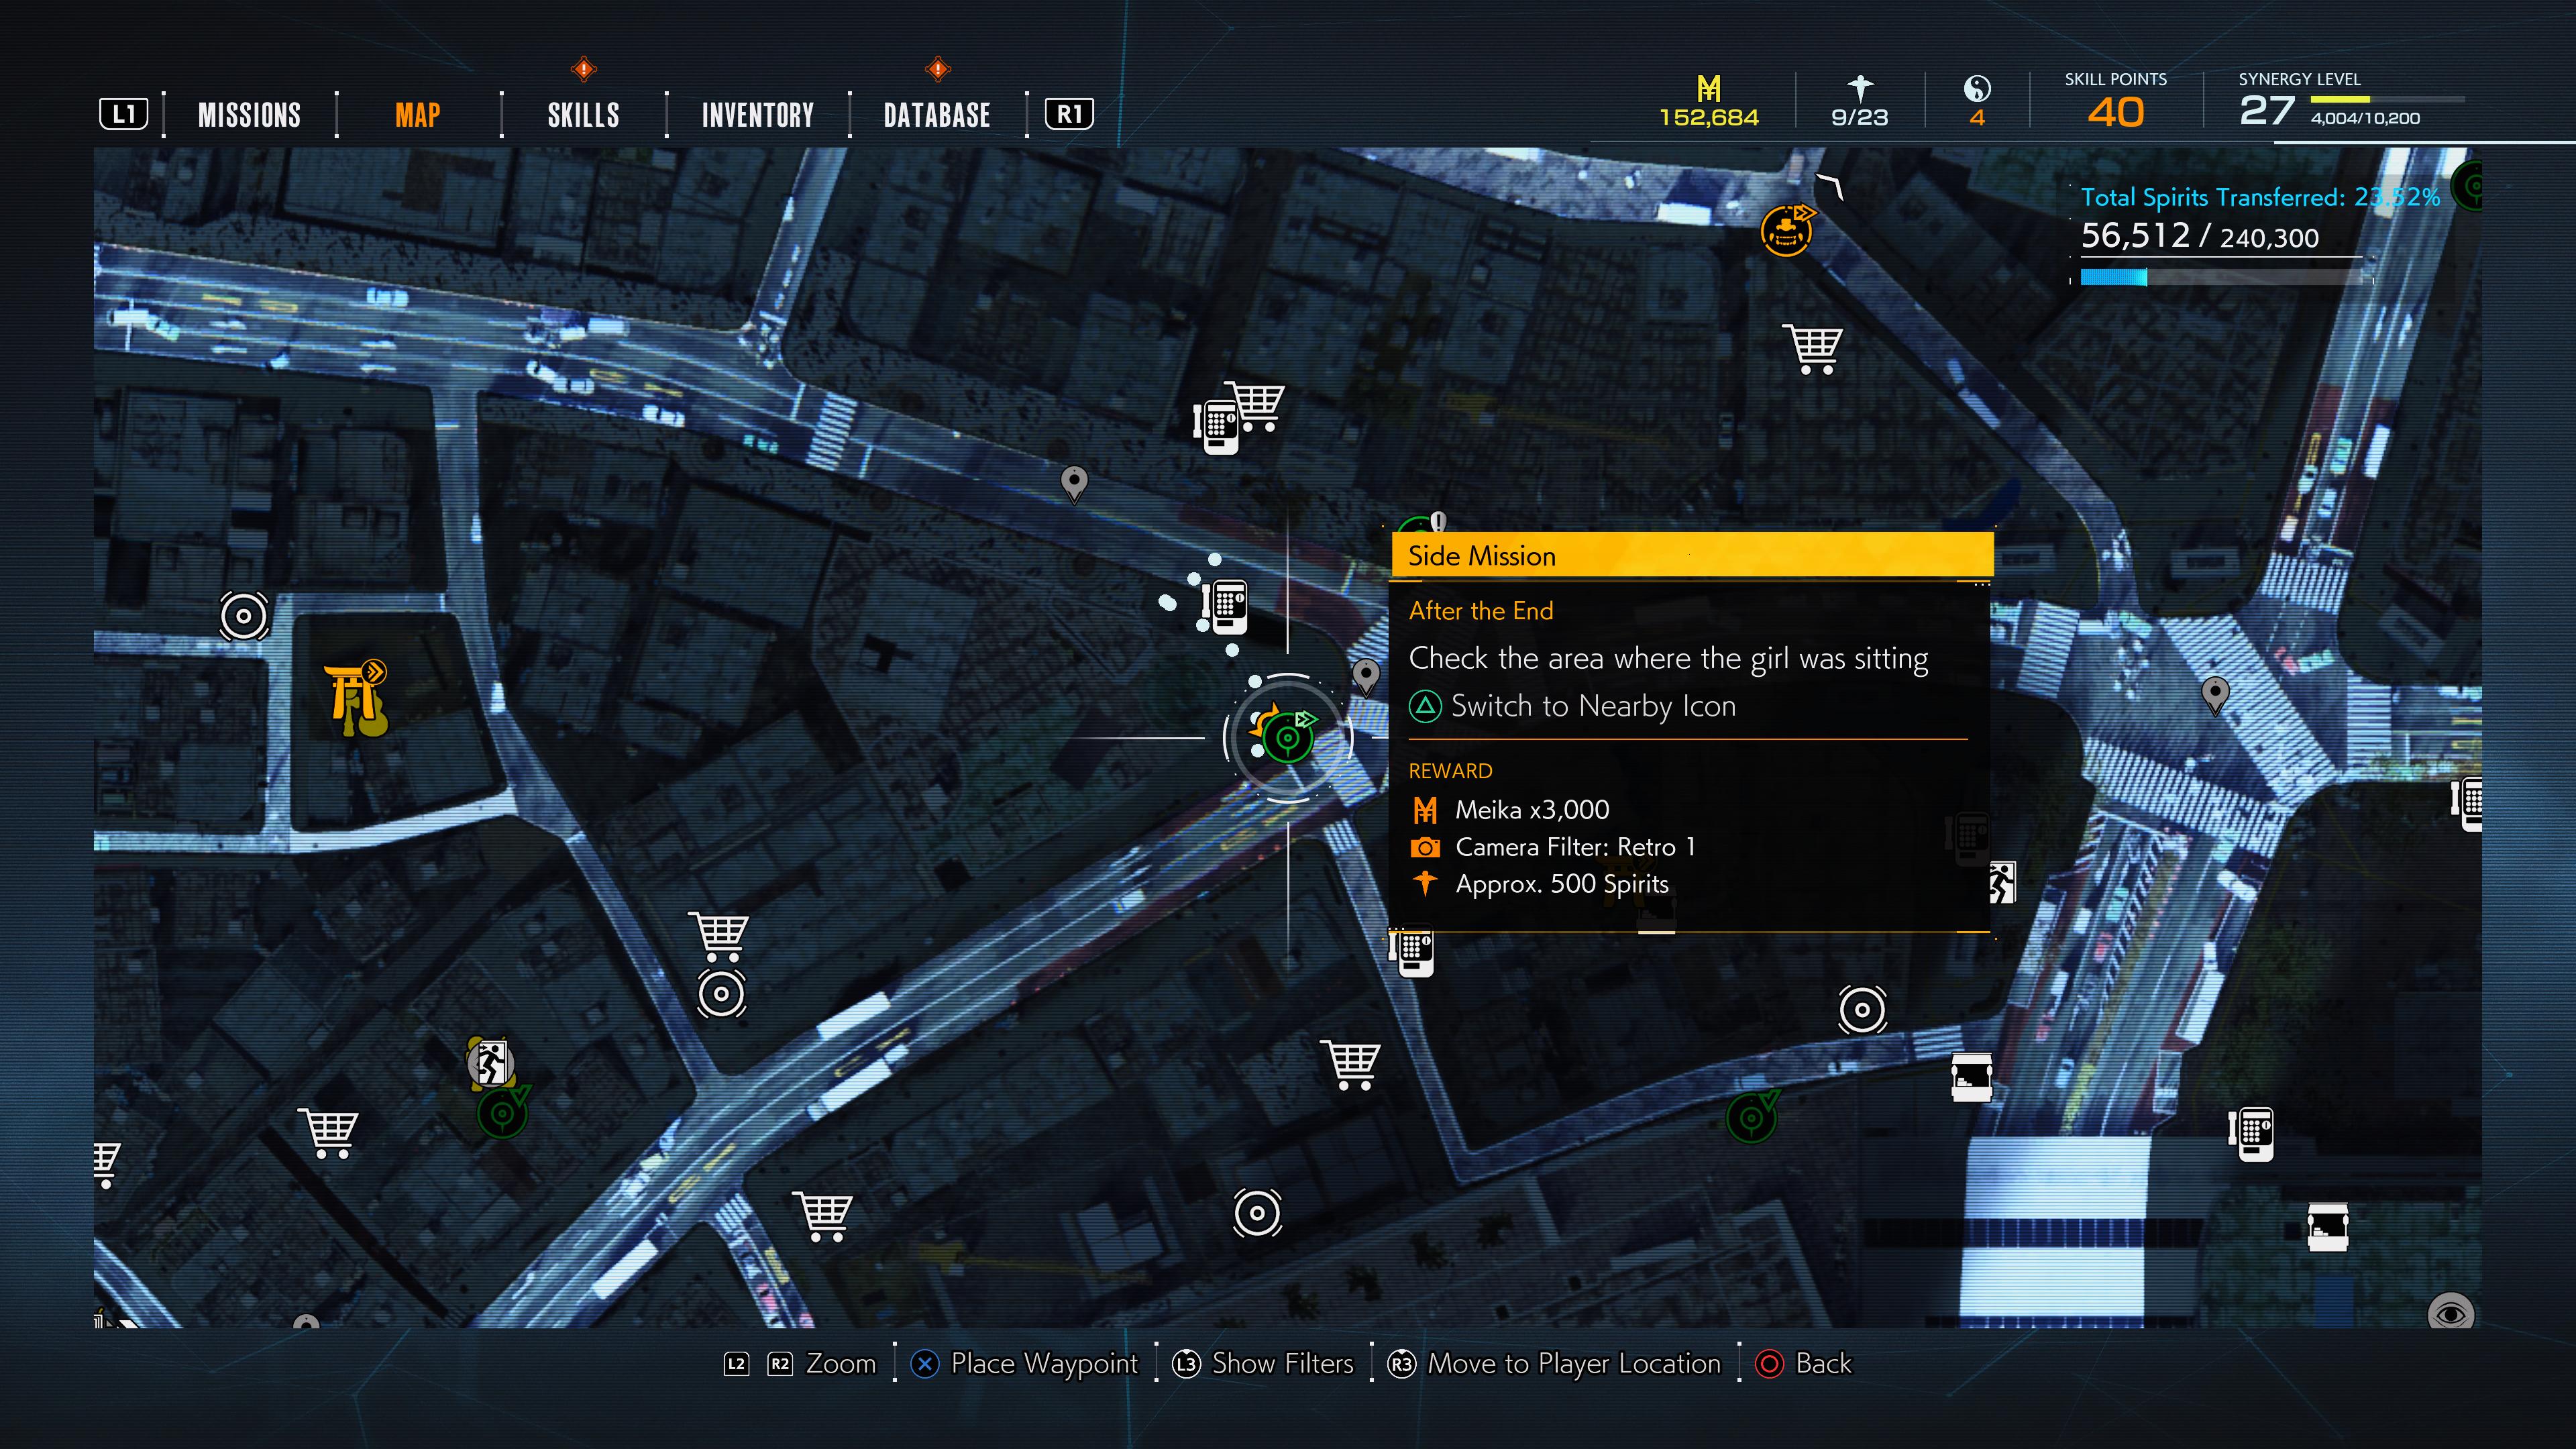
Blood and Succession
You acquire this at the conclusion of the side mission “After the End.“
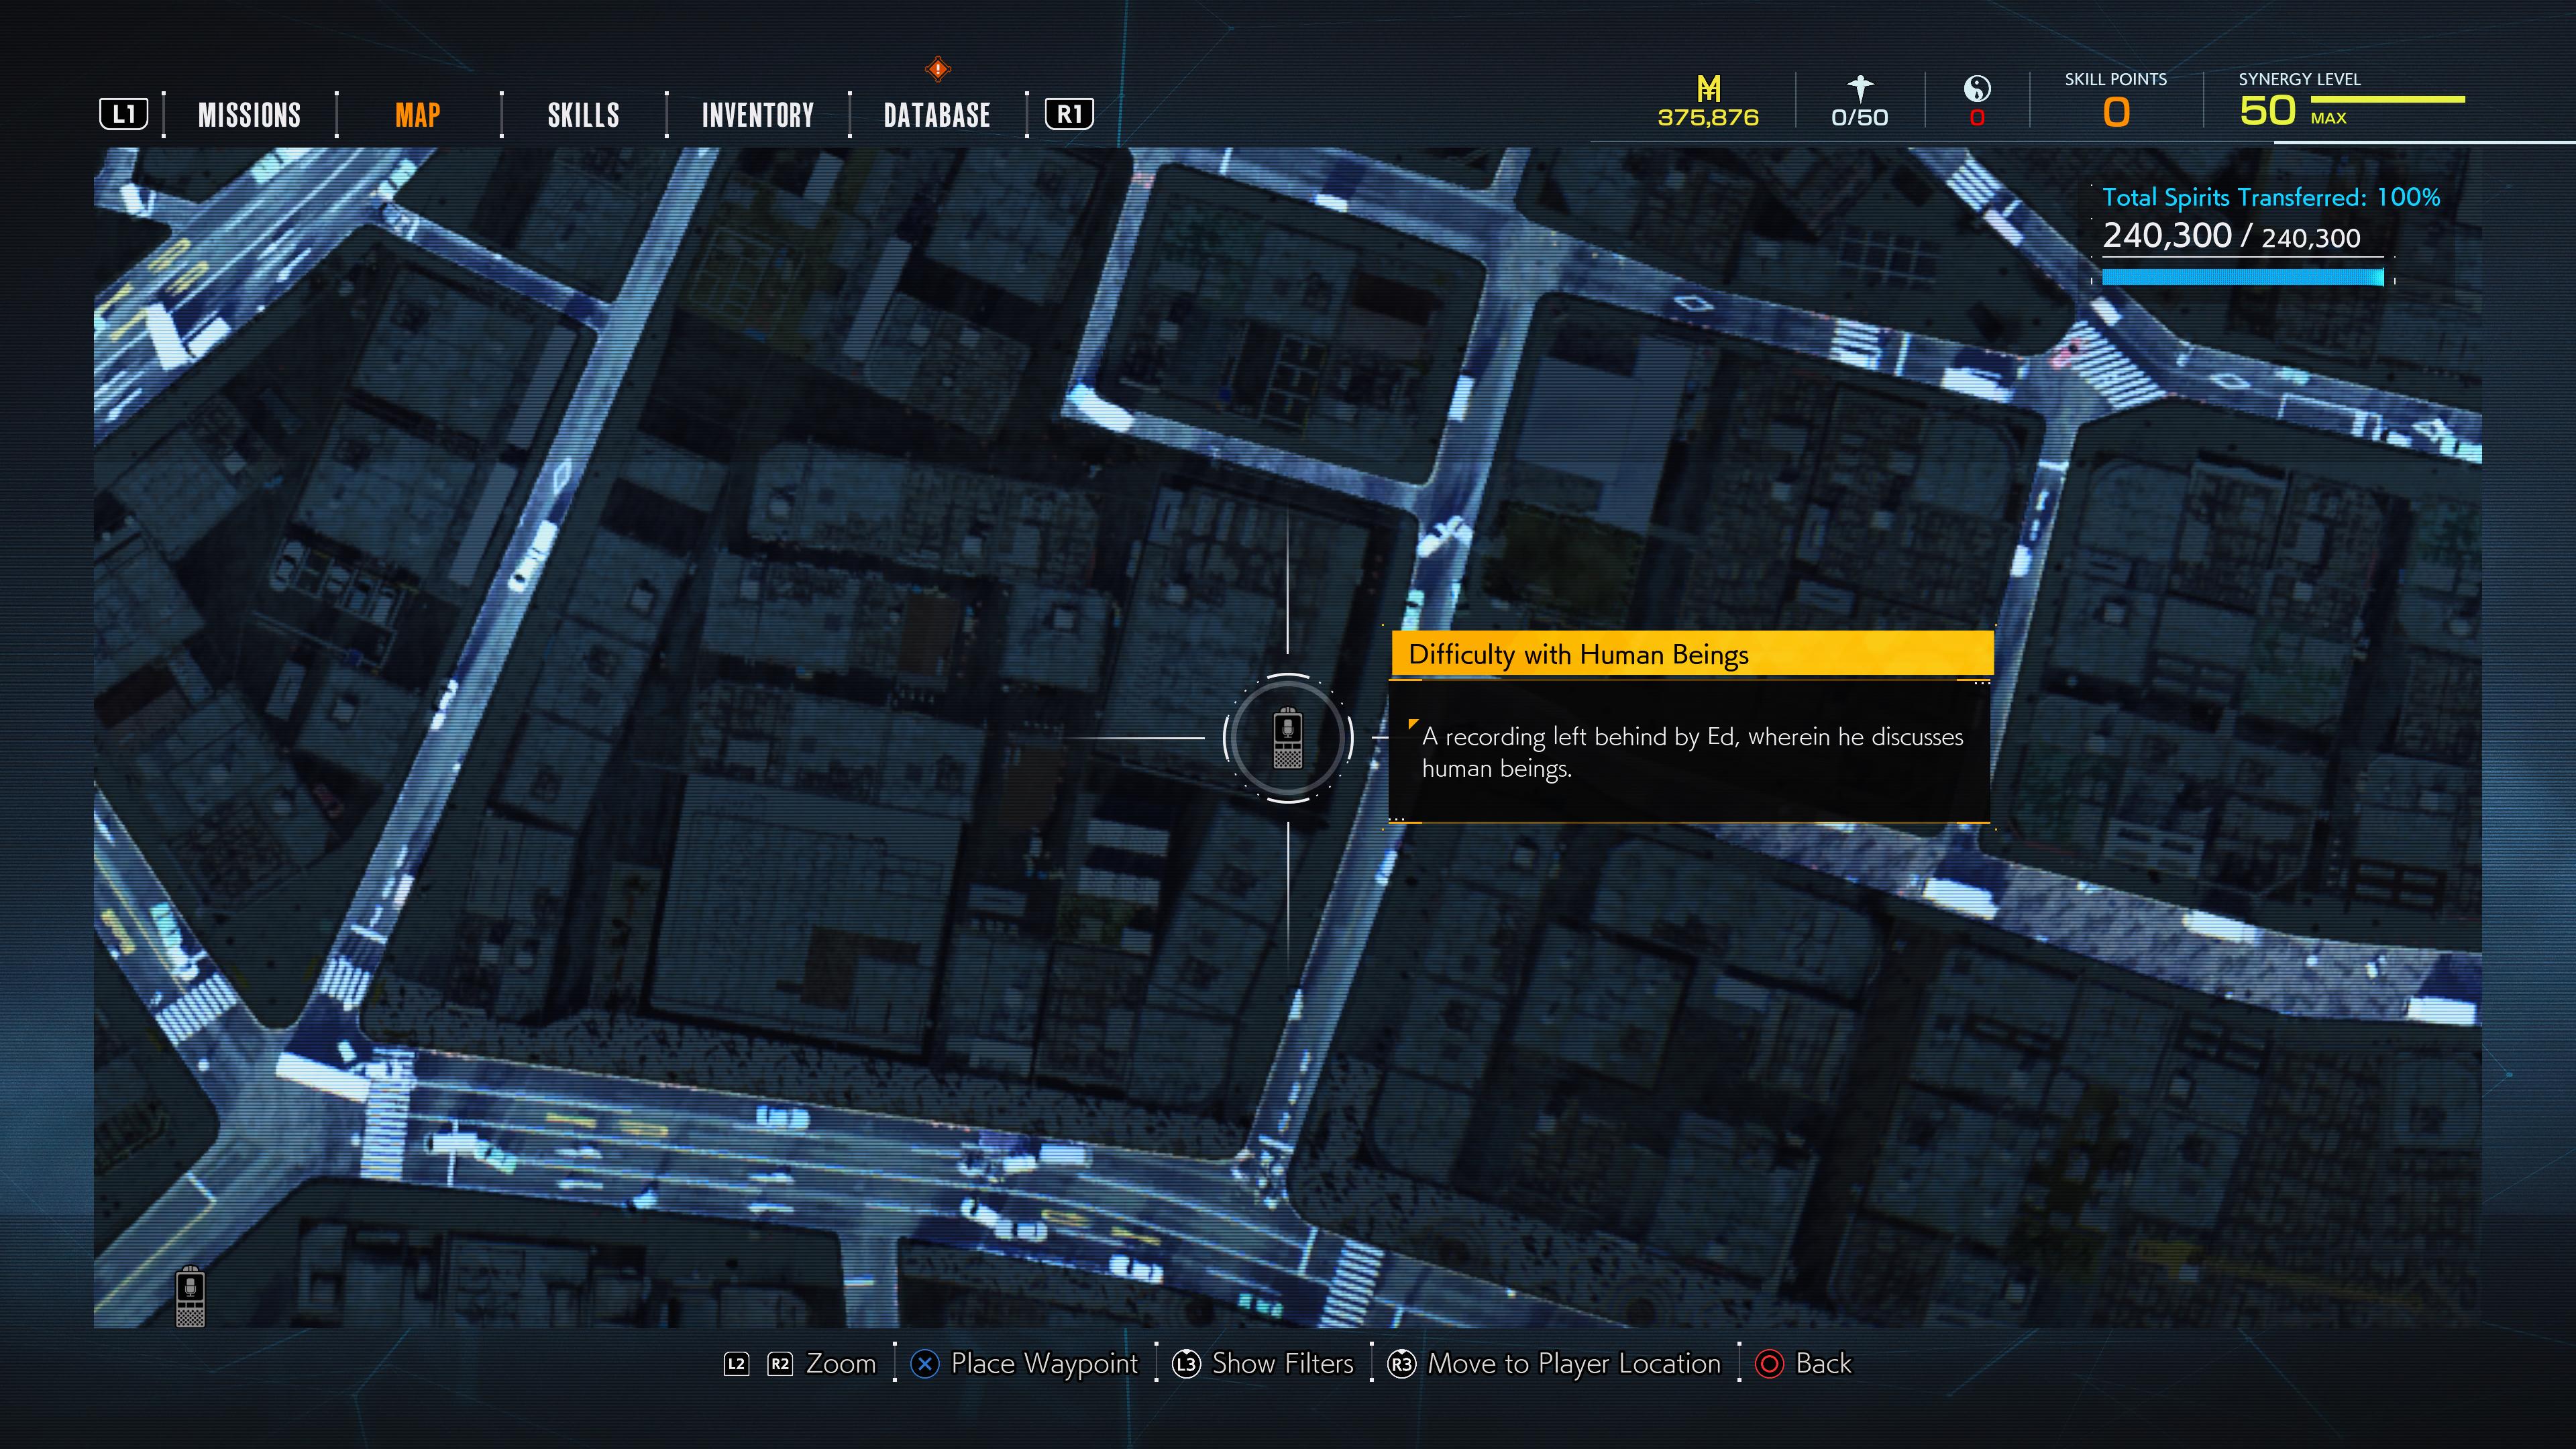
Difficulty with Human Beings
After you finish “After the End,“ a follow-up mission, “After the End II,“ appears at some point thereafter. You’ll acquire this file as part of that mission.
No one outside Tango Gameworks seems to have figured out exactly what triggers the appearance of “After the End II,” but I got it immediately after I’d transmitted over 110,000 spirits, which triggered a phone chat with Rinko.
With both this and the previous audio log, it may appear that they can be missed on an initial run, as the end of the final story mission in Chapter 4 is labeled as a point of no return that specifically locks out the “After the End“ mission chain.
Once you clear Chapter 6, however, you can make a save game that, when loaded, will return you to Chapter 4 and reset all story progress past that point. The “After the End“ chain is only unavailable during Chapters 5 and 6, and if you miss it, you can go back and do it after you clear the final story mission.
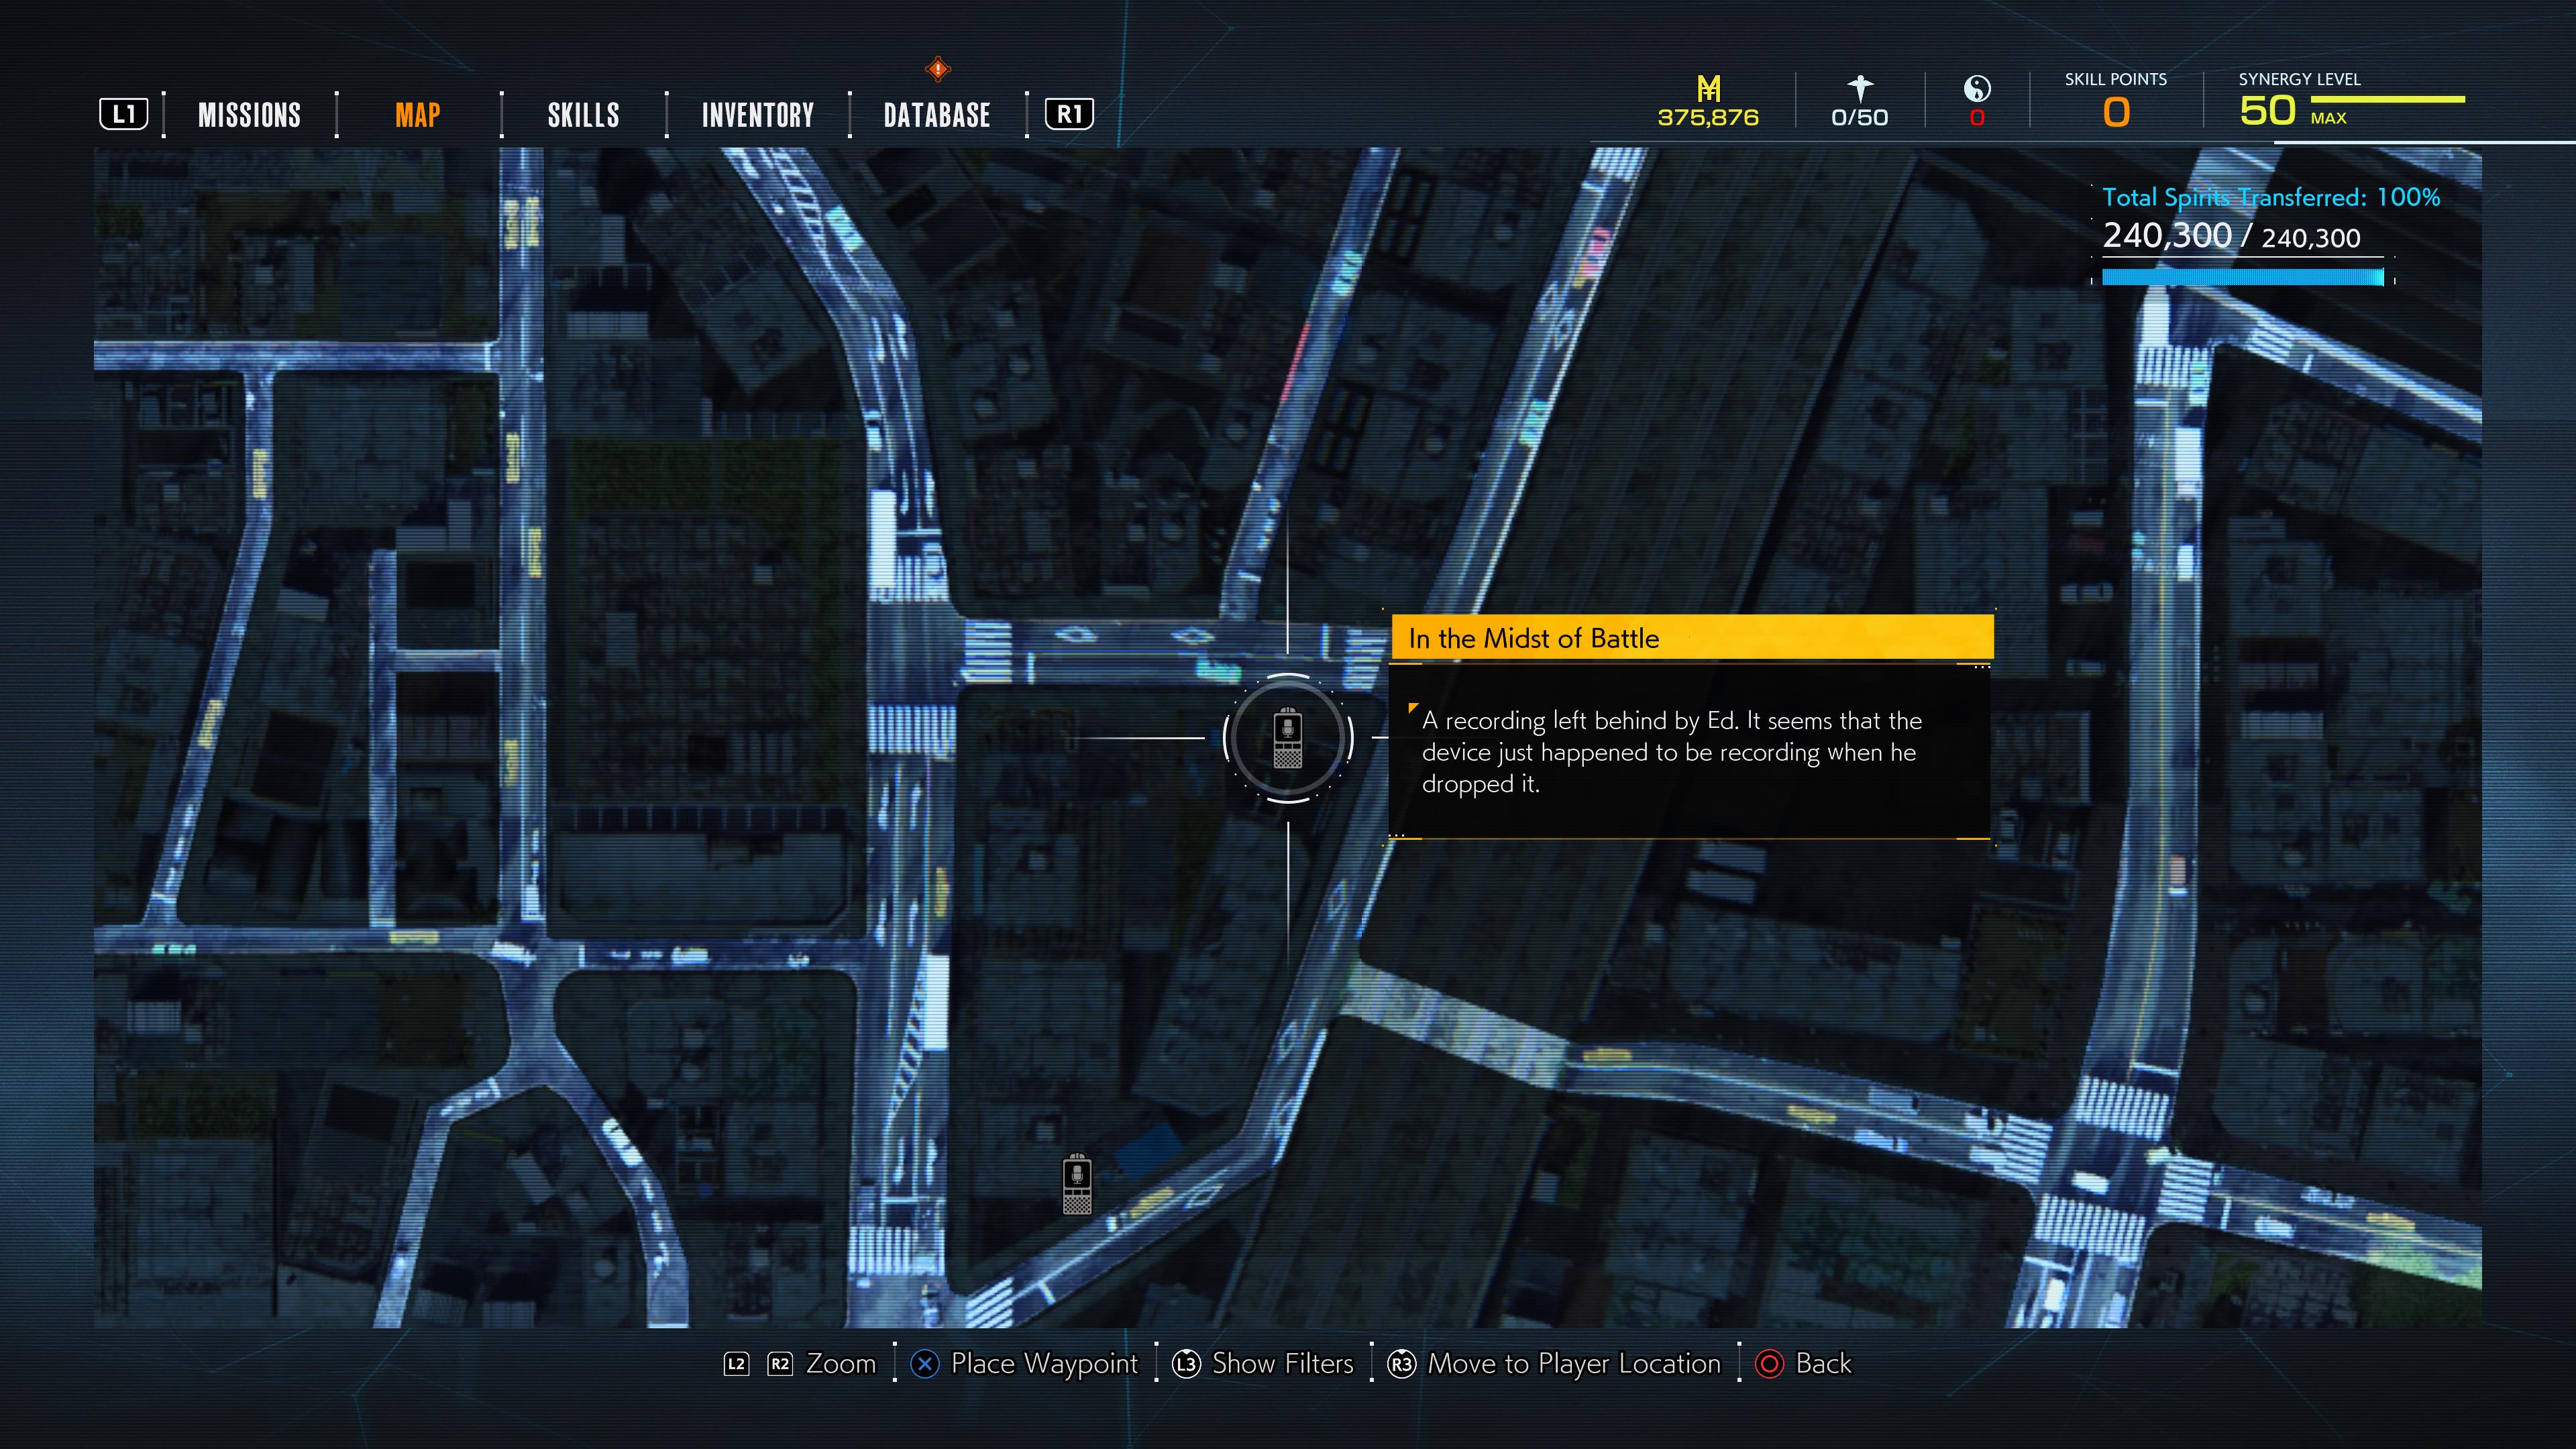
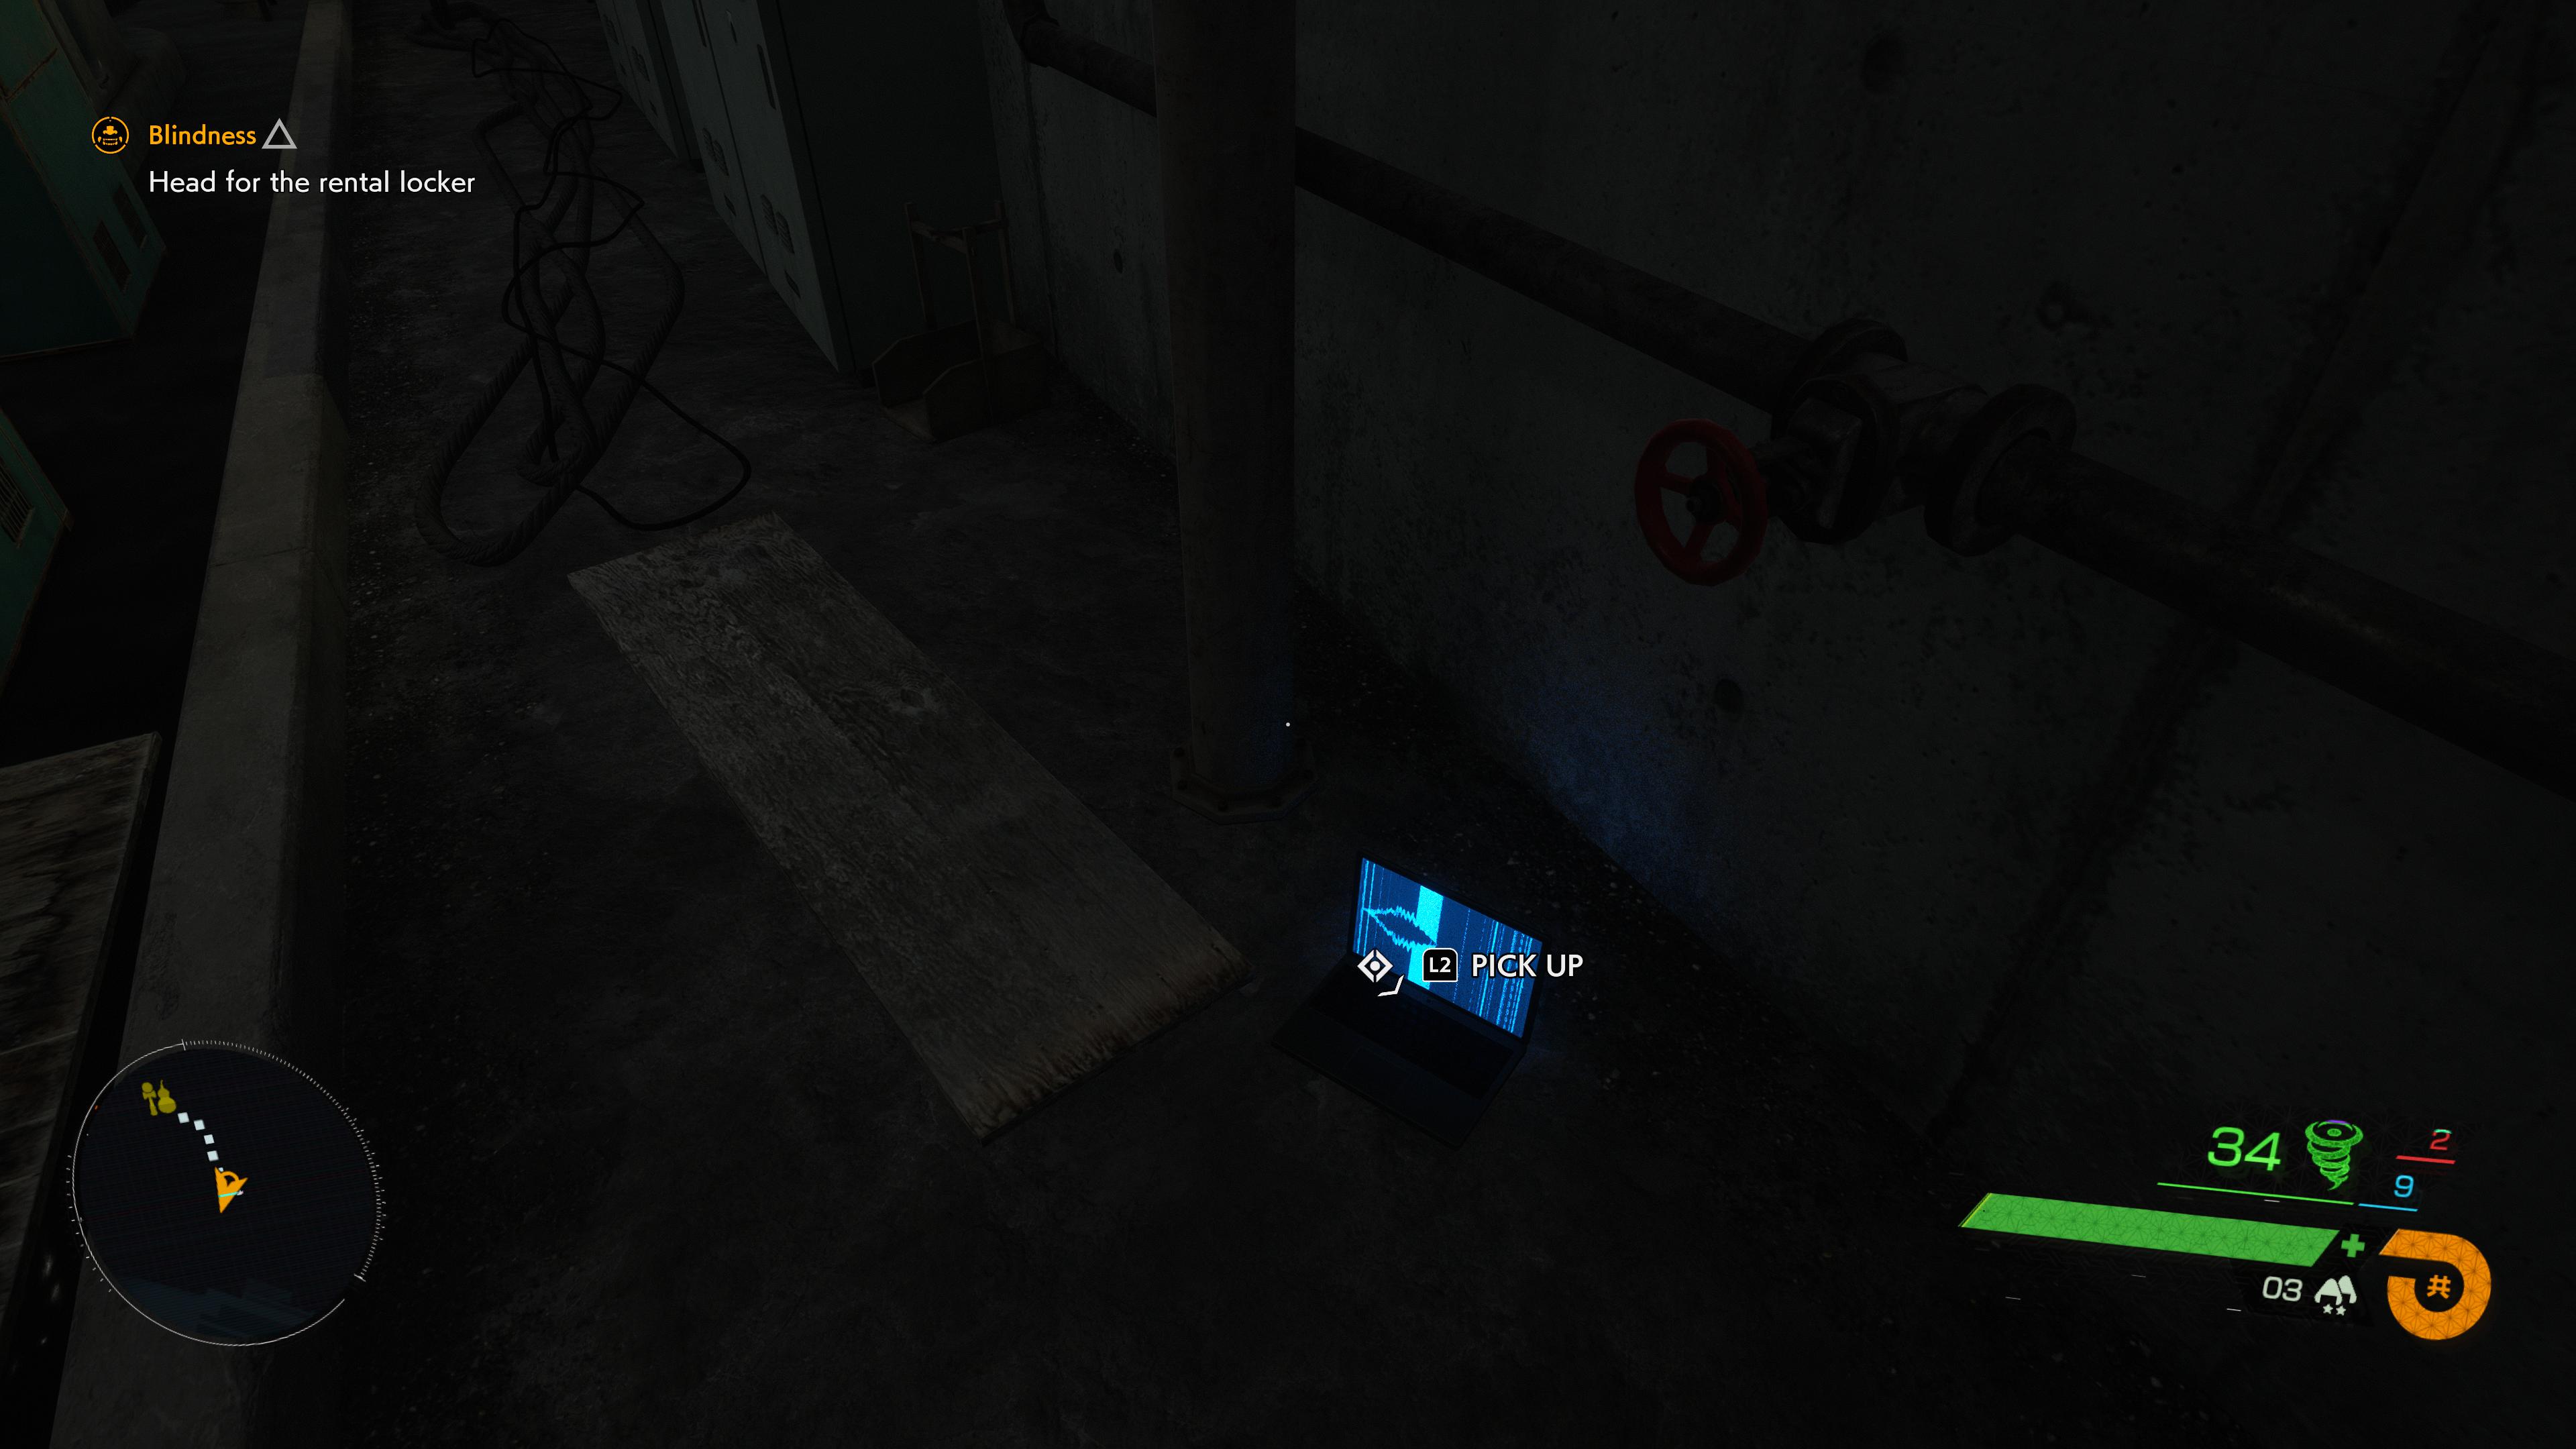
In the Midst of Battle
Unmissable. You have to grab this as part of the story mission “Blindness.“
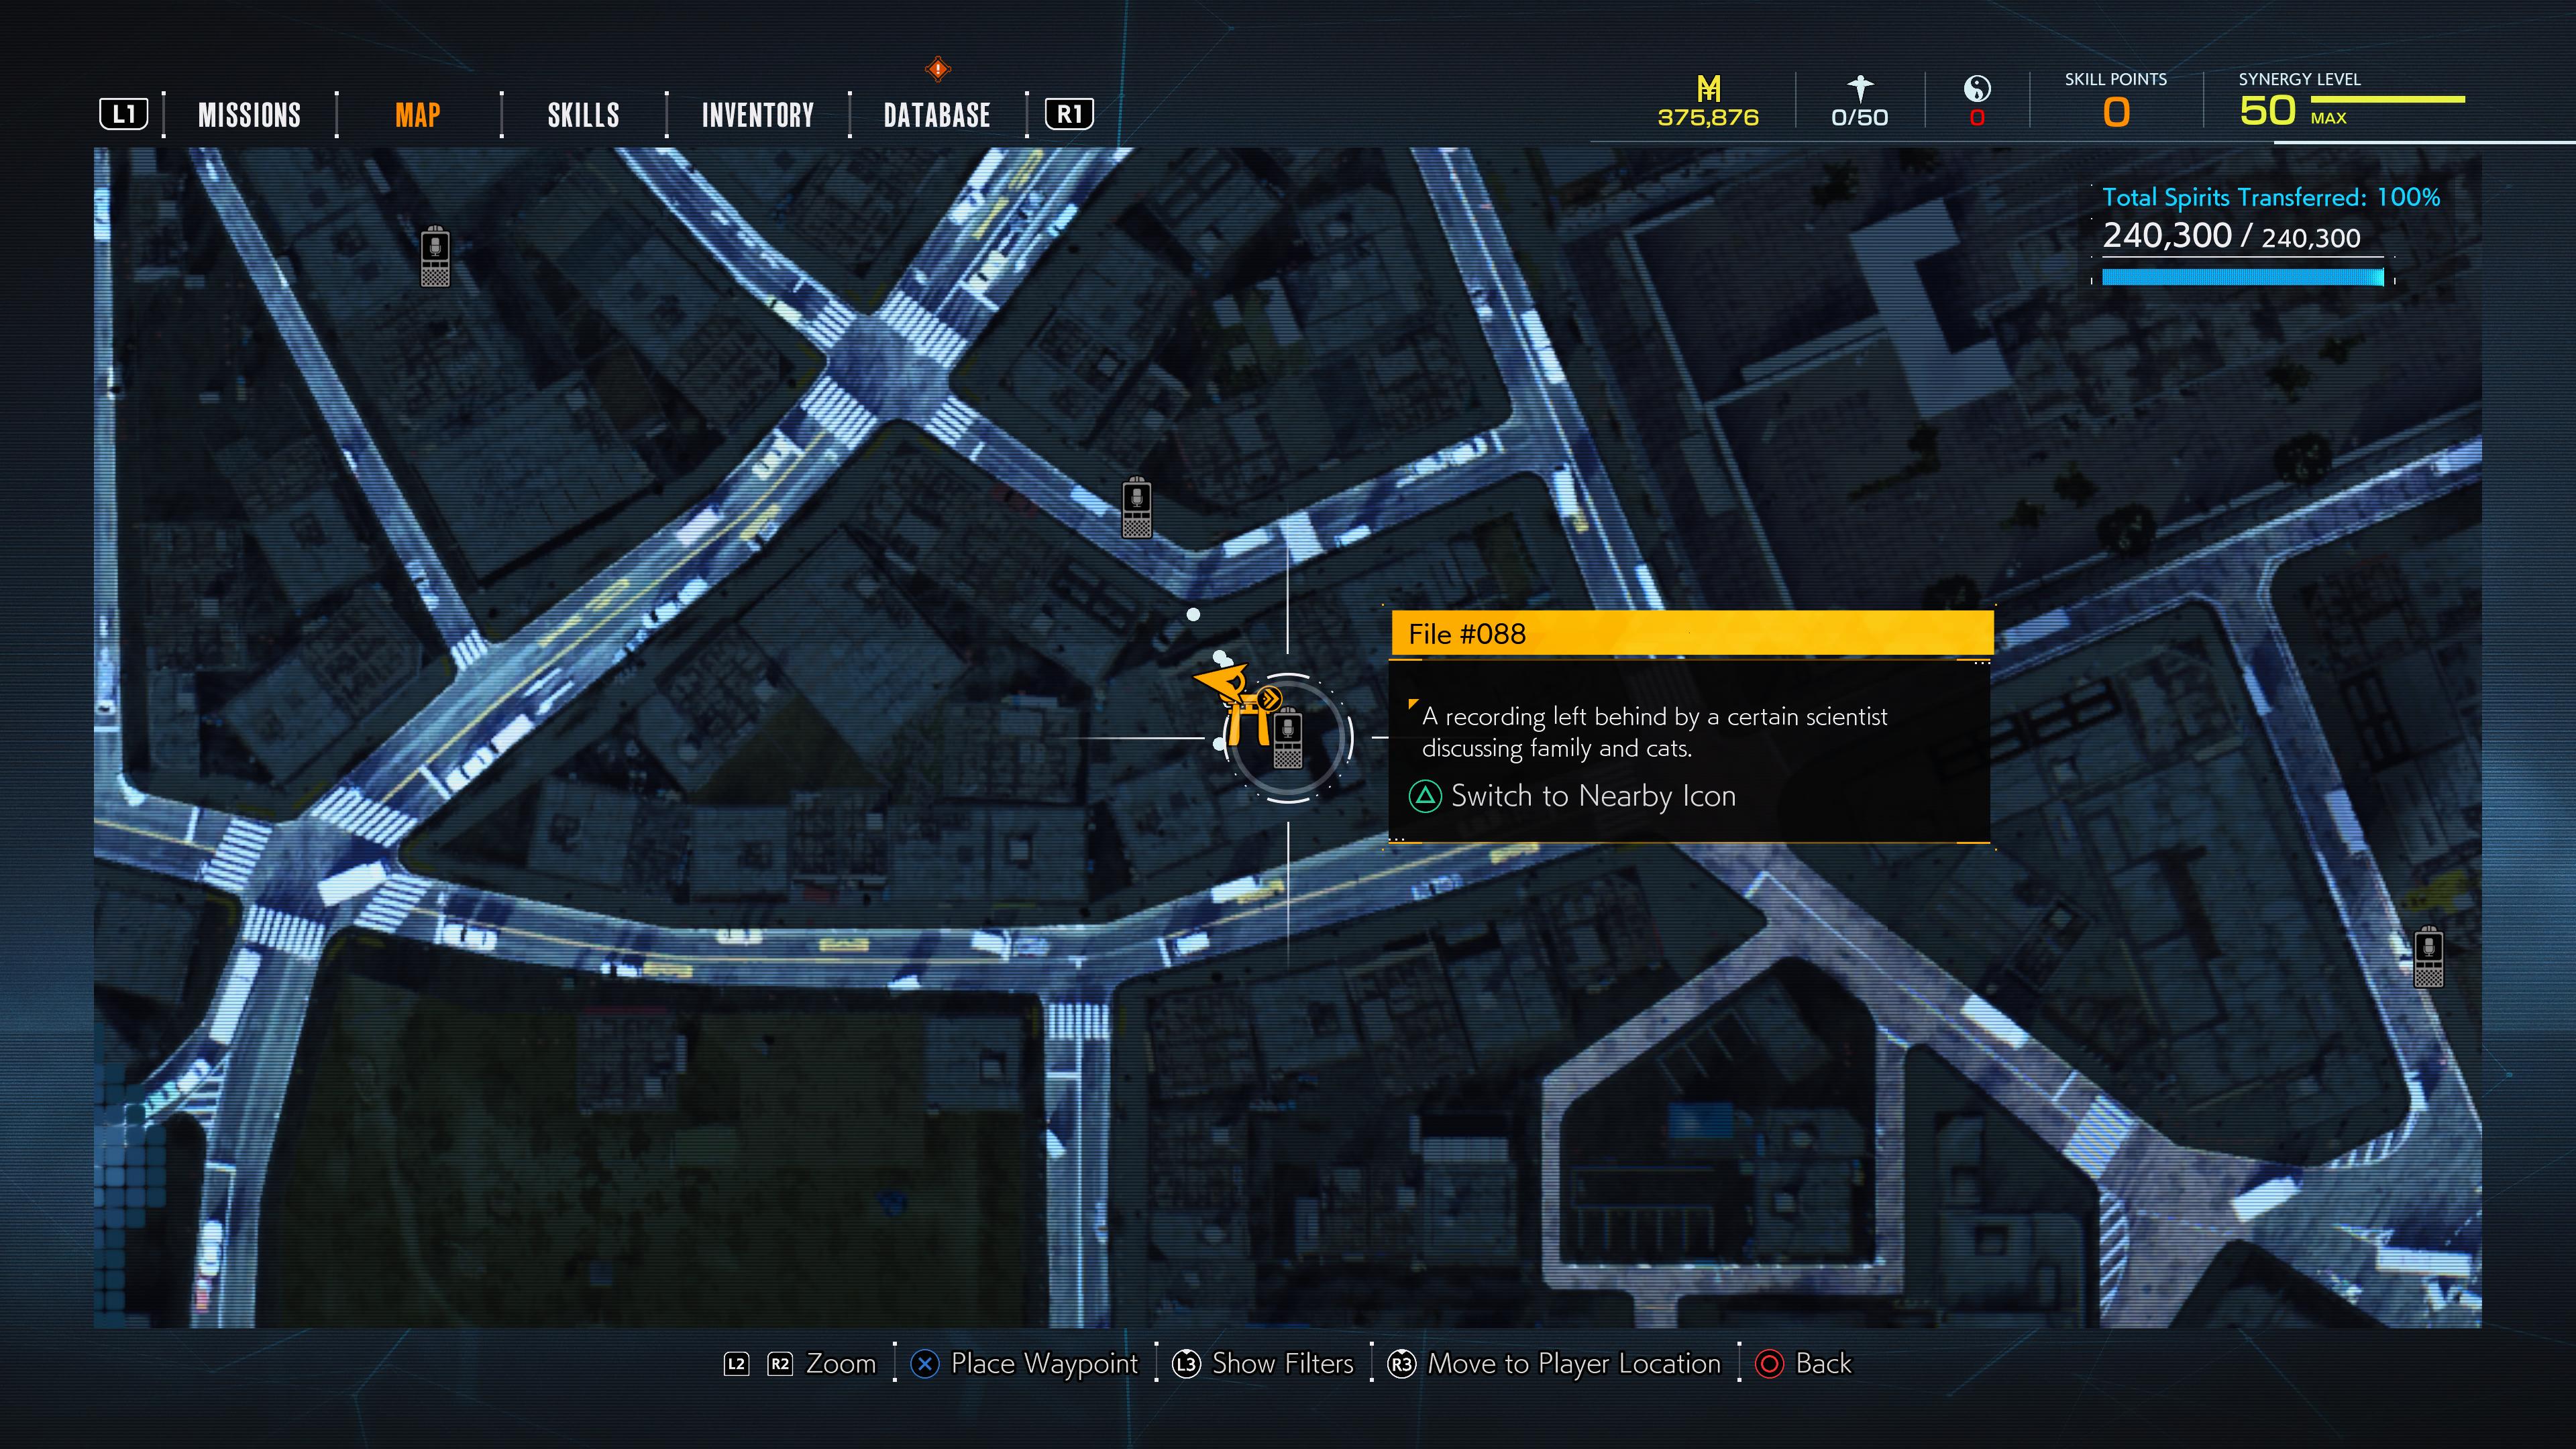
File #088
Check the open laptop next to the main building in the Namita Shrine.
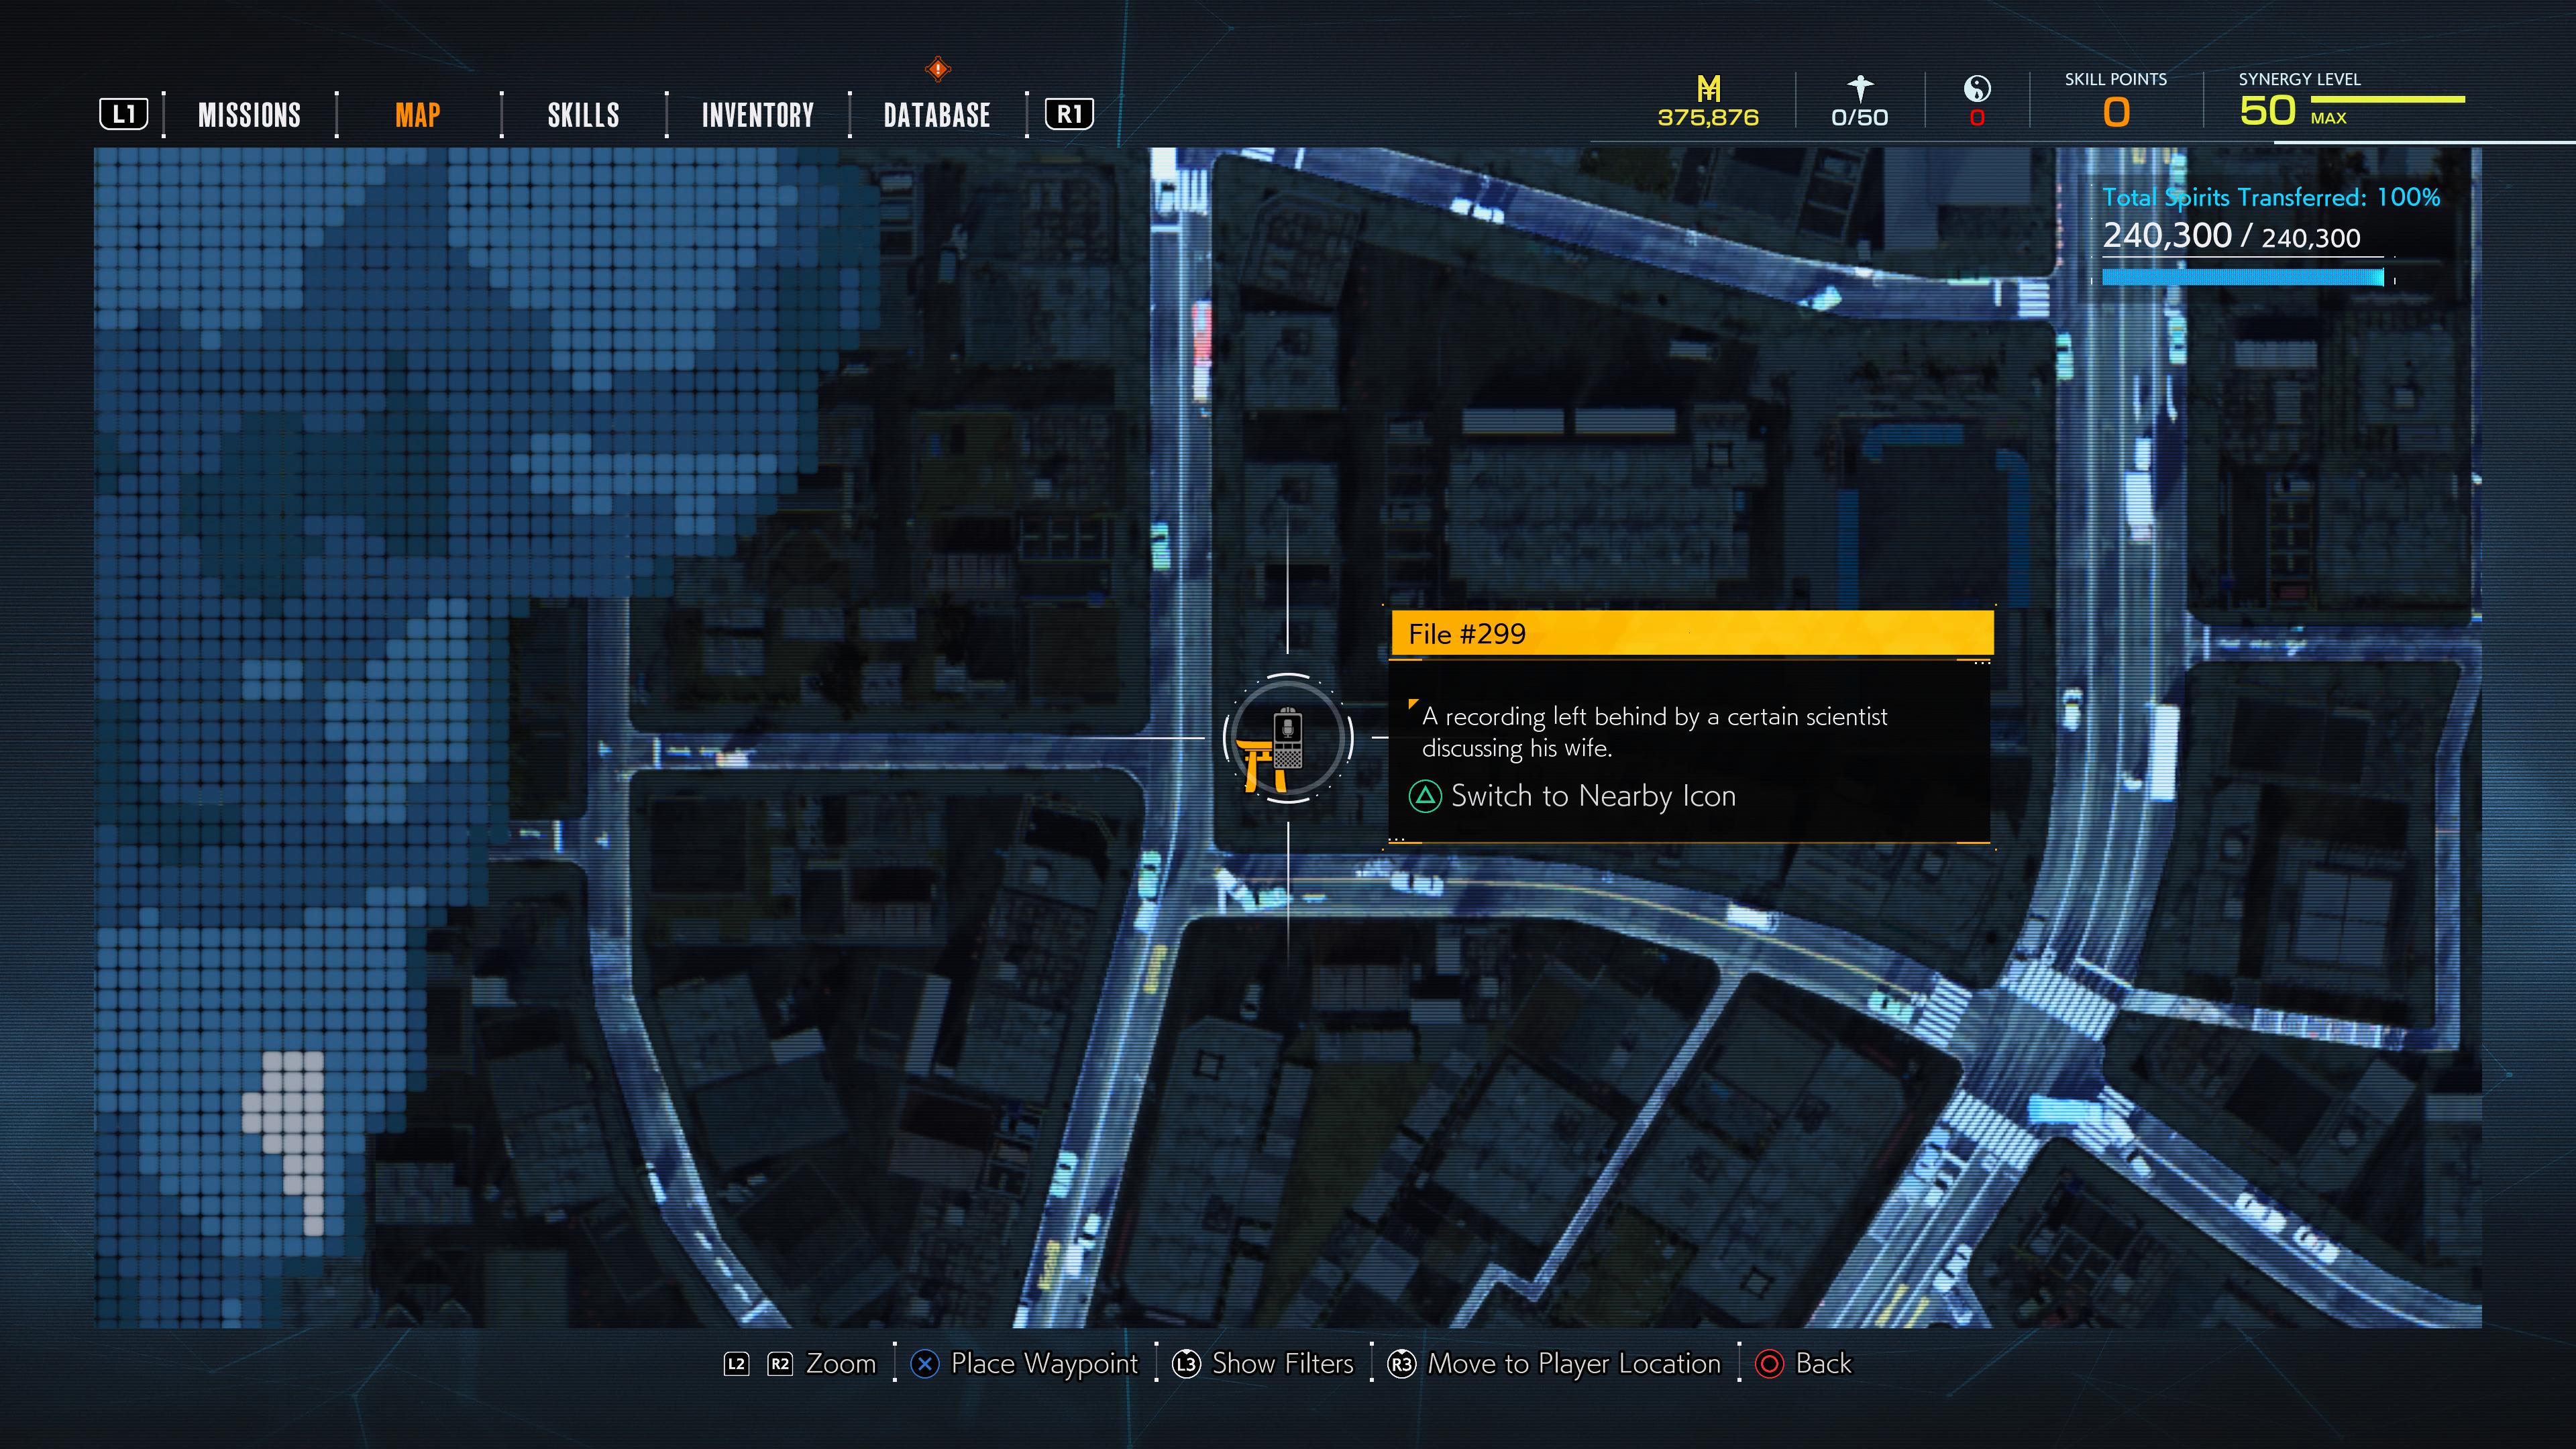
File #299
This is easy to miss. When you cleanse the Matsumi Shrine, there’s a milk crate with a laptop on it on the rooftop next to it. Interact with it to get this audio log.
File #178
Of all the collectibles in Ghostwire, and there are a lot, this is arguably one of the hardest to find.
When you’re in the Shibuya Underground’s cistern (the big circular room before the excavation point), go through the open door on the second level from the bottom. If you do this in Chapter 3 or later, you’ll have to destroy some corruption first. One of Ed’s laptops is in the corner of the room near the door to the cistern with this audio log on it.
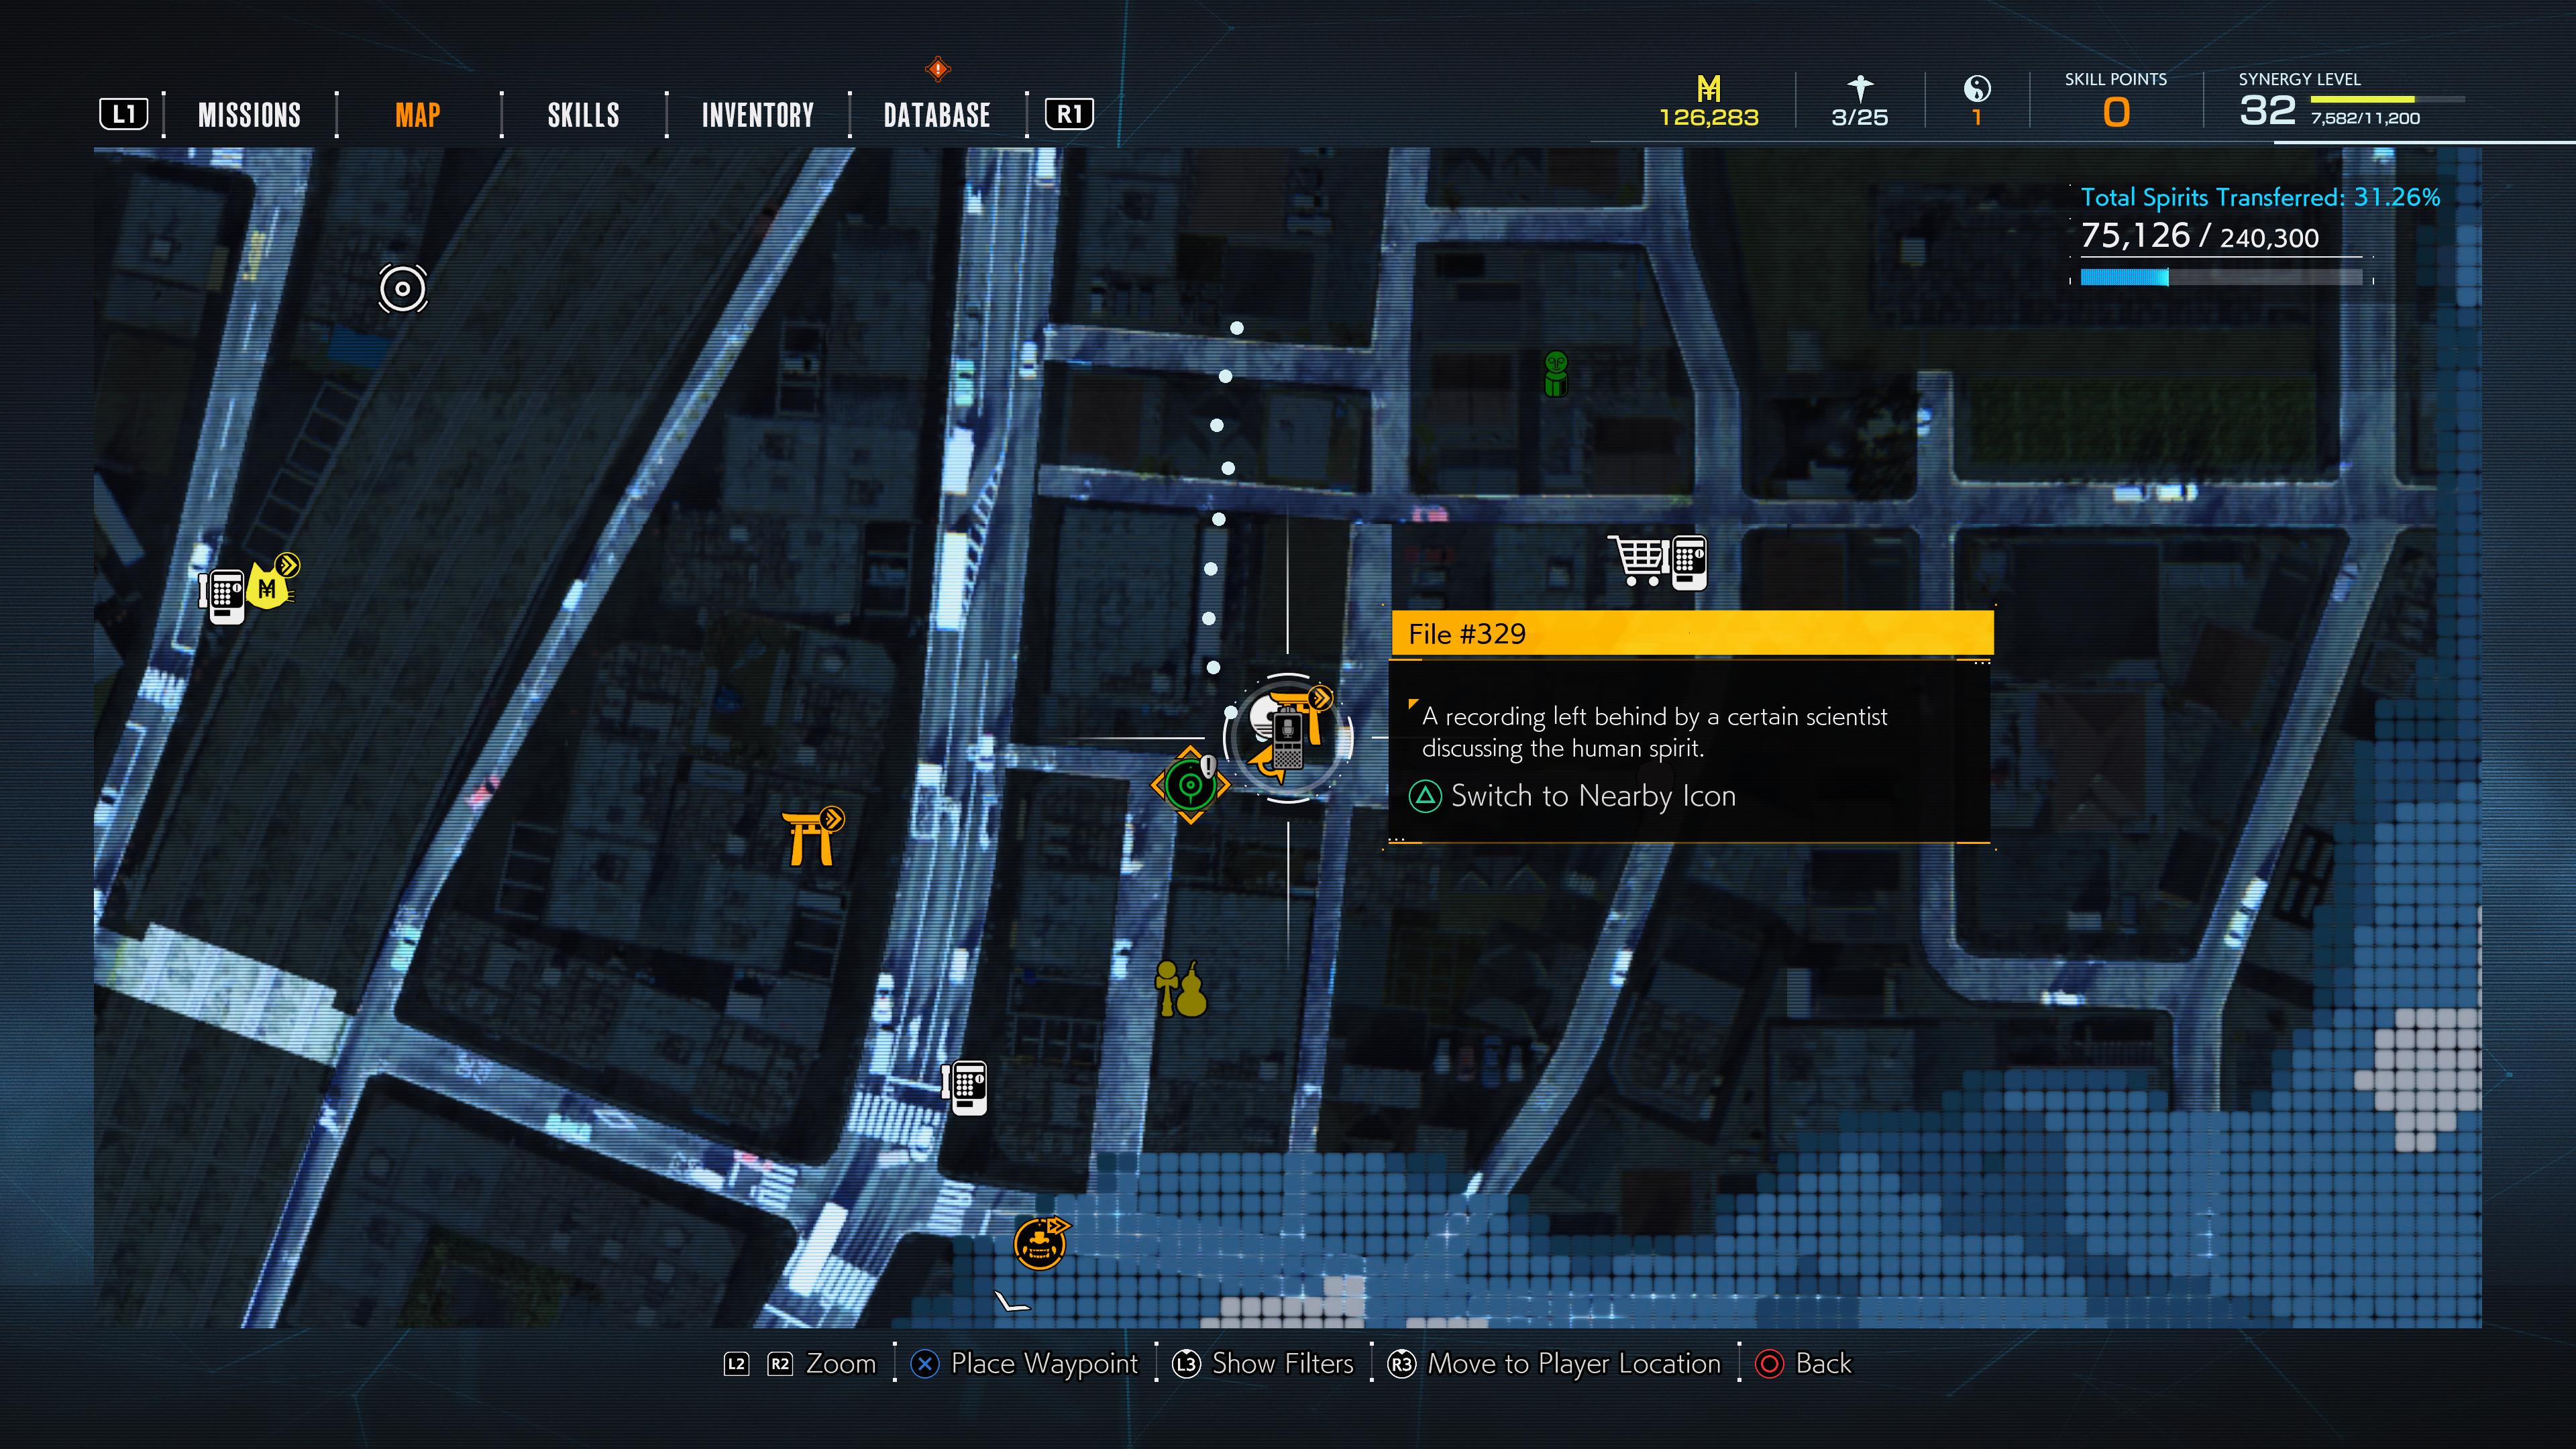
File #329
In Chapter 4, when you reach the Shiratsuki Shrine, check the open laptop next to its entrance.
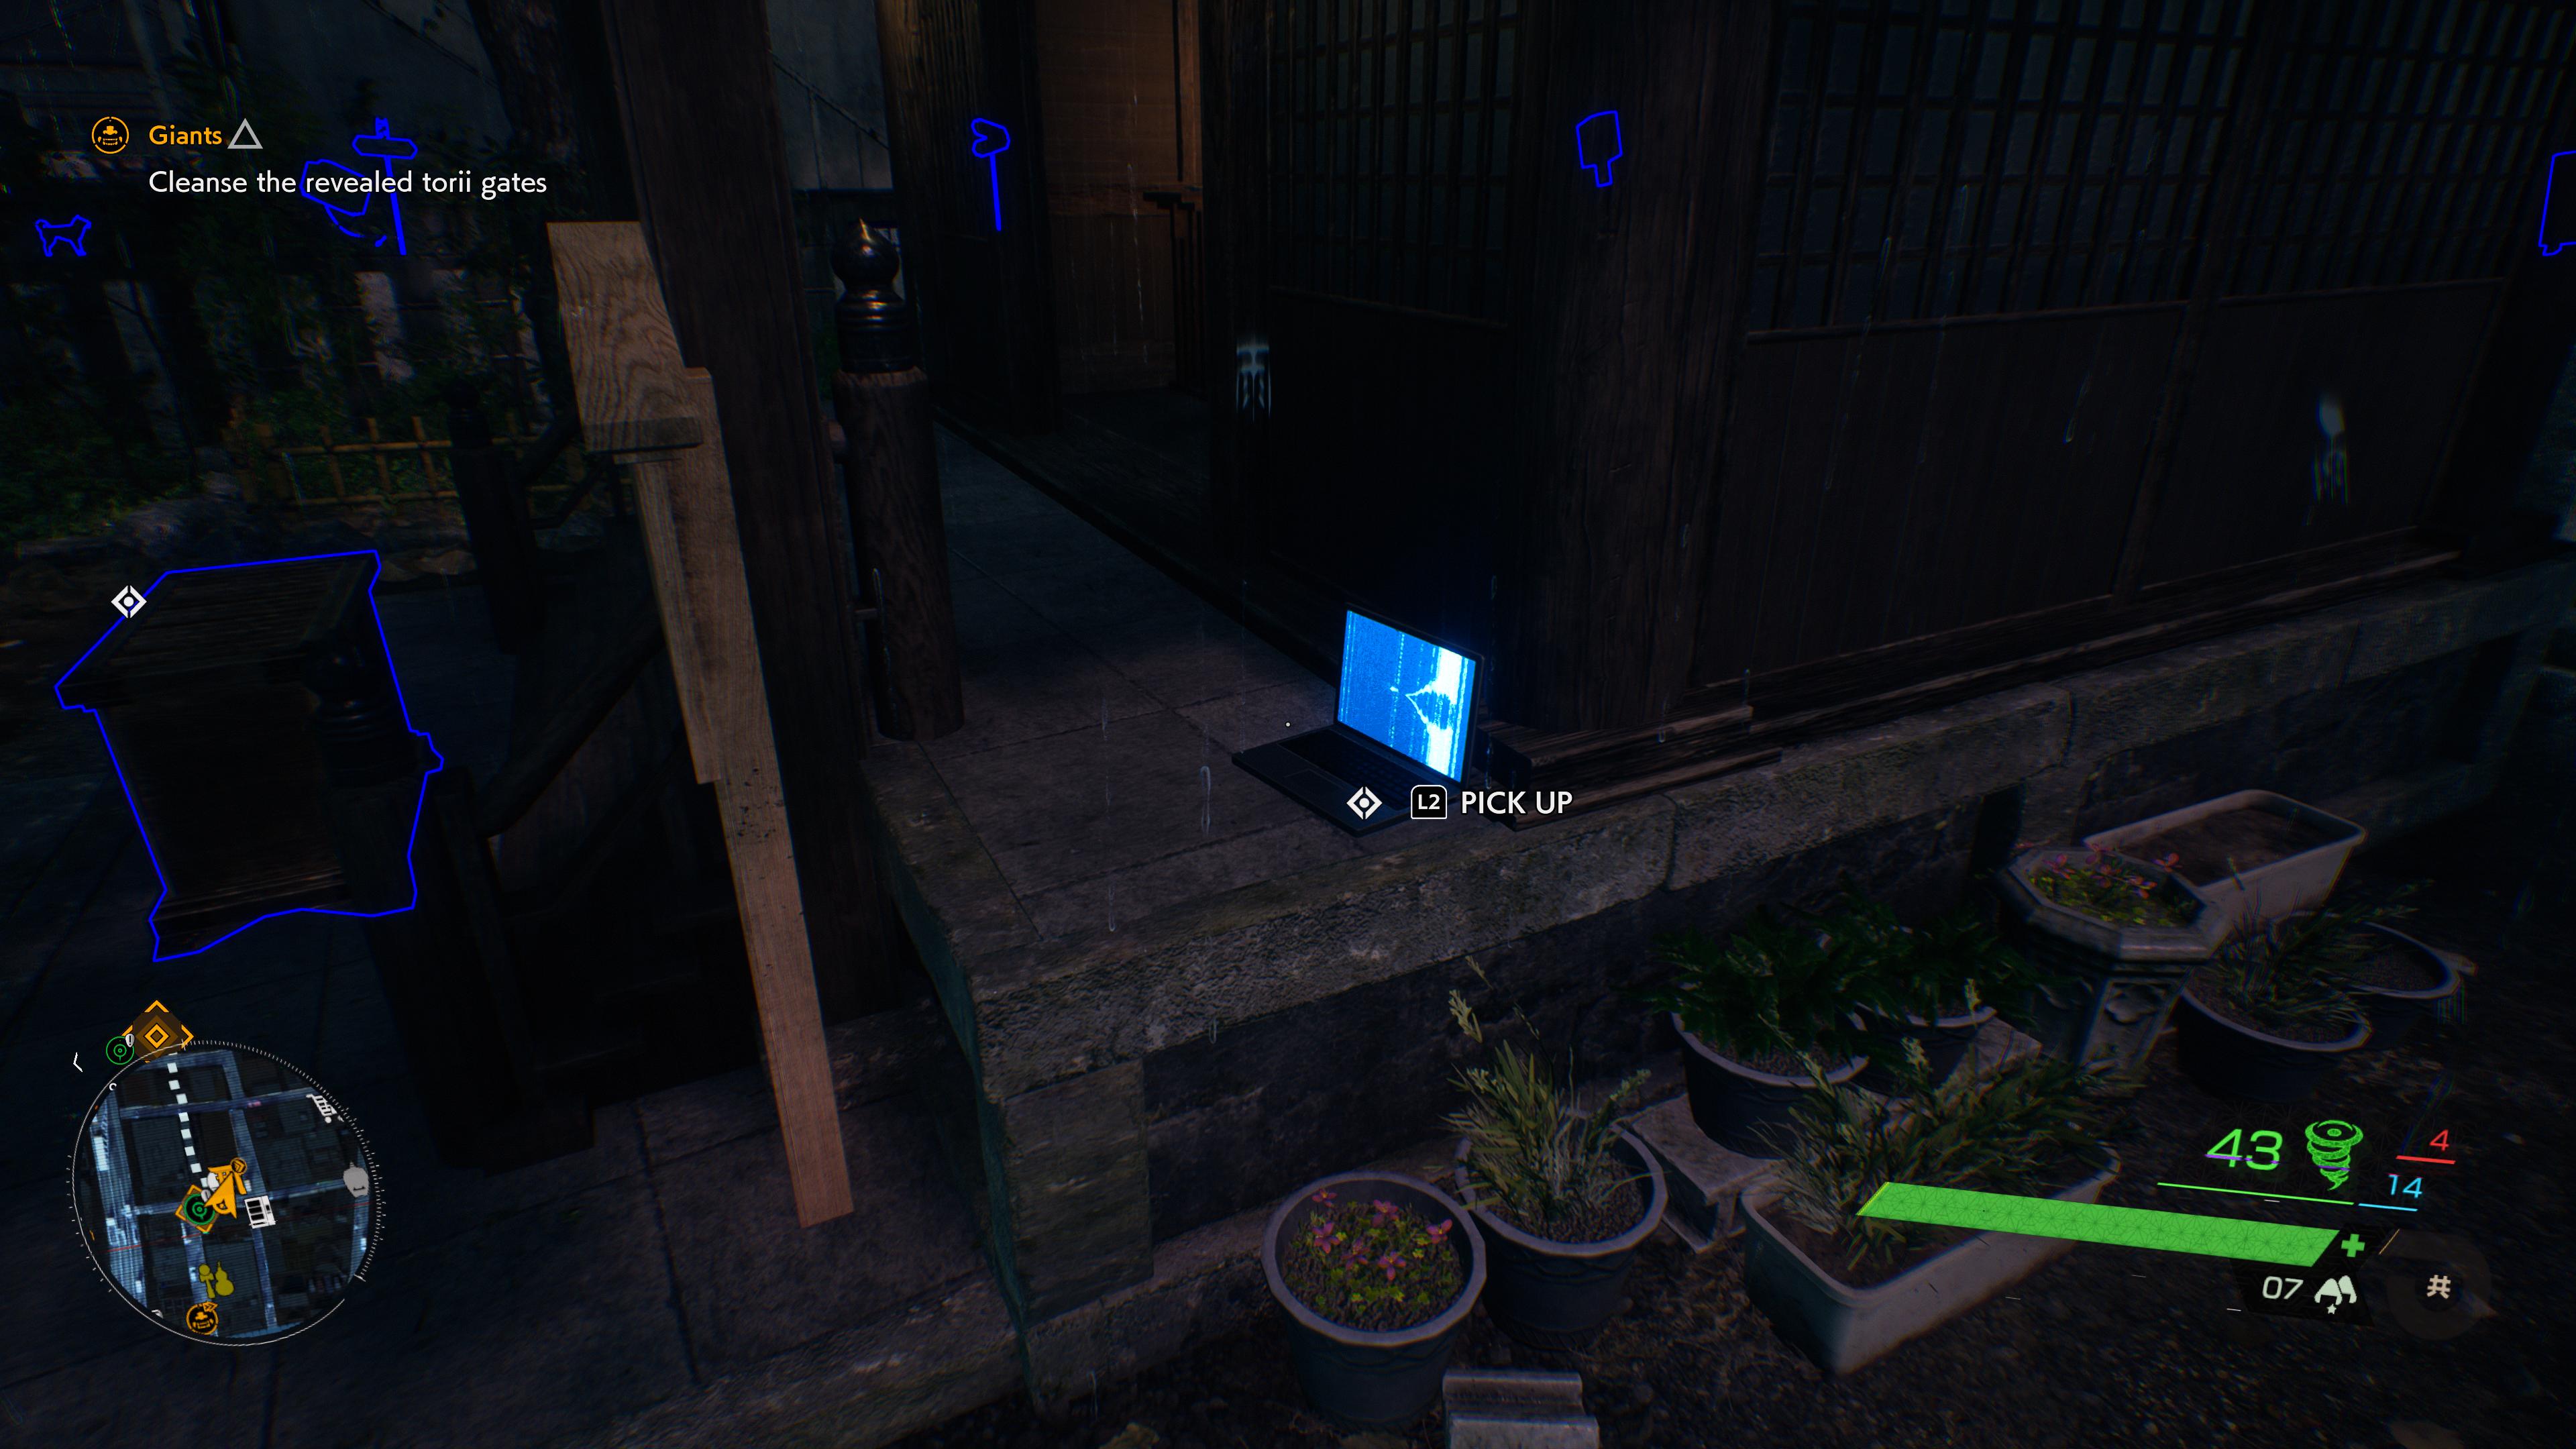
File #999
Once you regain control of Akito in Chapter 5, go straight up the stairs ahead of you. When you see the big wooden shrine building on your right, turn right, and you’ll see Ed’s final laptop, with the final audio log, open on the ground to the left to the shrine’s stairs.
Note: your map doesn’t work in Chapter 5.
Your final trophy/achievement should fire immediately upon picking up the final audio log. With that in the books, check out our other Ghostwire: Tokyo guides for further advice on how to clear out its collectibles and more difficult achievements.



Published: Mar 26, 2022 07:17 pm