Paranormal investigation ARPG HellSign has finally hit Early Access, which means its time to start searching haunted houses for clues while avoiding grisly death at the hands of ghouls, shadow beasts, giant spiders, and other unpleasant creatures.
Having a hard time figuring out how to survive and make money as a scout? We’ve got you covered with a full run down on getting all the clues and making it out alive!
Important Note: All of the info below is based on the 0.0.0.1 update after the initial launch of Early Access. Things are expected to change radically as development progresses. If you notice anything out of date or wrong, please let us know so we can update the article with new info!
Finding Clues
When searching for clues in a scouting mission, note that sometimes the clues are outside the house in the surrounding area (like the second EMF clue in the tutorial mission)
The best way to tackle each house is to sweep a room with your gun out in case enemies appear, then quickly switch to the EMF to hear if an object is nearby. If there’s no sound, put the EMF away.
If there’s a corpse in the room, pull out the blacklight and check for a blood trail. If there isn’t one, switch to the gun again. Repeat the process with each room to most efficiently search a house in minimal time.
Using The Black Light

In theory, the black light should always start at a dead body and lead through a blood trail to a clue on the floor near where the trail ends. In execution, not every body has a blood trail, and sometimes the object isn’t anywhere close to where the trail ends.
Don’t forget the blood trail leads both directions. If you can’t find the object at the end of the trail, go back to the body and search all the objects around it, as the body may be the end of the trail rather than the beginning.
This lack of clarity is particularly frustrating in the opening tutorial mission, as the final black light clue isn’t outside where you use the EMF meter. Instead, the second black light tutorial clue is found back inside the house and doesn’t have a blood trail at all.
To complete the tutorial, just use the black light on every object in the house (closets, drawers, paintings, etc.) until you hit the random object that has the clue.
The developer is currently compiling a list of issues with the black light and need info and screenshots to resolve the problems. If you’ve got a specific issue being unable to find a black light clue or where you can’t see blood splatter, head over here and log a report.
Accessing Locked Rooms

Many players are reporting problems finding the last clue in a house, and that clue is usually behind locked doors.
This isn’t explained anywhere in the game, but you actually can enter the locked rooms, and they aren’t permanently closed by poltergeists.
You just have to upgrade to any weapon besides the nailgun. Hold right click with the weapon selected and aim at the doorknob to blow off the lock and enter the room. You’ll know you have the aim right when a white circle appears.
Finding All Clues
Keep in mind that you can’t always find every clue in a house with the basic starting equipment of all the game’s classes.
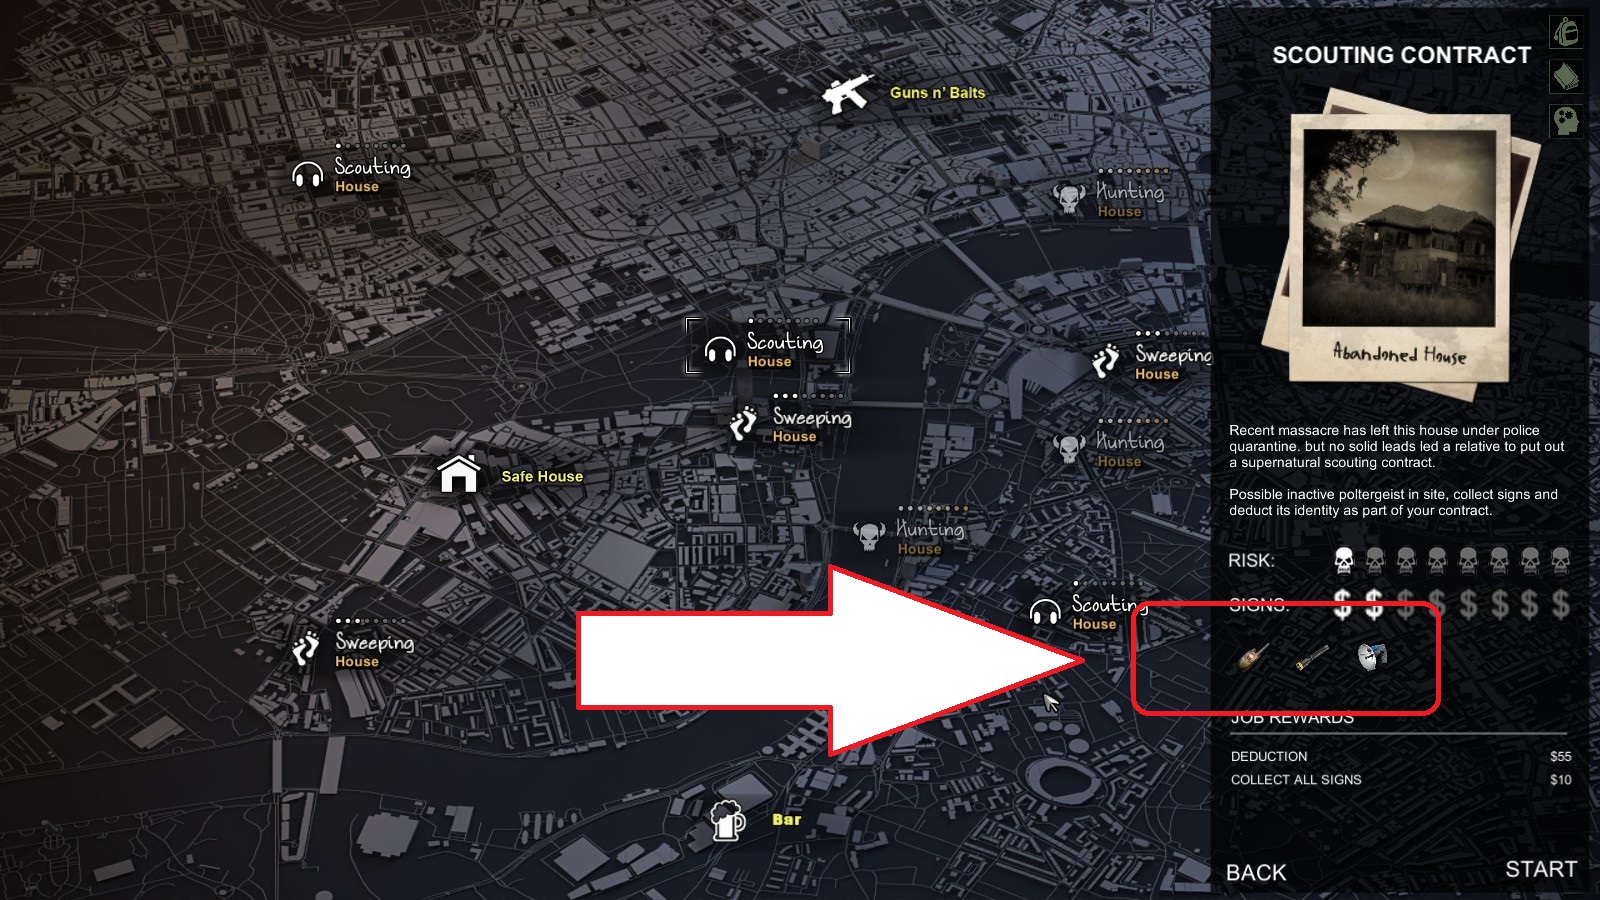
Some clues require more than the EMF meter and black light. When you select a location to scout, the summary on the right lists what equipment is required to find all clues, with the parabolic mic frequently needed in addition to the starting equipment.
Combat
First and foremost — in the early stages of the game you aren’t meant to complete a full scouting mission and get every clue in a house. The enemies are too overpowering with your current equipment.
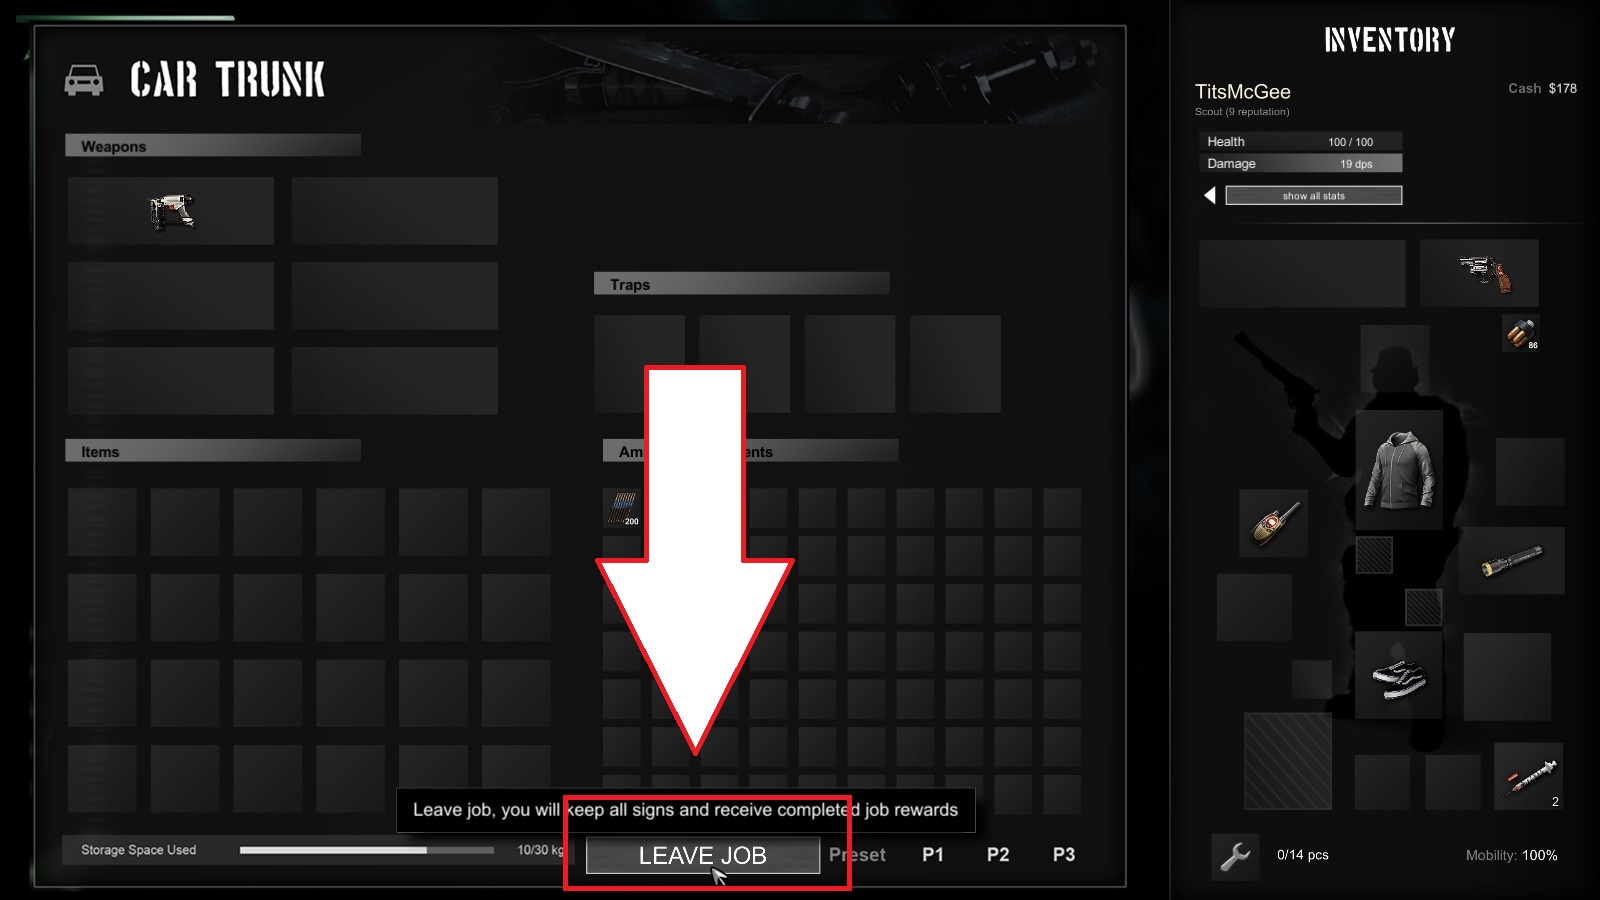
If you die constantly, just grab a single clue, then go back to your van and leave. Sell the clue to the fixer at the bar, then repeat the process again on another scouting mission.
When you have enough cash, go buy a better weapon before trying to seriously tackle the combat. The Poor Man’s Colt is one of the best starting weapons to buy, as it deals enough damage to take out spiders in a single shot but can be purchased fairly early.
If you find you just absolutely cannot survive the early monster encounters, start over and pick the Stalker class, as you begin the game with a shotgun instead of the revolver.
Finally, remember that finding multiple clues in a house and using them in your Cryptonomicon gives you bonuses against enemies in the area, which will be a necessity to surviving the bigger creatures and the bosses.
Poltergeist
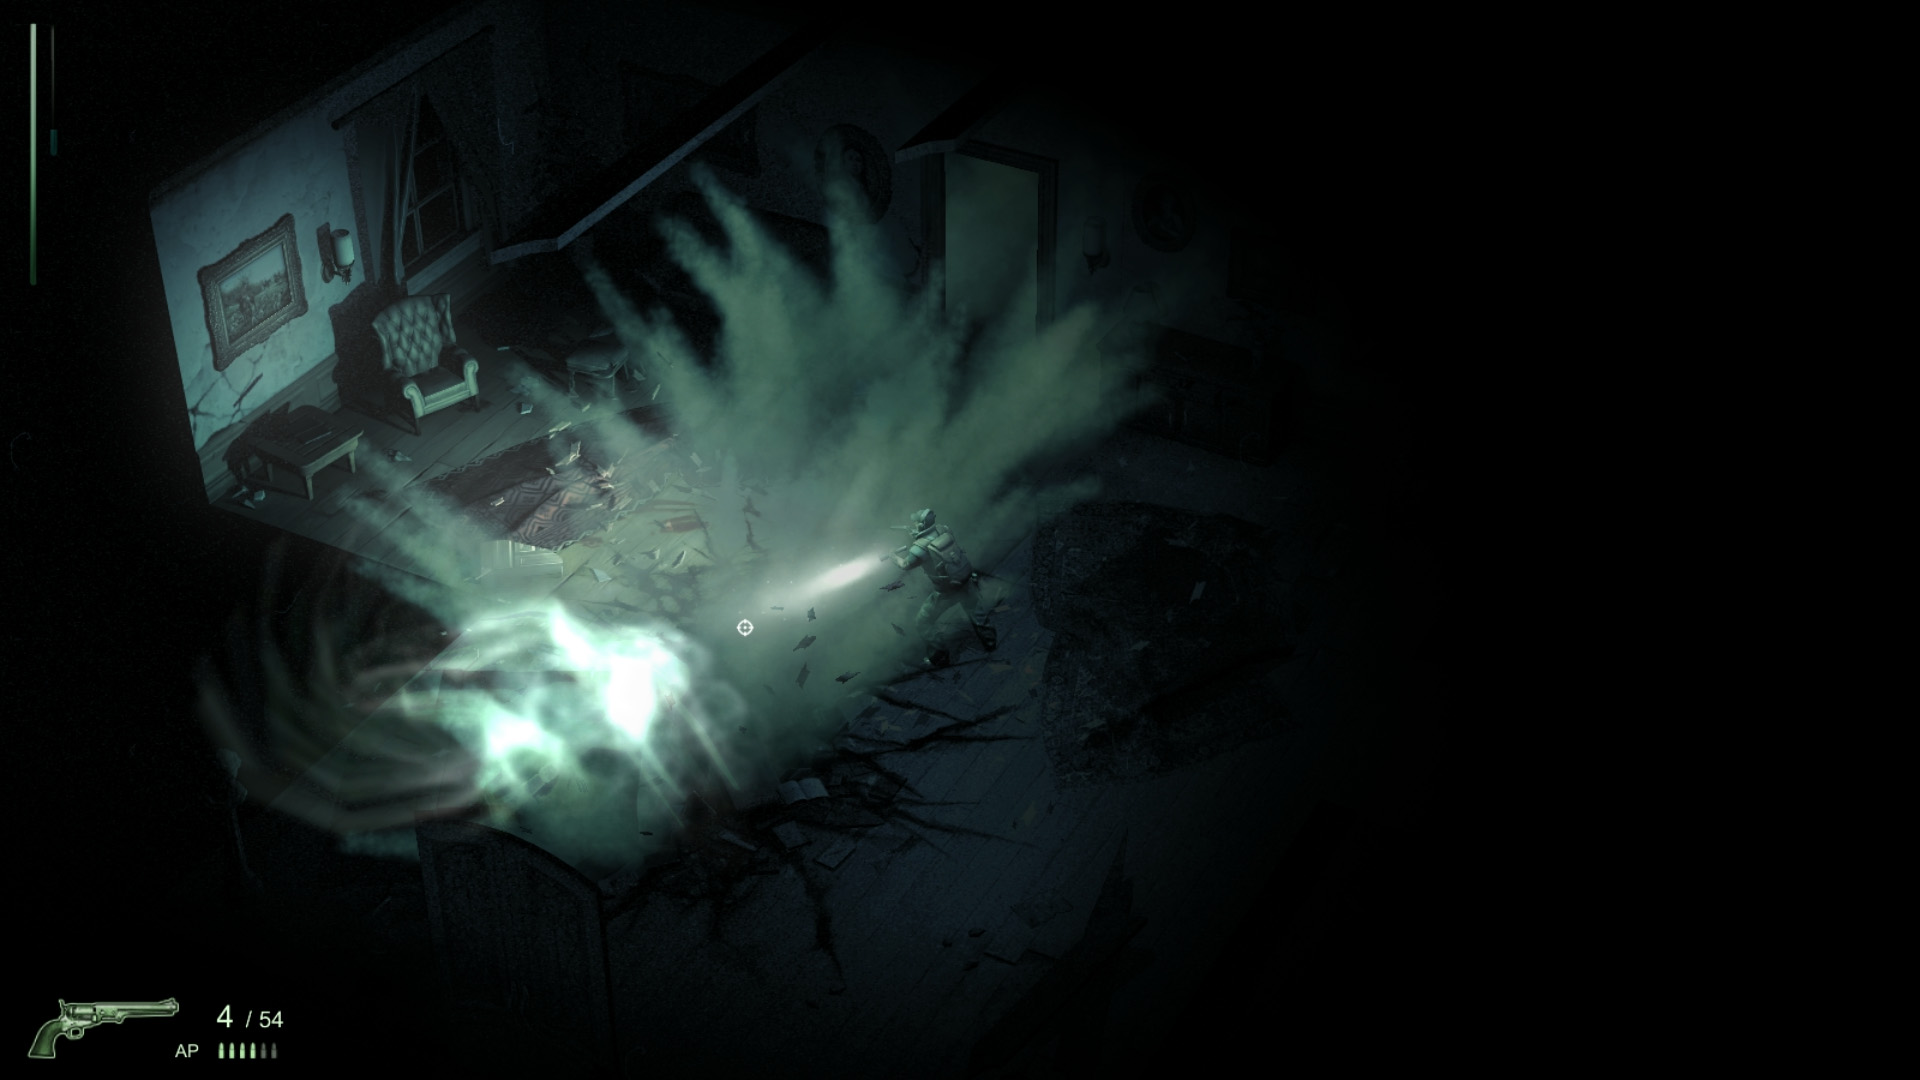
The game again doesn’t tell you this, but the powerful poltergeist attack can in fact be dodged! It seems like an unavoidable cut scene, but it isn’t.
When the screen shakes, wait for an object in the room to rise up in the air, then dodge roll just before it flies at you and breaks. This saves you a ton of health for the rest of the house.
Spiders
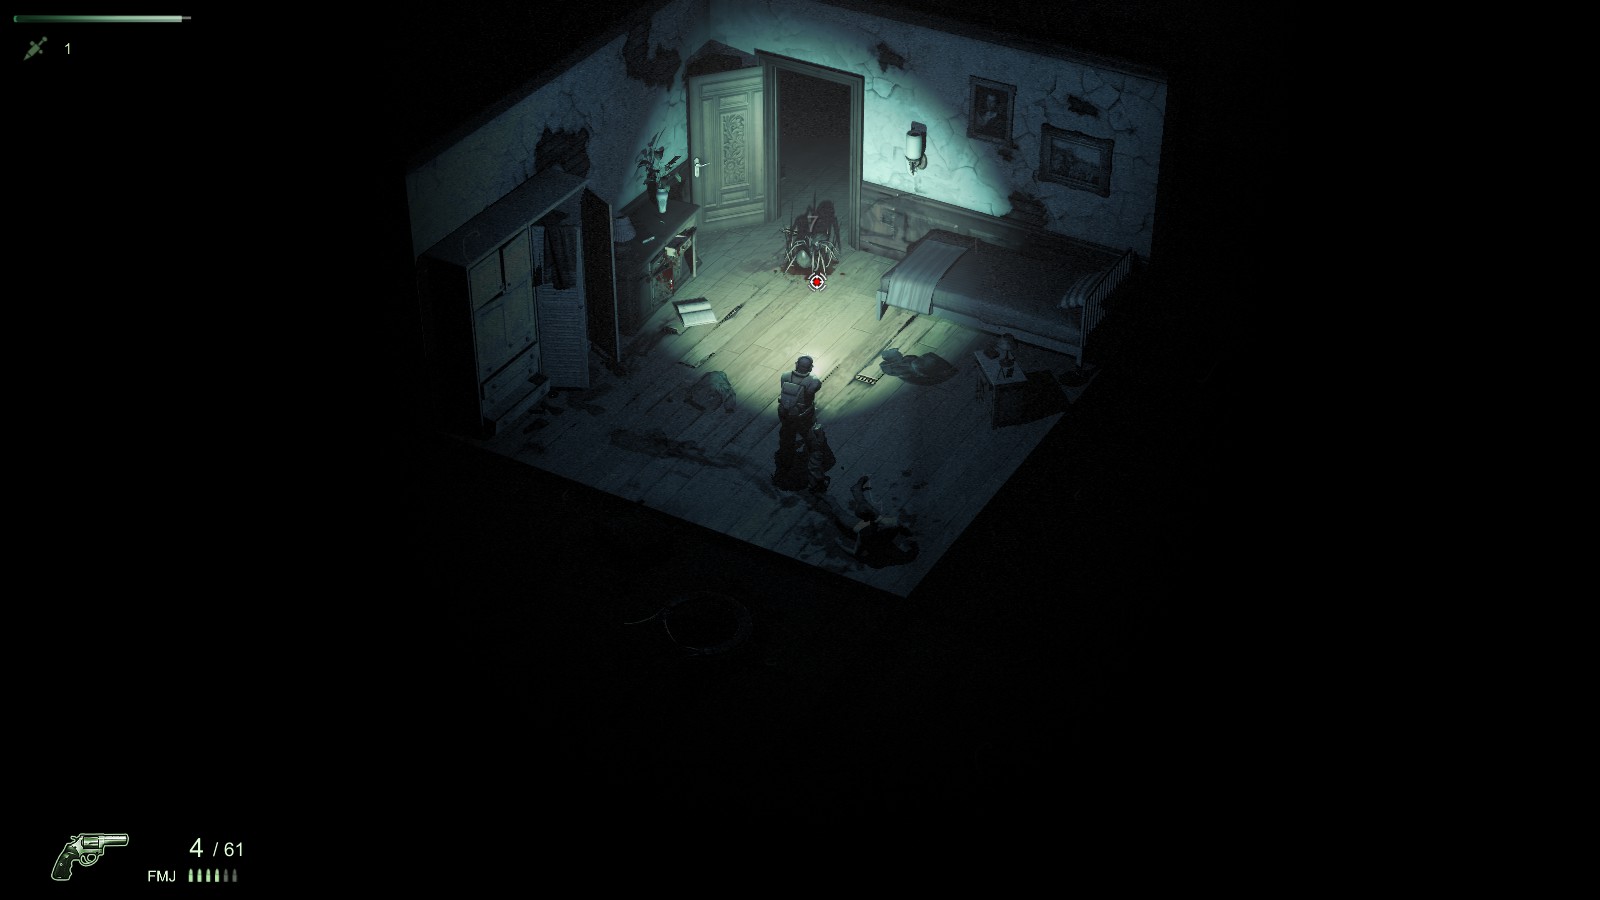
These are the bane of your existence until you figure out the wonky combat due to their skittering movement that makes aiming impossible.
To more easily manage the spiders, dodge roll away into an area with only one tight entrance, like a hallway, bathroom, or an outside area with a short deck. They will pop out one by one, and can easily be dispatched by aiming at the ground.
Centipede
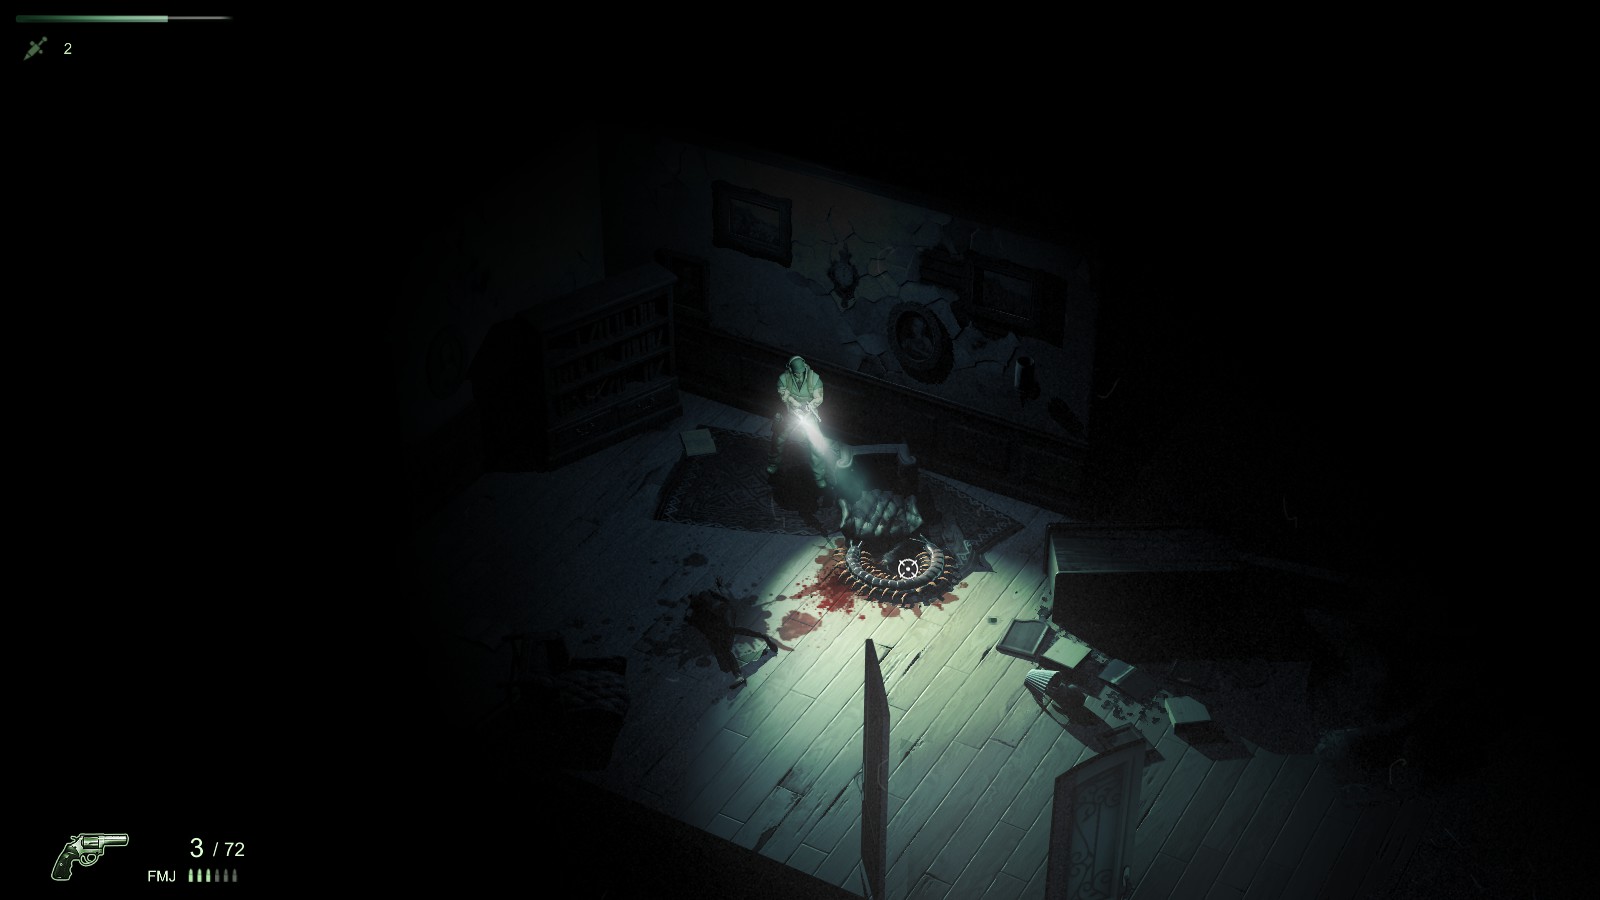
For the centipede, note that he can crawl under closed doors, so there’s no point in trying to lure him into a tight space.
Look for an area where you aren’t going to get stuck on a door or overturned piece of furniture. When he approaches, listen for the sound of his body cracking like a whip, as that’s the exact moment you need to dodge roll away to avoid taking damage.
It’s best to get off a single shot before dodge rolling, then wait for the centipede to run away and come back. Shooting while he’s fleeing is just a waste of bullets in most cases.
—
Those are all the basics you need to know to get started and begin investigating areas on your own in the first chapter of the game!
Do you have any other combat or clue tips we missed? Sound off and let us know your strategy in the comments below!


Published: Nov 10, 2018 01:54 pm