
There are a lot of different armors to collect in Horizon: Zero Dawn, each focusing a particular playstyle. All of them pale in comparison to the Shield Weaver armor, the ultimate protective kit. And like any piece of endgame gear, it’s locked behind an ancient door that needs five power cells to open.
These power cells are scattered and hidden across the entire Horizon Zero Dawn map. Many of them are in locations tied to the story. You’ll be through most of the game by the time you get your hands on the five cells and the Shield Weaver armor, but it’ll be worth it.
The Shield Weaver armor is important because it generates a force field, granting you an extra health bar that must be depleted before you take a single point of damage. It’s got a quick recharge time, too, so only the most careless hunter will leave a fight with so much as a scratch. Promotional images for The Frozen Wilds showcase it for a reason.
This guide will show you where to find every power cell in Horizon Zero Dawn, and how far into the game you need to be to acquire them at all.
You don’t need to start the quest for the Shield Weaver armor to collect the power cells; you only need to do so to get the armor. You will be able to access the Power Cells once you make it out of the Embrace, which you’ll do after the Proving and a big fight with a Corruptor machine.
Once you’re outside the gates, talk to a hunter named Varl, and he’ll set you on the main quest.
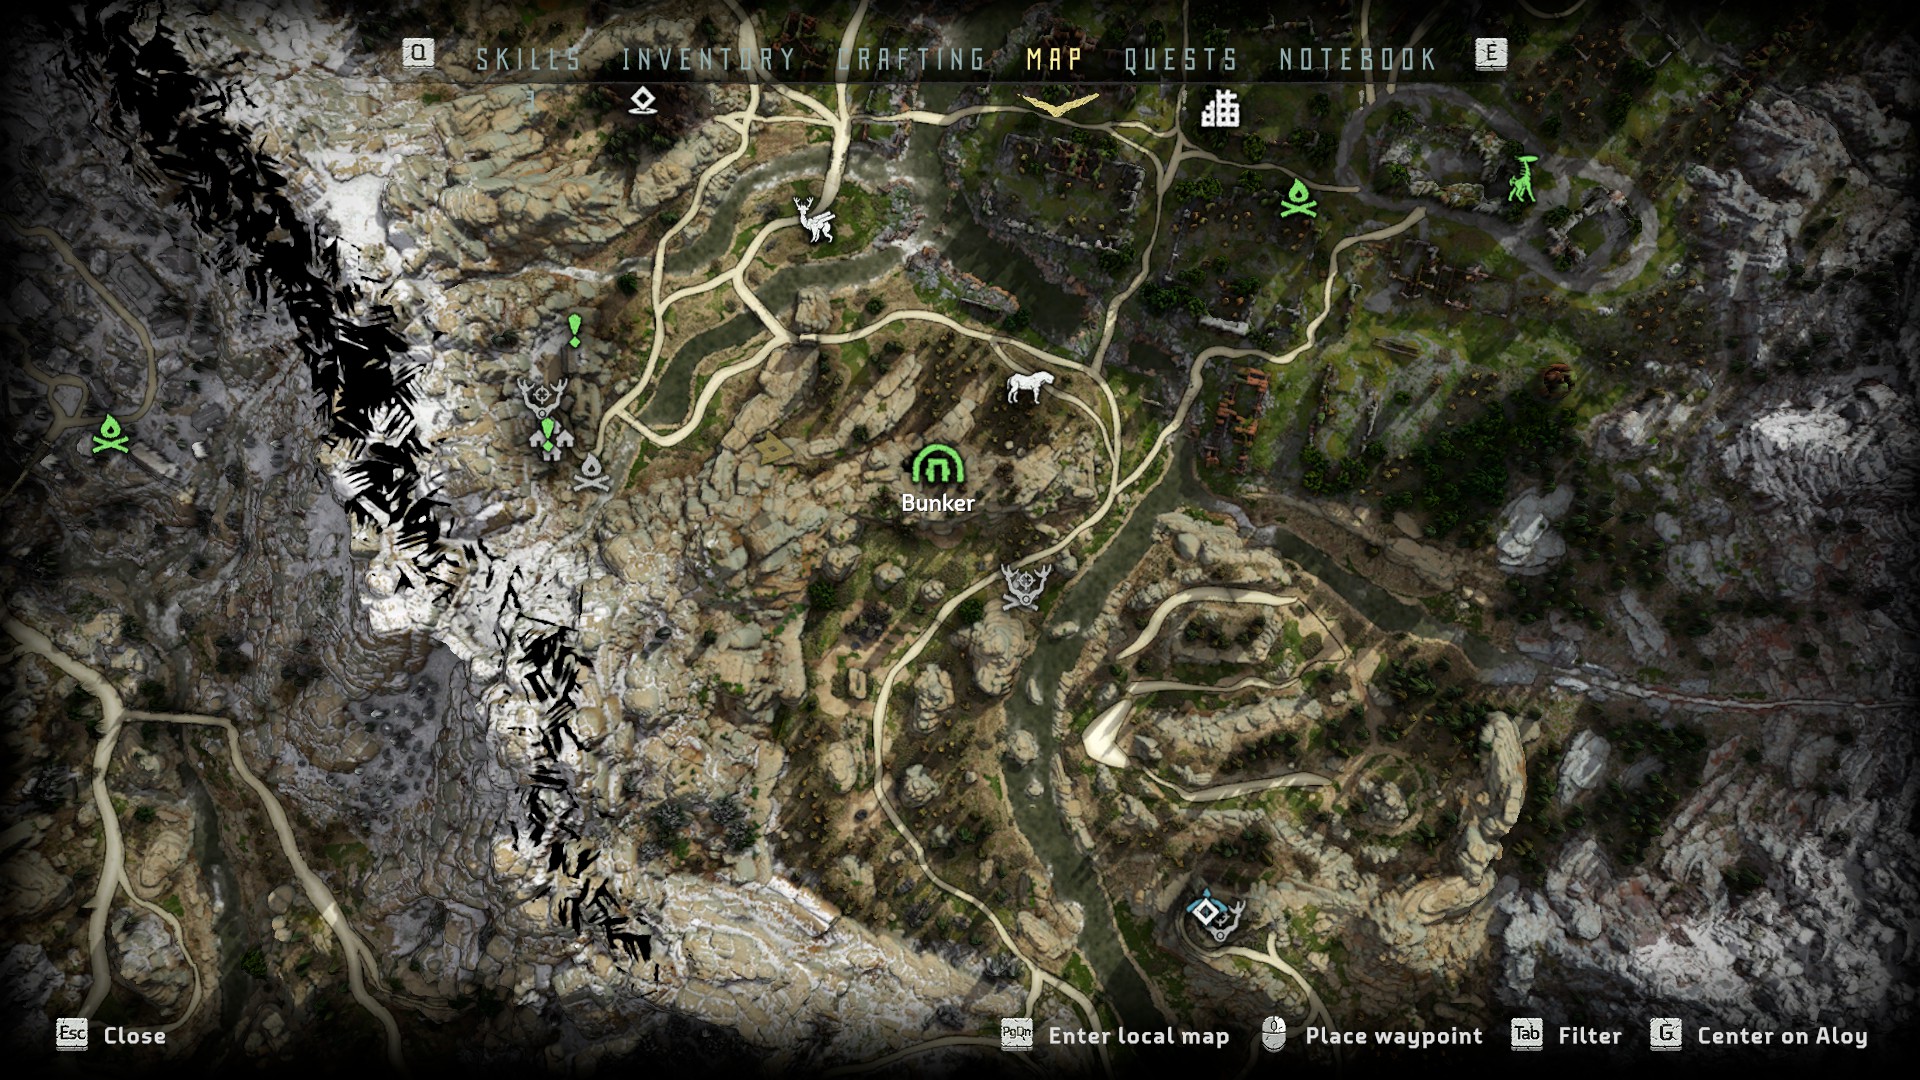
First Power Cell Location: Ruins in the Embrace
The first Power Cell is located in the ruined bunker you visit when Aloy is a child. You can revisit this area once you gain access to the Embrace when she’s an adult. Specifically, the ruins are here:
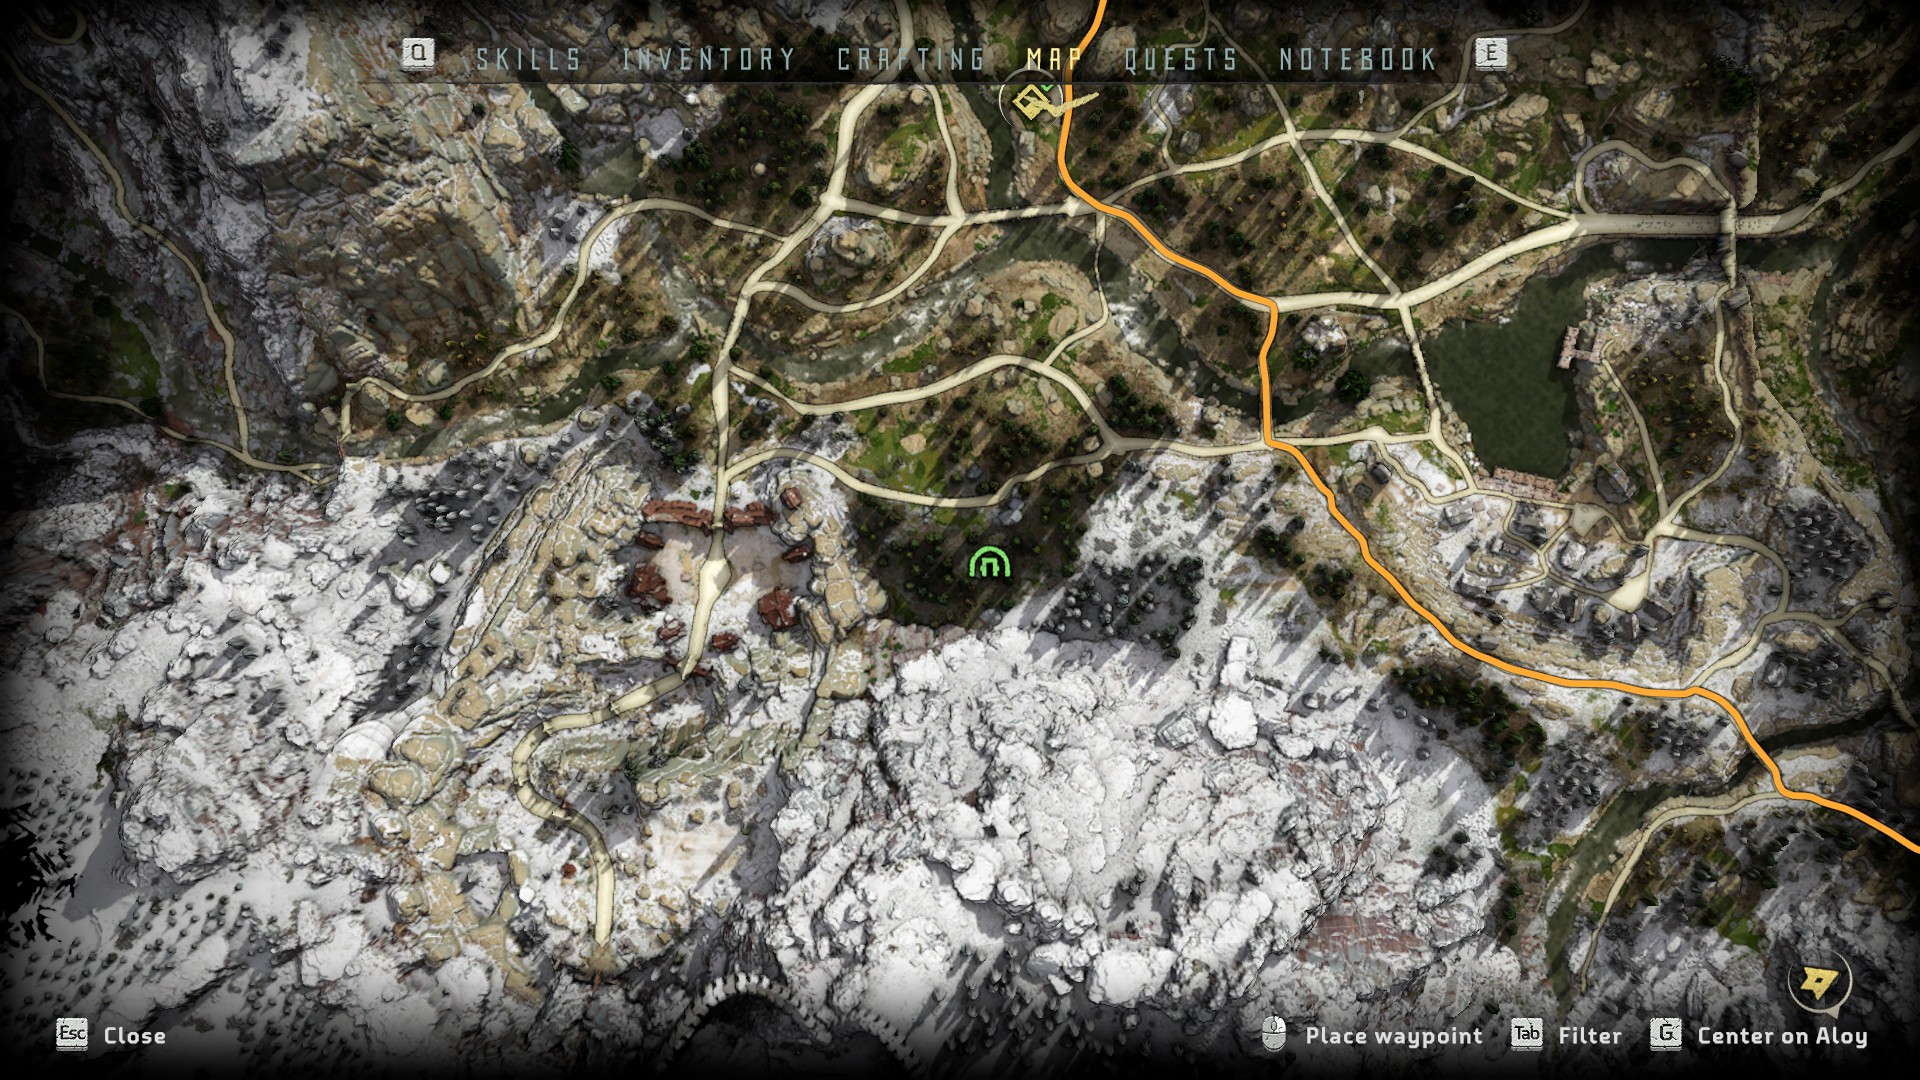
The ruins aren’t hard to get to, as the Embrace isn’t home to dangerous machines. These ruins should already be on your map. Head to the southernmost portion of the area until you run across a hole in the ground surrounded on three sides by trees. You’ll know the one because several craggy tree stumps flank the entrance.
Head down into the hole, and you’ll find yourself at the beginning of the bunker where Aloy first found her Focus tool.
Proceed as you did before. You’ll come across a set of doors you can now pry open with your spear, the ones child Aloy slipped through in the introduction.
From these doors, continue through the facility, down one set of stairs and up the ones beyond them. You’ll pass two sets of stalactites, both of which are breakable now and lead to supply rooms. The first you’ll come across is not the one you’re looking for, but it will give you a good head start on crafting materials.
Once you make your way up the second set of stairs and near the room with the power cell, Aloy will say something about being able to get through the barrier now. The power cell itself is the green loot icon just beyond the stalactites.
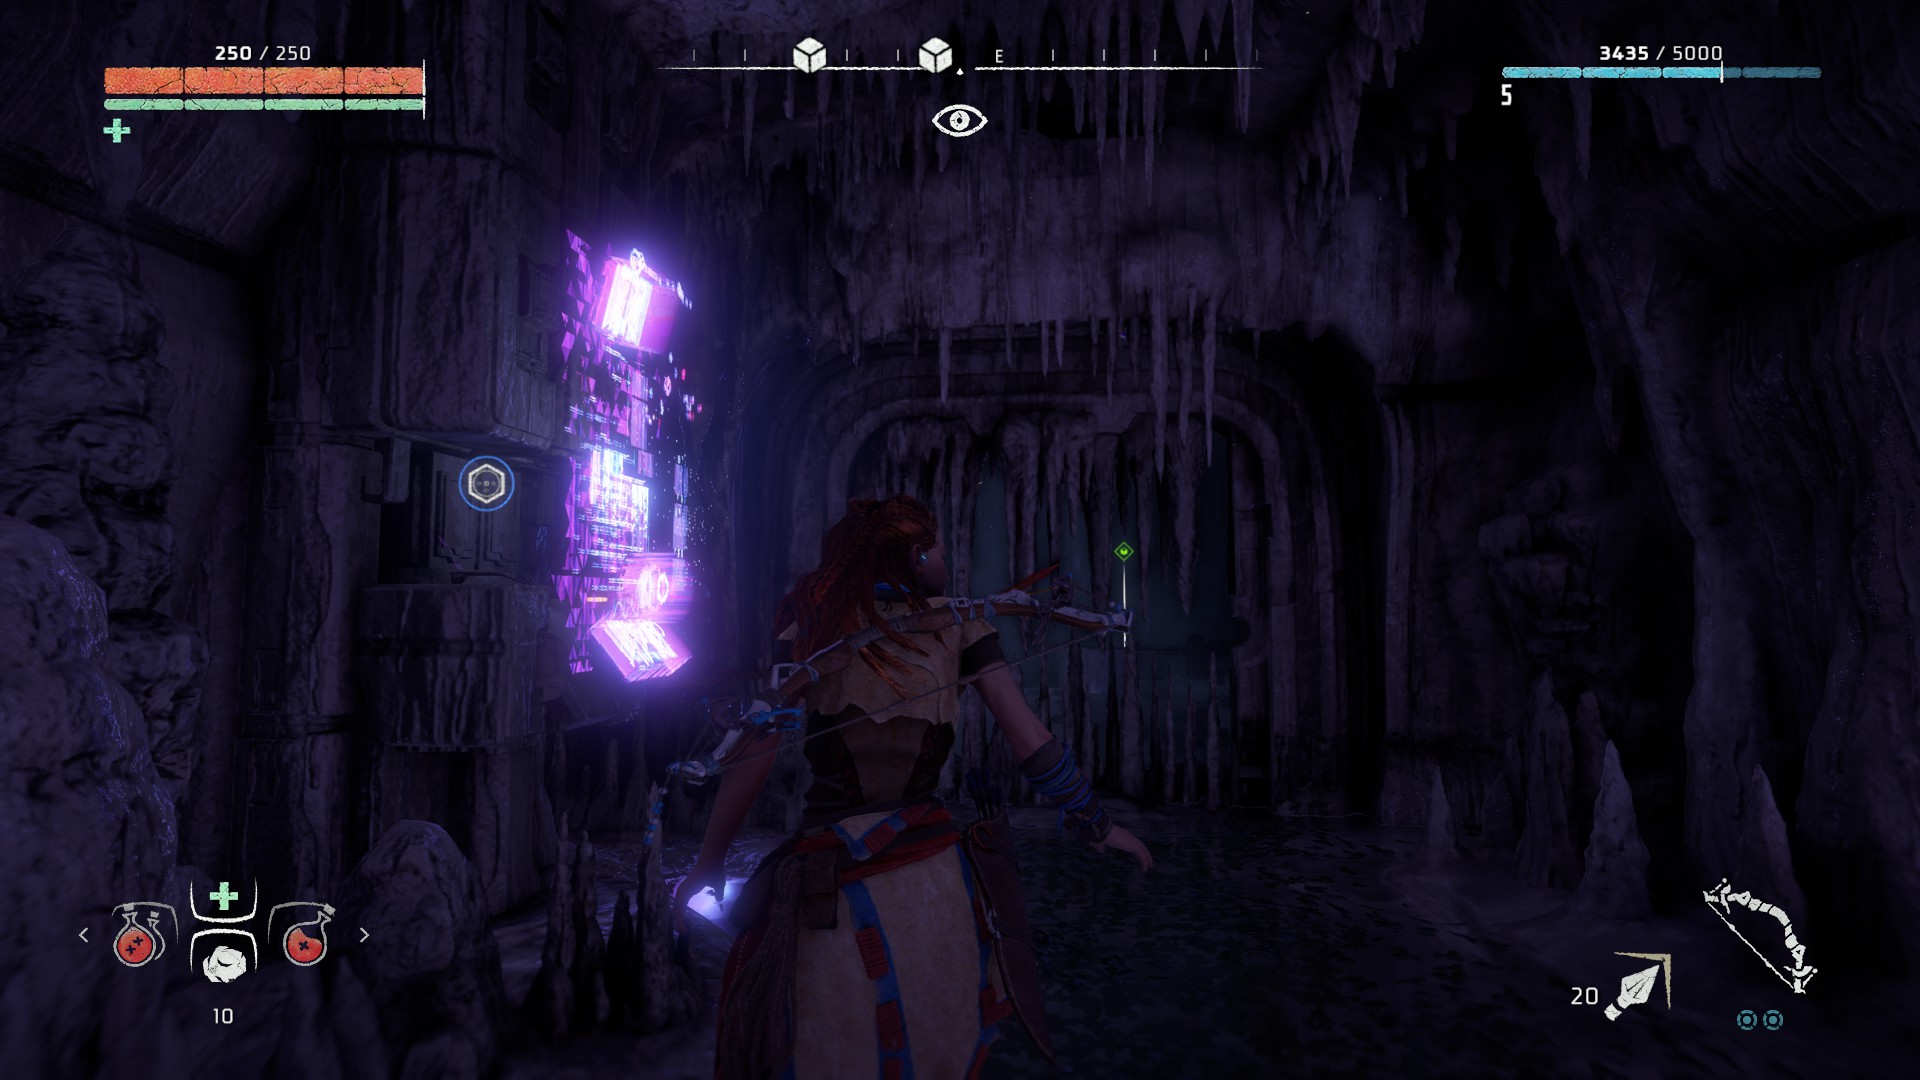
It’s a simple matter of breaking the barrier and collecting the item. There is a hefty amount of additional materials and consumables in the nearby supply crates.
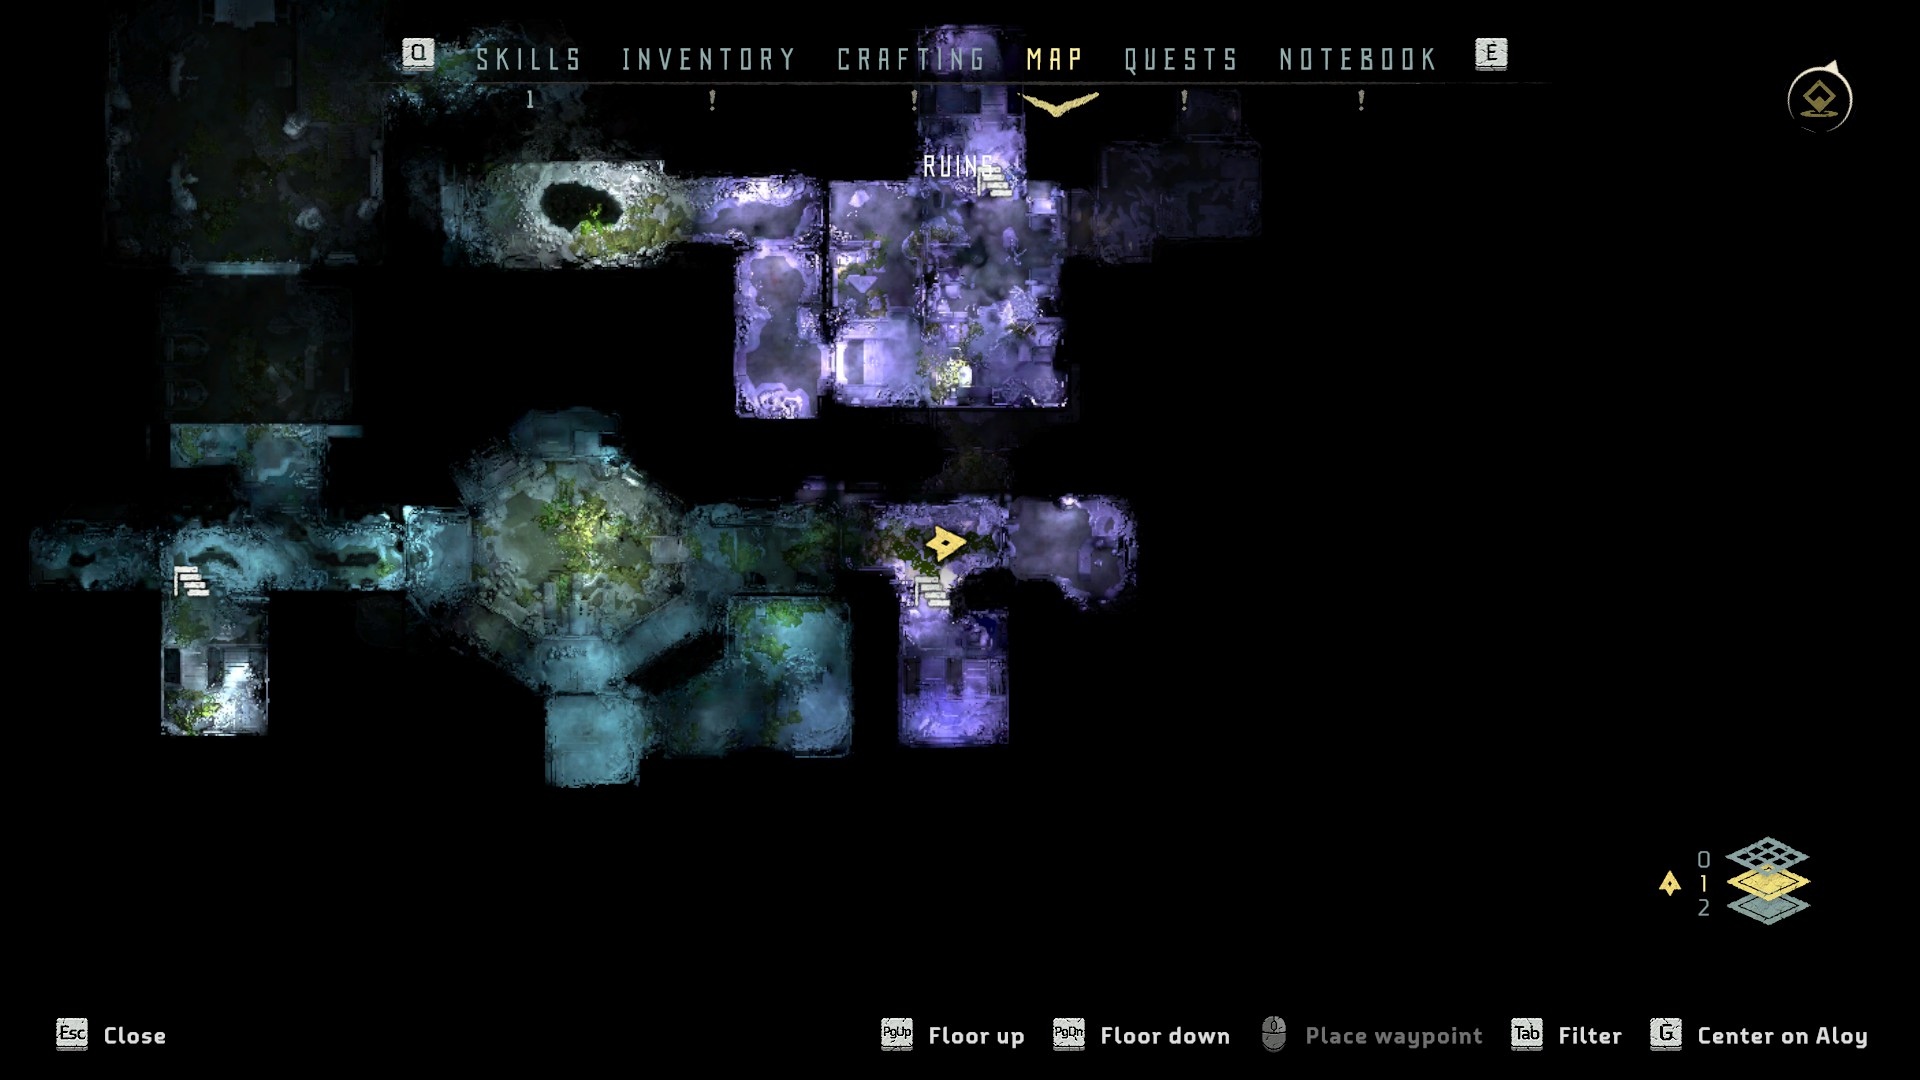
For easy reference, here’s the map of the ruins with the location of the power cell. The power cell itself is near the end of the area if you use the ruin icon on the map, as that entrance puts you near the final portion of you Aloy’s journey through the complex.
Second Power Cell Location: Mother’s Heart Mountain
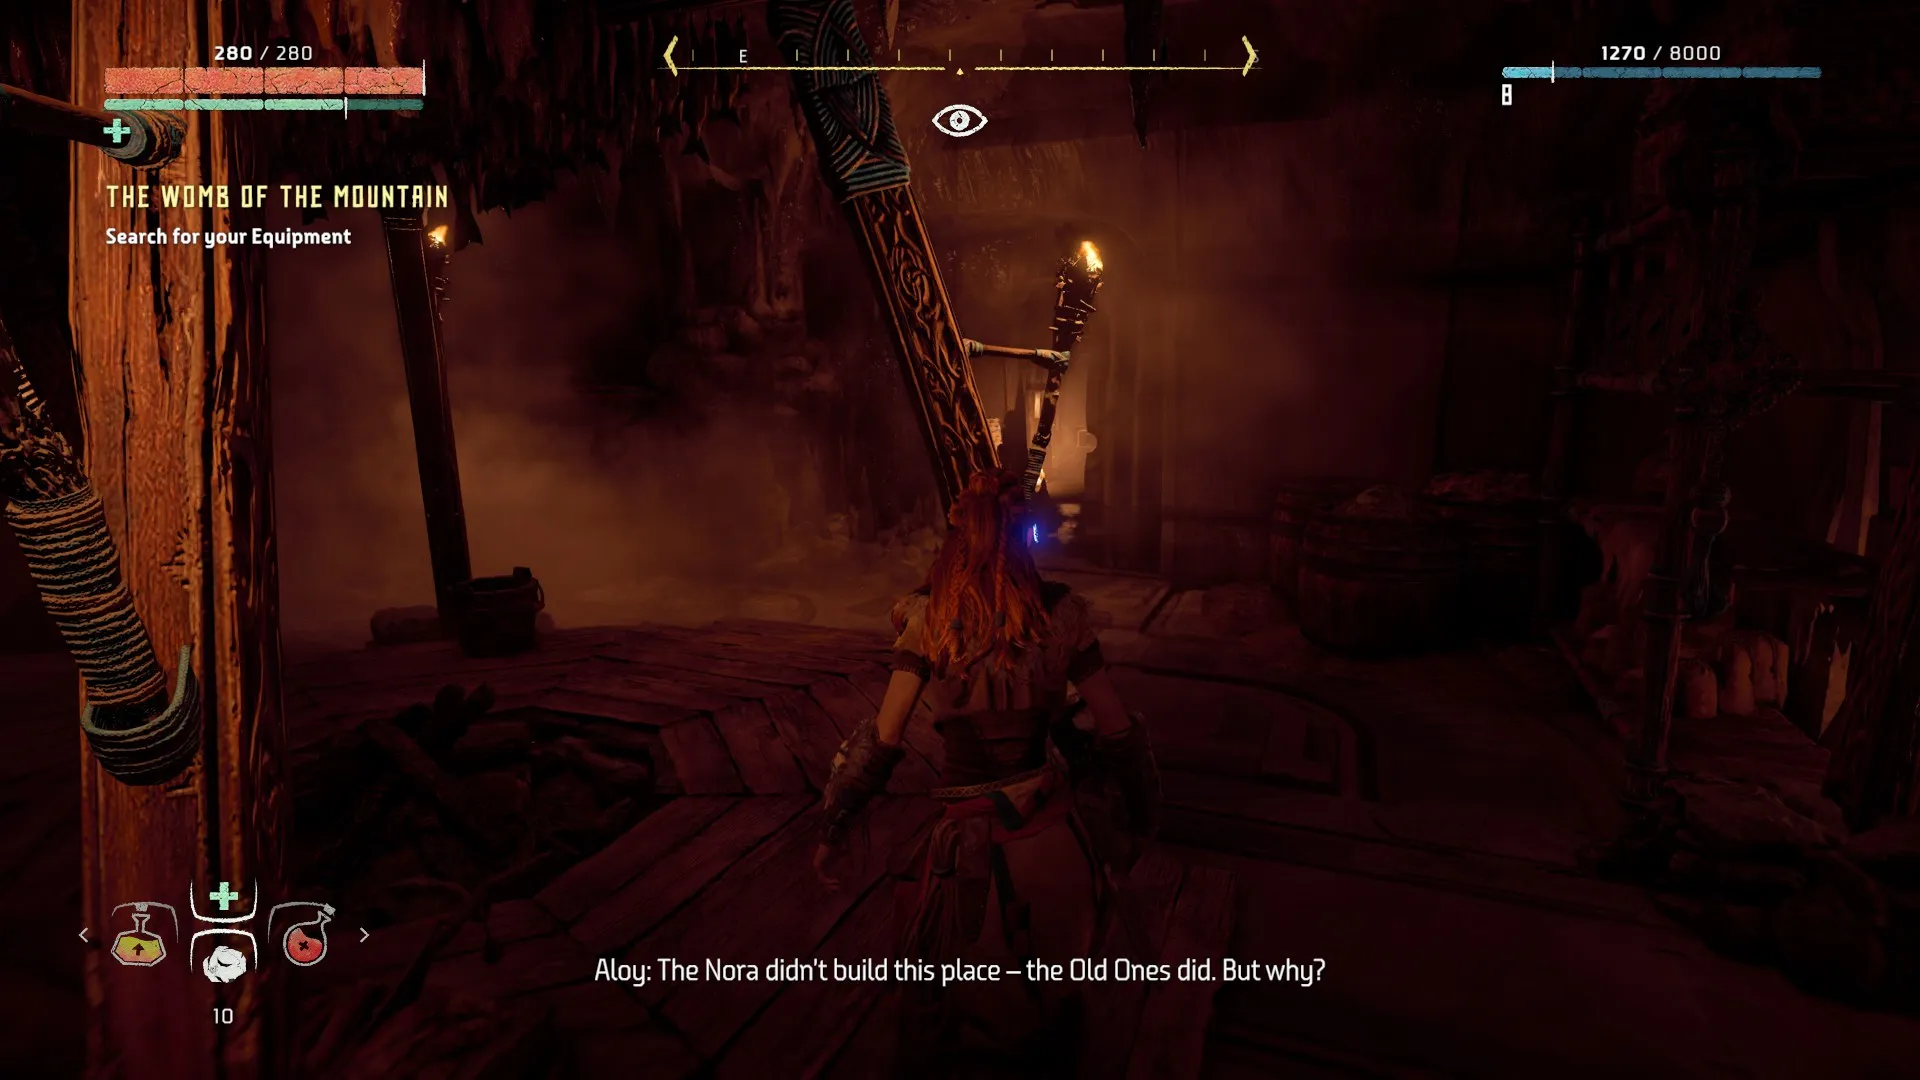
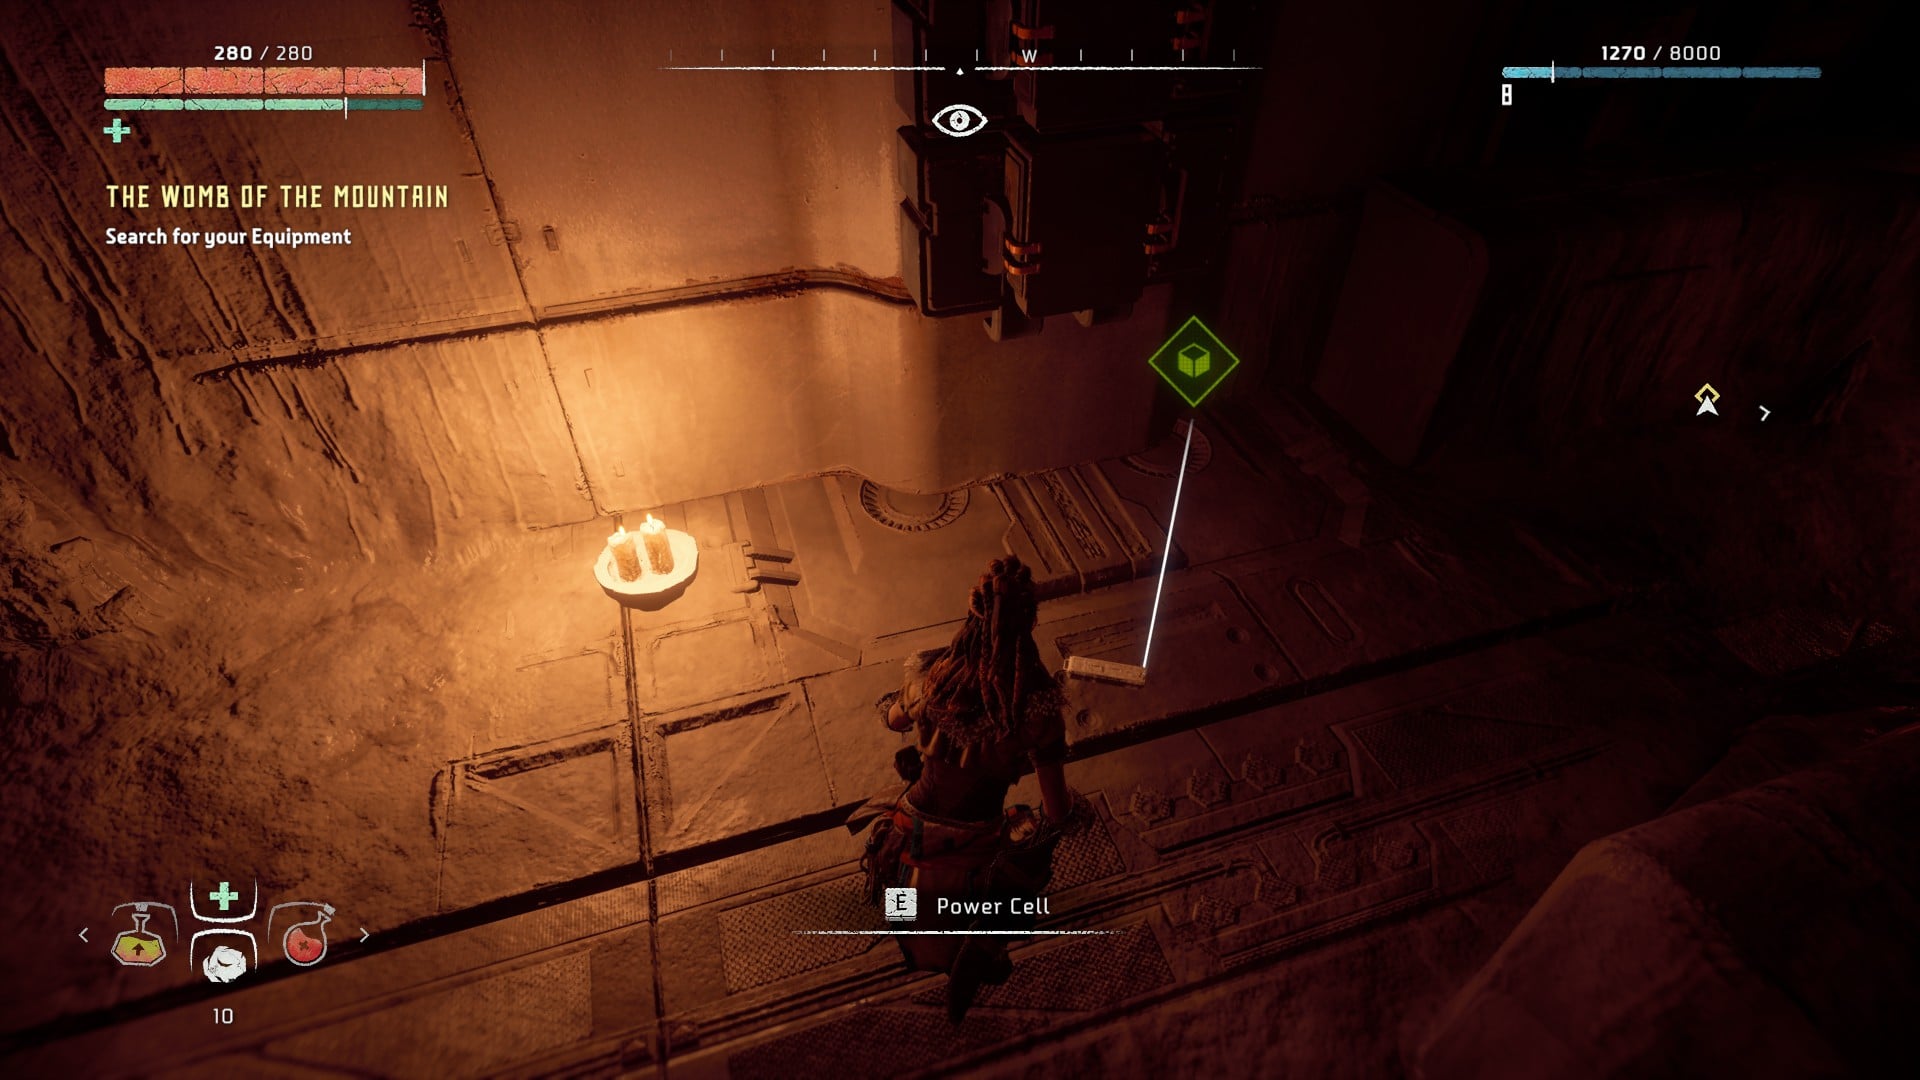
You’ll find the second power cell near the end of the prologue of the game. Following the Proving, you’ll begin a quest called The Womb of the Mountain. Aloy wakes up inside the mountain at the back of the settlement of Mother’s Heart.

If you’re going after the power cell during the Womb of the Mountain quest, you’ll exit the bedroom and walk through a pair of mechanical doors. After the second door, you’ll come to an intersection. You’ll then turn toward the right hallway. Light cascades out the door, there’s a large stack of crates to its right.
Head into the room beyond, and you’ll notice an air-vent-like tunnel to your left. Head inside.
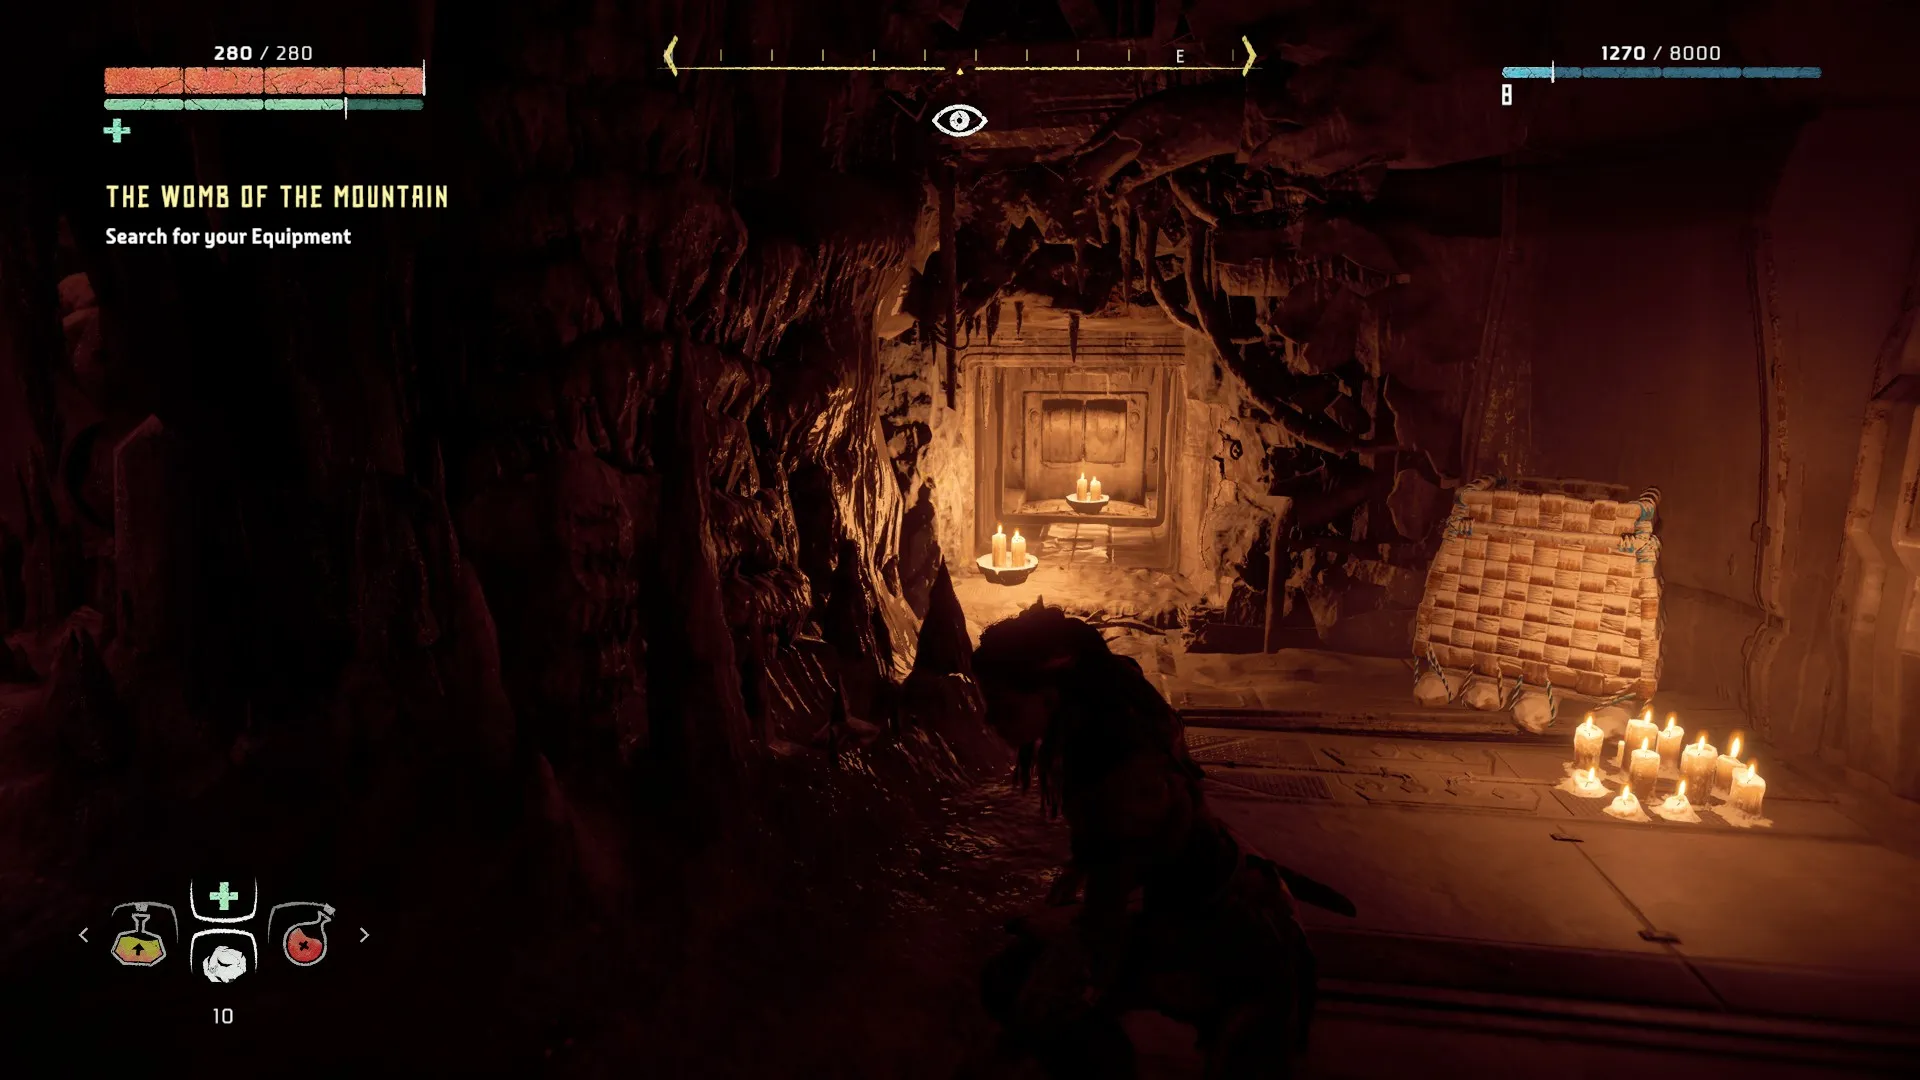
There are no other paths through the vent, so eventually, you’ll make your way to a large room where you’ll find the power cell out in the open.
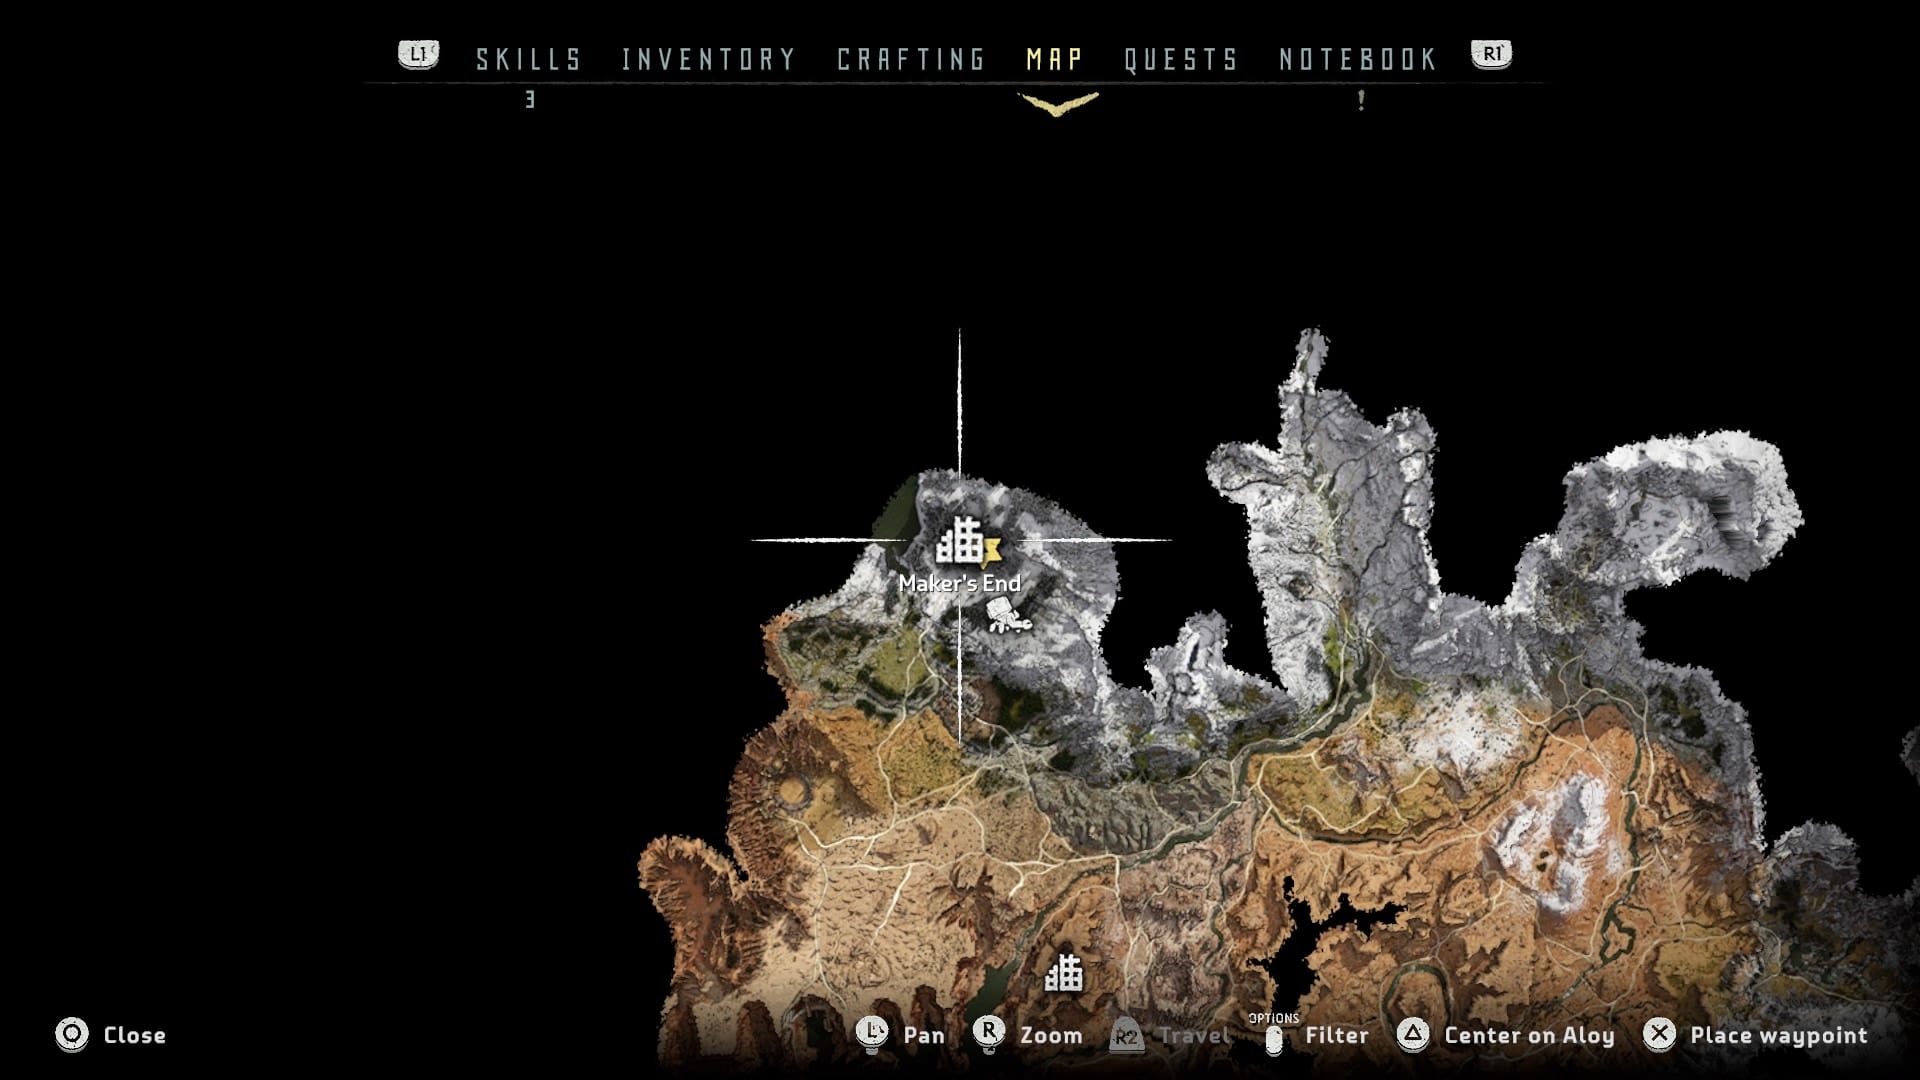
Third Power Cell Location: Maker’s End
The third power cell is at the top of Maker’s End, which you’ll visit as part of the “Maker’s End” mission. The ruin is in the northwestermost portion of the map, hidden in an old complex buried in a mountain. There is a nearby Shell-Walker site as well as a grassy field just south of it. Of the three northern jetties on the map, Maker’s End is the farthest left.
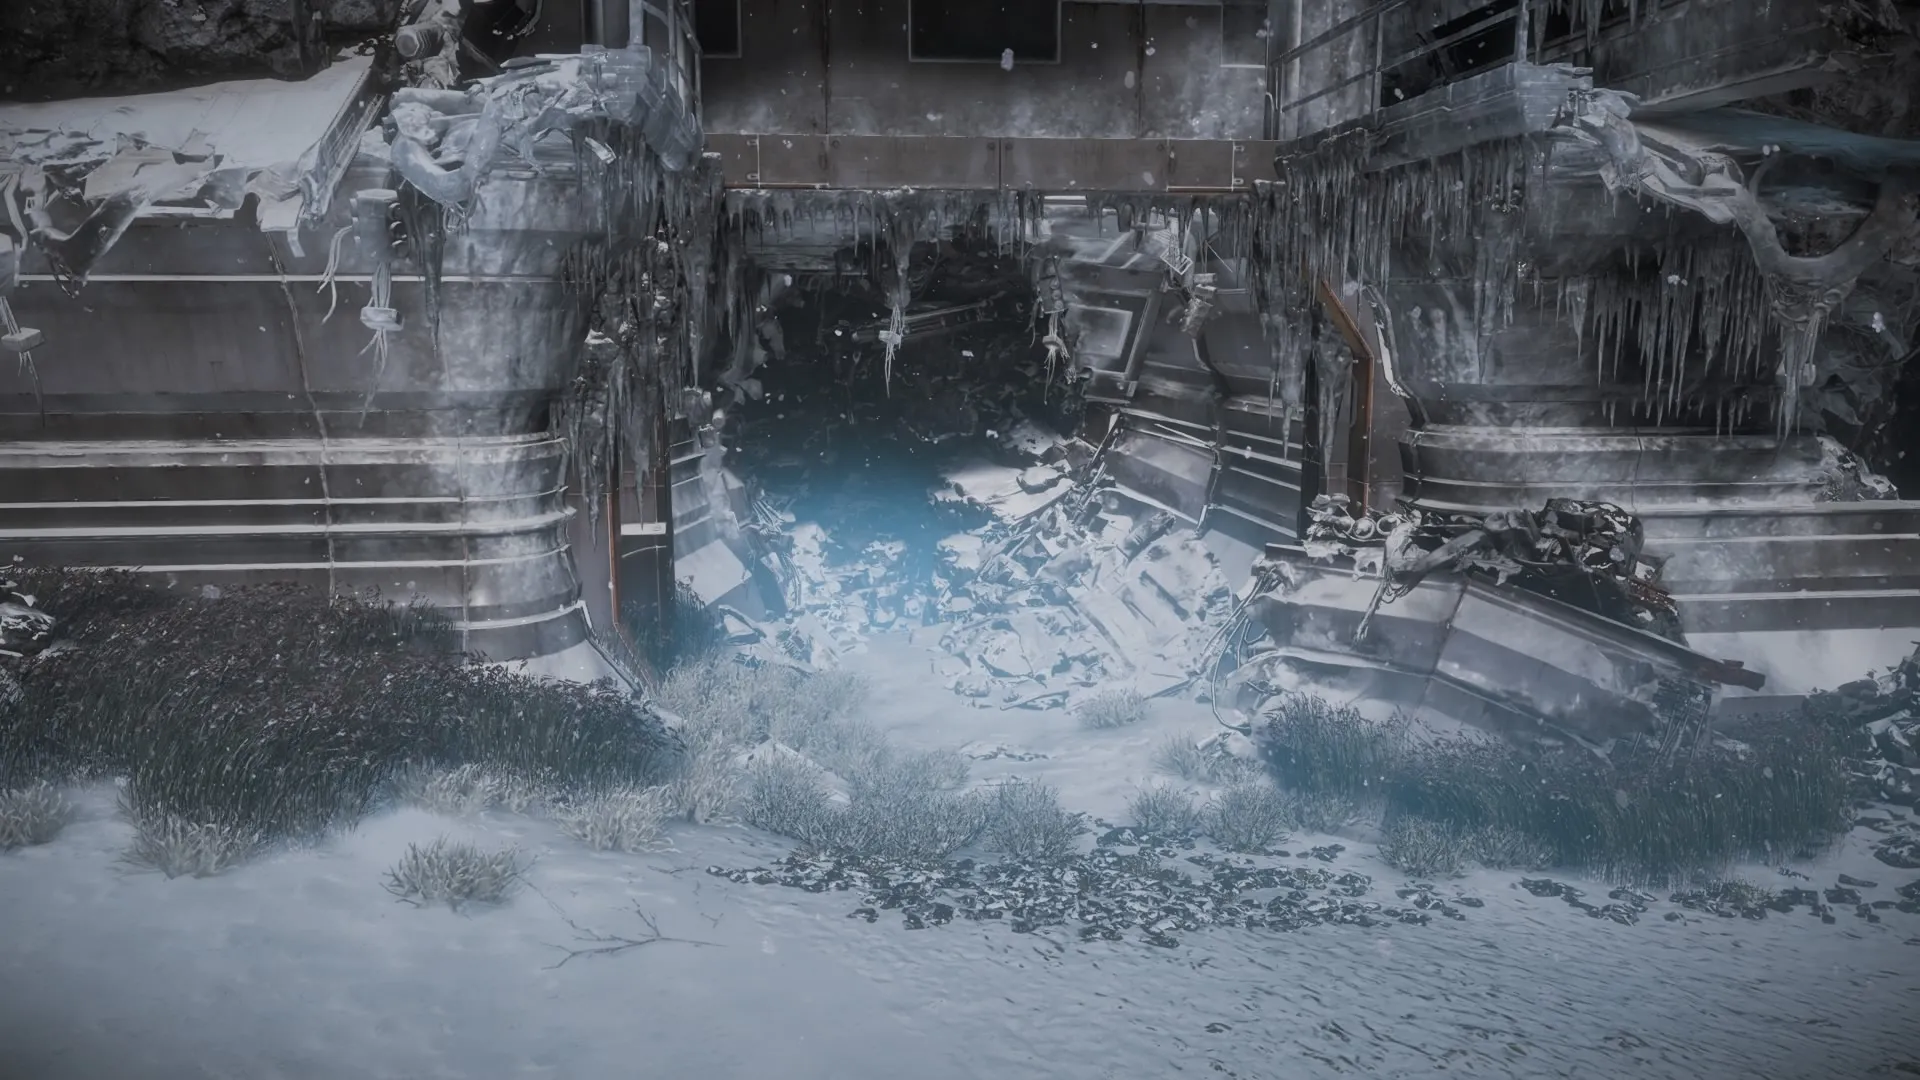
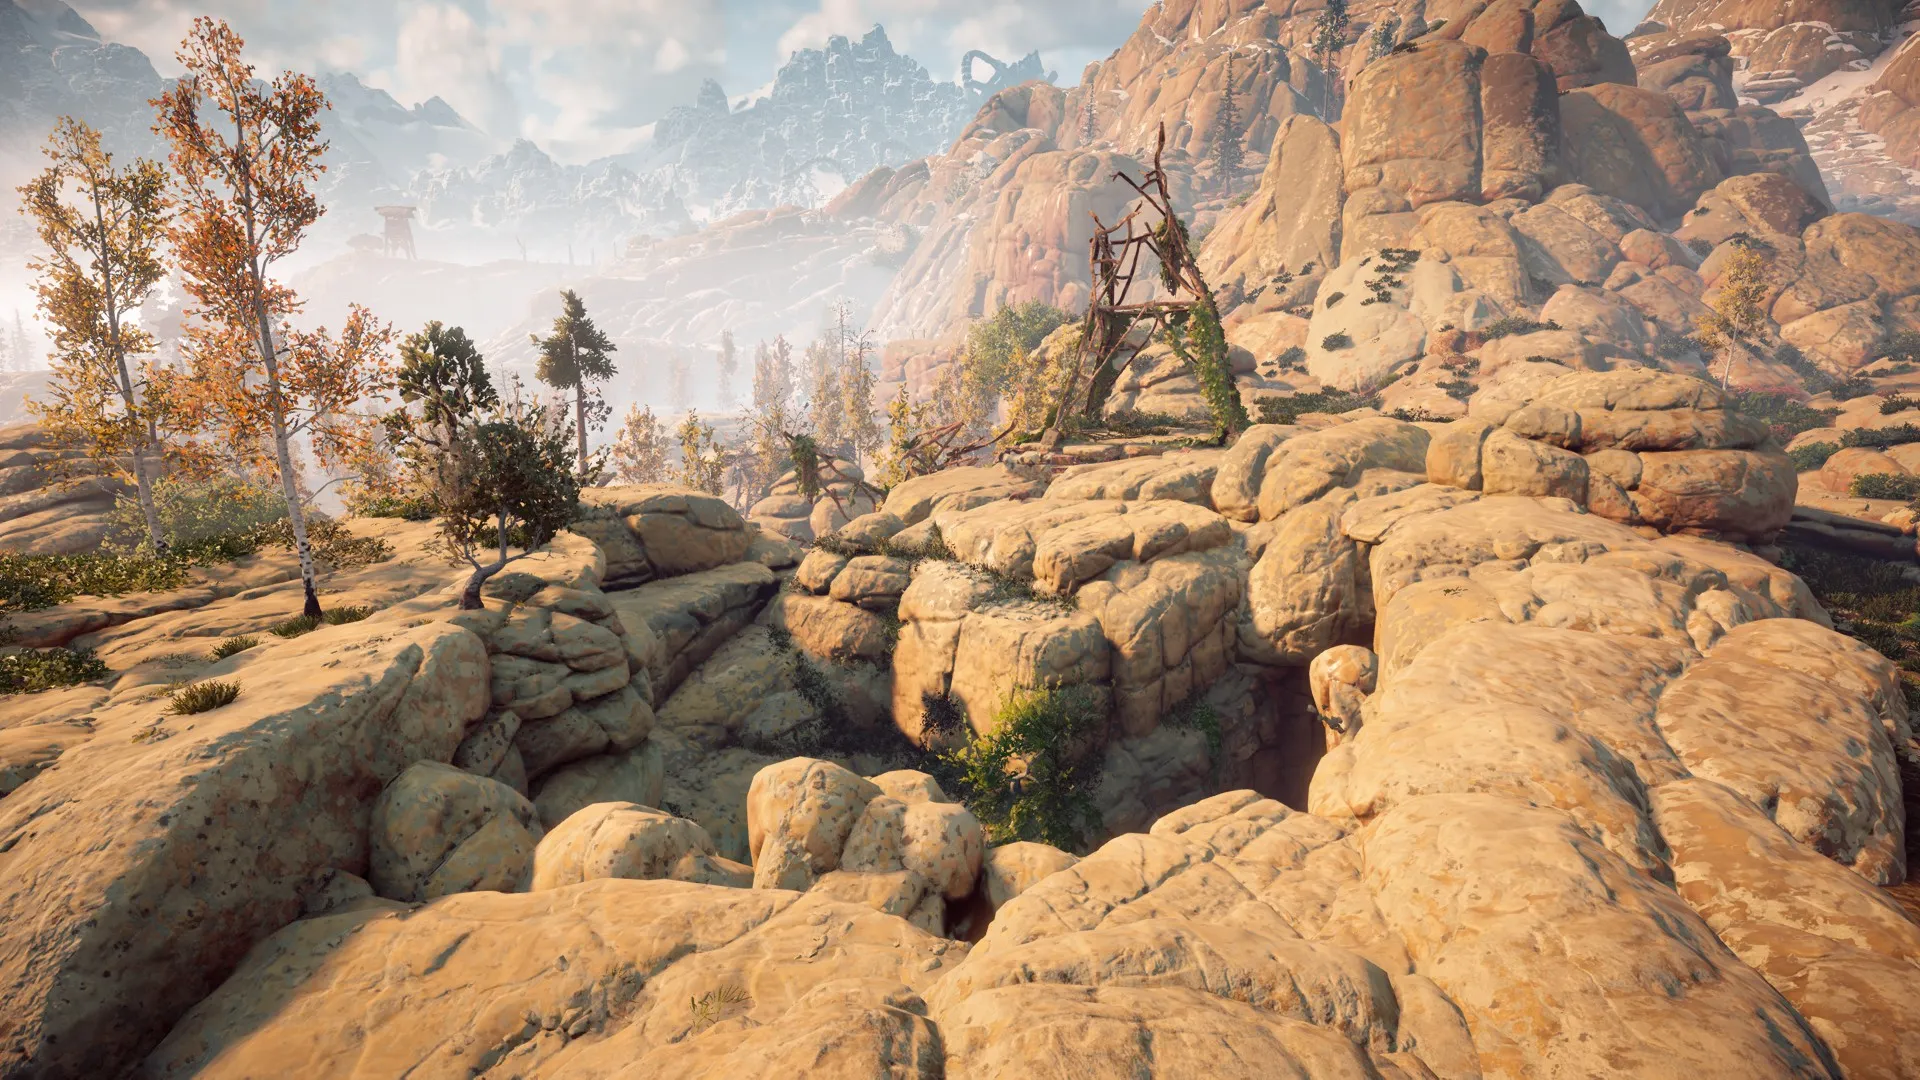
You’ll make your way through an Eclipse camp before you reach the ruin. Follow the path to the left of the camp’s entrance to eventually reach a large clearing in the rubble. You’re looking for a hole in the debris where you can slip through using a button prompt. The hole is hard to miss: it’s flanked by two icy steel walls with hanging icicles and descends into darkness below.
Make your way down into the facility and proceed with the initial mission parameters.
If you’re coming back after the “Maker’s End” quest, you’re looking for a staircase leading up to a long hallway with a bunch of open doors. The first opening on the left shows a yellow ladder leading up. Climb up.
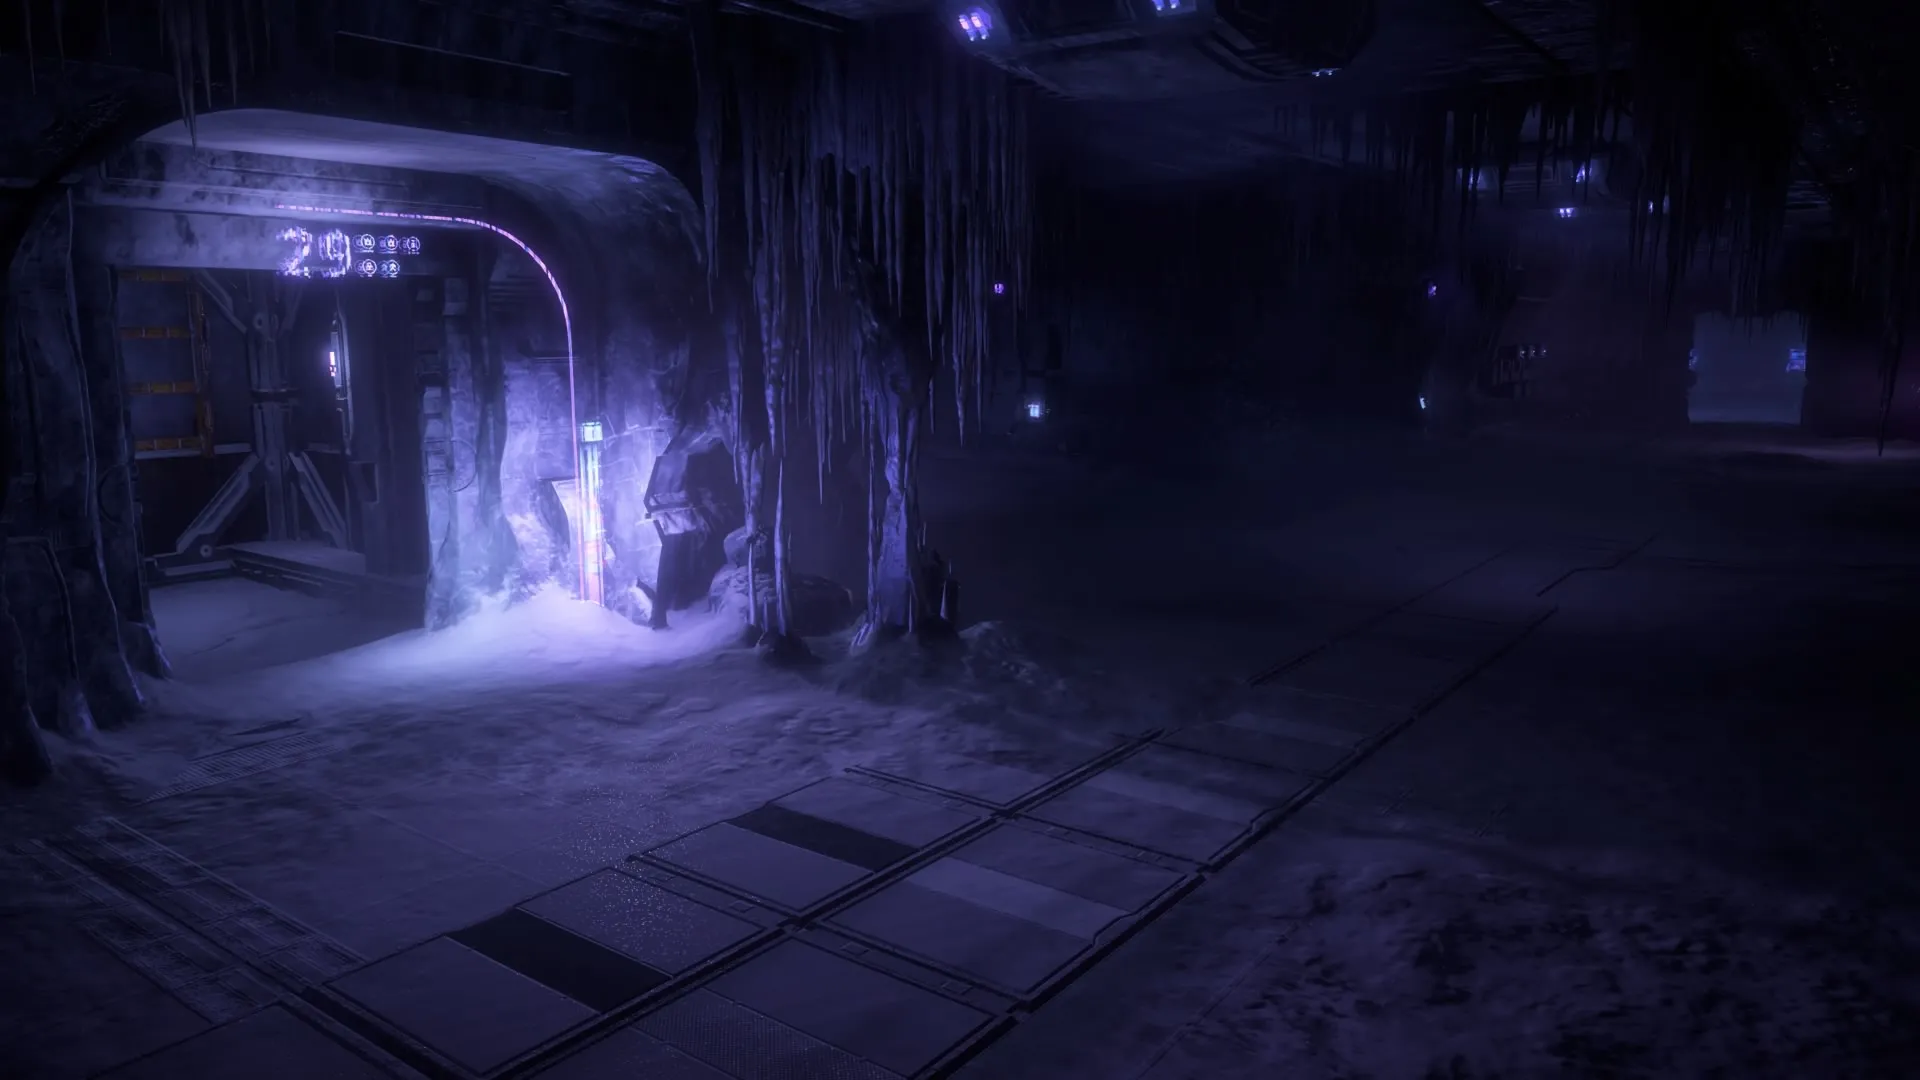
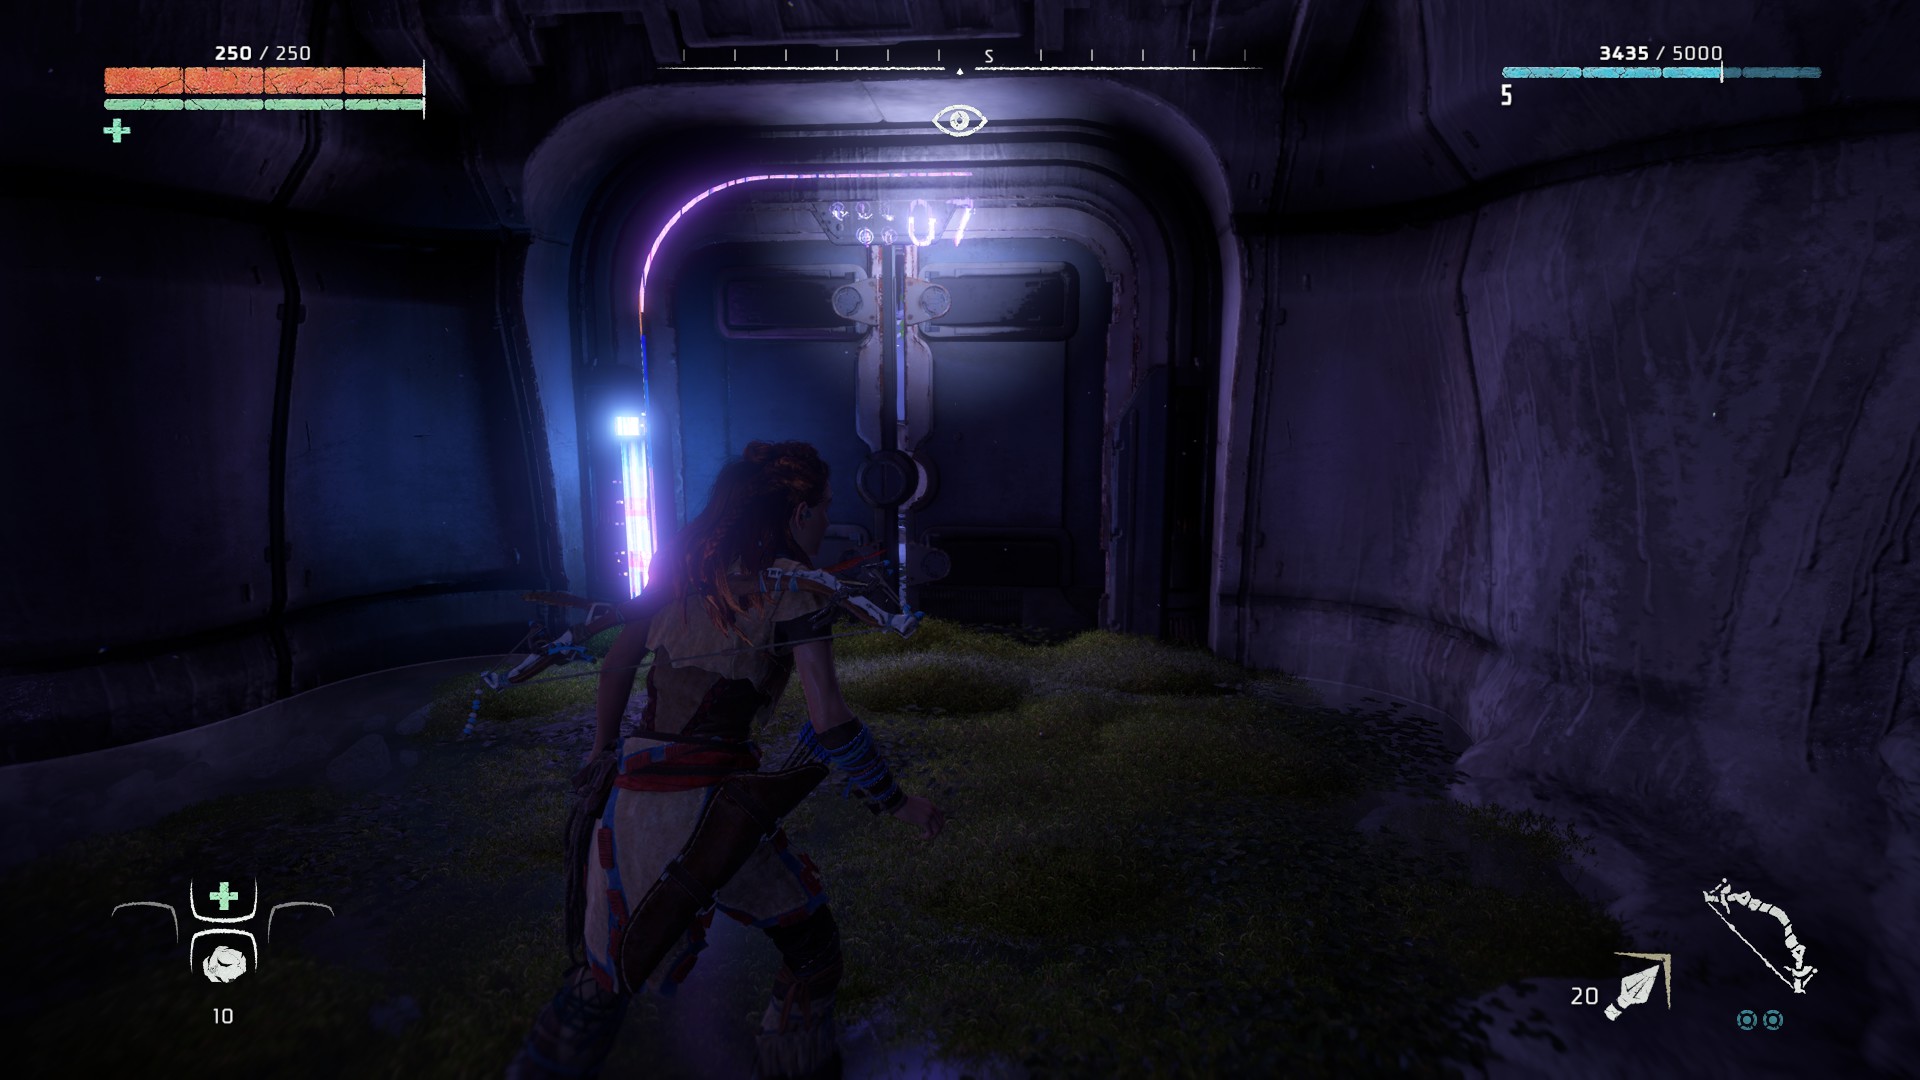
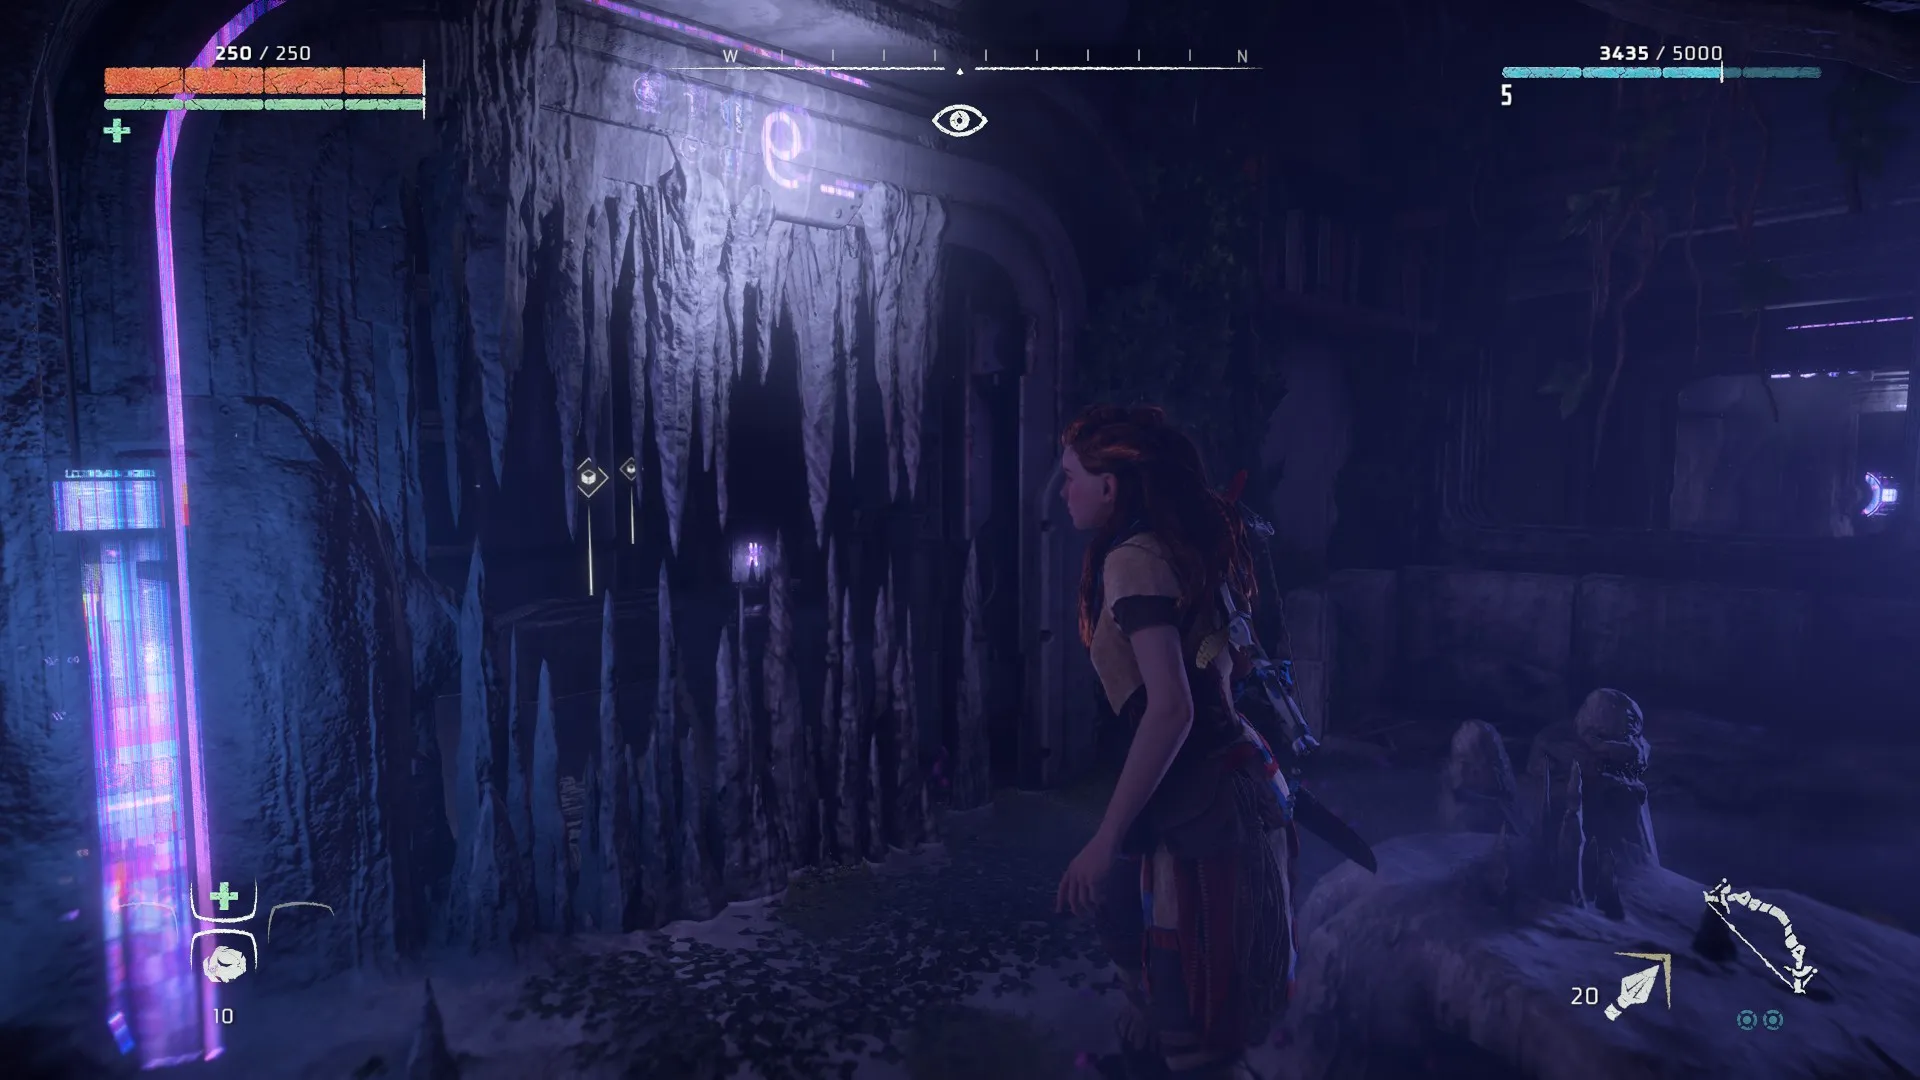
Keep moving up, traversing the various platforming sections. You’ll pass through a circular room, and go up several sets of additional elevator shafts. Go to the top of each one. Eventually, you’ll reach a set of purple-lit hallways
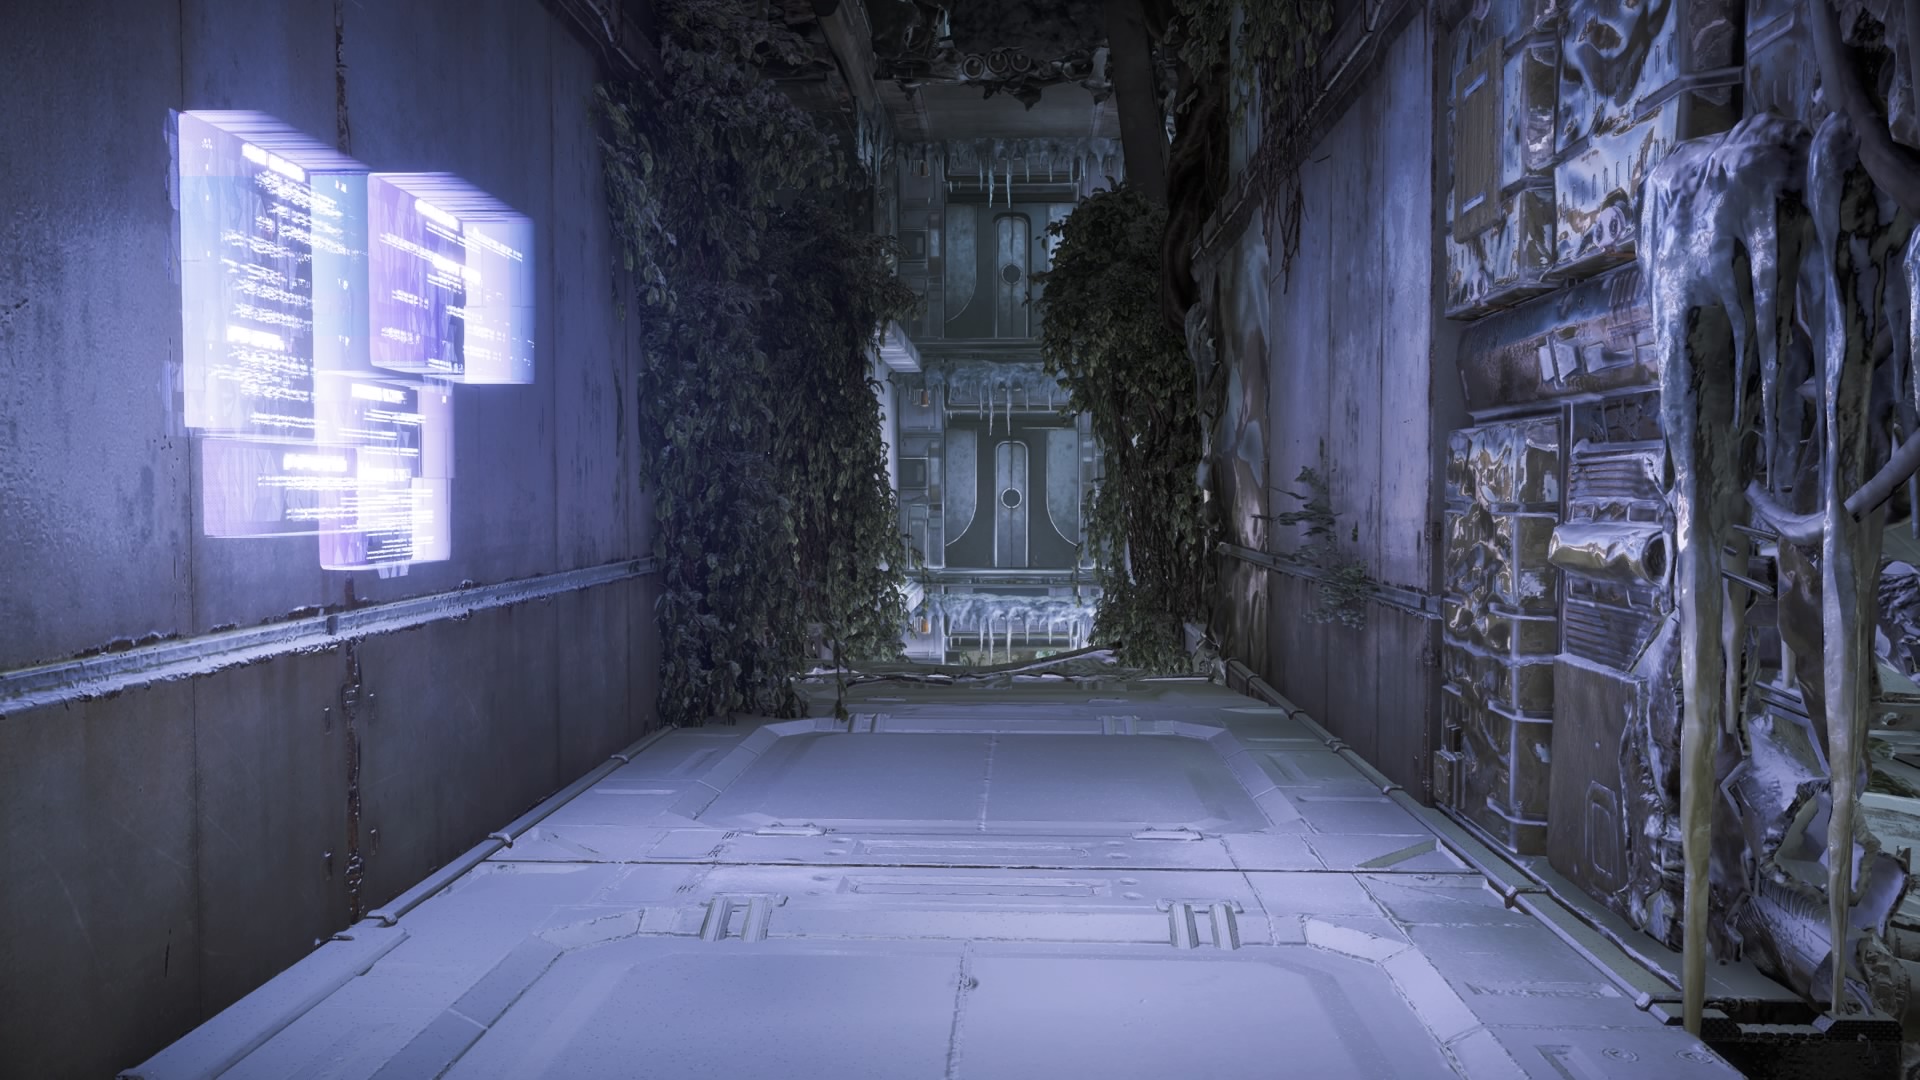
You’ll need to drop down the ledge and turn around to find your way past the first such hall you reach, and the path is much less linear during this section. If you find yourself at a dead end, the way forward is likely behind you. Most of the hallways you’ll want to head through look like the above image.
Elevator shafts remain your primary means upward, and as you make your way to the tallest portions of the tower, you’ll eventually reach a large open office room. It’s covered in snow and lacks a roof, and there is a used but forgotten conference table in the center.

If you’re grabbing the power cell during the quest, there are some story beats in this chamber you’ll want to experience. Once that’s over, look above the elevator shaft you came in through to see a climbable portion of the tower.

Climb up one last time, and you’ll be standing on a small platform where the power cell is.
Fourth Power Cell Location: The Grave-Hoard
The fourth power cell is in the ruins of the Grave-Hoard which and like both Maker’s End and the fifth and final power cell, is only available once you reach the appropriate point in the story. The “Grave-Hoard” mission. Surprise.

There are no Eclipse camps this time, but the area near the Grave-Hoard ruin is home to some nasty machines. The complex is at the top of a large hill above an icy lake. There’s a campfire at the base of the hill and on the shore of the lake, and you’ll need to make your way south to find the route upward.
The path to the power cell is a short one, but that doesn’t mean it’s simple. There are three locked doors with circle puzzles to solve. Each of them opens a door you need to progress. You’ll also need to slide down two pipes like you would any other zipline.
At the bottom of the second pipeline, you’ll see a door hanging open. The power cell is just beyond it.
Fifth Power Cell Location
As with most of the power cells in Horizon Zero Dawn, the fifth and final one is in a location locked behind a quest: this time in the GAIA Prime ruins. You’ll visit this end-game location as part of the “The Mountain That Fell” quest, and it’s home to some nasty weather and nastier machines.
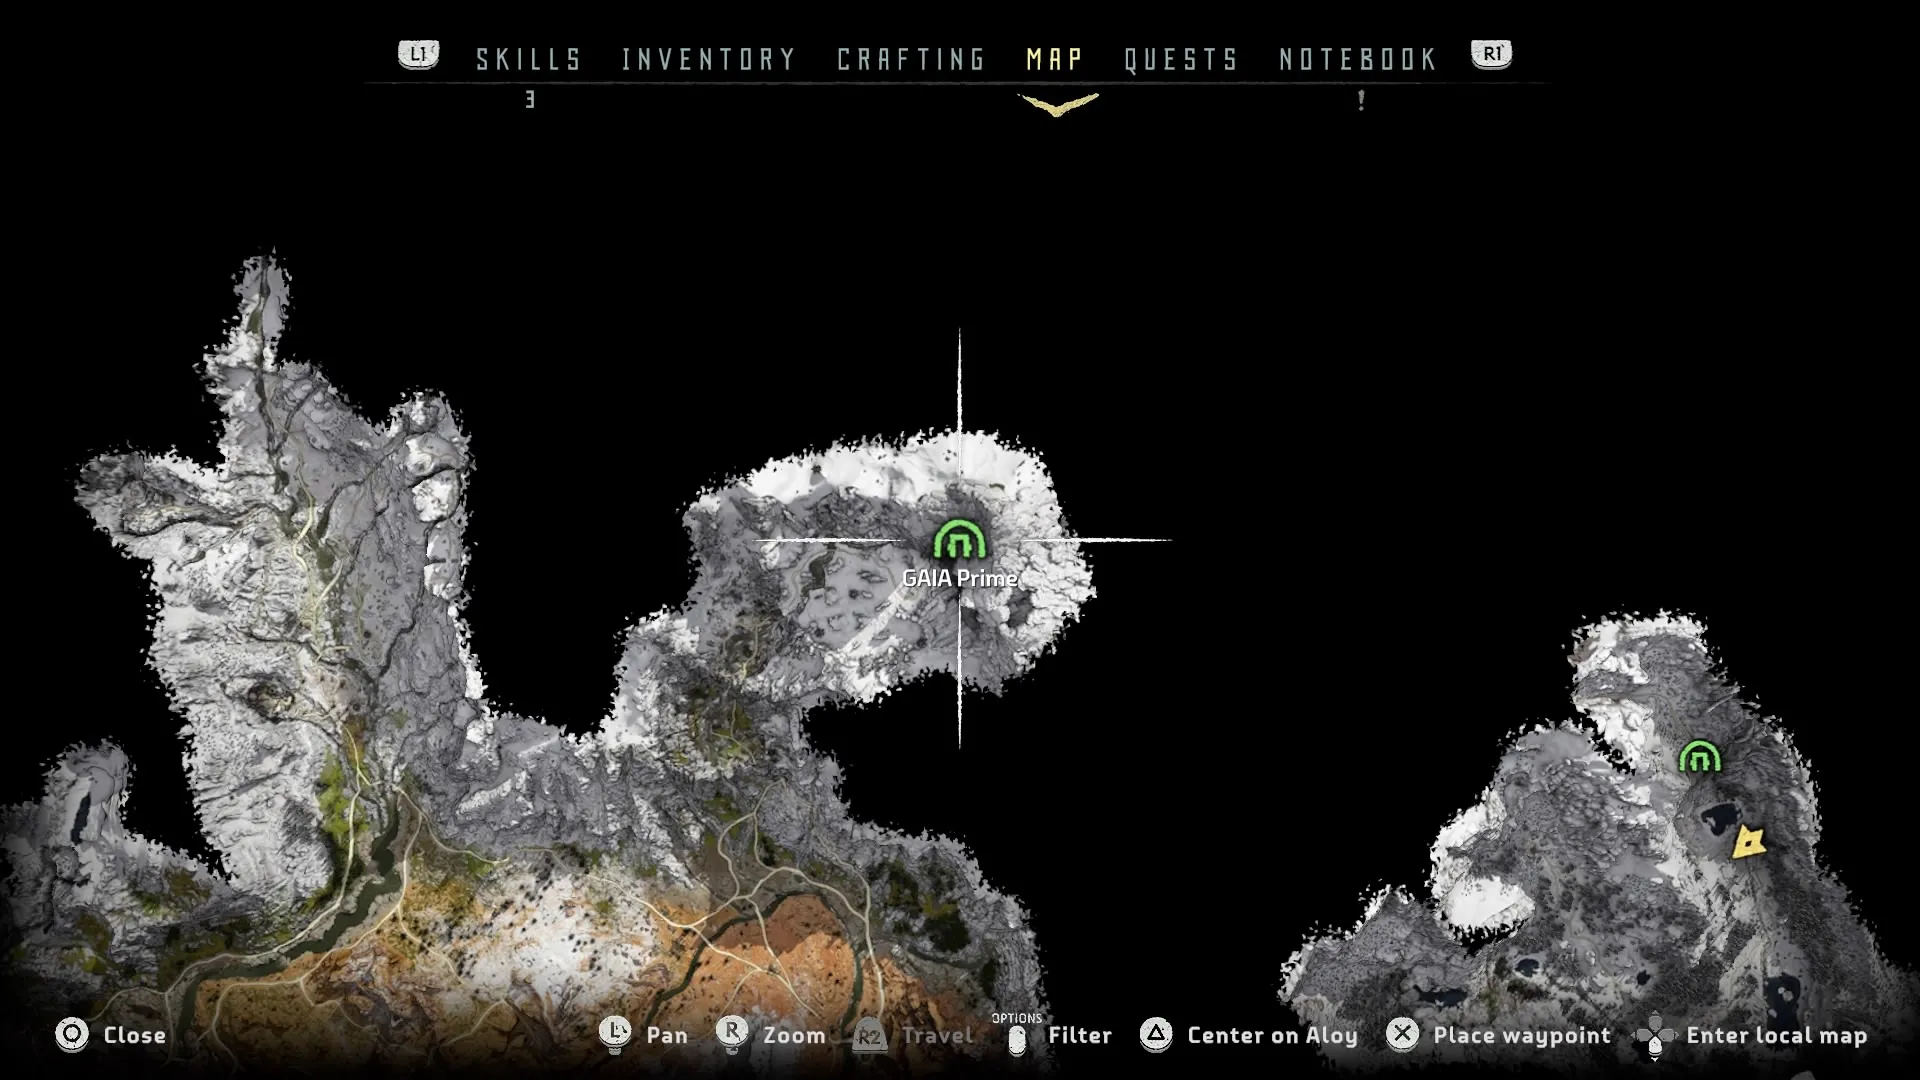
Reaching GAIA Prime is itself a test, as Glinthawks and a Stormbird will make your life difficult. The closest campfire is a ways away from the mountain you need to climb, and the whole place is covered in a perpetual blizzard. You’ll also note the endless ruined machines that surround you as you climb.
When you make it into the complex, you’ll immediately turn left and follow the path along the wall. You’ll eventually reach another large, open area with a repel point directly in front of you. To be safe and ensure you get the power cell, don’t go down immediately. Instead, look to your left.
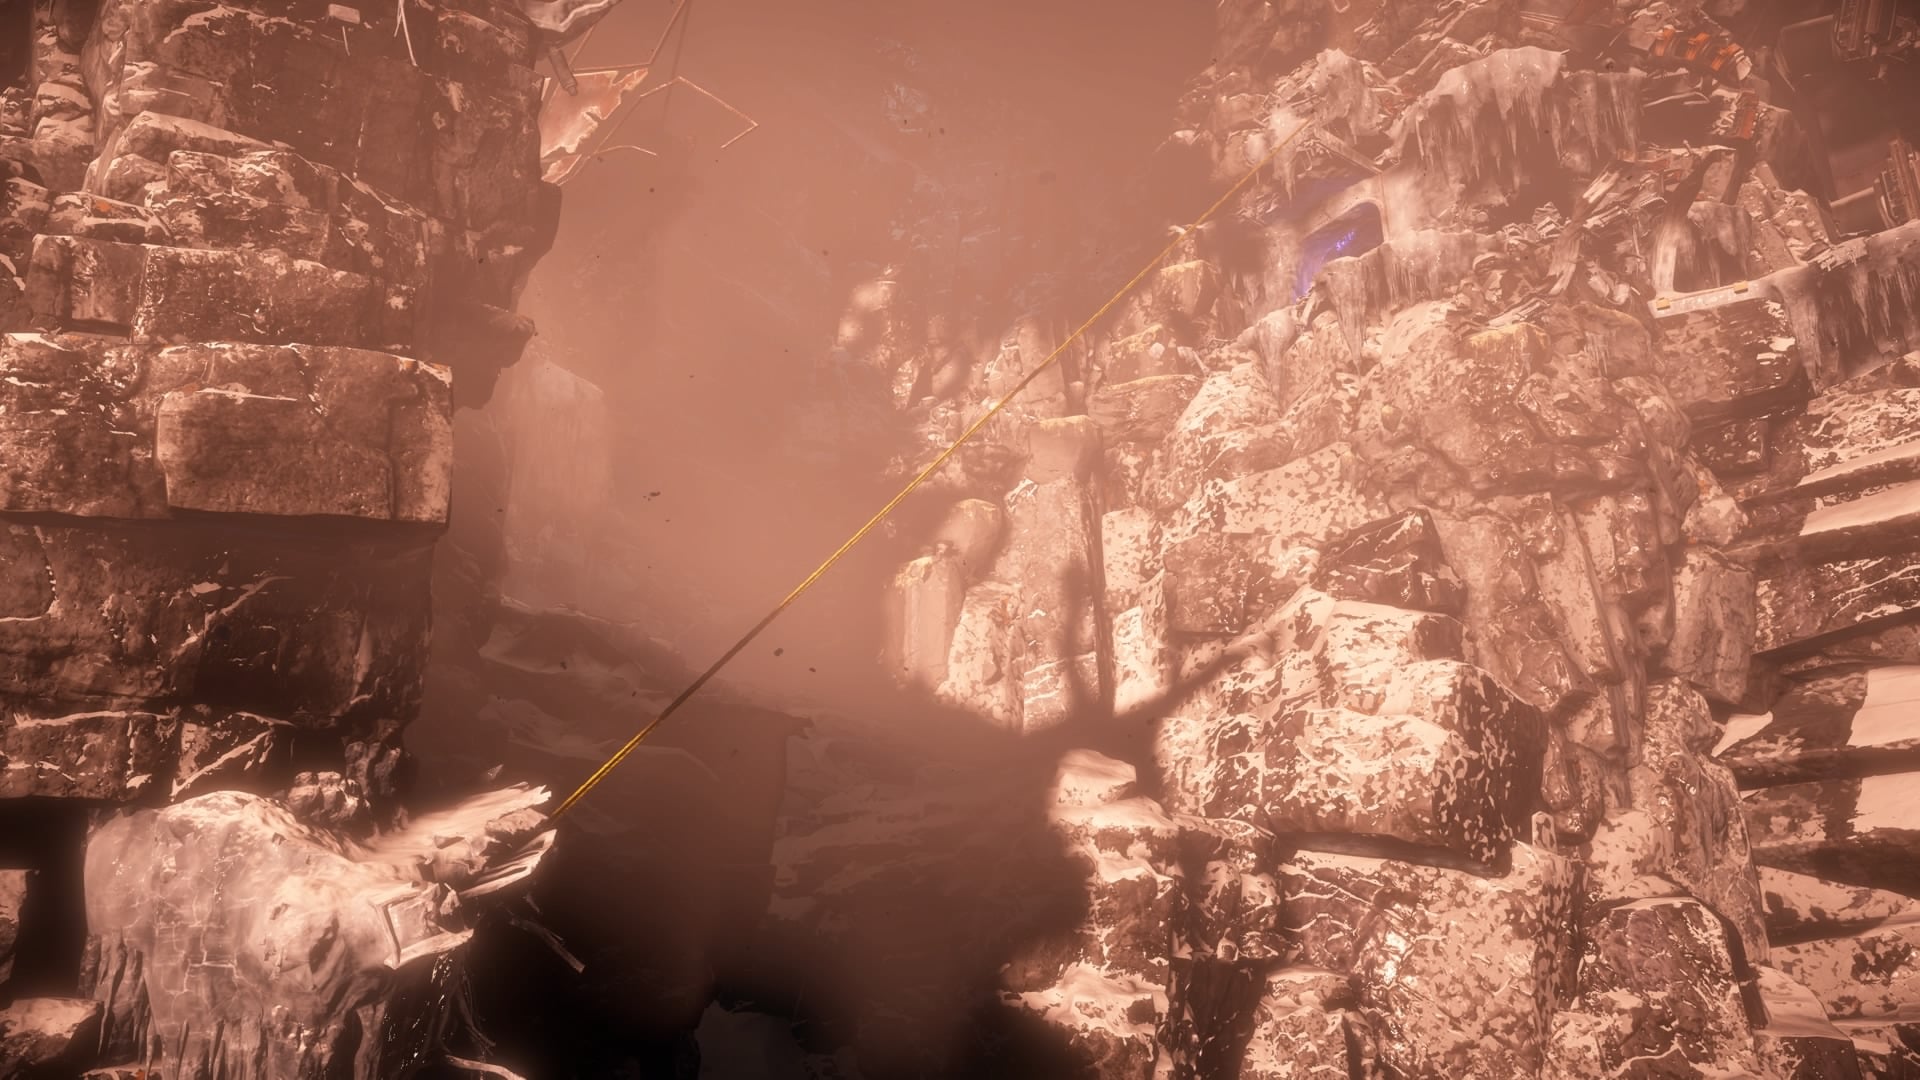
Jump into the darkened area below the zipline, and you’ll find a handhold that will take you up to the hallway leading to the power cell.
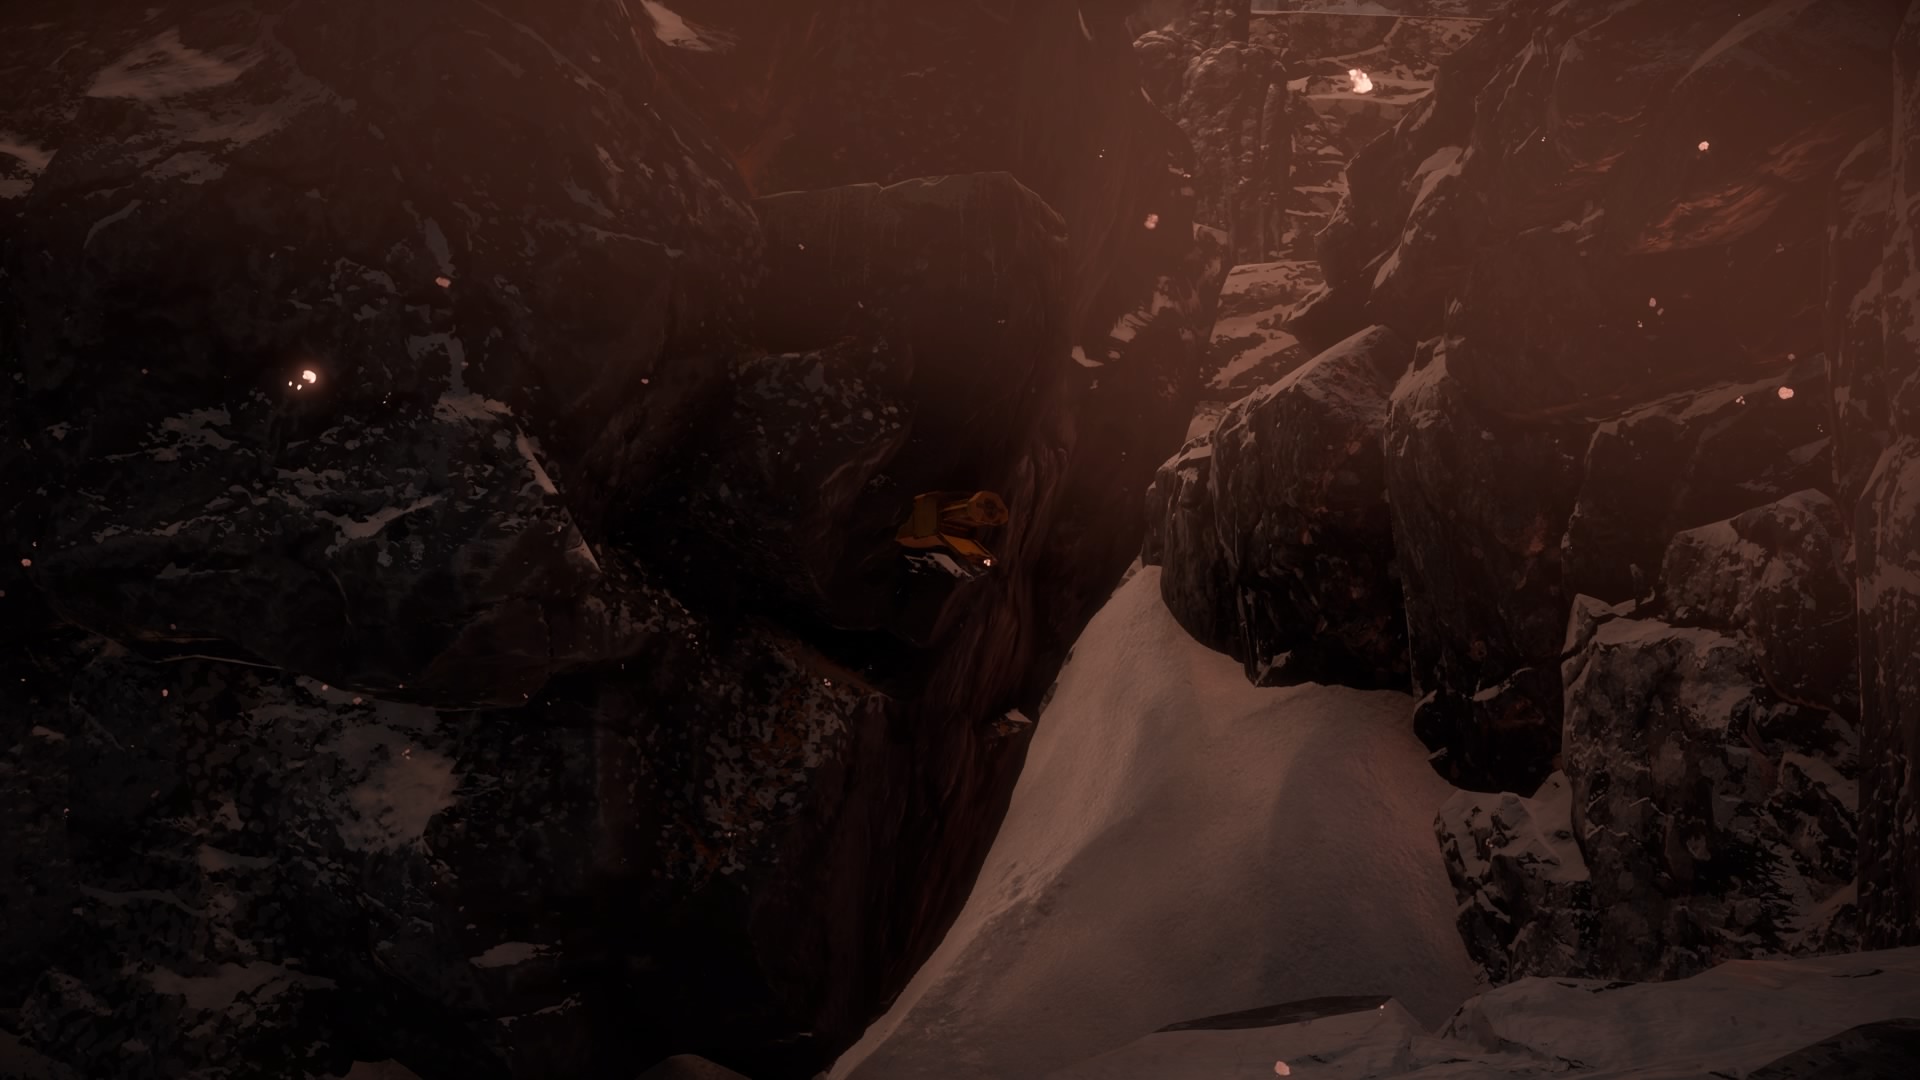
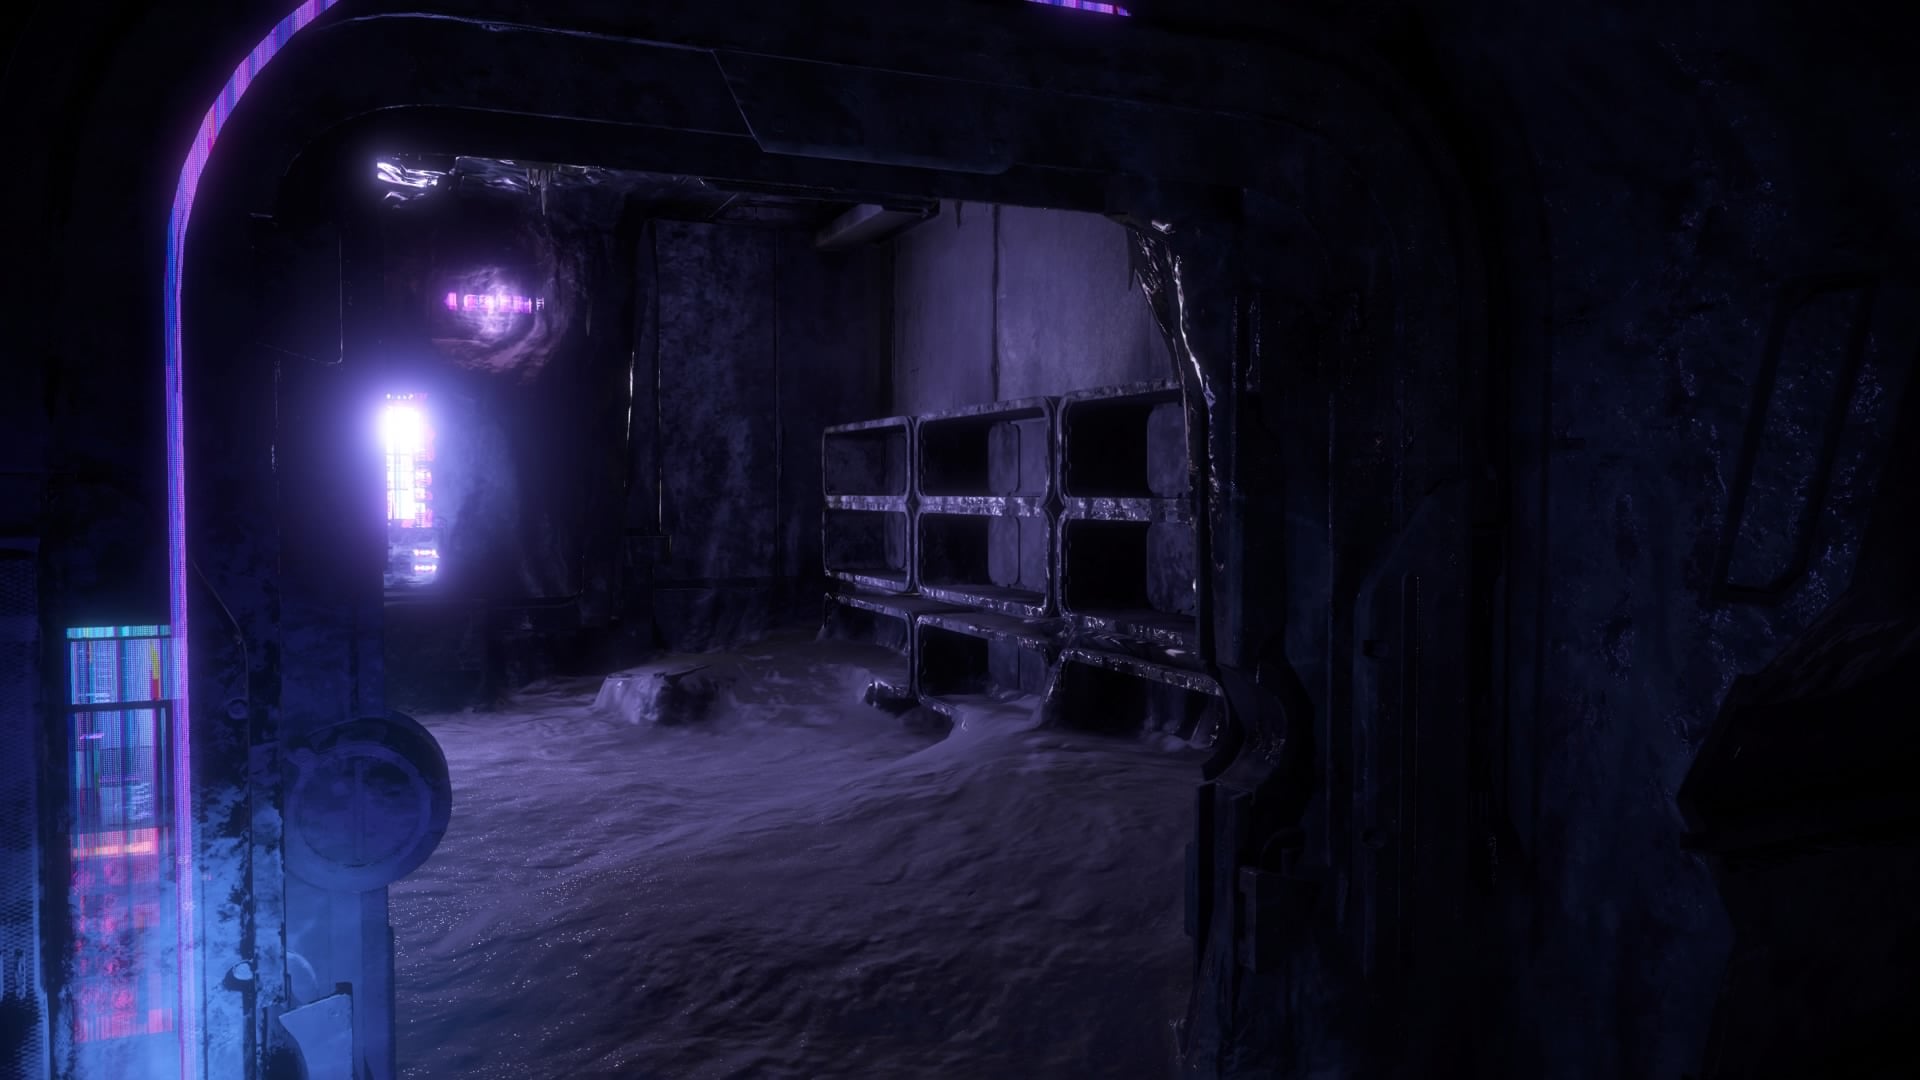
Climb up, and you’ll see a shadowy hallway ending in a small room. The last power cell awaits you there.
Unlocking the Shield Weaver Armor
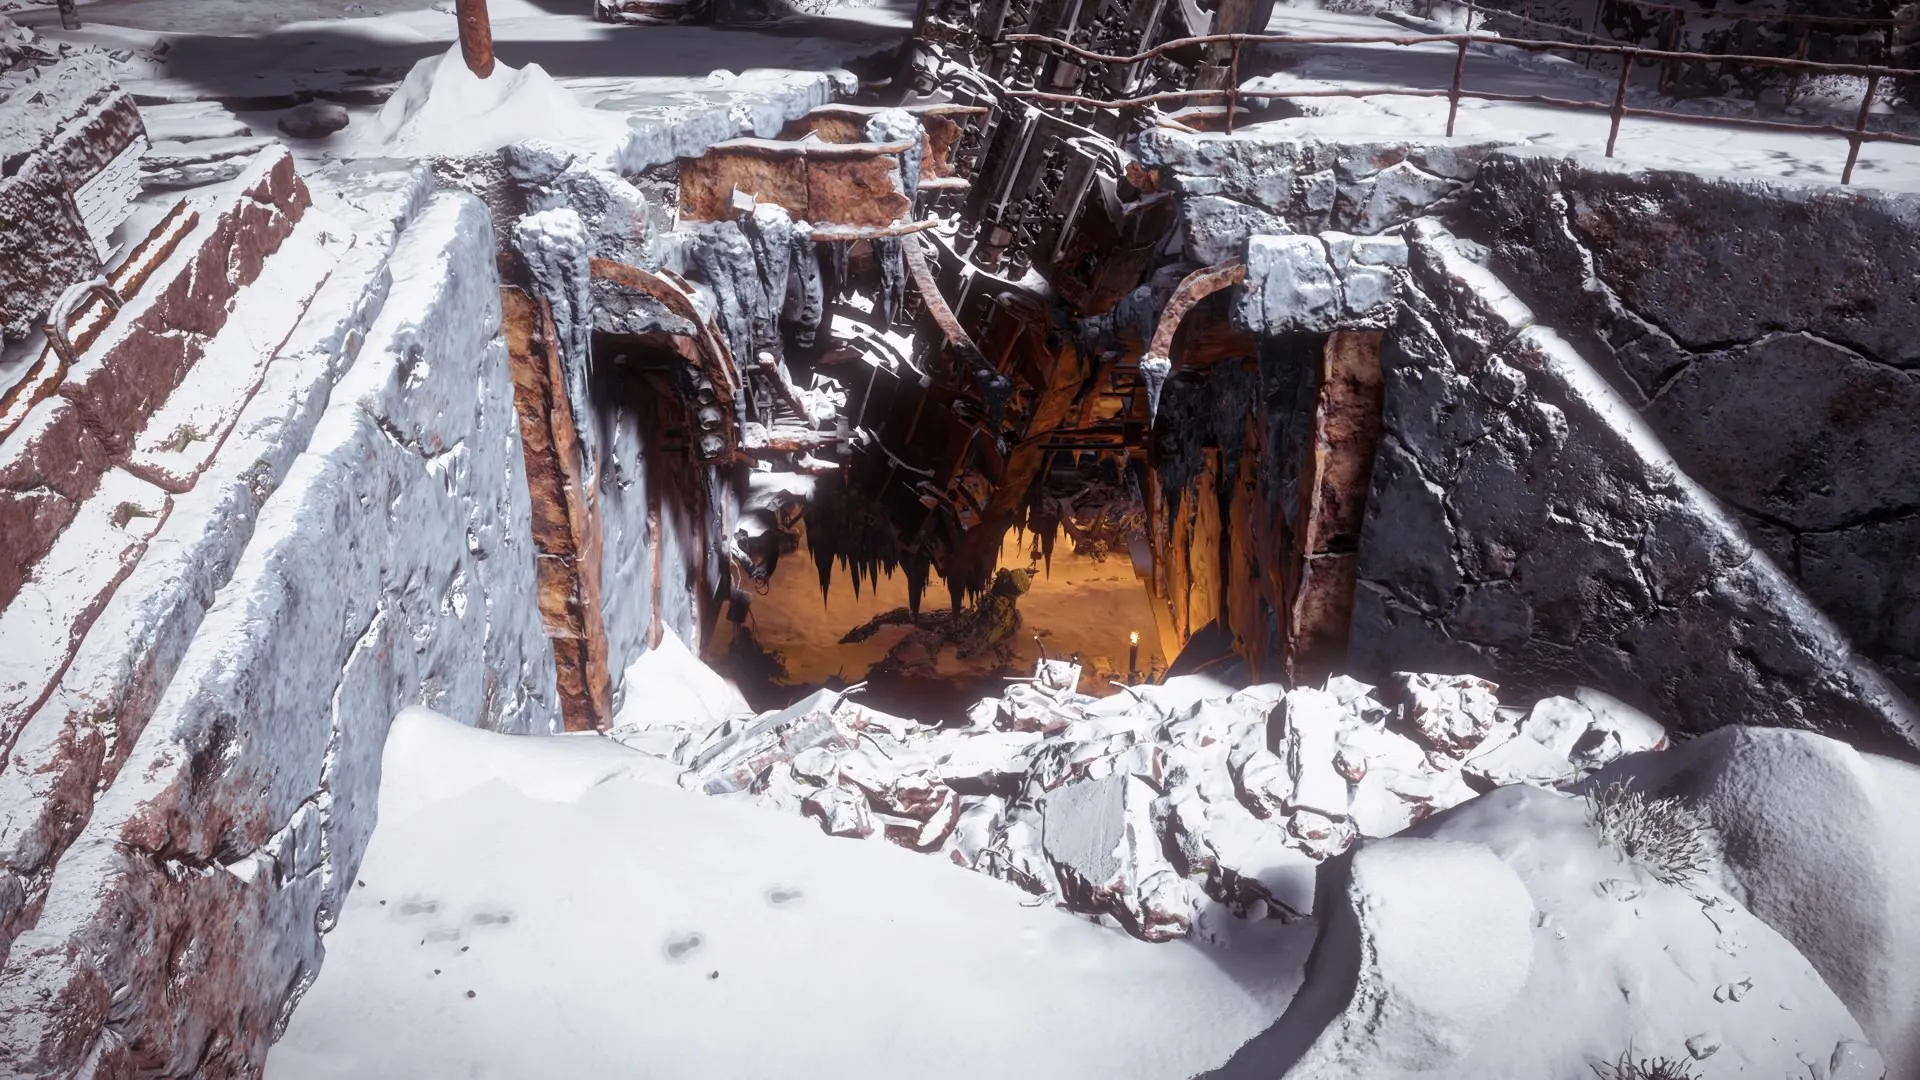
Once you pick up a Power Cell, you’ll have a quest marker for the bunker’s location. It’s southwest of the Devil’s Thirst ruins but not very far.
You’re in the right place if you see a big hole in the ground with a broken power line tower grasping for the sky.
Jump down into the hole and into the water. Collect the Metal Flower on your left, then proceed to where the armor awaits — behind some doors.
In the bunker, to the right of windows blocking your way to Shield Weaver, is a set of locks, two of which require power cells. Place your cells into the unpowered locks to activate the set.
A machine to the right of them will also light up. Scan it with your Focus to bring up a holo display with timestamps. These translate directly to the order and orientation of the locks to open the first door.
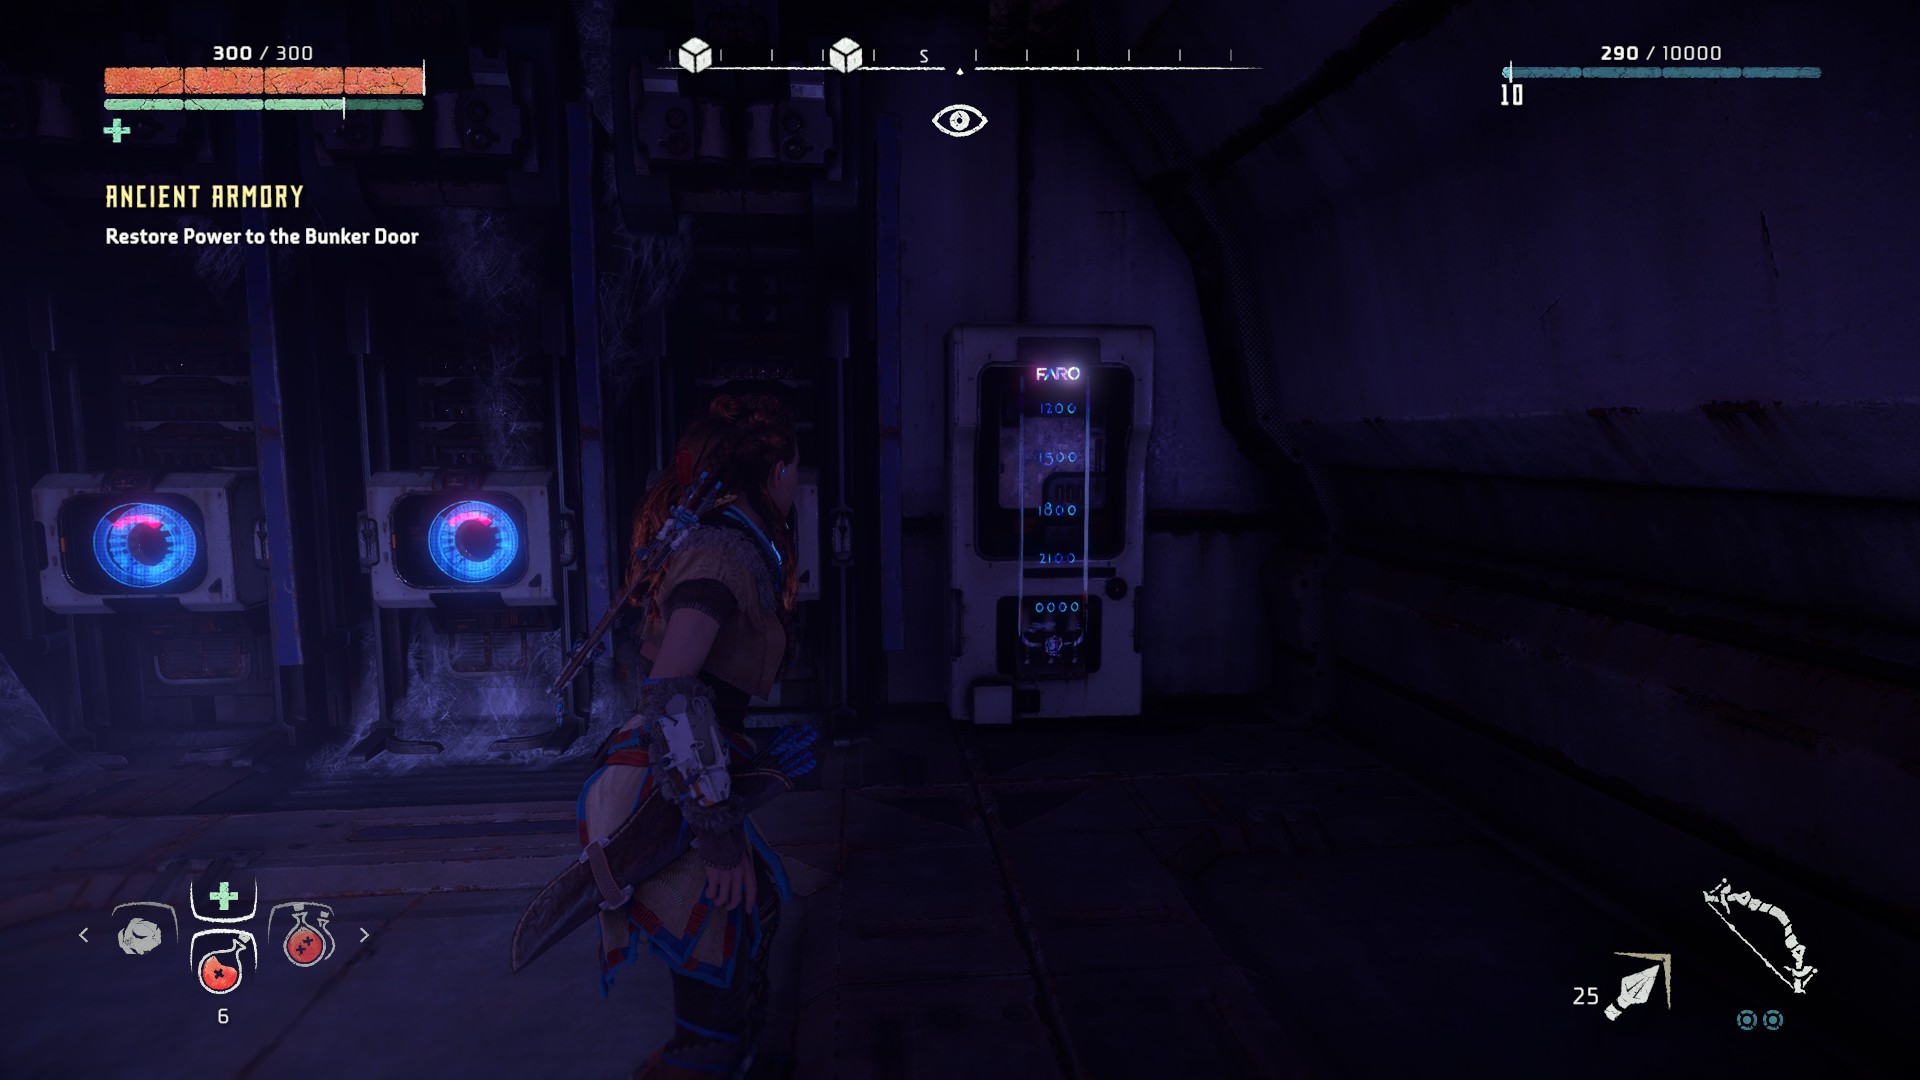
The times and lock rotations are:
- 1200 (12:00 PM) — Top
- 1500 (3:00 PM) — Right
- 1800 (6:00 PM) — Bottom
- 2100 (9:00 PM) — Left
- 0000 (12:00 AM) — Top
The first and last locks are already in position, so you only need to turn the middle three.
Once you open the first door, you’ll be face to face with the Shield Weaver armor, but you won’t be able to access it. You need to place your remaining power cells to do that.
Head into the hallway beyond the armor to discover another set of circular locks. As before, they need to be rotated in a specific order, again determined by a code on the wall nearby.
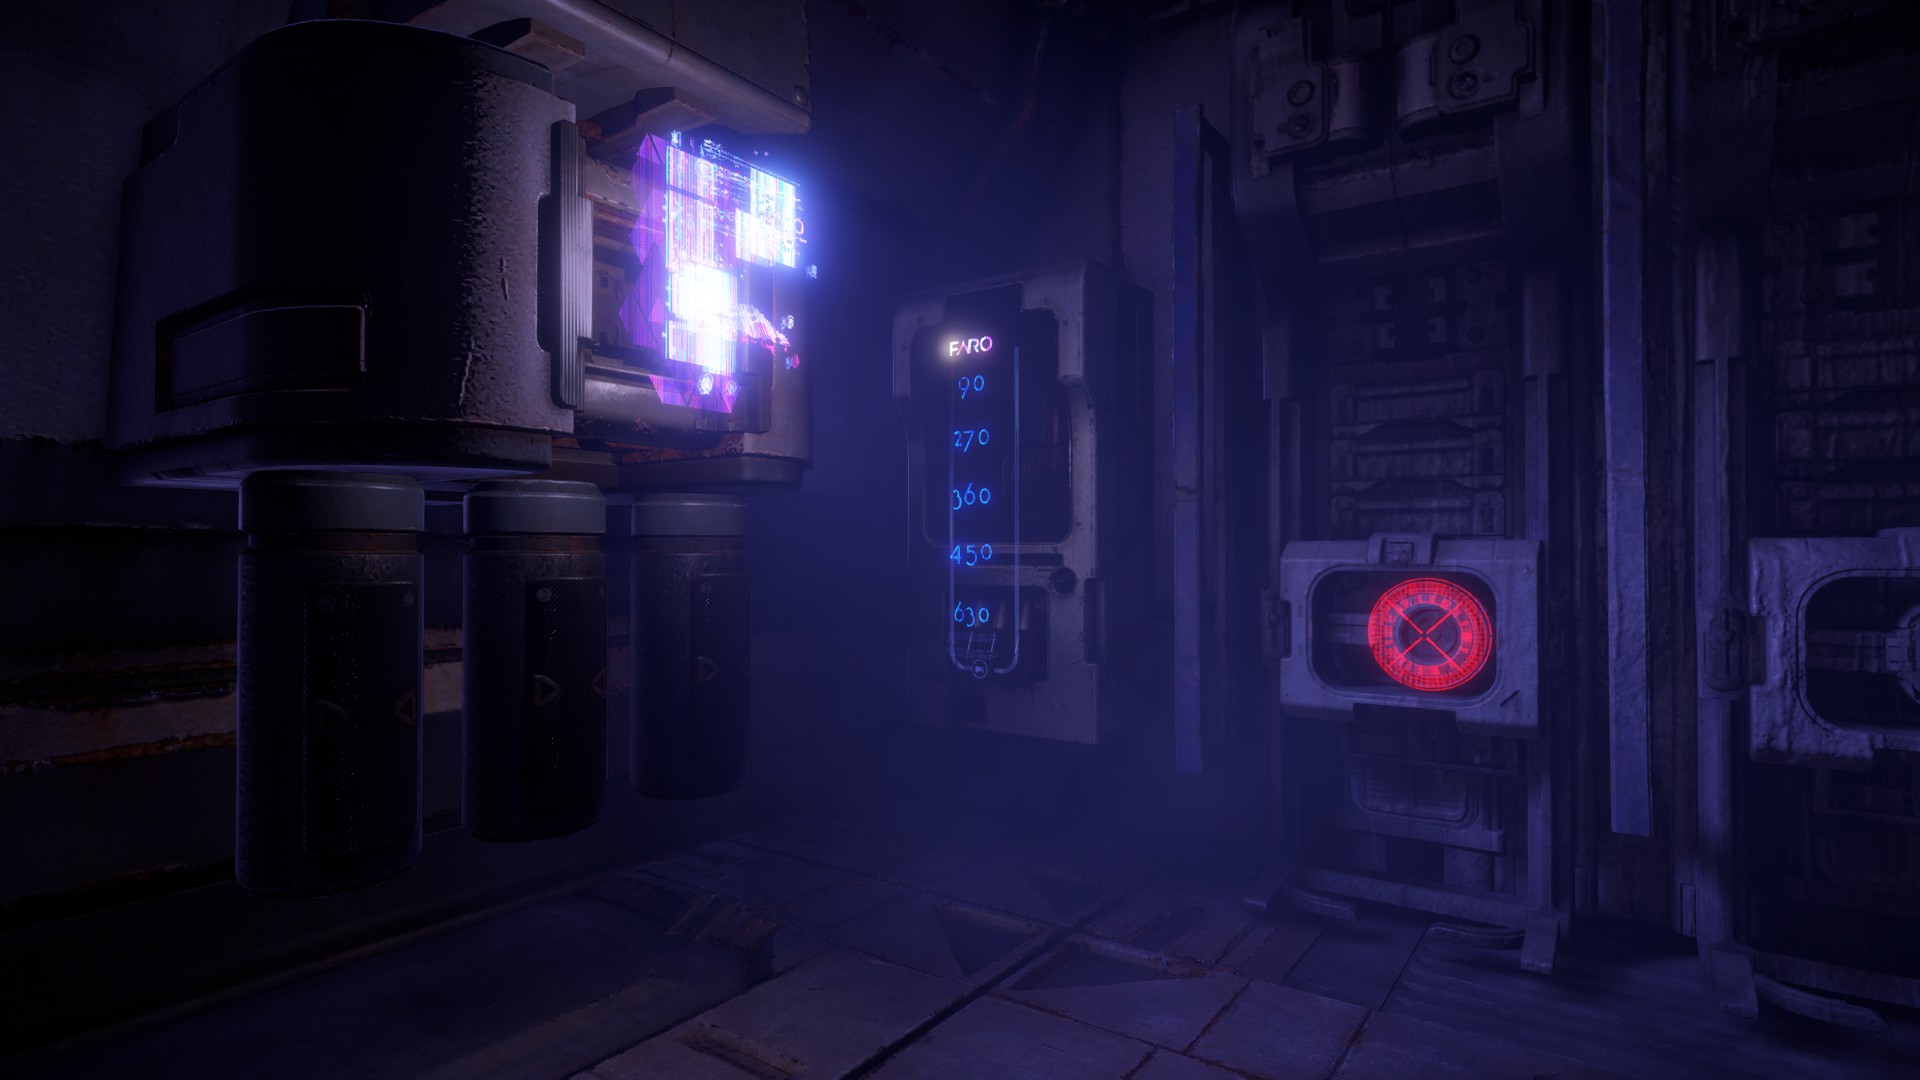
The angle values and lock rotations are:
- 90 — Right
- 270 — Left
- 360 — Top
- 450 — Right
- 630 — Left
With that done, the locks keeping you from Shield Weaver are now open. Go and grab the best armor in all of Horizon Zero Dawn. You’ll need it for the challenges of the final fights, and definitely for Frozen Wilds. Enjoy the awesome look and the nigh-unbalanced energy shield. For more on Horizon Zero Dawn, be sure to check out our guides hub!


Published: Aug 9, 2020 08:03 pm