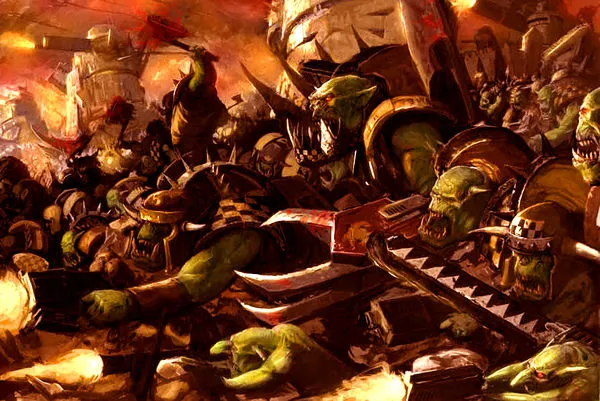
So after putting a few hours into the Campaigns that were released with Warhammer 40,000: Sanctus Reach, I decided that I’d like to try my hand at making my own custom scenario — mainly so that I could crush the foul Orks under foot in a map of my own design. So I booted up the Editor.
Using the Editor to Create Your Own Campaigns
Navigating the Editor isn’t too terribly difficult, but it can be a bit picky about a few things — namely spaces between words in the headers, but I’ll get to that later. I would also like to state that this is a beginner tutorial that is also written by a beginner. I’m not going to cover any of the fancy A.I. scripting stuff, as I know nothing about it yet, and I’d rather not misinform you.
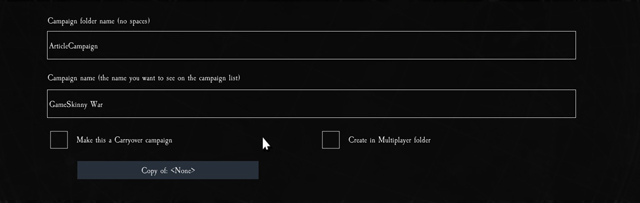
Step 1: Make a Folder
So, first things first — we must make a folder to store our custom campaign in. Make sure to follow the directions and not have any spaces in your folder name or any of the file headers as it will cause the campaign to crash when you go to test the map.
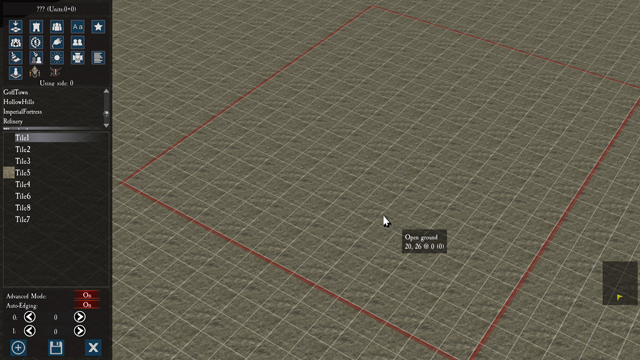
Step 2: Create a Scenario and Map
After that’s done, we’re prompted to create a new scenario. For my scenario, I went with a 20×20 grid and used the “Wasteland” setting.
Now, there are a lot of tabs in the editor panel so don’t feel overwhelmed. The great thing about the editor is that the tabs will tell you their primary function the first time you click on them — so make sure to read them! I actually wrote stuff down because I’m prone to forgetting things when I’m excited to tinker with something for the first time.
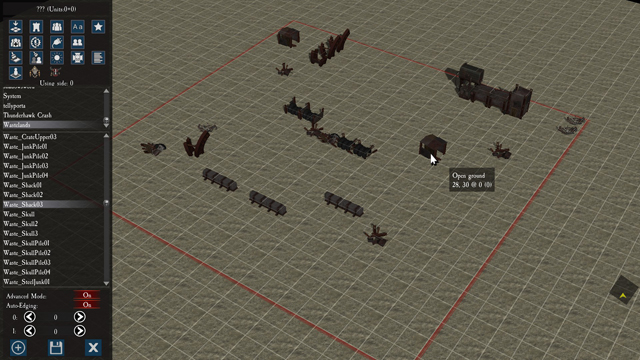
Step 3: Add a Few Objects
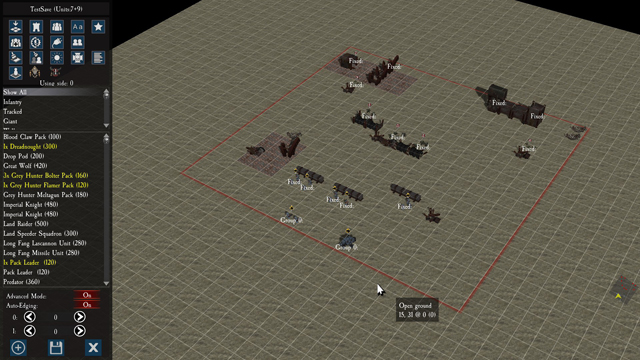
The first thing we’re going to want to do is to bring some life to the map. We can do this by bringing in items from the “Object” tab — the second tab on the top row. I scrolled down to the “Wasteland” menu and just dropped in a few piles of rubble and some stone walls to act as cover for the player/enemy units.
There are quite a lot of set pieces that you can choose from to make your maps as detailed or as sparse as you want. You can even decorate the squares outside of your combat grid area if you’re going for a more believable-looking battlefield. So explore all of the menus provided in the objects section.
Step 4: Save!
Once you’ve laid out your map the way you want to, this would be a great time to save your progress. At the bottom of the editor menu section, there is our old friend, the floppy disk icon. Now, I also save my filenames in what programmers generally refer to as camel case (WhichLooksLikeThis) — the first letter of a word is capitalized and there are no spaces between the words. This is a good habit to get into if you’re going to be modding game or scripting games, as programming languages generally go berserk if there are spaces and throw some sort of error out.
Step 5: Populate Your Battlefield
At this point, we’ve created our campaign file folder, made our first map, and decorated the terrain a bit. Believe it or not, we’re actually close to having our very own playable scenario. Now, we just have to start adding in our army and our opponents — which is the third tab in the editor.
Take the time to read the information presented in this tab as it highlights a few hotkey shortcuts that you’ll want to know for placing units.
Step 6: Flesh It Out
Once you’ve placed down the units, you’re essentially done. You’d just have to save and then fire up your campaign in the campaign screen to test it out. But let’s add a bit more to it. For my sample scenario, I added in reinforcements to the map.
To do that you click on the “Set Reinforcements” button and follow the directions provided by the pop-up window. I decided that a Dreadnaught and a Terminator heavy flamer squad would be great enforcements to show up when our units were close to overrun — which of course, I only figured out by trying the campaign and seeing how long it took for enemies to mass converge on my position.
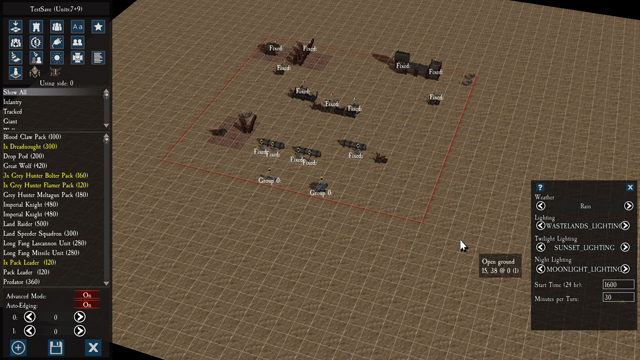
I also decided to change up the weather a bit, but that was really optional and has no real bearing on the game outside of aesthetics or trying to recreate a scenario from your favorite lore-based battle.
Step 7: Finished!
That’s pretty much all there is to getting a very basic scenario together in the editor. There are a number of other options that we didn’t make use of, so I encourage you to do some tinkering of your own and see what you can put together. If there is enough interest and feedback I’ll look into doing a more in-depth, advanced scenario tutorial to go into some of the topics not covered.

For those who don’t have the game, you can find it on Steam for $29.99. If you’re still on the fence about picking it up, then I highly recommend reading the Sanctus Reach review I published a few weeks ago.
What campaigns have you made in the editor for Sanctus Reach? Share yours in the comments below!


Published: Feb 9, 2017 03:44 pm