Our goal is to help you find as many Red Star Rings in Sonic Forces as possible. If you need help with the previous stages, check out our guide on where to find the Red Star Rings for stages 1-10.
Recommended Videos
Stage Eleven: VS Eggman.
This is another boss battle so there are no Red Star Rings to collect in this area.
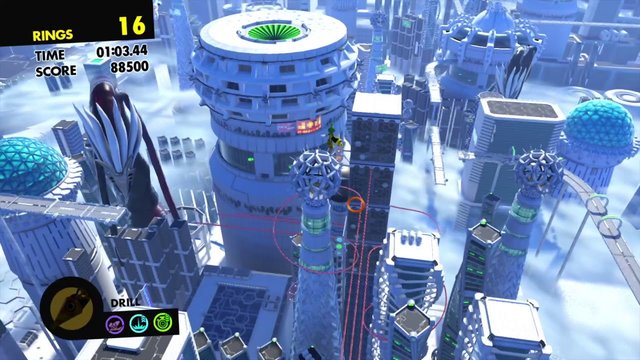
Stage Twelve: City Park Avenue
- Ring One: You will come to a circular area with enemies lined up around the circle. Once you have defeated the enemies there will be a capsule that you will need to grab. After you have done this continue up the path and you’ll be able to grab the first Red Star Ring.
- Ring Two: After following the natural path you will see plenty of grapple points. Using the last one you to drop down, you will be confronted by a line of enemies to the right. Once they are defeated, make your way to the left and you’ll find the second ring hidden over there. You will have to jump a gap to reach the platform it is sitting on.
- Ring Three: After collecting the second ring, if you continue to the right, you should be shot upwards onto a path that will allow you to grab the third ring.
- Ring Four: There will be more grapple points that will send you upwards to start with, but then you will need to start grappling down. Shortly after, you’ll see a spiral rail that will take you to the bottom level. After hitting all the enemies, you will go through an upside-down loop and you’ll find the ring.
- Ring Five: You will then need to grapple upwards, and after passing through some rings, you can collect the final Red Star Ring for this stage.
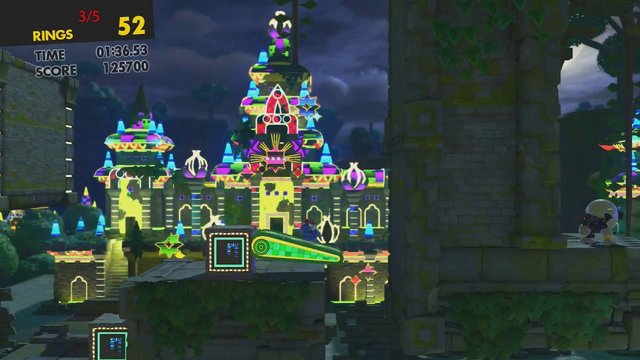
Stage Thirteen: Mystic Jungle Casino Forest
- Ring One: Following the natural path, you should spot a gap between one platform and another. There will be a pink bumper and pinball bumper. If you use the pink one to push yourself towards the pinball bumper, you can then slowly drop down to get the ring.
- Ring Two: Hit the checkpoint then re-use the pinball bumper to boost you up the the higher levels, where you’ll find the second ring.
- Ring Three: Towards the end of the stage, if you fall past some bumpers, you will hit an additional set of pinball bumpers, which will lead to a tunnel below. If you drop down to this tunnel and speed along, you should hit another booster which will send you to the right and up a ramp where you can collect this Red Star Ring.
- Ring Four: You will then want to use a set of pinball bumpers to your right to help you get back up to the upper level, where you’ll find a ramp. You need to go slightly down the ramp so that Sonic can Boost to reach the platform with the ring on it.
- Ring Five: Go back down towards where you just came from, avoiding the pink pinball bumper, and jump into the right side net. By dropping down you will get the final ring for this section.
Stage Fourteen: Mystic Jungle Aqua Road
- Ring One: At the start of this stage you can go through a broken barrier on the right and hit some boosters. If you go to the left, you will not be able to get this Red Star Ring. Once you’ve gone through, you should hit a few more boosters which will lead you to a ramp where you can collect the first ring.
- Ring Two: After getting the first ring, you will have to make your way through a water slide with some enemies that will try to knock you off. If you take the right path you will come across the second ring which will be floating in the center of the path. There are rings on both the left and right paths, so to get them all you would have to come back and re-do the level.
- Ring Three: Once you get to a checkpoint you will find a Wisp Capsule that you can use. You then want to move upwards, continually hitting enemies with the Lightning ability, which will allow you to go up the path. Here you will find the third ring next to a few red booster rings.
- Ring Four: Once you are launched into the air from the booster, you will come to another water slide with three branches. If you take the middle path, you will be able to find this Red Star Ring from bouncing off enemies that are trying to push you off the slide.
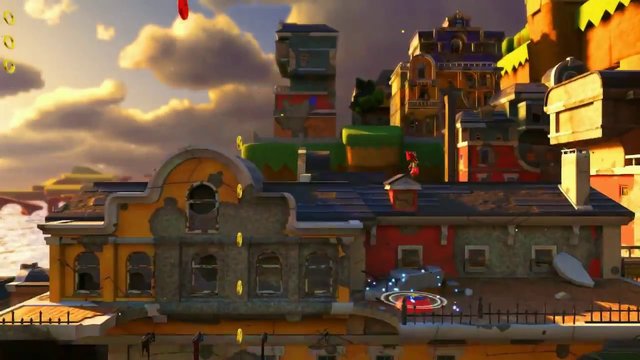
Stage Fifteen: City Sunset Heights
- Ring One: You’ll need to continue along the natural path until you come to a grapple point. Head left, and you’ll see the first Red Star Ring just under the arch.
- Ring Two: Continue down this path, Boosting into multiple enemies along the way. You will eventually run into a bumper that will boost you onto another platform. You’ll naturally be able to pick up the second ring here.
- Ring Three: You’ll need to build up enough momentum to get up the ramp onto a platform. Using this platform, you’ll want to climb higher and higher. By going to the right, you will eventually hit a brown building you’ll need to scale. After this there are three floating platforms on the roof that will bring you to the third Red Star Ring.
- Ring Four: When you follow the natural course, you will end up grinding on a rail that will take you back down to the lower levels. Go to the right instead and you’ll see three floating platforms — the ring is on the rightmost platform.
- Ring Five: You will then hit multiple bumpers on your way to the end goal. Just before you pass through some rainbow rings, you will be able to collect the final Red Star Ring for the stage.
Stage Sixteen: Metropolis Capital City
- Ring One: You will have to take out the enemies that are in front of you before you can use the grapple points to swing you around and collect the first Red Star Ring. You could be able to collect this before landing on another platform with enemies’ present.
- Ring Two: After hitting a checkpoint, you should see a capsule in front of you that you need to run towards. You can use this to defeat the enemies in this area, and you should then be able to jump ahead and collect the next Red Star Ring. You need to collect this before the gravity has returned to normal.
- Ring Three: Once you have avoided the laser section by running to the right and on the bottom path, you will come to another path which is filled with more lasers. If you take the left path, you’ll be able to pick up another ring and continue through the level.
- Ring Four: After you have completed the laser section, you should drop down onto a rail that you can grind across. If you move to the left you can avoid the spikes on the rail, and you will also see the fourth Red Star Ring. You will have to quickly jump to the left rail then back to the right rail to collect the ring and avoid getting hit by the spikes.
- Ring Five: After using the grapple to bounce off enemies to grab additional capsules, you’ll be able to get the last Red Star Ring. This will be after the second time, and you will see an enemy you can bounce off of to reach this ring.
Stage Seveteen: VS Infinite.
This is a boss battle so there are no Red Star Rings to collect in this area.
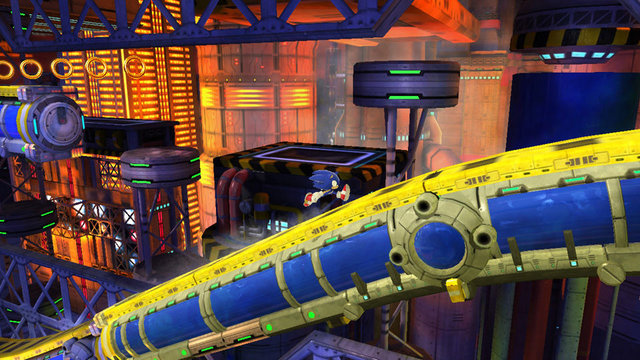
Stage Eighteen: Chemical Plant
- Ring One: The game will naturally try to push you upwards after you’ve passed through the columns of rings. Instead of continuing left, drop down onto some boxes, then jump left to get to some moving platforms. This is where you will see the first Red Star Ring.
- Ring Two: Go back to the top level and continue along the natural course until you hit the checkpoint and the upside-down loop. Here you’ll want to boost, but go towards the right platform after the ramp. Continue the along intended route and you’ll see a plume of pink water, and just beyond that the second ring.
- Ring Three: You will then have to make your way towards the end goal and start the level again. Do the same as you would have done for the first ring, but then go to the upper level via the platforms in that area. Boost into some tubing and follow the natural course. After a line of enemies on a path, you should find the ring hiding in the corner.
- Ring Four: Continue downwards, and as you progress, water should begin to fill this section of the level. Go to the furthest right point and use the boxes to lift you up. Past the plume of water to your left and on the right hand side is the fourth Red Star Ring.
- Ring Five: Use that plume of water to push you out onto the upper levels and go left. From here, follow the path across until you come to another section of water. Make your way through, and towards the end there should be a falling platform. Stand on that and the last ring for the section wilk be below it.
Stage Nineteen: City Red Gate Bridge
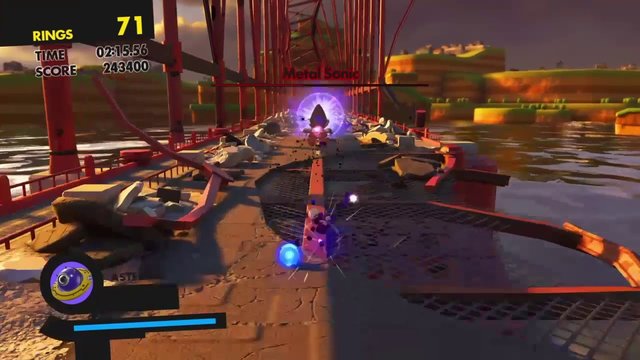
Stage Nineteen allows you to collect a series of Red Star Rings all at once. It will be after you run into a Metal Sonic clone that you must chase after. When the Metal Sonic starts shooting energy pillars at you, you will be able to collect the rings as you’re running.
Stage Twenty: Green Hill Guardian Rock
- Ring One: You’ll want to naturally follow the path, which should lead you to a tunnel built into the landscape. As you go down this tunnel it will then fling you into the air where you can collect the first ring.
- Ring Two: Continue to the right and make your way higher to the upper levels of the stage. When you reach the next level, you’ll want to go left across some platforms. The second Red Star Ring will be there amongst regular rings.
- Ring Three: You then want to lower yourself back to the ground and continue off to the right. After making your way through three lots of metal fists there will be another ring on the ledge of the landscape. You should be able to pick this up as you’re going.
- Ring Four: As you continue to travel along ring paths you will encounter enemies — use your Wispon ability to defeat them and you’ll be able to grab the ring. This ring will be floating above a bridge that can break, meaning you must be careful as you could be sent back to the checkpoint if you fall into the pit.
- Ring Five: Continue on this path until you reach the arching bundles of rings. You’ll want to follow the rings upwards until you reach the upper white platform. From there, you candrop down slightly to pick up the last Red Star Ring for this section.
~
Was this helpful for you? Are you able to find more Red Star Rings now? Let us know in the comments.
GameSkinny is supported by our audience. When you purchase through links on our site, we may earn a small affiliate commission. Learn more about our Affiliate Policy





Published: Nov 21, 2017 02:08 pm