
Despite spending half the game trying to kill them, you actually can recruit Byleth in Fire Emblem: Three Hopes, though how and when it happens differs depending on which route you’re playing.
The method may change, but recruiting Byleth is never an easy task, so be prepared to start a mission over if you end up losing them on accident or make another mistake in the process.
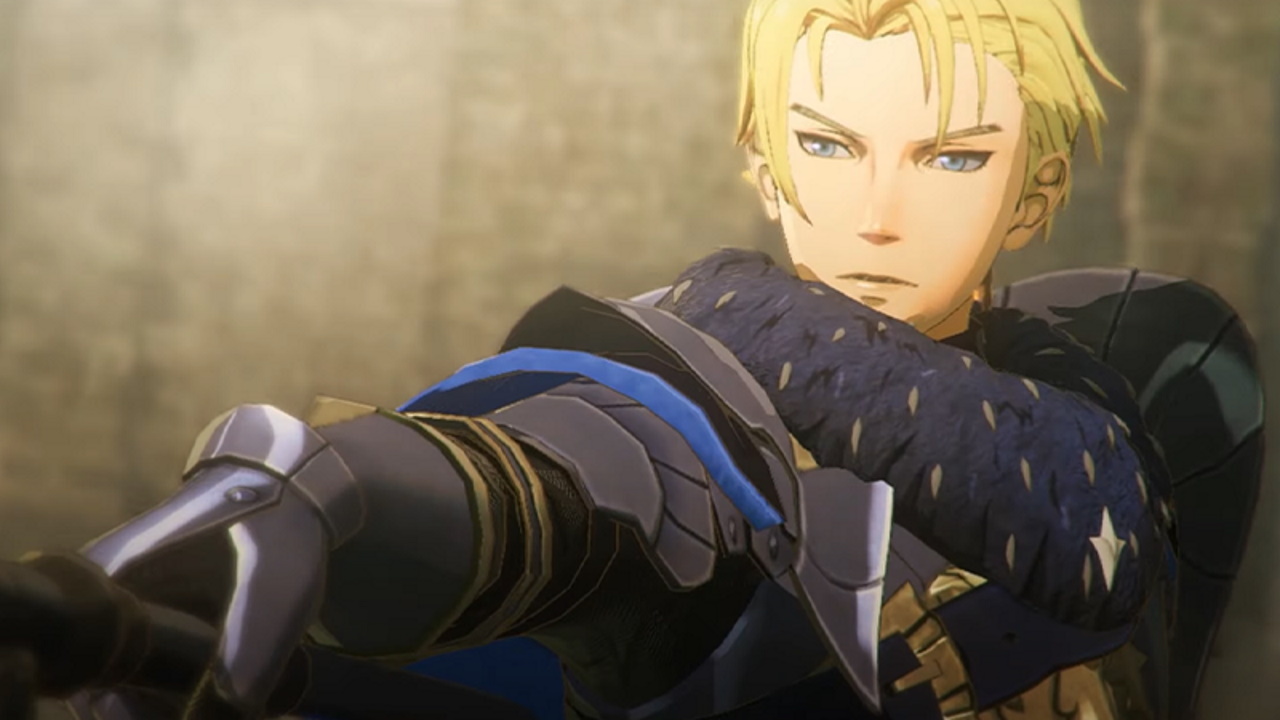
How to Recruit Byleth in Fire Emblem Three Hopes
Byleth is your adversary until chapter 10 in Scarlet Blaze and Golden Wildfire, and chapter 12 in Azure Gleam. Nothing you can do will change that, and it’s also okay to defeat them on the battlefield, since they won’t die permanently until the recruitment battle.
Recruit Byleth in Scarlet Blaze

Recruiting Byleth to the Black Eagles’ cause has to wait until chapter 10, Shifting History. Make sure to complete the battle in Menja territory and investigate the points of interest around the territory. Yes, you lose renown this way, but you learn the Resonant Lightning strategy, which is mandatory for recruiting Byleth.
Start the chapter’s main battle, and make sure to select “Resonant Lightning” from your list of available strategies. Help the Sorcery Engineers, and then use it when prompted.
Once Byleth shows up, ignore them, and issue orders so your allies don’t get caught up fighting them as well. Then defeat Alois and Roderigue to finish the battle. If you have the bridge built to reach the eastern shoals, the enemy will destroy it after you cross to fight Roderigue, which means Byleth can’t come after you.
At the end of the chapter, Byleth and Jeralt will join you.
This is also the chapter where you can recruit Yuri, so make sure to set aside some strategy points for that if you want him.
Recruit Byleth in Azure Gleam
Recruiting Byleth to the Blue Lions is slightly more involved and happens during chapter 12, A Trick of the Goddess. Clear the Menja territory and unlock the Locate Ambushers strategy, then start the battle.
Activate the strategy when prompted, and then pause the game. The map will show you green arrows where the mercenaries are located, and if they see any of your units, you won’t be able to recruit Byleth.
Choose the “All-Out Defense” order, then guide your units back to safety individually.
After that, you’re prompted to defeat Fleche and then to defeat Randolph. This is when Byleth appears, but you should ignore them and just focus on defeating Randolph. After the battle, Jeralt and Byleth join your group.
Recruit Byleth in Golden Wildfire

Recruiting Byleth in the Golden Deer route happens in chapter 10, Love and Loss, and it’s the easiest of the three routes. Protect Claude throughout the battle, and ignore Byleth when they appear. Order a few of your stronger units to the northwestern corner of the map for the next phase.
Once Claude reaches his destination, Fleche will appear, and Byleth starts towards them. Swap to your other units and defeat Fleche as quickly as you can.
After the battle, Jeralt and Byleth join. You can also recruit Yuri in this chapter, so spend some strategy points to do that if you want.
That’s all you need to know about recruiting Byleth in Fire Emblem Three Hopes, but stick around for more Fire Emblem Three Hopes guides in the coming days.


Published: Jun 29, 2022 04:38 pm