
Along with the fun, adaptive combat in Wuthering Waves, there’s also a more mental side of exploration with puzzles. The Encryption Block puzzles are some that you’ll come across around the map. They can be pretty challenging to complete, specifically this Fallen Grave one. Here’s some tips on how to do it.
Wuthering Waves Fallen Grave Encryption Block Puzzle Guide
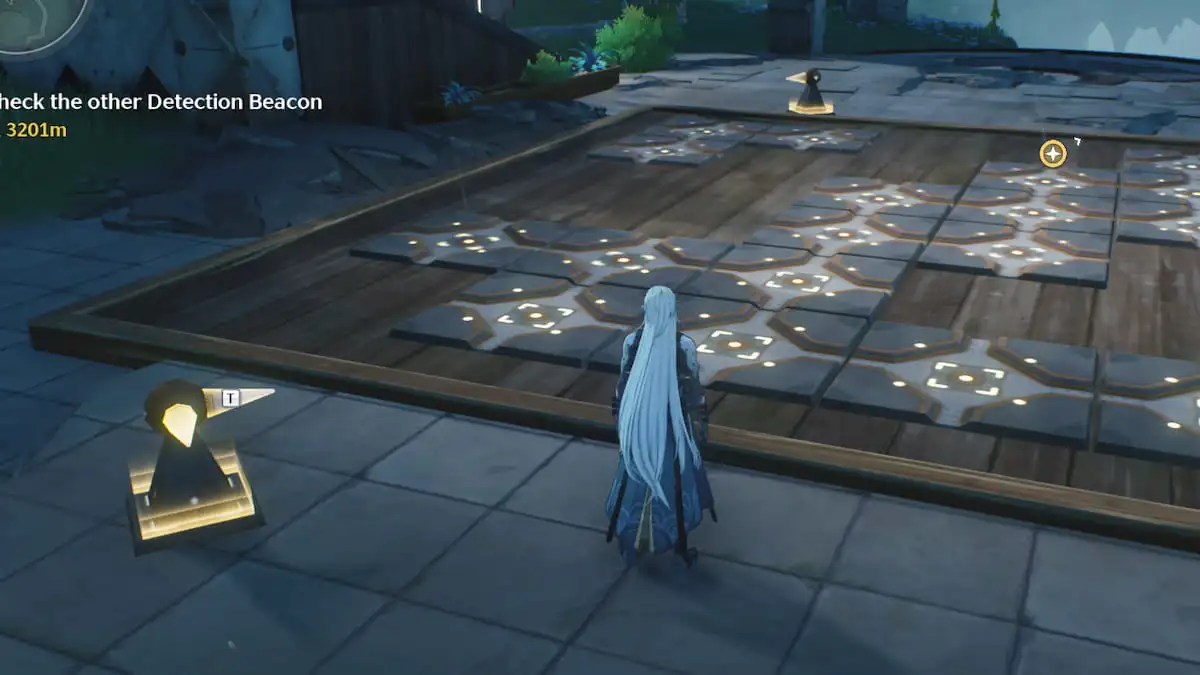
You’ll come across this Encryption Block puzzle just southeast of Fallen Grave at the Huanglong-Whining Axe’s Mire-Fallen Grave beacon. Just like the other Encryptions, you’ll need to find all the pieces to place on the board, rotating them properly so all the tiles light up. However, the pieces are scattered around the ruin and some of them can be a bit tricky to find.
Where to Find All Fallen Grave Encryption Pieces
There are five pieces you’ll need for this puzzle. They are all scattered around the location, and you’ll need to use your Levitator to pick them up and place them on the board. Unfortunately, you can’t pick them up and bring them closer to the board since if you place them anywhere other than the board; they will return to their previous spot. It still helps to locate them first before starting the puzzle, though.
Here’s where you’ll find them all:
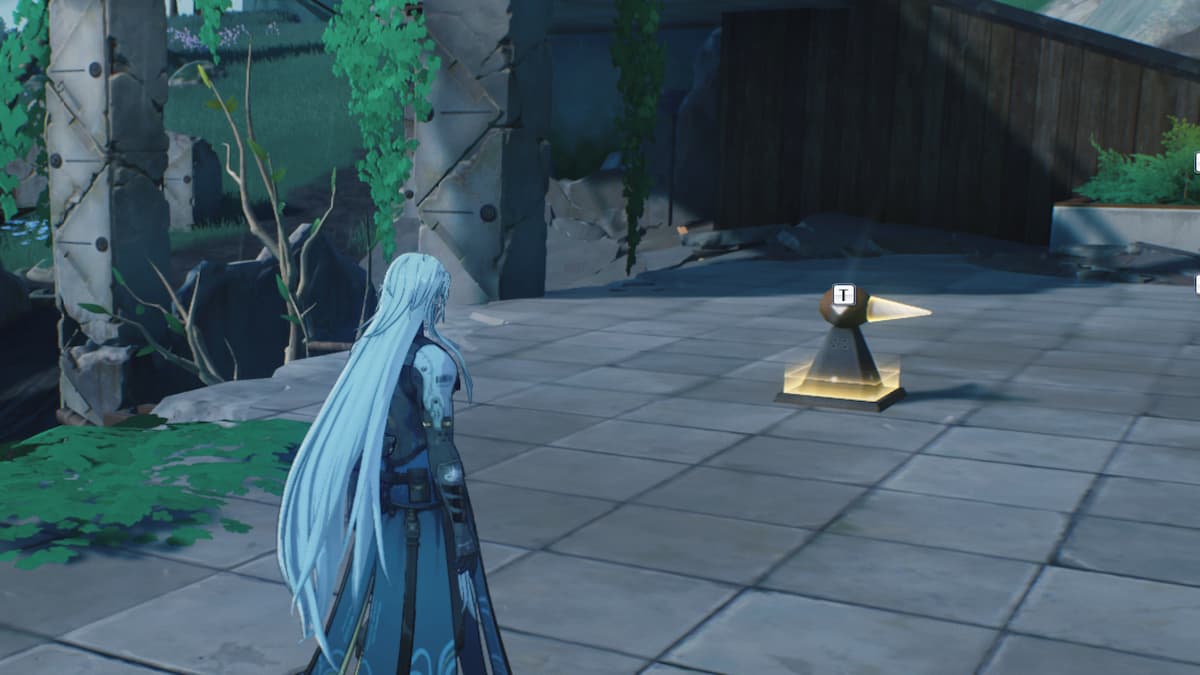
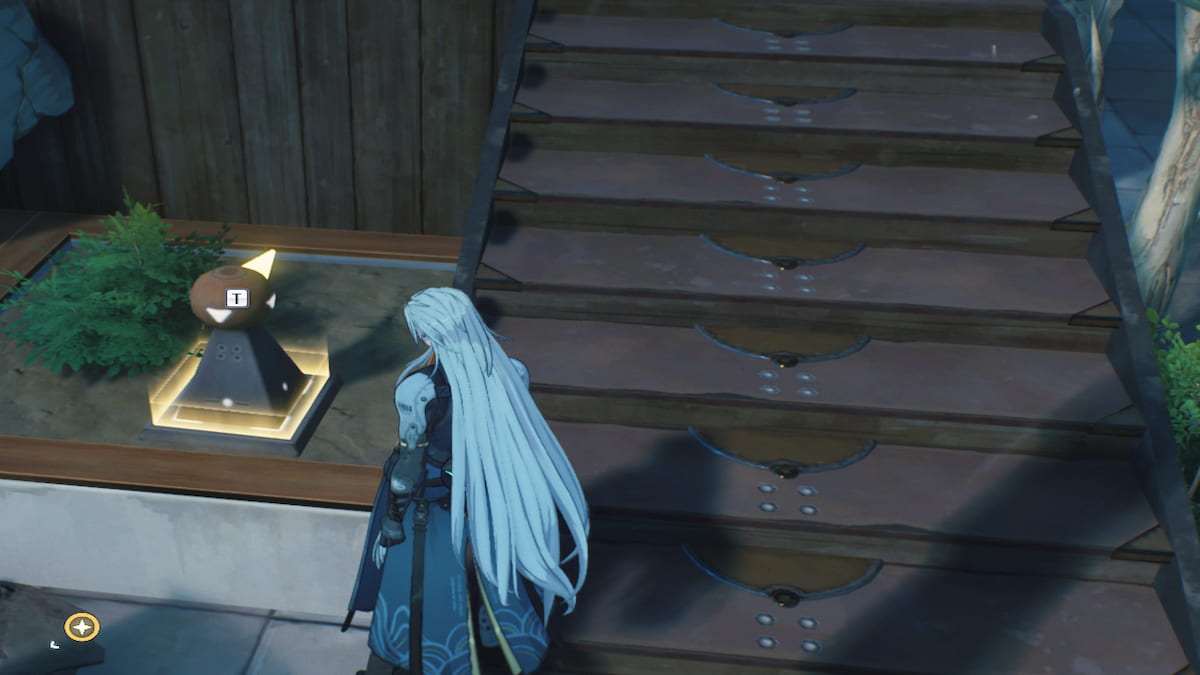

- On either side of the board x2
- Up the stairs to the right (from the beacon entrance) x1
- Up the stairs to the left (from the beacon entrance) x1
- Below the stairs to the left (from the beacon entrance) x1
Once you know where all the pieces are, you can begin solving the puzzle.
How to Solve the Encryption Block Puzzle in Fallen Grave
Your goal is to get all the tiles on the board to light up, using the pieces you found around the area. The number of spikes on the piece indicates how many directions the piece will be able to enlighten.
Step 1 – Separated ‘L’
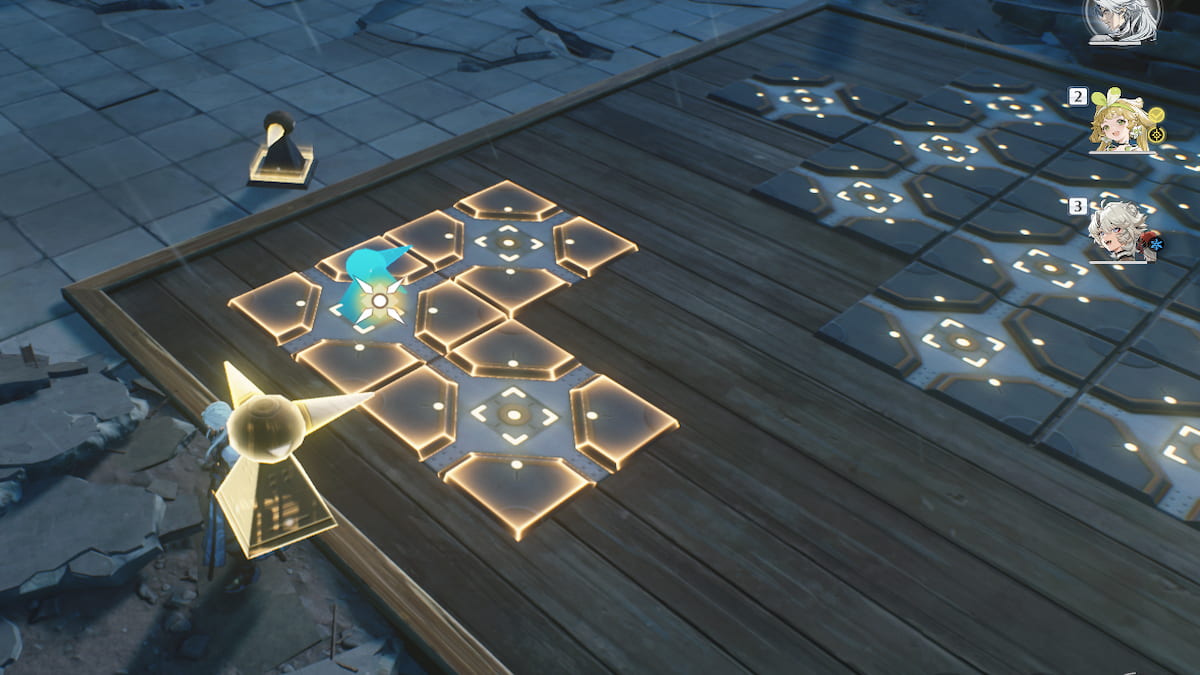
To start, walk across the board (from the beacon entrance) and grab the piece with two spikes. Then, bring it over to the L-shaped tiles, separate it from the others, and rotate it so the spikes face the same direction as the tiles. Then, throw it down on the middle tile.
Step 2 – Large Corner ‘L’

Now, grab the piece up the stairs on the right from the entrance, which also has two spikes on it. Bring it to the far left corner, where there’s another L-like shape on the tiles. Rotate the piece so the spikes point in the direction of the tiles and throw it down on the corner piece.
Step 3 – First Line of Three

You just have a few more tiles to light up now. Head to the left side of the entrance and grab the piece below the stairs. This one only has one spike on it. Just to the right of the large ‘L’ we just lit up is a line of three tiles. Place the piece on the third piece down with the spike pointing upward.
Step 4 – Second Line of Three

The same idea will go for the next line of three staggered with the three you just lit up. Grab the piece right in front of the board, at the bottom right corner. This also has one spike, so you know it will work just like the last one. Place it on the third tile down from the next line, with the spike facing upward.
Step 5 – Last ‘L’

Now, you only have one small ‘L’ left. Grab the last piece up the stairs to the left. This has two spikes, so it will fit perfectly in the last few tiles. In the top left corner of the ‘L,’ place the piece with the spikes pointing to the two directions the ‘L’ is.
Once you have all the pieces on the board, the puzzle is complete, and an Advanced Supply Chest will appear directly behind the puzzle. You’ll get some Union XP, crafting materials, level-up materials, Astrite, and more. Well worth taking the time to complete this puzzle!
Want more helpful tips like this? Check out GameSkinny’s Wuthering Waves guides hub.


Published: May 29, 2024 11:45 am